¡Regala a tus amigos €10 de descuento en su primer pedido!
Recomienda a un AMIGO








 The Thursday DropMañana 1:00 p. m.
 The Friday Final Cutvie 6 nov 5:00 a. m.
 Community Showcaselun 9 nov 5:00 a. m.
Los precios cambian al instante. Cada idioma es nuestra propia traducción, no Google.
Un proyecto de nuestro programa en vivo CREATE TOGETHER CLUB - Programa 2 - Acompaña a Toni - Transmitido el 29 de marzo 22 · 29/03/2022 · velo desde 13:15
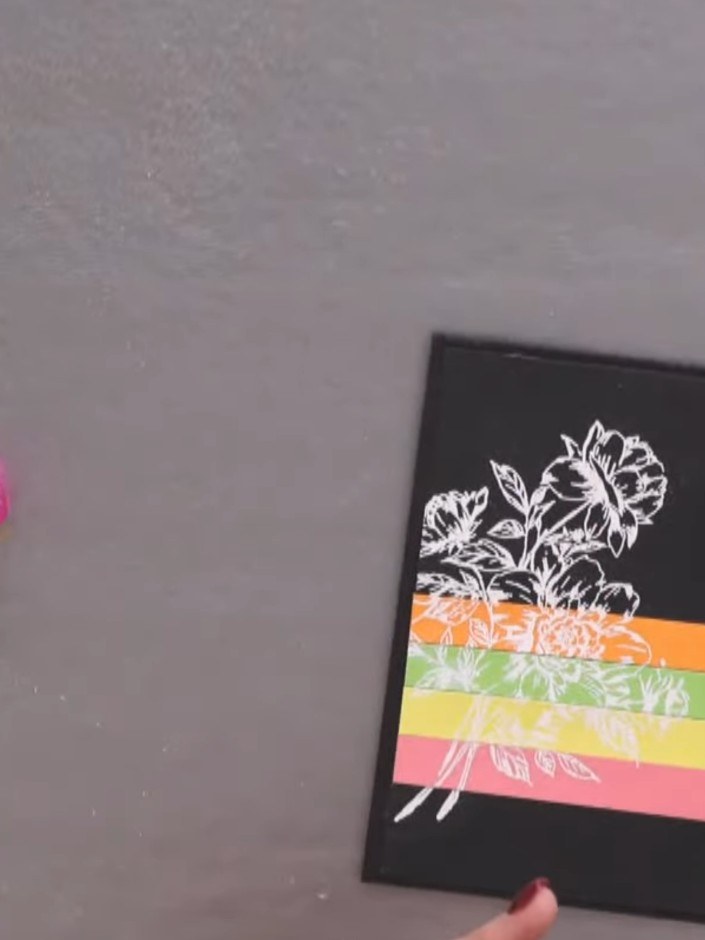
Create a striking card featuring a beautiful floral design with a vibrant rainbow effect. White heat-embossed flowers are stamped onto strips of pink, yellow, green, and orange cardstock, then layered horizontally across a black card base. The repeated stamping technique ensures the floral pattern aligns seamlessly across the coloured bands, creating a continuous and eye-catching design.
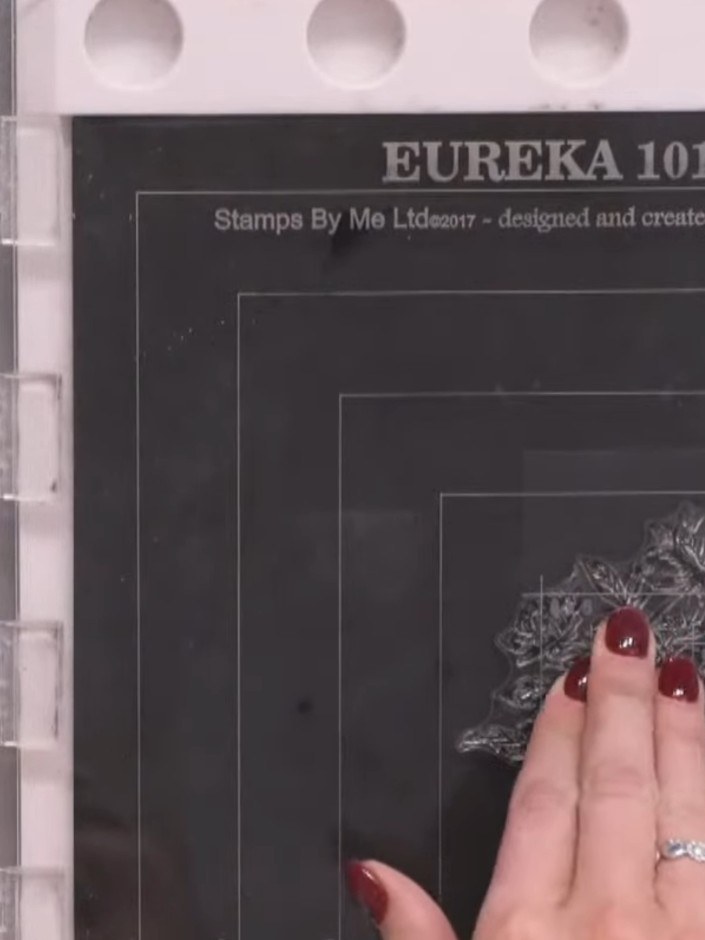
Cut several pieces of coloured cardstock in approximately 4 colours plus black, all to exactly the same size.
▶ ver este paso (14:45)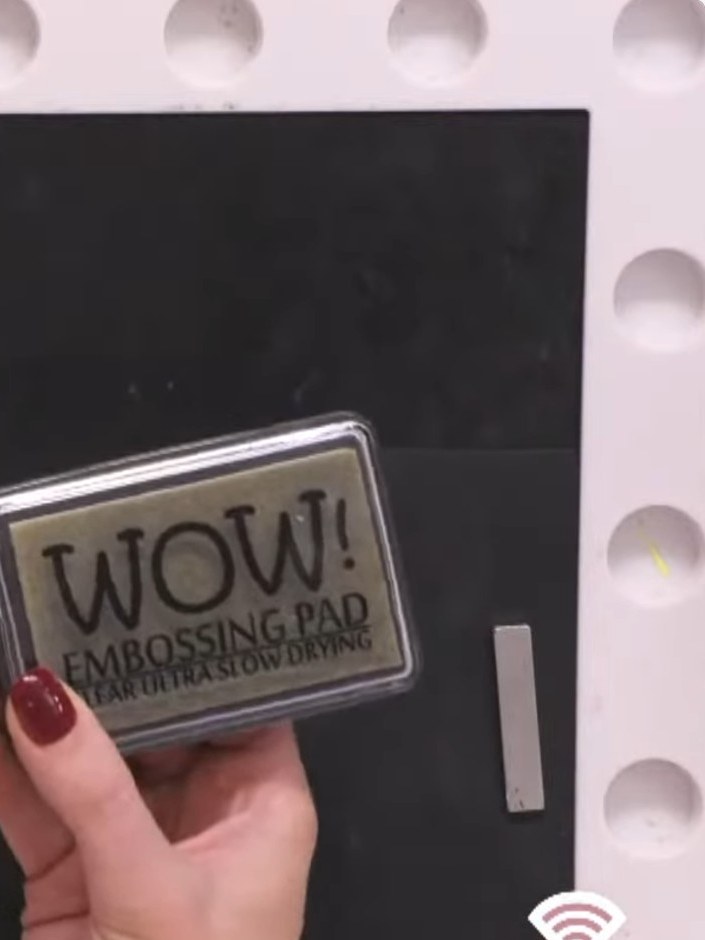
Prepare your black card panel by wiping it with an anti-static bag. Apply the WOW! embossing sticky ink pad to your floral stamp, ensuring even coverage.
▶ ver este paso (15:00)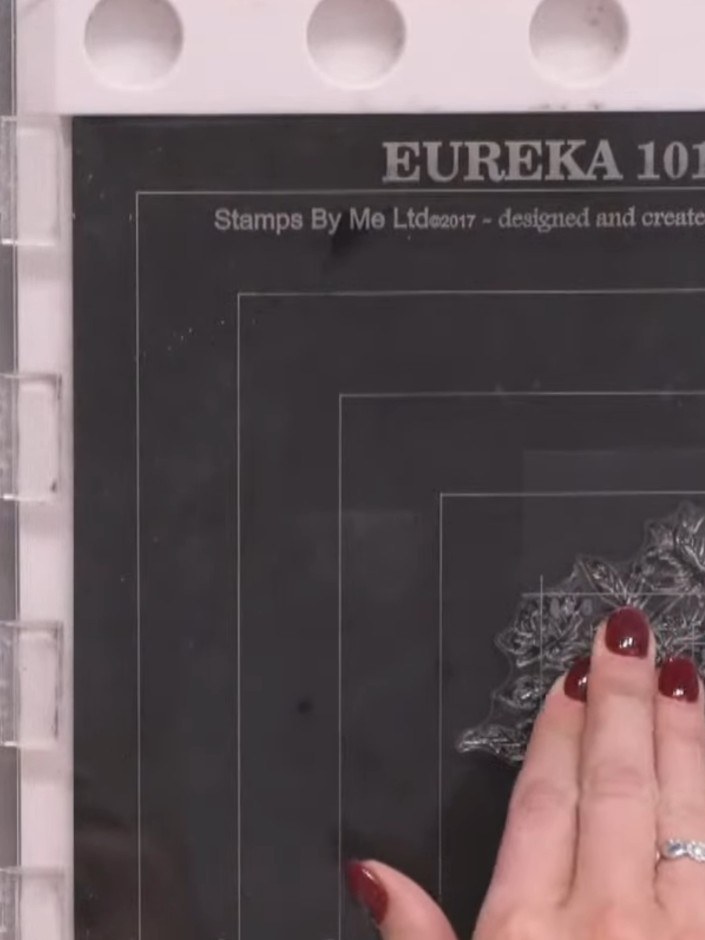
Stamp the floral image onto the black cardstock panel using the sticky ink pad. Position the stamp slightly off-centre on the panel.
▶ ver este paso (15:15)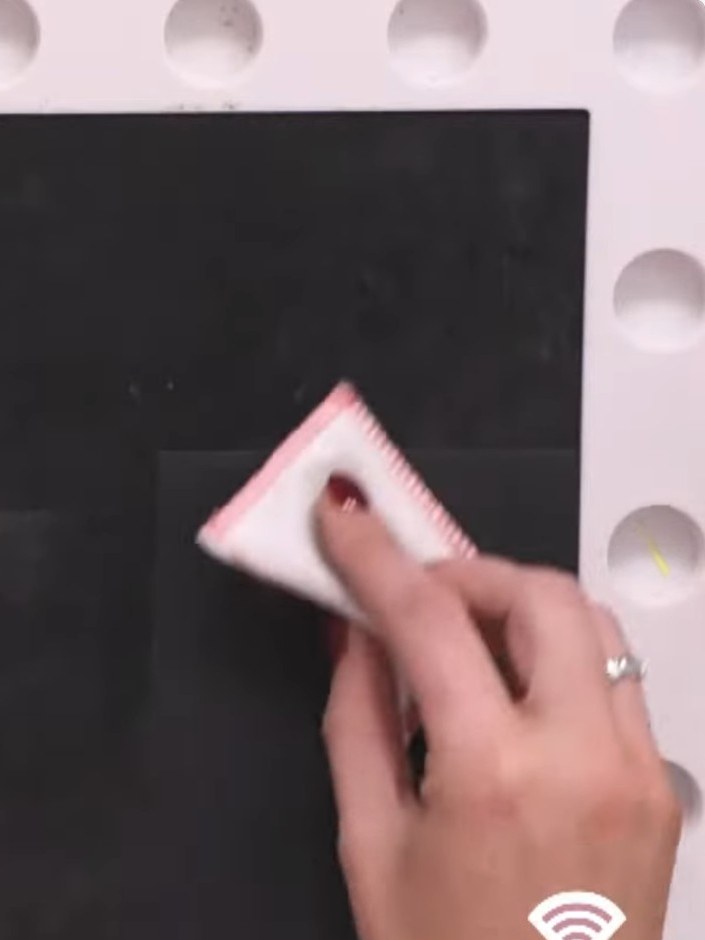
Sprinkle white embossing powder over the wet ink on the black card panel. Tap off the excess powder back into the container or onto an anti-static bag.
▶ ver este paso (15:30)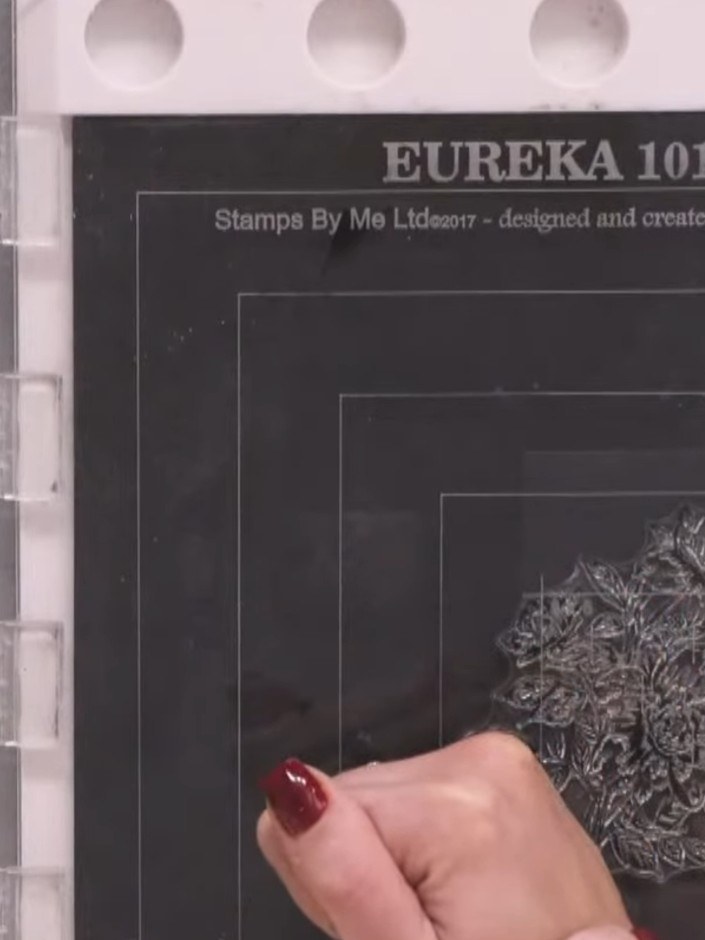
Heat-set the embossed image with a heat gun, holding it over the panel until the embossing powder melts and sets to a shiny finish.
▶ ver este paso (15:45)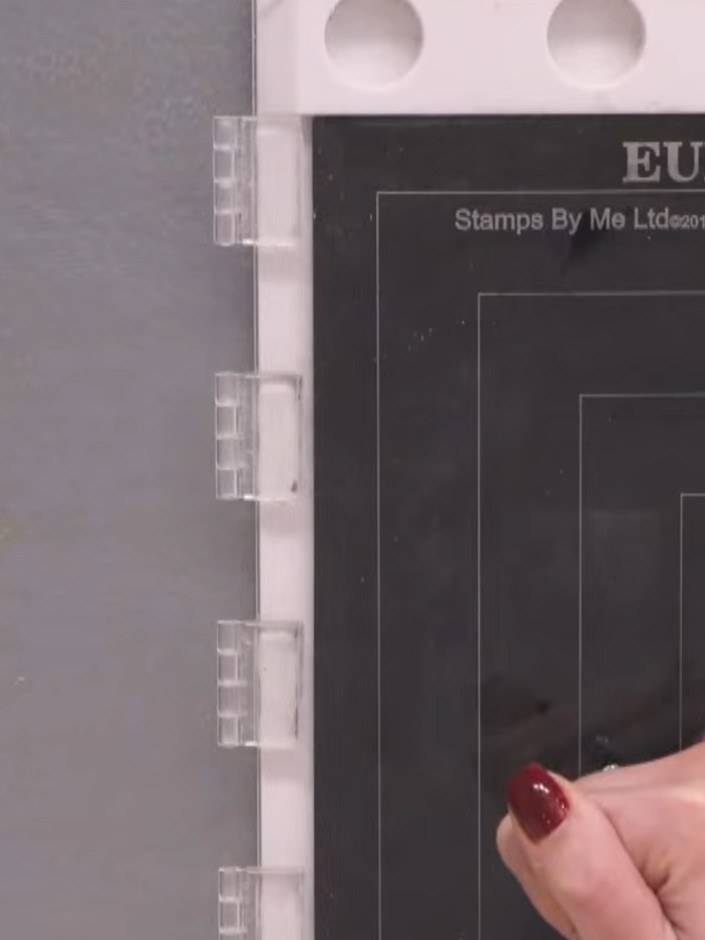
Repeat the stamping, powdering and heat-setting process on each of the remaining coloured cardstock pieces, keeping the stamp in the same position each time to ensure consistent placement across all panels.
▶ ver este paso (16:00)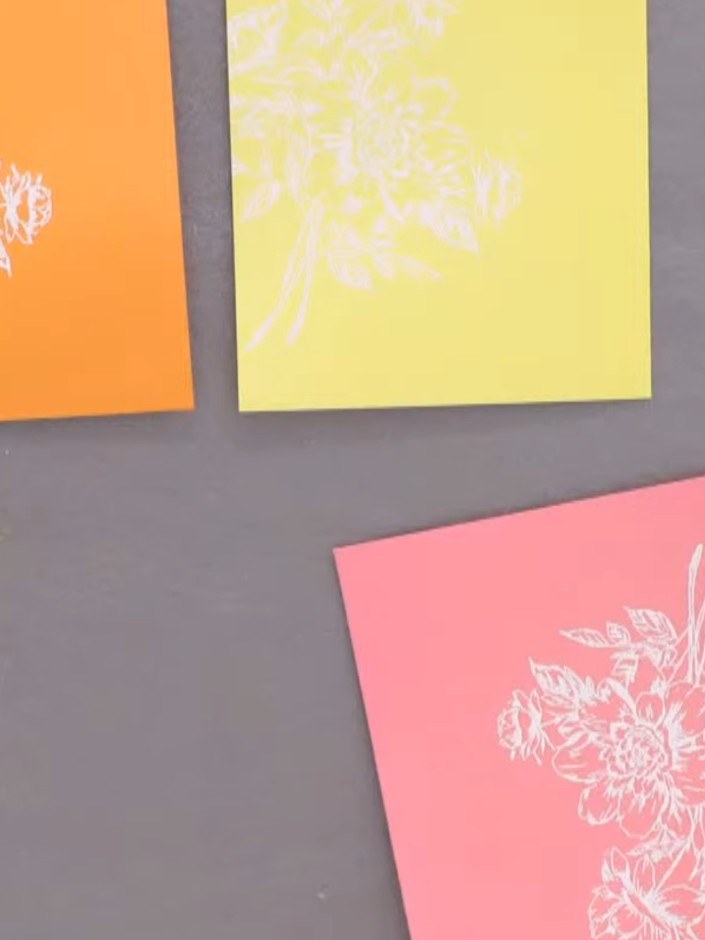
Using a guillotine or paper trimmer, cut all the heat-embossed stamped pieces into strips approximately 1 to 1.5 cm wide, cutting only through the image area of each panel.
▶ ver este paso (27:00)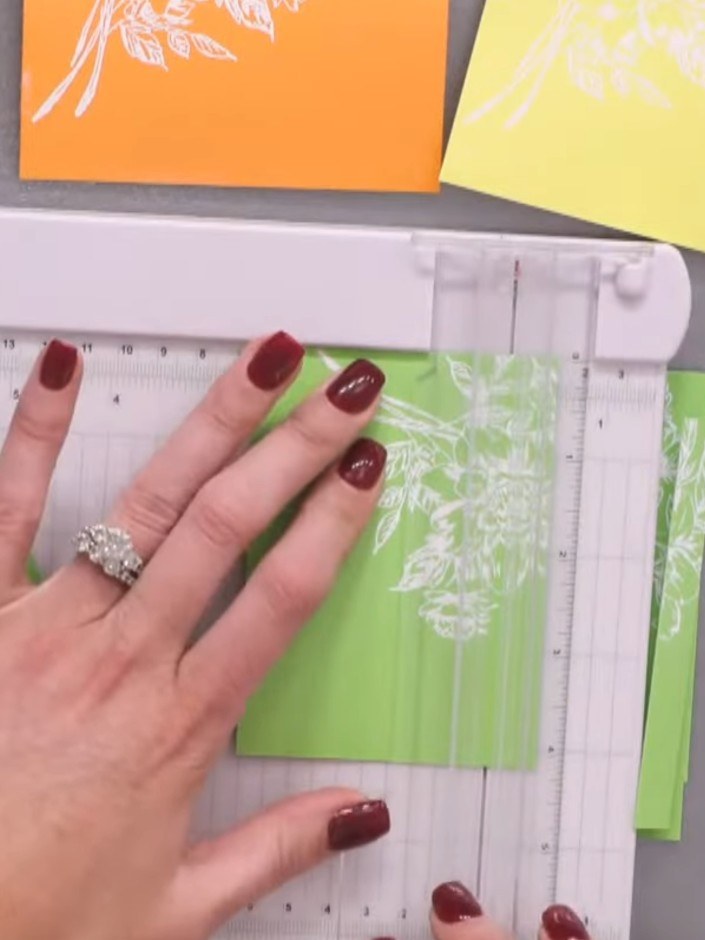
Arrange the stamped green strips on your black base card, aligning them so the white floral design flows continuously across the card front.
▶ ver este paso (28:30)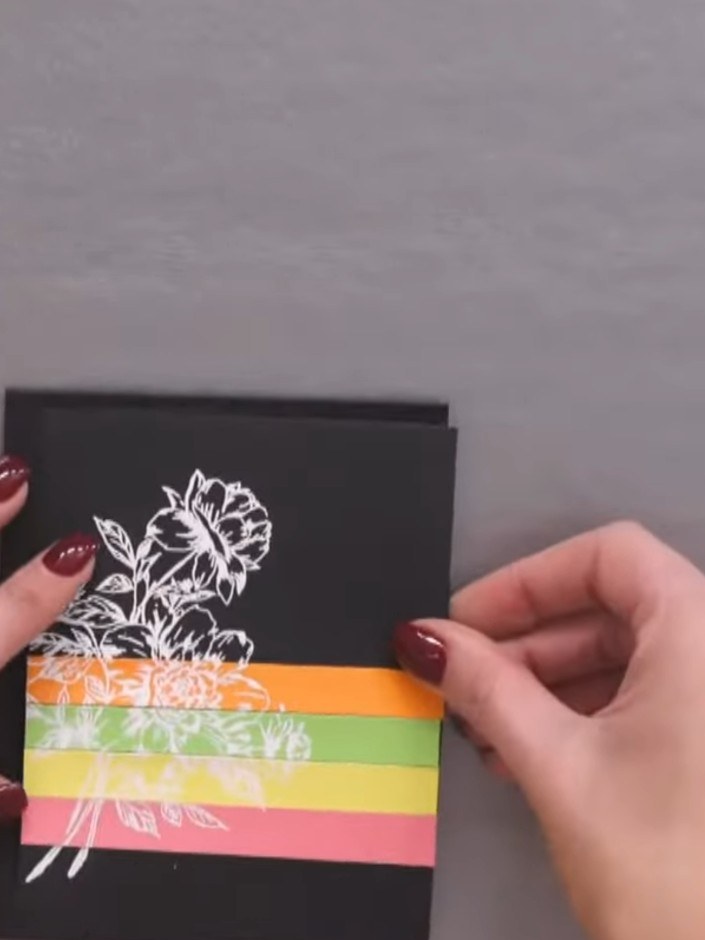
Glue each coloured strip down in sequence (orange, green, yellow, pink) onto the black card base, ensuring they are positioned as straight as possible to create even horizontal stripes.
▶ mira este paso (38:00)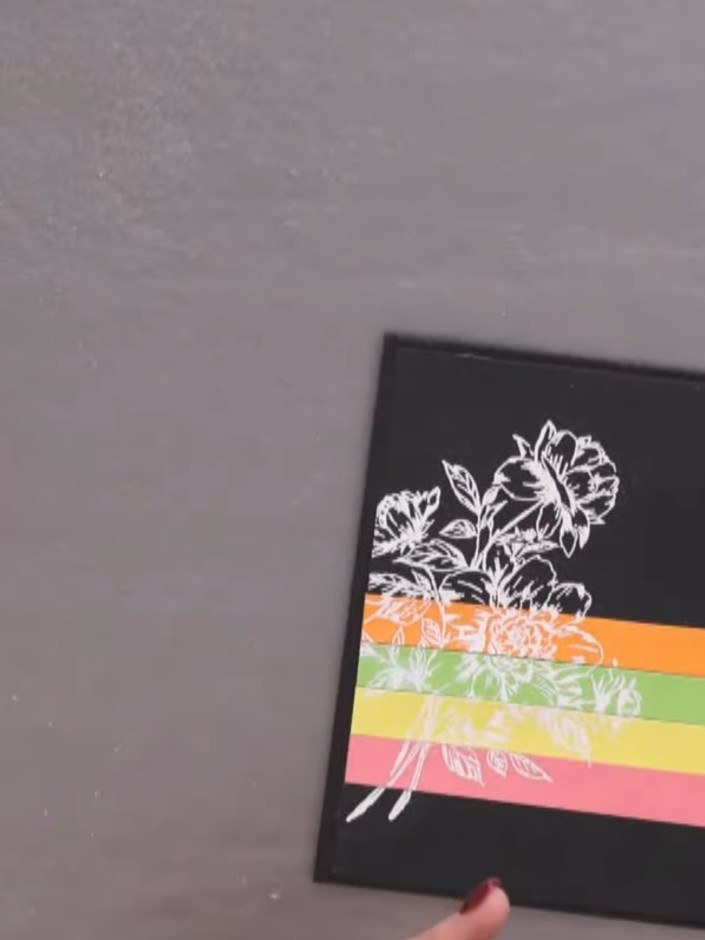
Turn the card over to the reverse side to complete the back of your card.
▶ ver este paso (39:00)Redactado a partir del propio programa. Mira todas las guías de nuestros programas · guías paso a paso gratis · mira en vivo en My Telly
