¡Regala a tus amigos €10 de descuento en su primer pedido!
Recomienda a un AMIGO








 The Thursday DropMañana 1:00 p. m.
 The Friday Final Cutvie 6 nov 5:00 a. m.
 Community Showcaselun 9 nov 5:00 a. m.
Los precios cambian al instante. Cada idioma es nuestra propia traducción, no Google.
Un proyecto de nuestro programa en vivo MONDAY MADNESS - Acompaña a Simon de AVAGO-INK EN VIVO - Transmitido el 21 de marzo · 21/03/2022 · velo desde 24:30
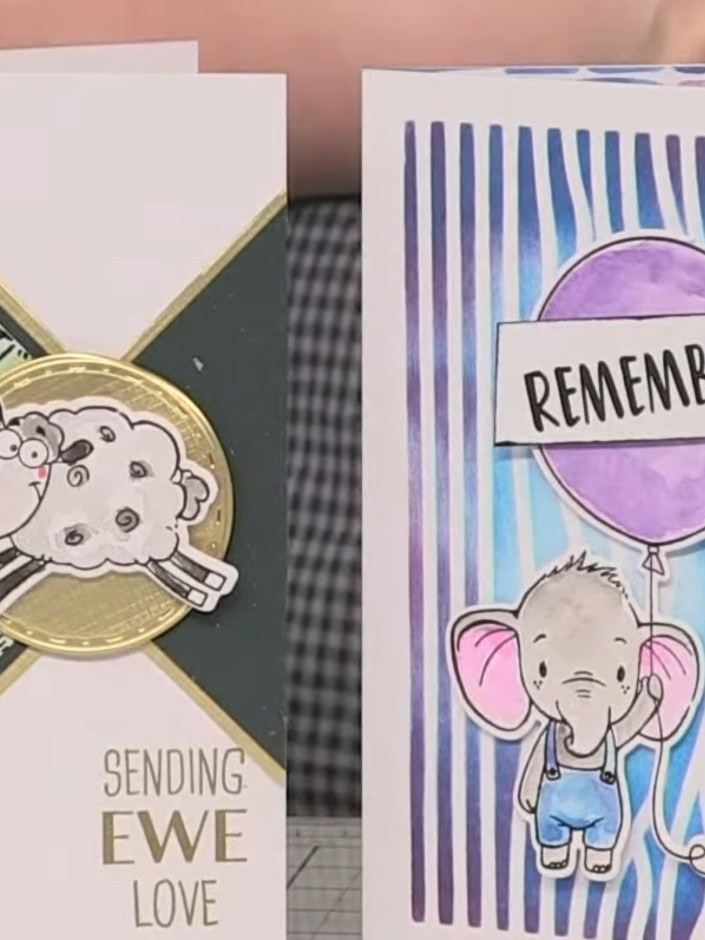
Create a charming clean and simple card featuring a watercoloured farmyard scene in fresh greens with a sweet die-cut sheep character. The design uses layered triangular panels with gold metallic accents and an embossed sentiment reading 'Sending EWE Love', perfect for a contemporary masculine card with a playful twist. Master simple watercolouring techniques and dimensional layering to achieve this fresh, modern look.
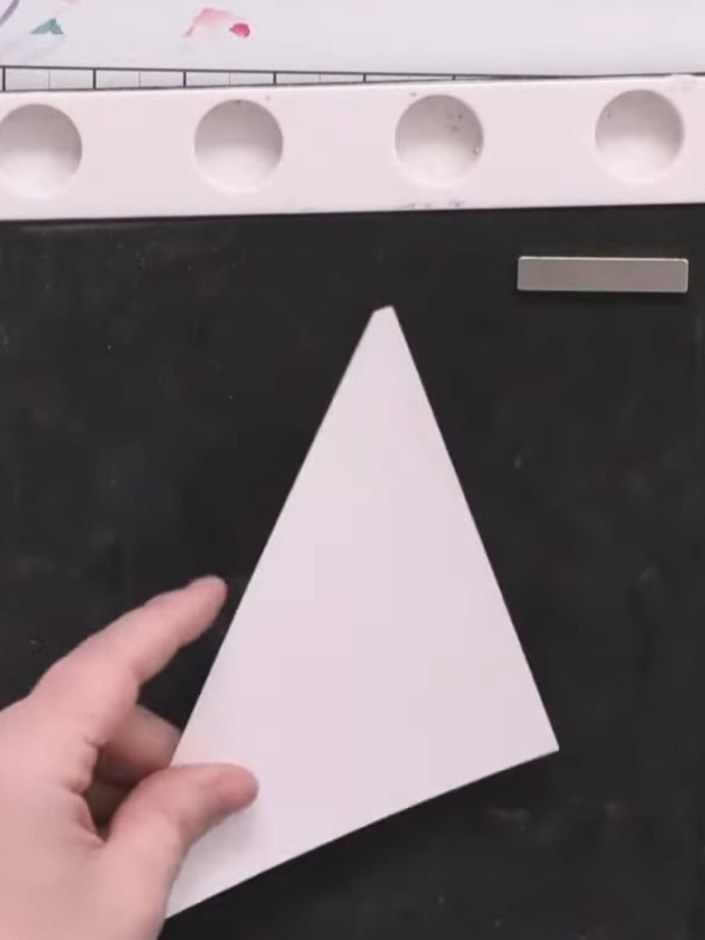
Pre-cut three triangles from watercolour cardstock. Place a triangle on the black magnetic glass to create an instant backdrop for stamping.
▶ ver este paso (25:00)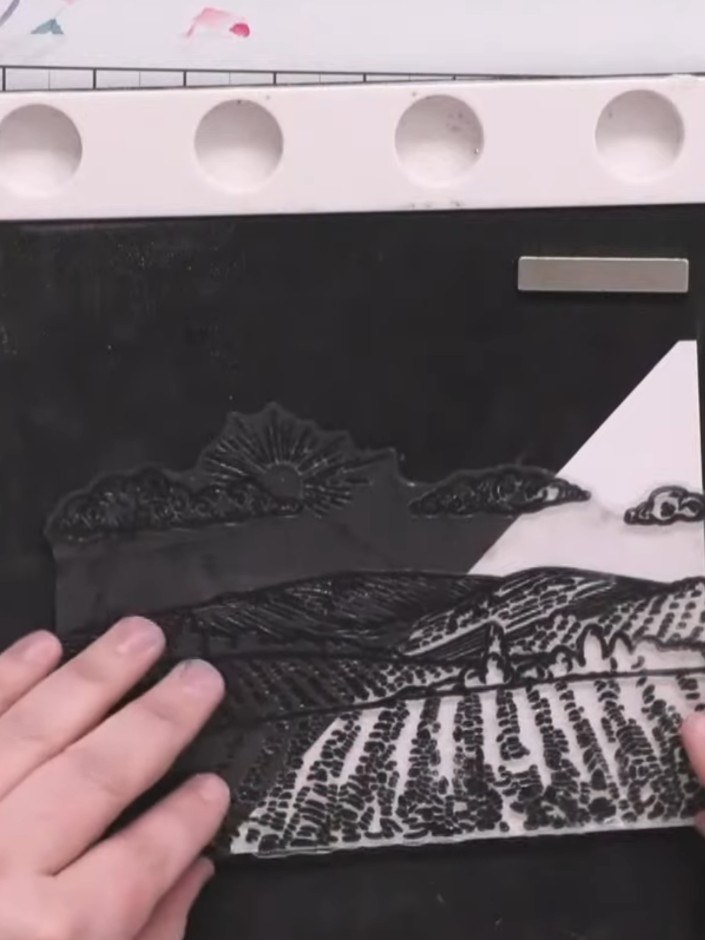
Stamp the large farmyard background image from the Farm Animals 2 stamp set onto a triangle using Versafine Onyx Black ink, inking only the area you need for your design.
▶ ver este paso (25:30)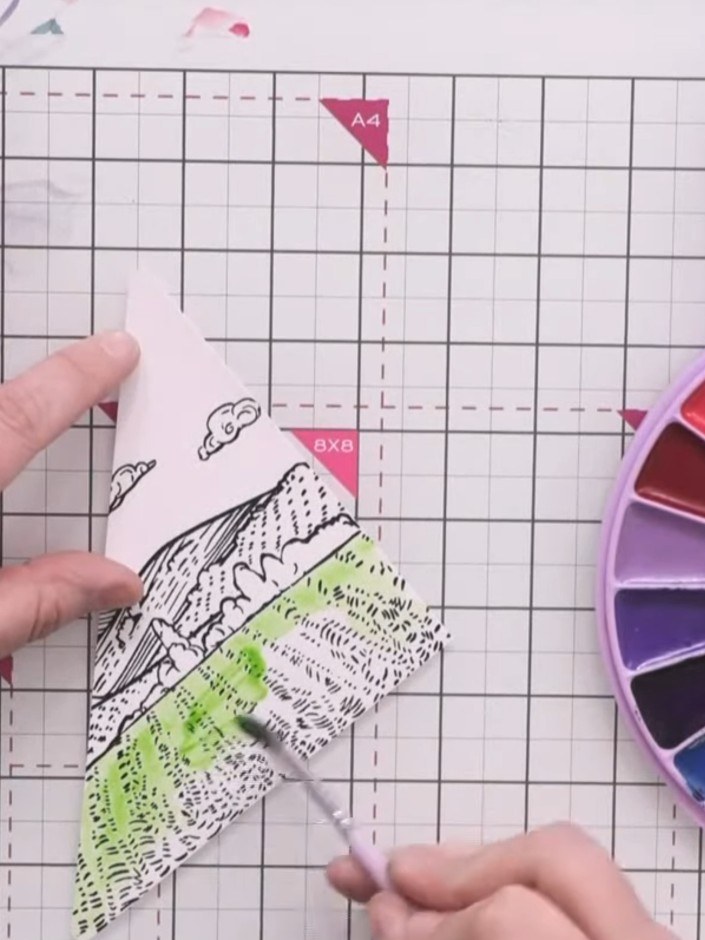
Using a light green from the watercolour palette, apply a wash across the stamped image. Build up the colour as desired to create depth and interest in the scene.
▶ ver este paso (27:15)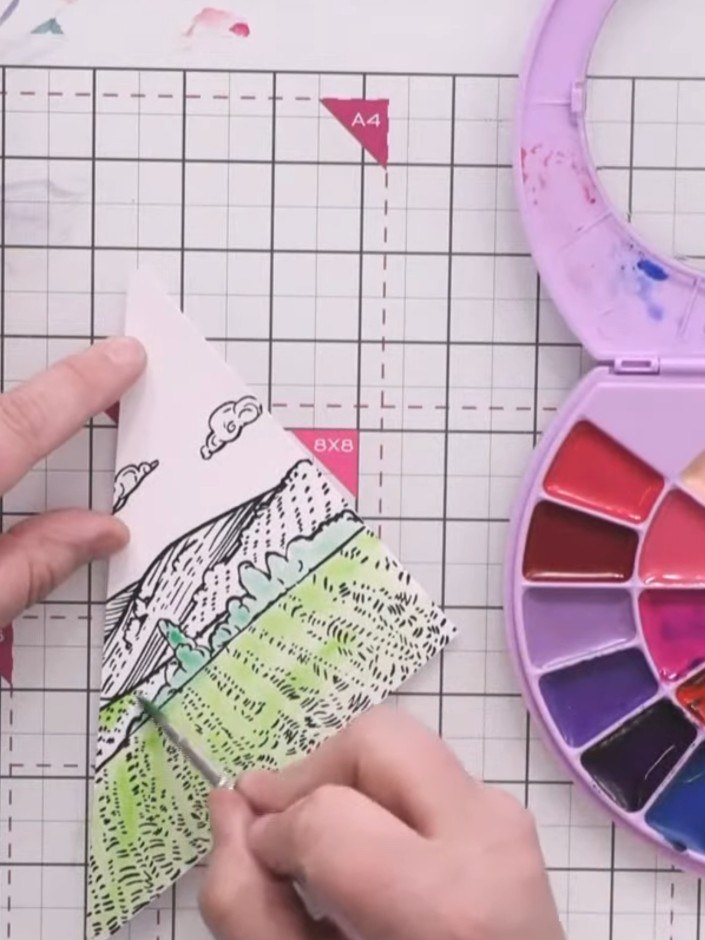
Add darker green watercolour to the tree line area. Blend the greens together to create a more vibrant background colour for the landscape.
▶ ver este paso (27:45)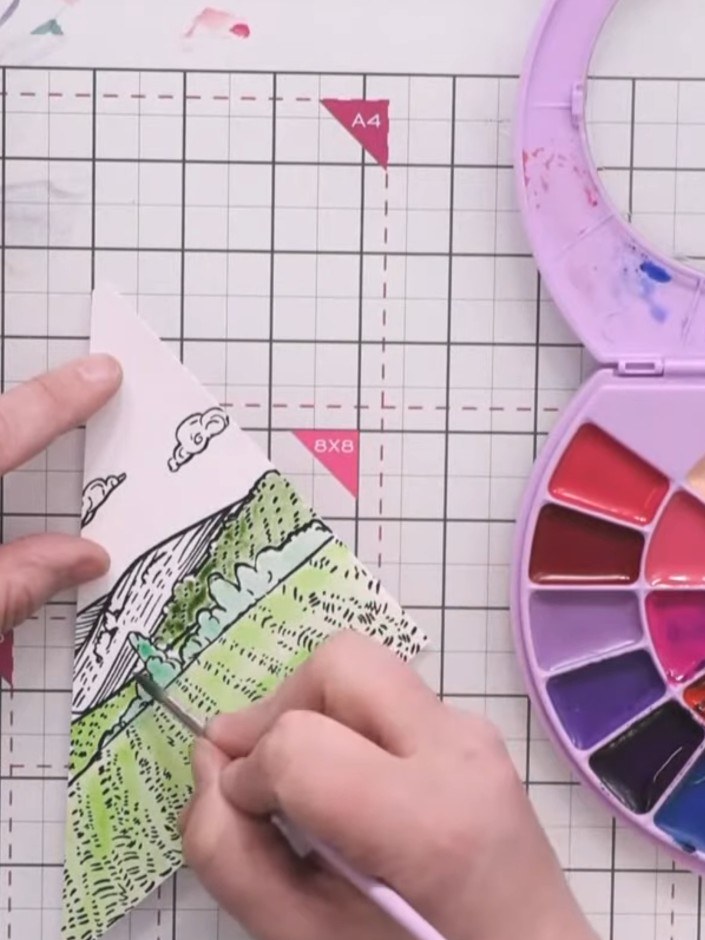
Add black watercolour to darken the green areas of the landscape. Use yellow to complete the base layer of the scene, filling in any remaining areas.
▶ ver este paso (28:00)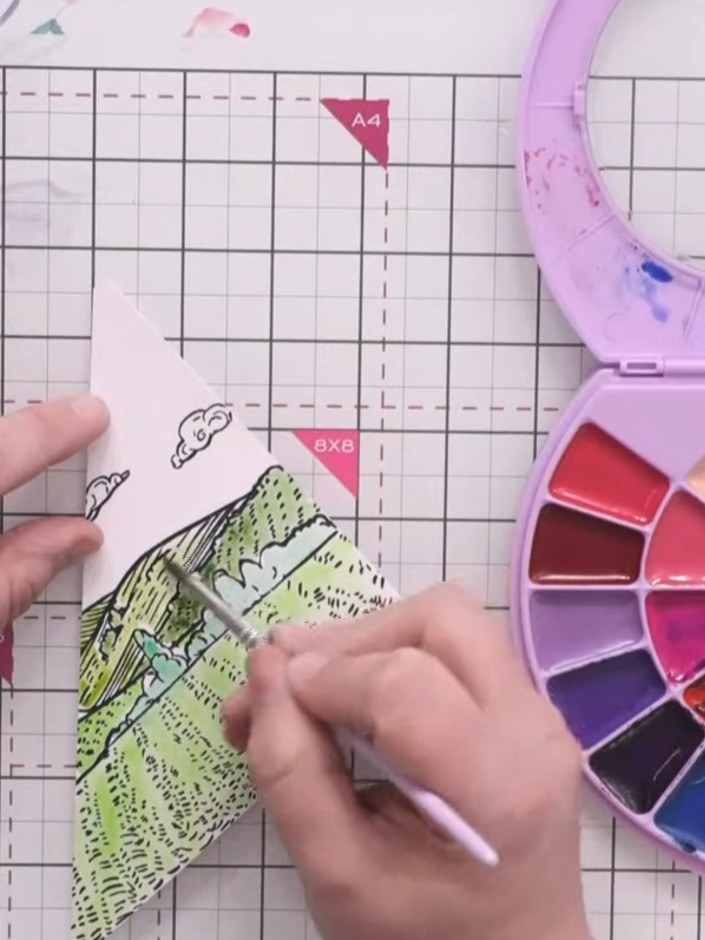
Add definition to the hillside by painting darker lines along the furrow marks using green and yellow watercolours. Add shading to create depth on the hillside.
▶ ver este paso (28:15)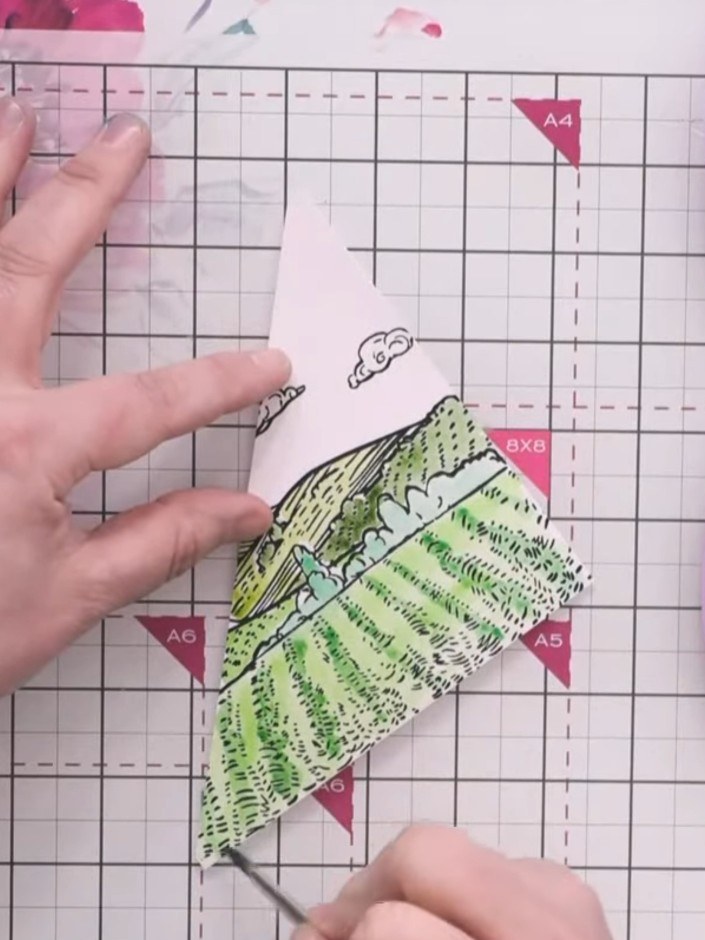
Using a water brush or paintbrush with green watercolour, darken a few bushes on the hill with additional shading to add more tone and depth to the scene.
▶ ver este paso (28:45)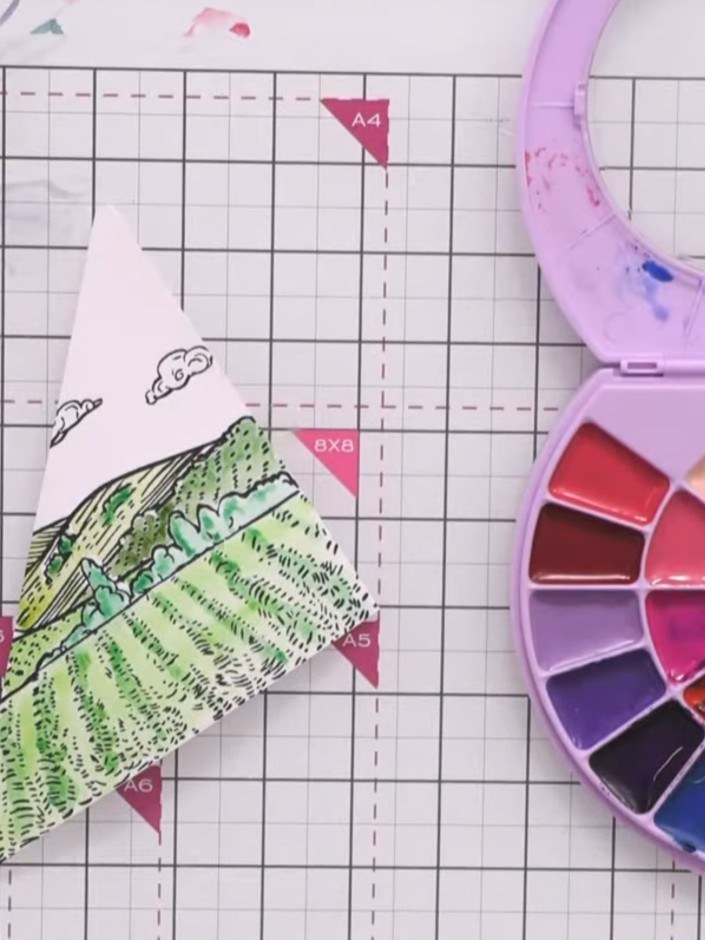
Apply a very pale blue wash to the sky area using watercolour. Start from the clouds and brush downwards towards the hills, creating a light sky effect.
▶ ver este paso (29:30)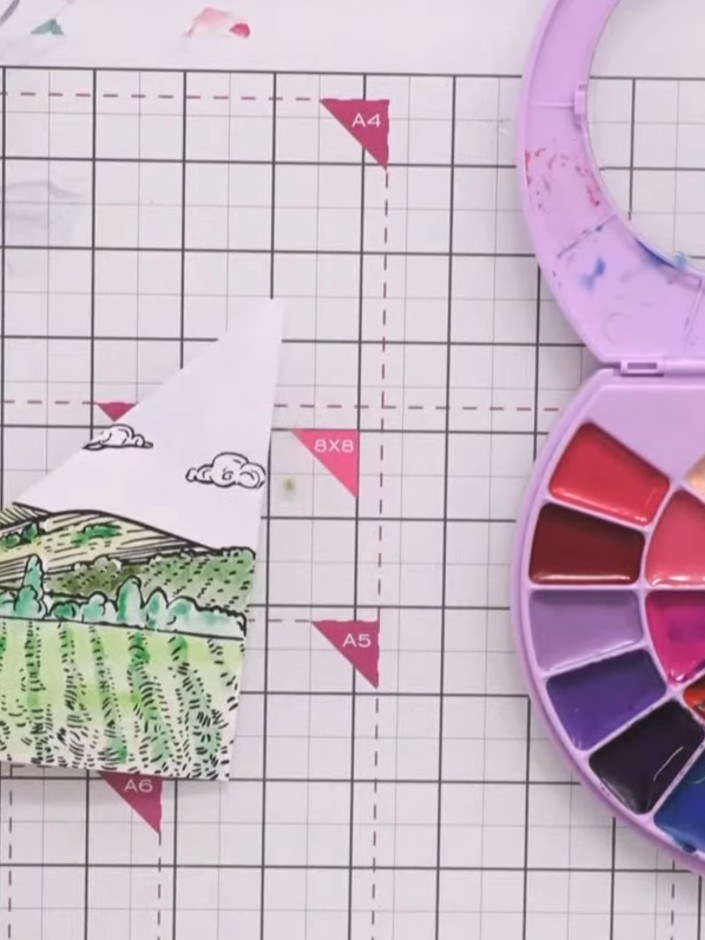
Heat-set the painted landscape panel using a heat tool to dry the watercolours completely before proceeding to the next step.
▶ ver este paso (30:00)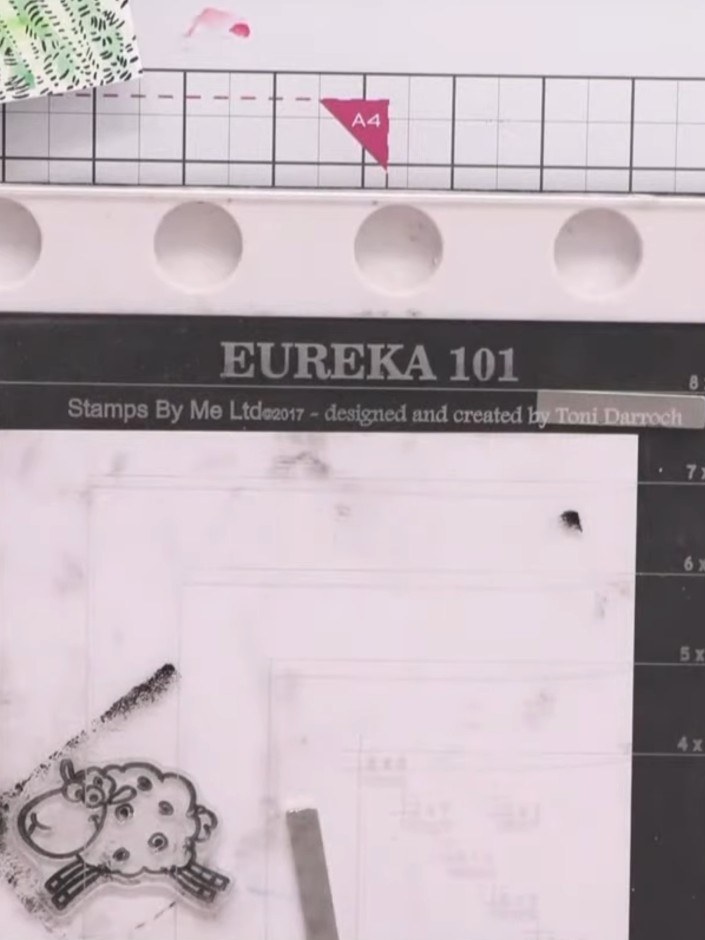
Stamp the sheep character from the Farm Animals 2 collection onto white cardstock using Versafine Onyx Black ink. Ensure a clear, crisp impression.
▶ ver este paso (30:45)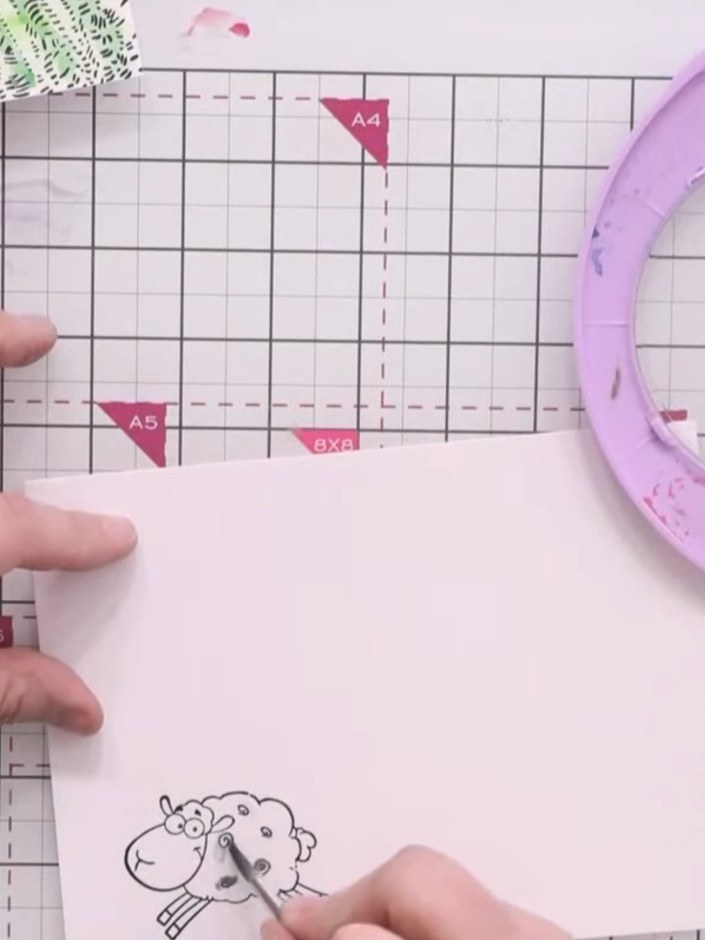
Watercolour the sheep with grey from your palette, adding darker grey tones to the fleece. Use black watercolour for the legs and ears.
▶ ver este paso (31:30)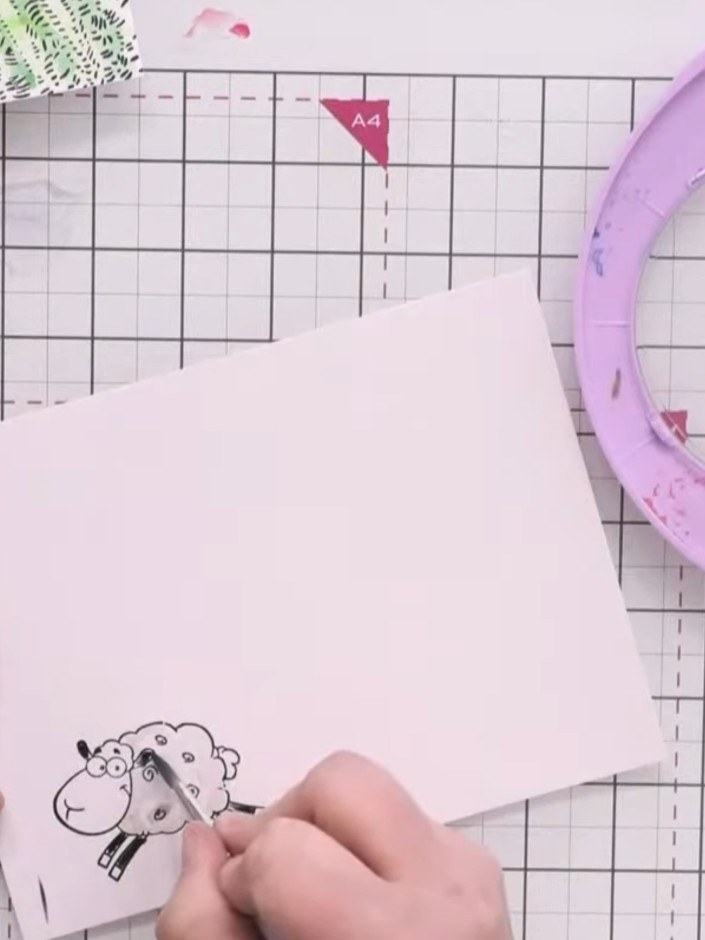
Add red cheeks to the sheep using the watercolour palette. Darken the tail and hooves with a darker colour for definition.
▶ ver este paso (32:00)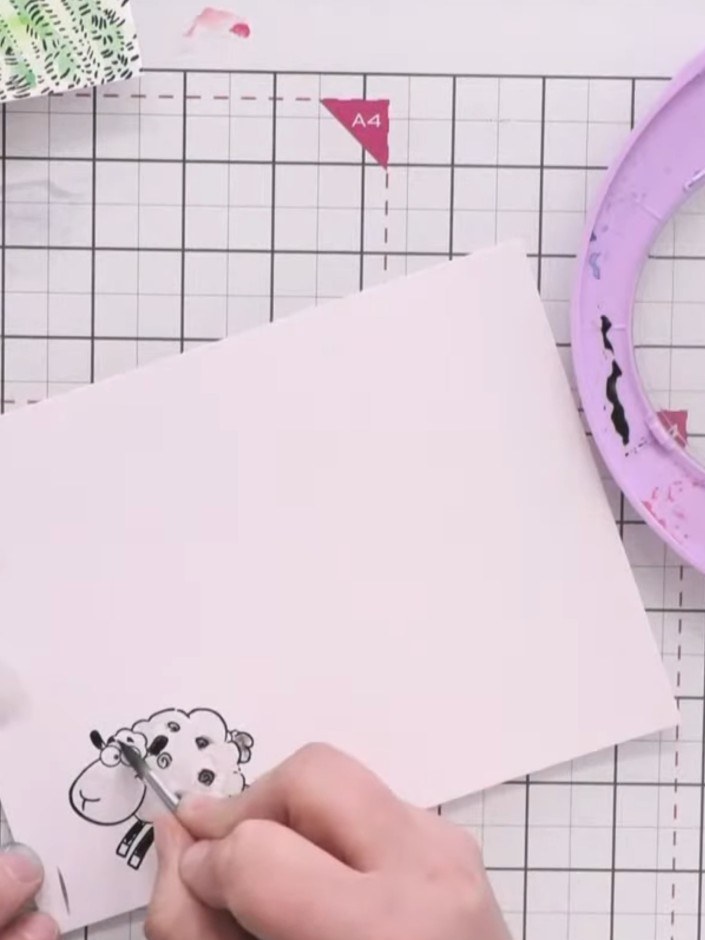
Heat-set the stamped sheep image to dry the watercolour completely. Once dry, die-cut the sheep using the coordinating die from the Farm Animals 2 stamp and die set.
▶ ver este paso (33:30)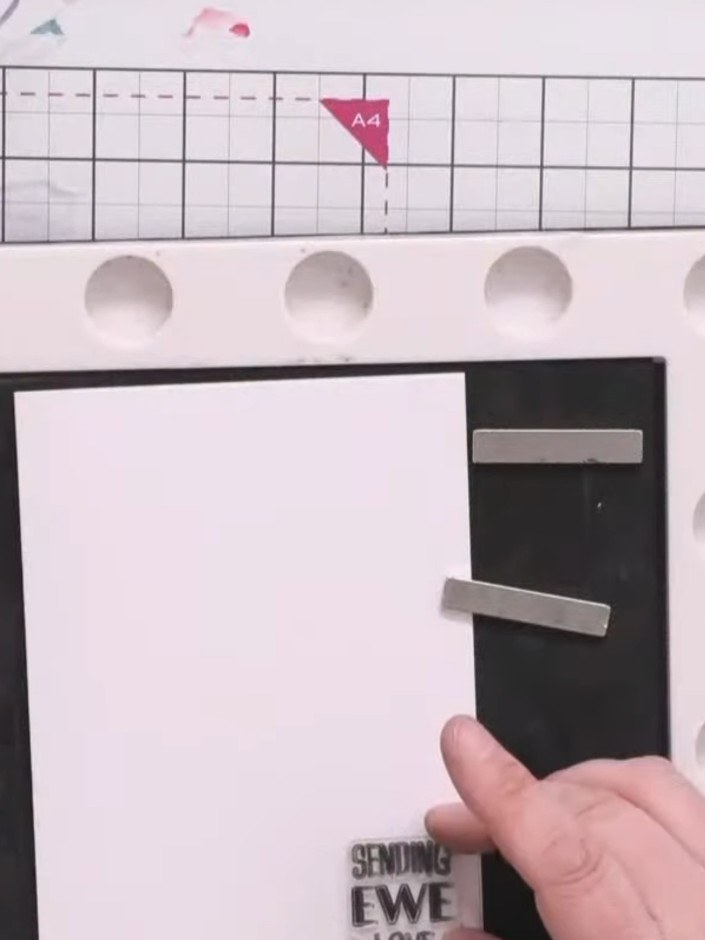
Stamp the 'Sending you love' sentiment onto the bottom corner of the white card blank using Versafine black ink and embossing pads. Rub gently to ensure good ink coverage.
▶ ver este paso (35:15)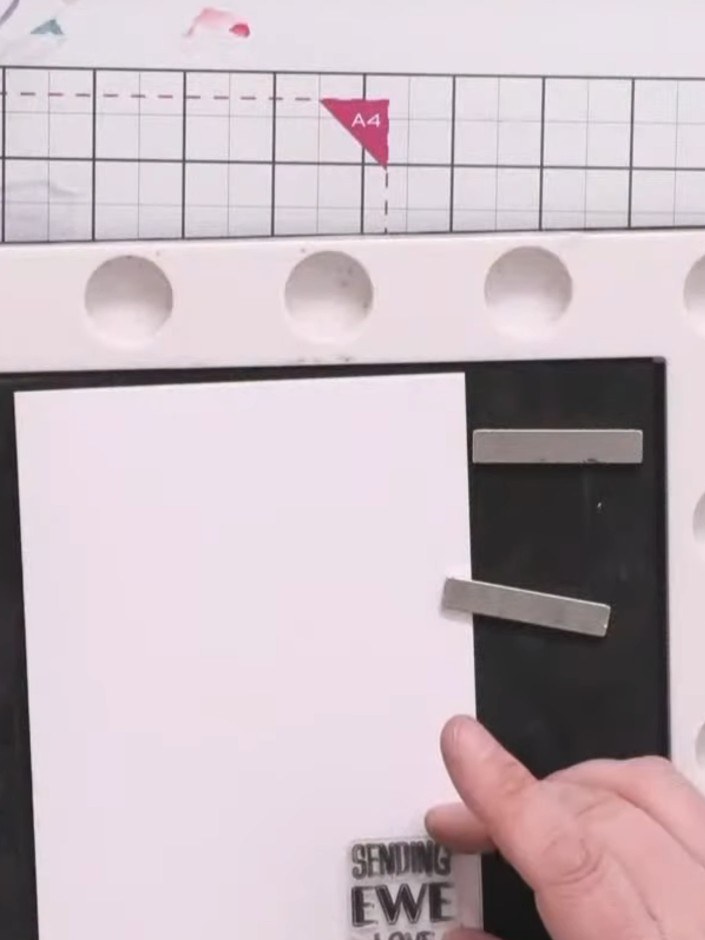
Apply clear embossing powder to the stamped sentiment in the bottom corner. Heat-set the embossing powder using a heat gun until the powder melts and creates a raised, glossy finish.
▶ ver este paso (36:00)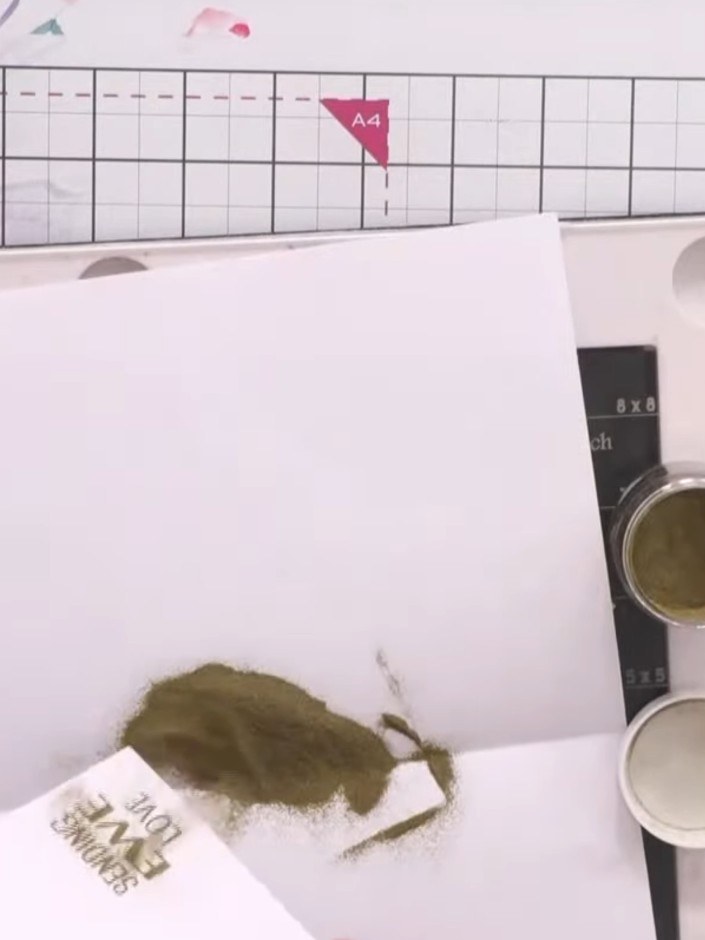
Apply gold Izink embossing powder to the sentiment stamp and heat-set with a heat tool to create a shiny gold finish.
▶ ver este paso (36:30)Redactado a partir del propio programa. Mira todas las guías de nuestros programas · guías paso a paso gratis · mira en vivo en My Telly
