Schenke deinen Freundinnen und Freunden 10 € Rabatt auf ihre erste Bestellung!
Freunde WERBEN








Ein Projekt aus unserer Live-Show CREATE TOGETHER CLUB - KAPITEL 2 - Sei dabei bei Tonis Inspirations-Show 7 mit dem zweiten Stempel der Kollektion namens SOMEBUNNY LOVES YOU - Ausgestrahlt am 23. Jan. 23 · 23.01.2023 · ab 22:00 ansehen
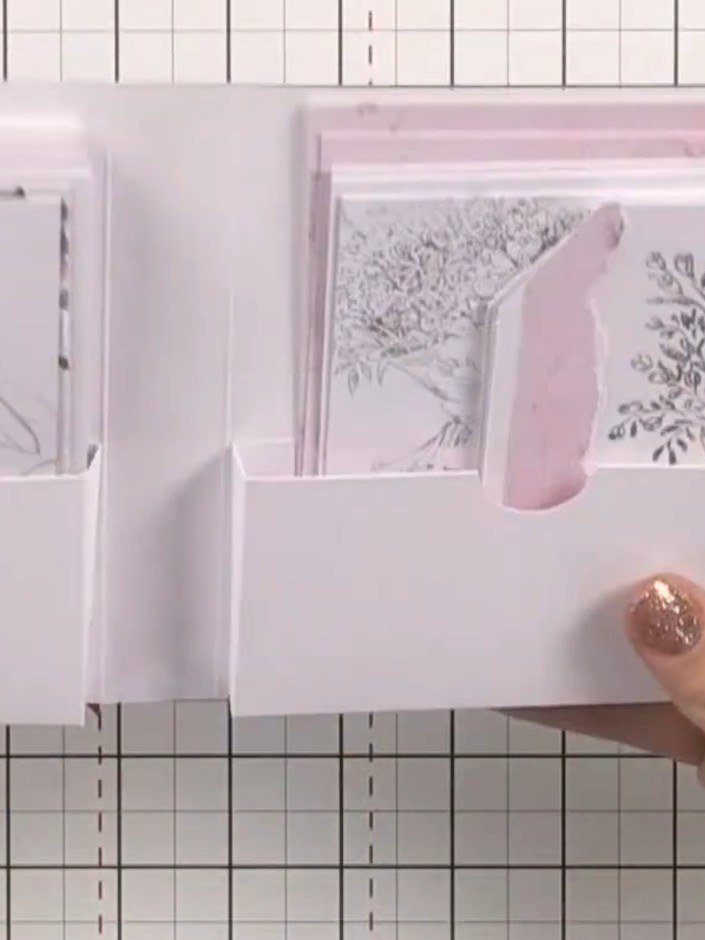
Create a charming handmade gift box filled with delightful bunny-themed coloring pages, blank cards, and coordinating tags. Using the Somebunny Loves You stamp set, you'll craft an interactive present in soft pinks and whites featuring adorable rabbit illustrations. This project combines stamping, card-making, and tag-crafting techniques to produce a thoughtful gift that recipients can personalize through coloring.
DIESE ANLEITUNG HERUNTERLADEN (PDF)
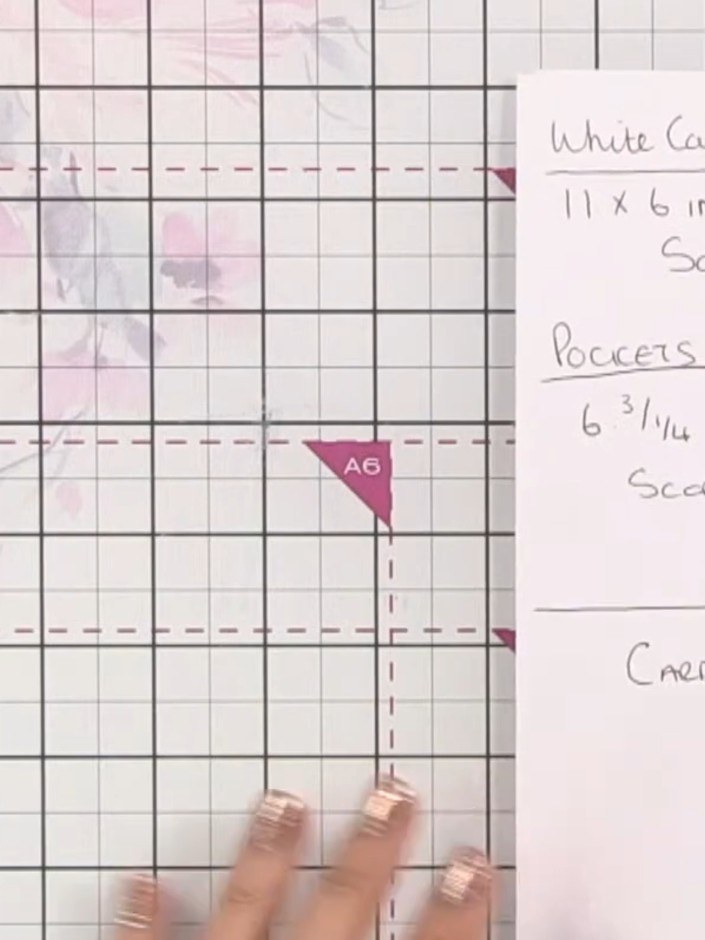
Cut a piece of white card to 11 by 6 inches. Score the card at 5 inches and 6 inches to create the book base.
▶ diesen Schritt ansehen (22:15)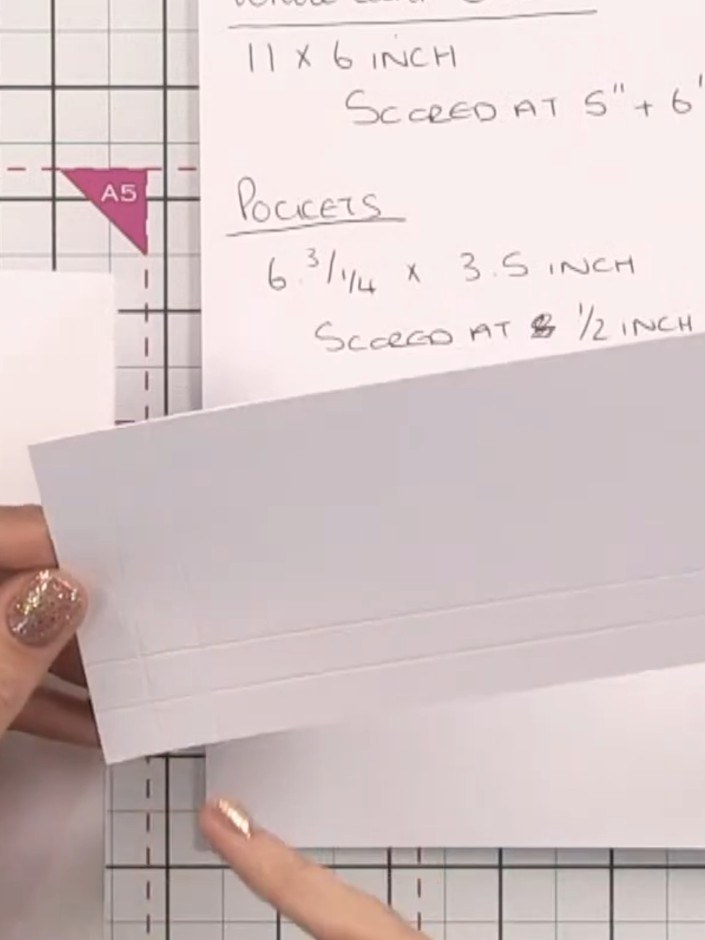
Round the corners of your book base using a corner punch. If you don't have a corner punch, you can trim the corners freehand with scissors to create a rounded edge.
▶ diesen Schritt ansehen (22:45)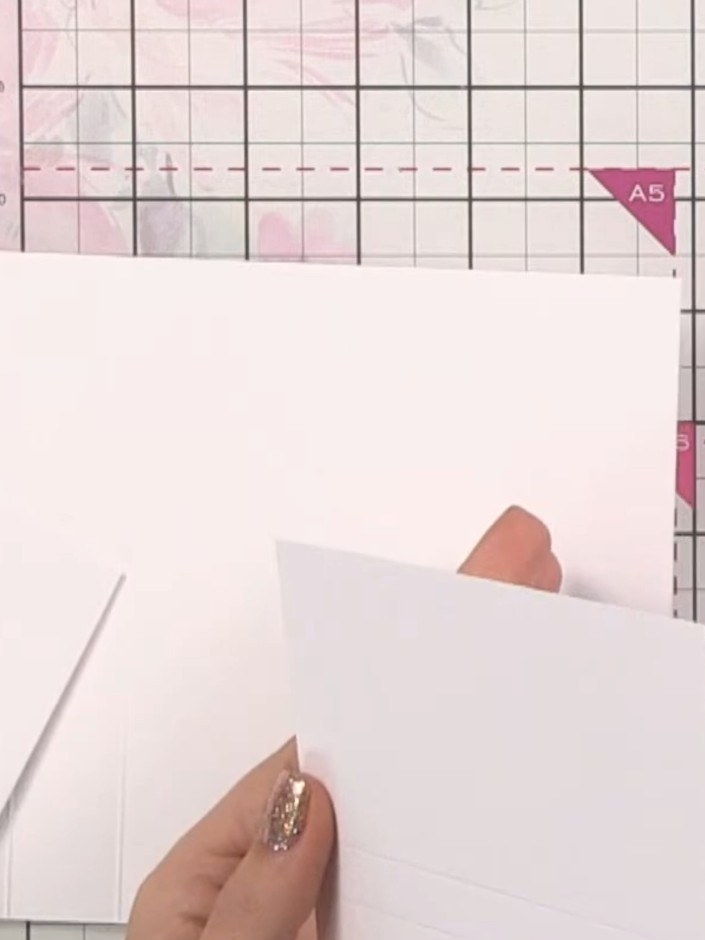
Cut two pocket pieces from white card, each measuring 6¾ by 3½ inches. Score each pocket piece at ½ inch and 1 inch from one short edge.
▶ diesen Schritt ansehen (23:00)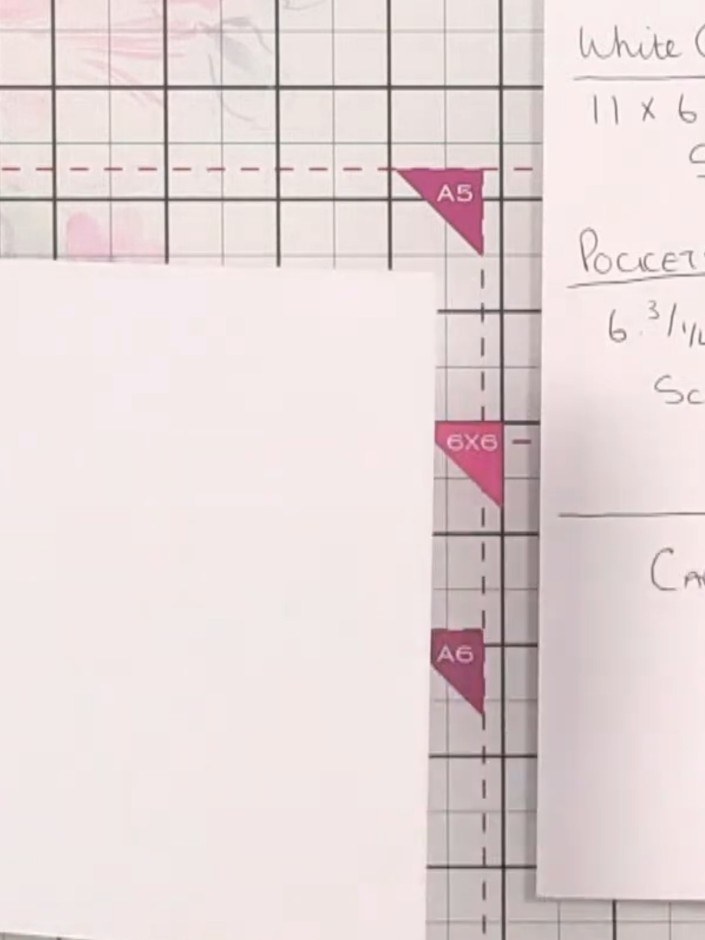
Score each pocket piece at half inch and one inch. Turn the piece and score again at half inch and one inch to create the gussets.
▶ diesen Schritt ansehen (23:15)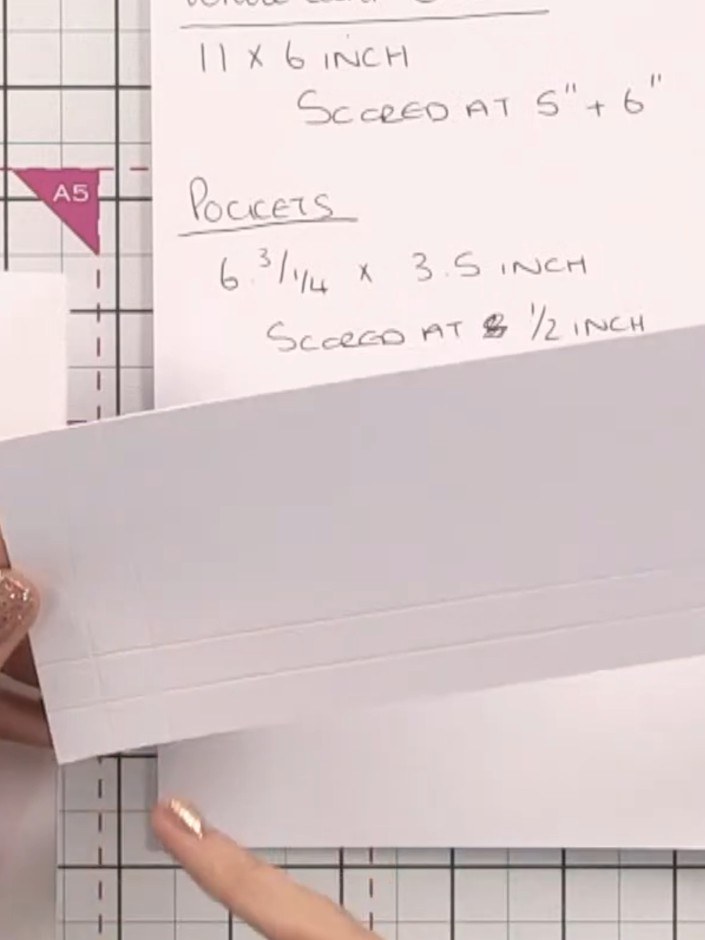
Cut away the square corners from each pocket piece to create the gusset effect. This will allow the pockets to fold and expand when items are placed inside.
▶ diesen Schritt ansehen (23:30)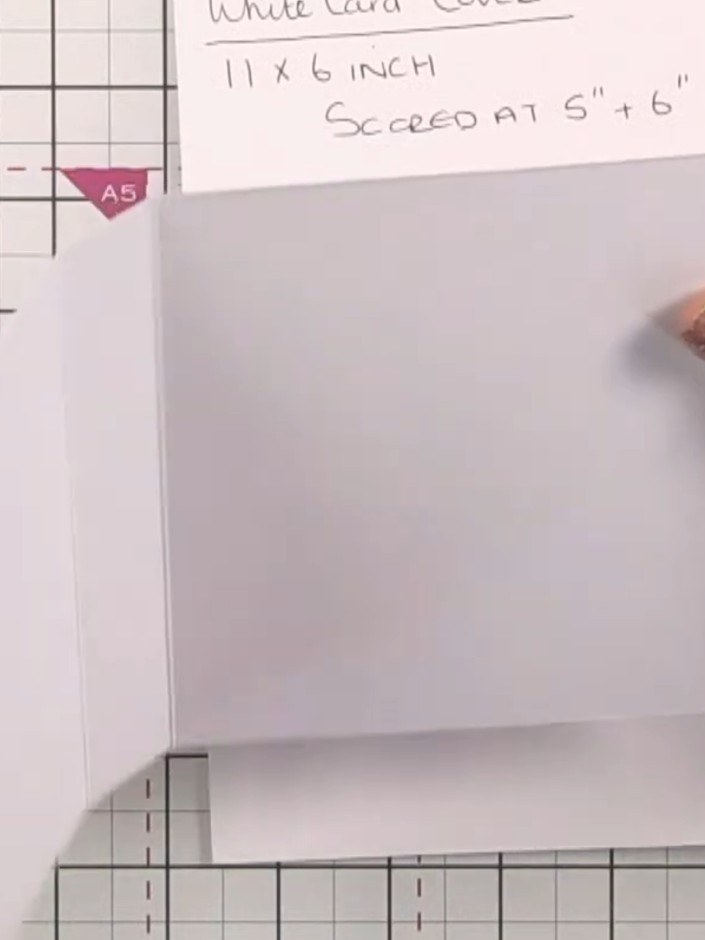
Fold the white card cover along the score lines at 5" and 6" to create the pocket shape with gussets.
▶ diesen Schritt ansehen (24:00)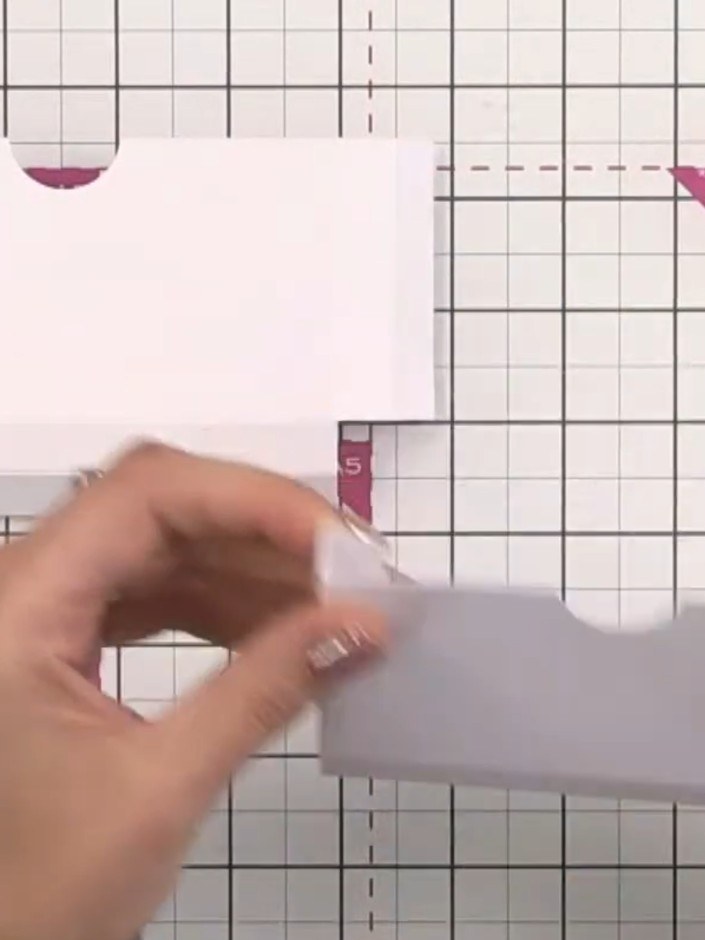
Stamp the bunny images from the Somebunny Loves You stamp set onto white card pieces using no-line watercolour hybrid ink. Position some images half on and half off the card edge to allow space for colouring.
▶ diesen Schritt ansehen (27:30)
Cut white card to 5½ by 9 inches and score at 4½ inches to create four card blanks.
▶ diesen Schritt ansehen (28:30)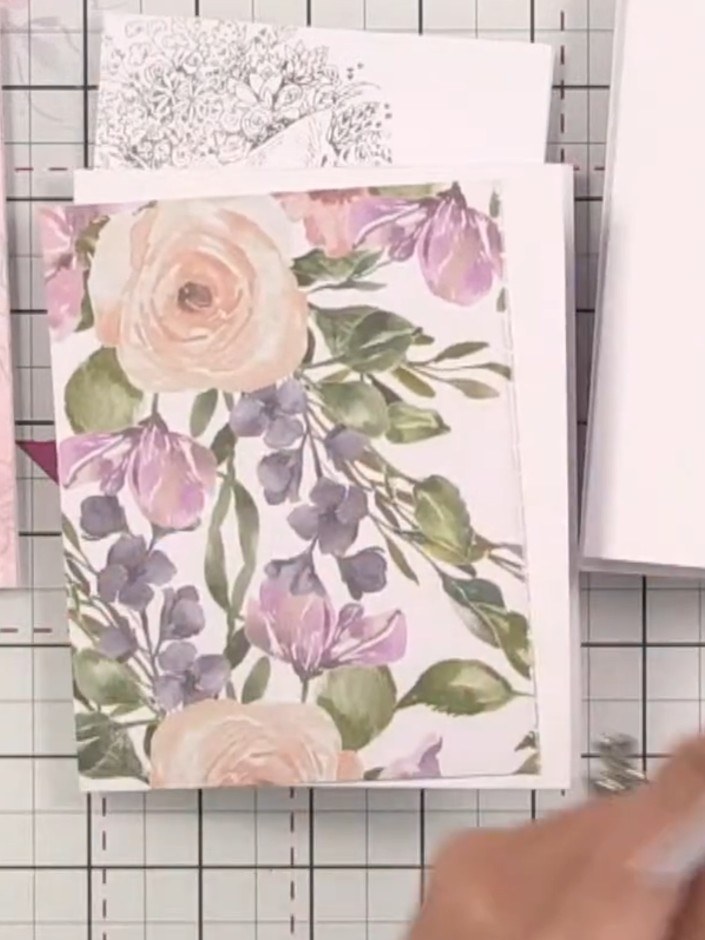
Mount one of the stamped bunny images onto a patterned paper layer using adhesive. Attach the mounted image to one of the card blanks to create an example card for the recipient.
▶ diesen Schritt ansehen (36:00)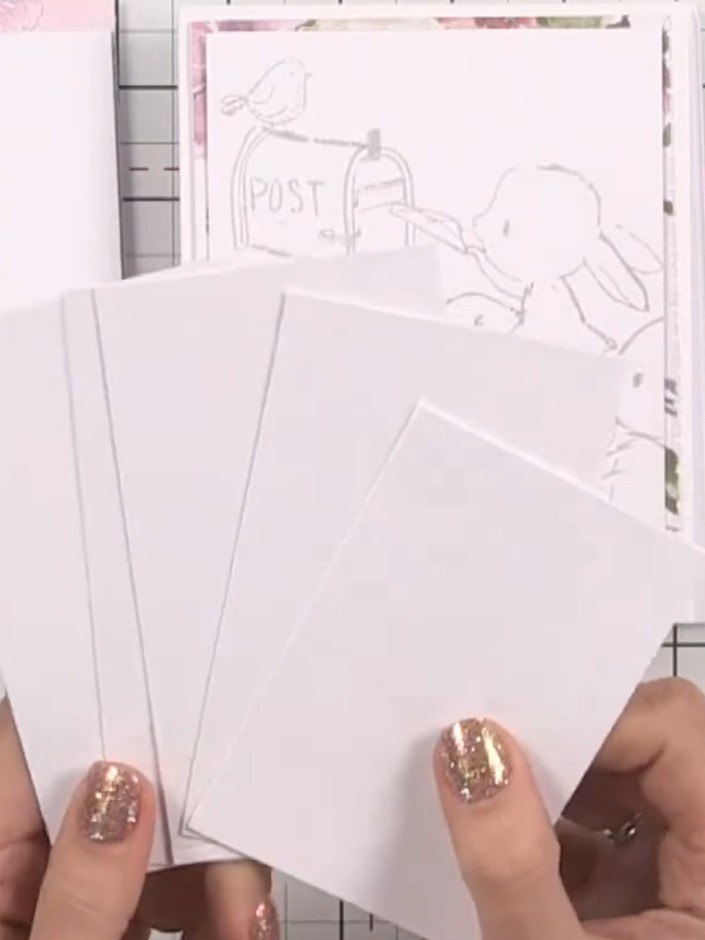
Use leftover white card pieces to create tags. Mark dots with a pencil to form tag shapes, then cut between the dots to create the tags.
▶ diesen Schritt ansehen (37:45)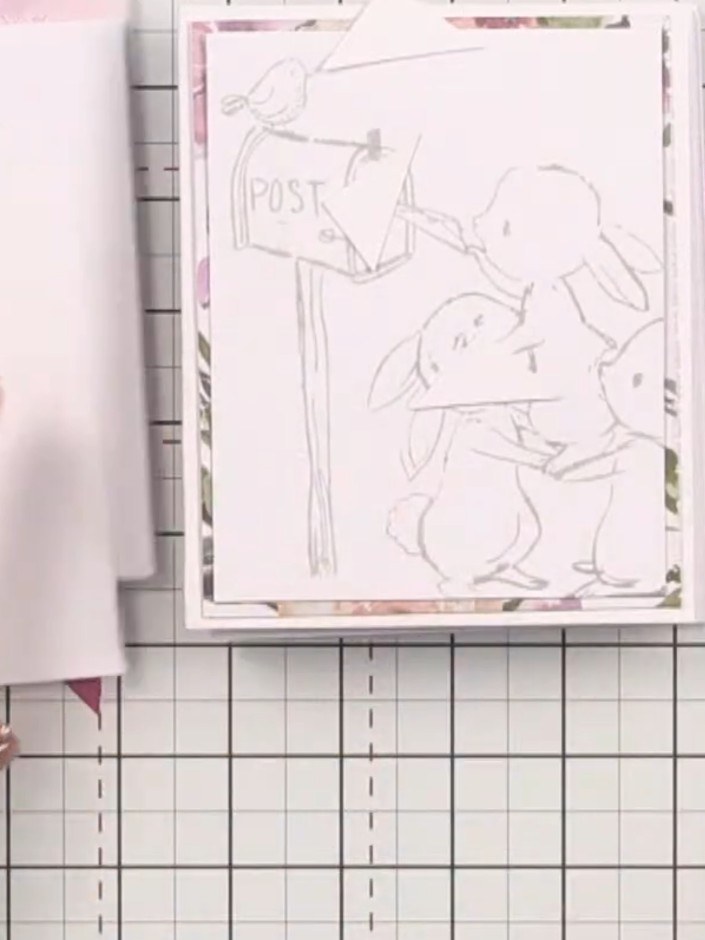
Position your stamp in the centre of the glass mat. Stamp the bunny image onto the tags, capturing approximately half of the design to show the theme.
▶ diesen Schritt ansehen (38:30)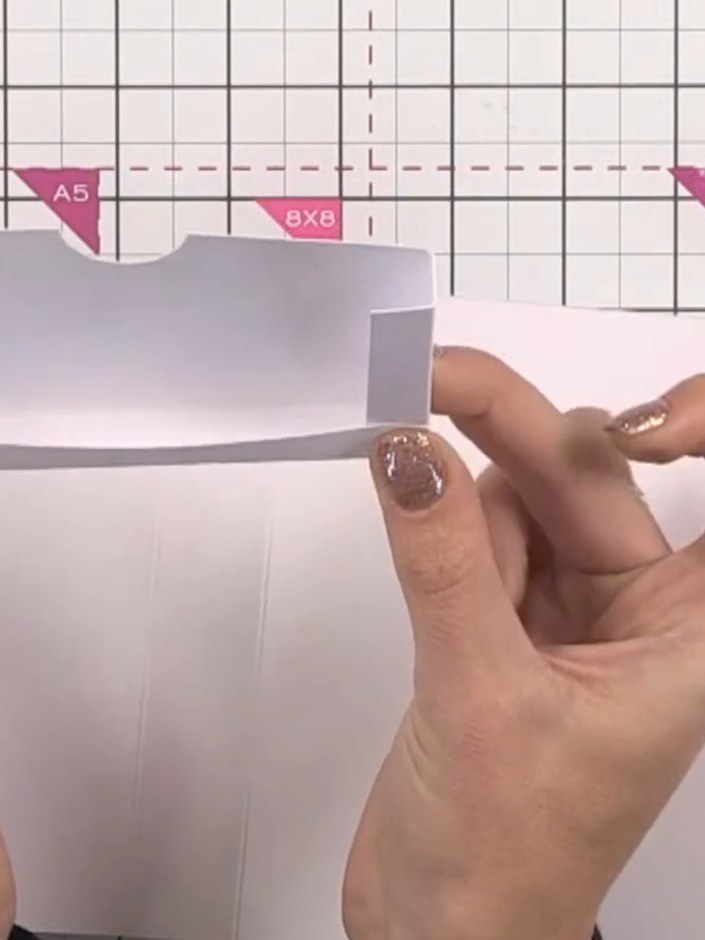
Apply glue to the tabs on the first pocket piece and attach it to the inside base of the book. Hold the pocket in place until the glue sets securely.
▶ diesen Schritt ansehen (44:00)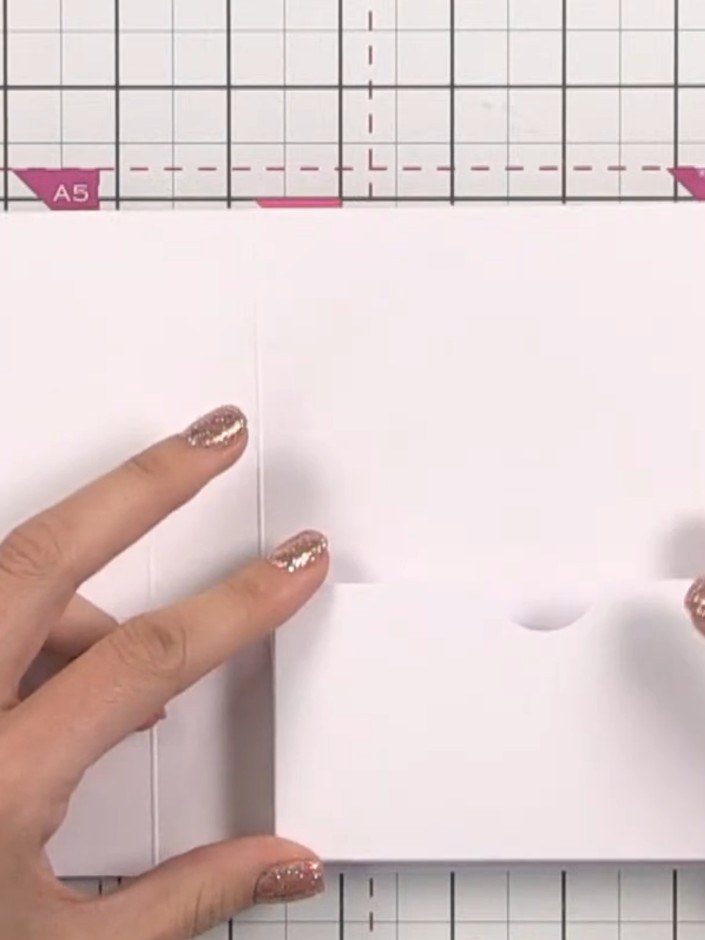
Apply adhesive to the second pocket piece and position it on the opposite side of the book base, aligning it carefully. Press down firmly to secure the pocket in place.
▶ diesen Schritt ansehen (44:45)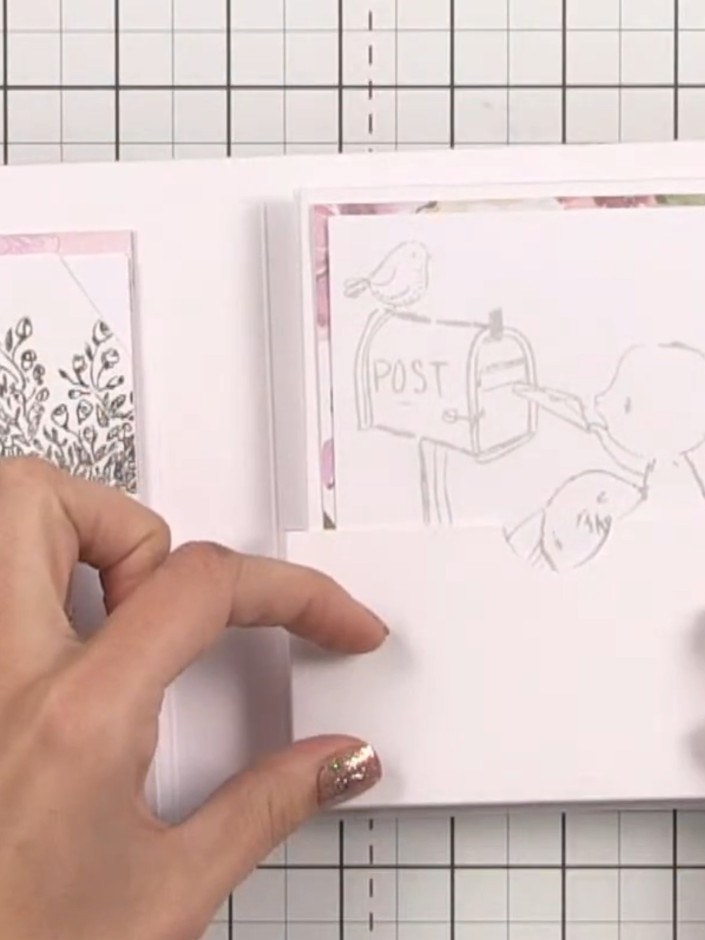
Decorate the front cover of your book with patterned paper and stamped images. You can use the grid on your cutting mat to align the paper, or position it freehand to coordinate with the inside contents.
▶ diesen Schritt ansehen (50:30)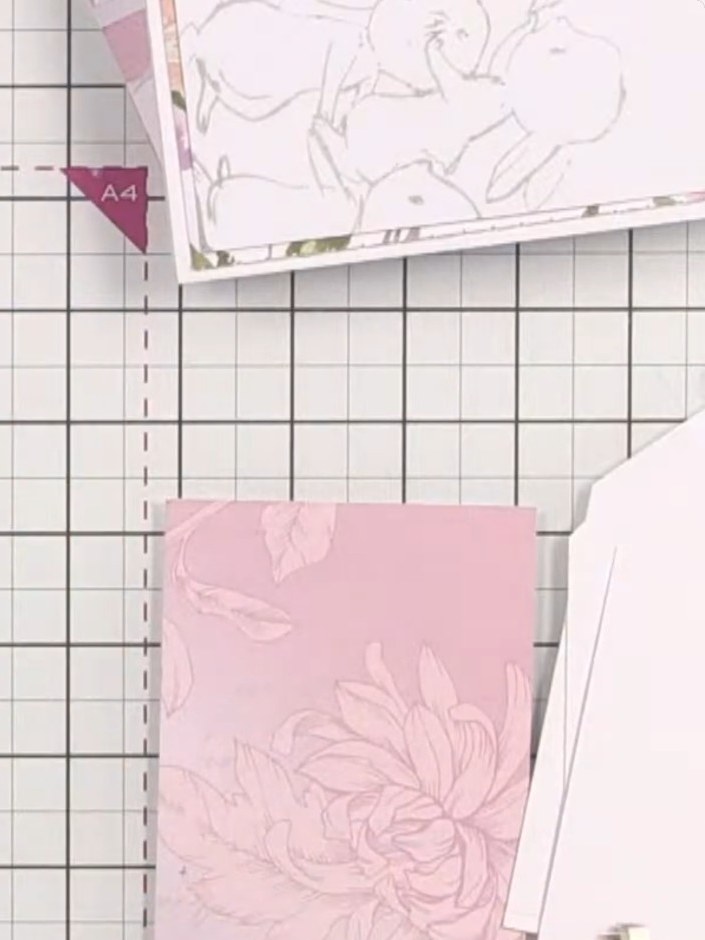
Place the stamped colouring pages, card blanks, decorated toppers, and tags inside the pockets of your gift box organiser.
▶ diesen Schritt ansehen (52:00)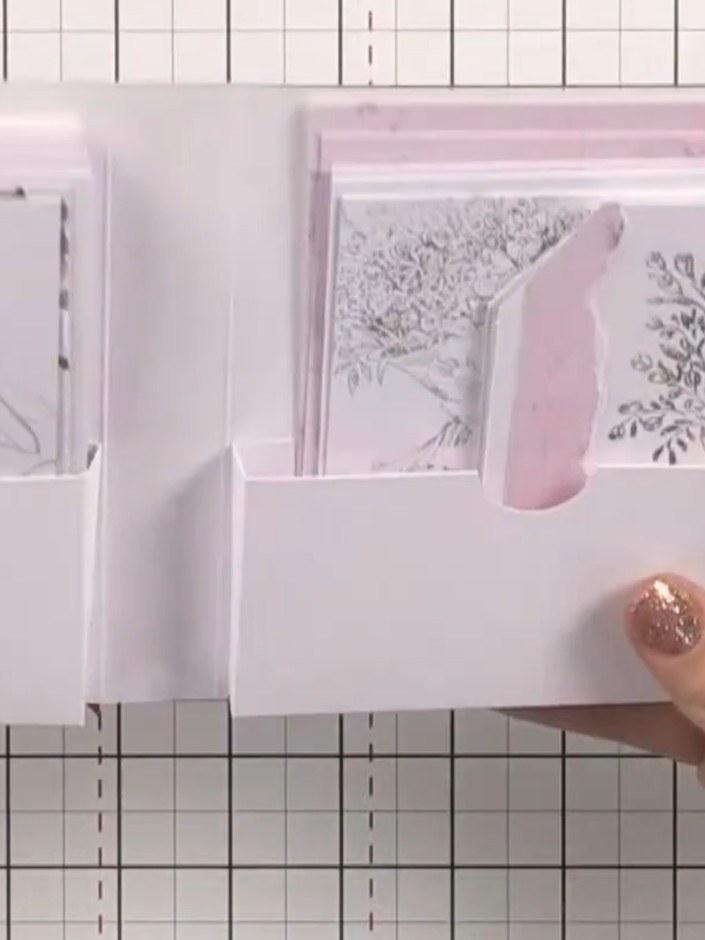
Add coordinating envelopes to the back of the coloring book. Consider bundling the tags together with twine or ribbon to keep them organised.
▶ diesen Schritt ansehen (56:30)Direkt aus der Show aufgeschrieben. Alle Anleitungen aus unseren Shows ansehen · kostenlose Anleitungen · live auf My Telly ansehen