Schenke deinen Freundinnen und Freunden 10 € Rabatt auf ihre erste Bestellung!
Freunde WERBEN








Ein Projekt aus unserer Live-Show MARKEN-SHOWCASE - COOL KATZ - Sei dabei bei diesem beliebten Event, bei dem die KLEINEN Marken ganz GROSS rauskommen - Ausgestrahlt am 20. JAN. 23 · 20.01.2023 · ab 40:00 ansehen
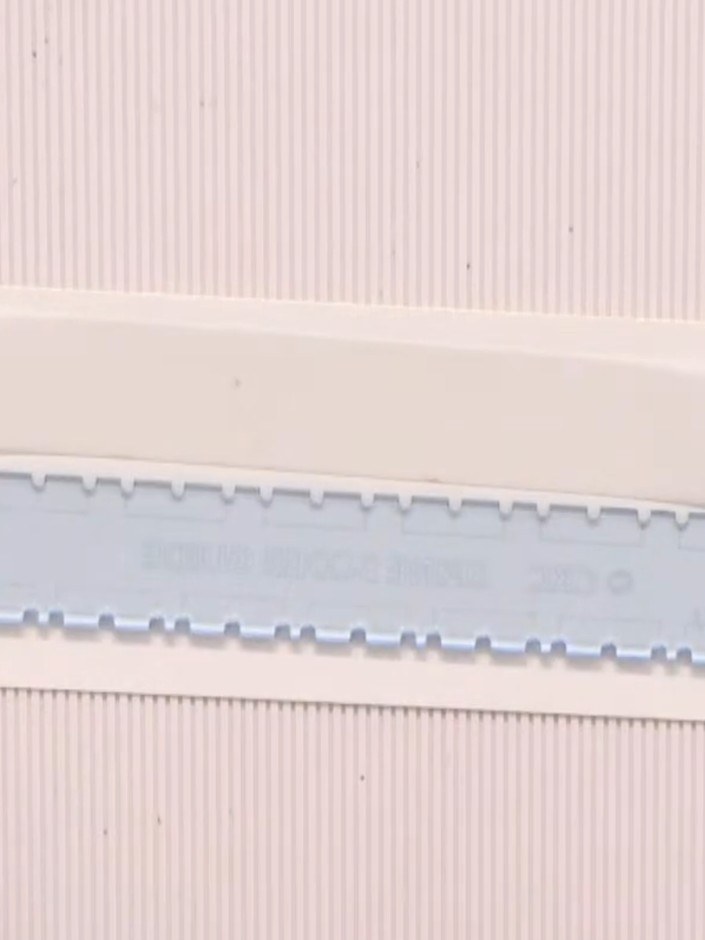
Create crisp, professional-looking score lines on your cardstock projects using a warming burnishing technique. This guide demonstrates how to use a Teflon multi-purpose craft tool that warms in your hands and becomes flexible, allowing you to create shiny, perfectly folded edges on cream-coloured cardstock. The technique produces clean, sharp creases ideal for card making and paper crafting.
DIESE ANLEITUNG HERUNTERLADEN (PDF)
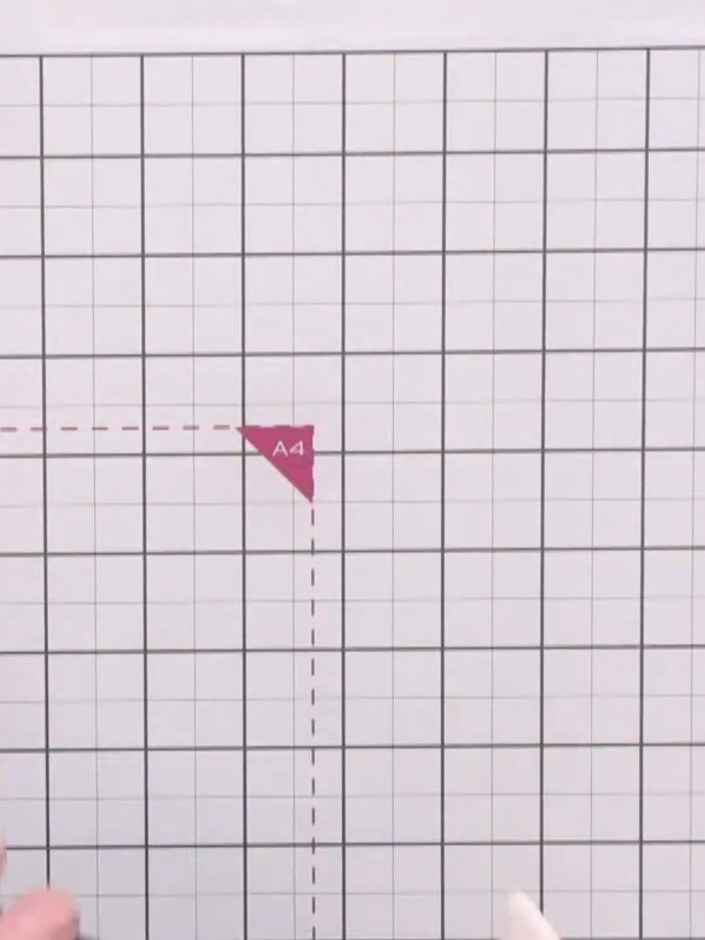
Score a line on your cardstock using a scoring tool or bone folder. Position the tool along where you want the fold line and draw it firmly across the card to create a crisp crease.
▶ diesen Schritt ansehen (40:00)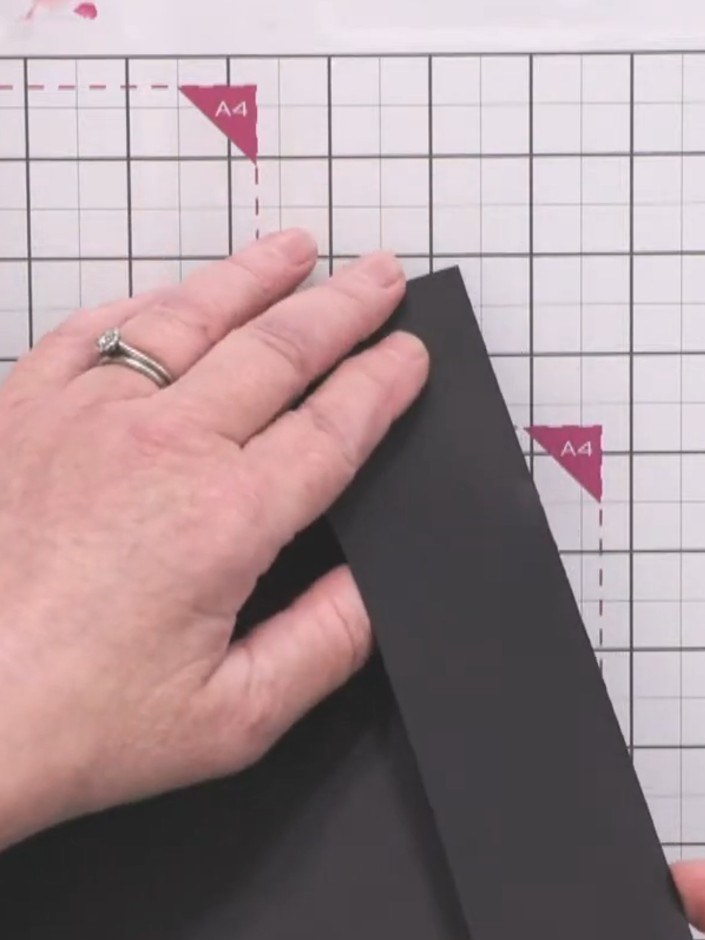
Use the flat tip of the tool to burnish along the score line on the black card. Press firmly and work back and forth to create a smooth, defined fold.
▶ diesen Schritt ansehen (41:00)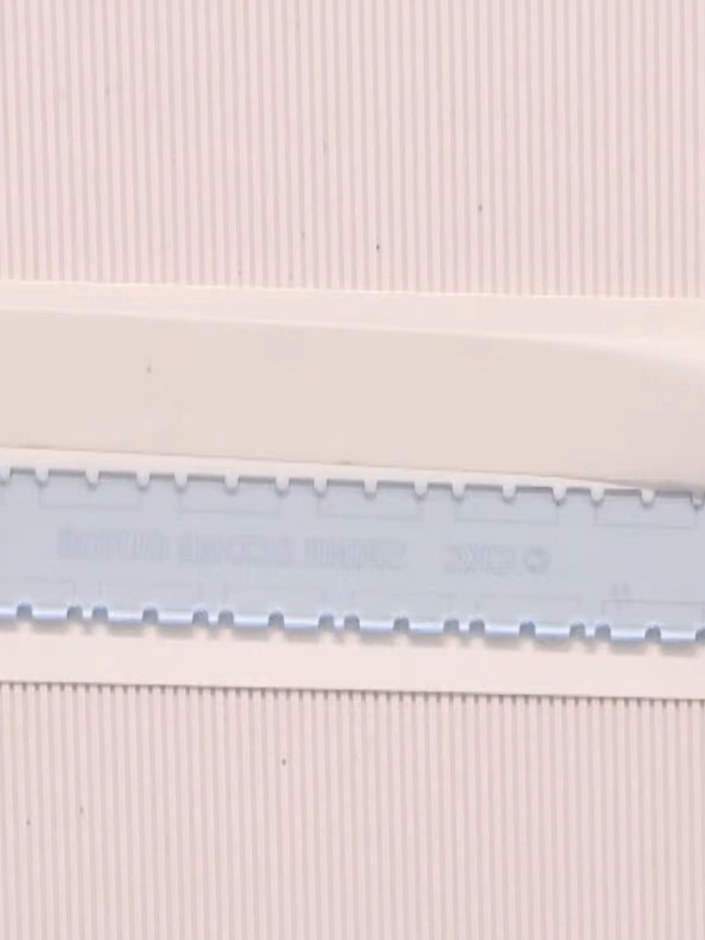
Continue warming and burnishing the fold line until you achieve a crisp, defined crease with a smooth finish. Work along the entire length of the fold, applying even pressure with the burnishing tool.
▶ diesen Schritt ansehen (41:30)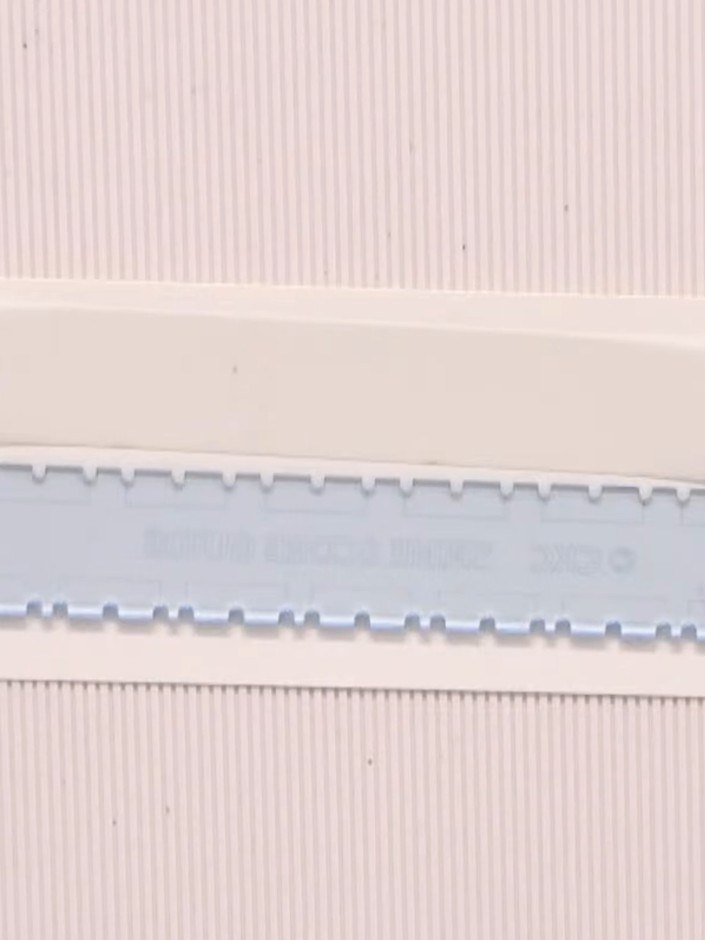
For 3D crafts and book-making projects, repeat the burnishing process multiple times along the scored lines to achieve a beautiful, professional finish. The more you burnish, the crisper and more defined your folds will be.
▶ diesen Schritt ansehen (42:00)Direkt aus der Show aufgeschrieben. Alle Anleitungen aus unseren Shows ansehen · kostenlose Anleitungen · live auf My Telly ansehen