Schenke deinen Freundinnen und Freunden 10 € Rabatt auf ihre erste Bestellung!
Freunde WERBEN








Ein Projekt aus unserer Live-Show CREATE TOGETHER CLUB - KAPITEL 2 - Sei bei Toni dabei in Inspirationsshow 4 mit dem zweiten Stempel der Kollektion SOMEBUNNY LOVES YOU - Ausgestrahlt am 17. Jan. 23 · 17.01.2023 · ab 6:15 ansehen
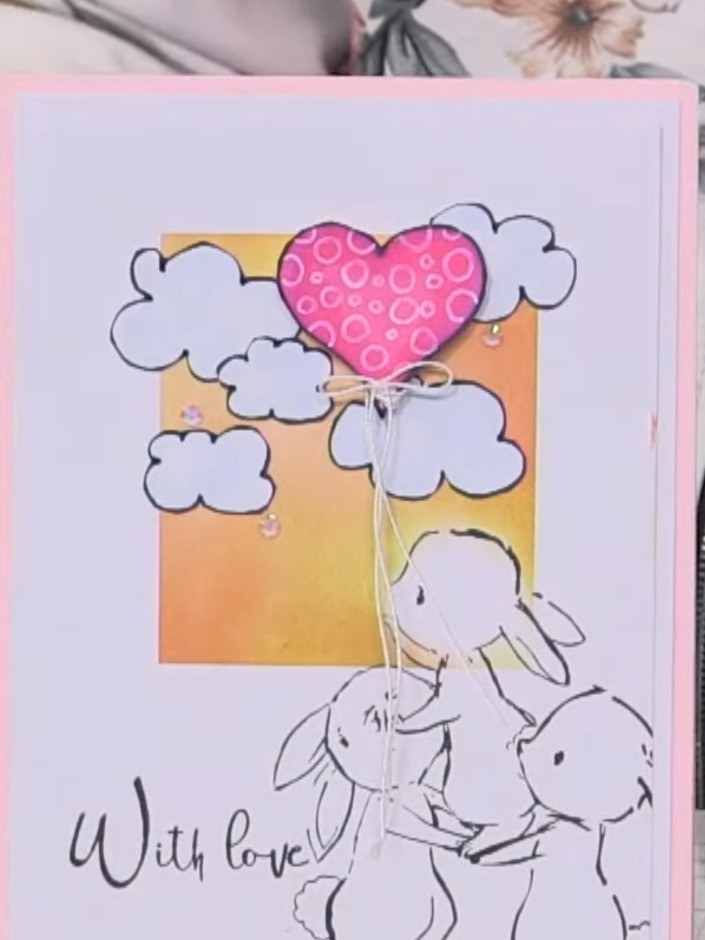
Create this delightful 'With Love' card featuring adorable stamped bunnies reaching up towards a pink patterned heart balloon. The design includes hand-drawn fluffy clouds with sequin details set against a warm yellow-to-orange gradient sky background on a pink card base. This project demonstrates simple stamping and drawing techniques to create a charming scene perfect for Valentine's Day or any loving occasion.
DIESE ANLEITUNG HERUNTERLADEN (PDF)
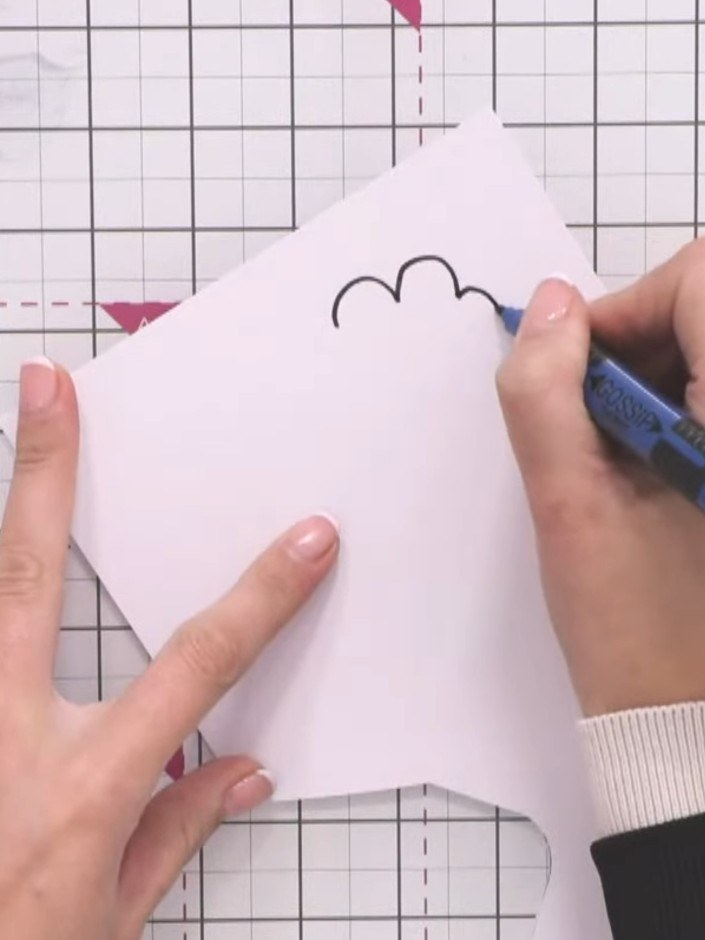
Using a black pen, draw fluffy clouds freehand on white cardstock. Create various sizes in a loose, organic style with rounded, bumpy edges.
▶ diesen Schritt ansehen (6:15)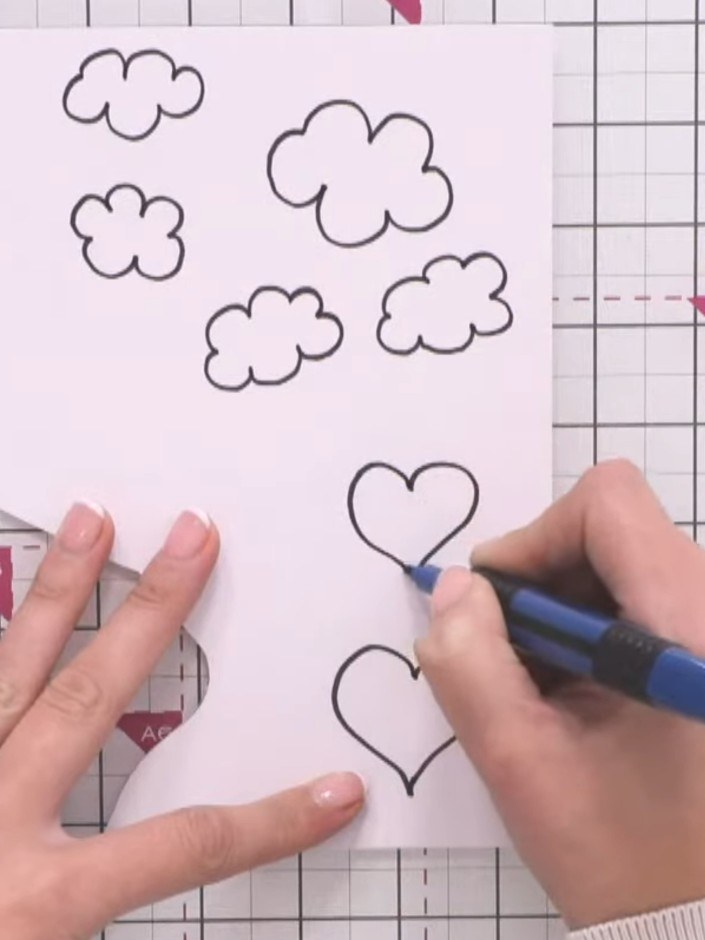
Draw a heart shape freehand with a black pen on the pink paper. Make the outline fairly thick to help with fussy cutting later.
▶ diesen Schritt ansehen (7:00)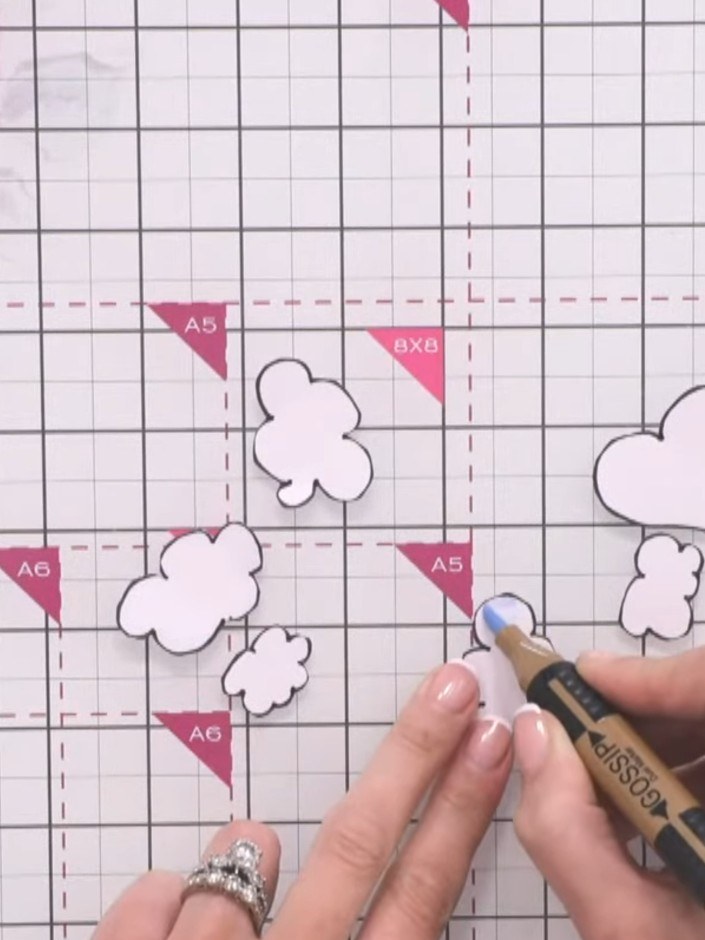
Using a grey alcohol marker, outline the inside edge of each cloud shape to add dimension and prevent them looking flat.
▶ diesen Schritt ansehen (8:30)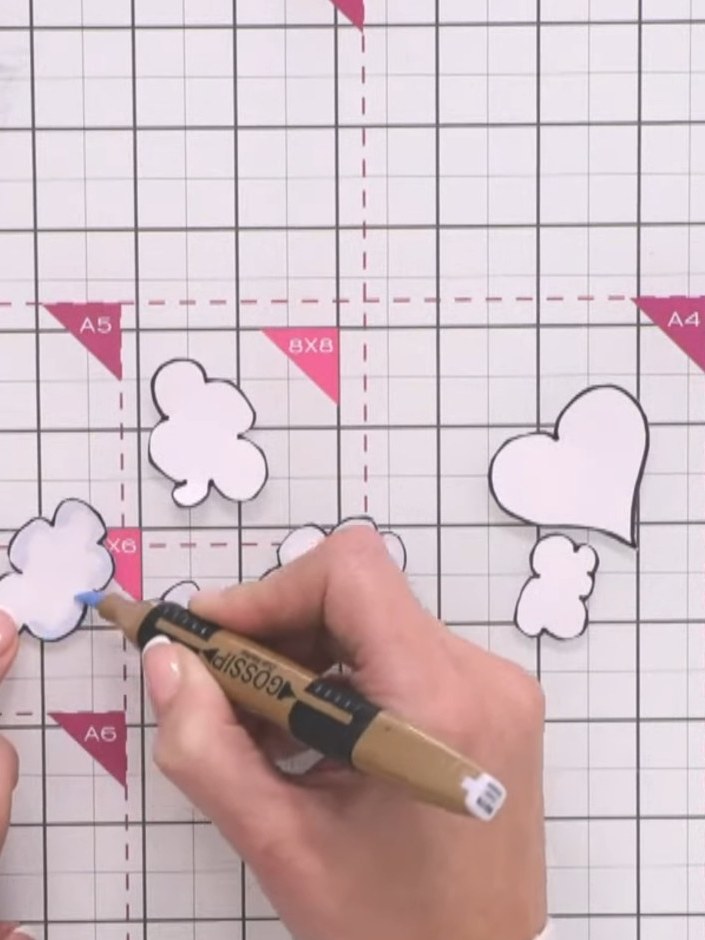
Add shading to the clouds using circular motions with a grey pencil or marker to create depth and dimension.
▶ diesen Schritt ansehen (9:00)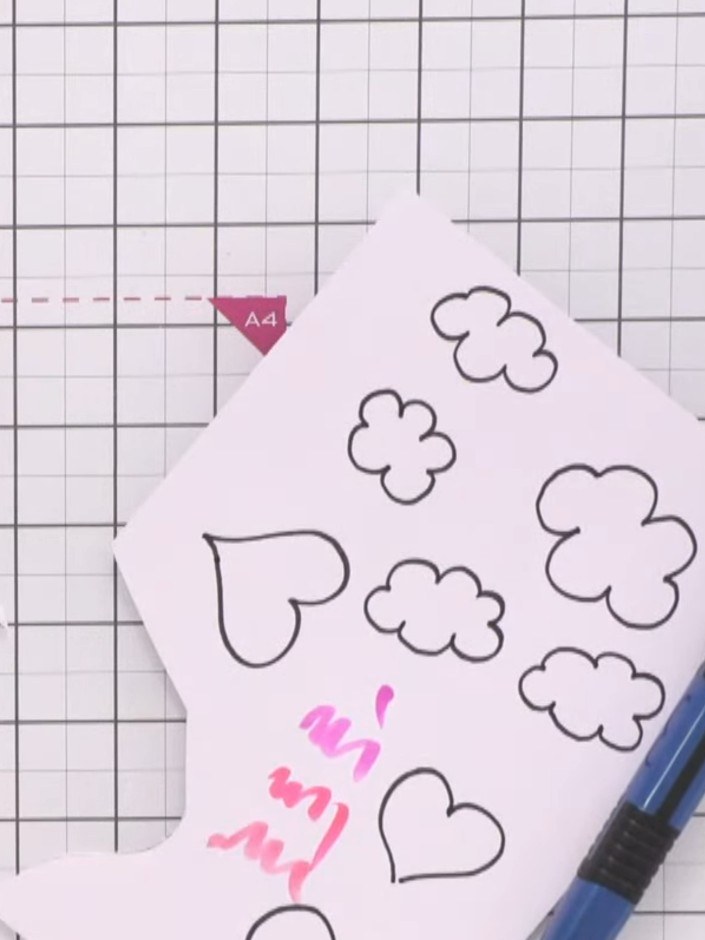
Colour the heart balloon using watercolour pens. Start with the lightest pink colour all over, then layer darker pink shades to add dimension.
▶ diesen Schritt ansehen (10:15)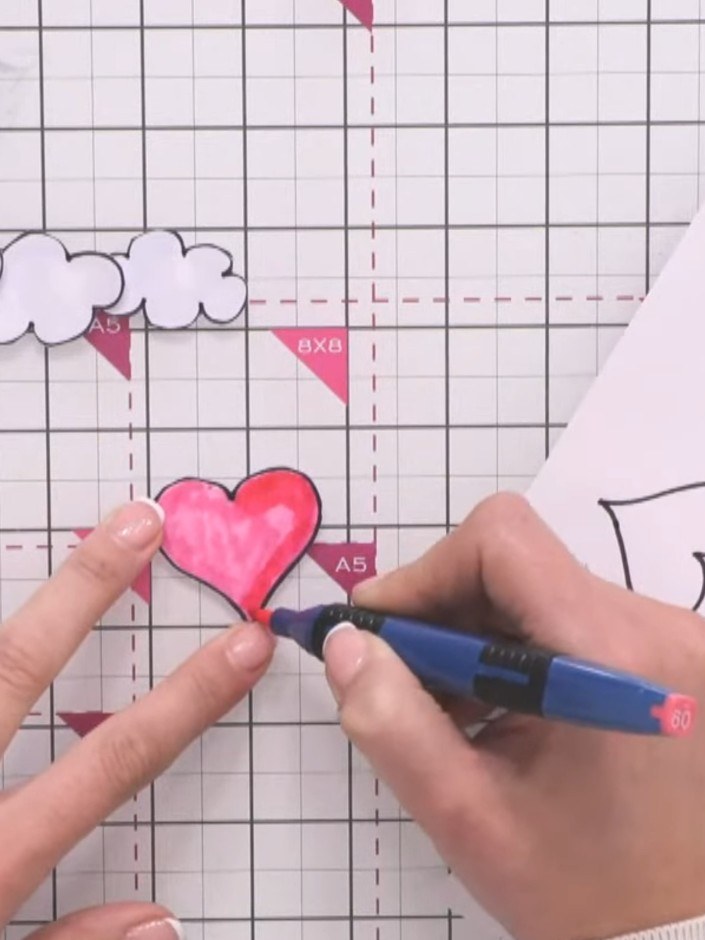
Blend the watercolour pen colours by adding a touch of water with a brush or water pen to create a watercolour effect. Allow the water to evaporate, then layer additional colours on top to build up depth and dimension.
▶ diesen Schritt ansehen (11:00)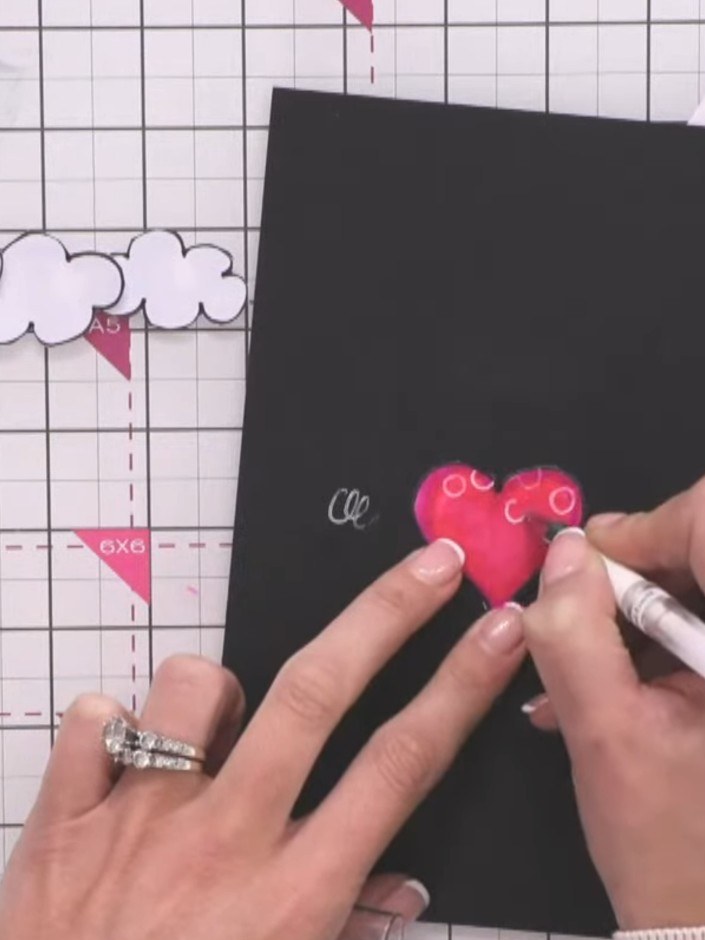
Using a white gel pen, draw small circles on the pink heart balloon to add decorative detail and dimension.
▶ diesen Schritt ansehen (12:30)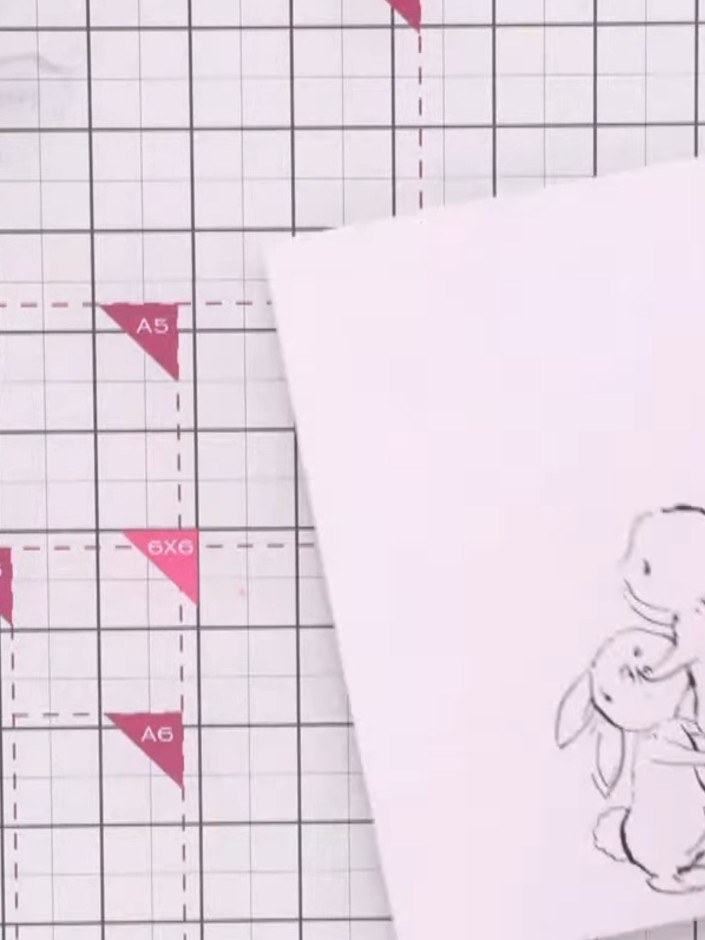
Stamp the bunny rabbit image from the Eureka 101 stamp set onto white cardstock. Ensure you stamp only the bunny and hand, avoiding the letter or mailbox elements.
▶ diesen Schritt ansehen (14:15)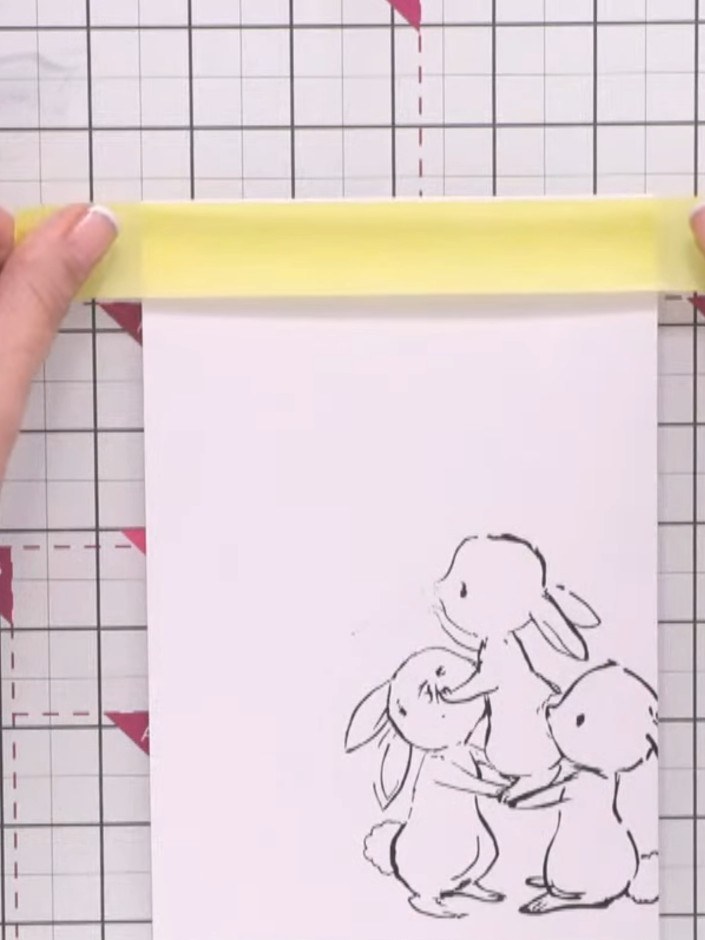
Position strips of yellow masking tape horizontally across the top and bottom of your stamped image to create a square aperture, leaving the centre section exposed for your sky background.
▶ diesen Schritt ansehen (16:00)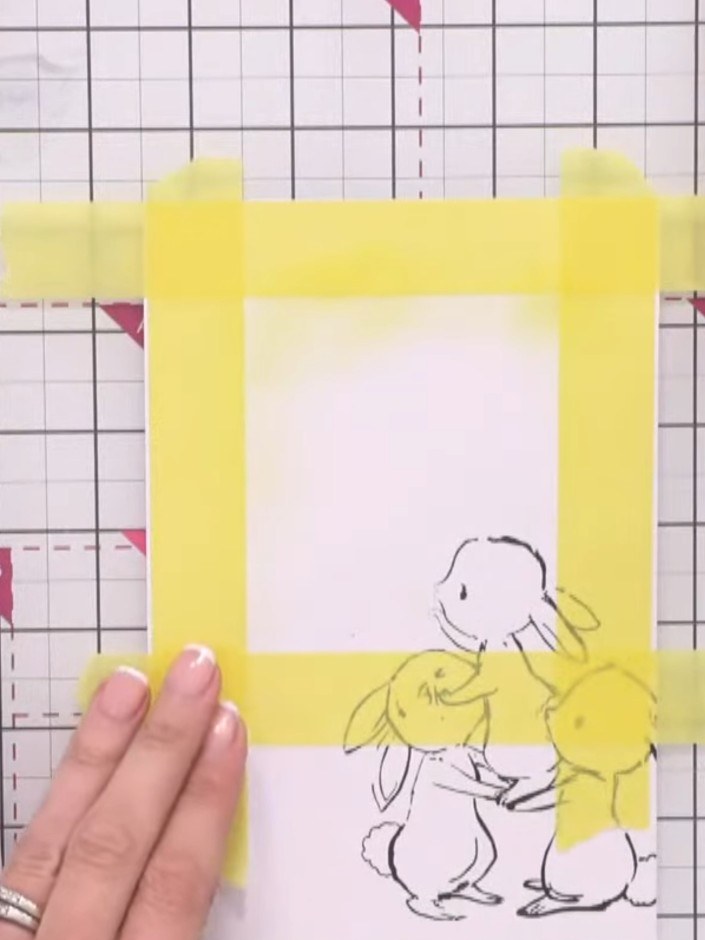
Apply yellow pigment ink lightly across the masked area using a brush or sponge applicator. Work gently to create a soft base for the sky background.
▶ diesen Schritt ansehen (17:00)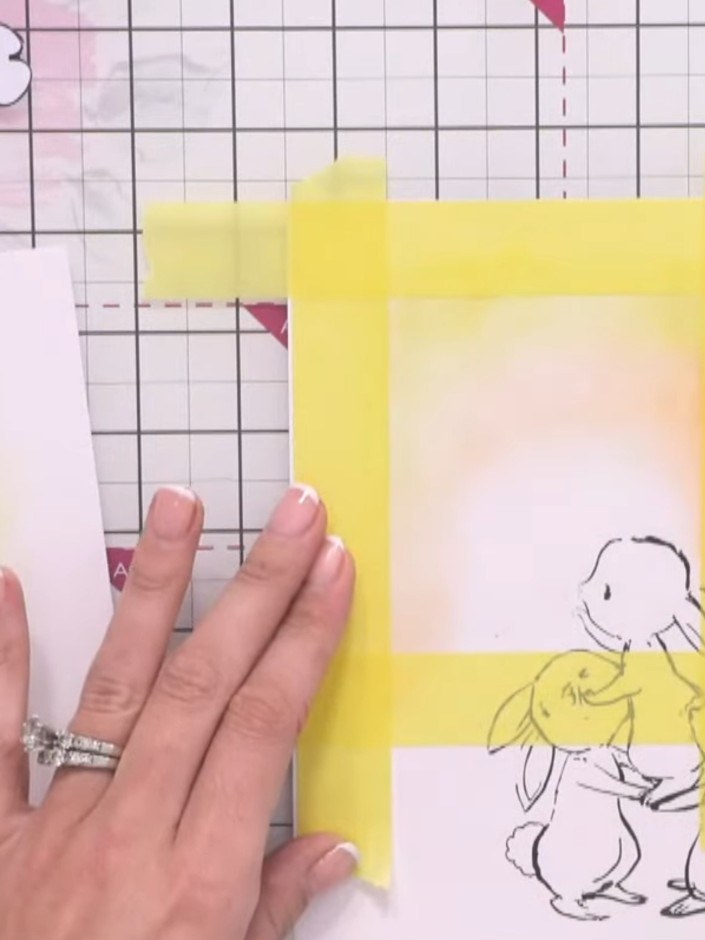
Layer orange pigment ink over the yellow areas, blending gently to create a warm sunset effect around the stamped image.
▶ diesen Schritt ansehen (18:45)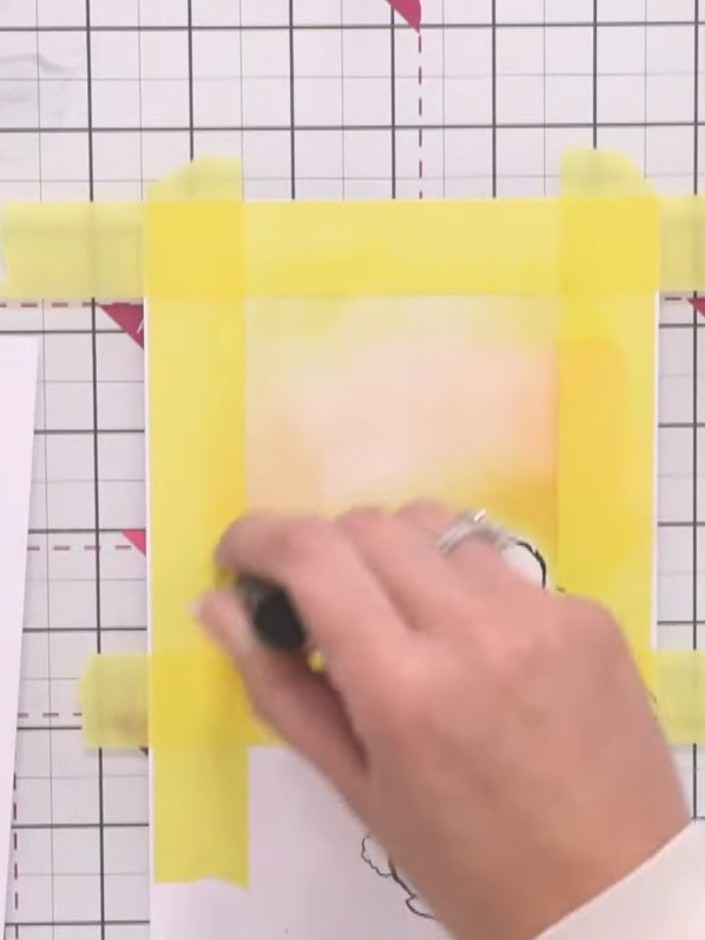
Add touches of red pigment ink sparingly to the yellow inked area to create a tropical sky effect, blending carefully with the existing colours.
▶ diesen Schritt ansehen (20:30)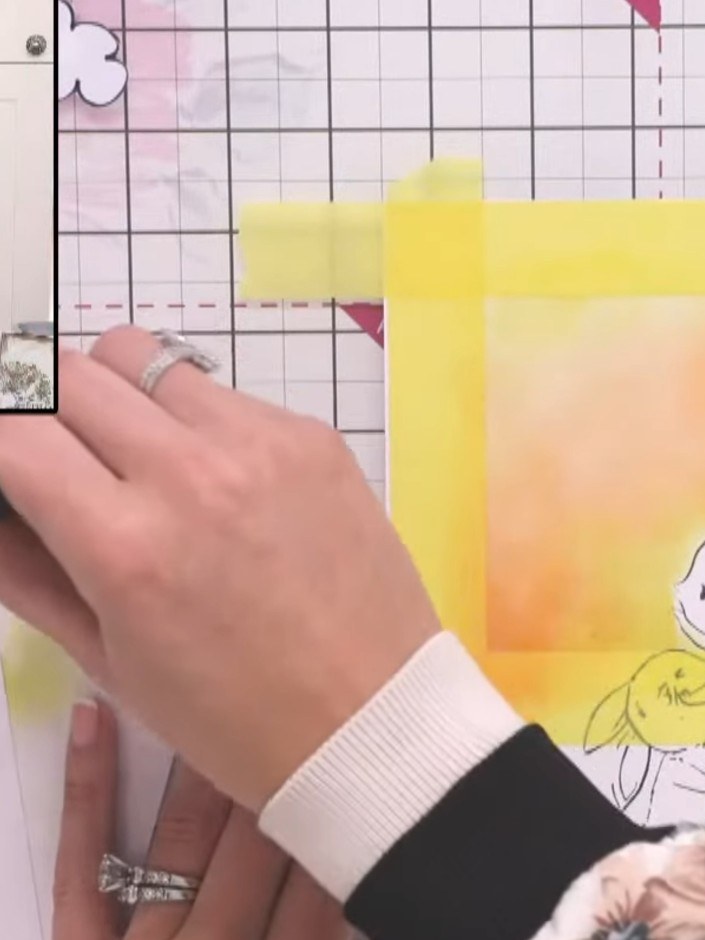
Carefully remove the masking tape from around the stamped image to reveal the coloured sky background with yellow and orange tones.
▶ diesen Schritt ansehen (21:00)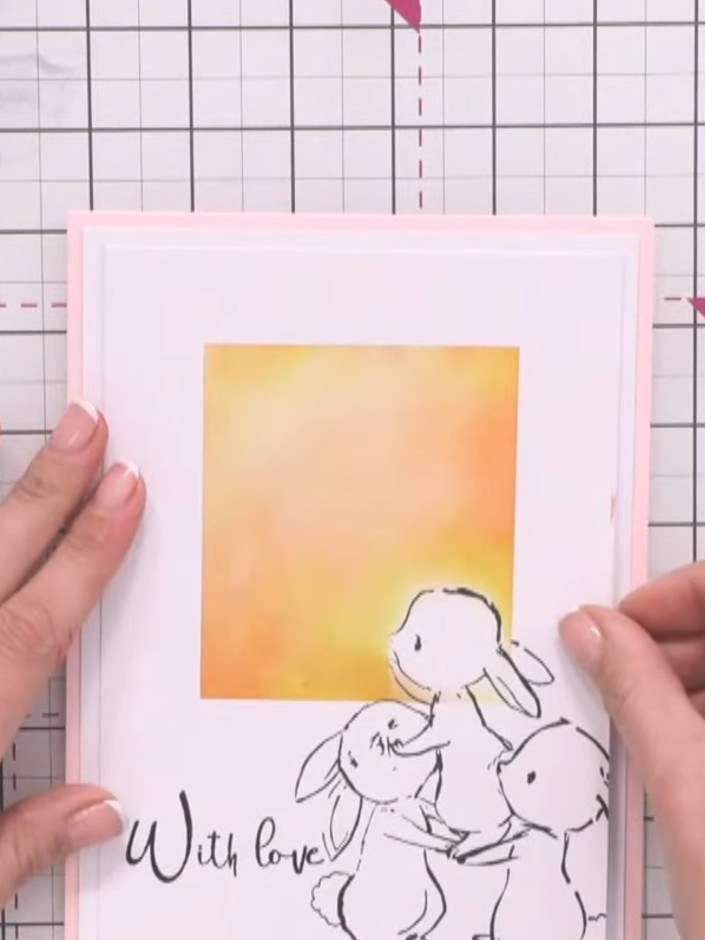
Adhere the white matte layer with the bunny image and sentiment onto a pink card base to complete your card.
▶ diesen Schritt ansehen (24:15)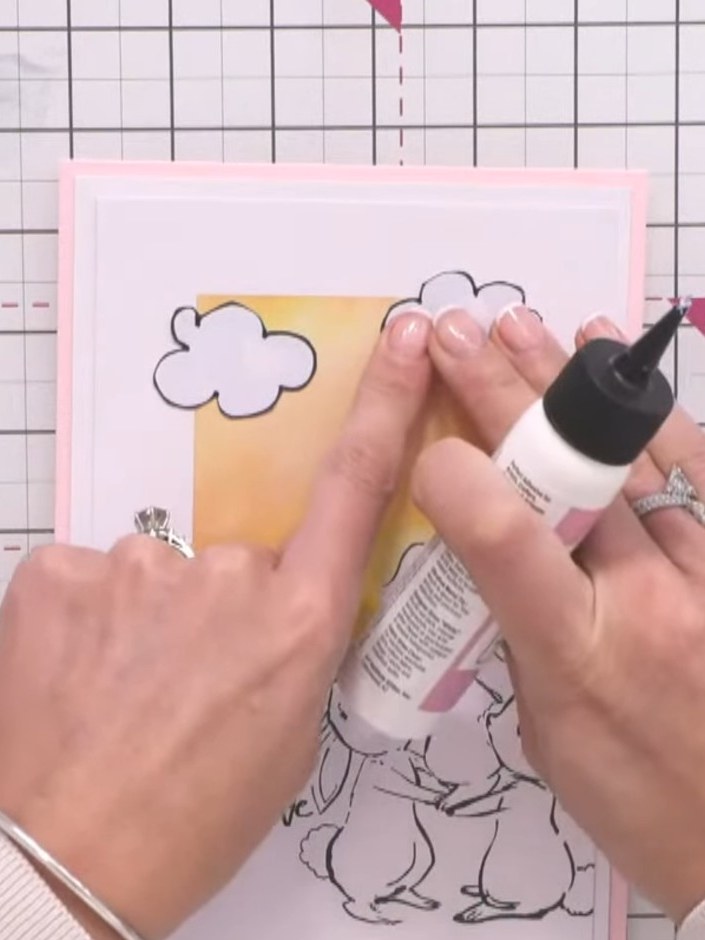
Arrange the hand-drawn clouds on your card, placing some flat on the surface and positioning others to overlap the aperture both inside and outside for a dimensional effect.
▶ diesen Schritt ansehen (25:00)Direkt aus der Show aufgeschrieben. Alle Anleitungen aus unseren Shows ansehen · kostenlose Anleitungen · live auf My Telly ansehen