Schenke deinen Freundinnen und Freunden 10 € Rabatt auf ihre erste Bestellung!
Freunde WERBEN








Ein Projekt aus unserer Live-Show CREATE TOGETHER CLUB - KAPITEL 2 - Sei bei Toni dabei in Inspirationsshow 3 mit dem zweiten Stempel der Kollektion SOMEBUNNY LOVES YOU - Ausgestrahlt am 16. Jan. 23 · 16.01.2023 · ab 11:45 ansehen
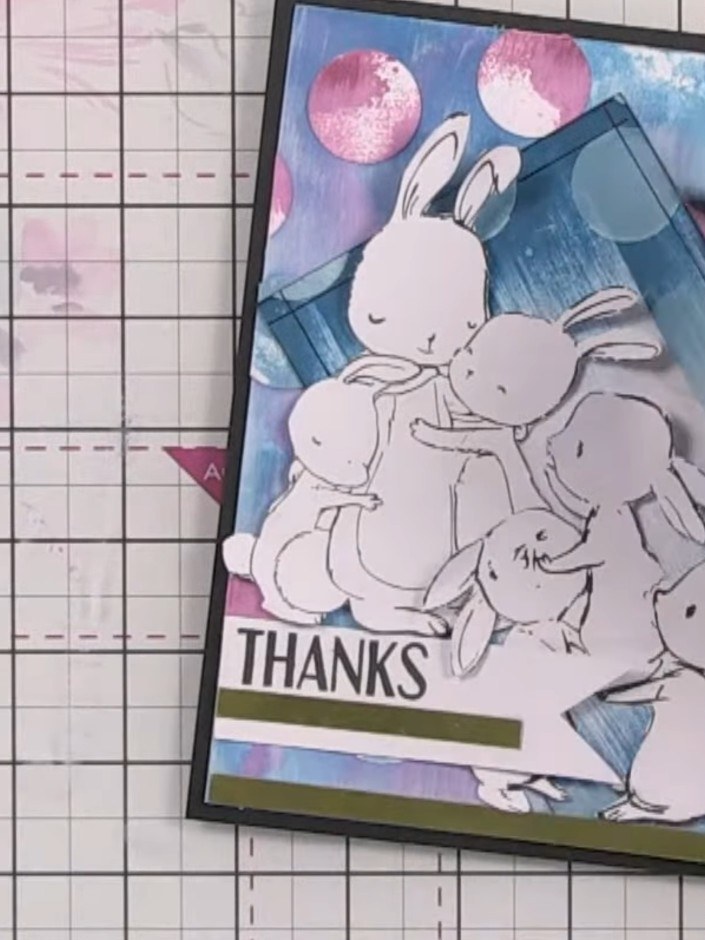
Create a heartwarming card featuring an adorable family of bunnies cuddling together, perfect for showing someone you care. This charming design combines a soft watercolour background in dreamy blues and pinks with punched circle accents and gold detailing. The project uses stamping, watercolour-style inking techniques, and dimensional layering to bring the sweet bunny scene to life.
DIESE ANLEITUNG HERUNTERLADEN (PDF)
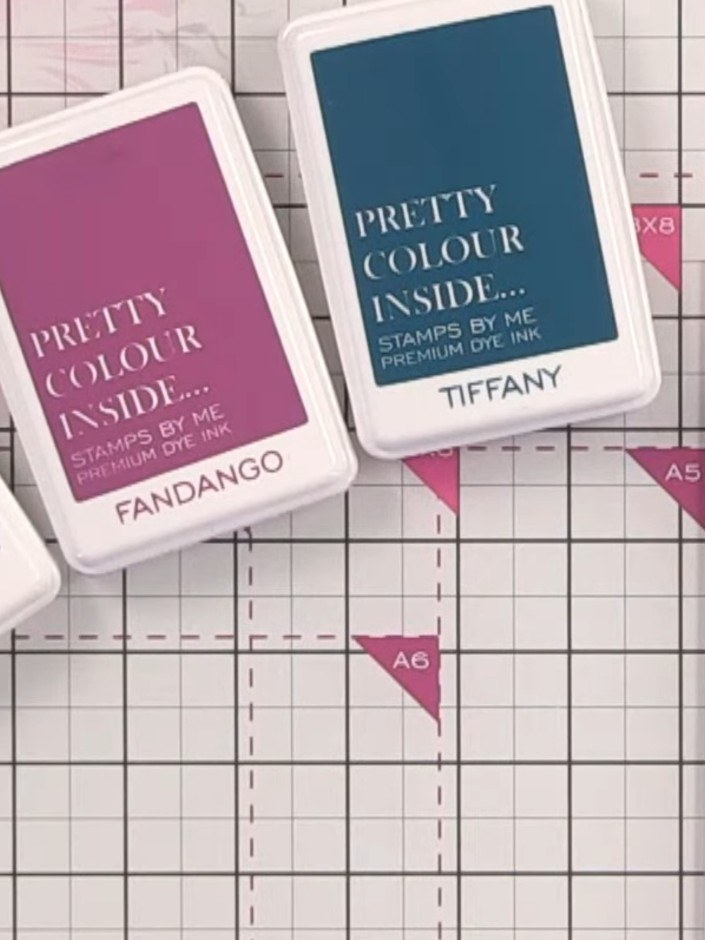
Gather three ink pads in coordinating colours. The demonstration uses Tiffany (teal blue), Fandango (pink), and Ocean (dark blue) from the Pretty Colour Inside range.
▶ diesen Schritt ansehen (13:30)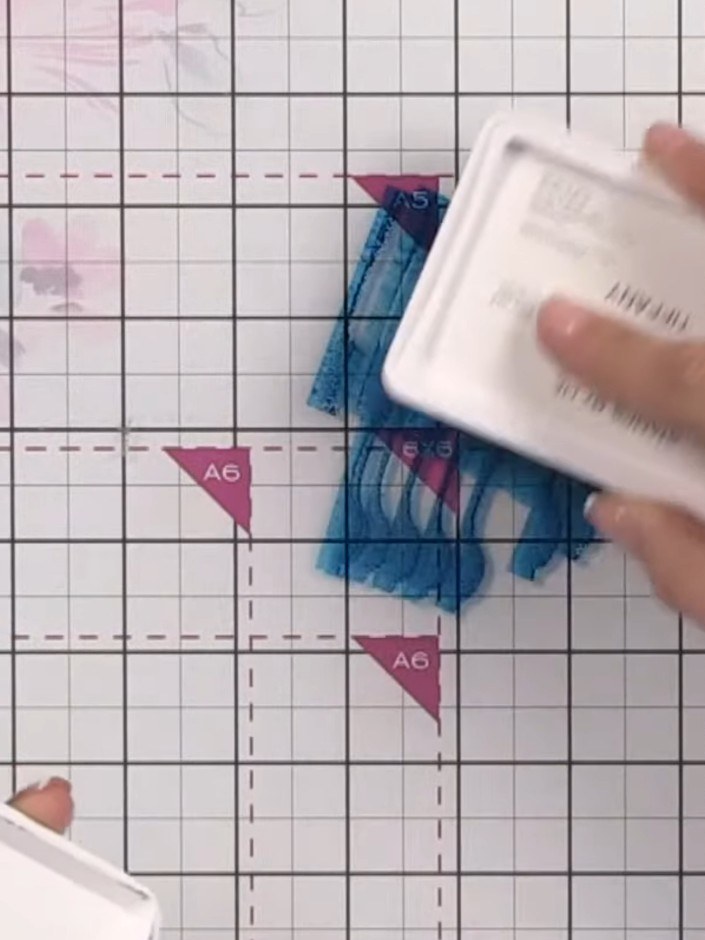
Apply Ocean ink to your card base using a water brush, creating a soft watercolour wash across the surface. Leave some white space showing through for a natural watercolour effect.
▶ diesen Schritt ansehen (14:00)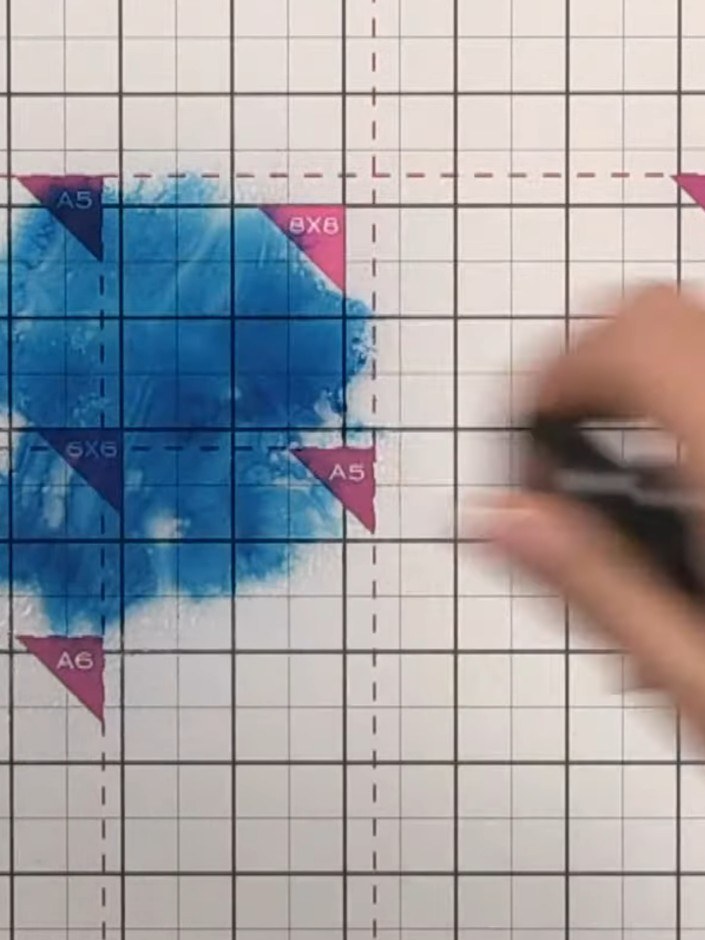
Apply Tiffany ink to the wet background using a blending tool or sponge. Allow the two ink colours to blend naturally together on the wet surface.
▶ diesen Schritt ansehen (14:15)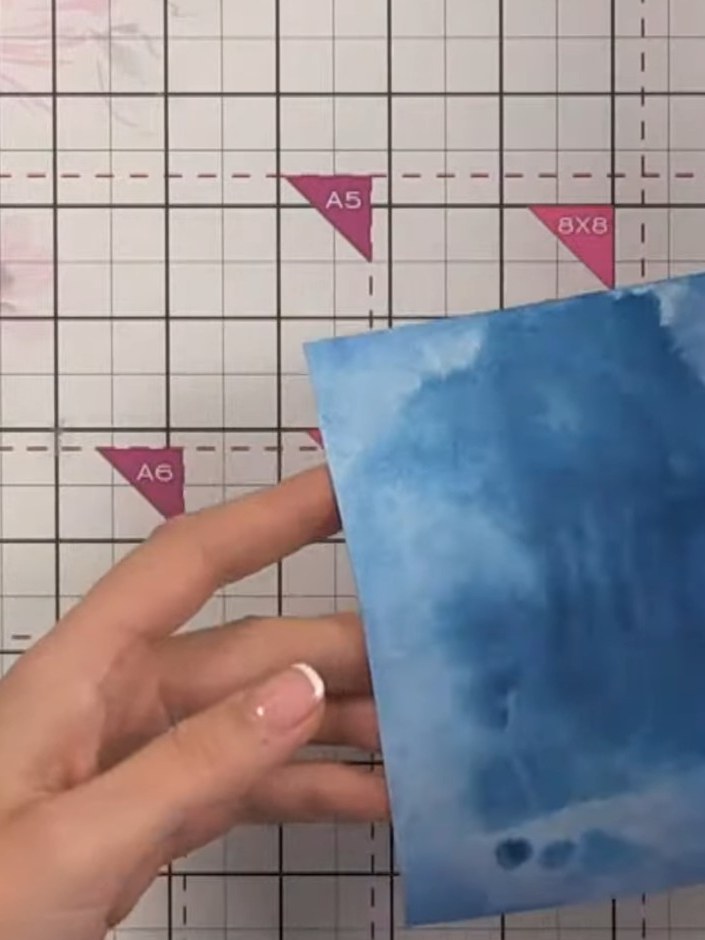
Apply Fandango ink to your craft mat and pick it up with the watercolour paper, blending it into the existing blue colours. Leave some white space showing through for a varied watercolour effect.
▶ diesen Schritt ansehen (14:45)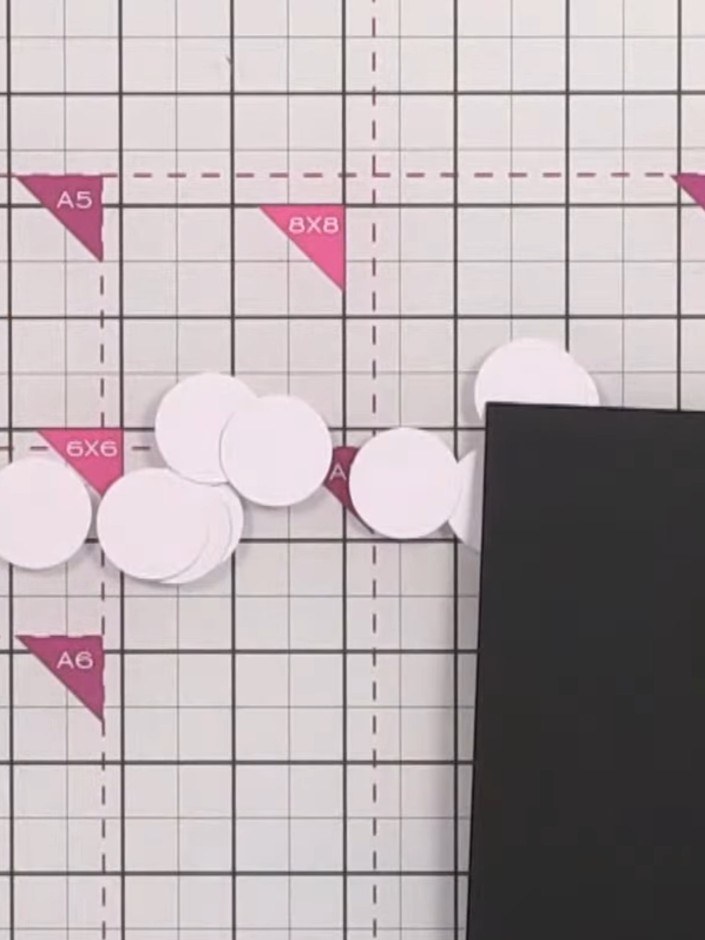
Arrange the punched white circles around the edges of your card base, leaving some extending off the page and maintaining white space in the centre for your focal image.
▶ diesen Schritt ansehen (18:00)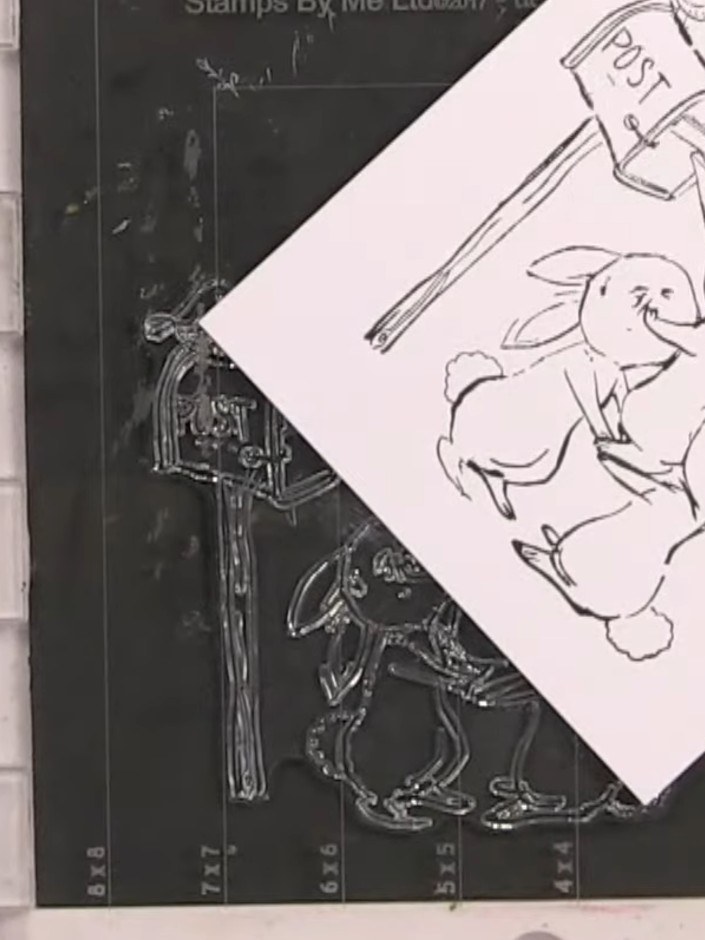
Carefully fussy-cut around the stamped bunny images, separating each bunny so you can position them individually on your card.
▶ diesen Schritt ansehen (29:15)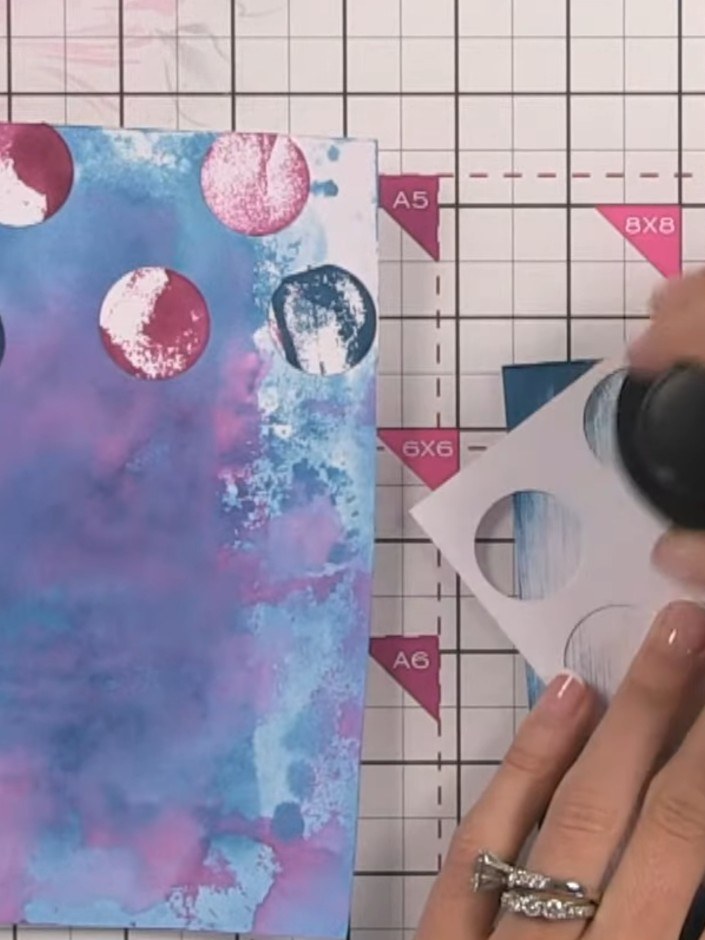
Using a white ink pad, swipe across portions of your watercolour background to soften darker areas. Use the punched circle template as a stencil to create bokeh-style circles by dabbing the white ink through the circular openings.
▶ diesen Schritt ansehen (37:45)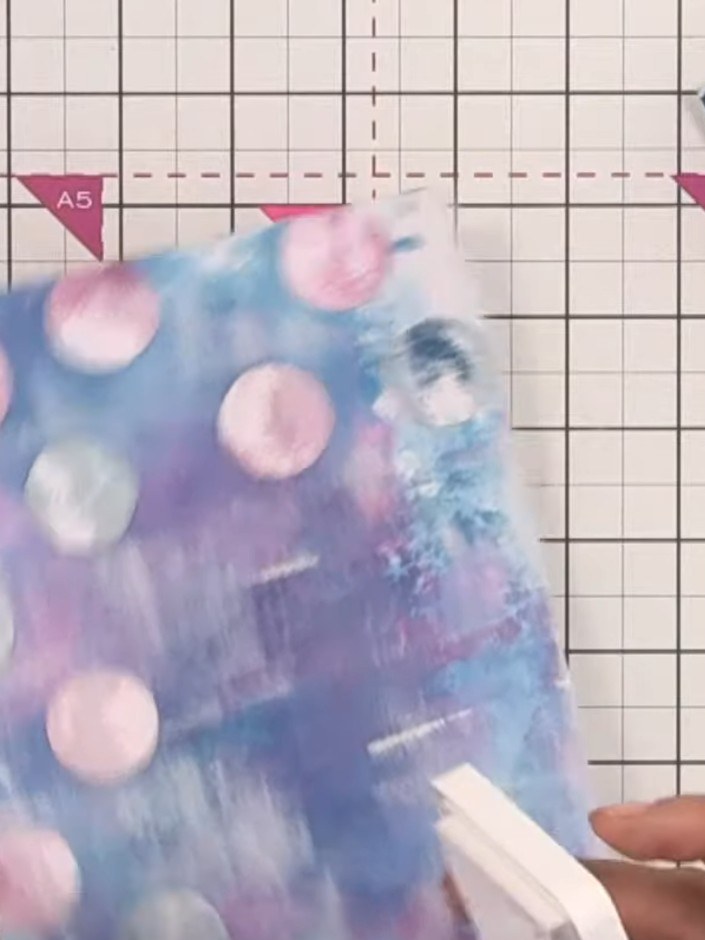
Using black ink, carefully edge around all four sides of the watercolour background piece to create definition and frame the design.
▶ diesen Schritt ansehen (40:00)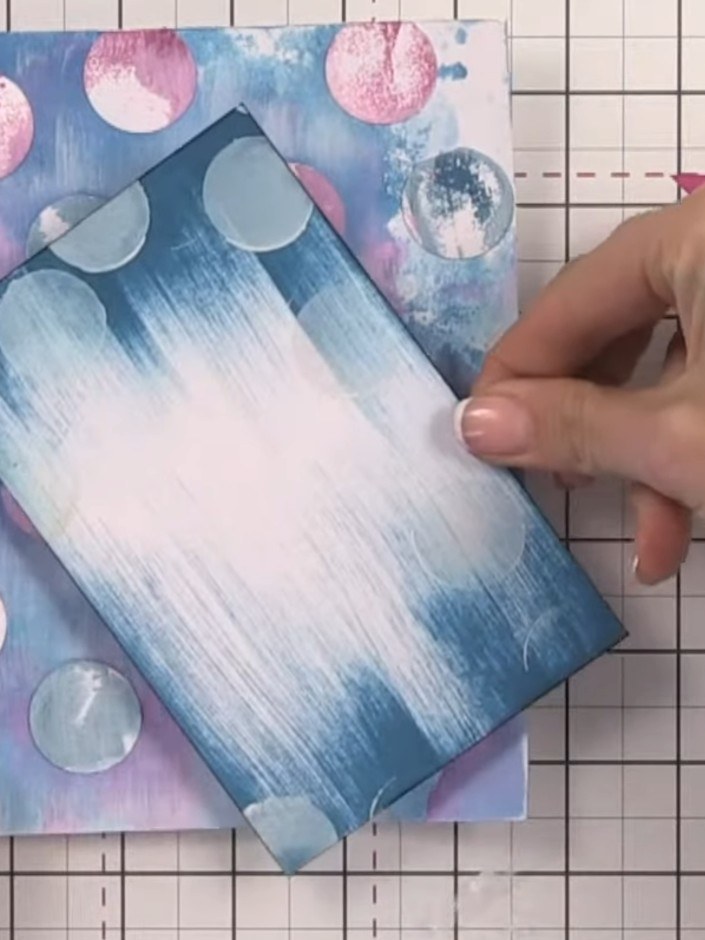
Adhere the blue gradient bunny panel to the decorative background card, positioning it centrally. Then mount this layered piece onto a gold cardstock base, leaving an even border of gold showing around all edges.
▶ diesen Schritt ansehen (41:30)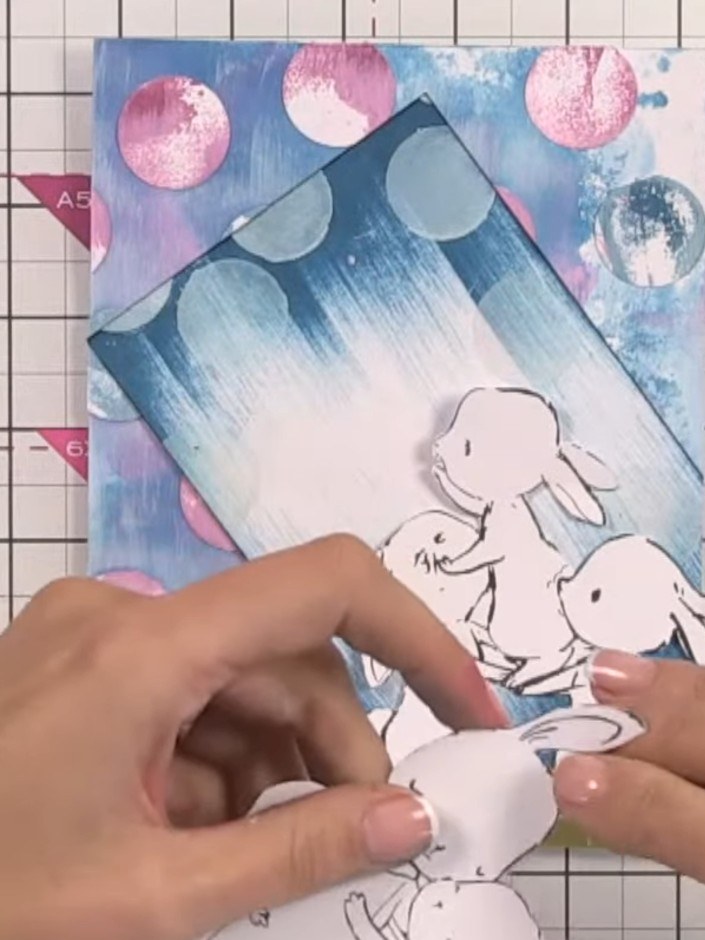
Arrange and glue the fussy-cut bunnies onto the card in a cuddling position, placing the largest bunny at the base and building up the group with the smaller bunnies around and above it.
▶ diesen Schritt ansehen (44:15)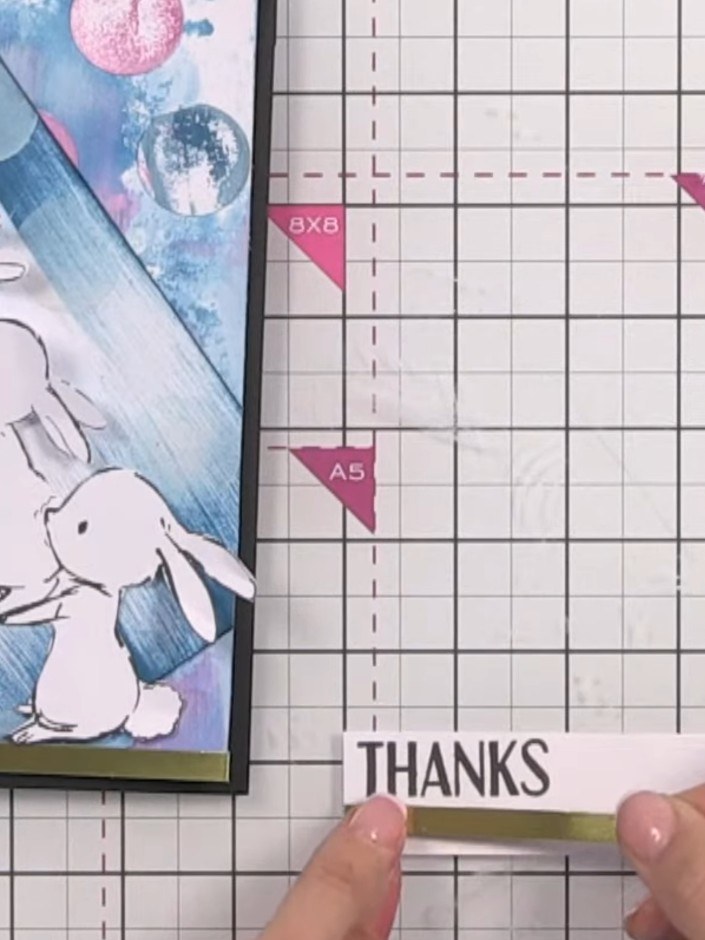
Stamp 'THANKS' onto the gold strip beneath the bunny panel. Use a glass mat to avoid the stamp clanging on the work surface.
▶ diesen Schritt ansehen (47:30)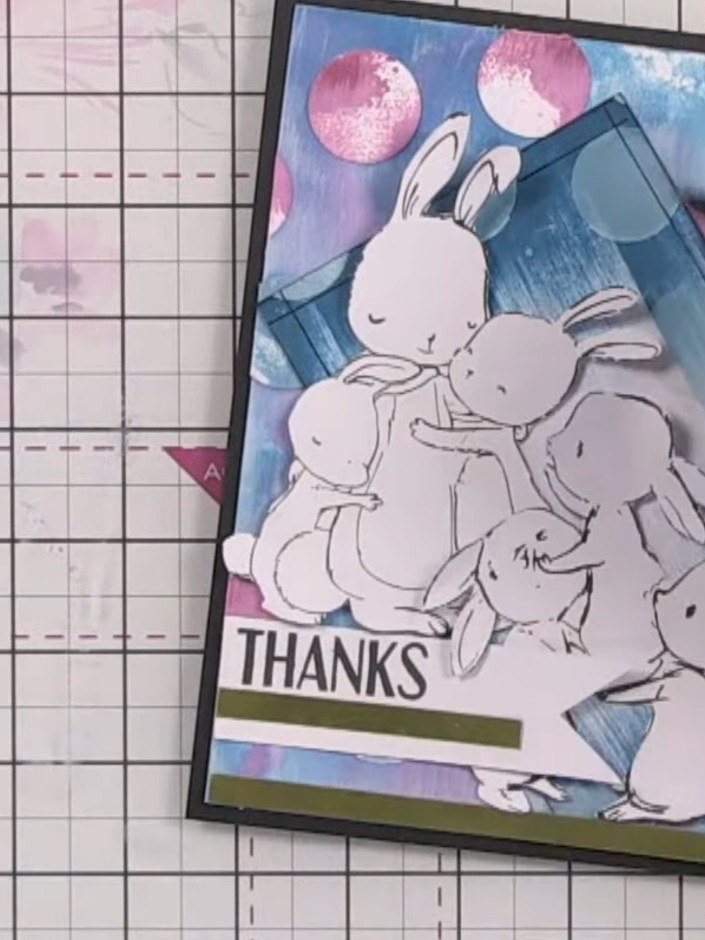
Use a fine-line black pen to draw a frame around the edge of the card front, creating a border that enhances the dimensional effect of the layered design.
▶ diesen Schritt ansehen (50:00)Direkt aus der Show aufgeschrieben. Alle Anleitungen aus unseren Shows ansehen · kostenlose Anleitungen · live auf My Telly ansehen