Schenke deinen Freundinnen und Freunden 10 € Rabatt auf ihre erste Bestellung!
Freunde WERBEN








Ein Projekt aus unserer Live-Show MONDAY MADNESS - Sei dabei, wenn Simon von AVAGO-INK seine neuesten Produkte zeigt - Ausgestrahlt am 16. JAN. 23 · 16.01.2023 · ab 1:45 ansehen
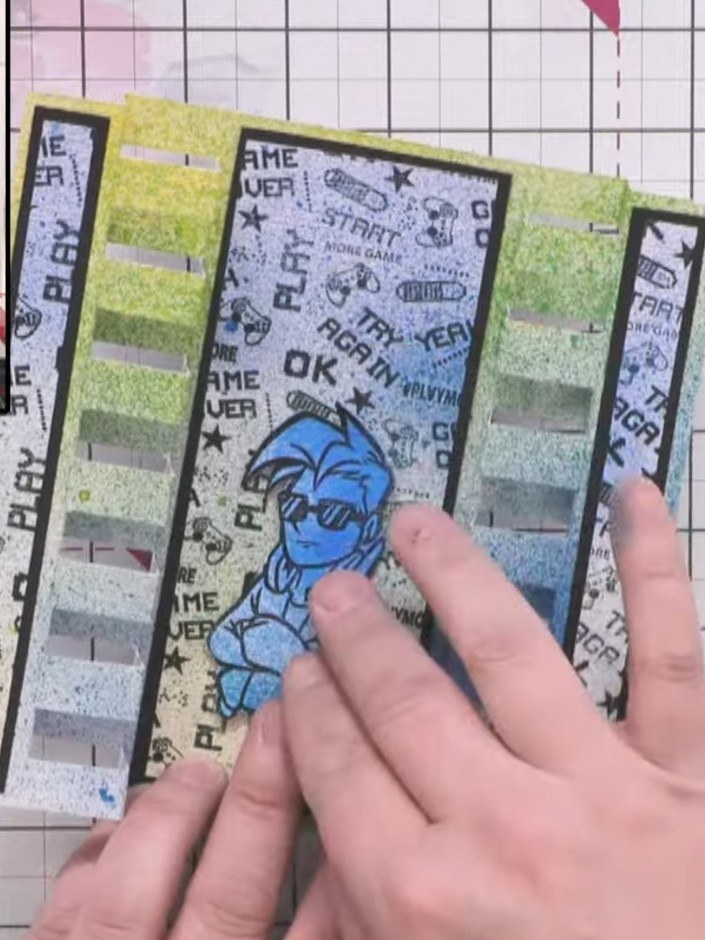
Create a stunning dimensional pop-out card that folds flat to fit a 5x7 envelope. This eye-catching design features a vibrant blue-to-yellow gradient background created with ink sprays, decorative stamped panels on either side, and a cheerful fussy-cut character mounted on foam pads for added dimension. The card combines spray techniques, stamping, and layering to produce a professional finish perfect for birthdays or special occasions.
 IZINK SPRAY BLACK LIQUORICE 080621tANSEHEN
 IZINK SPRAY WILD ROSE 080621xANSEHEN
 IZINK SPRAY SUNFLOWER YELLOW 080621nANSEHEN
 100089 - HTCN - EUREKA 101 AQUARELL- UND FALZBRETT - 240921gANSEHEN
 100572 - HTCN - AVAGO-INK DESIGNS - A5 STAMP - COOKIE - 100522cANSEHEN
 STAMPS BY ME - PREMIUM HYBRID STEMPELFARBE - MIDNIGHT - 121022NANSEHEN
DIESE ANLEITUNG HERUNTERLADEN (PDF)
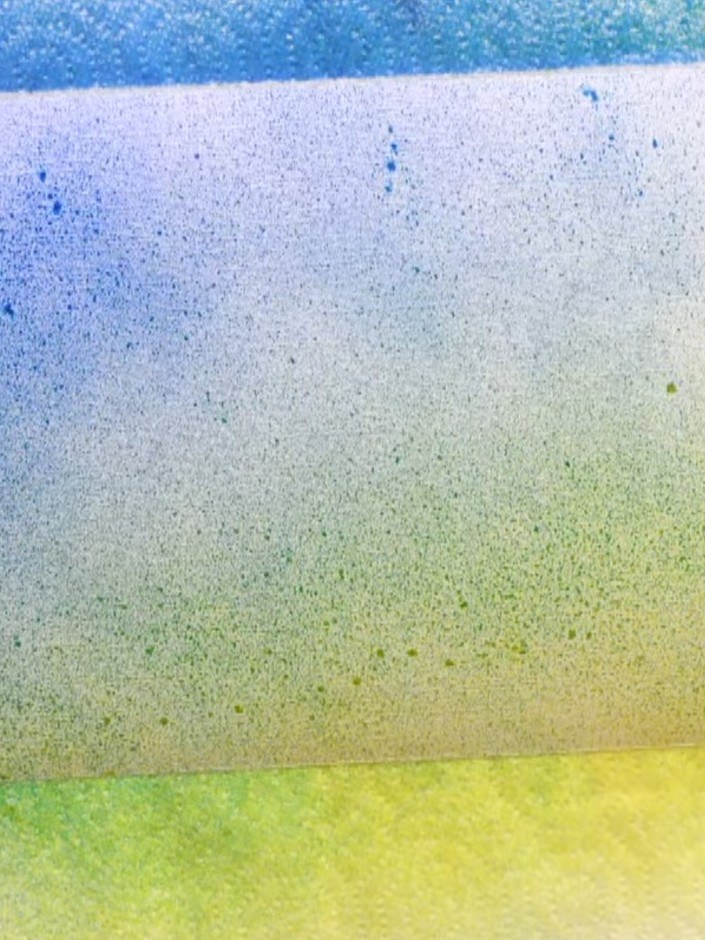
Cut a piece of linen textured card to 7 by 9 inches.
▶ diesen Schritt ansehen (2:30)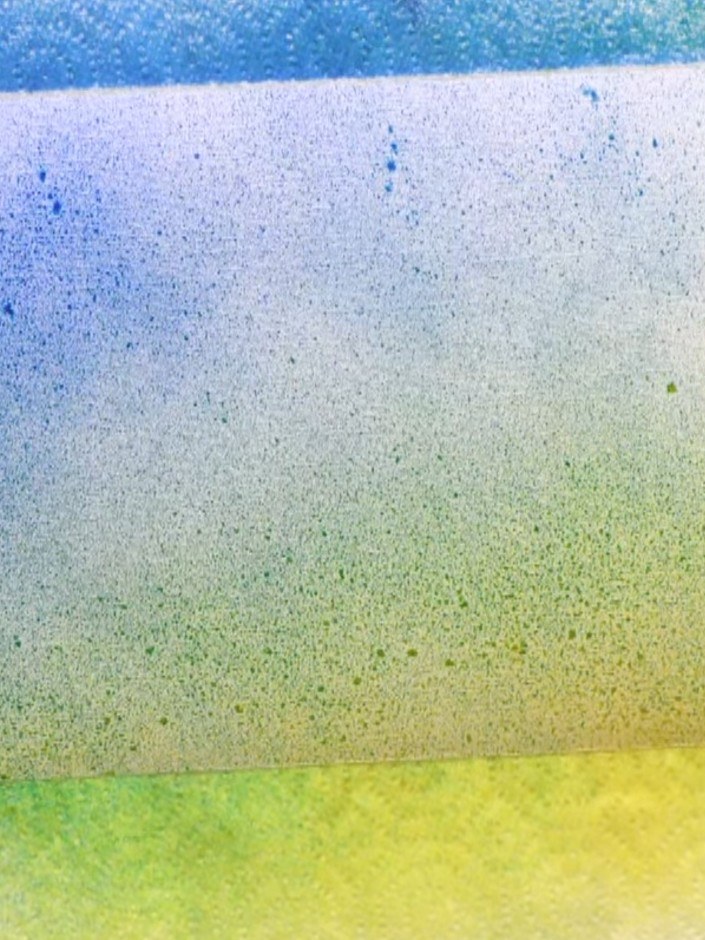
Spray yellow ink onto the lower section of the card. Then spray blue ink from the top, blending downwards to create a gradient effect that transitions from blue at the top through to yellow at the bottom.
▶ diesen Schritt ansehen (3:00)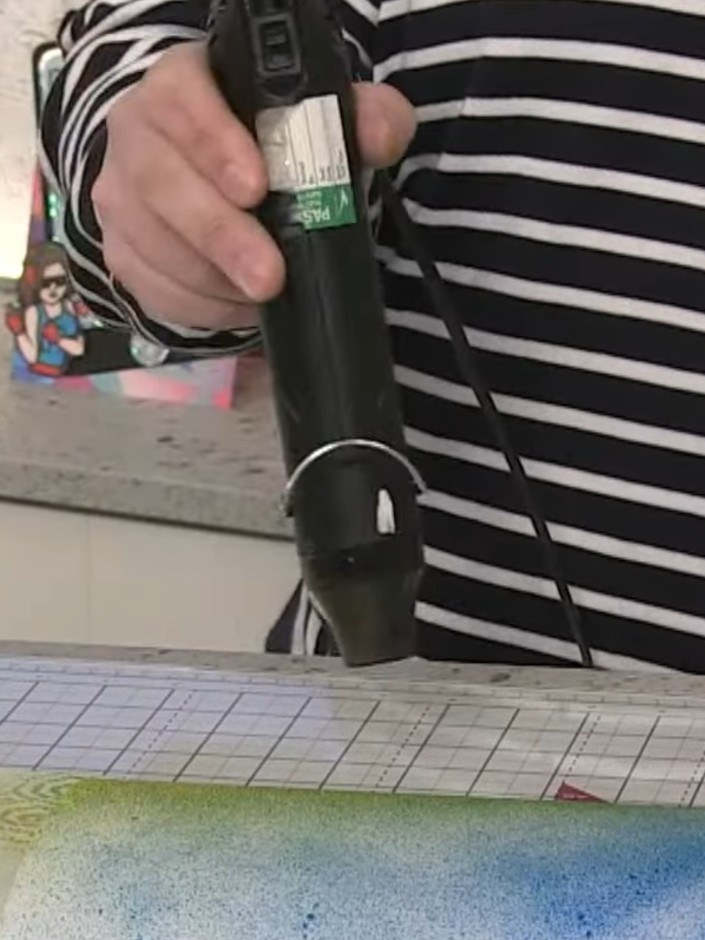
Use a heat gun to dry the sprayed inks on the card, moving it over the surface to set the colours completely.
▶ diesen Schritt ansehen (3:45)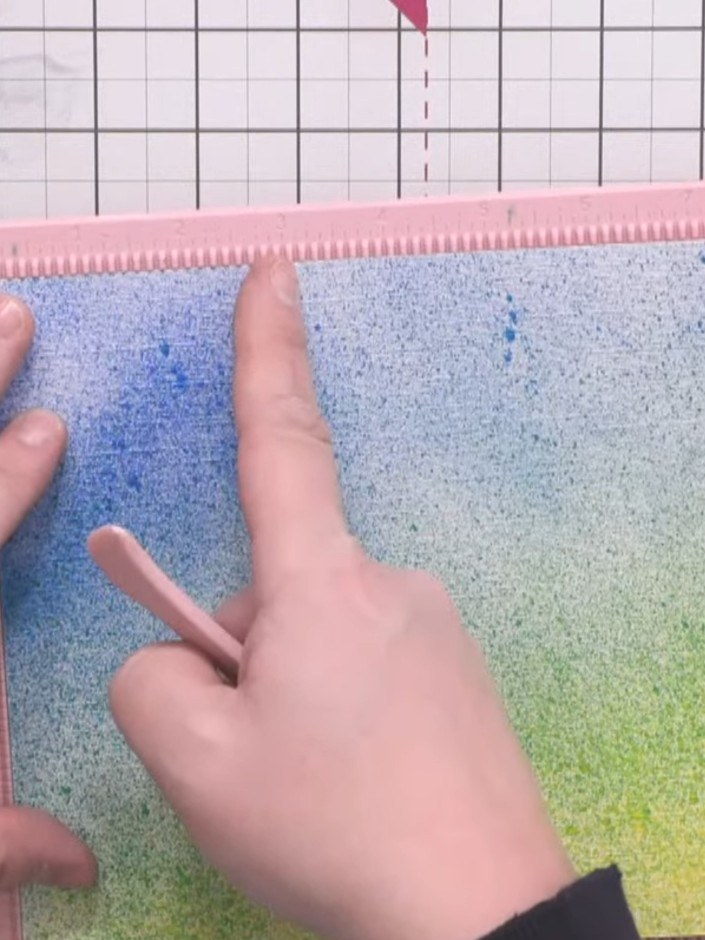
Use a scoring tool to score the gradient card at 1, 2, and 3 inches on one side, then turn it around and score at 6, 7, and 8 inches on the other side.
▶ diesen Schritt ansehen (5:00)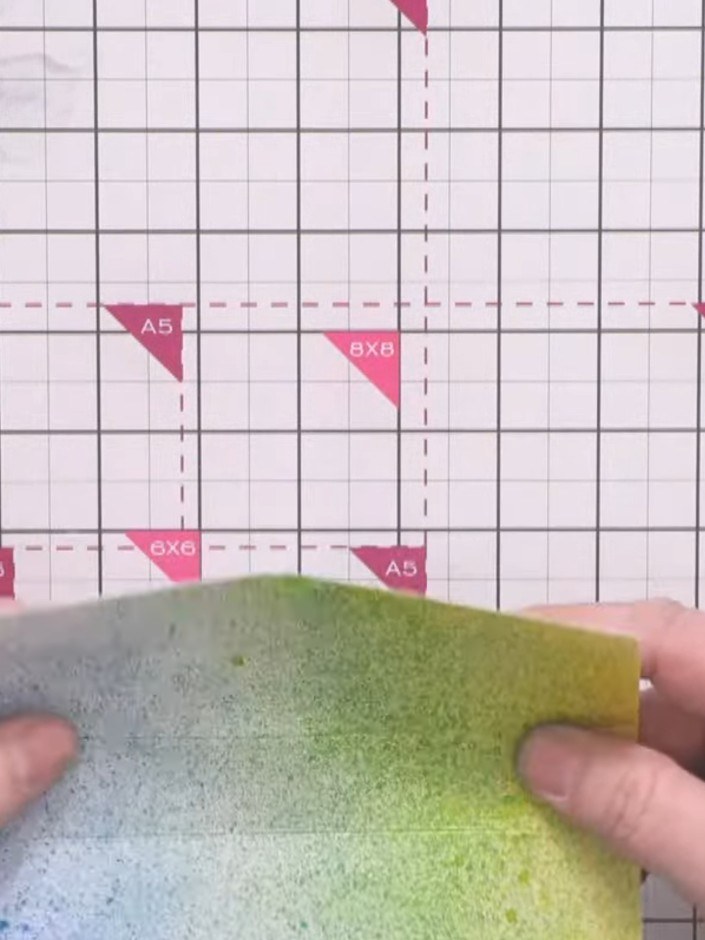
Crease all score lines in both directions using a bone folder. Fold the card back and forth along each scored line to ensure smooth, easy folding for the pop-out mechanism.
▶ diesen Schritt ansehen (6:00)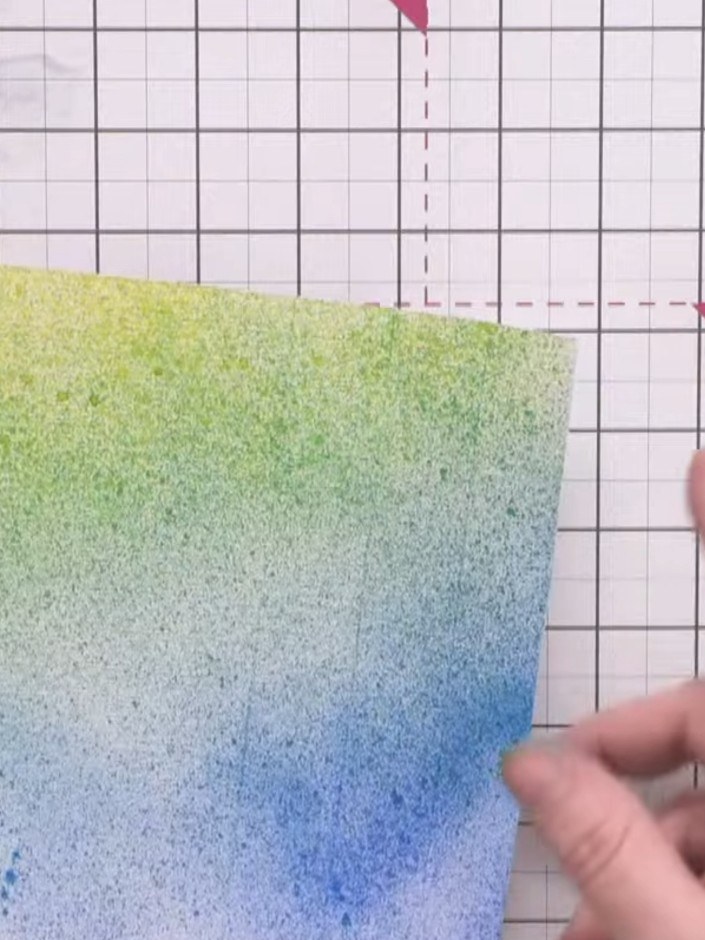
Fold the scored sections to create the tower effect, alternating which strips fold upwards and downwards on each side of the card.
▶ diesen Schritt ansehen (6:30)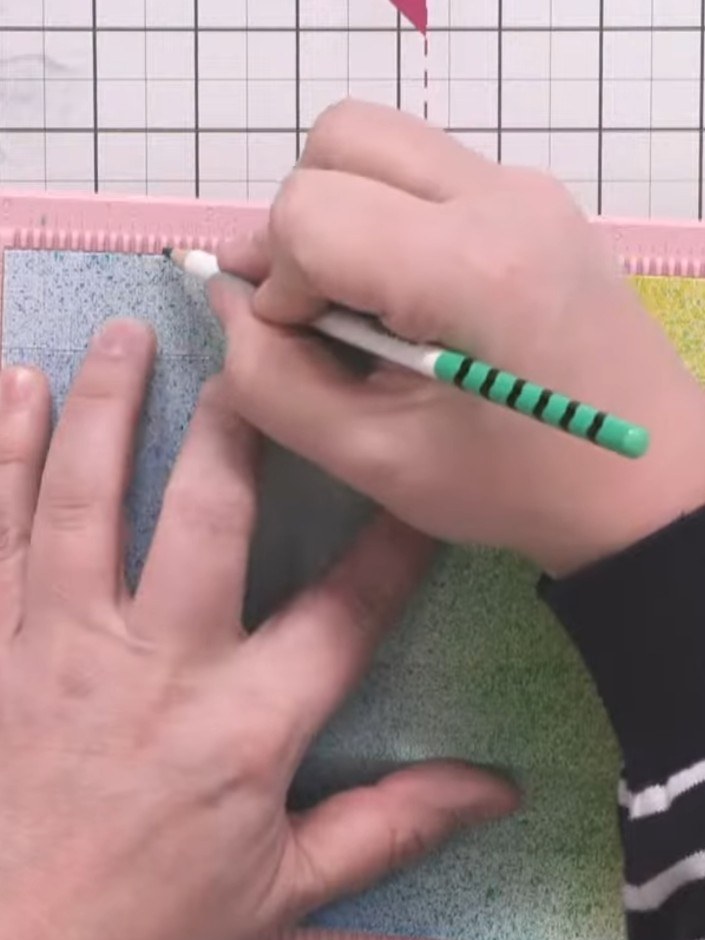
Using a pencil and the scoring mat as a ruler, mark half-inch increments along the length of the glitter card piece.
▶ diesen Schritt ansehen (7:00)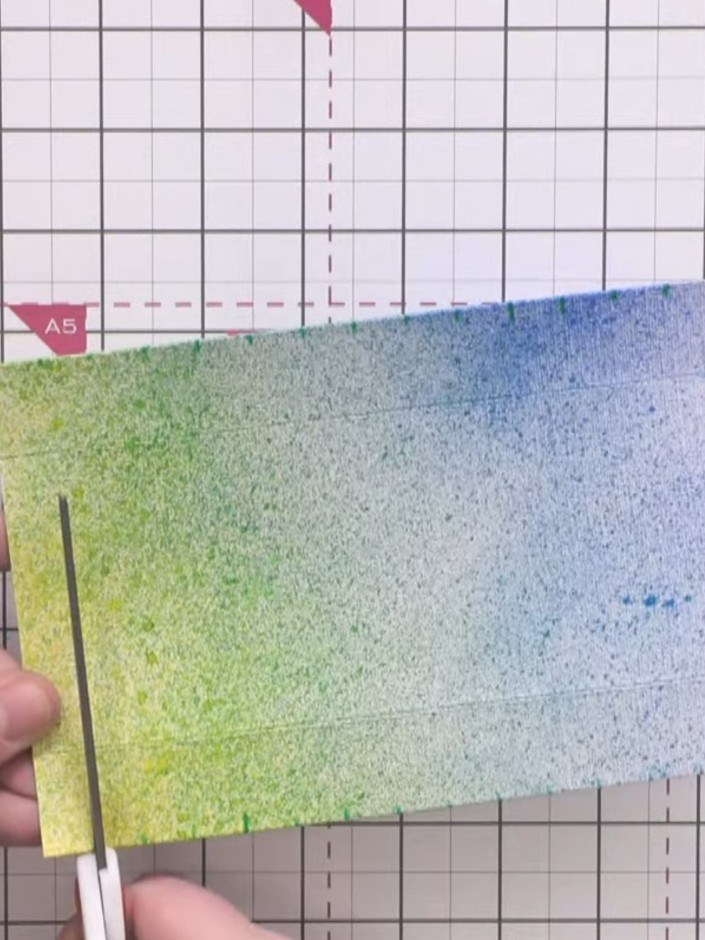
Cut vertical slits down to the first score line at each half-inch mark using scissors. Make sure the slits are evenly spaced along the bottom edge of the gradient panel.
▶ diesen Schritt ansehen (8:15)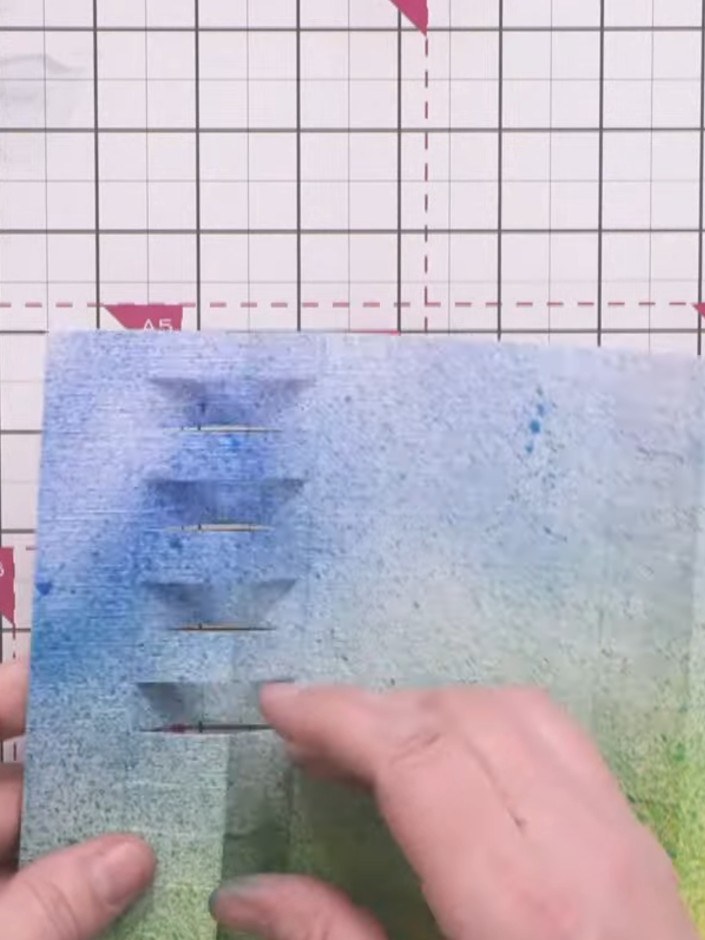
Push alternate slits inward to create the dimensional tower pattern. Use a bone folder to crease each fold firmly. Work down the row, pushing one slit down and leaving the next, to form the stepped tower effect.
▶ diesen Schritt ansehen (9:45)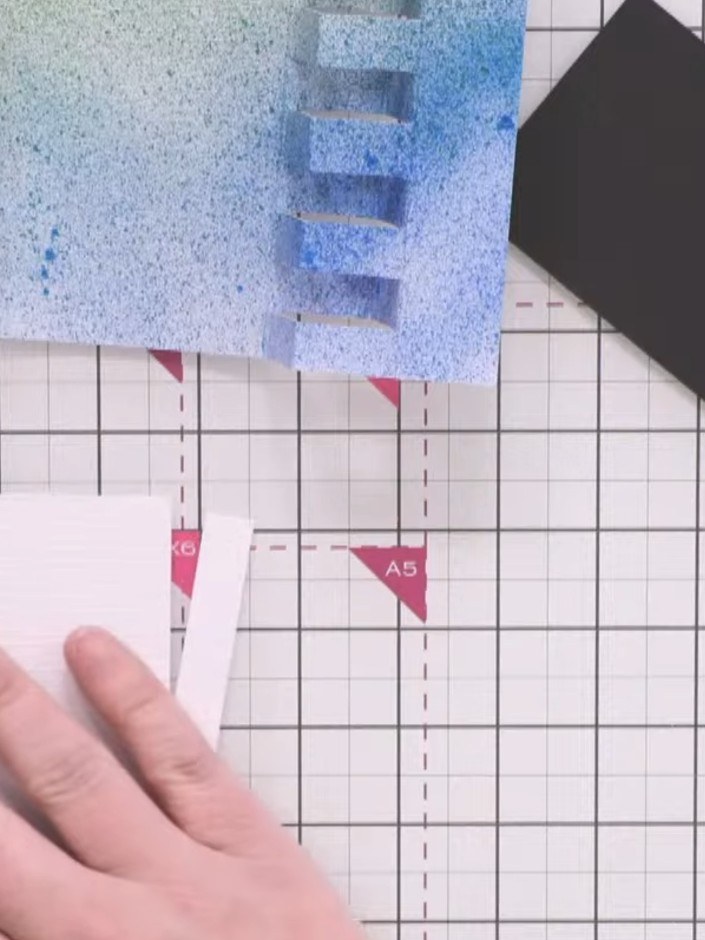
Cut decorative panels from your chosen patterned paper measuring 6½ by 2½ inches for the centre panel and ½ by 6½ inches for the outer strips. Cut matching pieces from black cardstock.
▶ diesen Schritt ansehen (12:00)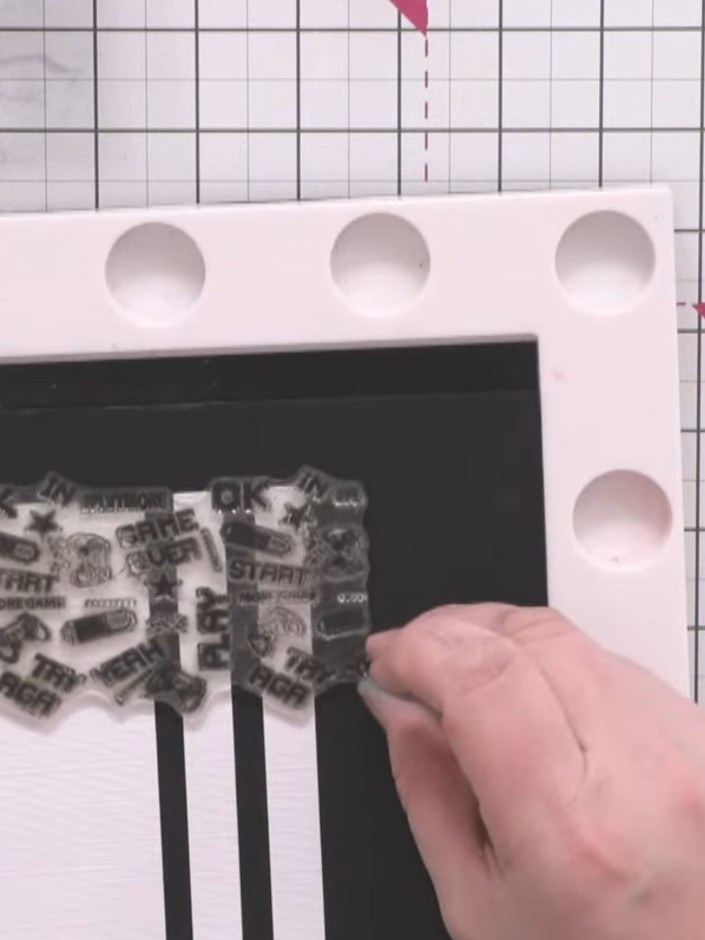
Stamp the gaming-themed background images onto the decorative panels using black hybrid ink. Position the stamps to create a continuous, repeating pattern across the panels.
▶ diesen Schritt ansehen (12:45)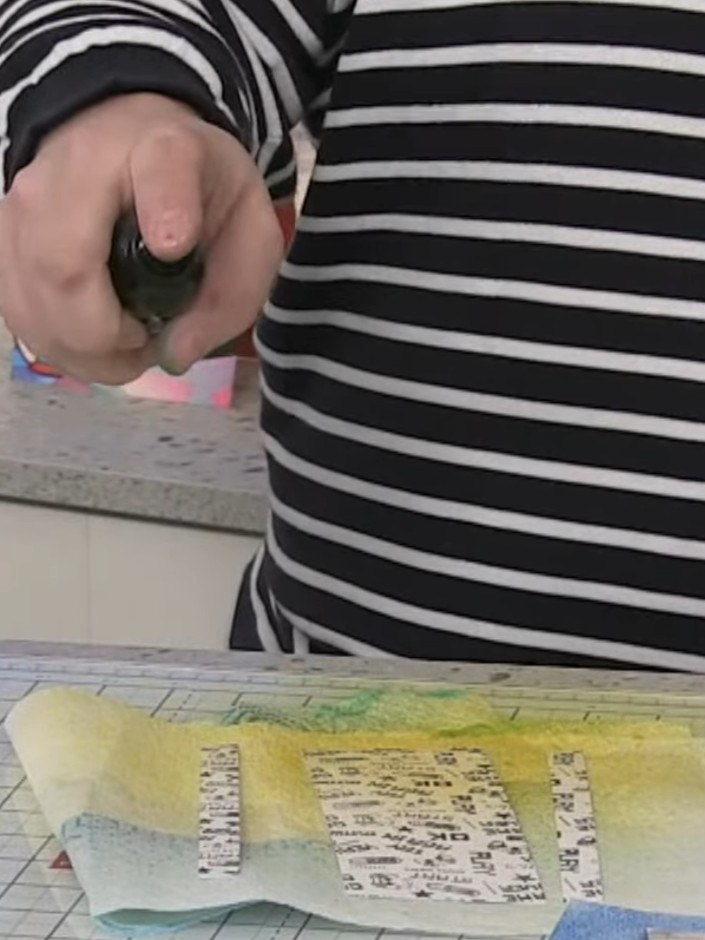
Spray the stamped panels with yellow Izink spray on the lower section and blue Izink spray on the upper section, creating a gradient opposite to the card base.
▶ diesen Schritt ansehen (15:15)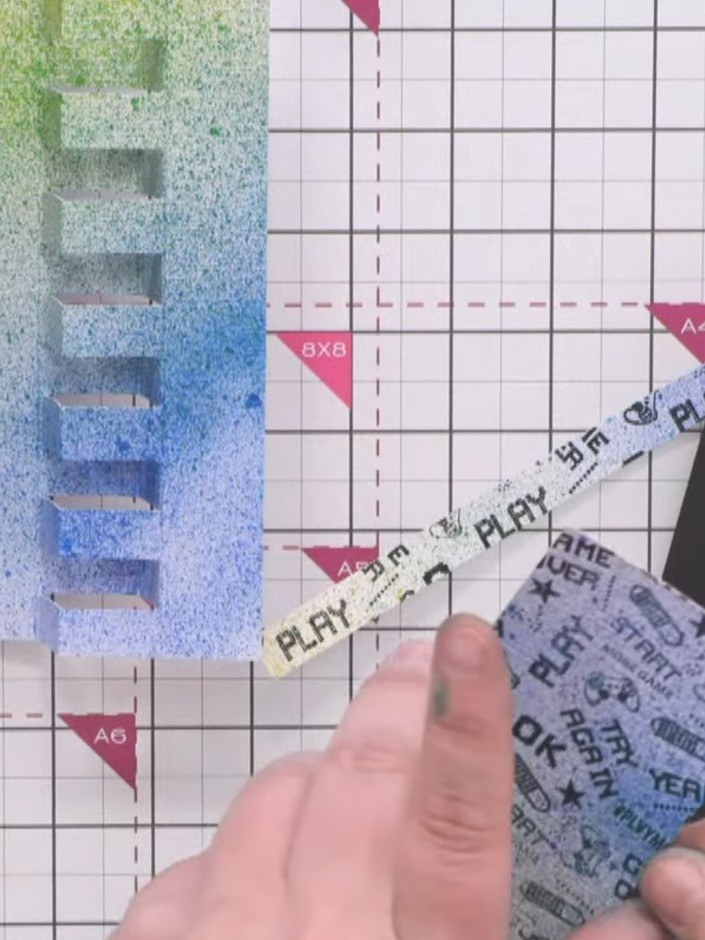
Apply wet glue to the back of each matted decorative panel and adhere them to the tower card base. Ensure the panels are centred and pressed down firmly for a secure bond.
▶ diesen Schritt ansehen (17:00)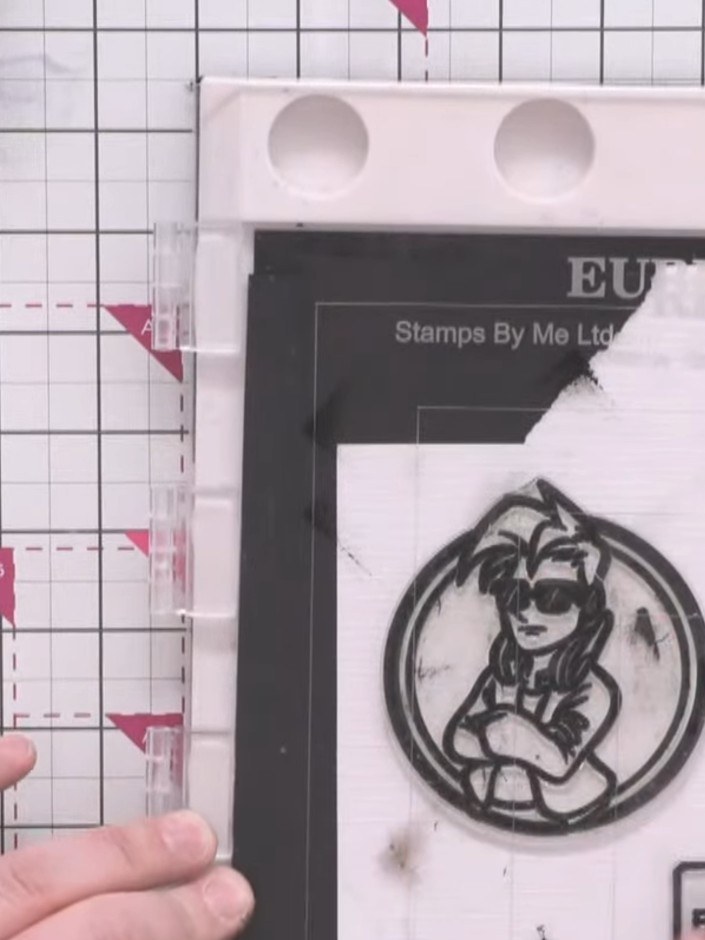
Stamp the character image (Crash) onto white card using black ink. Fussy cut around the character to remove the background.
▶ diesen Schritt ansehen (19:30)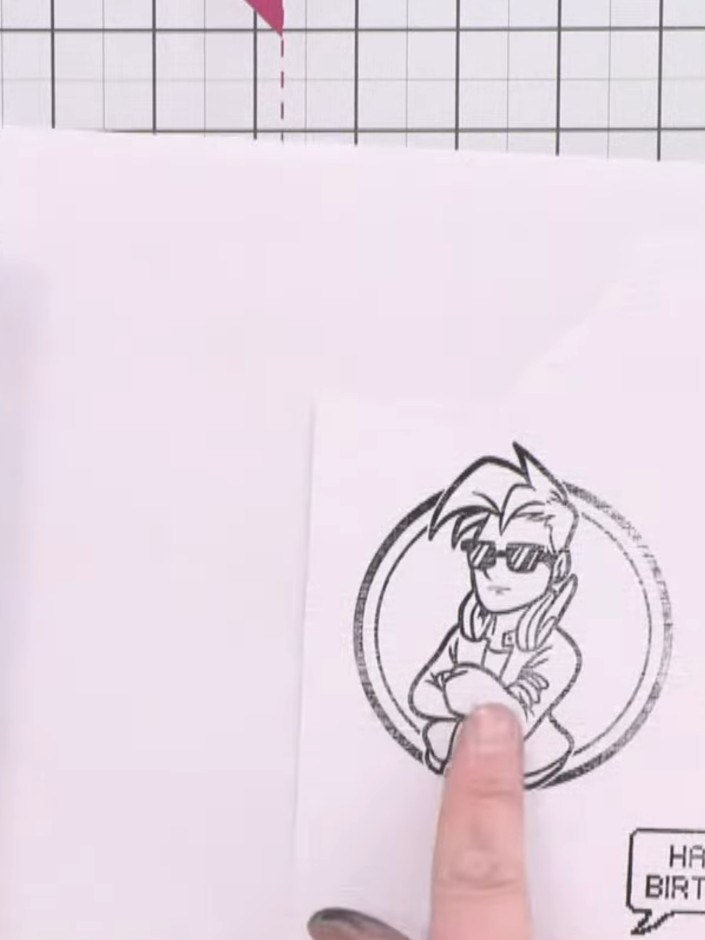
Position the fussy-cut character image on the card front. Consider placement carefully to ensure it stands out against the gradient background and complements the 'Happy Birthday' sentiment below.
▶ diesen Schritt ansehen (20:45)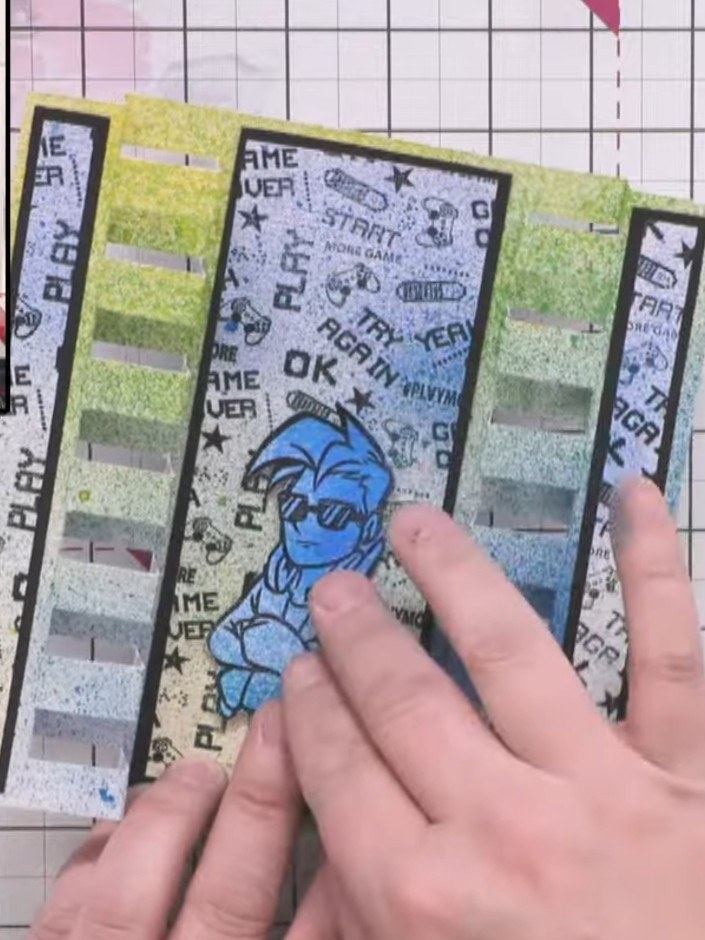
Attach foam pads to the back of the blue character and adhere it to the front of the card, positioning it centrally on the striped panel so it pops forward.
▶ diesen Schritt ansehen (24:45)Direkt aus der Show aufgeschrieben. Alle Anleitungen aus unseren Shows ansehen · kostenlose Anleitungen · live auf My Telly ansehen