Schenke deinen Freundinnen und Freunden 10 € Rabatt auf ihre erste Bestellung!
Freunde WERBEN








Ein Projekt aus unserer Live-Show CREATE TOGETHER CLUB - KAPITEL 2 - Sei bei Toni dabei in Inspirationsshow 2 mit dem zweiten Stempel der Kollektion SOMEBUNNY LOVES YOU - Ausgestrahlt am 11. Jan. 23 · 11.01.2023 · ab 11:15 ansehen
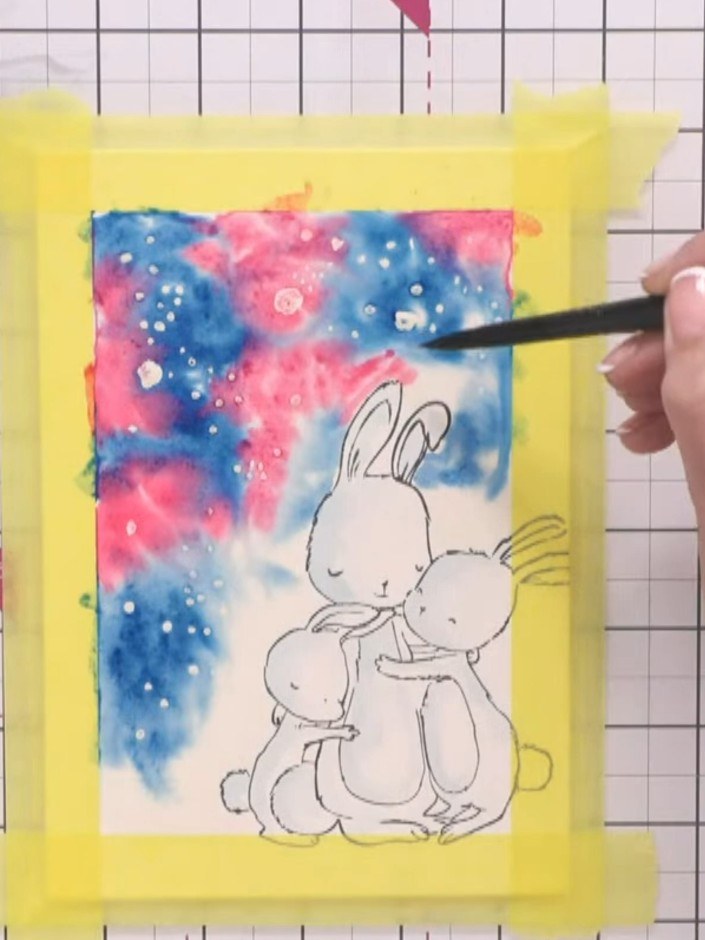
Create a charming watercolour card featuring adorable stamped bunnies against a magical Northern Lights-inspired background in vibrant purples, pinks and blues. Using masking fluid to preserve white snowy spots, you'll layer watercolours to build depth, then add hand-painted silhouette foliage and sparkle for a truly artistic finish. The result is a stunning handmade piece with the sentiment 'All mine!' that captures the wonder of a starlit winter sky.
DIESE ANLEITUNG HERUNTERLADEN (PDF)
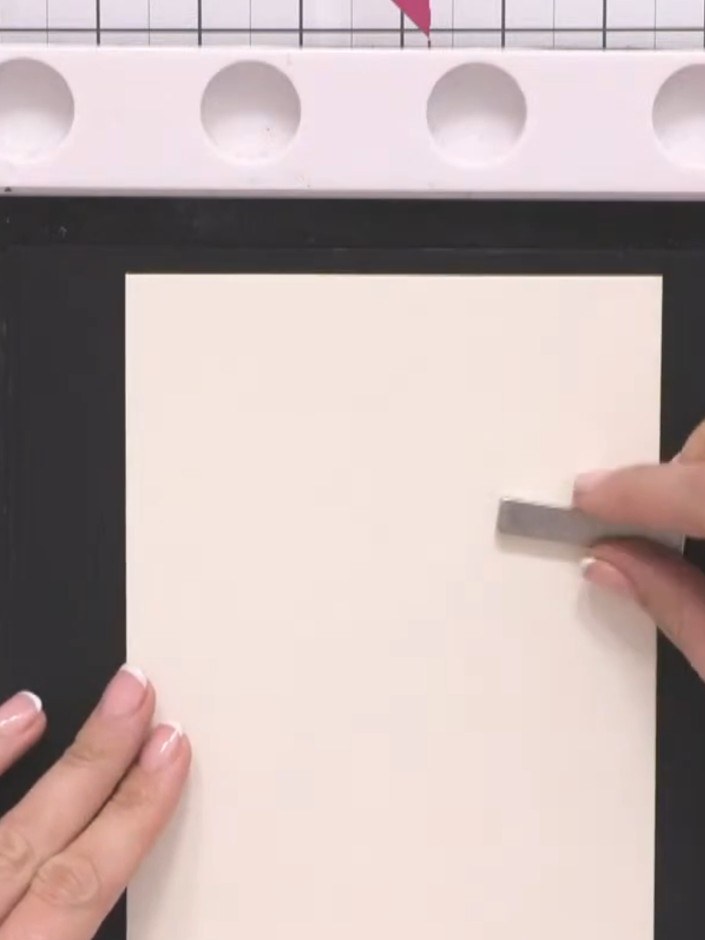
Place your bunny stamp in the corner of the cream watercolour card. Position it so the bunnies sit within the area that will be framed by your masking tape border.
▶ diesen Schritt ansehen (12:30)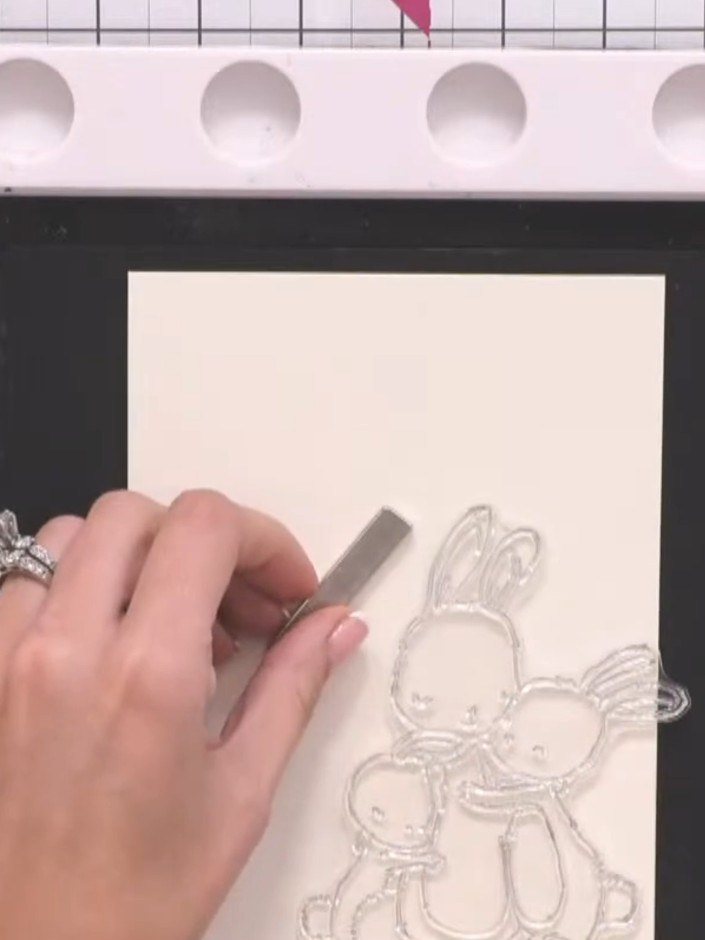
Stamp the bunny image in the corner of your card using black ink. Position the stamp carefully and press firmly to ensure a clear impression.
▶ diesen Schritt ansehen (12:45)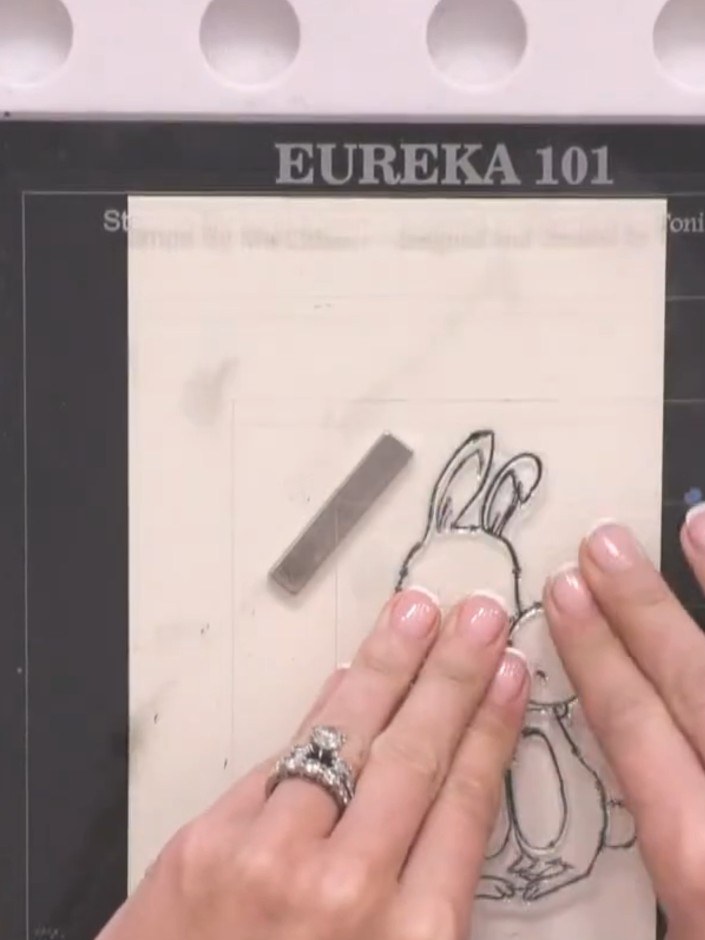
Dry the stamped bunny image completely using a heat tool. Hold the heat tool over the stamped design until the ink is fully dry.
▶ diesen Schritt ansehen (13:00)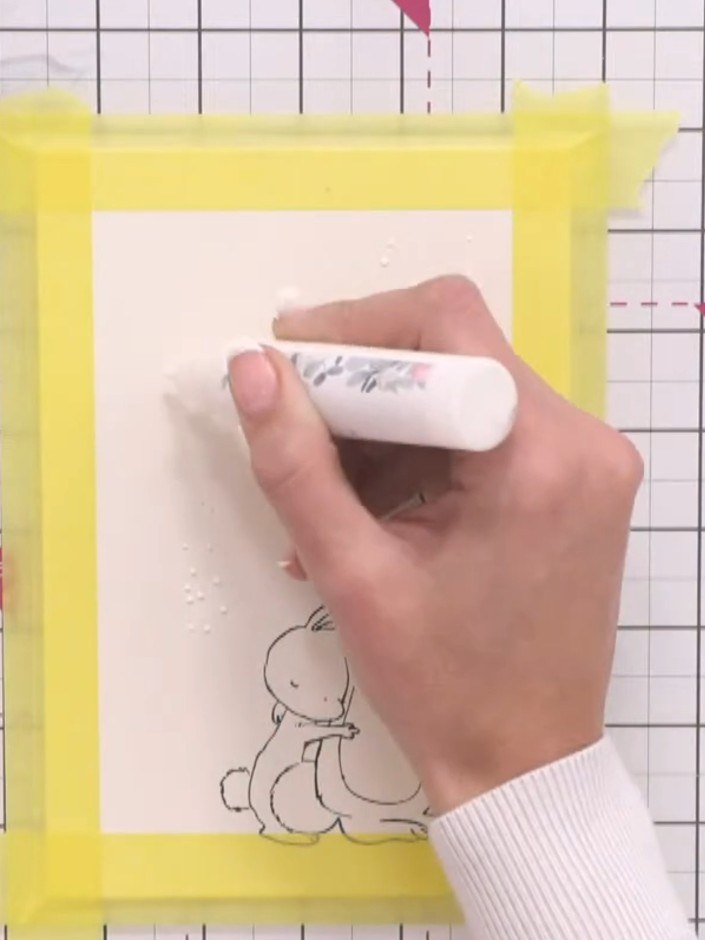
Apply masking fluid in random spots and blobs across the card to create a snowy effect, varying the size of the dots. Use a paintbrush to dab the masking fluid onto the card surface.
▶ diesen Schritt ansehen (16:15)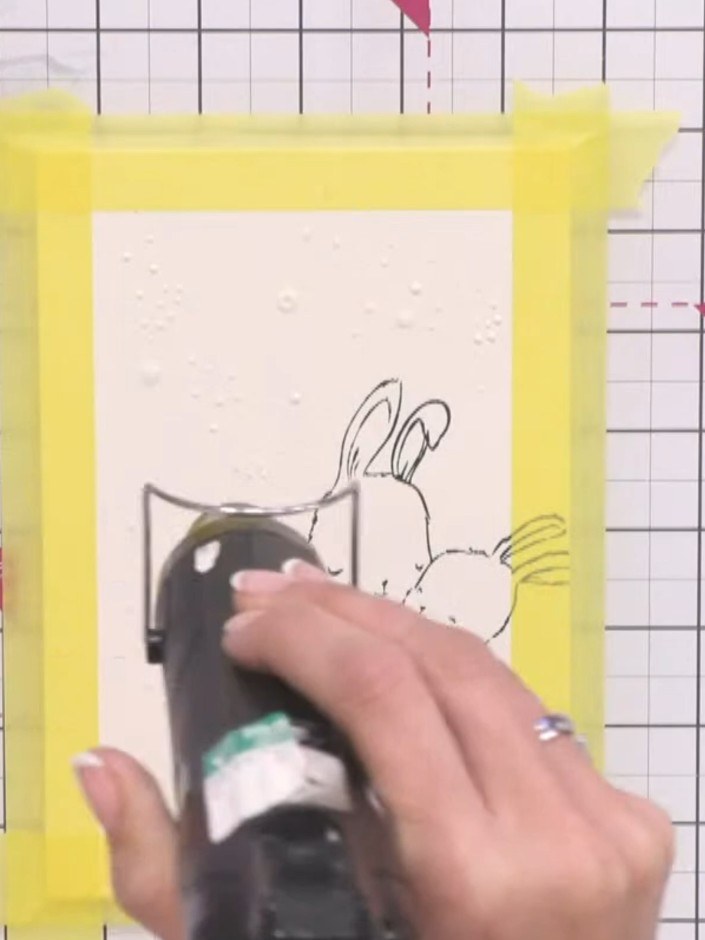
Allow the masking fluid to dry completely before proceeding. The masking fluid should be fully dry to the touch.
▶ diesen Schritt ansehen (18:30)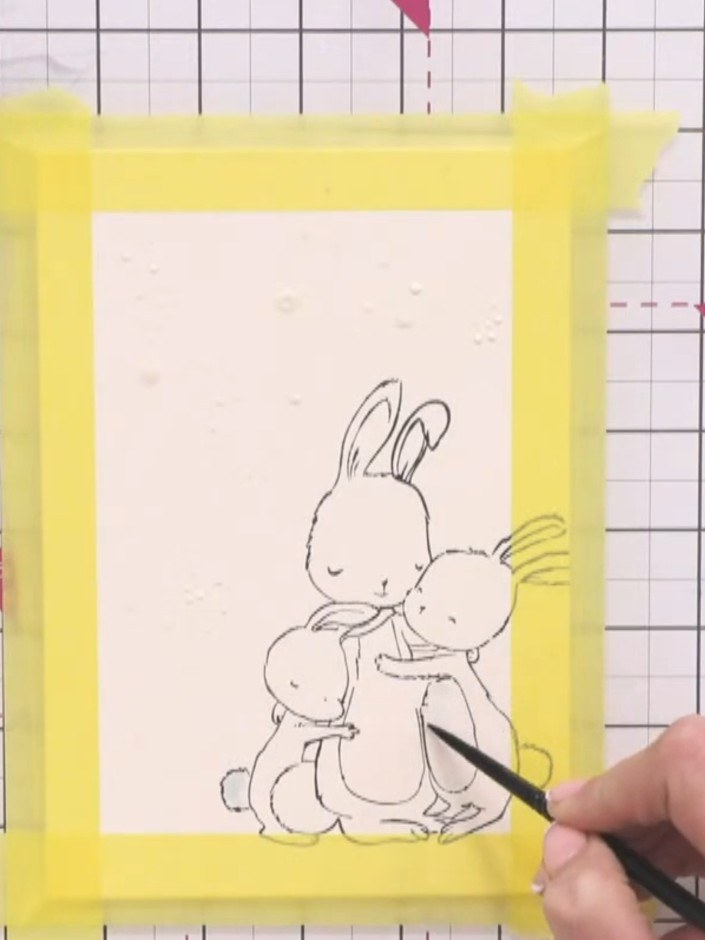
Using a very pale blue watercolour wash on your paintbrush, add subtle colour accents to the bunnies' tummies and ears to create a white, fluffy appearance with gentle shading.
▶ diesen Schritt ansehen (19:00)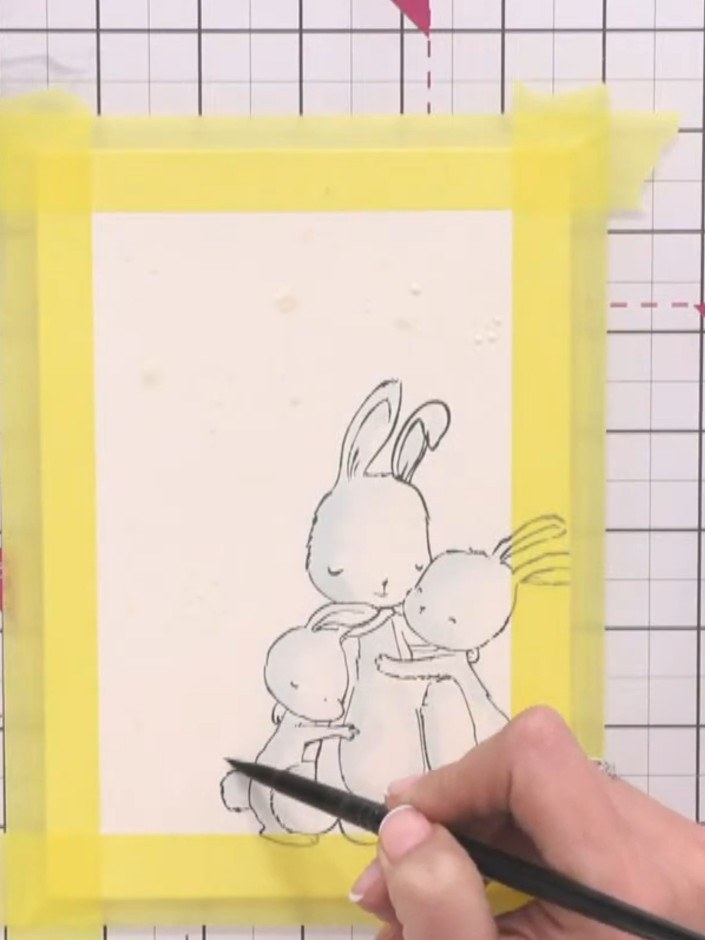
Using a clean paintbrush and water, wet the background area of your card around the stamped bunnies, being careful to avoid painting over the bunny images themselves.
▶ diesen Schritt ansehen (23:00)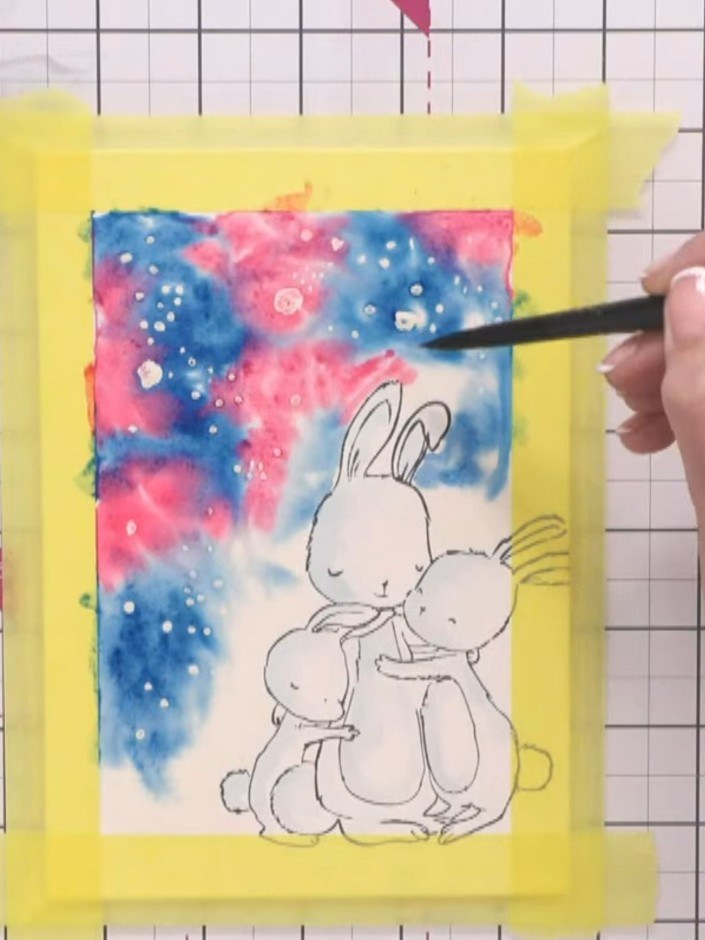
Drop Tiffany blue ink into the wet background. Add magenta ink to create a Northern Lights effect, allowing the colours to blend naturally.
▶ diesen Schritt ansehen (24:45)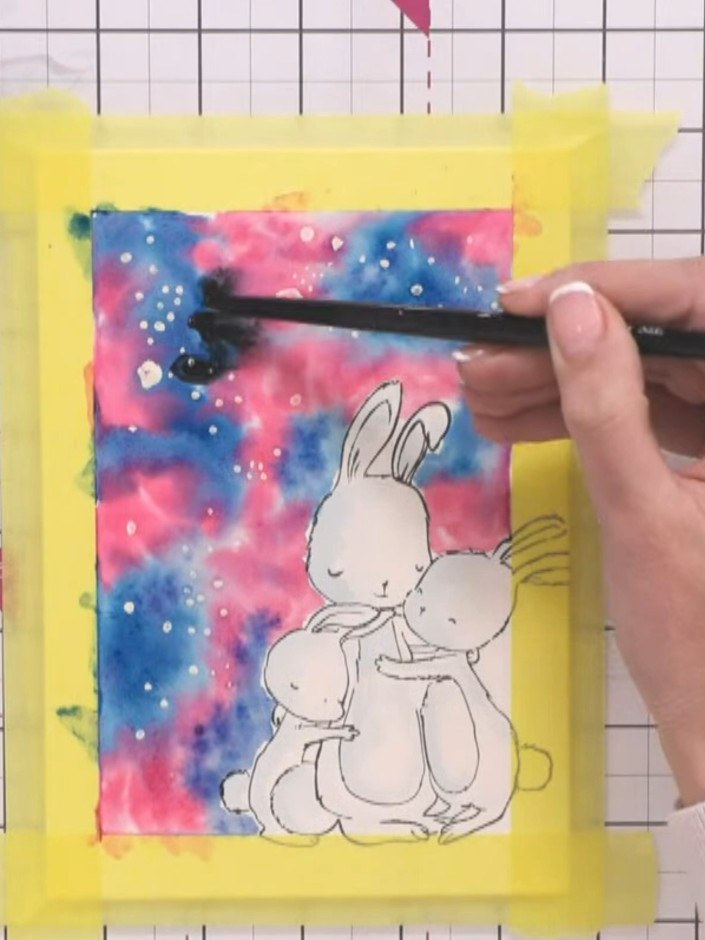
Add black watercolour to the galaxy background using a paintbrush to intensify the darker areas and create contrast with the bunny silhouette.
▶ diesen Schritt ansehen (27:30)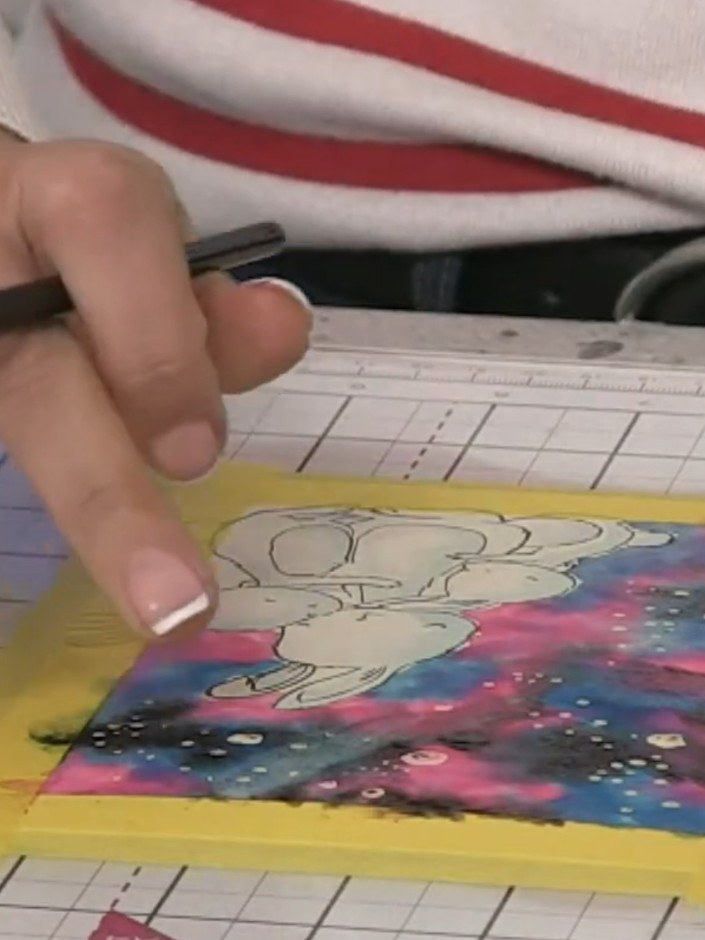
Use a thirsty brush technique by removing excess water from your brush and swiping it through the wet watercolour to create light streaks and Northern Lights effects in the galaxy background.
▶ diesen Schritt ansehen (28:45)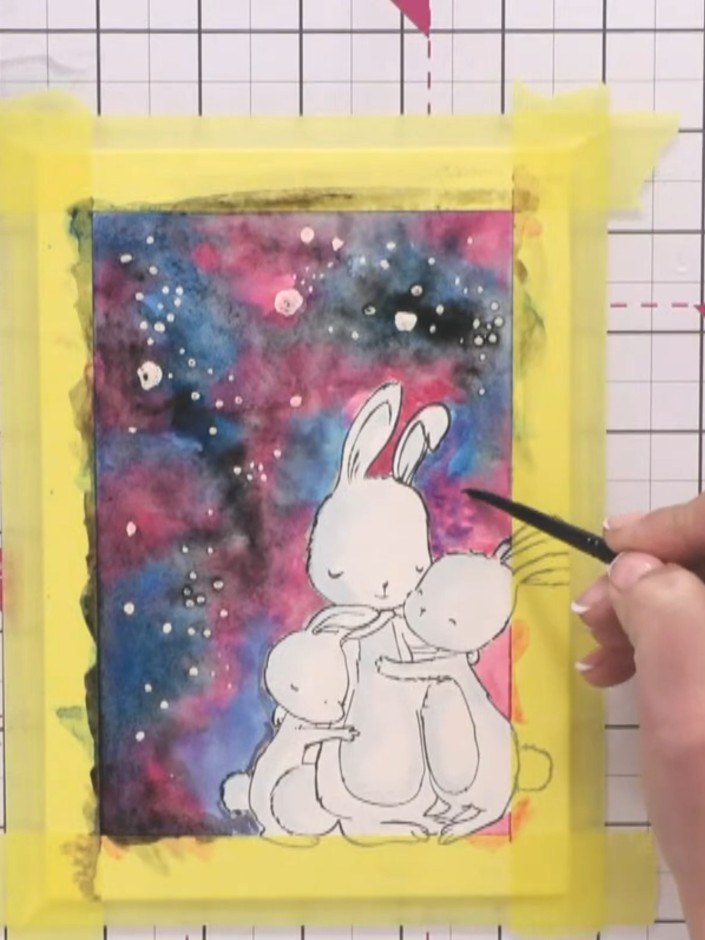
Allow the watercolour background to dry completely before proceeding to the next step.
▶ diesen Schritt ansehen (32:00)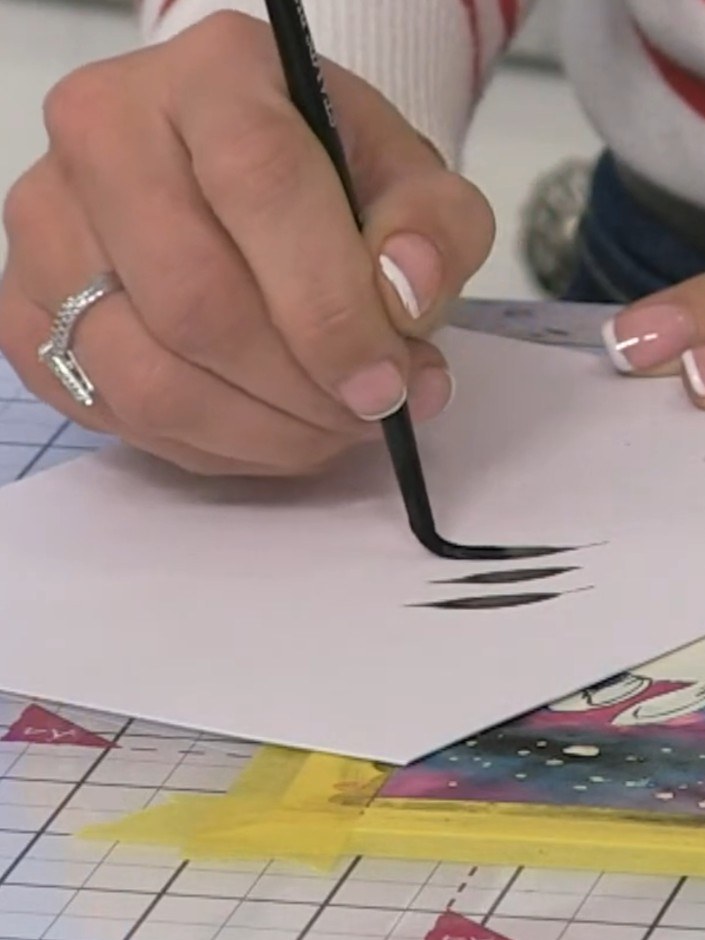
Using a medium paintbrush and black watercolour, freehand paint silhouette foliage around the bunnies. Use a toe-belly-toe brush stroke technique to create leaves and branches.
▶ diesen Schritt ansehen (34:00)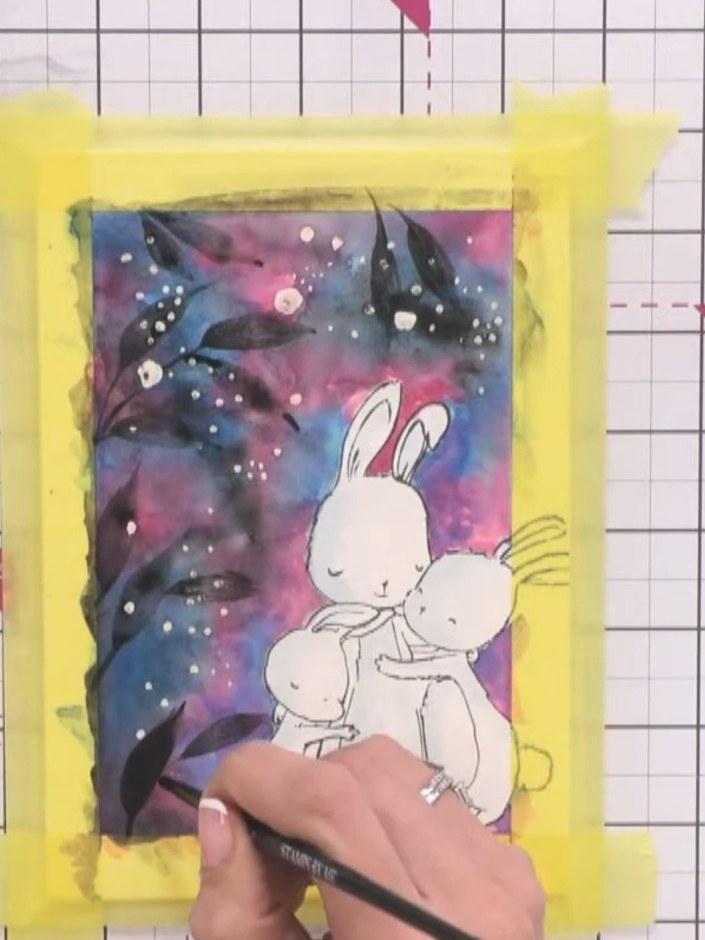
Go over the silhouette lines of the bunnies a second time with your brush to darken them and make them more defined.
▶ diesen Schritt ansehen (37:30)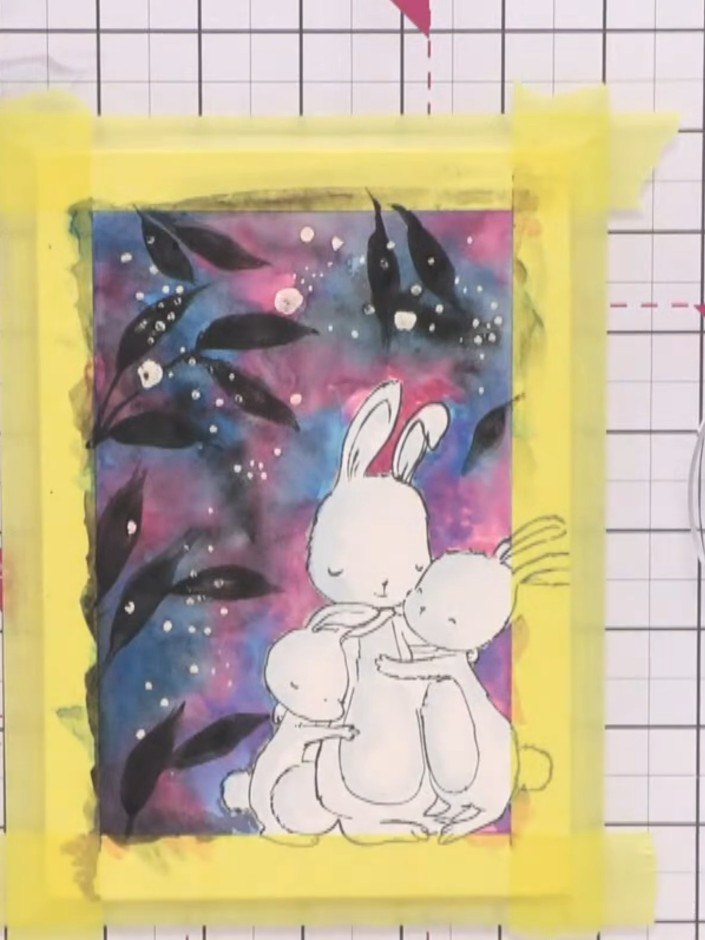
Allow the watercolour background and masking fluid to dry completely before proceeding to the next step.
▶ diesen Schritt ansehen (39:45)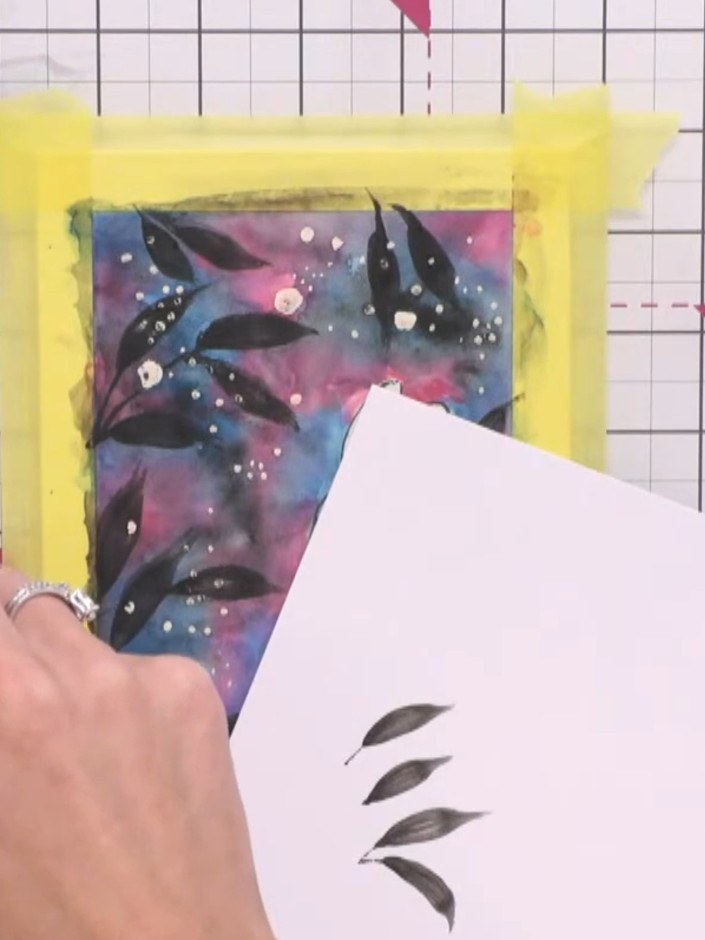
Gently rub away the masking fluid with your finger to reveal the white card underneath, creating snowy spots on your watercolour background.
▶ diesen Schritt ansehen (40:00)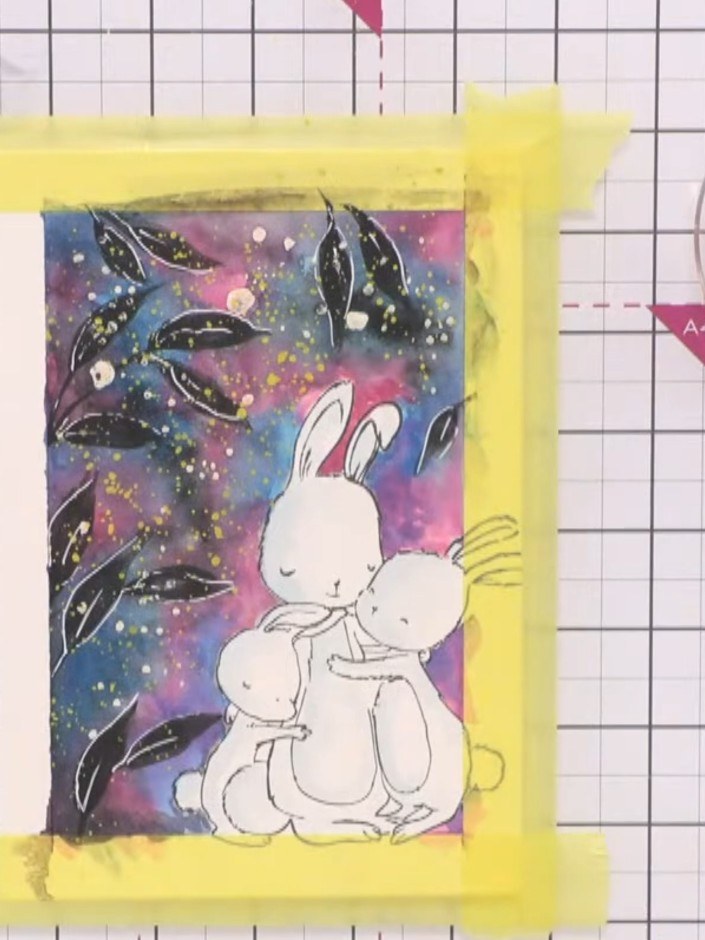
Add gold confetti ink splats to the background using a paintbrush for extra sparkle and texture. Flick or dab the ink randomly across the galaxy background area.
▶ diesen Schritt ansehen (42:45)Direkt aus der Show aufgeschrieben. Alle Anleitungen aus unseren Shows ansehen · kostenlose Anleitungen · live auf My Telly ansehen
