Schenke deinen Freundinnen und Freunden 10 € Rabatt auf ihre erste Bestellung!
Freunde WERBEN








Ein Projekt aus unserer Live-Show Create and Craft Show 12. JAN. - Produktvorschau - Sei dabei, wenn Toni ihre neuesten Inspirationen zeigt - Ausgestrahlt am 10. JAN. 22 · 10.01.2023 · ab 35:45 ansehen
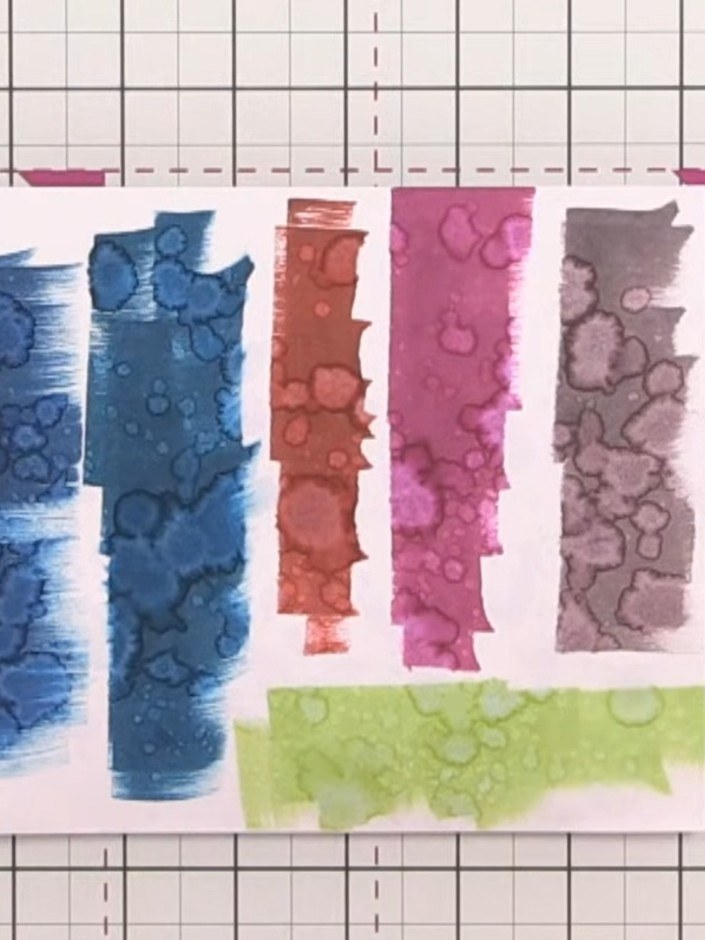
Create stunning watercolour backgrounds using water-reactive ink pads in vibrant blues, pinks, coral, and lime green. This technique demonstrates how spraying water onto stamped patterns creates beautiful organic textures and flowing colour gradients. The result is a collection of artistic strips with unique watercolour effects, perfect for card making and mixed media projects.
DIESE ANLEITUNG HERUNTERLADEN (PDF)
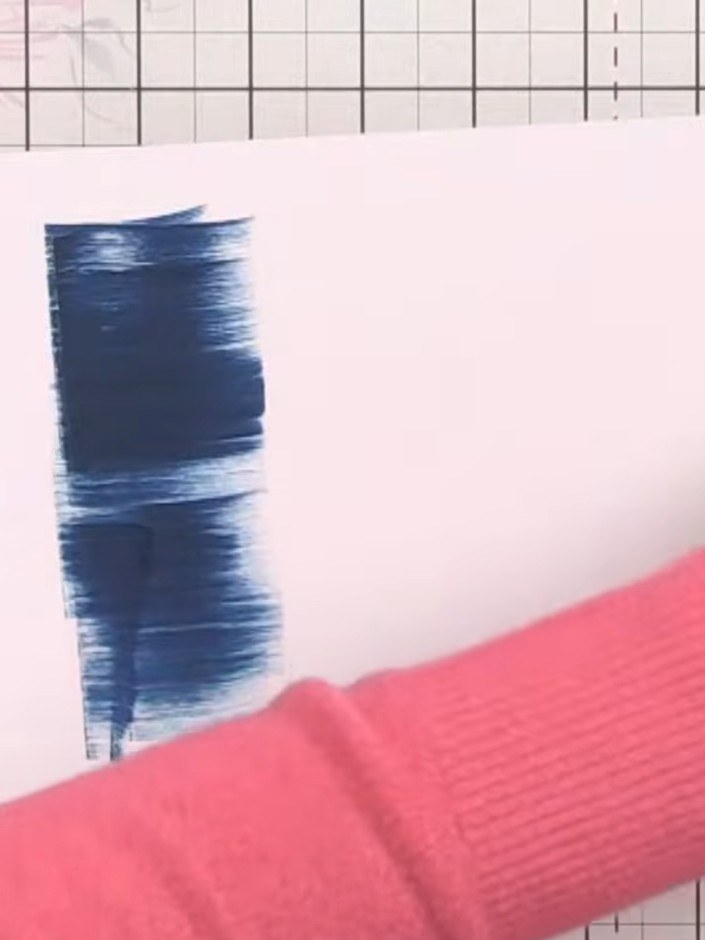
Apply blue ink directly onto white card stock using light tapping motions with the ink pad. Build up the colour by applying multiple layers in different areas to create variation in tone and texture.
▶ diesen Schritt ansehen (36:00)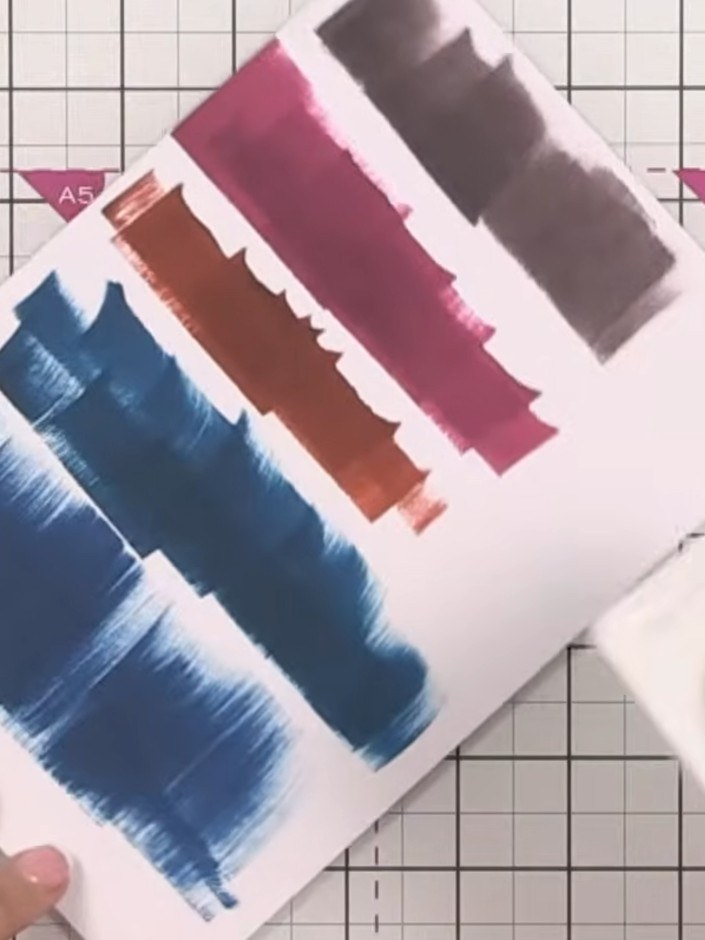
Allow the ink to dry slightly so the colours begin to lighten naturally. The blue, brown, pink and black ink strokes will fade as they dry on the white card.
▶ diesen Schritt ansehen (36:30)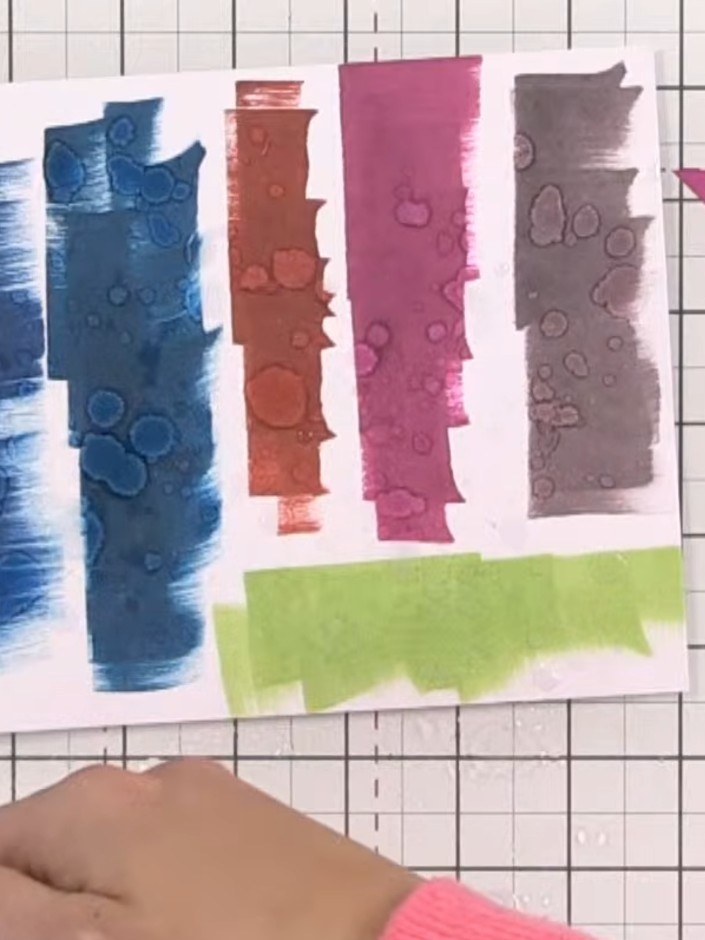
Spray water generously onto your hand to create a large puddle. Get plenty of water on so you'll see the texture you're wanting.
▶ diesen Schritt ansehen (38:15)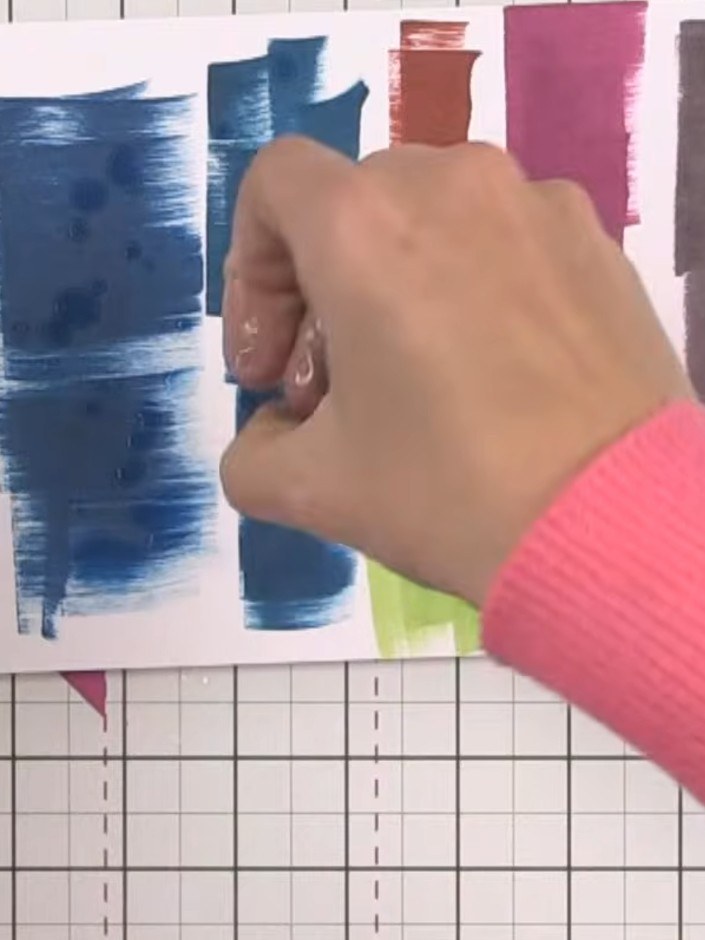
Apply water to the inked card using a water-soaked hand or spray bottle to activate the reactive ink. Create a puddle of water on the surface to allow the colours to blend and react together.
▶ diesen Schritt ansehen (38:30)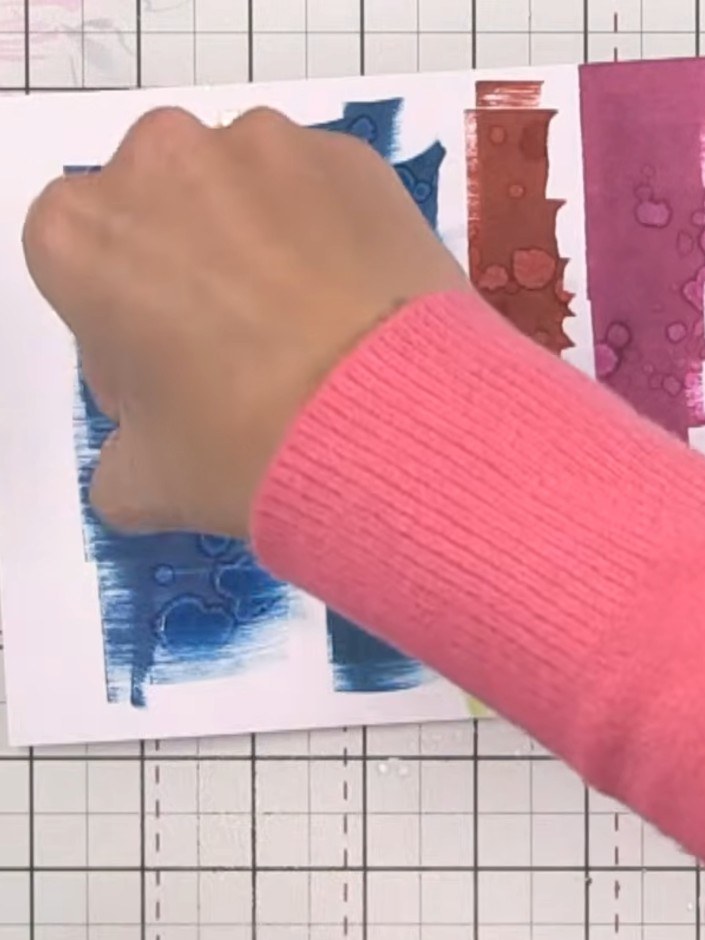
Wet the stamped areas with plenty of water using a wet wipe or damp cloth. Watch as the colours pull out to lighter shades, creating texture and movement across the card.
▶ diesen Schritt ansehen (39:00)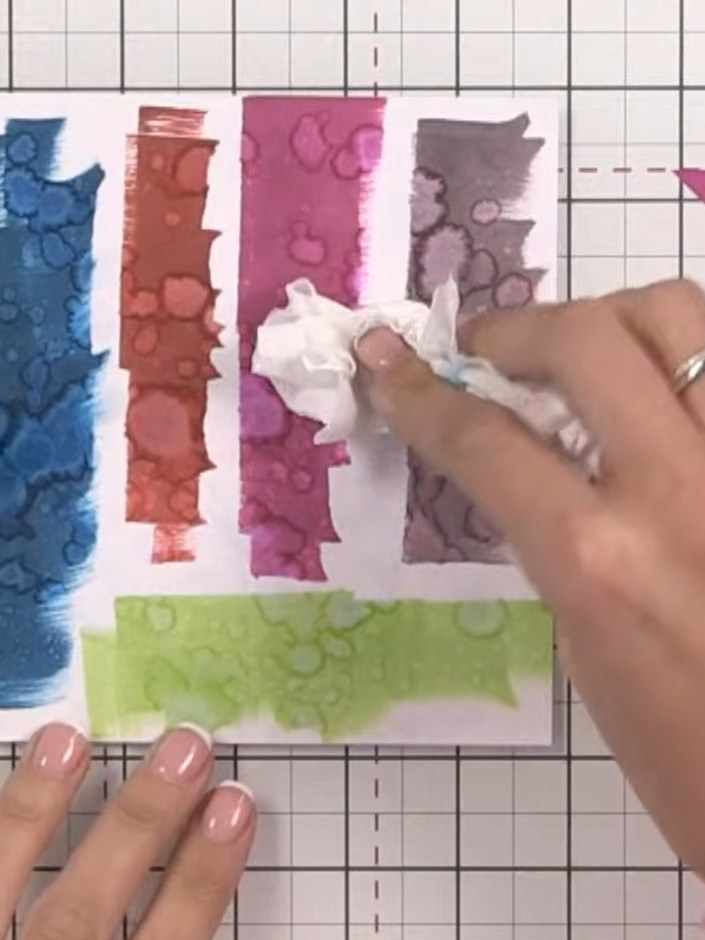
Gently dab the watercoloured paper with tissue to remove excess water and help blend the colours together for a smooth finish.
▶ diesen Schritt ansehen (39:30)Direkt aus der Show aufgeschrieben. Alle Anleitungen aus unseren Shows ansehen · kostenlose Anleitungen · live auf My Telly ansehen