Schenke deinen Freundinnen und Freunden 10 € Rabatt auf ihre erste Bestellung!
Freunde WERBEN








Ein Projekt aus unserer Live-Show 811138 - SBM Glow Time Lamination Stamps · 01.01.2023 · ab 0:45 ansehen
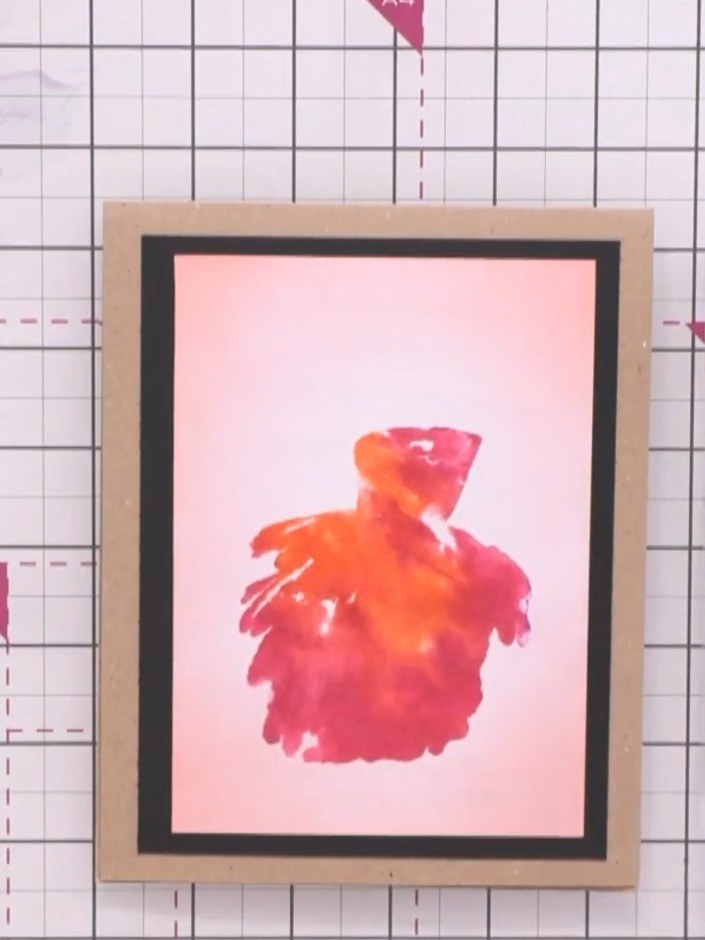
Create a stunning card featuring a lady in an elegant painted dress using a two-part lamination stamp system. The solid stamp is coloured with vibrant pink and coral inks, then water-sprayed to create a beautiful watercolour effect, before the outline stamp adds definition and detail. This technique produces a professional, artistic finish with a fashionable silhouette framed by bold black borders on a kraft card base.
DIESE ANLEITUNG HERUNTERLADEN (PDF)
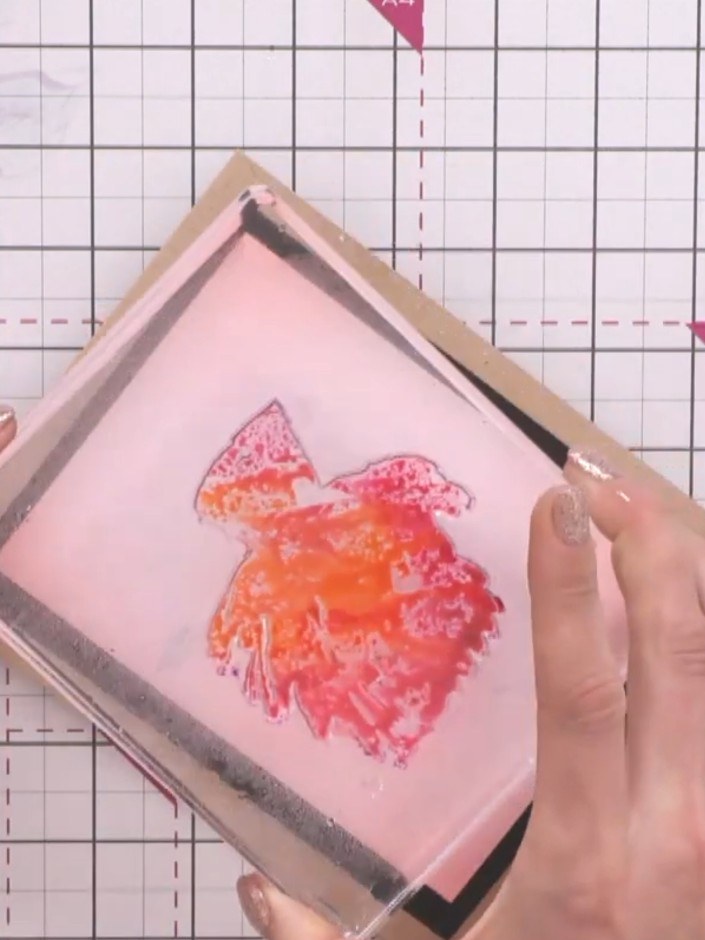
Take the solid portion of the lamination stamp and apply colour to it using orange and red ink sprays. Spray the ink directly onto the stamp surface to create a blended watercolour effect.
▶ diesen Schritt ansehen (0:45)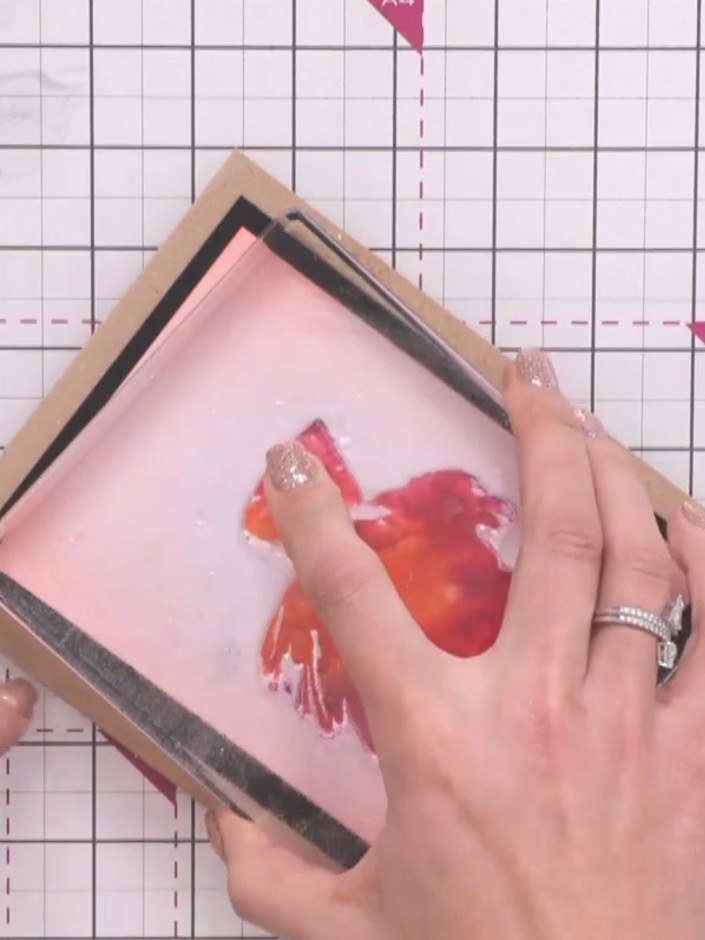
Spray the inked stamp with water to create a watercolour effect. The water beading on the surface is normal and will enhance the final result.
▶ diesen Schritt ansehen (1:00)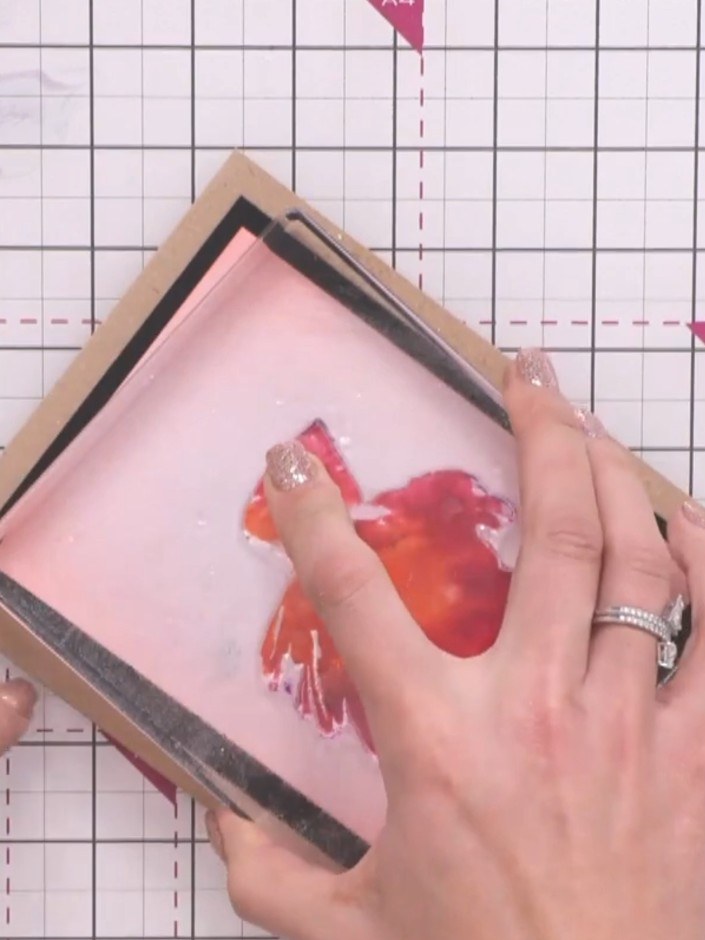
Press the stamp firmly onto the pink cardstock and hold it down to allow the cardstock to absorb the ink thoroughly.
▶ diesen Schritt ansehen (1:00)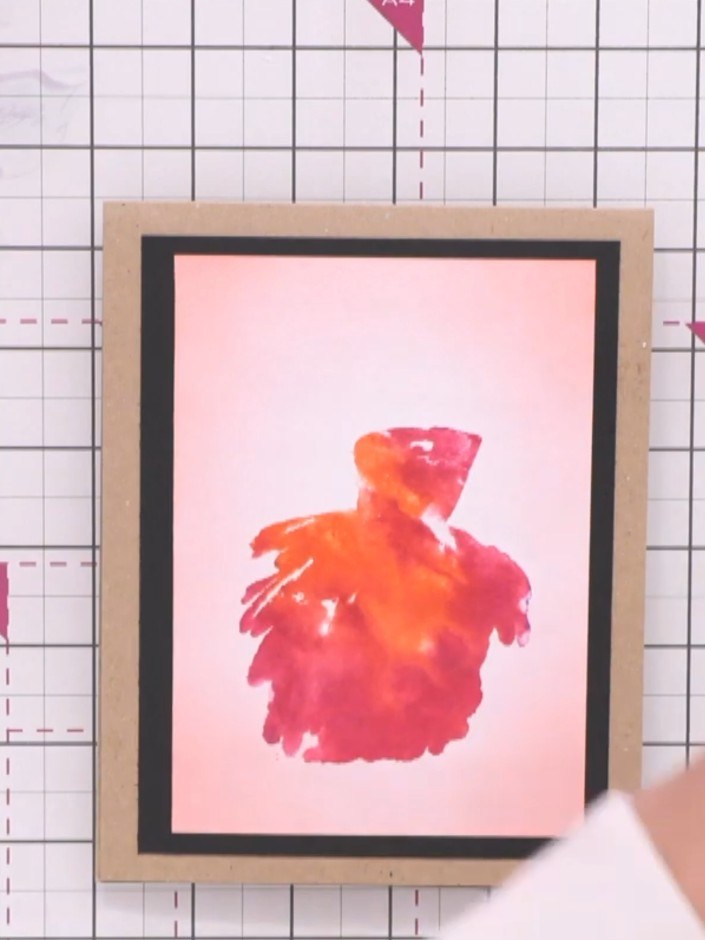
Carefully lift and remove the stamp to reveal the watercolour-effect painted dress design on the pink cardstock.
▶ diesen Schritt ansehen (1:15)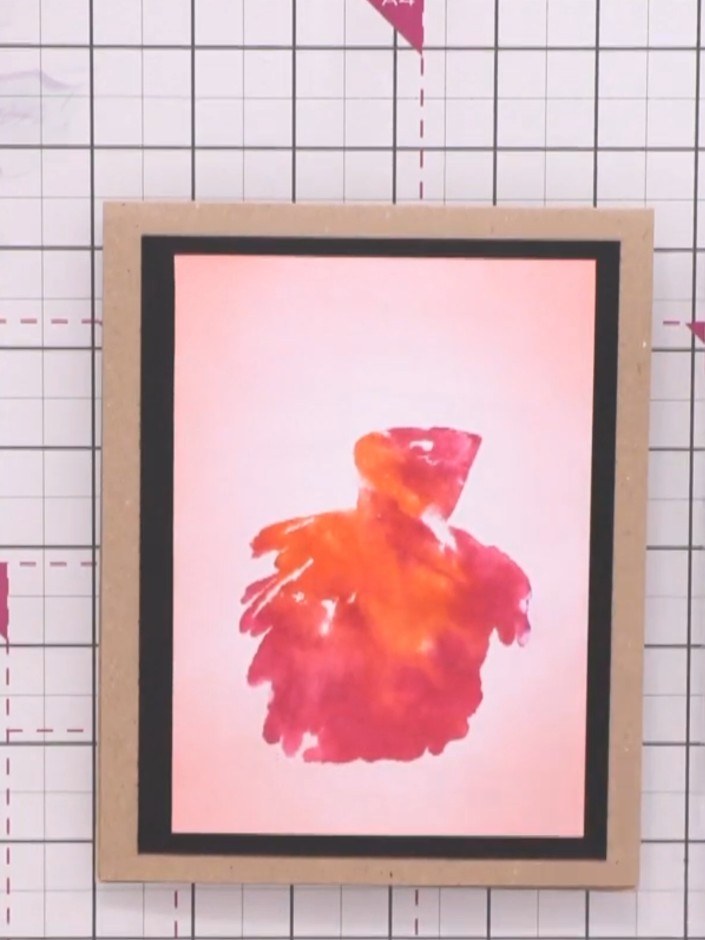
Take the outline stamp which contains the lady's face, arm and decorative dress elements. Position it over the stamped watercolour image, aligning it carefully with the dress shape.
▶ diesen Schritt ansehen (1:15)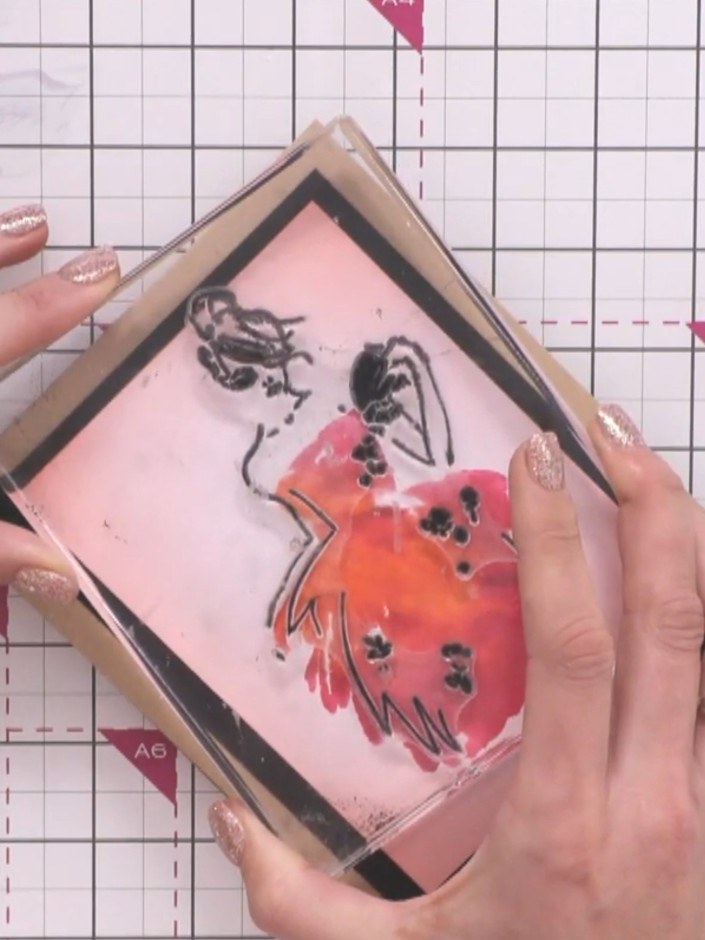
Ink up the outline stamp thoroughly with black or sparkly powder ink, ensuring even coverage across the entire stamp surface.
▶ diesen Schritt ansehen (1:30)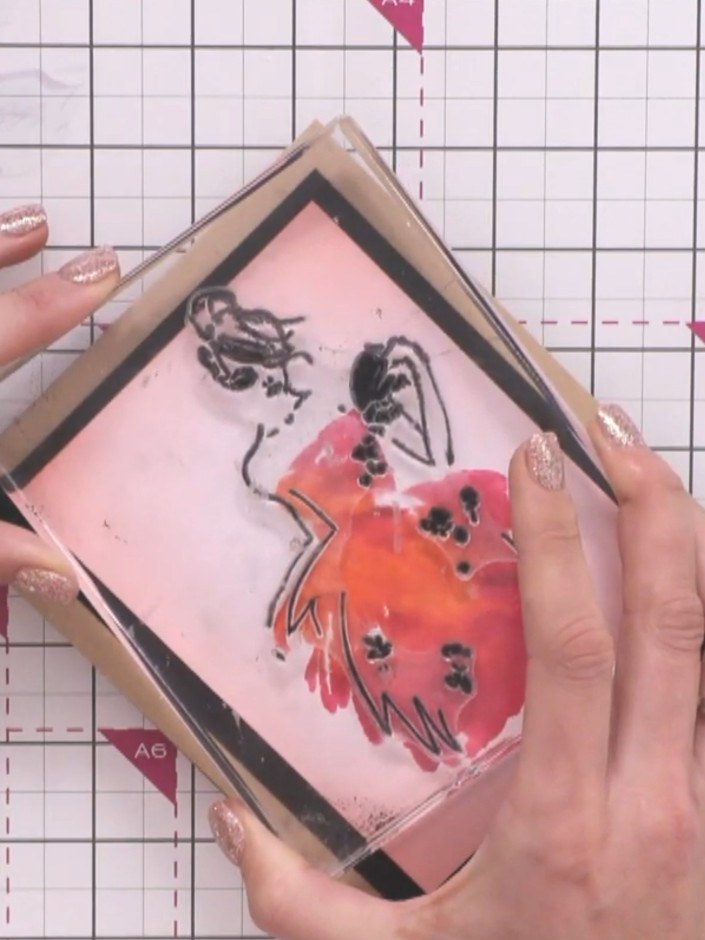
Position the outline stamp over the coloured dress area on the pink panel. Press down firmly and evenly to stamp the black outline design onto the card.
▶ diesen Schritt ansehen (1:30)Direkt aus der Show aufgeschrieben. Alle Anleitungen aus unseren Shows ansehen · kostenlose Anleitungen · live auf My Telly ansehen