Schenke deinen Freundinnen und Freunden 10 € Rabatt auf ihre erste Bestellung!
Freunde WERBEN








Ein Projekt aus unserer Live-Show MONDAY MADNESS - Sei bei Simons letzter Show vor Weihnachten mit AVAGO-INK dabei - Ausstrahlung 12. Dez. 22 · 12.12.2022 · ab 27:30 ansehen
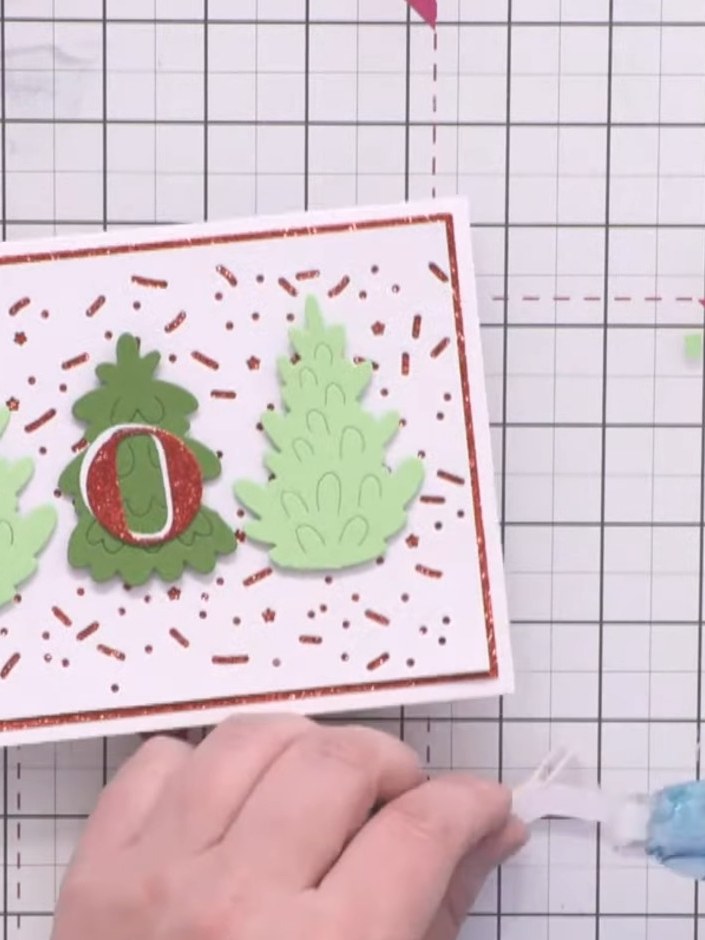
Create a festive Christmas card with a clean and simple design featuring three die-cut trees in varying shades of green. The trees are mounted on a white card panel decorated with a fun sprinkle background, layered onto red glitter card for added sparkle. Complete the design with a bold 'JOY' sentiment created from layered red glitter and white letters.
DIESE ANLEITUNG HERUNTERLADEN (PDF)
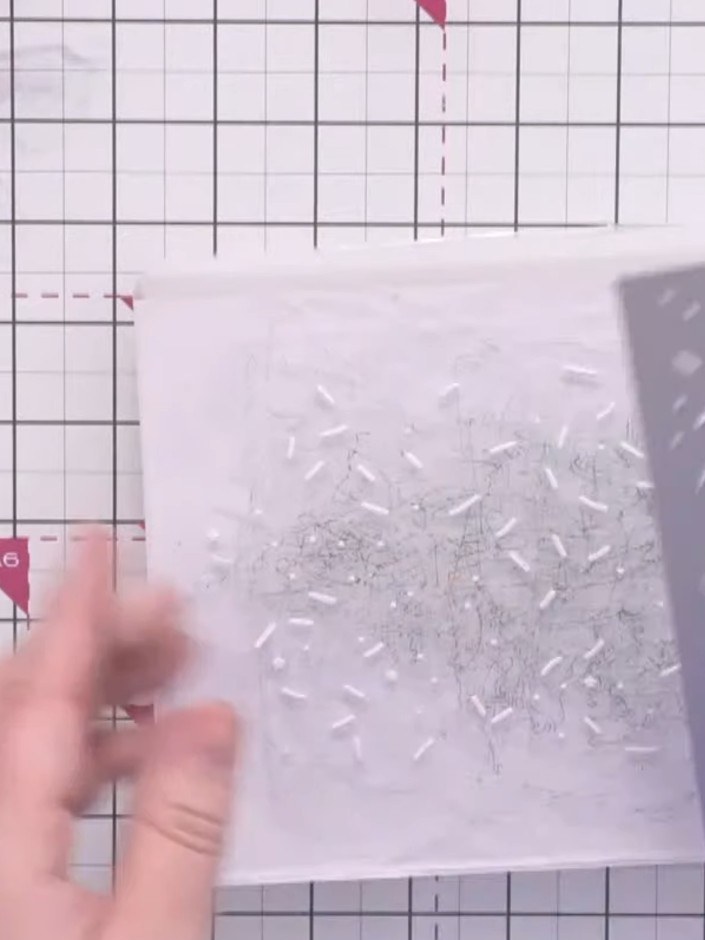
Die-cut the sprinkle background from white card using the A5 Sweet Sprinkles die, which features stars, sprinkles and dots creating a scattered pattern across the card.
▶ diesen Schritt ansehen (28:00)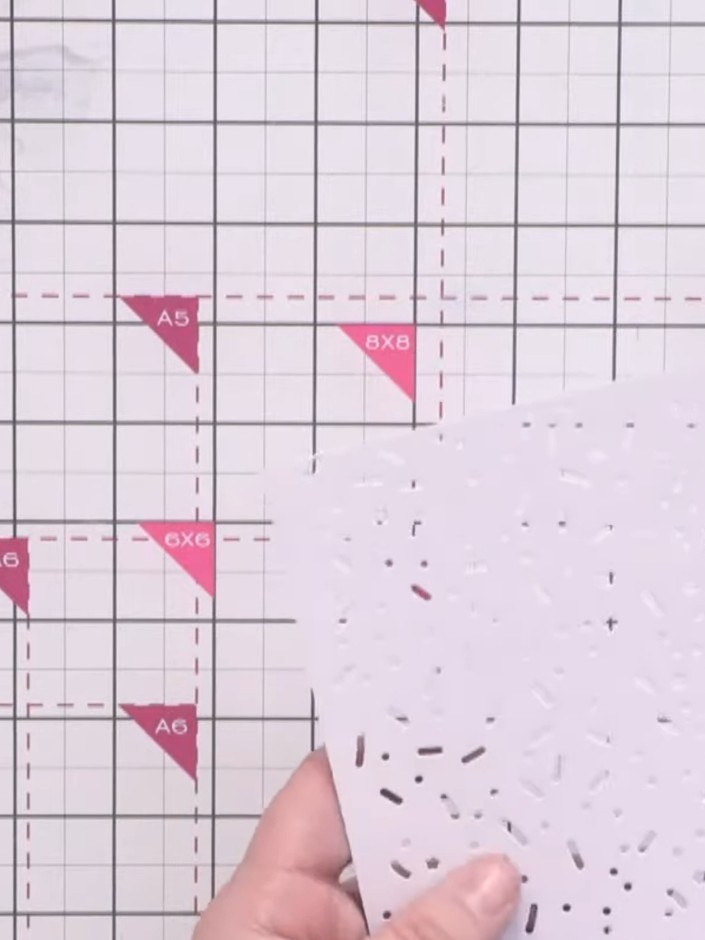
Brush away the small die-cut pieces from the sprinkle background die. Use a poker tool to release any stubborn offcuts from the die-cut card.
▶ diesen Schritt ansehen (28:30)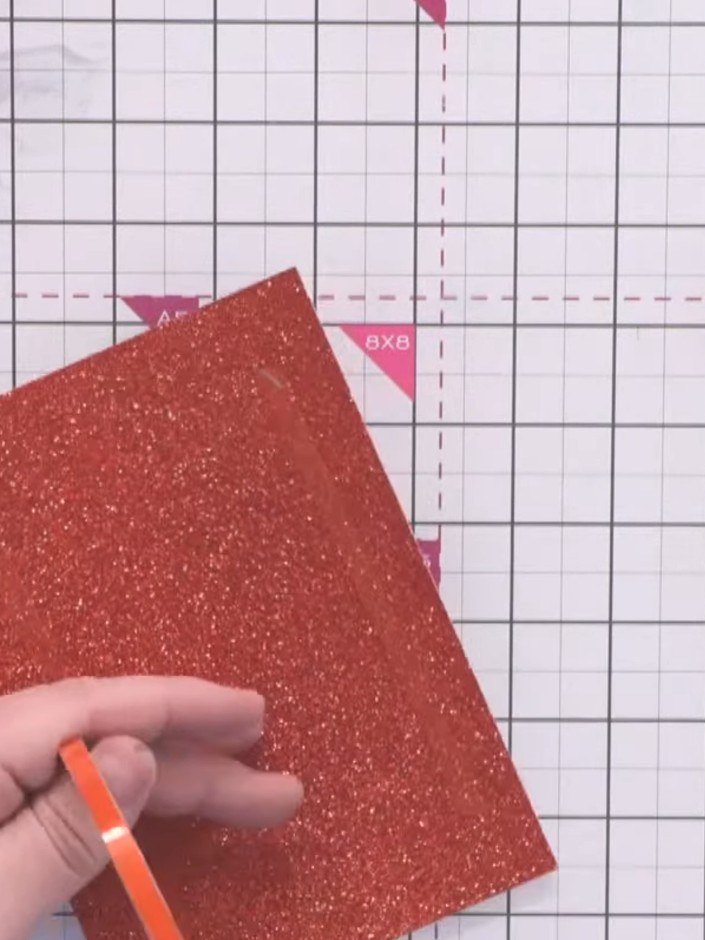
Mount the sprinkle background onto red glitter card using red line tape, positioning it centrally.
▶ diesen Schritt ansehen (29:45)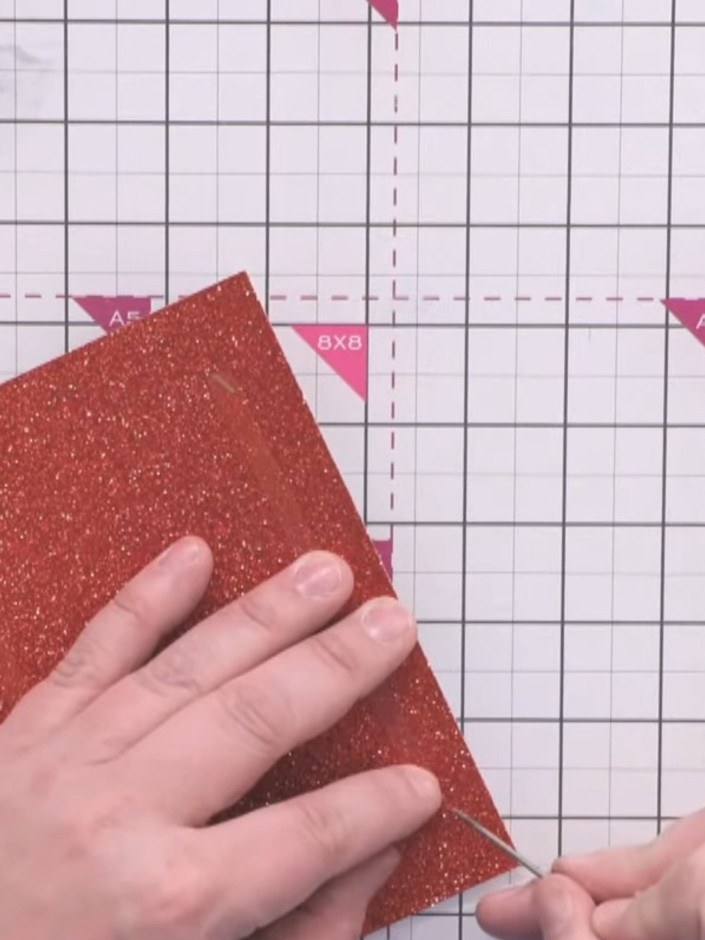
Attach the red glitter card layer onto your white card blank, positioning it centrally.
▶ diesen Schritt ansehen (30:00)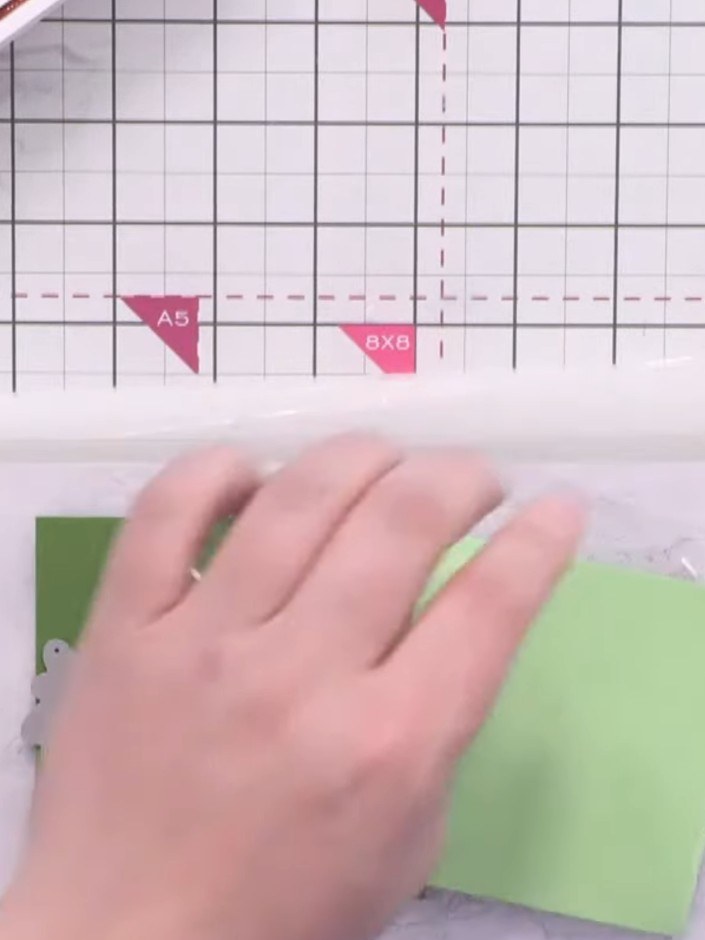
Die-cut one tree from dark green textured card using the terrific trees die.
▶ diesen Schritt ansehen (32:00)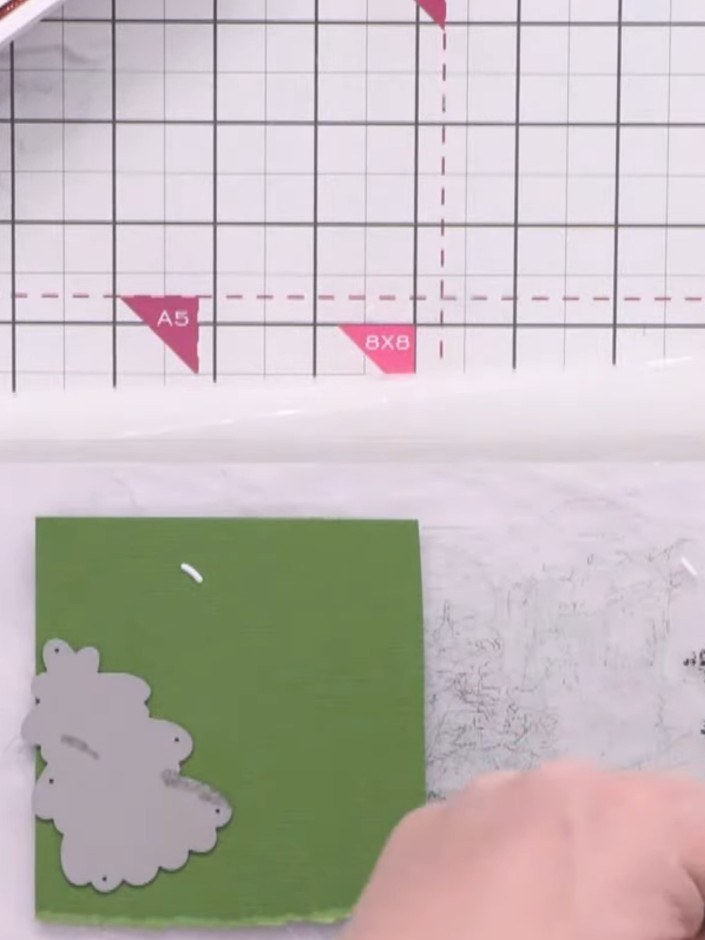
Die-cut two trees from light green textured card using the Terrific Trees die.
▶ diesen Schritt ansehen (32:15)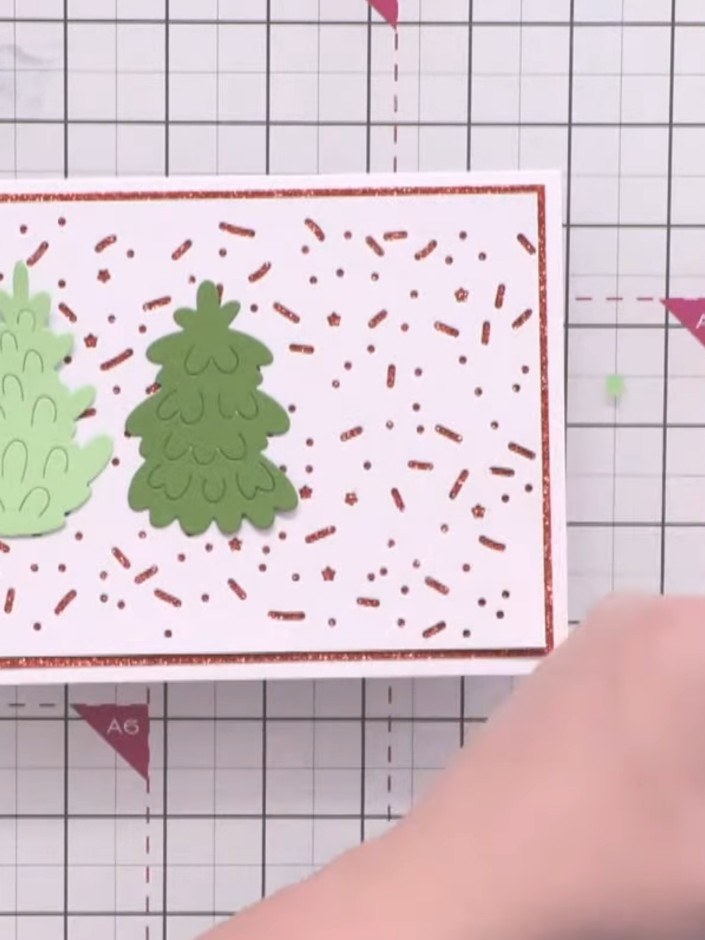
Trim the lighter green trees to a similar height. Gently curl the trees to give them shape and dimension.
▶ diesen Schritt ansehen (33:45)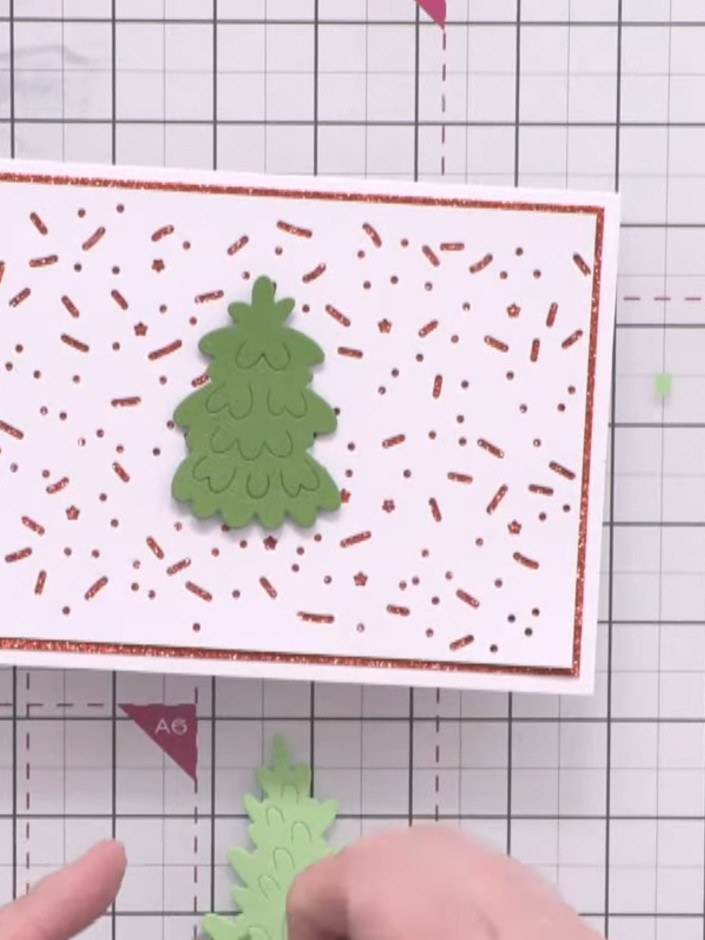
Attach the dark green tree in the centre of the card using foam pads. Position the two lighter green trees on either side of the centre tree.
▶ diesen Schritt ansehen (34:15)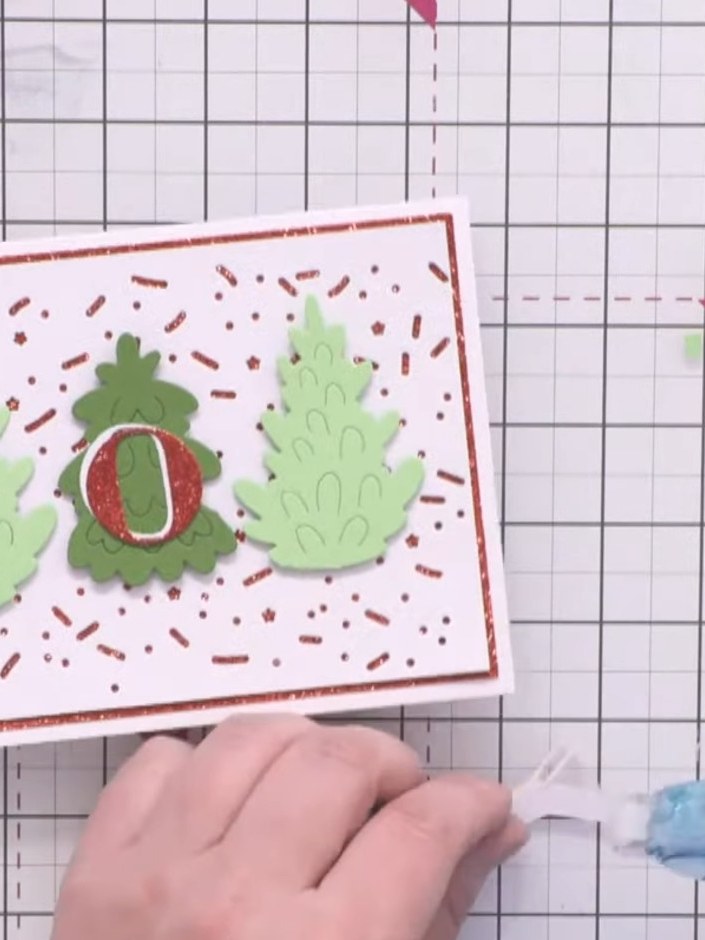
Position the white 'Joy' sentiment slightly offset towards the top and left of the red glitter 'Joy' layer to create a shadow effect.
▶ diesen Schritt ansehen (37:15)Direkt aus der Show aufgeschrieben. Alle Anleitungen aus unseren Shows ansehen · kostenlose Anleitungen · live auf My Telly ansehen
