Schenke deinen Freundinnen und Freunden 10 € Rabatt auf ihre erste Bestellung!
Freunde WERBEN








Ein Projekt aus unserer Live-Show FUNKY FOSSIL GOOD BAG SHOW - Verbring eine lustige Stunde mit Sarah Gray und Toni Darroch - Ausgestrahlt am 2. Dezember 22 · 02.12.2022 · ab 17:00 ansehen
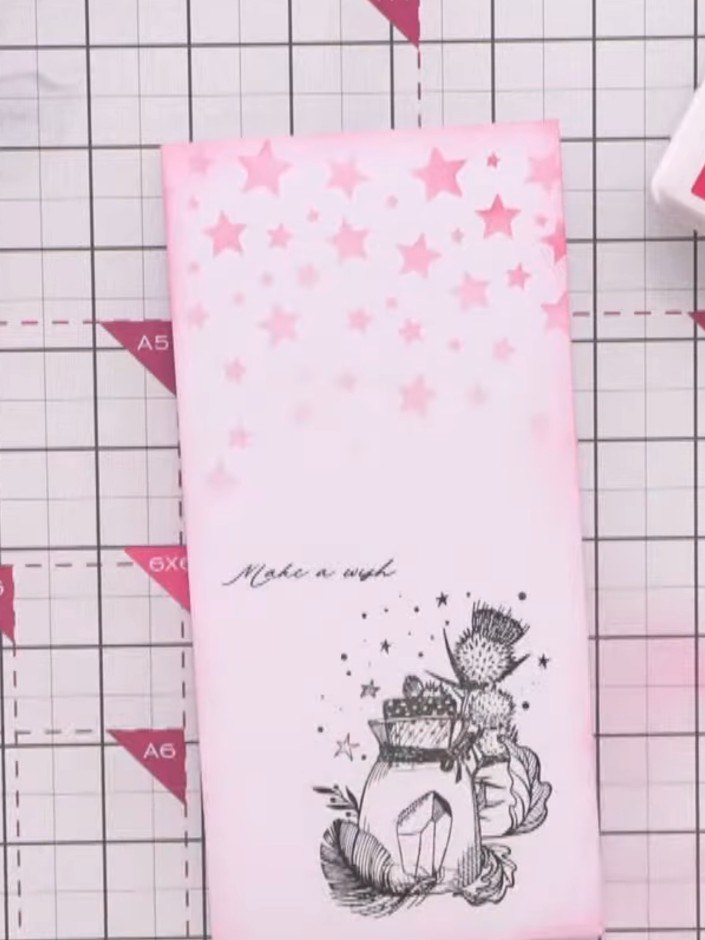
Create a beautiful card featuring stamped feathers in vibrant pink ink layered over watercolour rainbow papers. This elegant design combines detailed feather imagery with soft watercolour textures, finished with a white panel focal point and sentiment for a magical, artistic look.
DIESE ANLEITUNG HERUNTERLADEN (PDF)
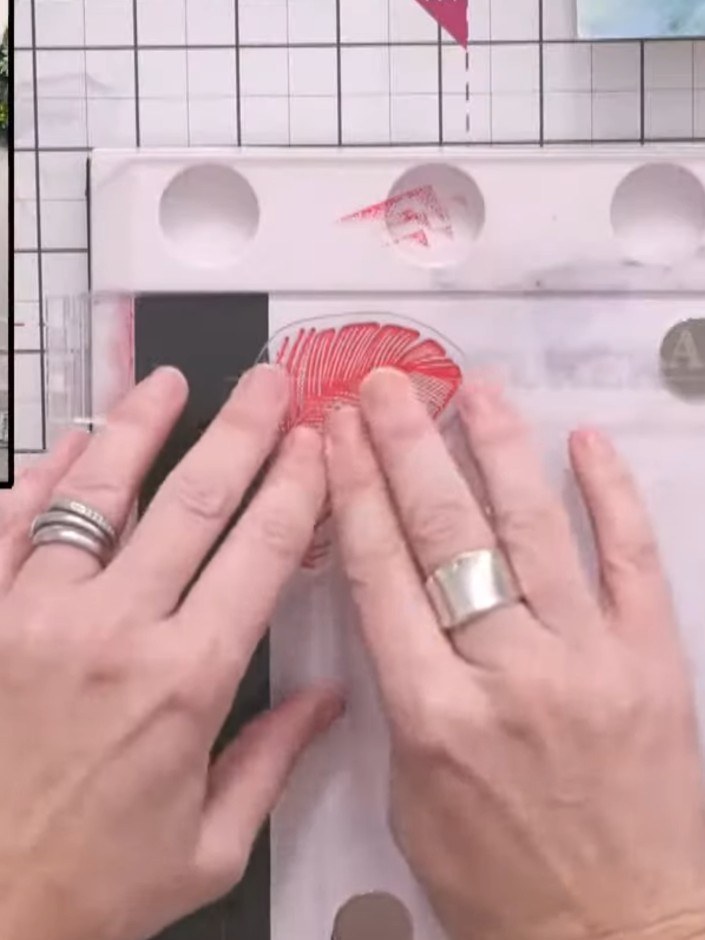
Ink the feather stamp with vibrant pink ink from the Stamps by Me collection. Press the stamp firmly onto the ink pad to ensure even coverage.
▶ diesen Schritt ansehen (19:00)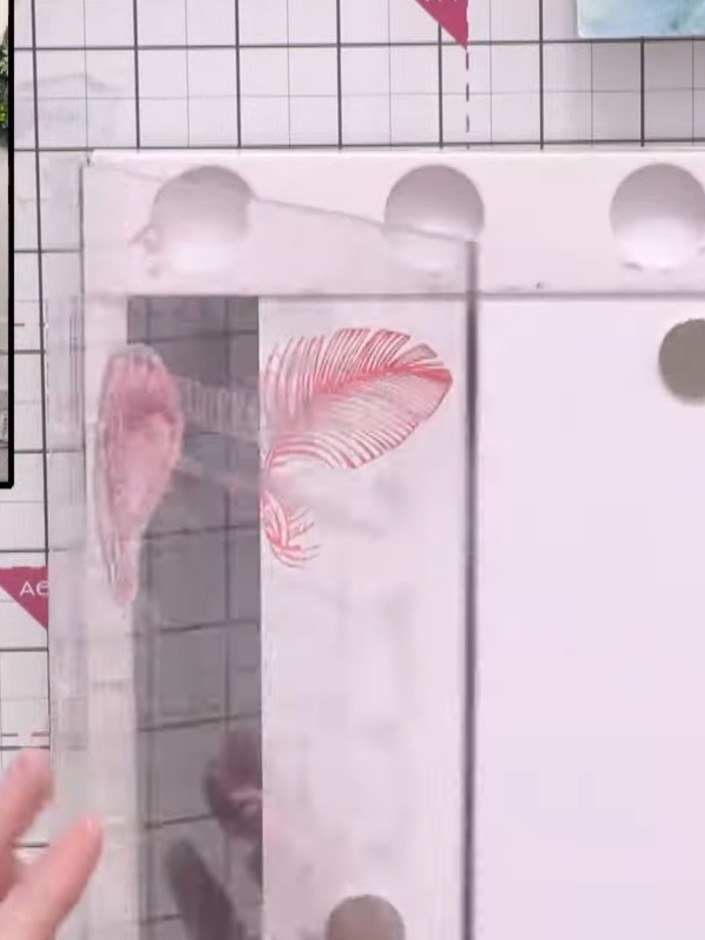
Stamp the feather images onto the left side of an A5 piece of white card stock using pink ink, leaving space for a focal point in the centre.
▶ diesen Schritt ansehen (19:15)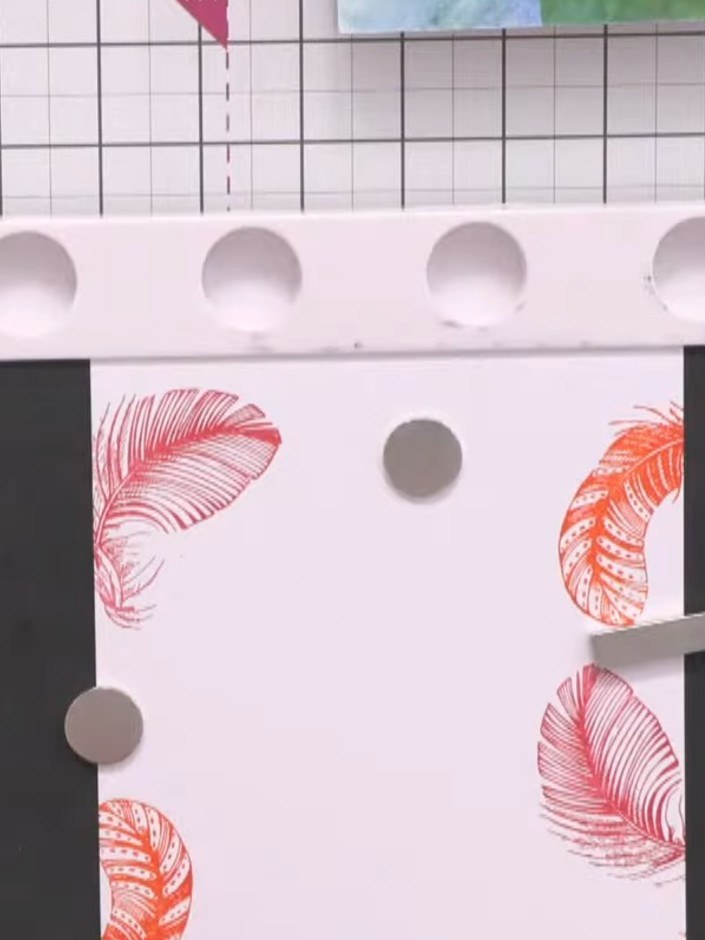
Stamp a second feather image in a different colour on another section of the white card. Position it to create a balanced design with the first feather.
▶ diesen Schritt ansehen (22:30)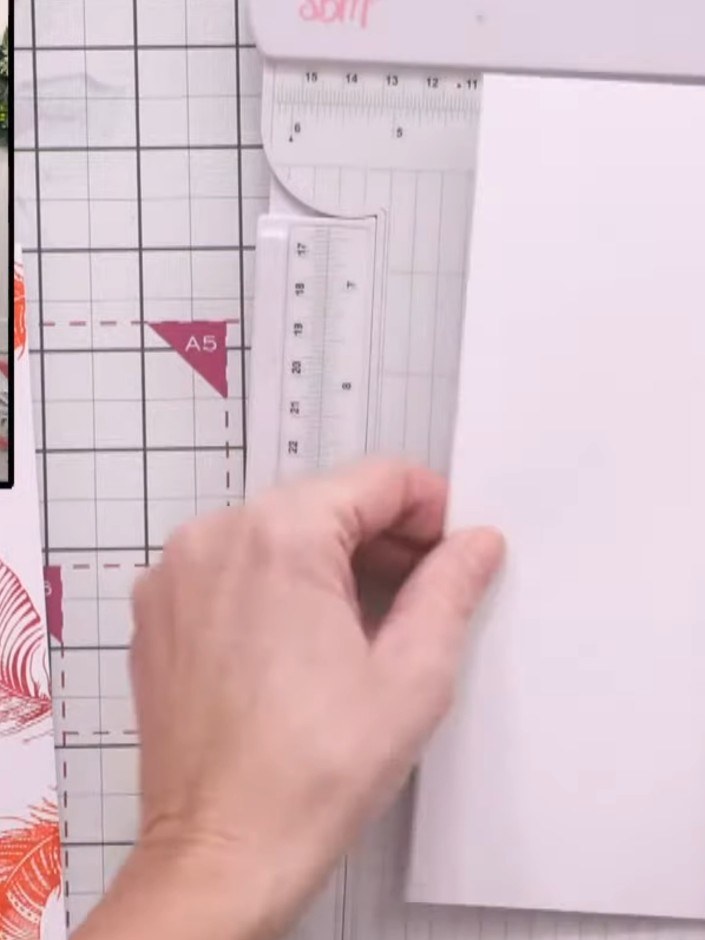
Cut a piece of the watercolour rainbow paper and position it down the middle of the card as a background panel.
▶ diesen Schritt ansehen (25:30)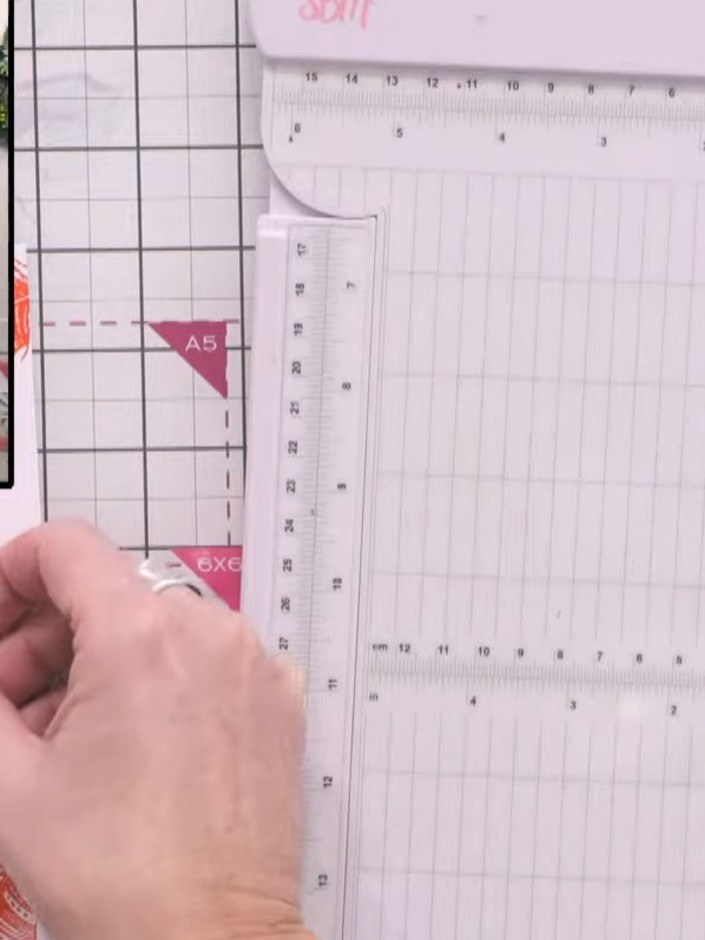
Layer a white panel over your watercolour paper to create contrast and provide space for your focal point. Position the white panel centrally on top of the watercoloured background.
▶ diesen Schritt ansehen (25:45)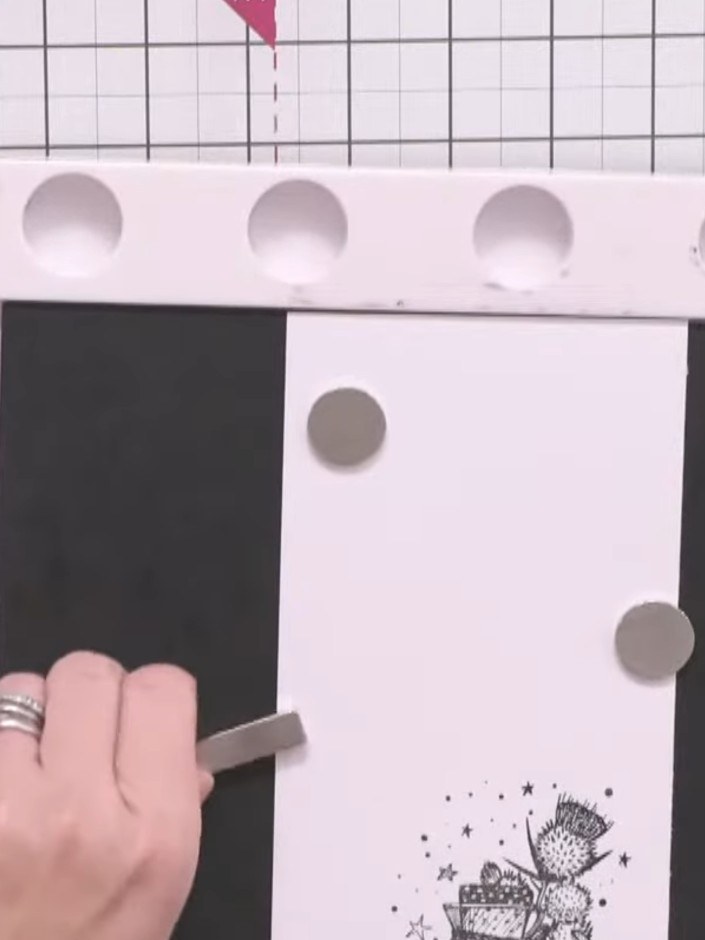
Use a small star stamp to add scattered stars around the top portion of the card above the feather design. Stamp the stars randomly to create a magical, celestial effect that complements the feather theme.
▶ diesen Schritt ansehen (28:30)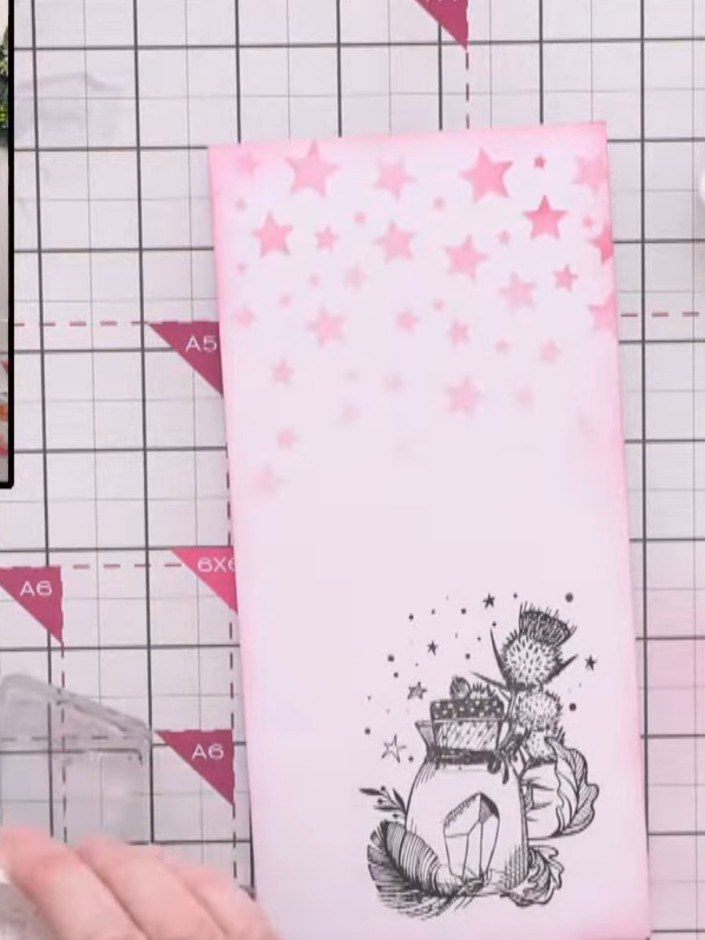
Stamp the sentiment 'Make a Wish' in black ink onto the white panel. Position the stamp carefully to ensure it is centred on the panel.
▶ diesen Schritt ansehen (31:00)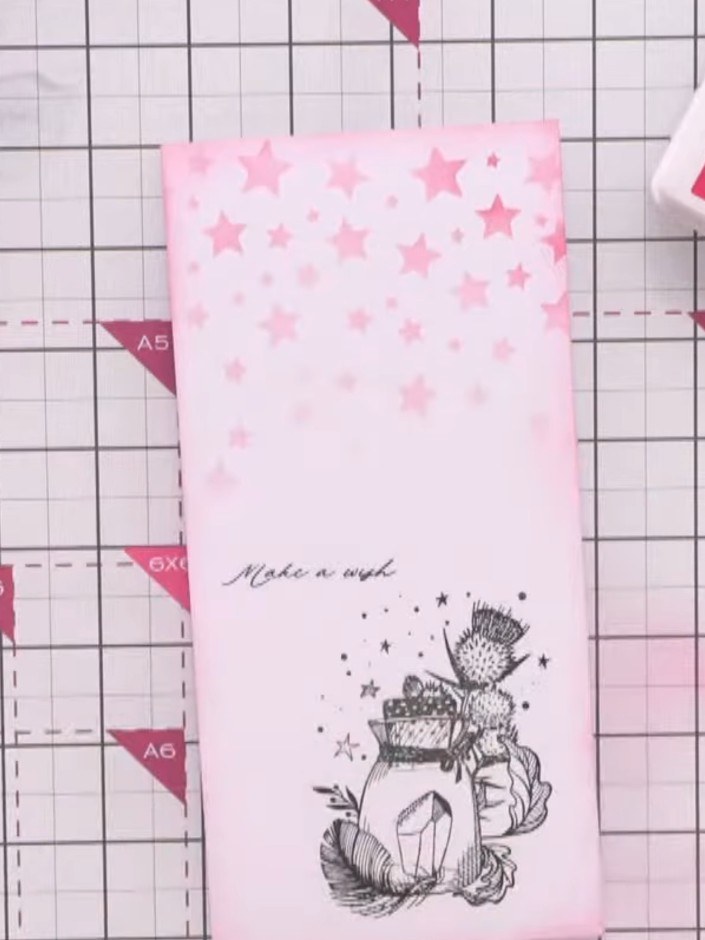
Trim any excess card stock as needed to finish the card neatly. Ensure all edges are clean and aligned for a professional finish.
▶ diesen Schritt ansehen (31:30)Direkt aus der Show aufgeschrieben. Alle Anleitungen aus unseren Shows ansehen · kostenlose Anleitungen · live auf My Telly ansehen