Schenke deinen Freundinnen und Freunden 10 € Rabatt auf ihre erste Bestellung!
Freunde WERBEN








Ein Projekt aus unserer Live-Show FUNKY TUESDAY - KOSTENLOSER WORKSHOP mit der großartigen Sarah Gray - Ausgestrahlt am 22. Nov. 22 · 22.11.2022 · ab 38:30 ansehen
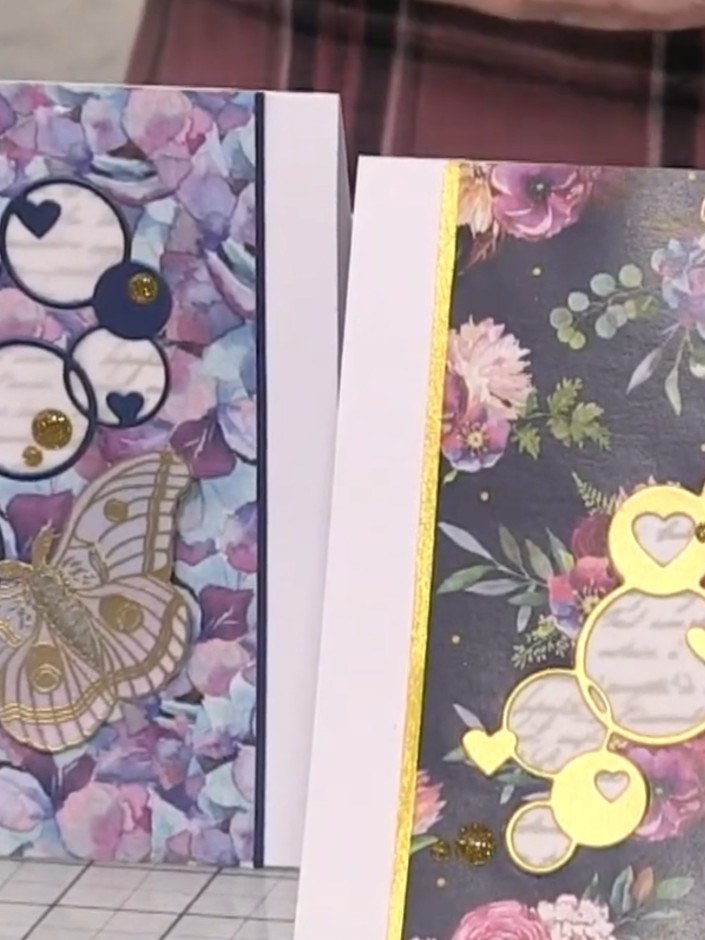
Create an elegant A5 card featuring a die-cut floating hearts aperture in navy floral patterned paper, with a vellum window backing and gold-embossed butterfly embellishments. The layered design showcases depth and visual interest with the sentiment 'BE A dreamer' and decorative hearts as focal points. This project uses die-cutting, layering, and vellum techniques to achieve a sophisticated, dimensional effect.
DIESE ANLEITUNG HERUNTERLADEN (PDF)
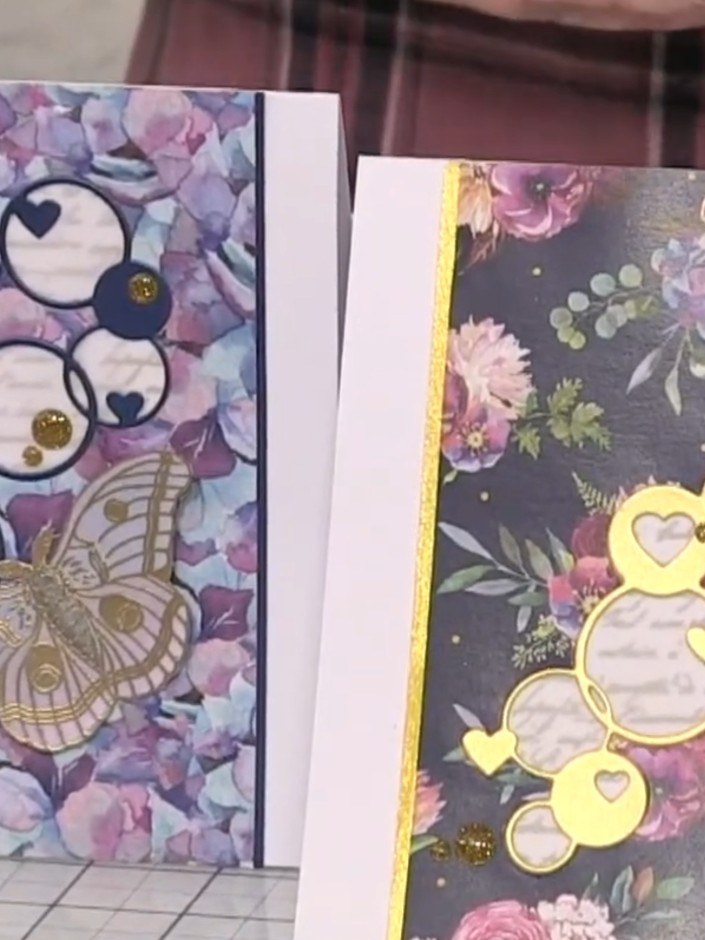
Cut the floating hearts die out of the centre of your chosen patterned paper panel to create an aperture window. The die-cut creates a decorative circular pattern with heart details that will frame your vellum insert.
▶ diesen Schritt ansehen (39:00)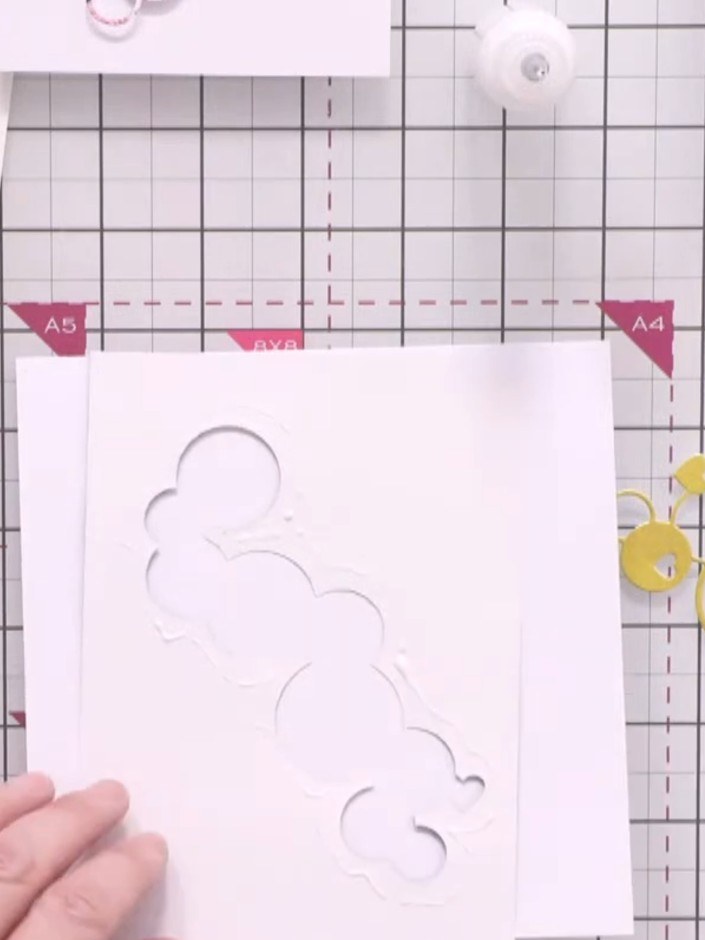
Apply adhesive carefully around the edges of the die-cut aperture on the reverse side of the card front. Position the vellum sheet behind the aperture and press firmly to secure, ensuring the glue remains hidden from the front.
▶ diesen Schritt ansehen (40:45)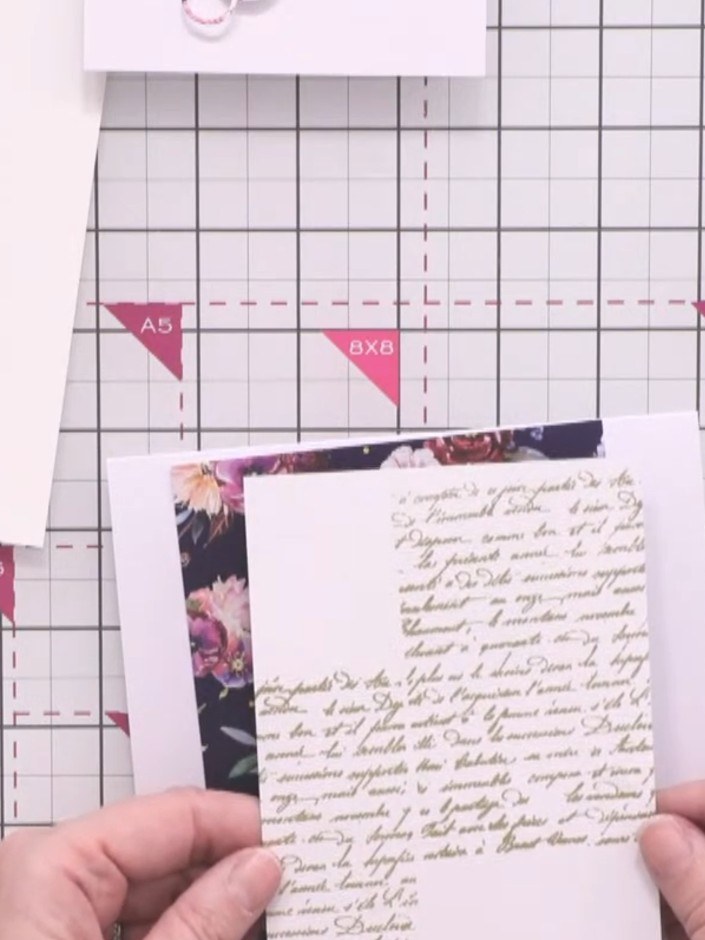
Adhere the script-stamped white cardstock directly behind the vellum layer with the floral pattern and gold foil circles, positioning it so the script text is visible through the aperture.
▶ diesen Schritt ansehen (43:30)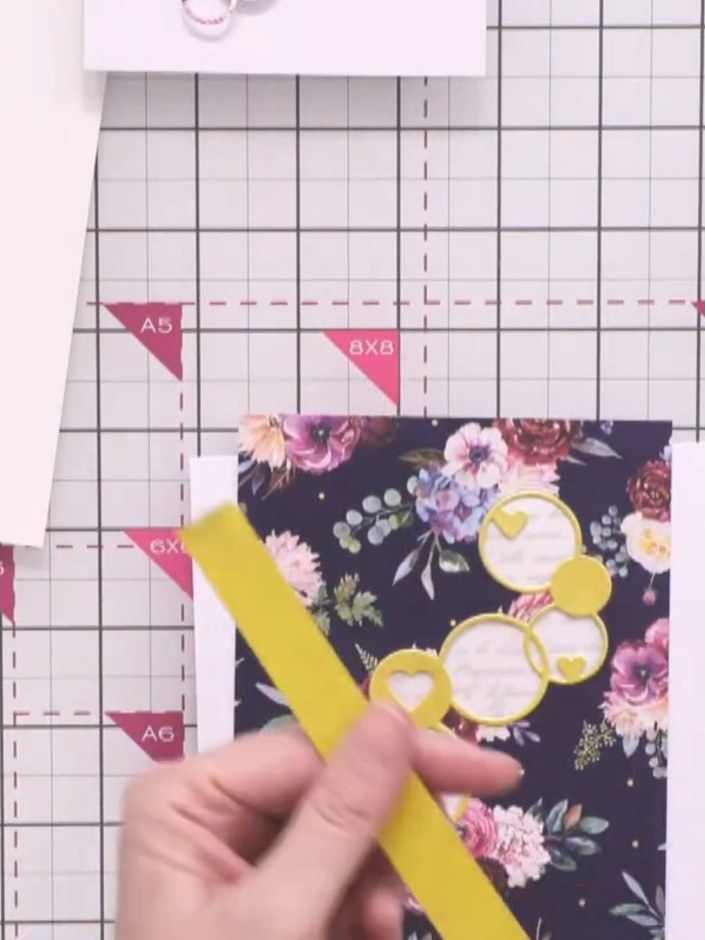
Cut strips of gold cardstock and adhere them around the edges of the aperture panel to create a mat frame. Position the strips to border the die-cut opening on the floral patterned paper.
▶ diesen Schritt ansehen (44:30)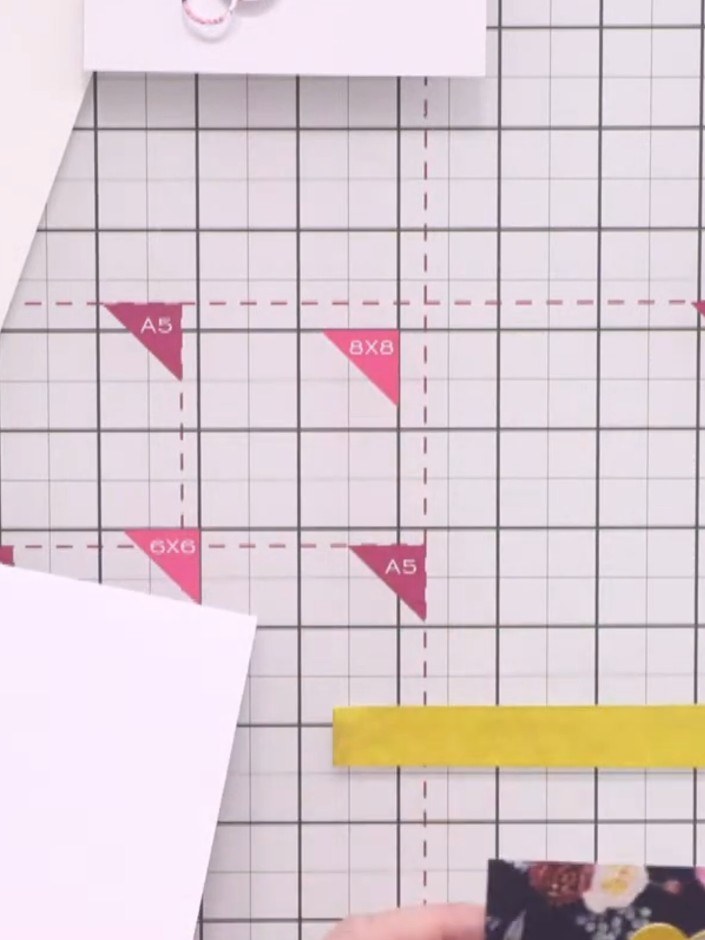
Trim the gold mat strips to the required size. Adhere the complete aperture panel with the vellum window and floral design to your white card base using adhesive.
▶ diesen Schritt ansehen (45:30)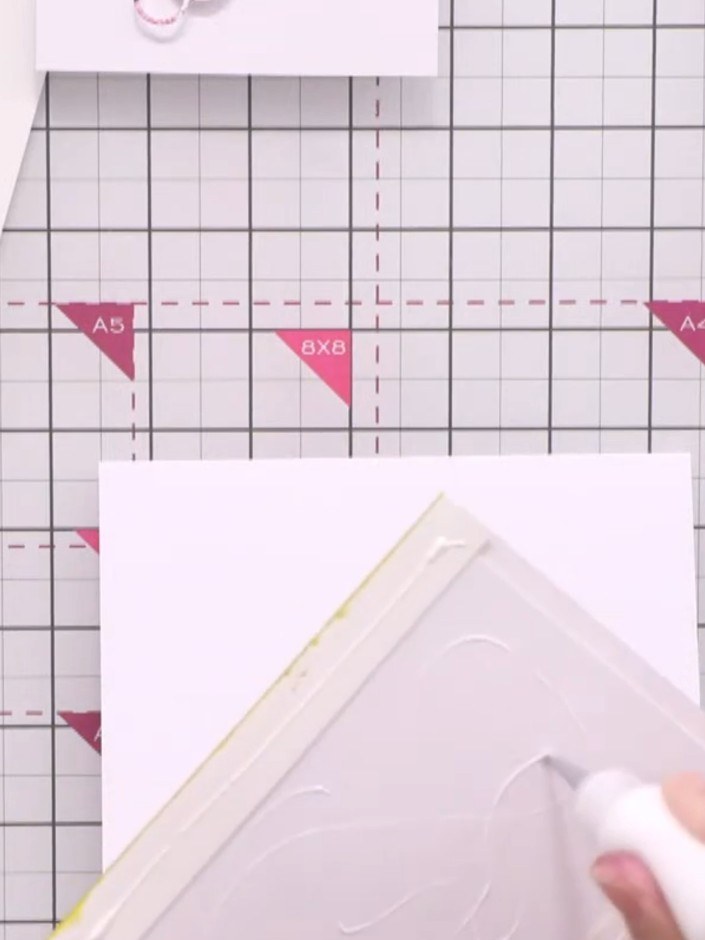
Stamp a moth from the dream catcher stamp set onto white cardstock. Colour the moth using confetti ink mixed with stamps by me inks to create a shimmery watercolour effect.
▶ diesen Schritt ansehen (47:30)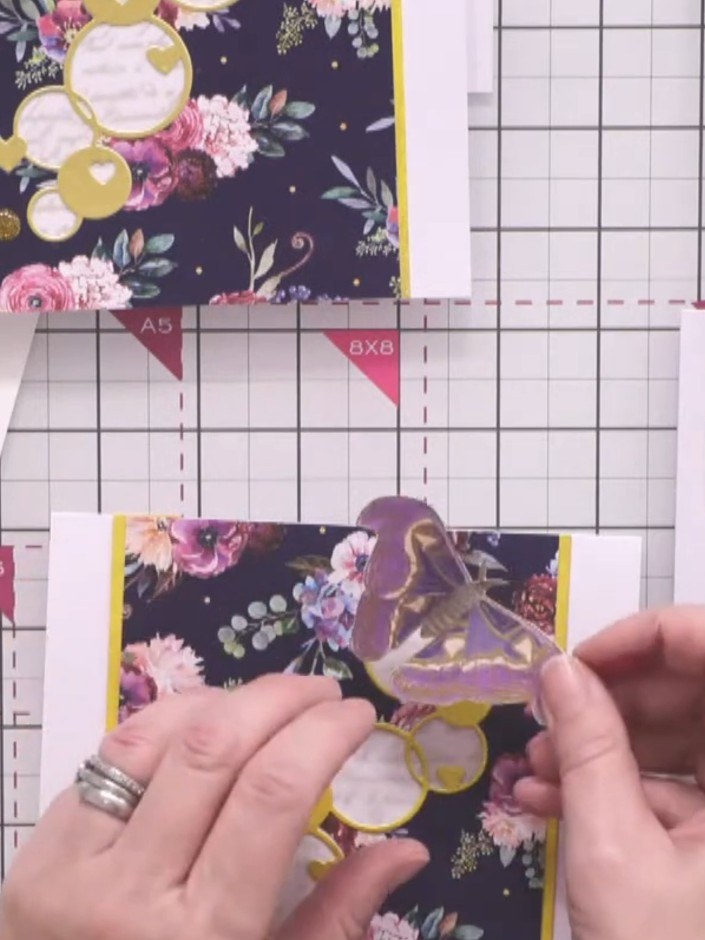
Position the gold foiled moth embellishment towards the top corner of the card, angling it diagonally so it appears to be flying above the floating hearts arrangement.
▶ diesen Schritt ansehen (48:30)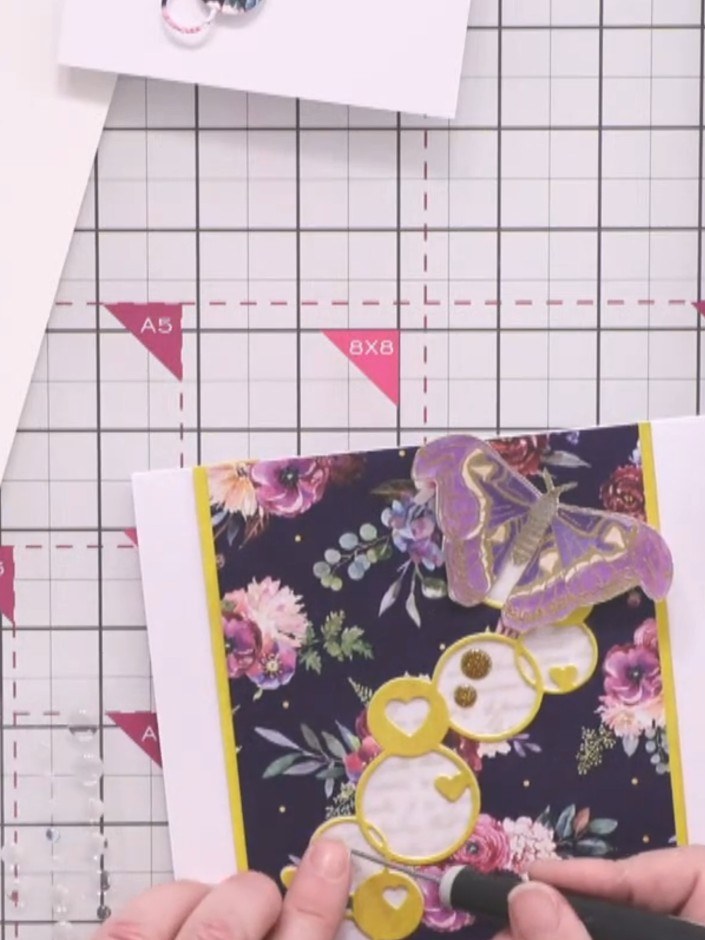
Add four gold enamel dots in a diagonal line across the hearts arrangement to create movement and guide the eye through the design.
▶ diesen Schritt ansehen (49:45)Direkt aus der Show aufgeschrieben. Alle Anleitungen aus unseren Shows ansehen · kostenlose Anleitungen · live auf My Telly ansehen