Schenke deinen Freundinnen und Freunden 10 € Rabatt auf ihre erste Bestellung!
Freunde WERBEN








Ein Projekt aus unserer Live-Show CREATE AND CRAFT - NEU UND EXKLUSIV - Sei bei Toni dabei: ihre neuesten Produkte und Inspirationsshow 3 - Sendung: 13. Okt. 22 · 13.10.2022 · ab 53:00 ansehen
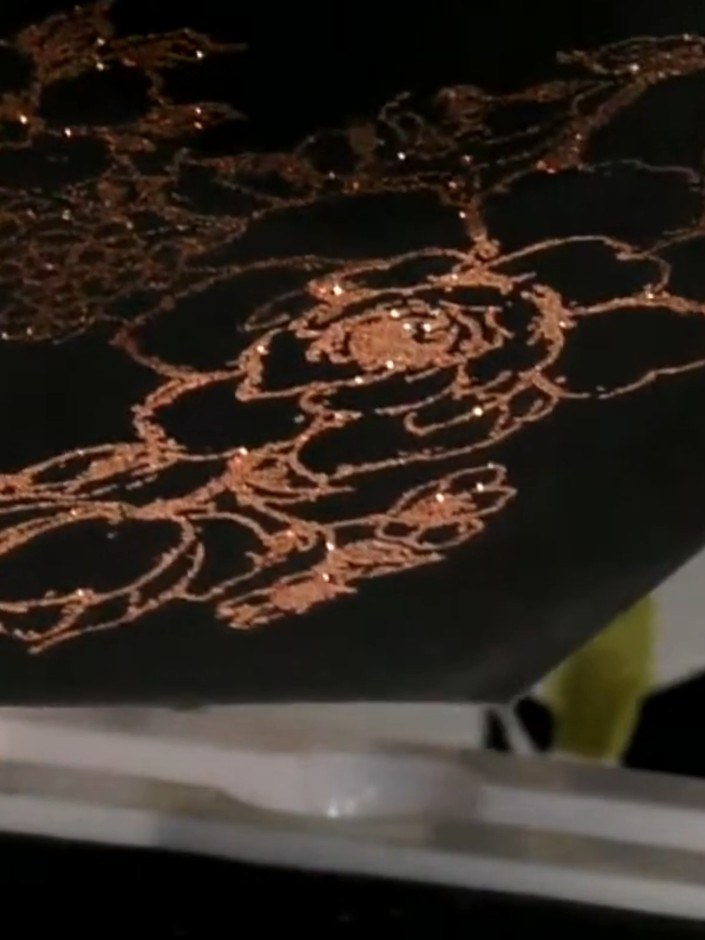
Create a stunning celebration card featuring a beautiful iris flower with white embossed outlines and vibrant purple watercolour effects. This elegant design uses lamination stamps, embossing powder, and sparkle accents to achieve a sophisticated, gallery-quality finish. The 'Happy' sentiment is repeated in coordinating purple tones to complete this artistic greeting card.
DIESE ANLEITUNG HERUNTERLADEN (PDF)
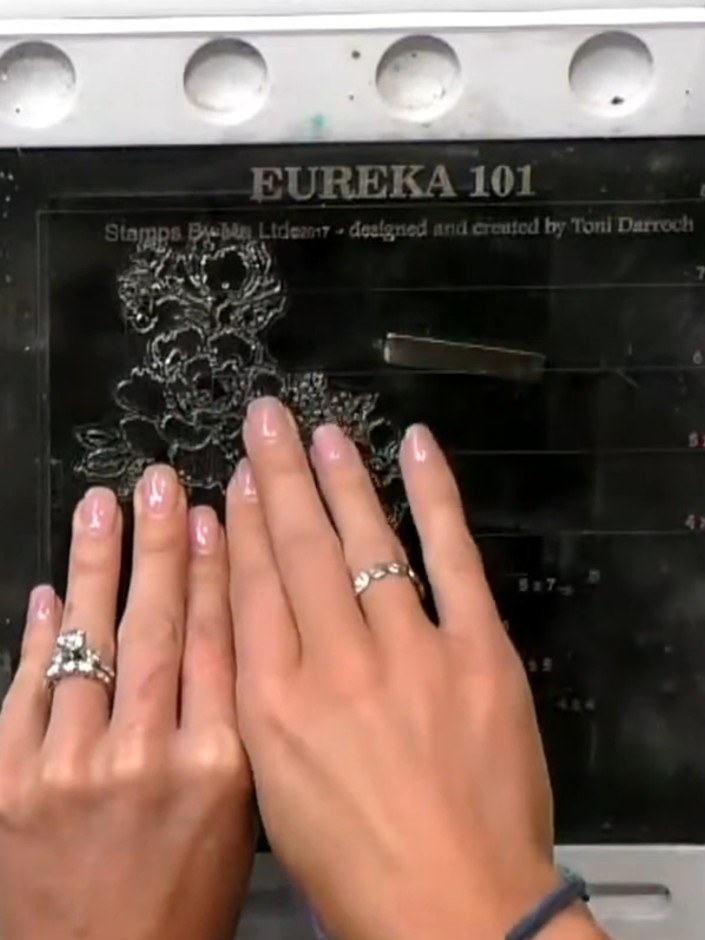
Stamp the iris solid portion onto white cardstock using a white pigment ink pad. Position the stamp carefully and press firmly to ensure a clear impression.
▶ diesen Schritt ansehen (53:00)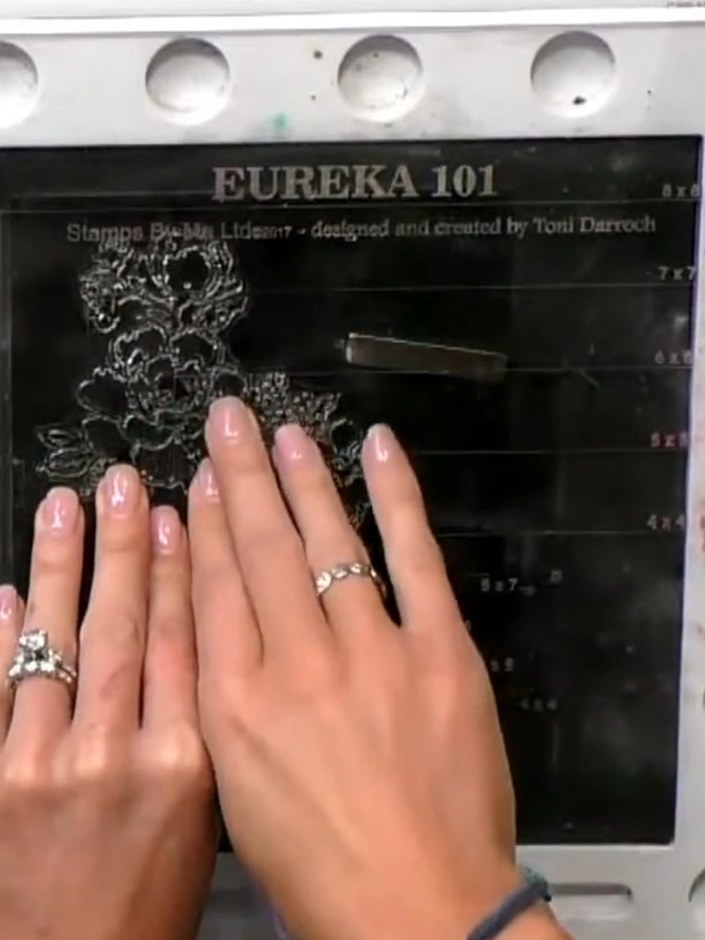
Heat set the embossing powder with a heat gun, moving it over the design until the powder melts and becomes glossy and raised.
▶ diesen Schritt ansehen (53:30)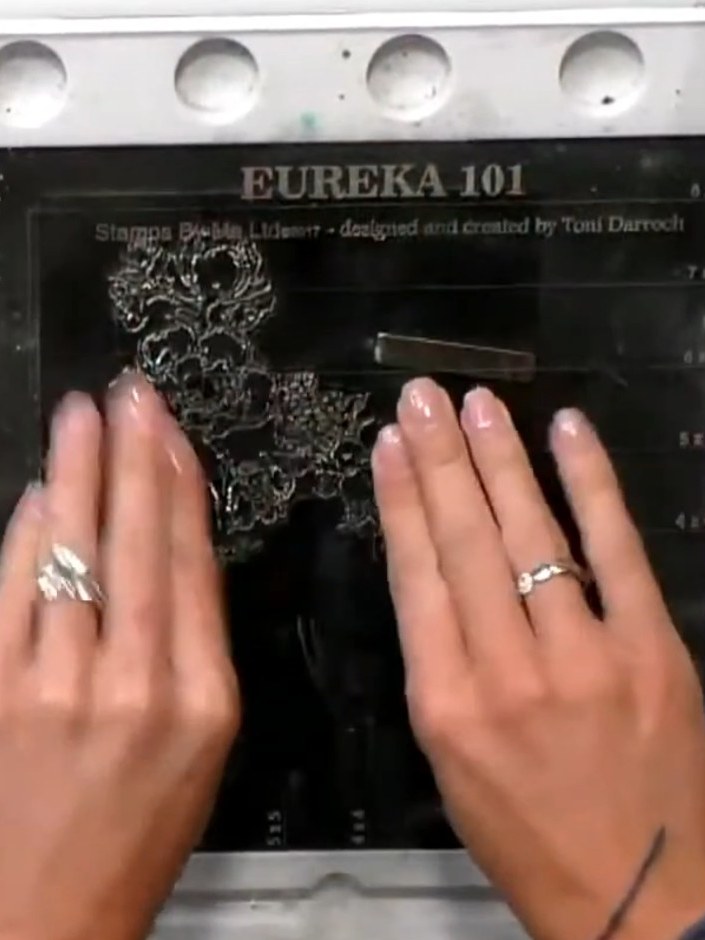
Position the iris outline stamp from the Eureka 101 set over the embossed design on the black card. Stamp the image using black ink, aligning it loosely with the embossed floral design beneath.
▶ diesen Schritt ansehen (54:00)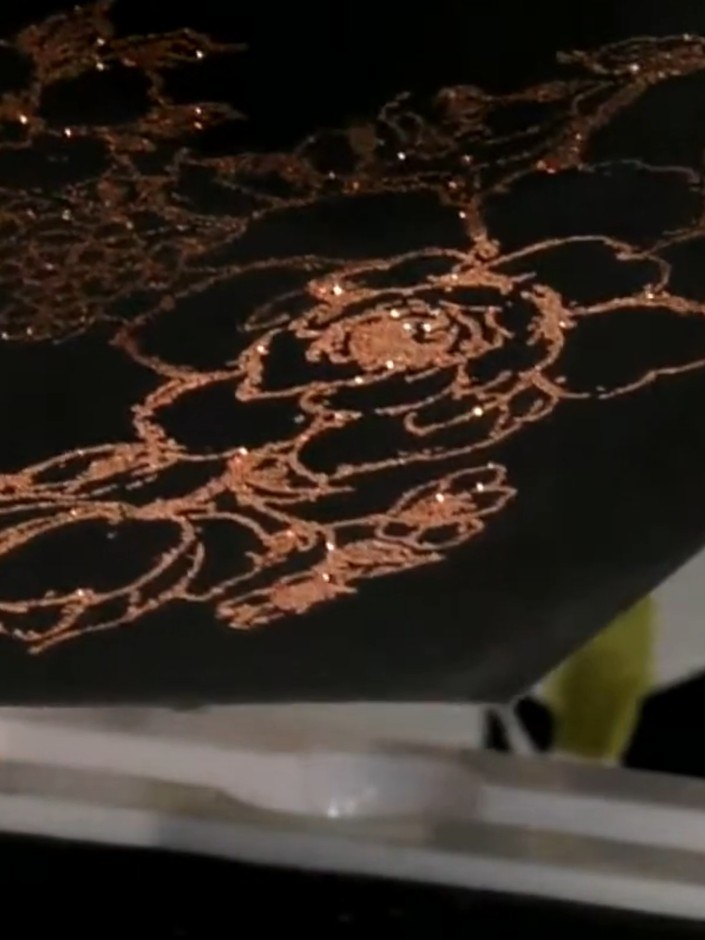
Use a white gel pen to add highlights to the embossed iris design, enhancing the details and creating dimension on the black card.
▶ diesen Schritt ansehen (55:00)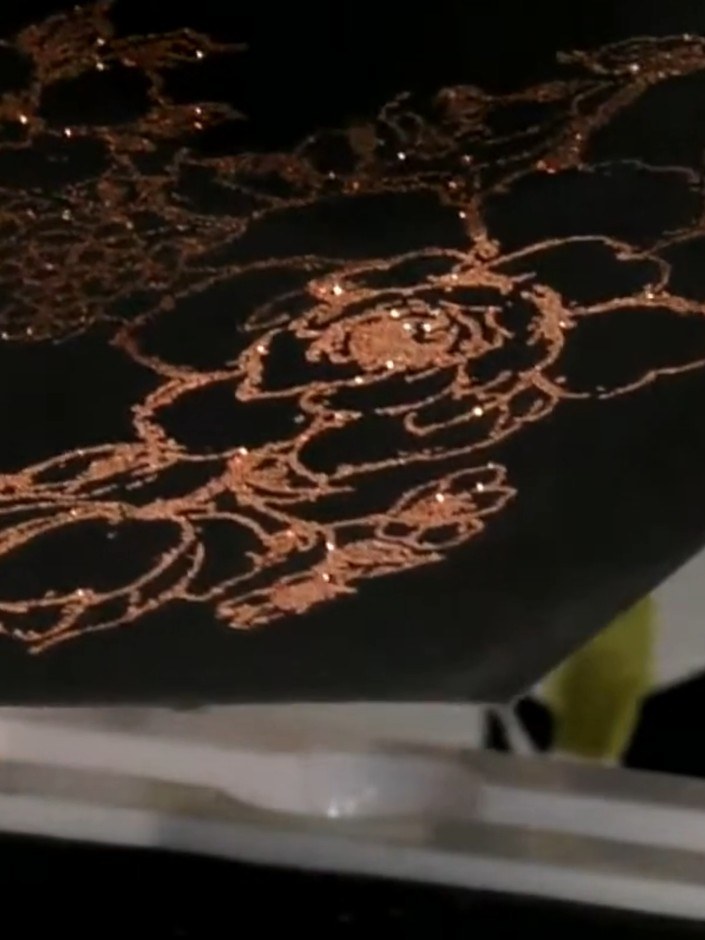
Mount the completed iris panel onto a white card base using adhesive. The rose gold embossed design should be centred on the black card, creating an elegant finished card.
▶ diesen Schritt ansehen (56:00)Direkt aus der Show aufgeschrieben. Alle Anleitungen aus unseren Shows ansehen · kostenlose Anleitungen · live auf My Telly ansehen