Schenke deinen Freundinnen und Freunden 10 € Rabatt auf ihre erste Bestellung!
Freunde WERBEN








Ein Projekt aus unserer Live-Show FUNKY TUESDAY - BRANDNEU UND EXKLUSIV VON SARAH GRAY - Ausgestrahlt am 5. Okt. 22 · 05.10.2022 · ab 41:45 ansehen
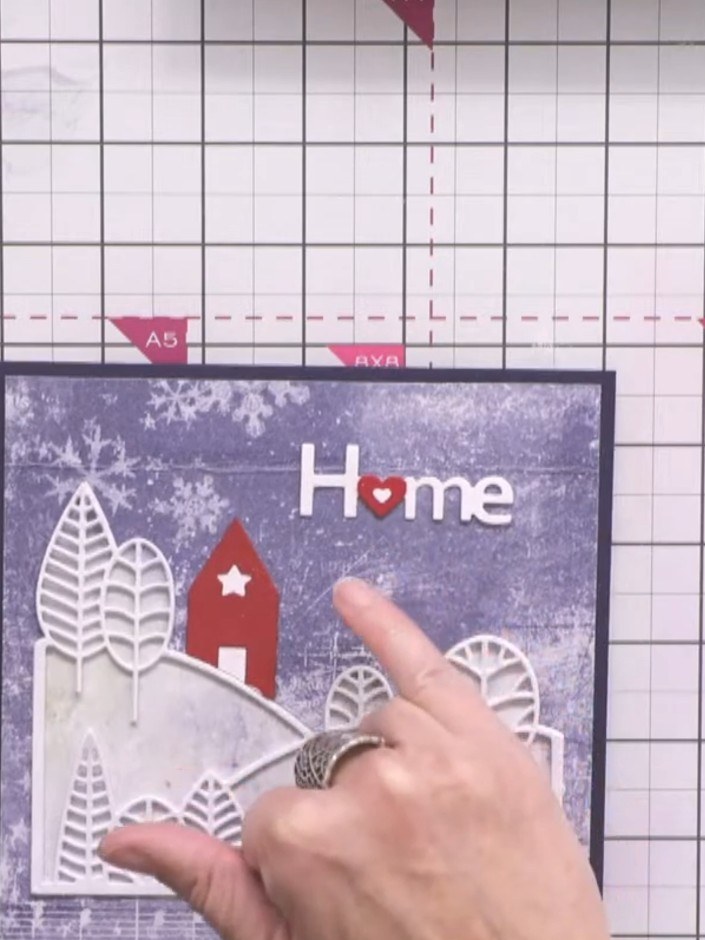
Create an elegant A5 card featuring a die-cut country landscape with layered trees and rolling fields in white and blue patterned papers. A charming red house sits atop the hill with embossed details and a star accent, whilst the 'Home' sentiment with a red heart adds a warm festive touch. This project uses die-cutting, layering and embossing techniques to build a beautiful wintry scene perfect for Christmas.
DIESE ANLEITUNG HERUNTERLADEN (PDF)
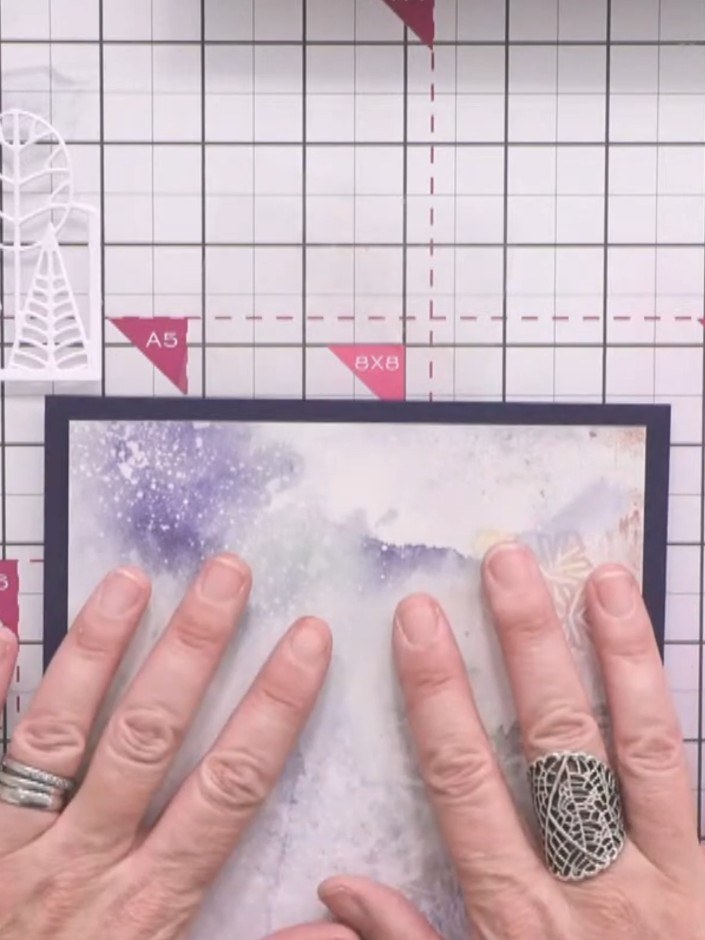
Select two complementary papers from the White Magic pad—one featuring blue snowflakes and music notation, and another with a winter storm effect in purple and white tones.
▶ diesen Schritt ansehen (41:45)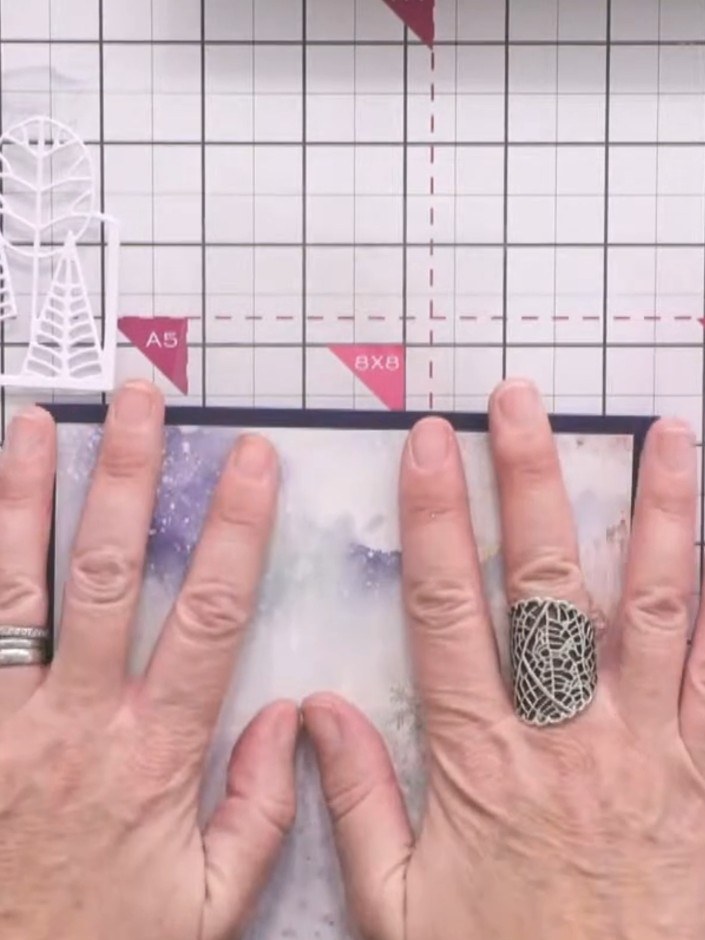
Adhere the first patterned paper from the White Magic paper pad to a blue card base as your foundation layer. Smooth down firmly to ensure good adhesion.
▶ diesen Schritt ansehen (42:00)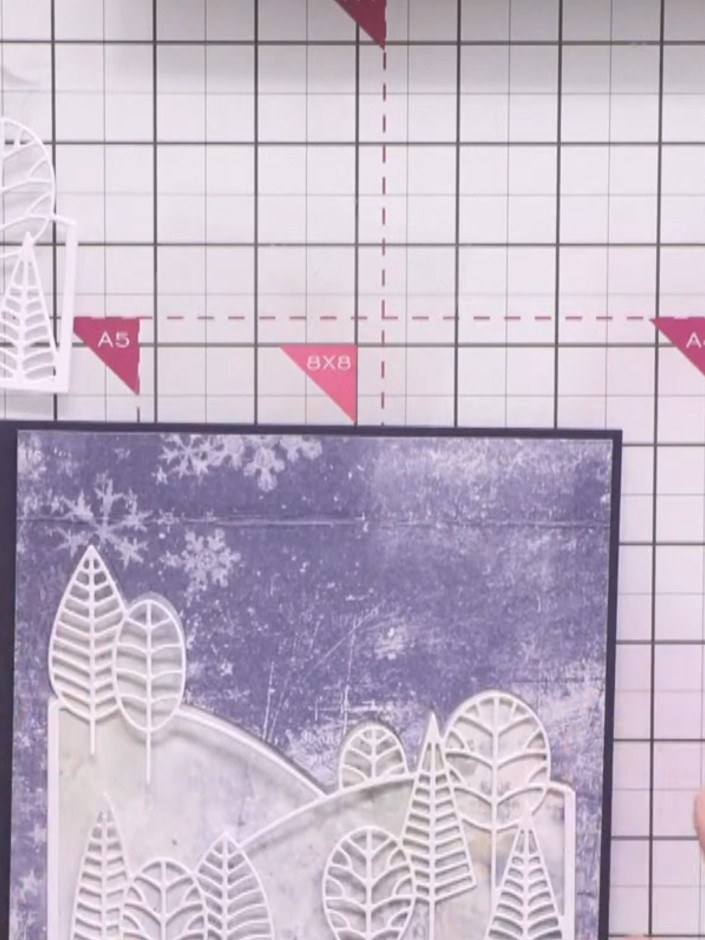
Die-cut the country view scene from blue cardstock to create the landscape aperture. This will form the main focal point of your card.
▶ diesen Schritt ansehen (42:45)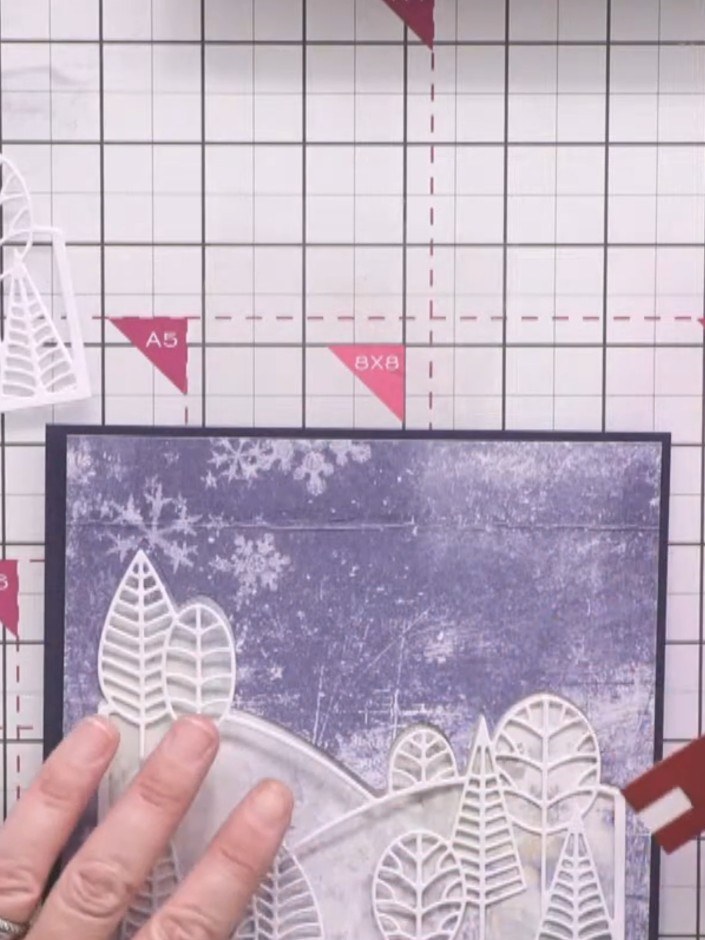
Die-cut the country view scene from white cardstock to create the line art overlay. This will sit on top of the stencilled background to add definition and detail to the scene.
▶ diesen Schritt ansehen (43:00)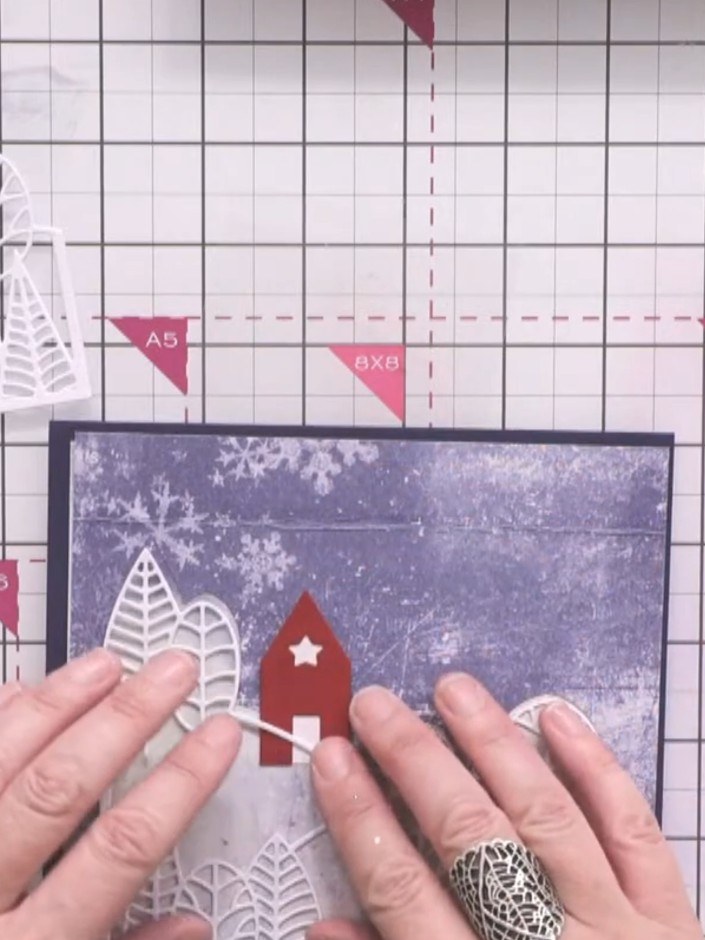
Use a white gel pen to mark the position for a small red house on the hilltop, ensuring it sits above the landscape line on your card.
▶ diesen Schritt ansehen (43:15)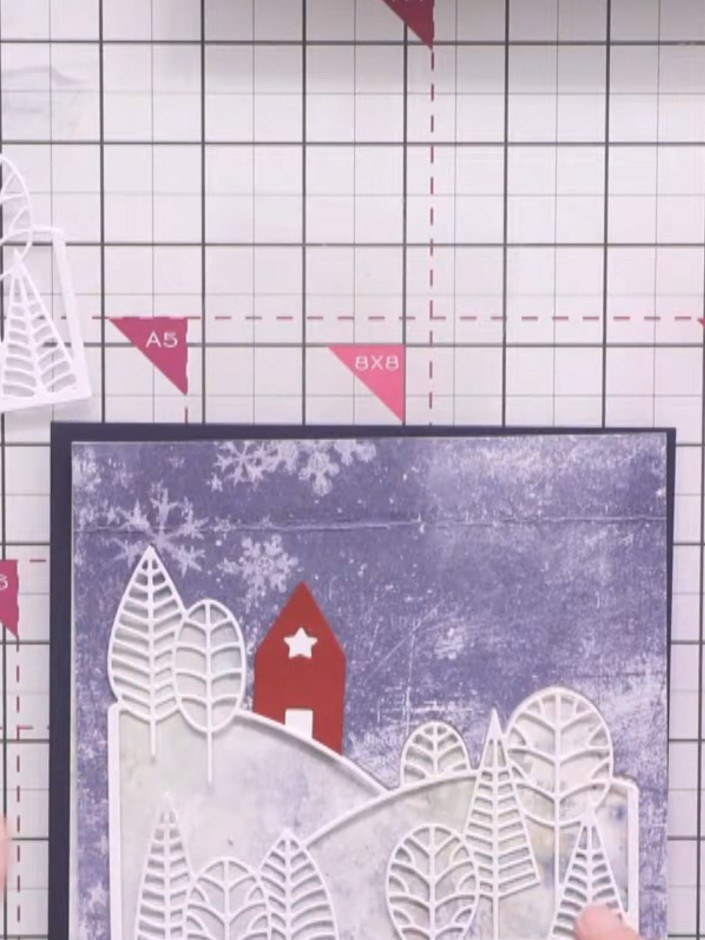
Back the small red house die-cut with white card so the window and door apertures remain solid. Trim around the house neatly so it sits properly on the hill scene.
▶ diesen Schritt ansehen (43:45)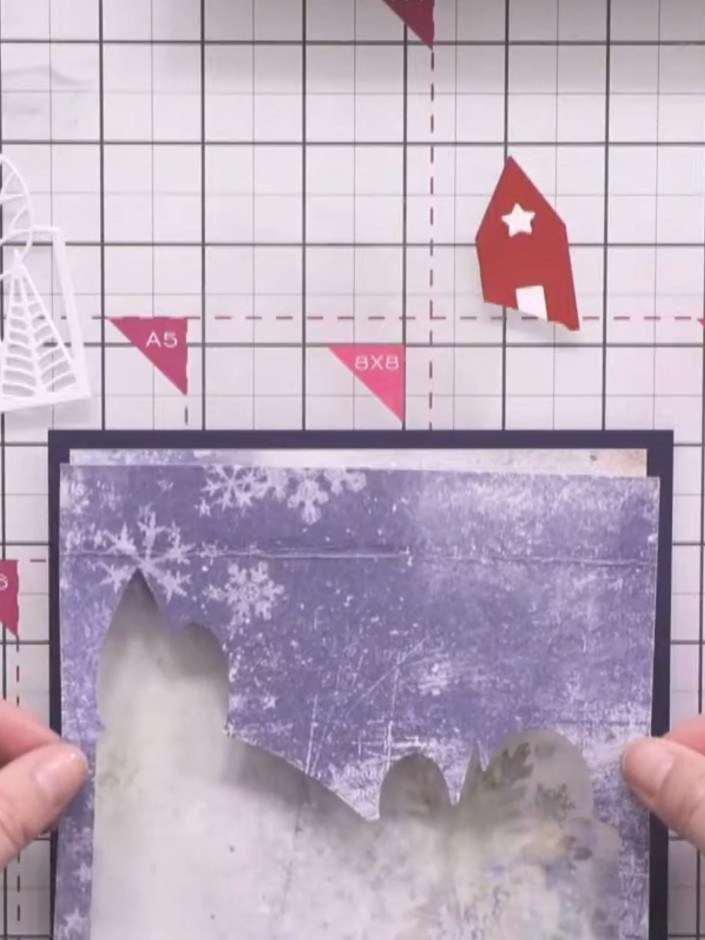
Adhere the blue landscape aperture panel over the patterned paper base, ensuring the winter scene is centred within the aperture opening.
▶ diesen Schritt ansehen (44:45)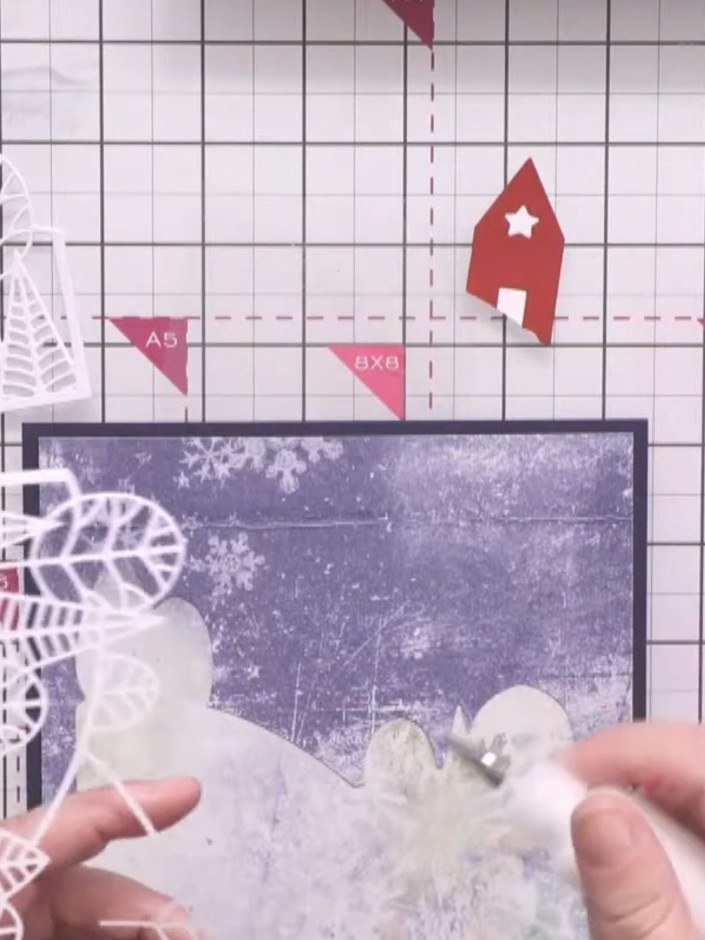
Adhere the white line art country view die-cut on top of the blue aperture panel to create dimension and a layered scene effect.
▶ diesen Schritt ansehen (45:30)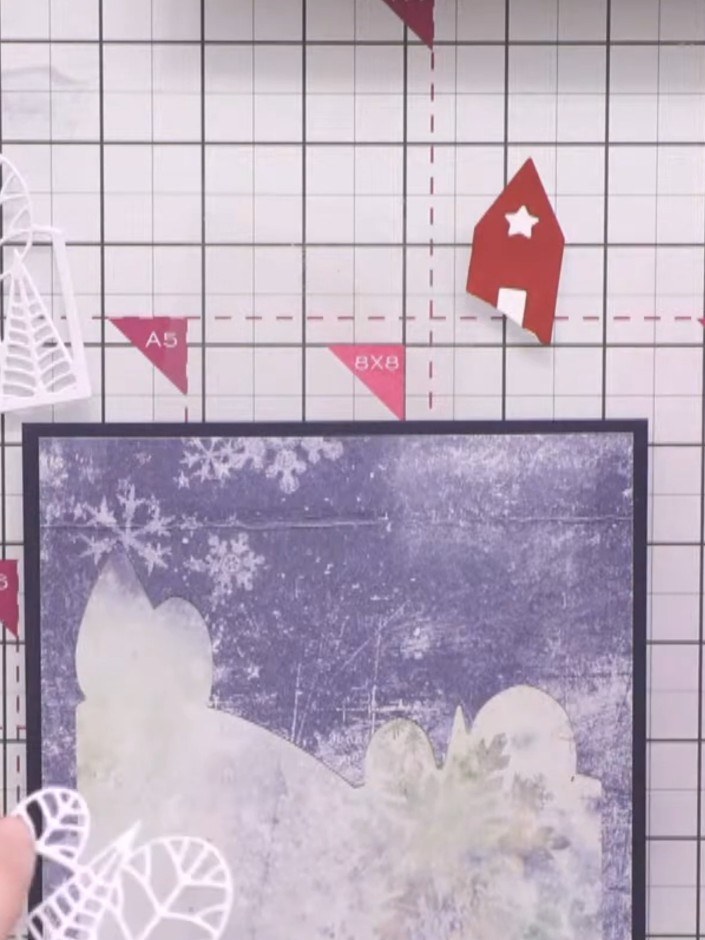
Using a brush, apply embossing ink selectively onto the white die-cut trees and landscape elements. Paint the ink onto the areas you want to highlight, working carefully to add detail to the tree shapes.
▶ diesen Schritt ansehen (46:00)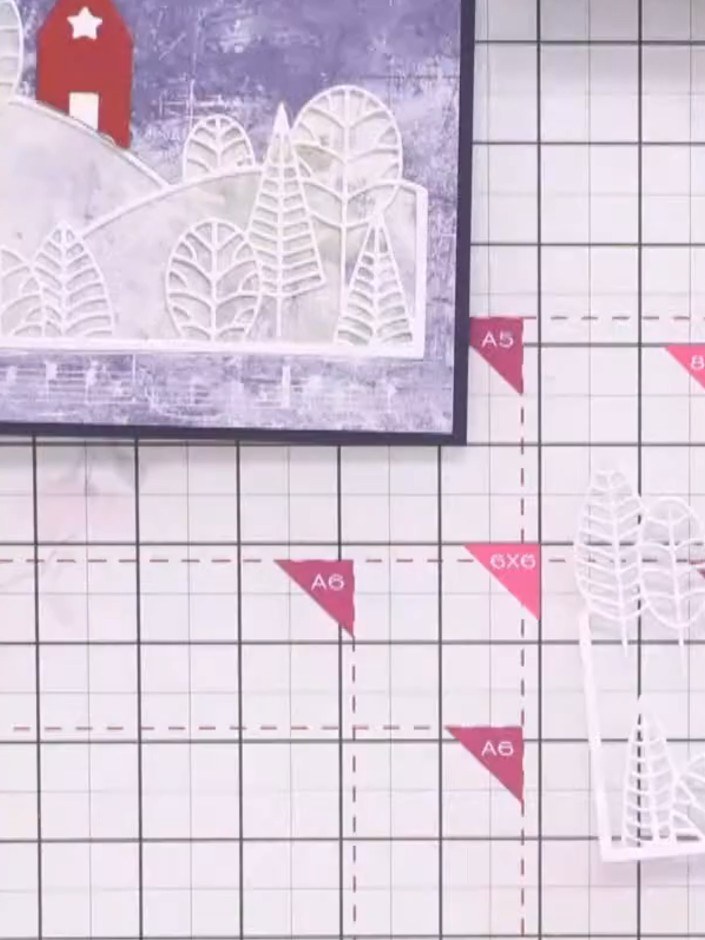
Sprinkle sparkling snow embossing powder over the wet embossing ink on the tree die-cuts. Use a heat tool to melt and set the embossing powder until it creates a raised, sparkly finish.
▶ diesen Schritt ansehen (50:00)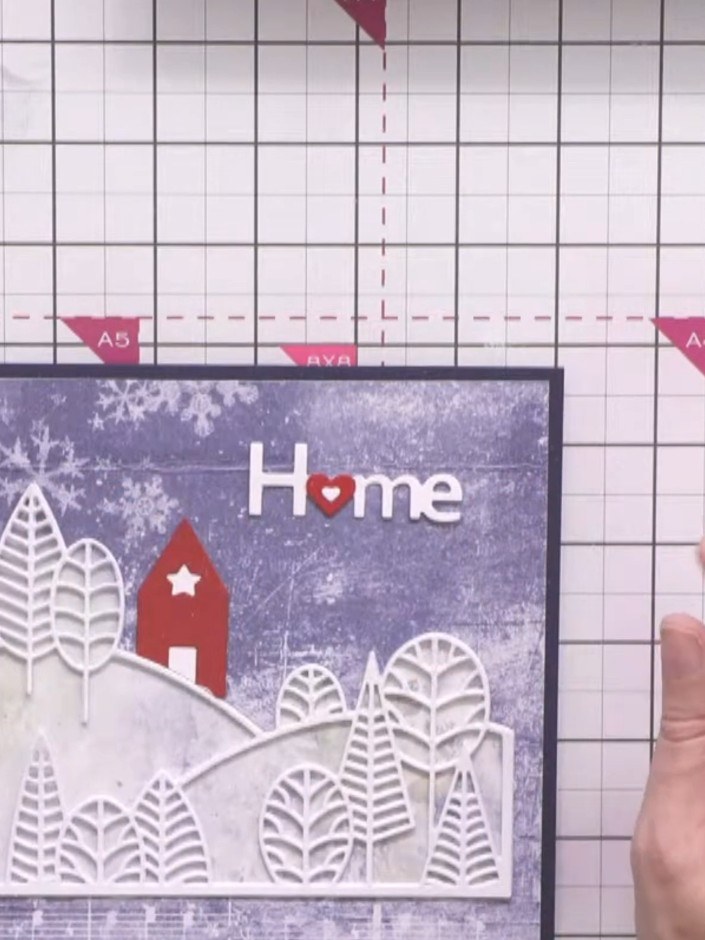
Die-cut the word 'Home' from red cardstock. Carefully cut out the integral heart from the 'o' and layer it back in to create a two-tone effect on your winter scene.
▶ diesen Schritt ansehen (53:00)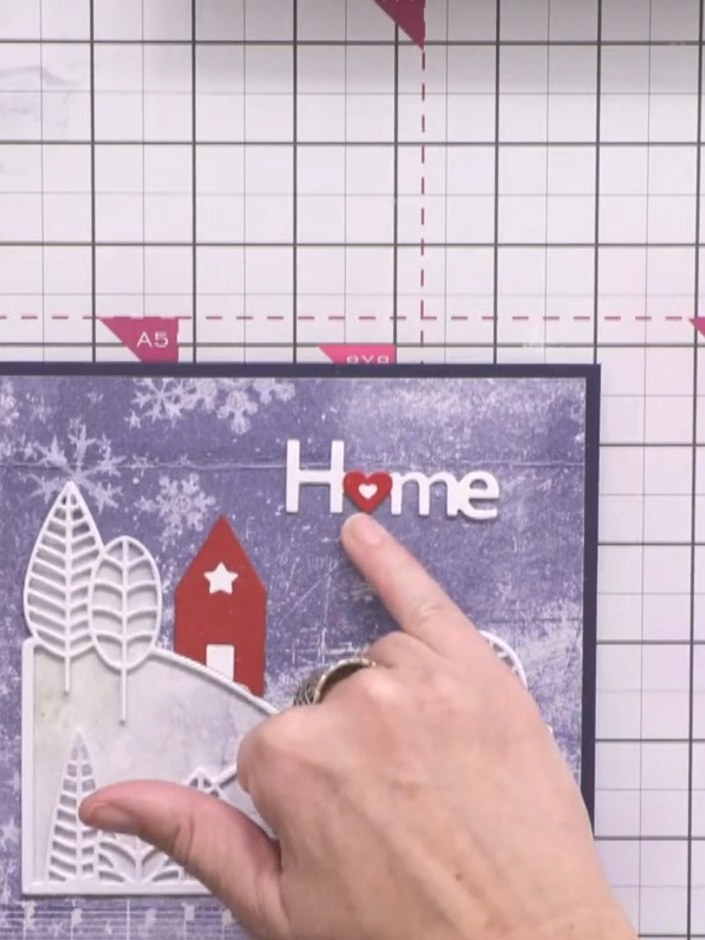
Adhere the white 'Home' sentiment with the red heart accent to the centre top of the card. Add decorative white tree and house die-cuts to complete the wintry country scene.
▶ diesen Schritt ansehen (53:30)Direkt aus der Show aufgeschrieben. Alle Anleitungen aus unseren Shows ansehen · kostenlose Anleitungen · live auf My Telly ansehen