Schenke deinen Freundinnen und Freunden 10 € Rabatt auf ihre erste Bestellung!
Freunde WERBEN








Ein Projekt aus unserer Live-Show CREATE AND CRAFT - Sei dabei bei Carley Duffs brandneuer IMALA 22 Launch-Show 1 - Ausgestrahlt am 4. OKT. 22 · 04.10.2022 · ab 10:30 ansehen
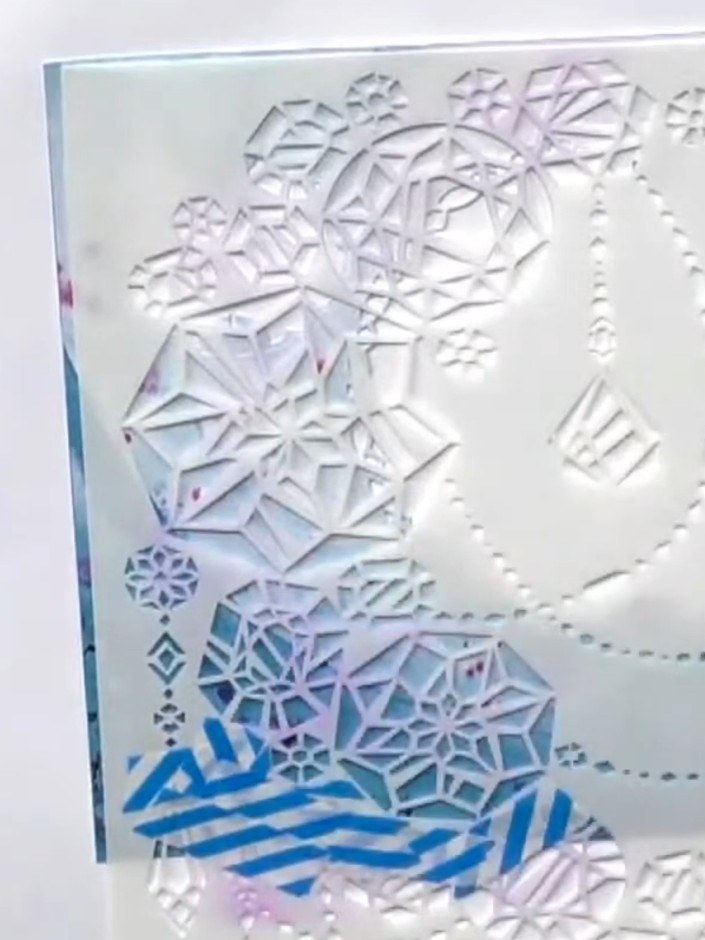
Create a stunning layered aperture card featuring a delicate reindeer design with beautiful textured effects. Using crackle paste applied through stencils and heat-embossed with metallic powders, you'll achieve a dimensional mosaic-like finish in soft blues and metallics. This elegant card combines die-cutting, stencilling and heat embossing techniques for a truly special handmade greeting.
DIESE ANLEITUNG HERUNTERLADEN (PDF)
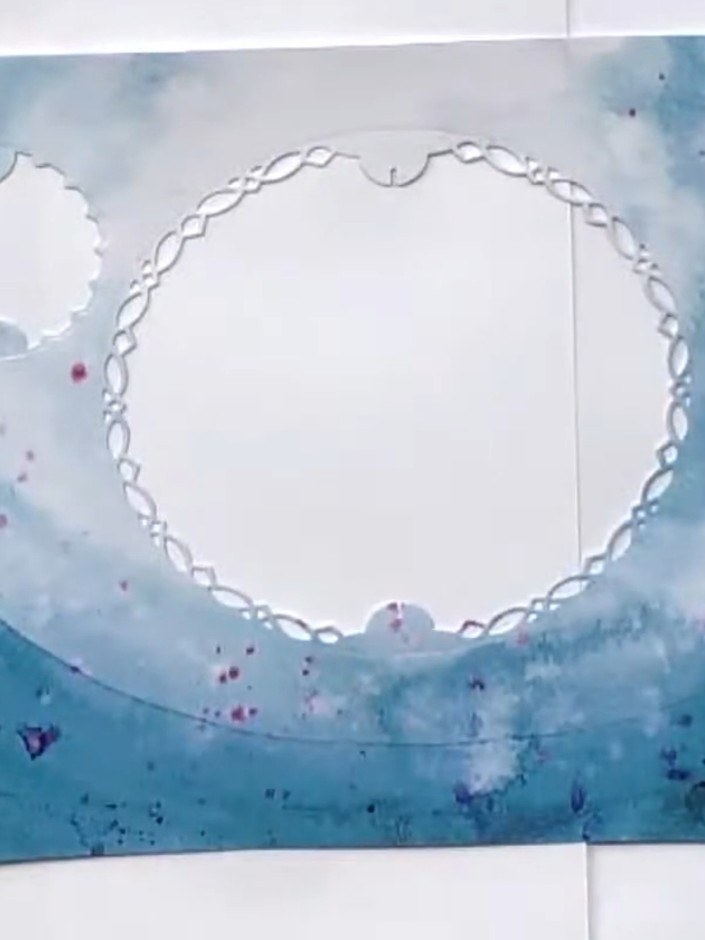
Die-cut two apertures of different sizes from your white card base using the decorative frame dies from the crystal Christmas die set. Position a smaller aperture at the top left and a larger heart-shaped aperture in the centre right of your card front.
▶ diesen Schritt ansehen (10:30)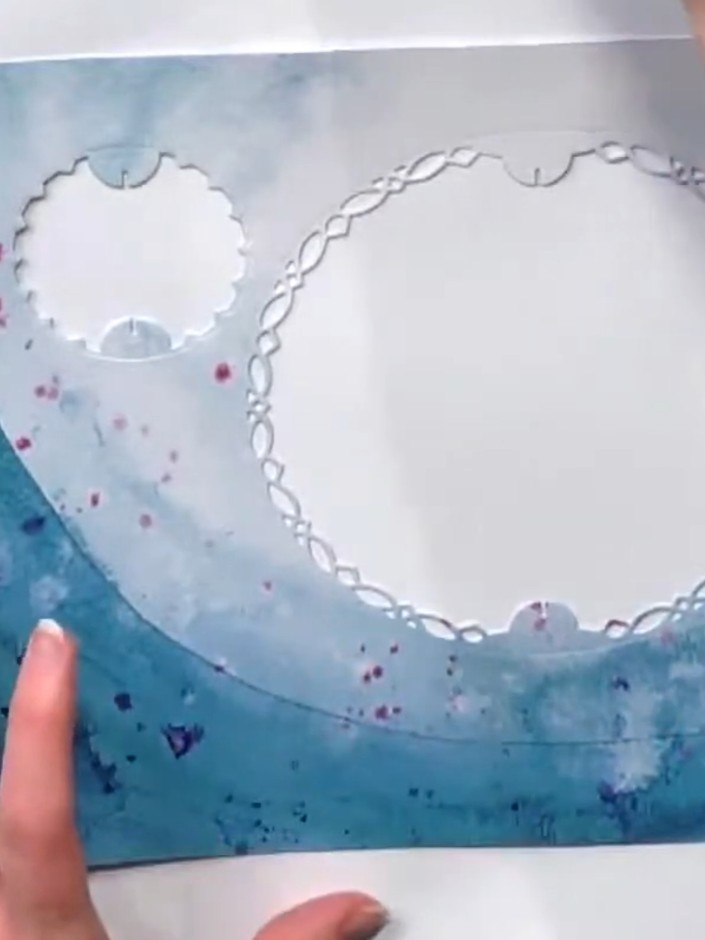
Back the floral patterned card with another sheet of cardstock to create a sturdy 400 GSM base. This provides strength when adding wet mediums like crackle paste.
▶ diesen Schritt ansehen (10:45)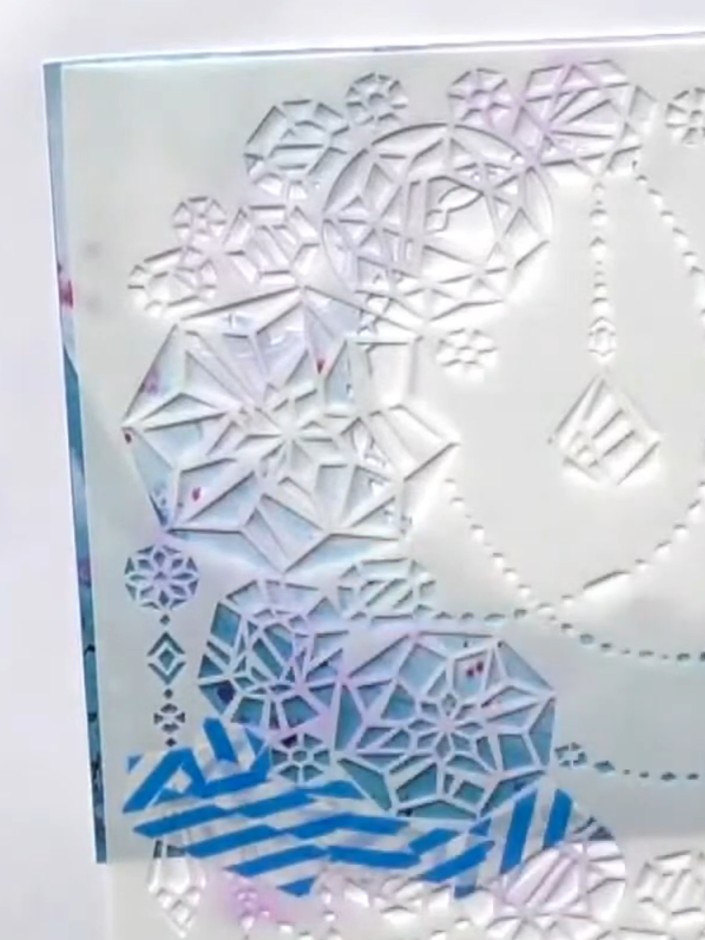
Position a stencil over the aperture area on your card. Using a palette knife, apply white crackle paste through the stencil, working over a bin to catch any excess.
▶ diesen Schritt ansehen (11:00)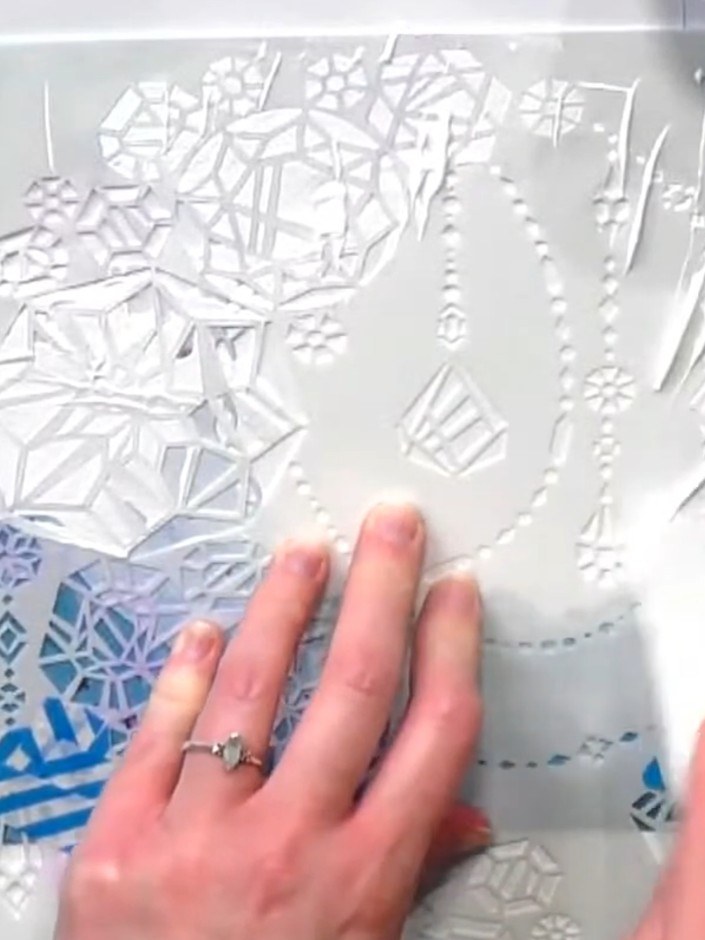
Allow the crackle paste to dry naturally. As it dries, it will begin to crack and create dimensional texture on the surface of your card.
▶ diesen Schritt ansehen (11:30)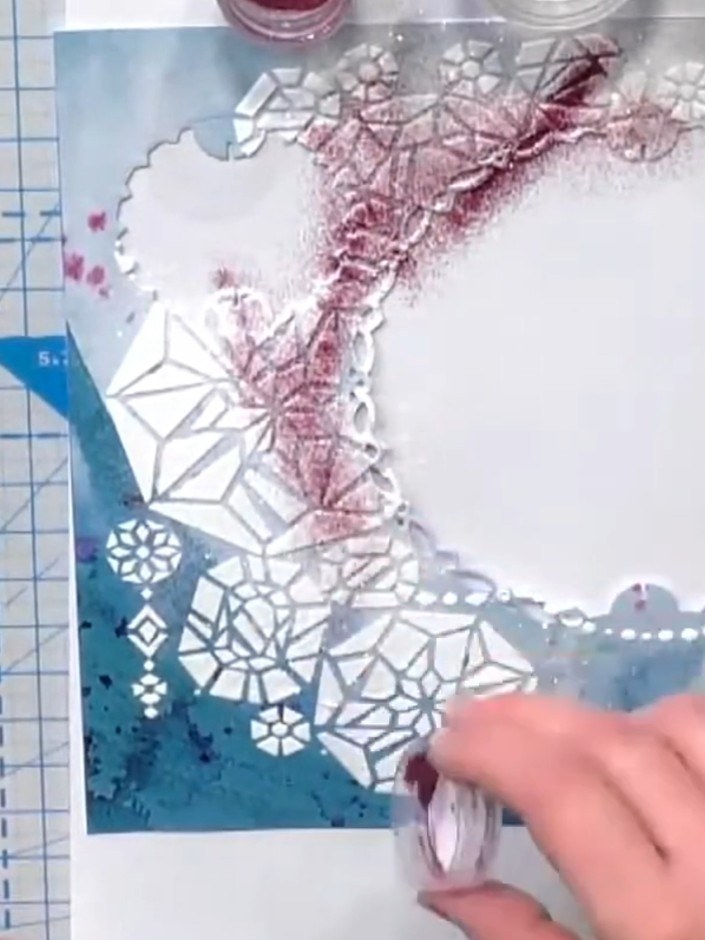
Sprinkle translucent embossing powder over the wet crackle paste whilst it is still damp so it adheres to the stencilled design. Ensure good coverage across all the paste areas.
▶ diesen Schritt ansehen (14:00)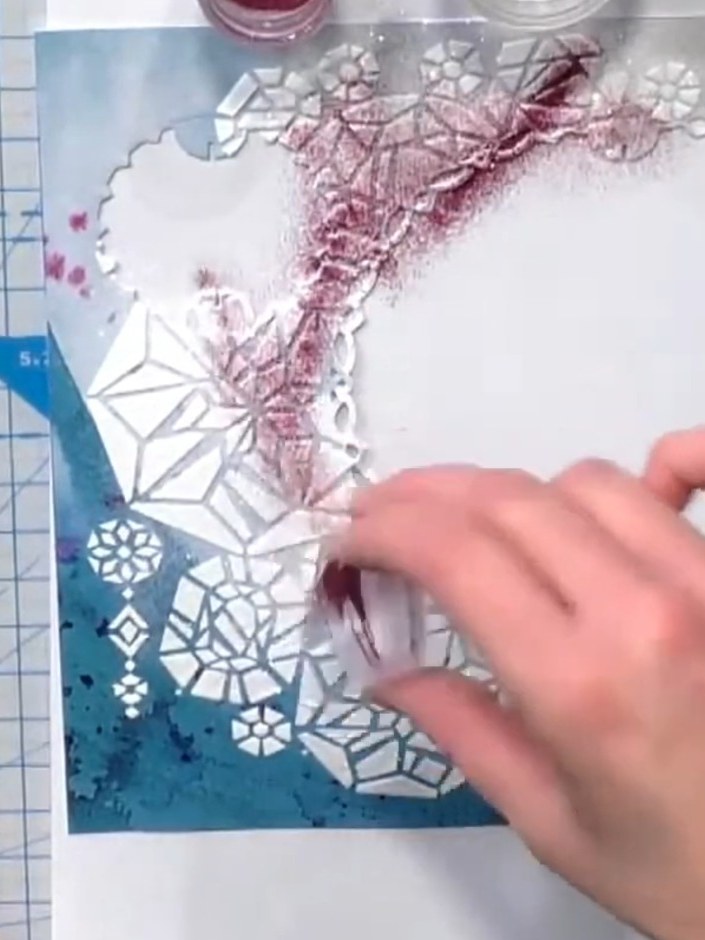
Sprinkle a hint of pink embossing powder (such as Himalayan musk) over the textured areas to add subtle colour that complements the design without covering it completely.
▶ diesen Schritt ansehen (14:15)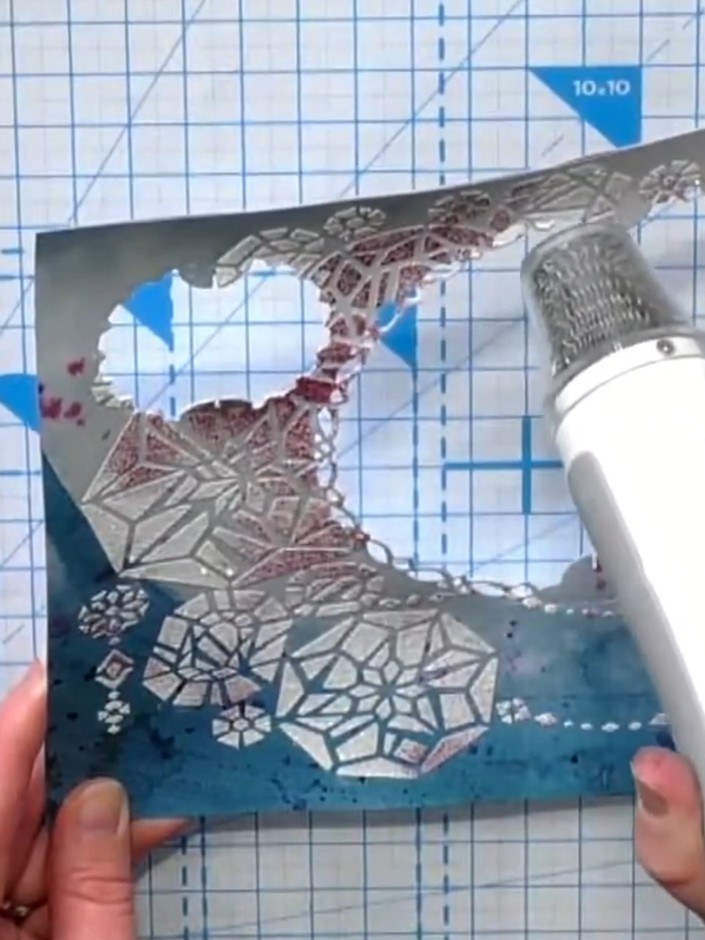
Use a heat tool to heat-set the embossing powder, moving it over the design until the powder melts and the crackle effect becomes prominent. Continue heating until the texture is fully developed across the snowflakes and decorative elements.
▶ diesen Schritt ansehen (15:00)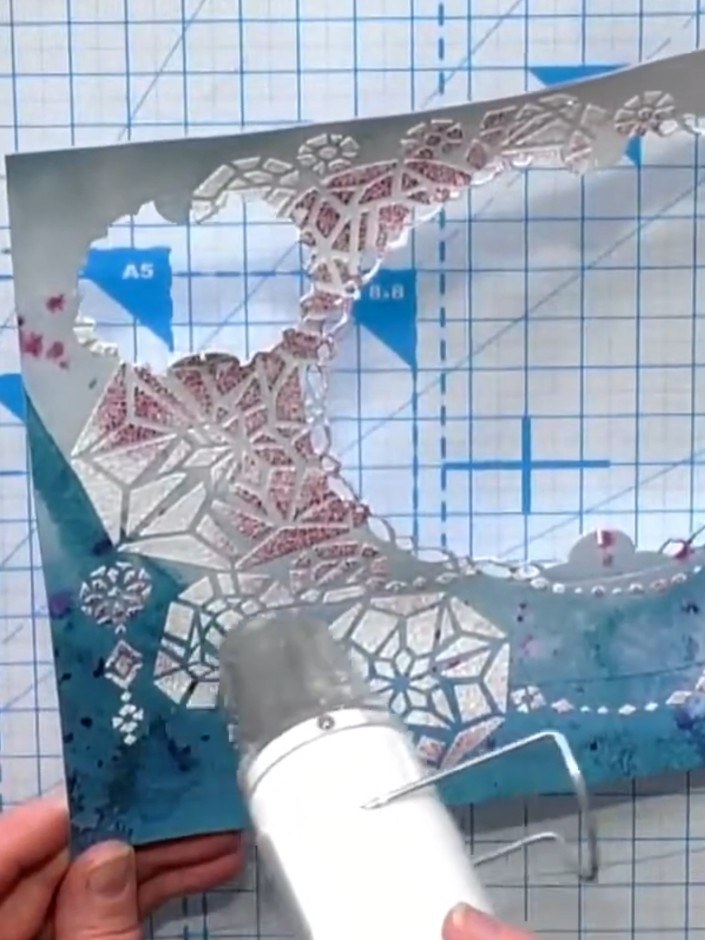
Mount the completed aperture piece onto a black cardstock base to create definition and contrast around the edges of your design.
▶ diesen Schritt ansehen (15:30)Direkt aus der Show aufgeschrieben. Alle Anleitungen aus unseren Shows ansehen · kostenlose Anleitungen · live auf My Telly ansehen