Schenke deinen Freundinnen und Freunden 10 € Rabatt auf ihre erste Bestellung!
Freunde WERBEN








Ein Projekt aus unserer Live-Show HSN Item 811132 - Stamps By Me - Quattro-d Peonies · 26.09.2022 · ab 1:15 ansehen
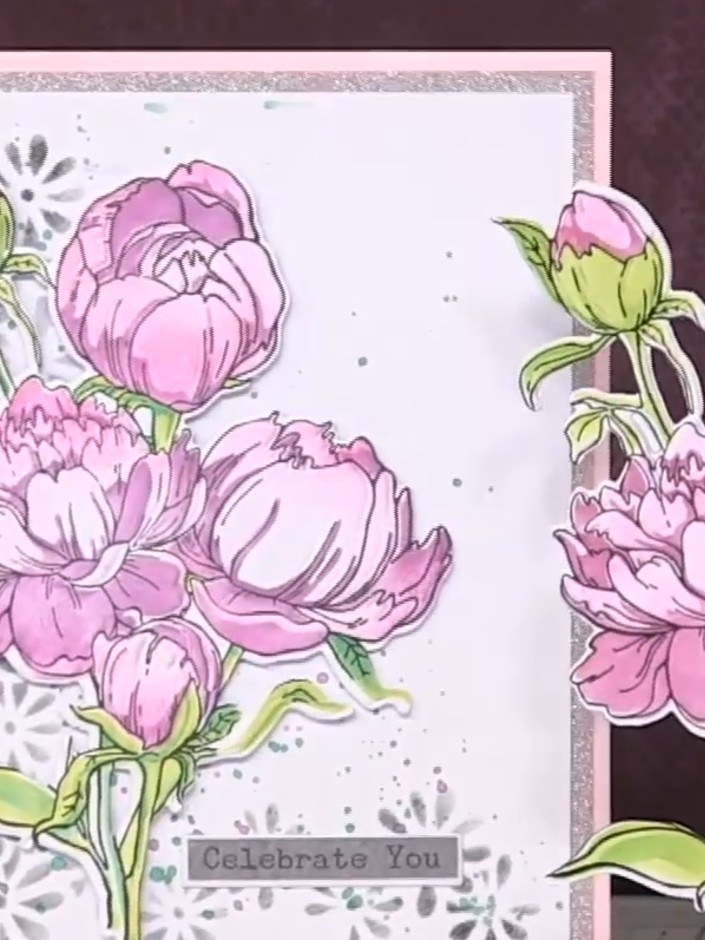
Create a stunning multi-layered peony card featuring beautiful pink peonies with green stems and buds. This project combines stencilling, stamping, die-cutting and 3D embossing using the Quattro-D technique to create dimensional floral embellishments with wonderful depth and texture. The finished card includes a decorative background with a 'Celebrate You' sentiment.
DIESE ANLEITUNG HERUNTERLADEN (PDF)
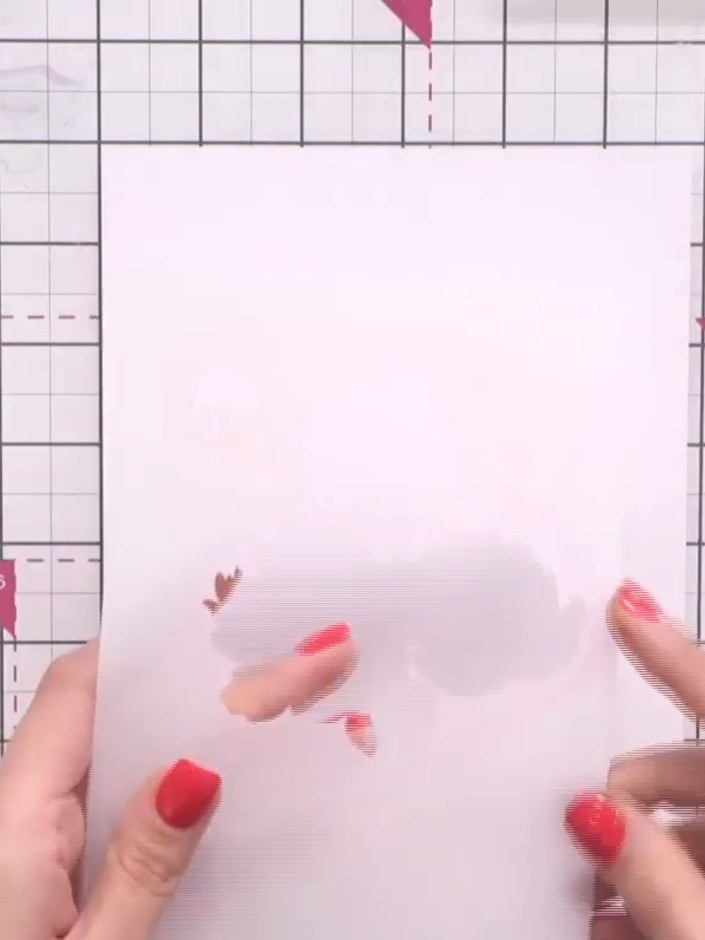
Take the first numbered stencil from your Quattro-D Peonies set and position it on your white cardstock. Align the stencil using the edge of the cardstock as a guide, ensuring it sits flat and secure.
▶ diesen Schritt ansehen (1:15)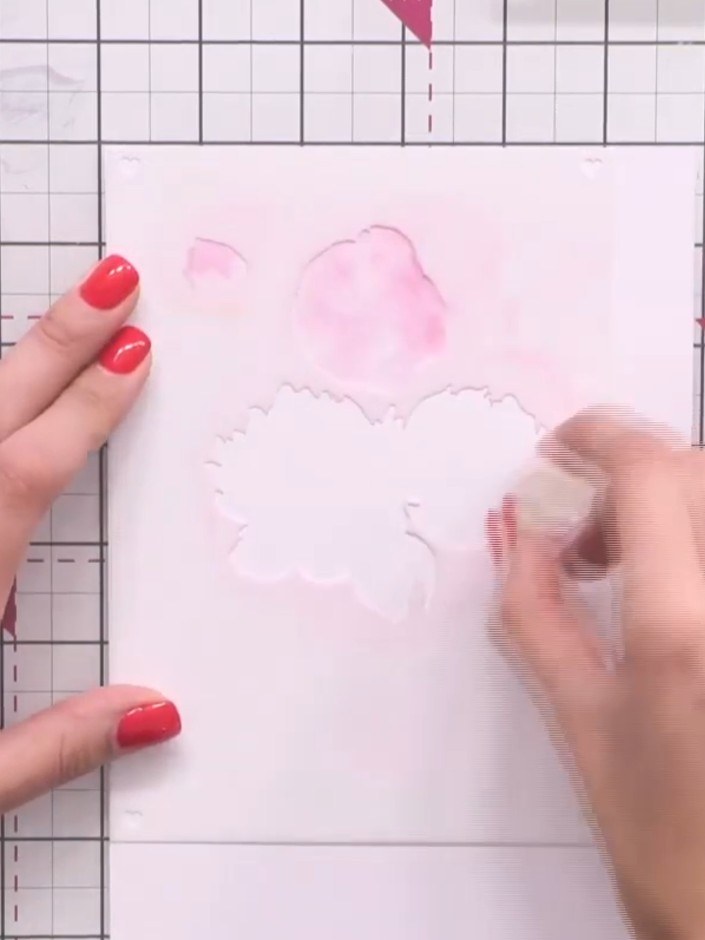
Using a sponge dauber or brush, apply pink ink through the first stencil onto your card base. Lay down a subtle base colour without worrying about perfect blending at this stage.
▶ diesen Schritt ansehen (1:45)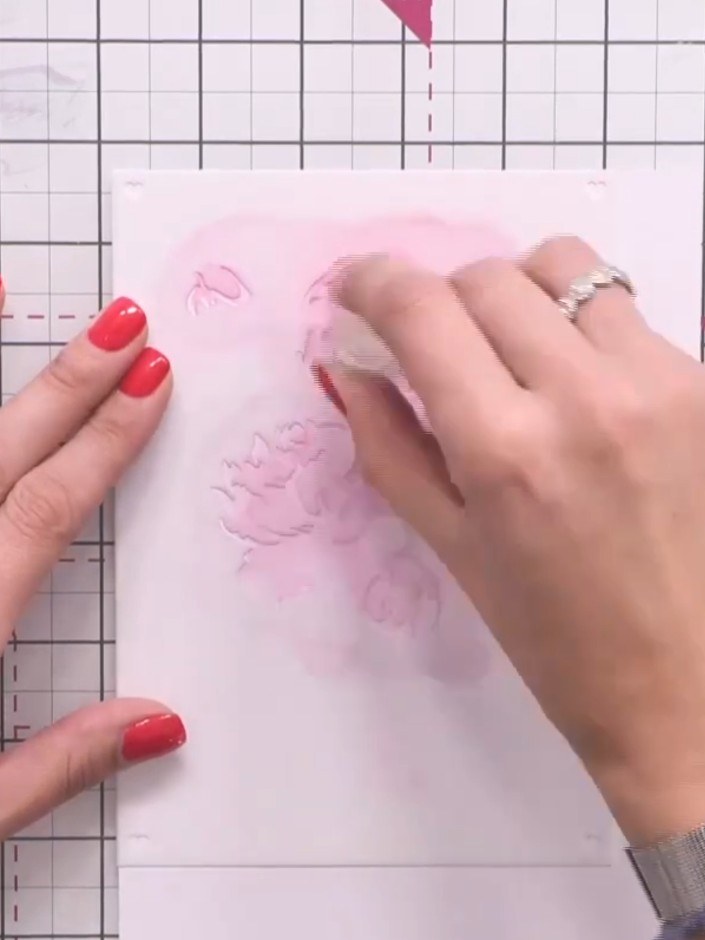
Position stencil two in the top corner of your card. Apply purple ink through the stencil to add depth to the floral design.
▶ diesen Schritt ansehen (2:15)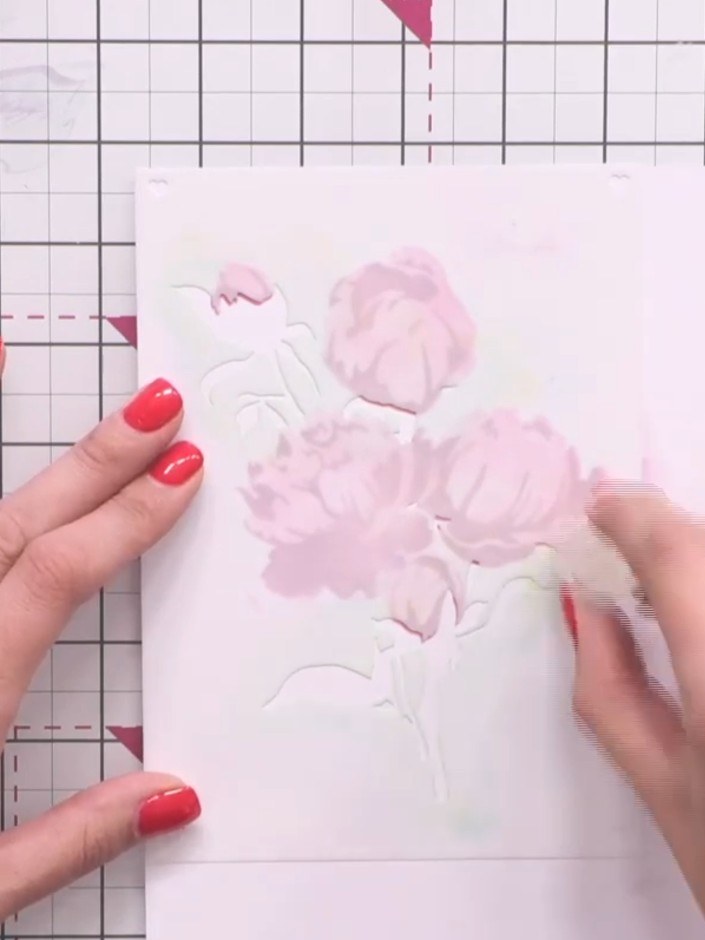
Position stencil three over the image and apply a light green ink through it using a blending tool. Add touches of darker green ink to create variation and depth in the foliage areas.
▶ diesen Schritt ansehen (3:00)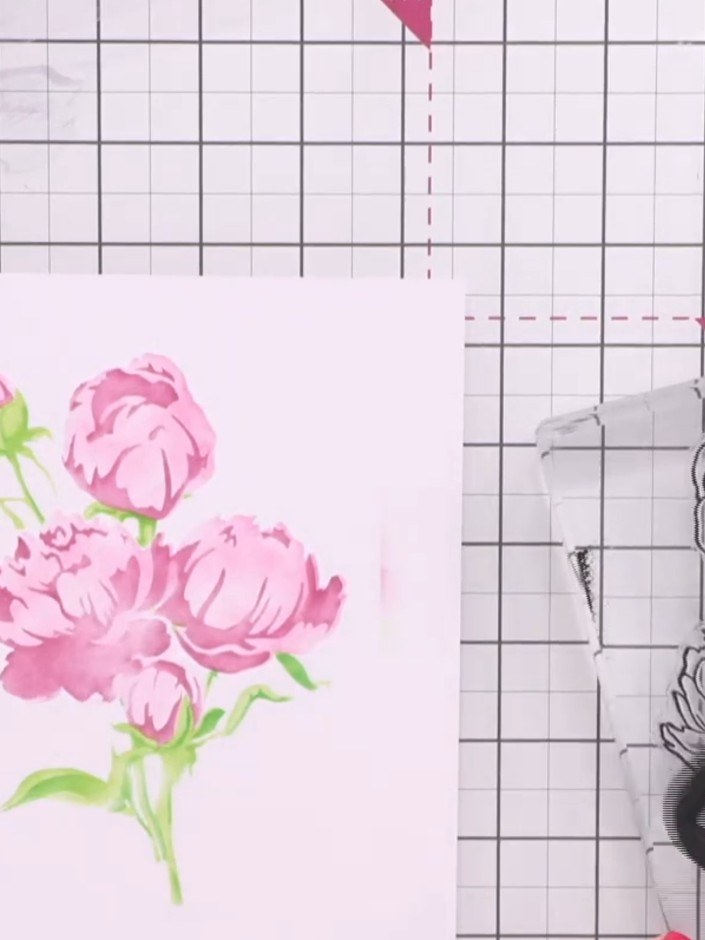
Line up the peony stamp on top of your stencilled design and press down firmly using a black ink pad to add detail and definition to the flowers.
▶ diesen Schritt ansehen (4:15)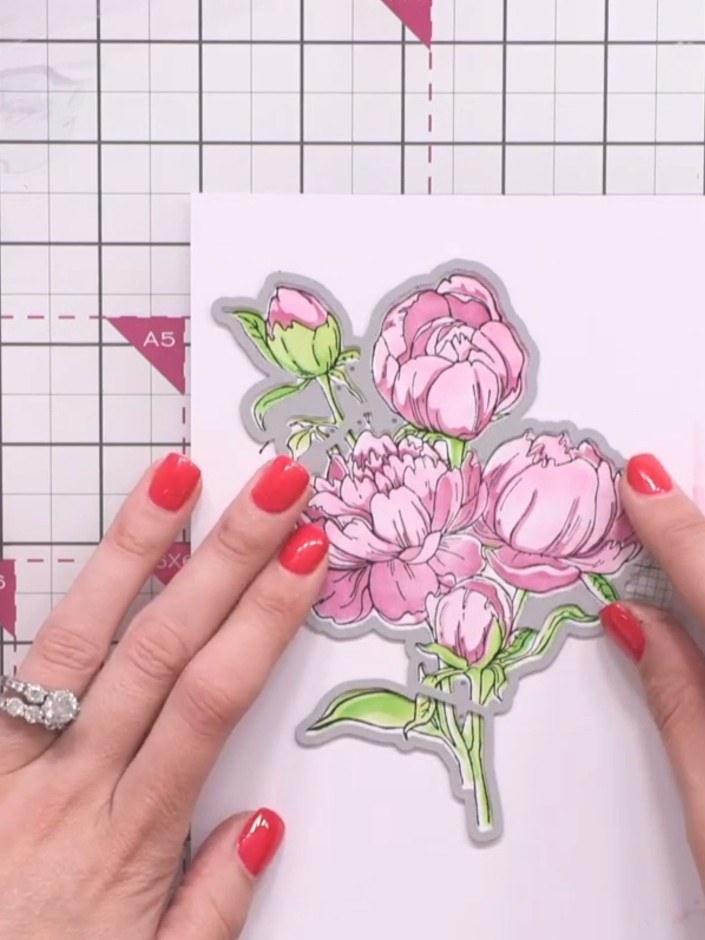
Position the outline die around your stamped peony design, ensuring it is lined up accurately. Run the die and cardstock through your die-cutting machine to cut out the floral shape.
▶ diesen Schritt ansehen (5:15)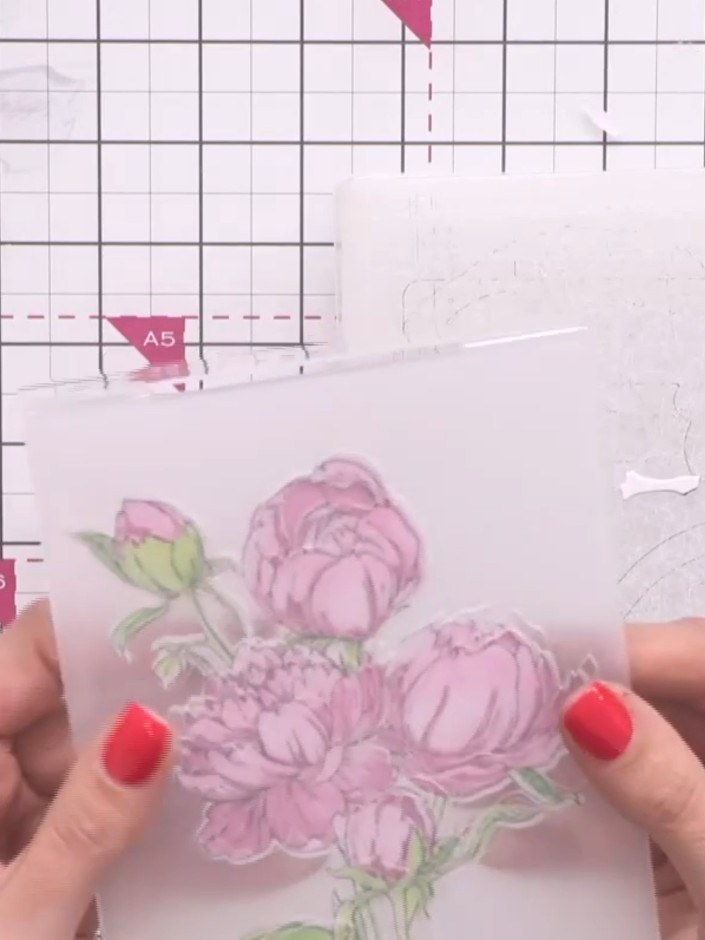
Place your die-cut peony design into the 3D embossing folder with the raised part positioned on the back. Ensure the design is properly lined up to the front of the folder before closing.
▶ diesen Schritt ansehen (6:30)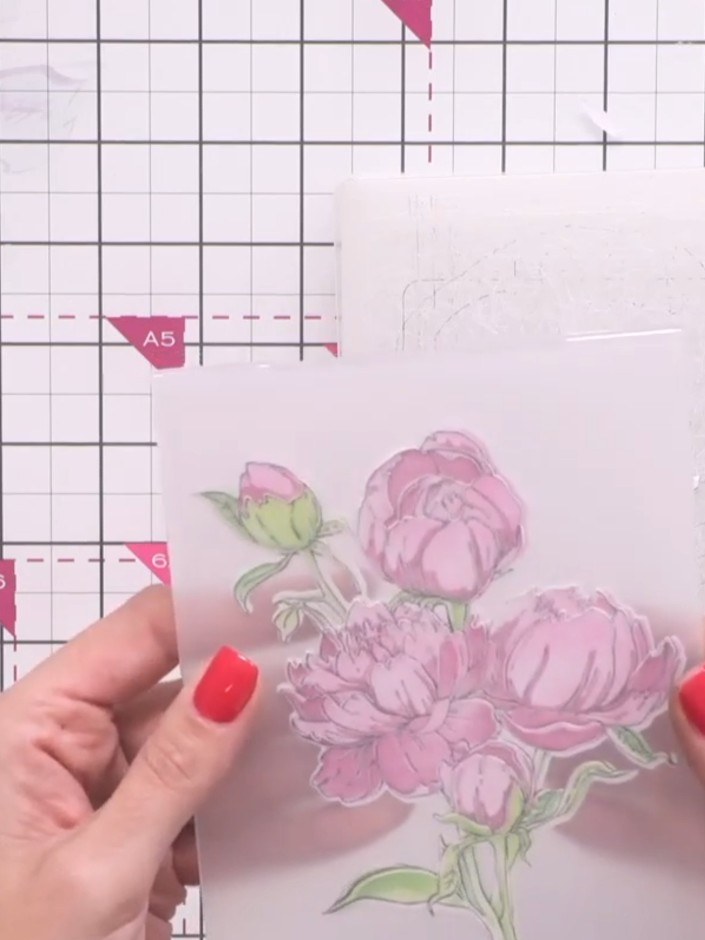
Place the floral image inside the embossing folder and run it through your die-cutting machine to create the final 3D embossed effect on the peonies.
▶ diesen Schritt ansehen (6:45)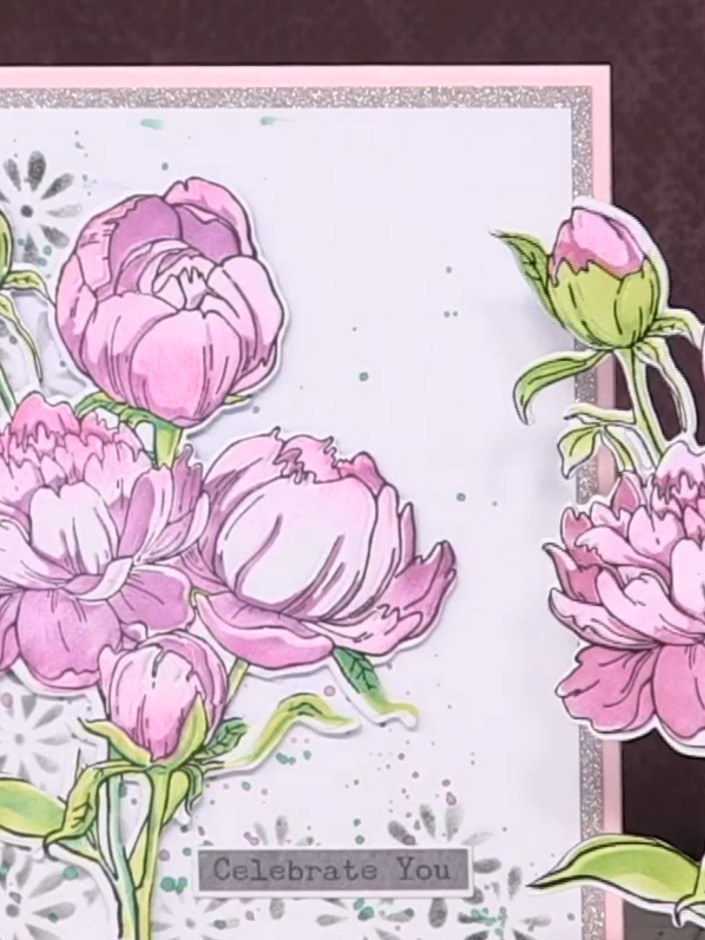
Mount your completed peony embellishment onto a card blank with a silver glitter border. Add a 'Celebrate You' sentiment label to the centre of the card to complete your design.
▶ diesen Schritt ansehen (7:30)Direkt aus der Show aufgeschrieben. Alle Anleitungen aus unseren Shows ansehen · kostenlose Anleitungen · live auf My Telly ansehen