SCHNELLLINKS

info@howtocraftnetwork.com
Wir sind jetzt noch smarter – shoppen und zuschauen mit der SBM-AppHOL DIR DIE APPSchau uns live auf deinem Smart-TVSO GEHT'SEntdecke unseren eigenen IPTV-Sender – geh auf my-telly.comANSEHENSammle bei jeder Bestellung TreuepunkteMEHR ERFAHREN
Willkommen beim How to Craft Network
 
SBM SHOP
FOLGE UNS
SCHENK DEINEN FREUNDEN 10 € RABATT FREUNDE WERBEN › ENTDECKEN MY-TELLY.COM › WIR SIND JETZT NOCH SMARTER HOL DIR DIE APP › PREISGEKRÖNTER SENDER AUF DEINEM FERNSEHER › TRITT DEM CLUB BEI ZU DEN ANGEBOTEN ›
 

Watercolour Landscape Escape Design Card

Ein Projekt aus unserer Live-Show HSN Item 811137 - Live Your Story, My Sunshine · 26.09.2022 · ab 1:00 ansehen

Aufgezeichnetes VideoOffers on screen may no longer be valid - find out more at HSN.com

Create a beautiful landscape card using a two-part lamination stamp technique that produces a realistic watercolour finish. The design features layered colours that blend together to look like hand-painted artwork, with an outline stamp adding detail and definition.

DIESE ANLEITUNG HERUNTERLADEN (PDF)
Schritt für Schritt

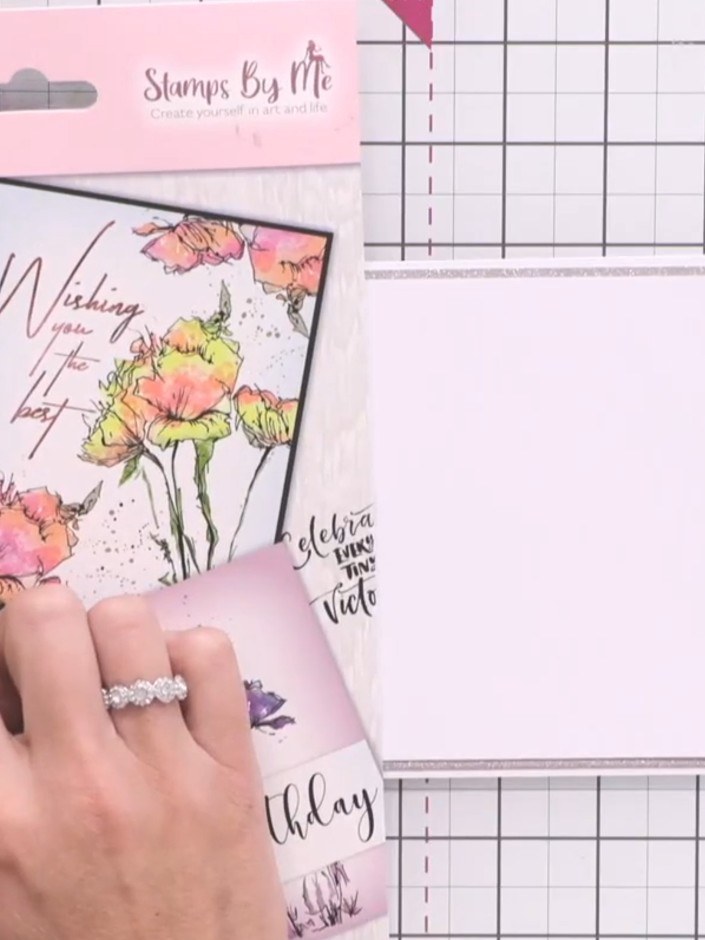
  1. Step 1: Examine your stamp set and identify the two parts: the solid stamp element used for adding colour and the outl

    Examine your stamp set and identify the two parts: the solid stamp element used for adding colour and the outline stamp element used for adding detail and definition.

    ▶ diesen Schritt ansehen (1:15)
  2. Apply yellow ink to the top portion of the solid stamp where you want the sky colour to appear. ▶ watch 1:30
  3. Apply pink ink to the middle section of your stamp using an ink pad, blending it with the yellow ink already on the stamp. ▶ watch 1:45
  4. Apply green ink to the base of the stamp to create the landscape element of your design. ▶ watch 2:00
  5. Spray water onto the stamped image to help blend the pink, yellow and green colours together naturally on the cardstock. ▶ watch 2:15
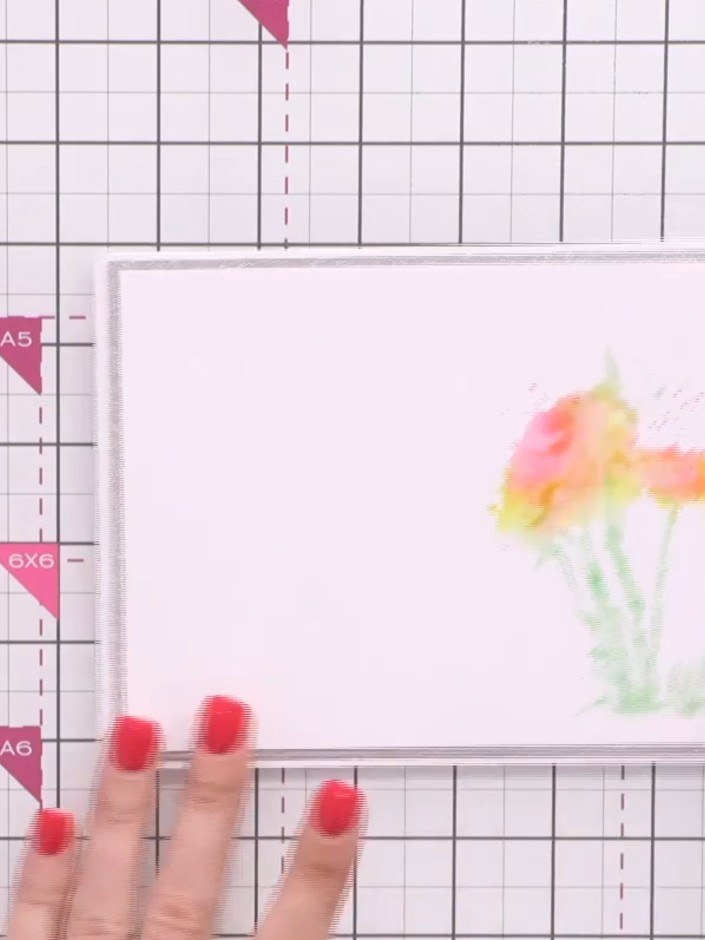
  6. Step 6: Press the wet, coloured stamp firmly onto your white cardstock to transfer the watercolour blended flower desi

    Press the wet, coloured stamp firmly onto your white cardstock to transfer the watercolour blended flower design. Ensure even pressure for a clear impression.

    ▶ diesen Schritt ansehen (2:30)
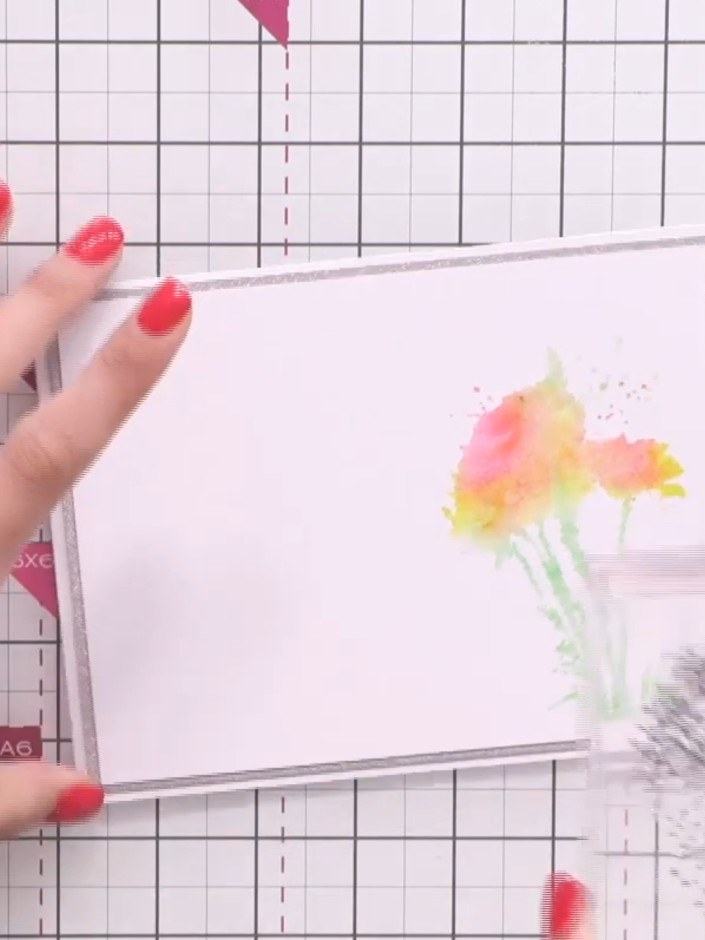
  7. Step 7: Stamp the outline floral image from the collection over your watercoloured design using black ink to add detai

    Stamp the outline floral image from the collection over your watercoloured design using black ink to add detail and definition to the flowers.

    ▶ diesen Schritt ansehen (2:45)
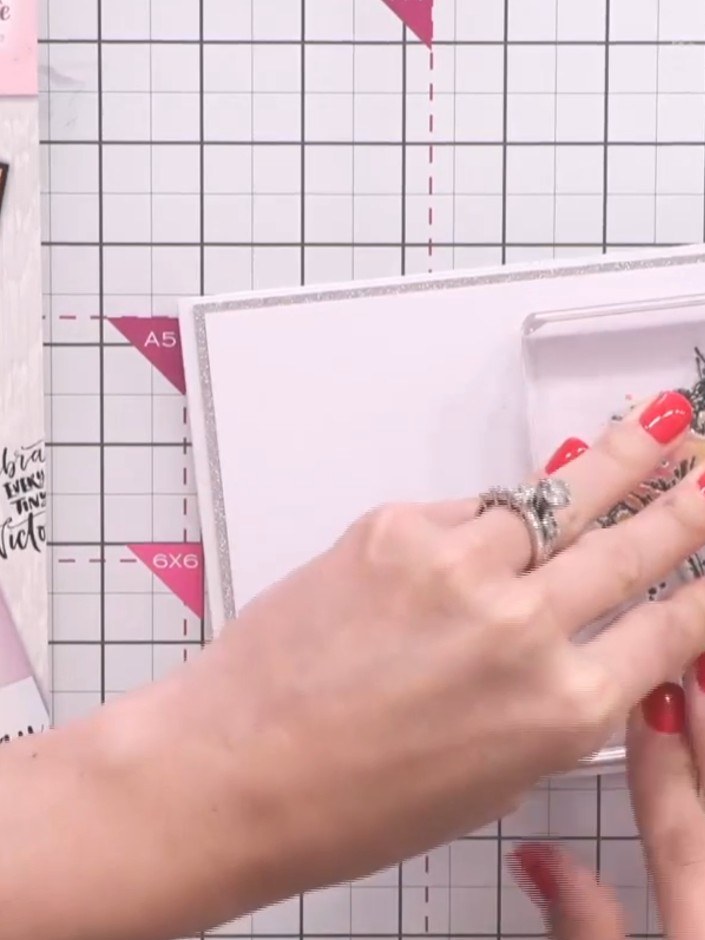
  8. Step 8: Select a sentiment stamp from the set and position it within or near your watercolour artwork. Place the stamp

    Select a sentiment stamp from the set and position it within or near your watercolour artwork. Place the stamp where it complements your design and press firmly to ensure a clear impression.

    ▶ diesen Schritt ansehen (3:15)
  9. Stamp your chosen sentiment from the stamp set in black ink onto the card front to complete your design. ▶ watch 3:45

Tipps aus der Show

Direkt aus der Show aufgeschrieben. Alle Anleitungen aus unseren Shows ansehen · kostenlose Anleitungen · live auf My Telly ansehen







