Schenke deinen Freundinnen und Freunden 10 € Rabatt auf ihre erste Bestellung!
Freunde WERBEN








 Deal HuntersDi., 3. Nov. 9:00 Uhr
 Hidden GemsMi., 4. Nov. 5:00 Uhr
 The Thursday DropDo., 5. Nov. 13:00 Uhr
Preise ändern sich sofort.
Ein Projekt aus unserer Live-Show Monday Madness - Sei dabei mit Simon, gesendet am 7. Feb. 22 · 07.02.2022
A striking square card featuring a stencilled scales pattern created with sponging and multiple ink colours, producing a psychedelic effect. Gem embellishments in the corners add sparkle and dimension to this flat-mail-friendly design.
Cut a 6-inch square card blank from thick cardstock (approximately 300 gsm).
Position the stylish scales die as a stencil on one side of the card blank.
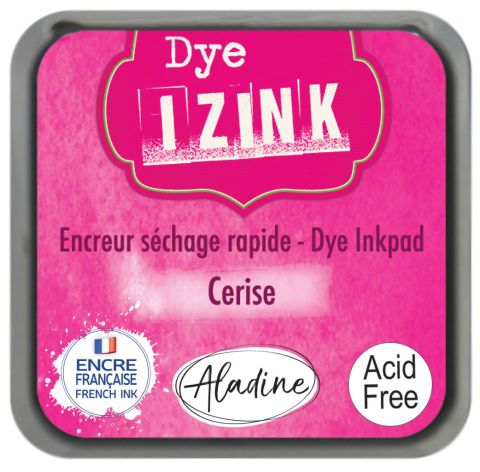
Dab the lightest ink colour (green) through the stencil openings using a sponge and light finger pressure.
Add the blue ink colour through the stencil, allowing colours to overlap slightly for variation.
Add the pink ink colour through the stencil to complete the first side.
Lift away the stencil to reveal the sponged scales pattern.
Flip the card and position the stencil on the reverse side.
Repeat the sponging process on the second side, starting with green, then blue, then pink.
Lift away the stencil to reveal the complete two-sided pattern.
Position the patterned card at a quirky angle on your card base.
Secure the patterned card using tape runner down the centre strip.
Trim the card to size using the card base as a guide, cutting level with the edges.
Stamp a sentiment onto the card using black Versafine ink.
Apply glue to the bottom corners and attach rainbow fish gem embellishments.
Apply glue to the top corners and attach rainbow fish gem embellishments.
Add smaller fern topaz gem embellishments above the larger gems for additional sparkle.
Teile dein Projekt mit der Stamps By Me Community - und behalte diese Anleitung für das nächste Mal.
Direkt aus der Show aufgeschrieben. Alle Anleitungen aus unseren Shows · kostenlose Anleitungen · live auf My Telly ansehen · die bisherige Ansicht