Schenke deinen Freundinnen und Freunden 10 € Rabatt auf ihre erste Bestellung!
Freunde WERBEN








 Hidden GemsMi., 4. Nov. 5:00 Uhr
 The Thursday DropDo., 5. Nov. 13:00 Uhr
 The Friday Final CutFr., 6. Nov. 5:00 Uhr
Preise ändern sich sofort.
Ein Projekt aus unserer Live-Show Jetzt nachschauen: der Create Together Club – Inspirationsvideo 6 zum Stempelset A NOTE TO SAY – SHOW vom 30. Okt. 21 · 30.10.2021
Create a delicate, elegant card by stamping a typewriter image onto vellum with gold embossing ink and clear embossing powder. The heat-set result gives a subtle, sophisticated look that works beautifully on translucent vellum.
Place a piece of vellum on your work surface and position the typewriter stamp in the centre using a magnet to hold it steady.
Apply anti-static powder to the vellum to prevent static cling.
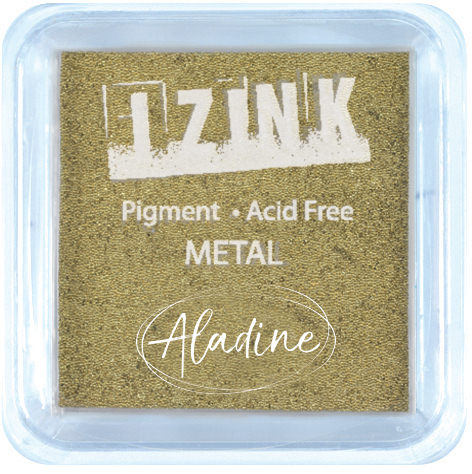
Ink up the typewriter stamp thoroughly with the gold embossing ink pad, tapping all over for even coverage.
Press the stamp firmly onto the vellum, applying good pressure to capture all the detail.
Lift the stamp carefully away from the vellum.
Sprinkle clear embossing powder over the wet gold ink to seal it.
Heat set the embossing powder with a heat gun, moving it steadily across the vellum to avoid warping.
Mount the embossed vellum onto a card base to complete the project.
Teile dein Projekt mit der Stamps By Me Community - und behalte diese Anleitung für das nächste Mal.
Direkt aus der Show aufgeschrieben. Alle Anleitungen aus unseren Shows · kostenlose Anleitungen · live auf My Telly ansehen · die bisherige Ansicht