Schenke deinen Freundinnen und Freunden 10 € Rabatt auf ihre erste Bestellung!
Freunde WERBEN








 Hidden GemsMi., 4. Nov. 5:00 Uhr
 The Thursday DropDo., 5. Nov. 13:00 Uhr
 The Friday Final CutFr., 6. Nov. 5:00 Uhr
Preise ändern sich sofort. Jede Sprache ist unsere eigene Übersetzung, nicht Google.
Ein Projekt aus unserer Live-Show COMMUNITY SHOWCASE - Sendung vom 2. November 2026 · 02.11.2026 · ab 17:30 ansehen
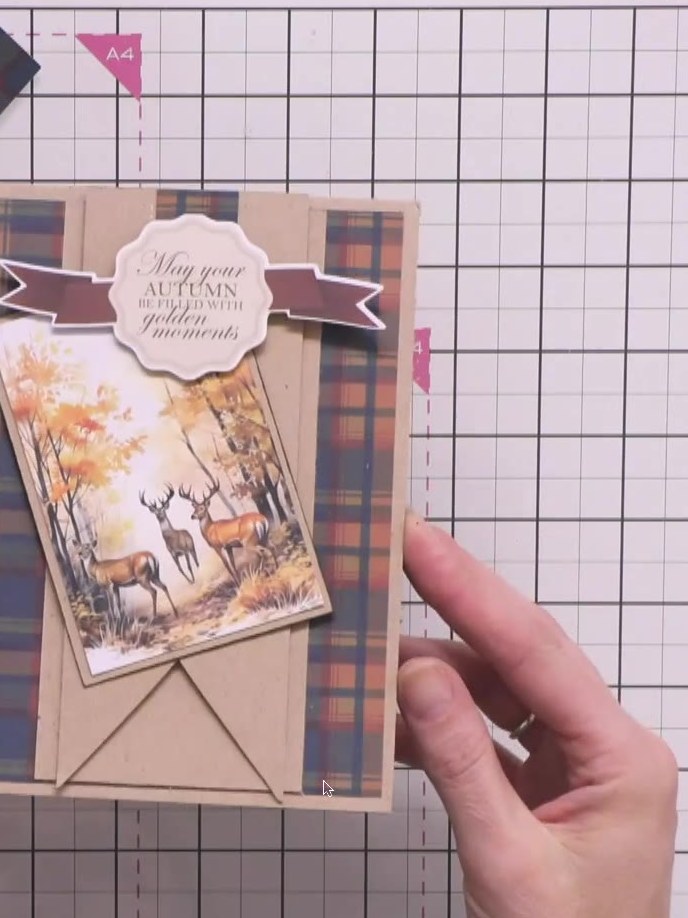
Create an elegant autumn card featuring layered kraft and tartan panels with a distinctive V-shaped accent. This sophisticated design showcases a beautiful deer scene with autumn foliage, complemented by sentiment banners and decorative elements in warm browns, oranges and creams. The project uses simple layering techniques to build dimension and visual interest.
DIESE ANLEITUNG HERUNTERLADEN (PDF)
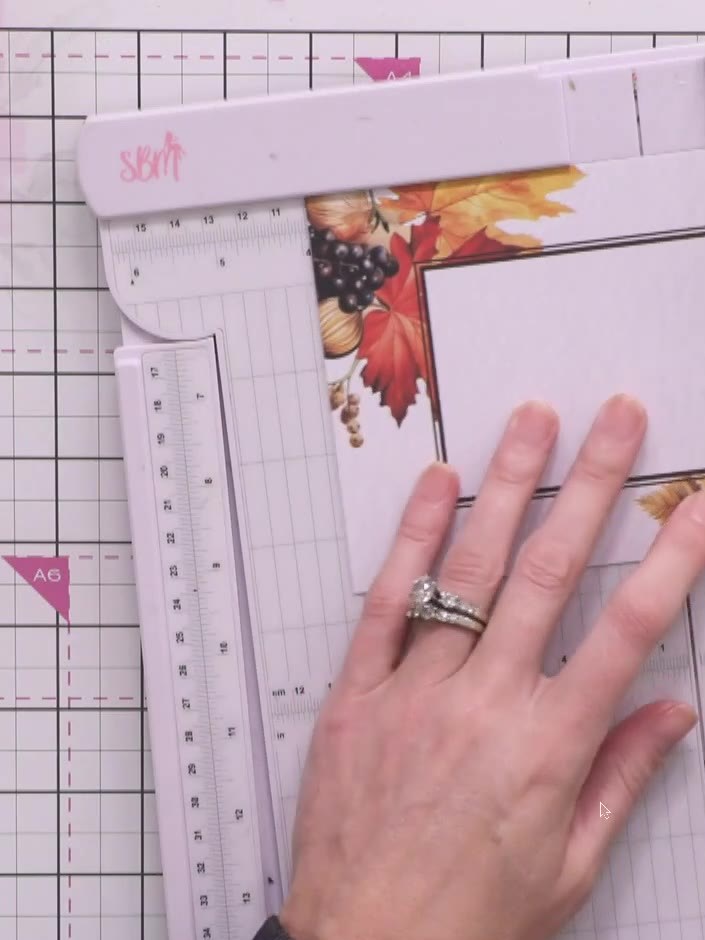
Take one of the white card blanks from the kit and score it in half lengthways using a ruler and scoring tool to create a folded place name card base.
▶ diesen Schritt ansehen (22:30)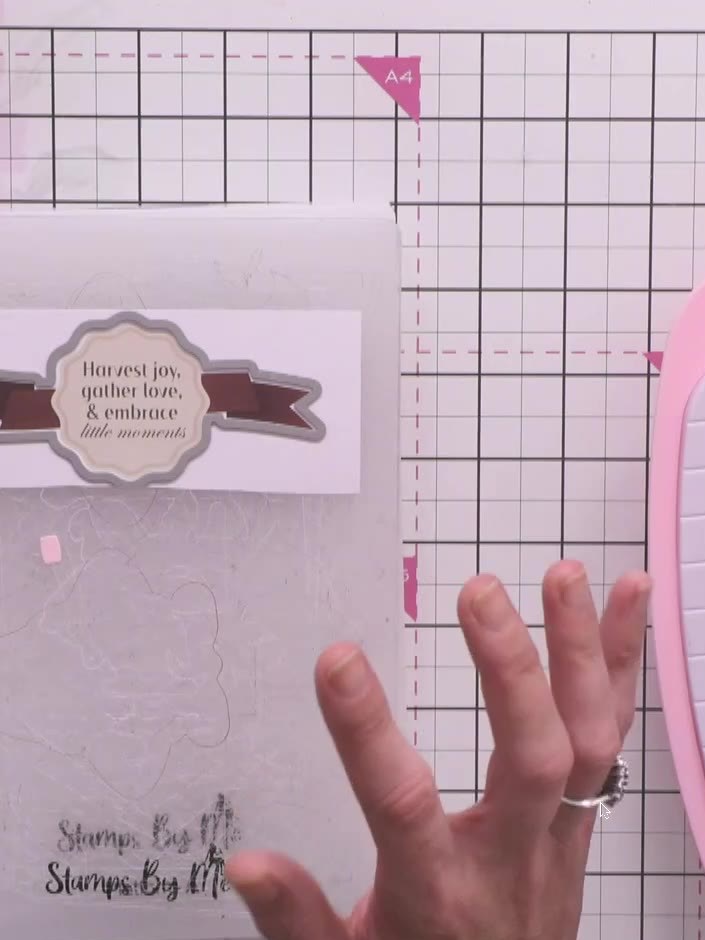
Use a cutting machine to cut out the individual sentiment strips from the card kit. Separate the sentiment phrase that reads 'Harvest joy, gather love, & embrace little moments' with its decorative banner and scalloped frame.
▶ diesen Schritt ansehen (24:15)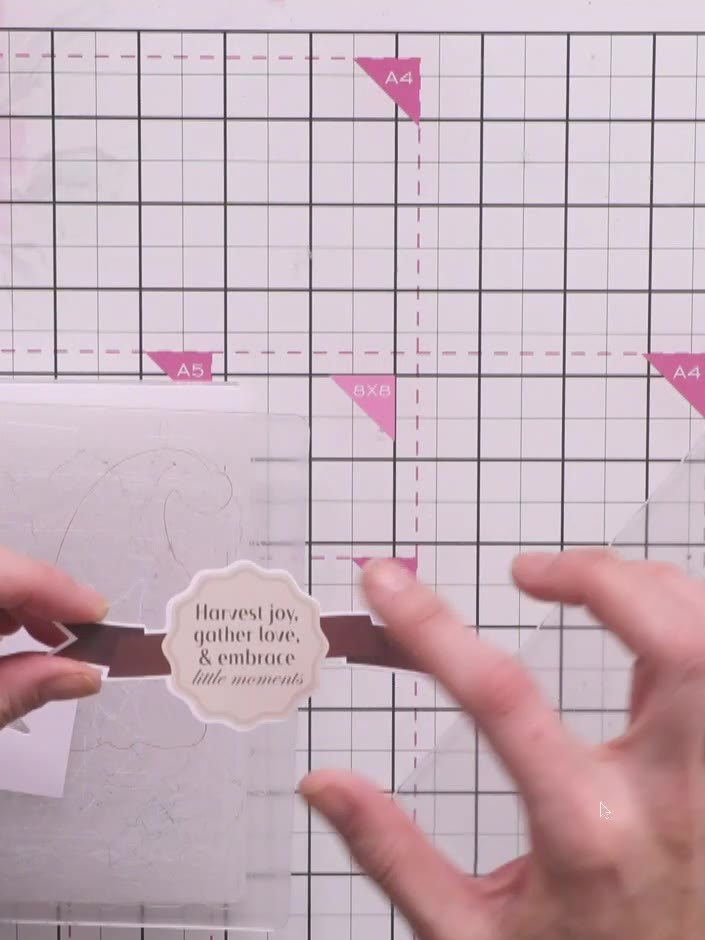
Cut additional sentiments from the pre-printed sentiment sheet included in the kit. This gives you multiple sentiment options to choose from for your card.
▶ diesen Schritt ansehen (25:30)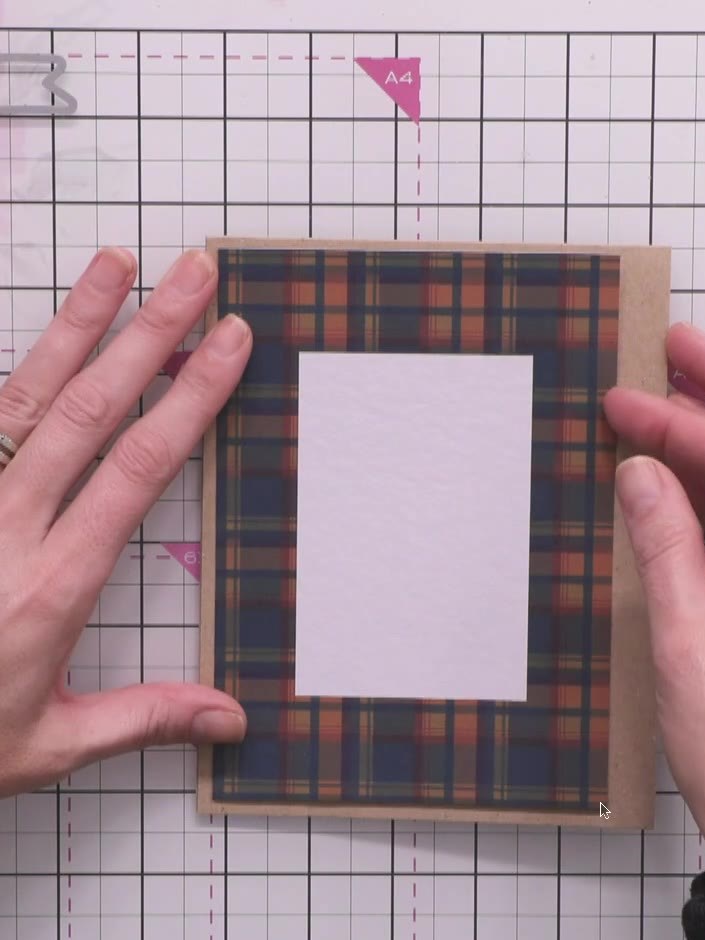
Select a tartan patterned paper as your card base. Place a pink rectangular panel in the centre of the card base to establish your card size.
▶ diesen Schritt ansehen (31:00)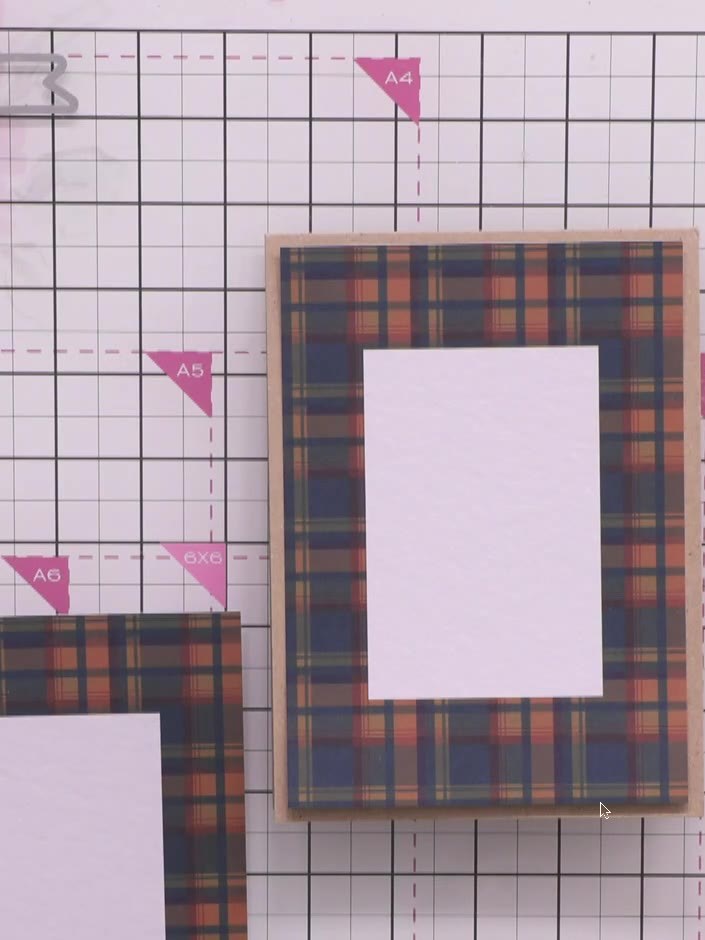
Cut a second piece of craft card. Trim it down to create a narrower border panel that will be layered on the side or centre of your card base.
▶ diesen Schritt ansehen (31:45)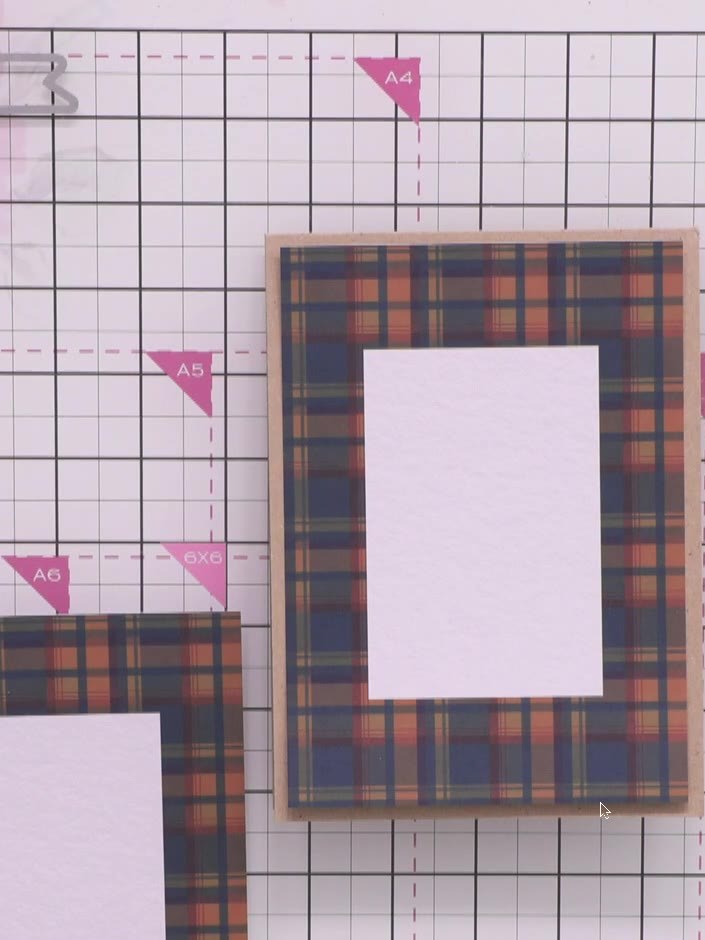
Adhere the tartan patterned topper onto your kraft card base. Position the white panel in the centre of the tartan topper and secure with adhesive.
▶ diesen Schritt ansehen (32:00)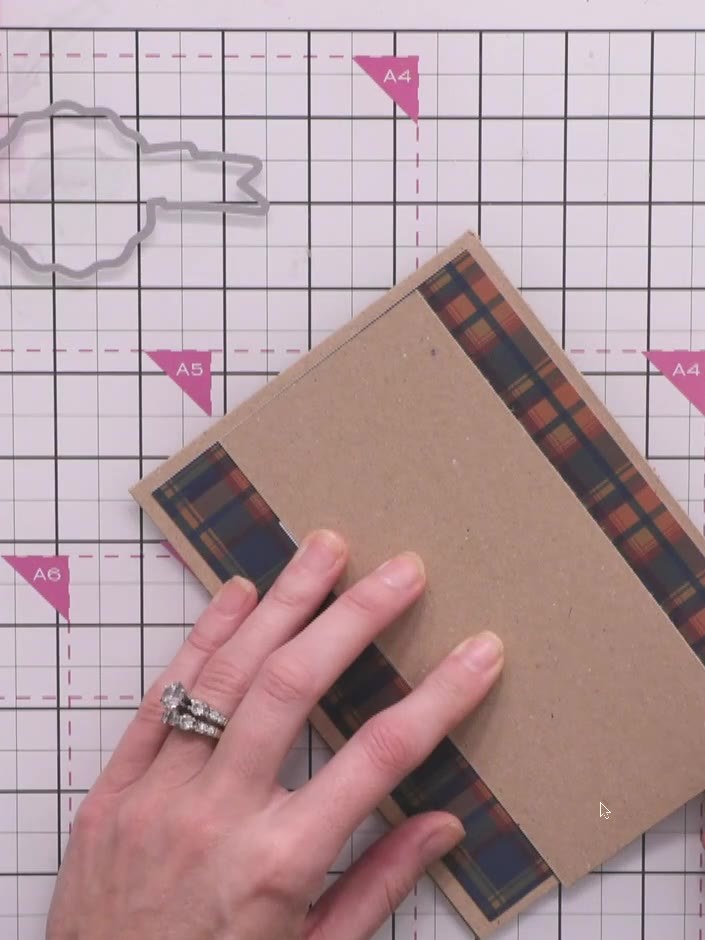
Tape down the tartan patterned border panel vertically down the centre of the kraft card base to frame and hide the white aperture area.
▶ diesen Schritt ansehen (34:00)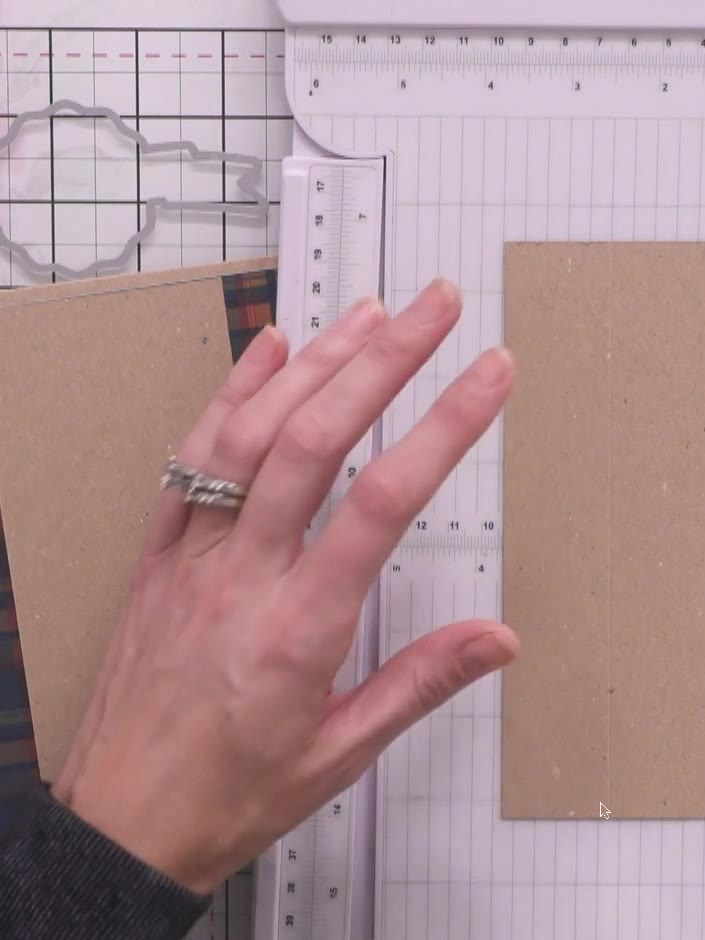
Score a light line down the middle of a second kraft panel. Mark a small spot with a pencil at the centre point where the score line meets the middle of the panel.
▶ diesen Schritt ansehen (35:15)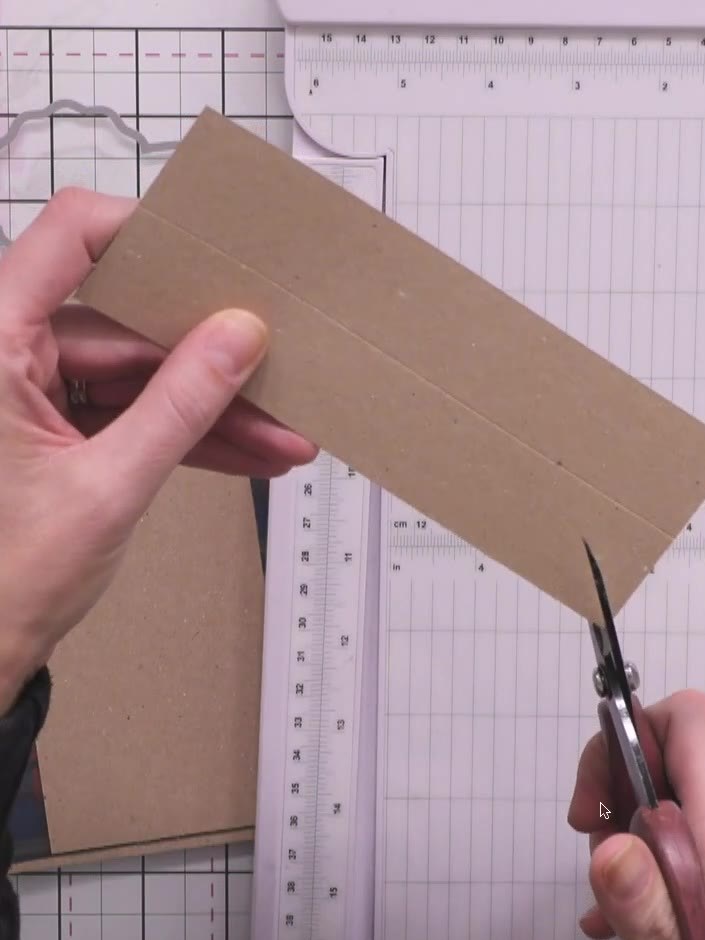
Cut from each corner of the kraft panel to the centre spot using scissors to create a tight V-shaped notch at each corner.
▶ diesen Schritt ansehen (35:45)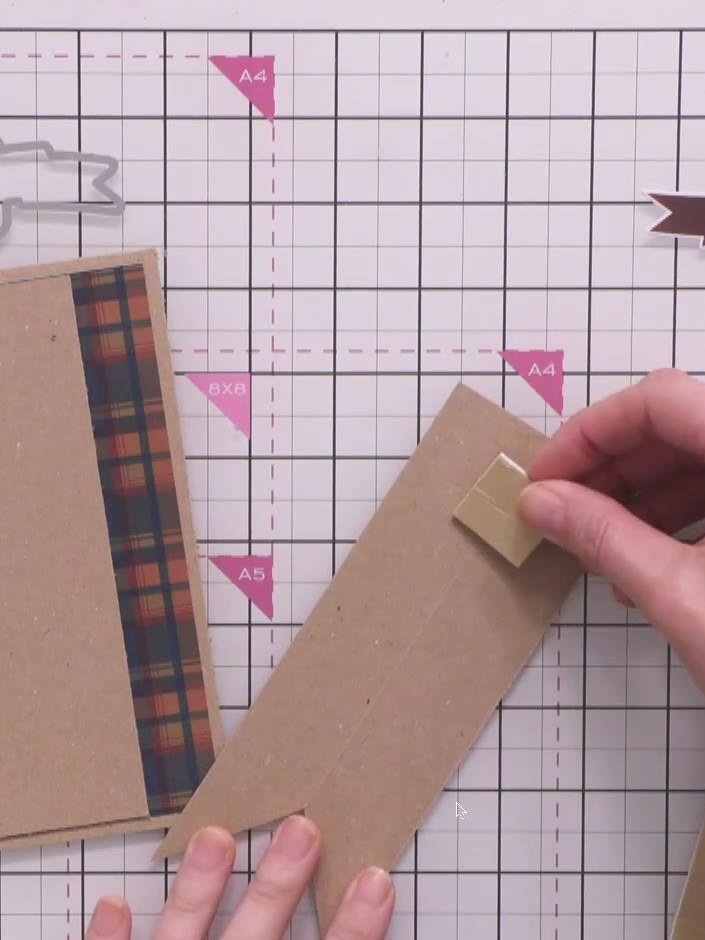
Apply foam pads to the back of the V-shaped kraft panel. Position the panel at the top of your card to add dimensional texture.
▶ diesen Schritt ansehen (36:00)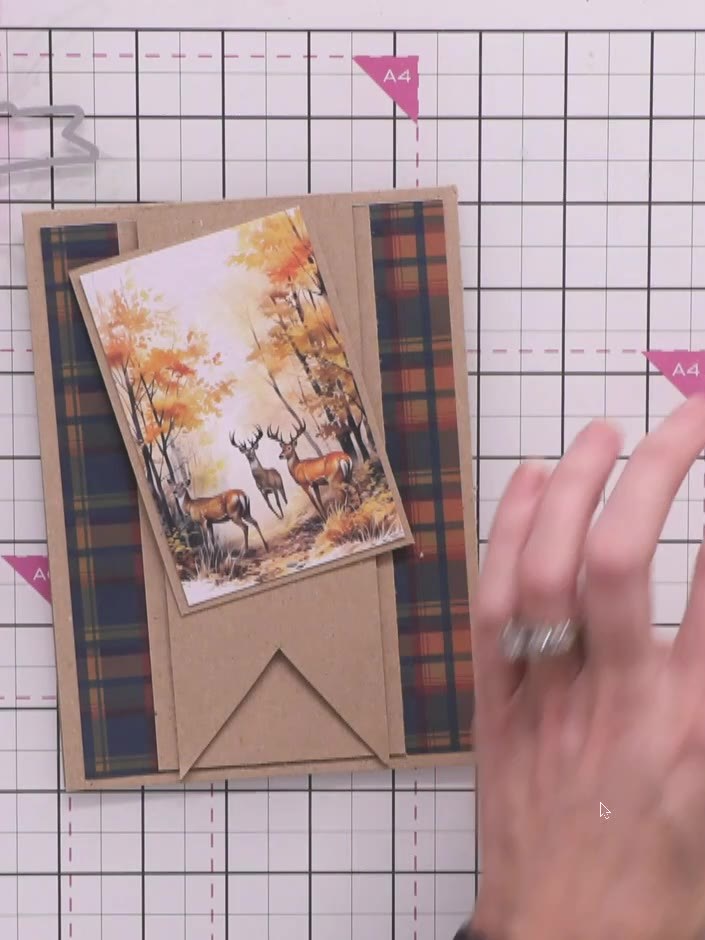
Mat and layer one of the sentiment strips onto a piece of kraft card to add depth and prevent it from floating on the card base.
▶ diesen Schritt ansehen (38:15)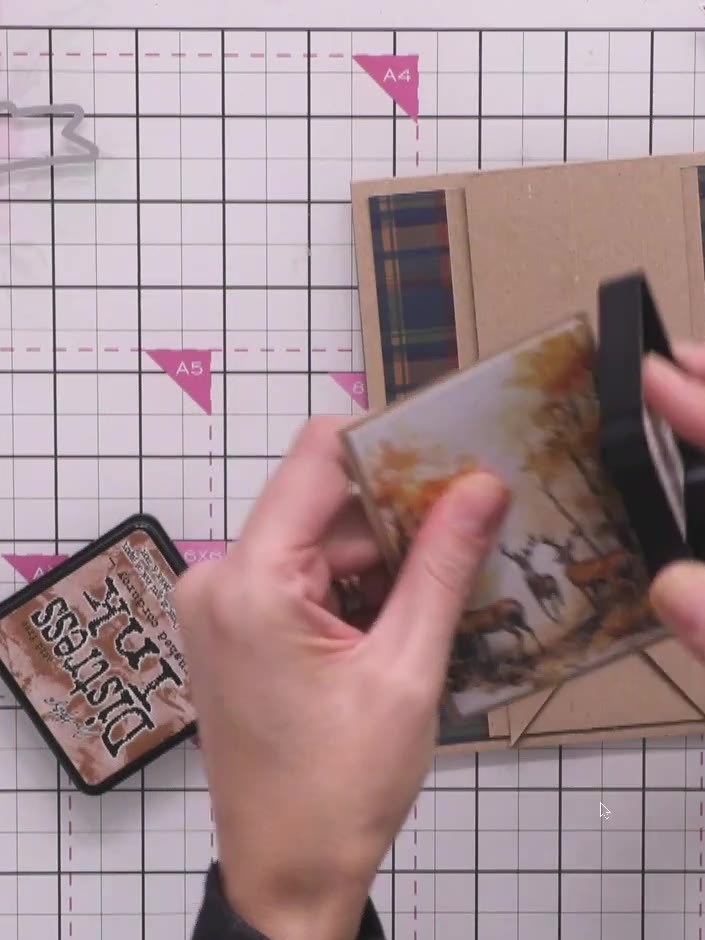
Take the matted sentiment panel and edge it with the brown distress ink pad to define the edges and make the panel pop.
▶ diesen Schritt ansehen (39:00)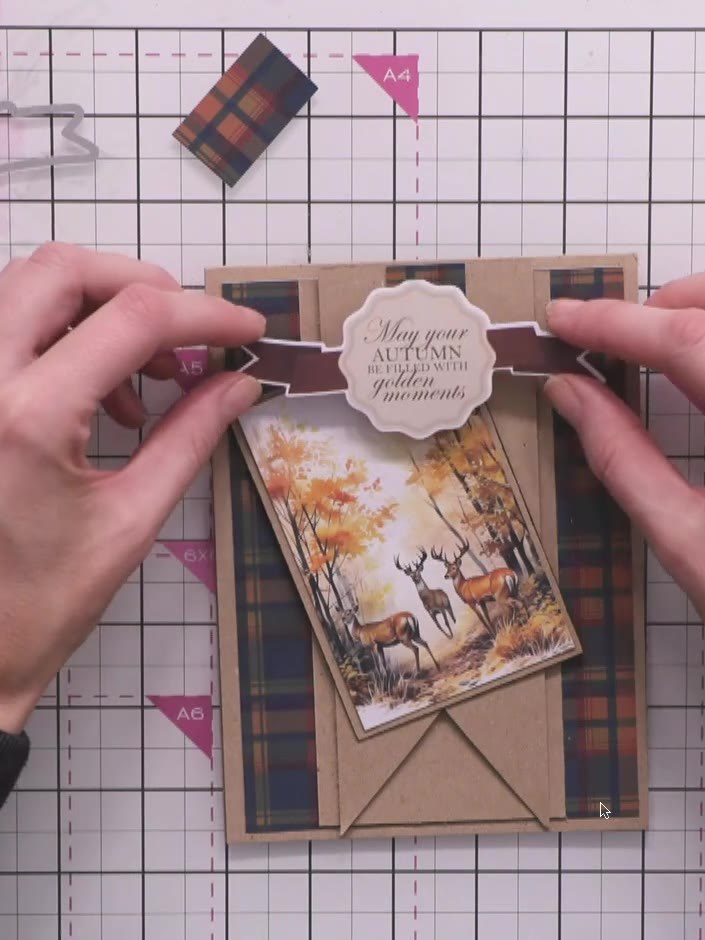
Adhere the finished sentiment panel to the centre of your card using foam pads. Position the circular sentiment topper with 'May your autumn days be filled with golden moments' centrally on the card front.
▶ diesen Schritt ansehen (40:30)Direkt aus der Show aufgeschrieben. Alle Anleitungen aus unseren Shows ansehen · kostenlose Anleitungen · live auf My Telly ansehen
