¡Regala a tus amigos 10 € de descuento en su primer pedido!
Invita a una AMIGA








Los precios cambian al instante. Las traducciones son de Google.
Un proyecto de nuestro programa en directo EXCLUSIVA DE CREATE AND CRAFT - Acompaña a Toni EN DIRECTO en su nuevo lanzamiento FLOWERS FOR YOU - emitido el 31 de marzo 22 · 31/03/2022
Create a charming card featuring the Spring Boots die with selective ink application and watercolour accents. The technique uses a mop-up method to add colour to specific areas of the boots, creating dimension and a hand-painted appearance.
Prepare a piece of watercolour card as your base.
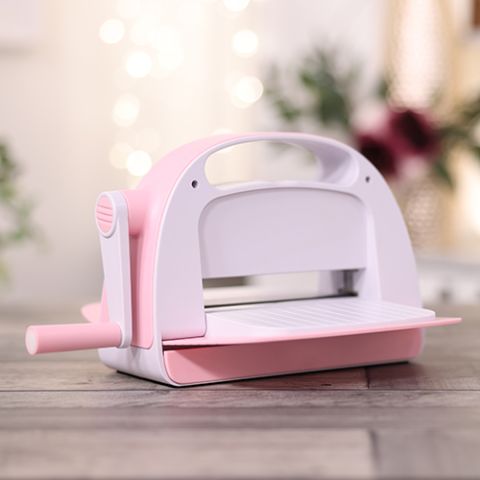
Die-cut the Spring Boots design from the watercolour card using your machine.
Tap out all the pieces from the die-cut carefully.
Dip the boots die-cut into an ink pad with minimal water to create selective colour coverage.
Allow the ink to dry slightly, leaving white areas visible on the boots for dimension.
Add a touch of blue watercolour to the top of the boots using a brush.
Apply sparkle pen colour to a corner of the card for added interest.
Layer the boots die-cut onto black card matting.
Add a white card layer for additional dimension.
Adhere the Kind Friend sentiment die-cut to the card in a coordinating colour.
Mount the completed design onto your finished card base.
Comparte tu proyecto con la comunidad de Stamps By Me - y guarda esta guía para la próxima vez.
Escrito a partir del propio programa. Todas las guías de nuestros programas · guías gratis · en directo en My Telly · el diseño anterior