¡Regala a tus amigos 10 € de descuento en su primer pedido!
Invita a una AMIGA








Los precios cambian al instante. Las traducciones son de Google.
Un proyecto de nuestro programa en directo MONDAY MADNESS con Simon de Avago-Ink - Emitido el 14 de marzo · 14/03/2022
A striking blue-themed card featuring a hand-painted bamboo backing panel with a stencilled fan design, topped with a coloured geisha girl stamp. The card combines ink spraying, hand painting, stamping and watercolour techniques to create a layered, artistic effect with coordinating blue ribbon and sentiment.
Protect your work surface with kitchen towel and position the fan stencil on a pre-cut blue card piece.
Spray the stencil lightly with blue ink dye from above to create the first layer of the fan pattern.
Reposition the stencil to continue the fan design across the card piece, covering the top section to avoid overspray.
Lift away the stencil and wipe any excess spray with a clean cloth to reveal the shimmering fan design.
Glue the stencilled panel to a white card blank, positioning it to one side with a holographic strip underneath for definition.
Stamp a large corner stamp in black ink onto the stencilled panel to frame and add detail to the design.
Reverse and reposition the corner stamp to create a rectangular frame effect across the panel.
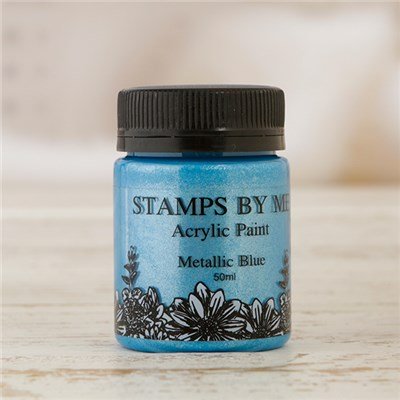
Paint bamboo canes onto a separate card piece using a flat brush and metallic blue acrylic paint, creating uneven segments.
Add bamboo leaves by dipping the flat brush and using pressure-and-flick motions to create leaf clusters along the canes.
Heat-dry the painted bamboo panel with a heat gun, then glue it to the back of the card as a backing layer.
Stamp the geisha girl character onto plain card stock using black ink, and stamp a 'with love' sentiment on a separate piece.
Colour the geisha girl using watercolours and the metallic blue acrylic paint, adding depth with darker tones and highlights.
Fussy-cut around the coloured geisha girl, leaving a small white border to make the image stand out.
Trim the 'with love' sentiment and glue it onto holographic card to create a bordered sentiment piece.
Attach foam pads to the back of the geisha girl and position her in the framed area of the card.
Wrap blue ribbon around the card and tie with a knot, then secure with silicon glue and position the sentiment on top.
Comparte tu proyecto con la comunidad de Stamps By Me - y guarda esta guía para la próxima vez.
Escrito a partir del propio programa. Todas las guías de nuestros programas · guías gratis · en directo en My Telly · el diseño anterior