¡Regala a tus amigos 10 € de descuento en su primer pedido!
Invita a una AMIGA








Los precios cambian al instante. Las traducciones son de Google.
Un proyecto de nuestro programa en directo Thirsty Brush - Únete a Emma para unas manualidades de lo más pringosas, emitido el 11 feb · 11/02/2022
Create a vibrant, loose watercolour background by wet-spraying card and dropping in multiple colours, then stamp large floral designs on top. The blended colours create depth and interest whilst the stamped florals provide focal points.
Spray your card base with water to dampen it thoroughly.
Pick up watercolour paint on a wet brush and dab it onto the damp card, keeping colours apart initially.
Add a second colour (such as pink) to a different area of the card.
Add a third colour (such as yellow) and spray more water to encourage the colours to blend and move together.
Use a heat tool to dry the background quickly, or allow it to air dry for a softer effect.
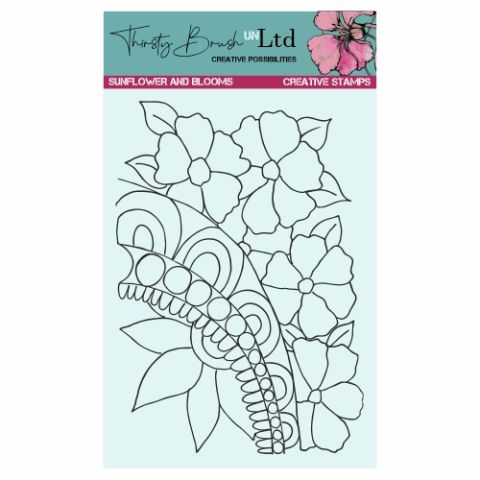
Stamp the large sunflower and blooms stamp onto the dried background using a dark ink pad.
Colour in selected areas of the stamped image with watercolours if desired.
Use a dauber and dark ink pad to add shading around the edges of the stamped design.
Mount the finished background onto coloured card to frame it and enhance the colours.
Comparte tu proyecto con la comunidad de Stamps By Me - y guarda esta guía para la próxima vez.
Escrito a partir del propio programa. Todas las guías de nuestros programas · guías gratis · en directo en My Telly · el diseño anterior