¡Regala a tus amigos 10 € de descuento en su primer pedido!
Invita a una AMIGA








Los precios cambian al instante. Las traducciones son de Google.
Un proyecto de nuestro programa en directo VUELVE A VER a Toni & Emma en un FRIDAY LAUNCH desde el plató de HTCN, emitido el 14 ene 22 · 14/01/2022
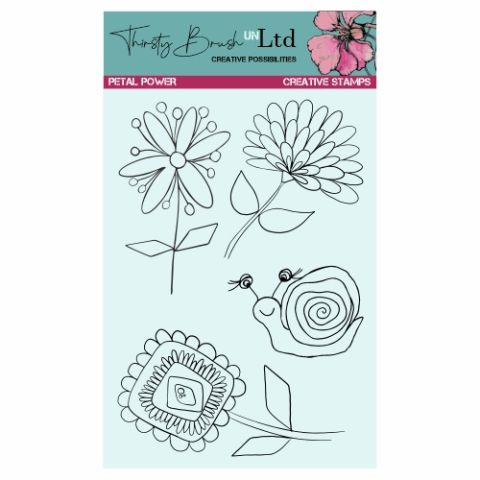
Create a layered card page by stamping floral designs, masking elements, and building up the image with watercolour and pigment inks. This technique creates dimension and allows you to layer stamps without muddy colours.
Stamp your main heart design onto the page using pigment ink.
Create a mask by fussy cutting a duplicate of your stamped element to use as a protective layer.
Position the mask over your stamped heart and stamp your flower design on top, creating the illusion of layering.
Remove the mask to reveal the flower appearing in front of the heart.
Fussy cut additional pre-coloured flower elements and position them on your page with glue.
Use a water brush to apply watercolour paint over your stamped and glued elements, creating soft colour washes.
Add shadow definition around each element using a darker watercolour or pencil, applied just to one side.
Once dry, use a white gel pen to add highlights such as cheeks, eye dots, and light reflections to bring elements to life.
Add a dark background colour or shadow behind your main elements to make them pop forward on the page.
Comparte tu proyecto con la comunidad de Stamps By Me - y guarda esta guía para la próxima vez.
Escrito a partir del propio programa. Todas las guías de nuestros programas · guías gratis · en directo en My Telly · el diseño anterior