Offrez à vos amis 10 € de réduction sur leur première commande !
Parrainez un AMI








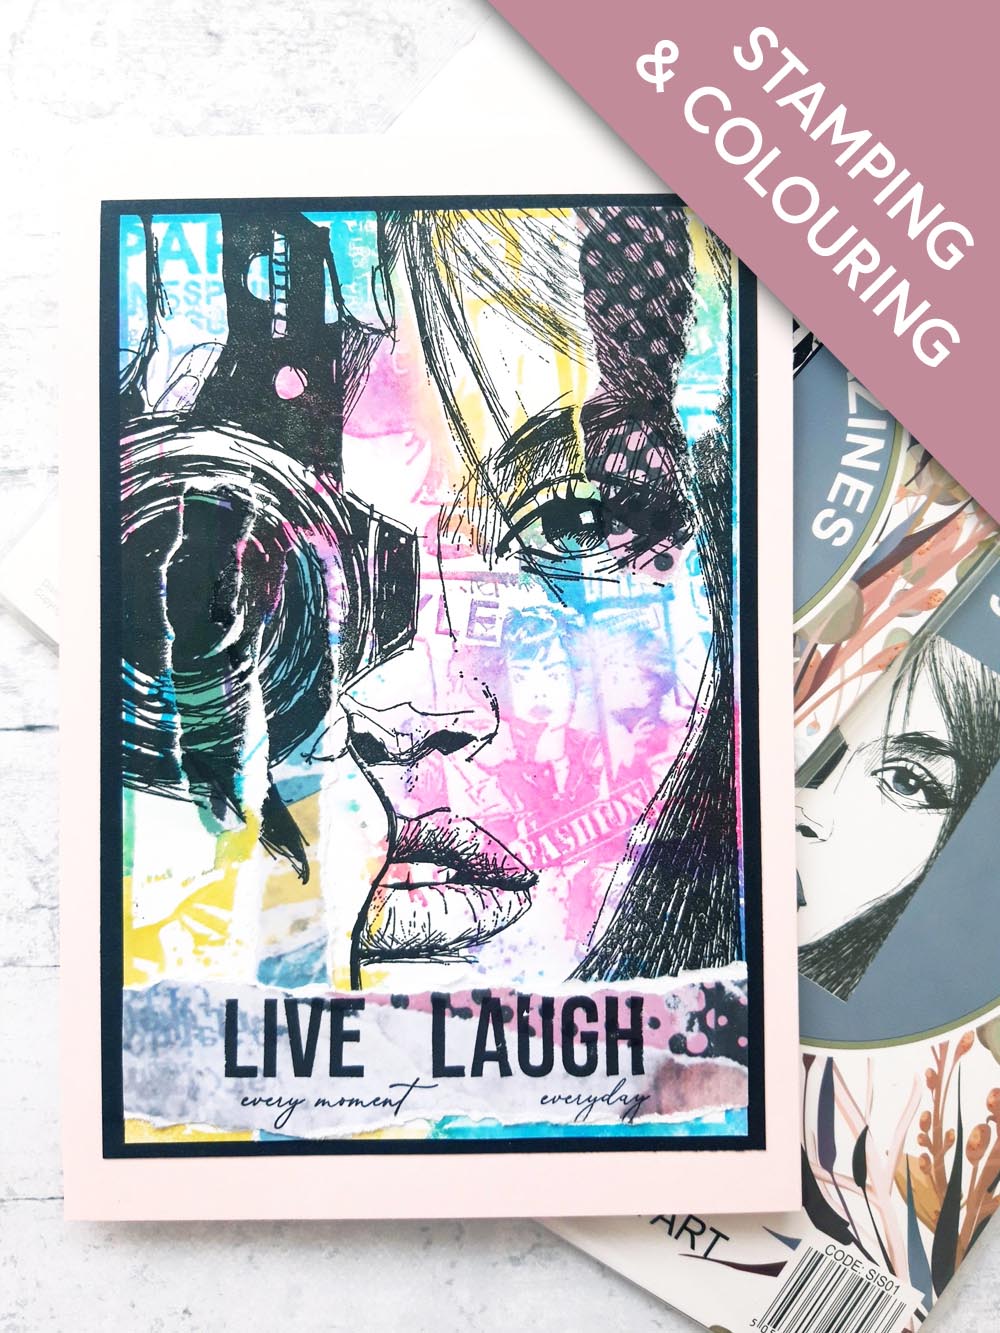
MATÉRIEL NÉCESSAIRE :
Carte vierge rose à pliure en haut (8 1/4 5 3/4")
Papier cartonné noir (7 1/4 x 5")
Papier cartonné blanc (7 x 5")
Imala Snapshot Stamp Collection
Imala Magazines Stamp Collection
Love Beyond Words Lamination Stamp Collection
Bloc de papier Imala Collage Collection
Encreur Versafine : Onyx Black
Encreurs Izink Dye : Cerise, Mer du Sud, Verveine
Vaporisateur d'eau
Pistolet chauffant
Eureka 101
Massicot
Colle Perfect Together
[cliquez sur l'image pour l'agrandir] 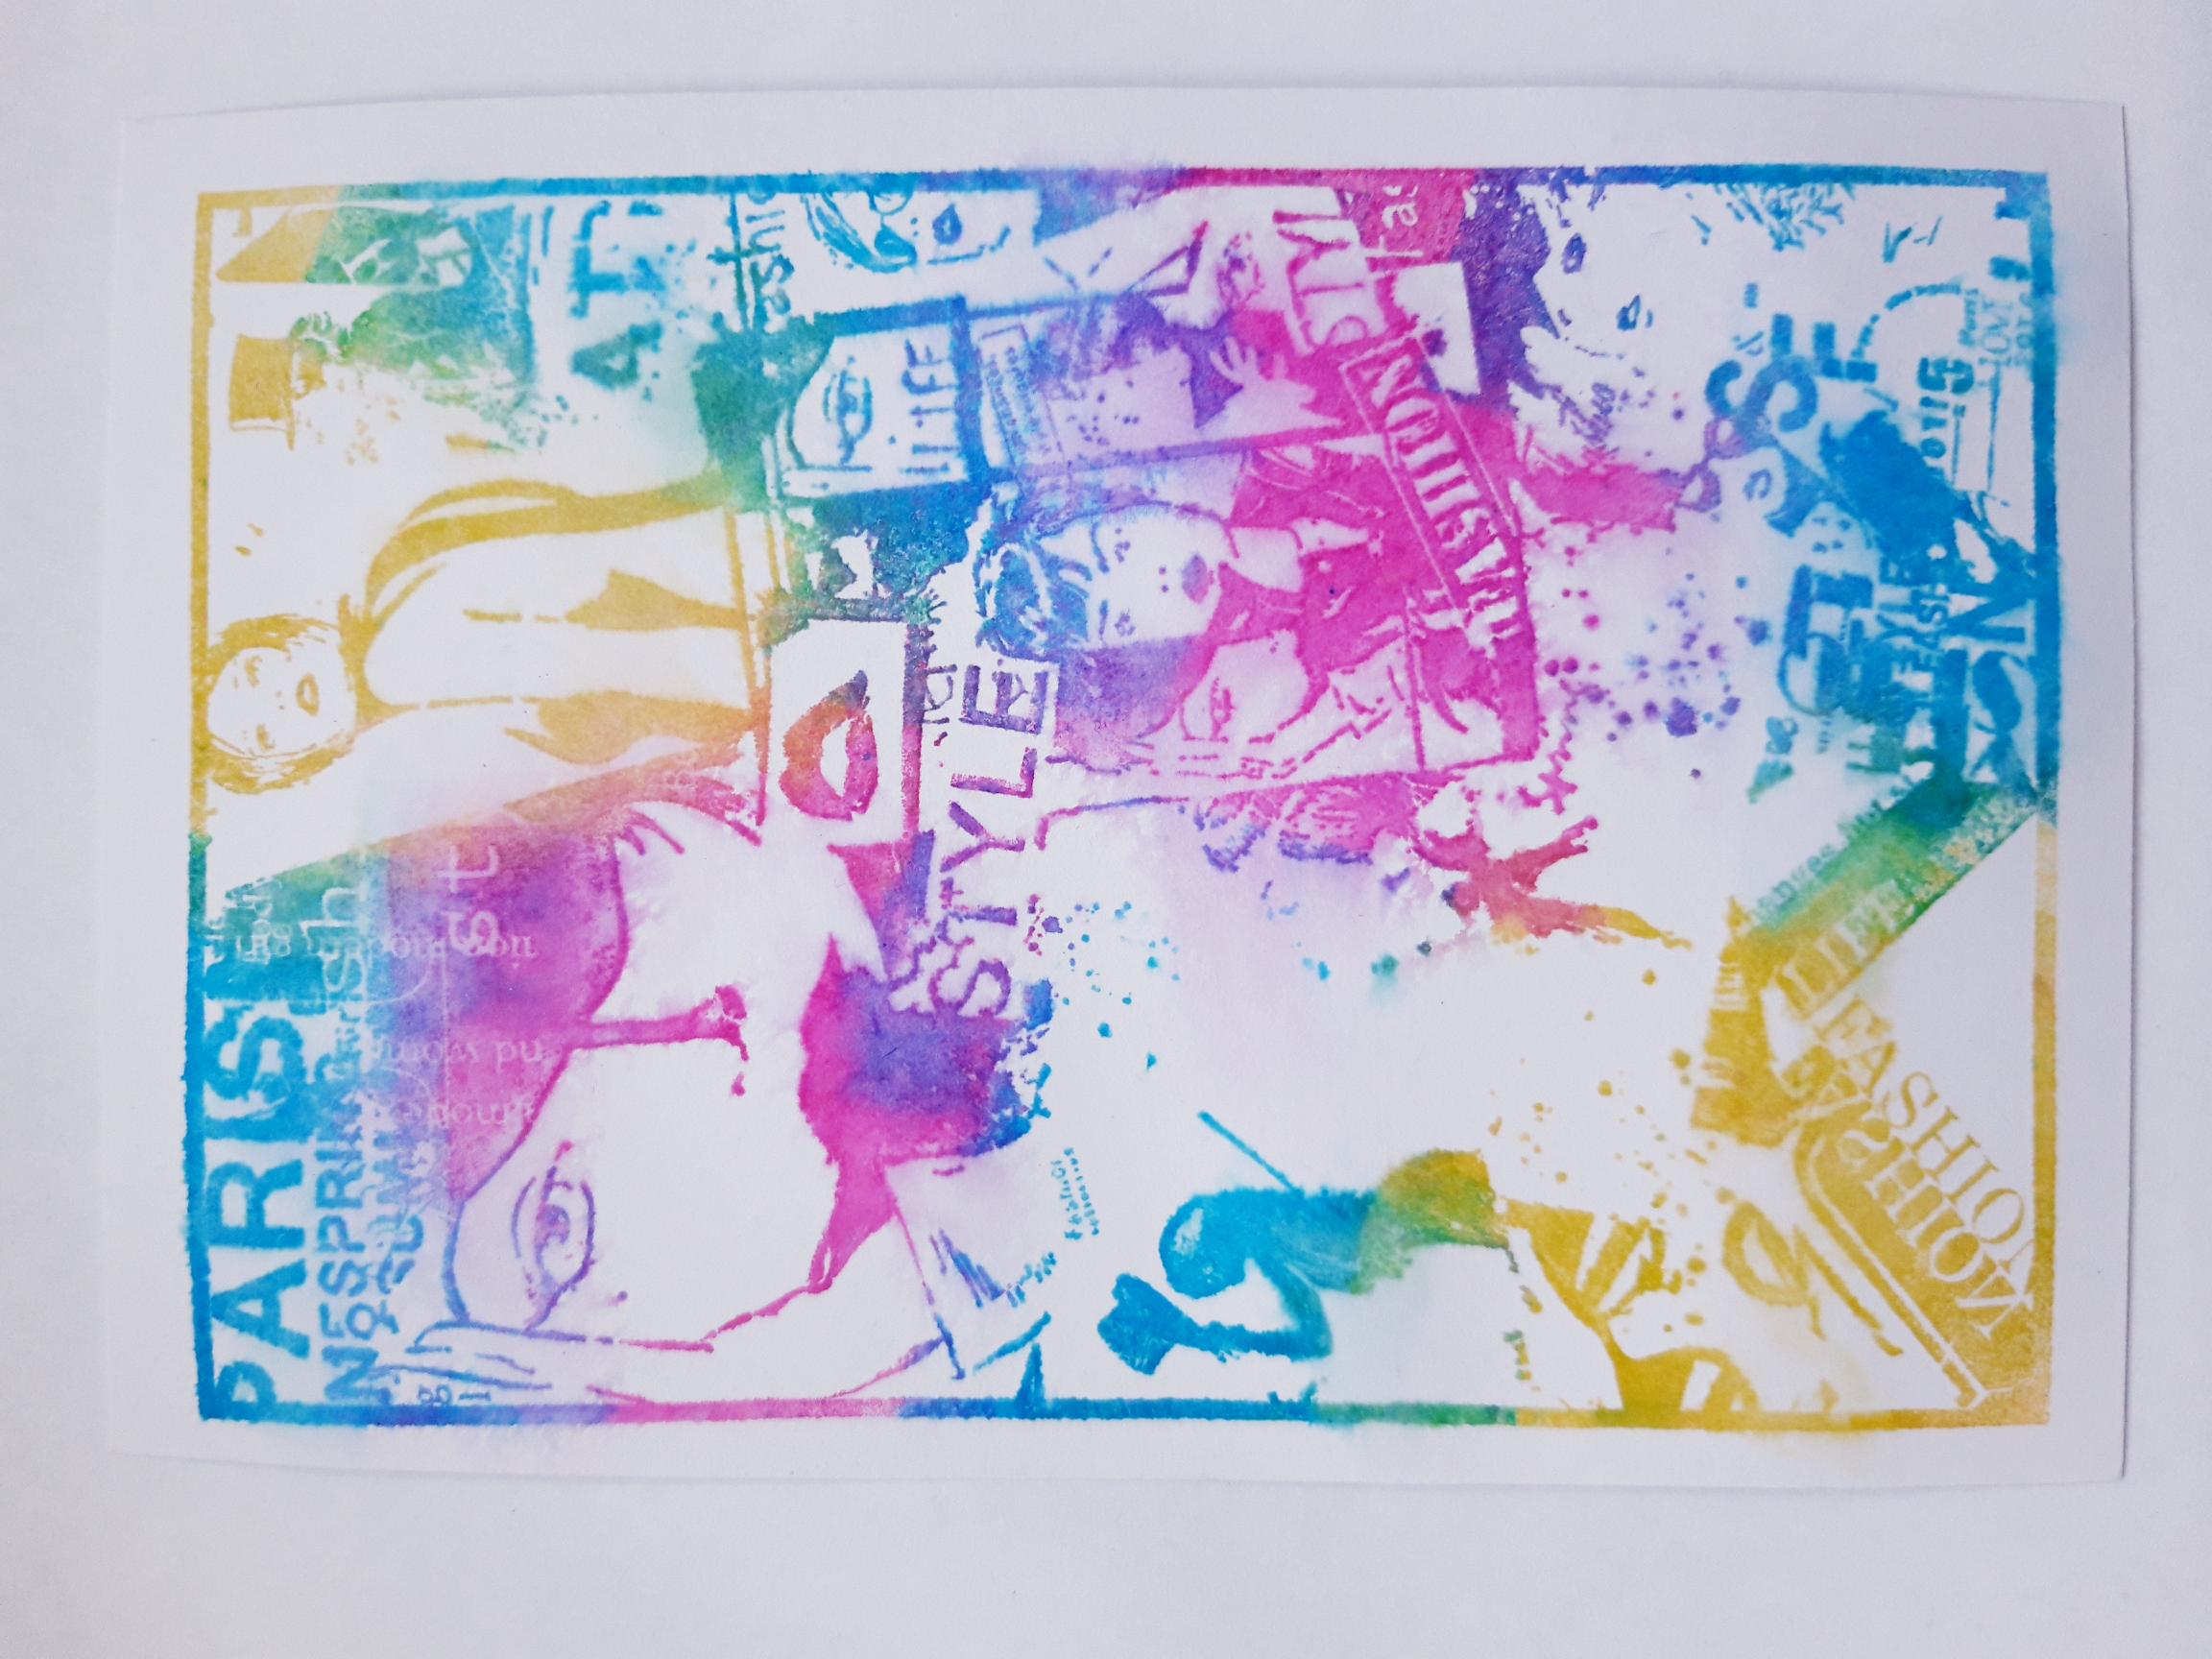
|
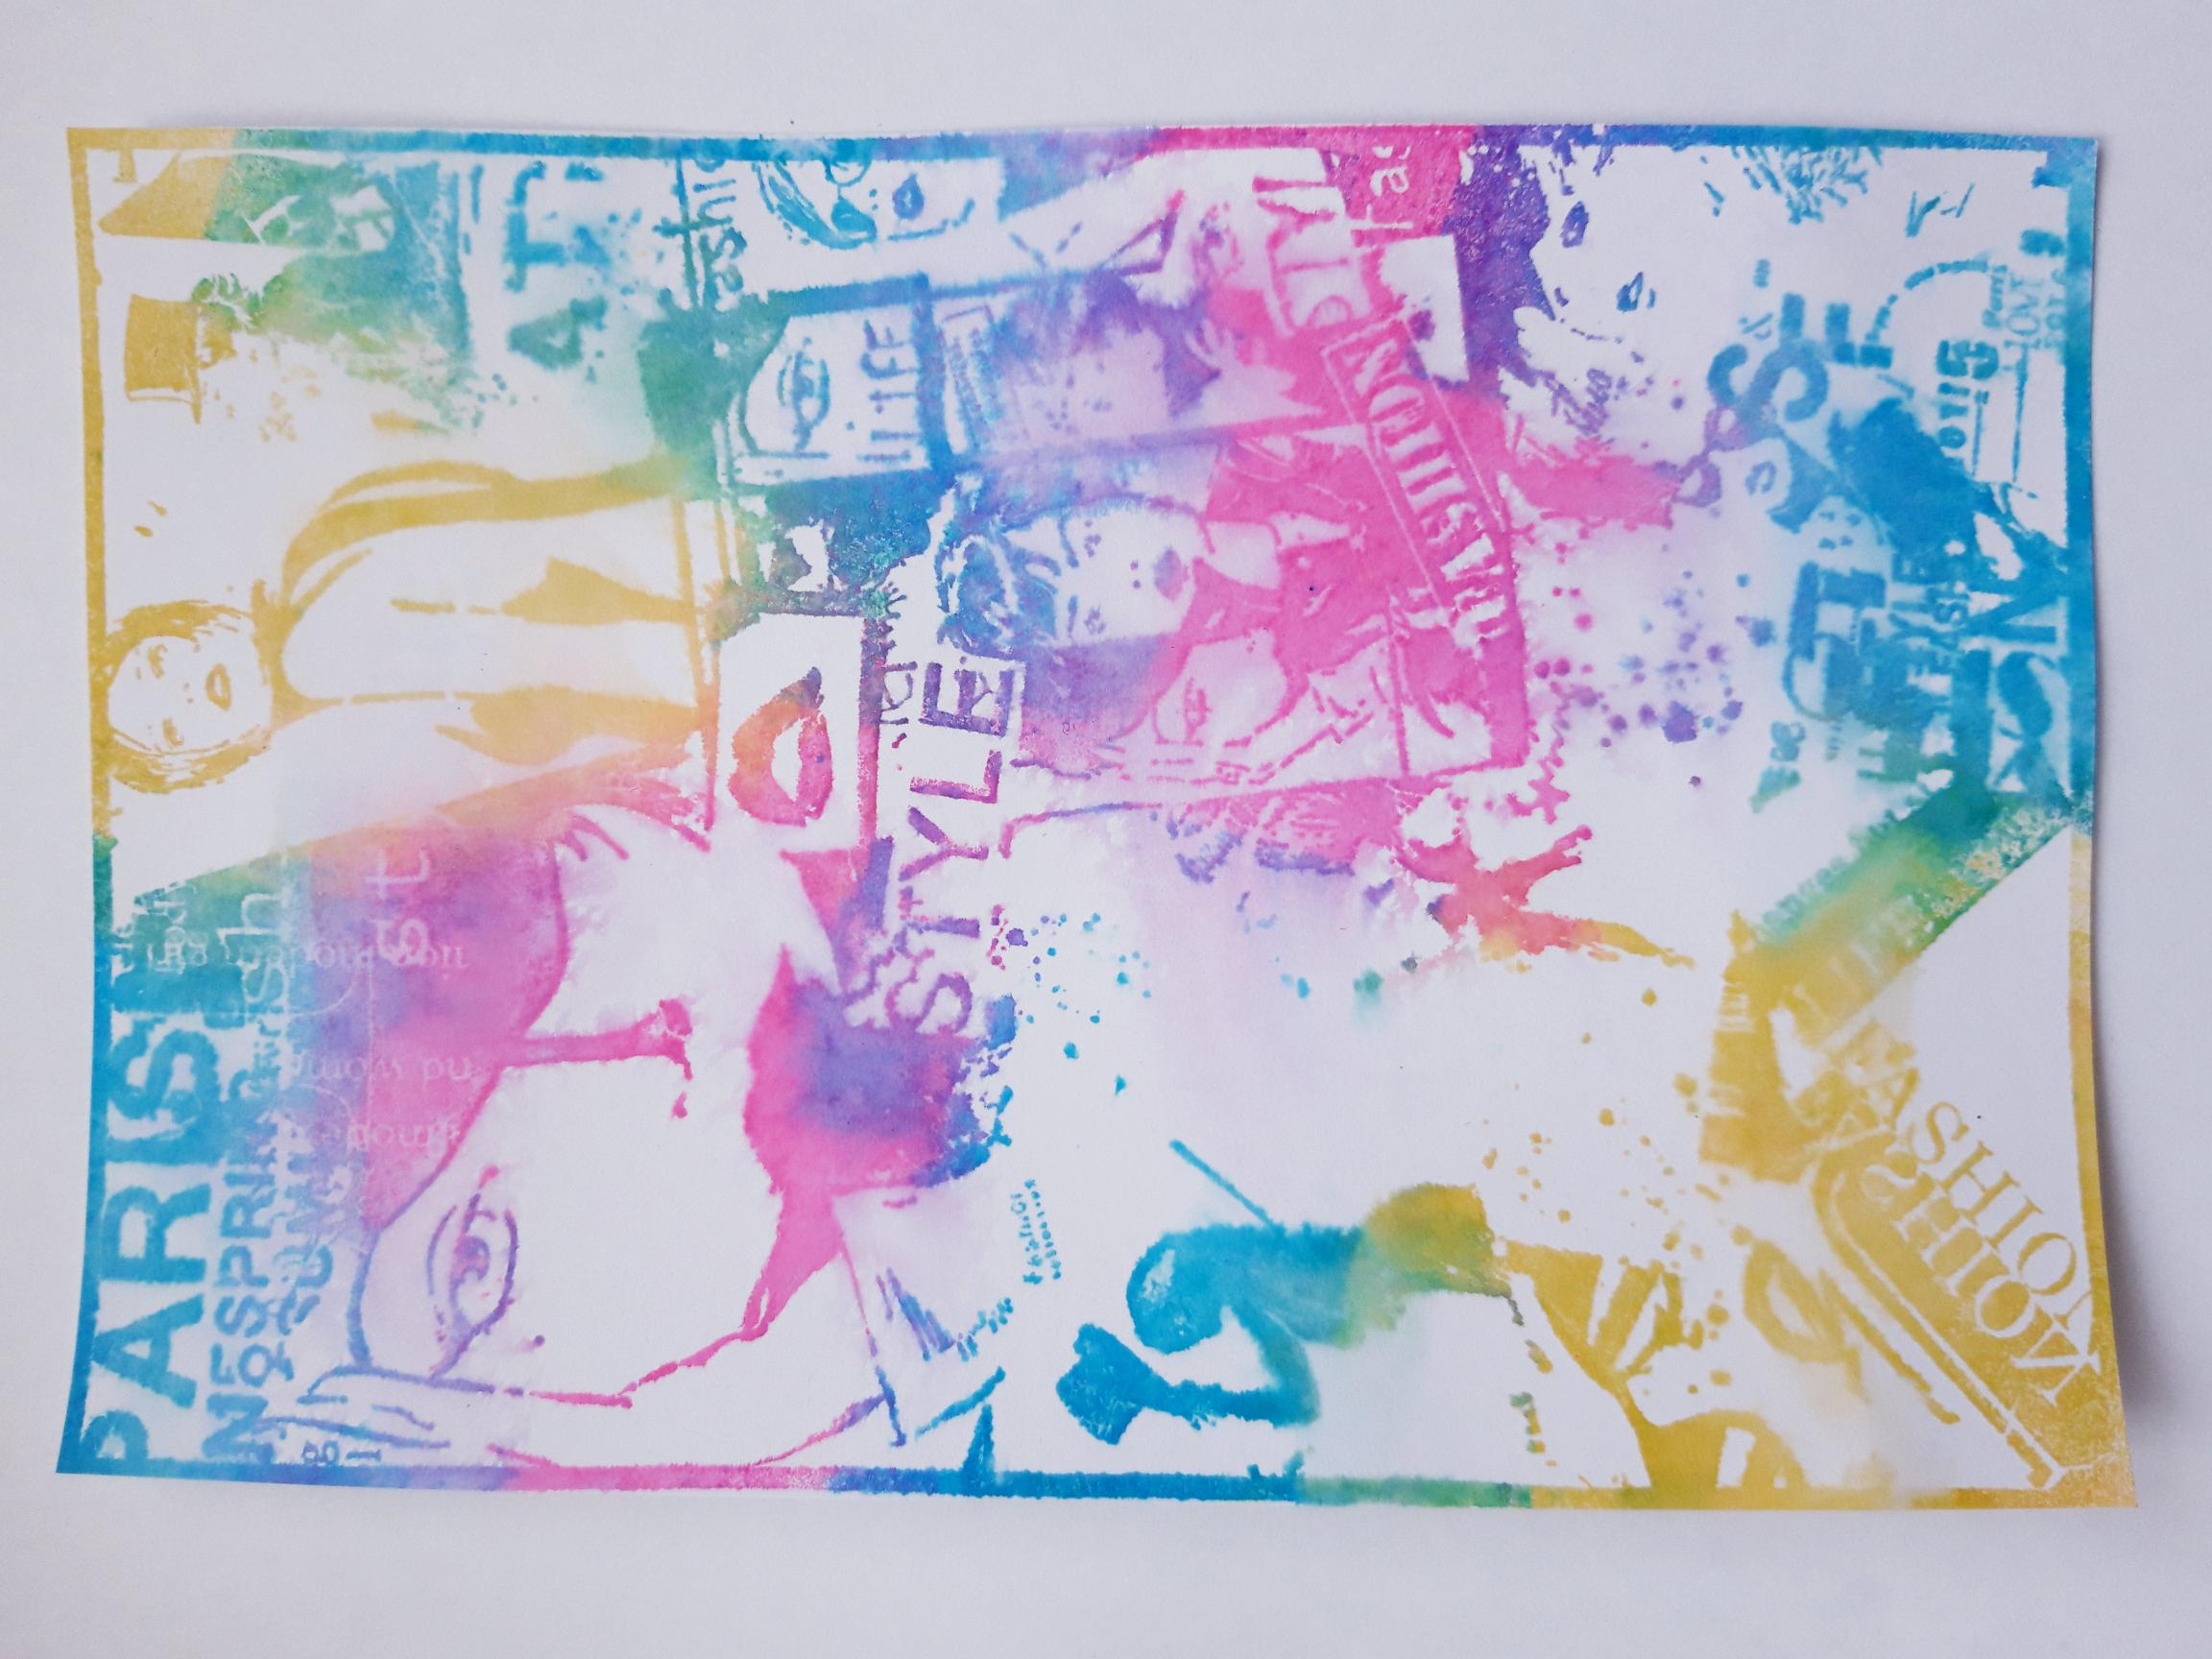
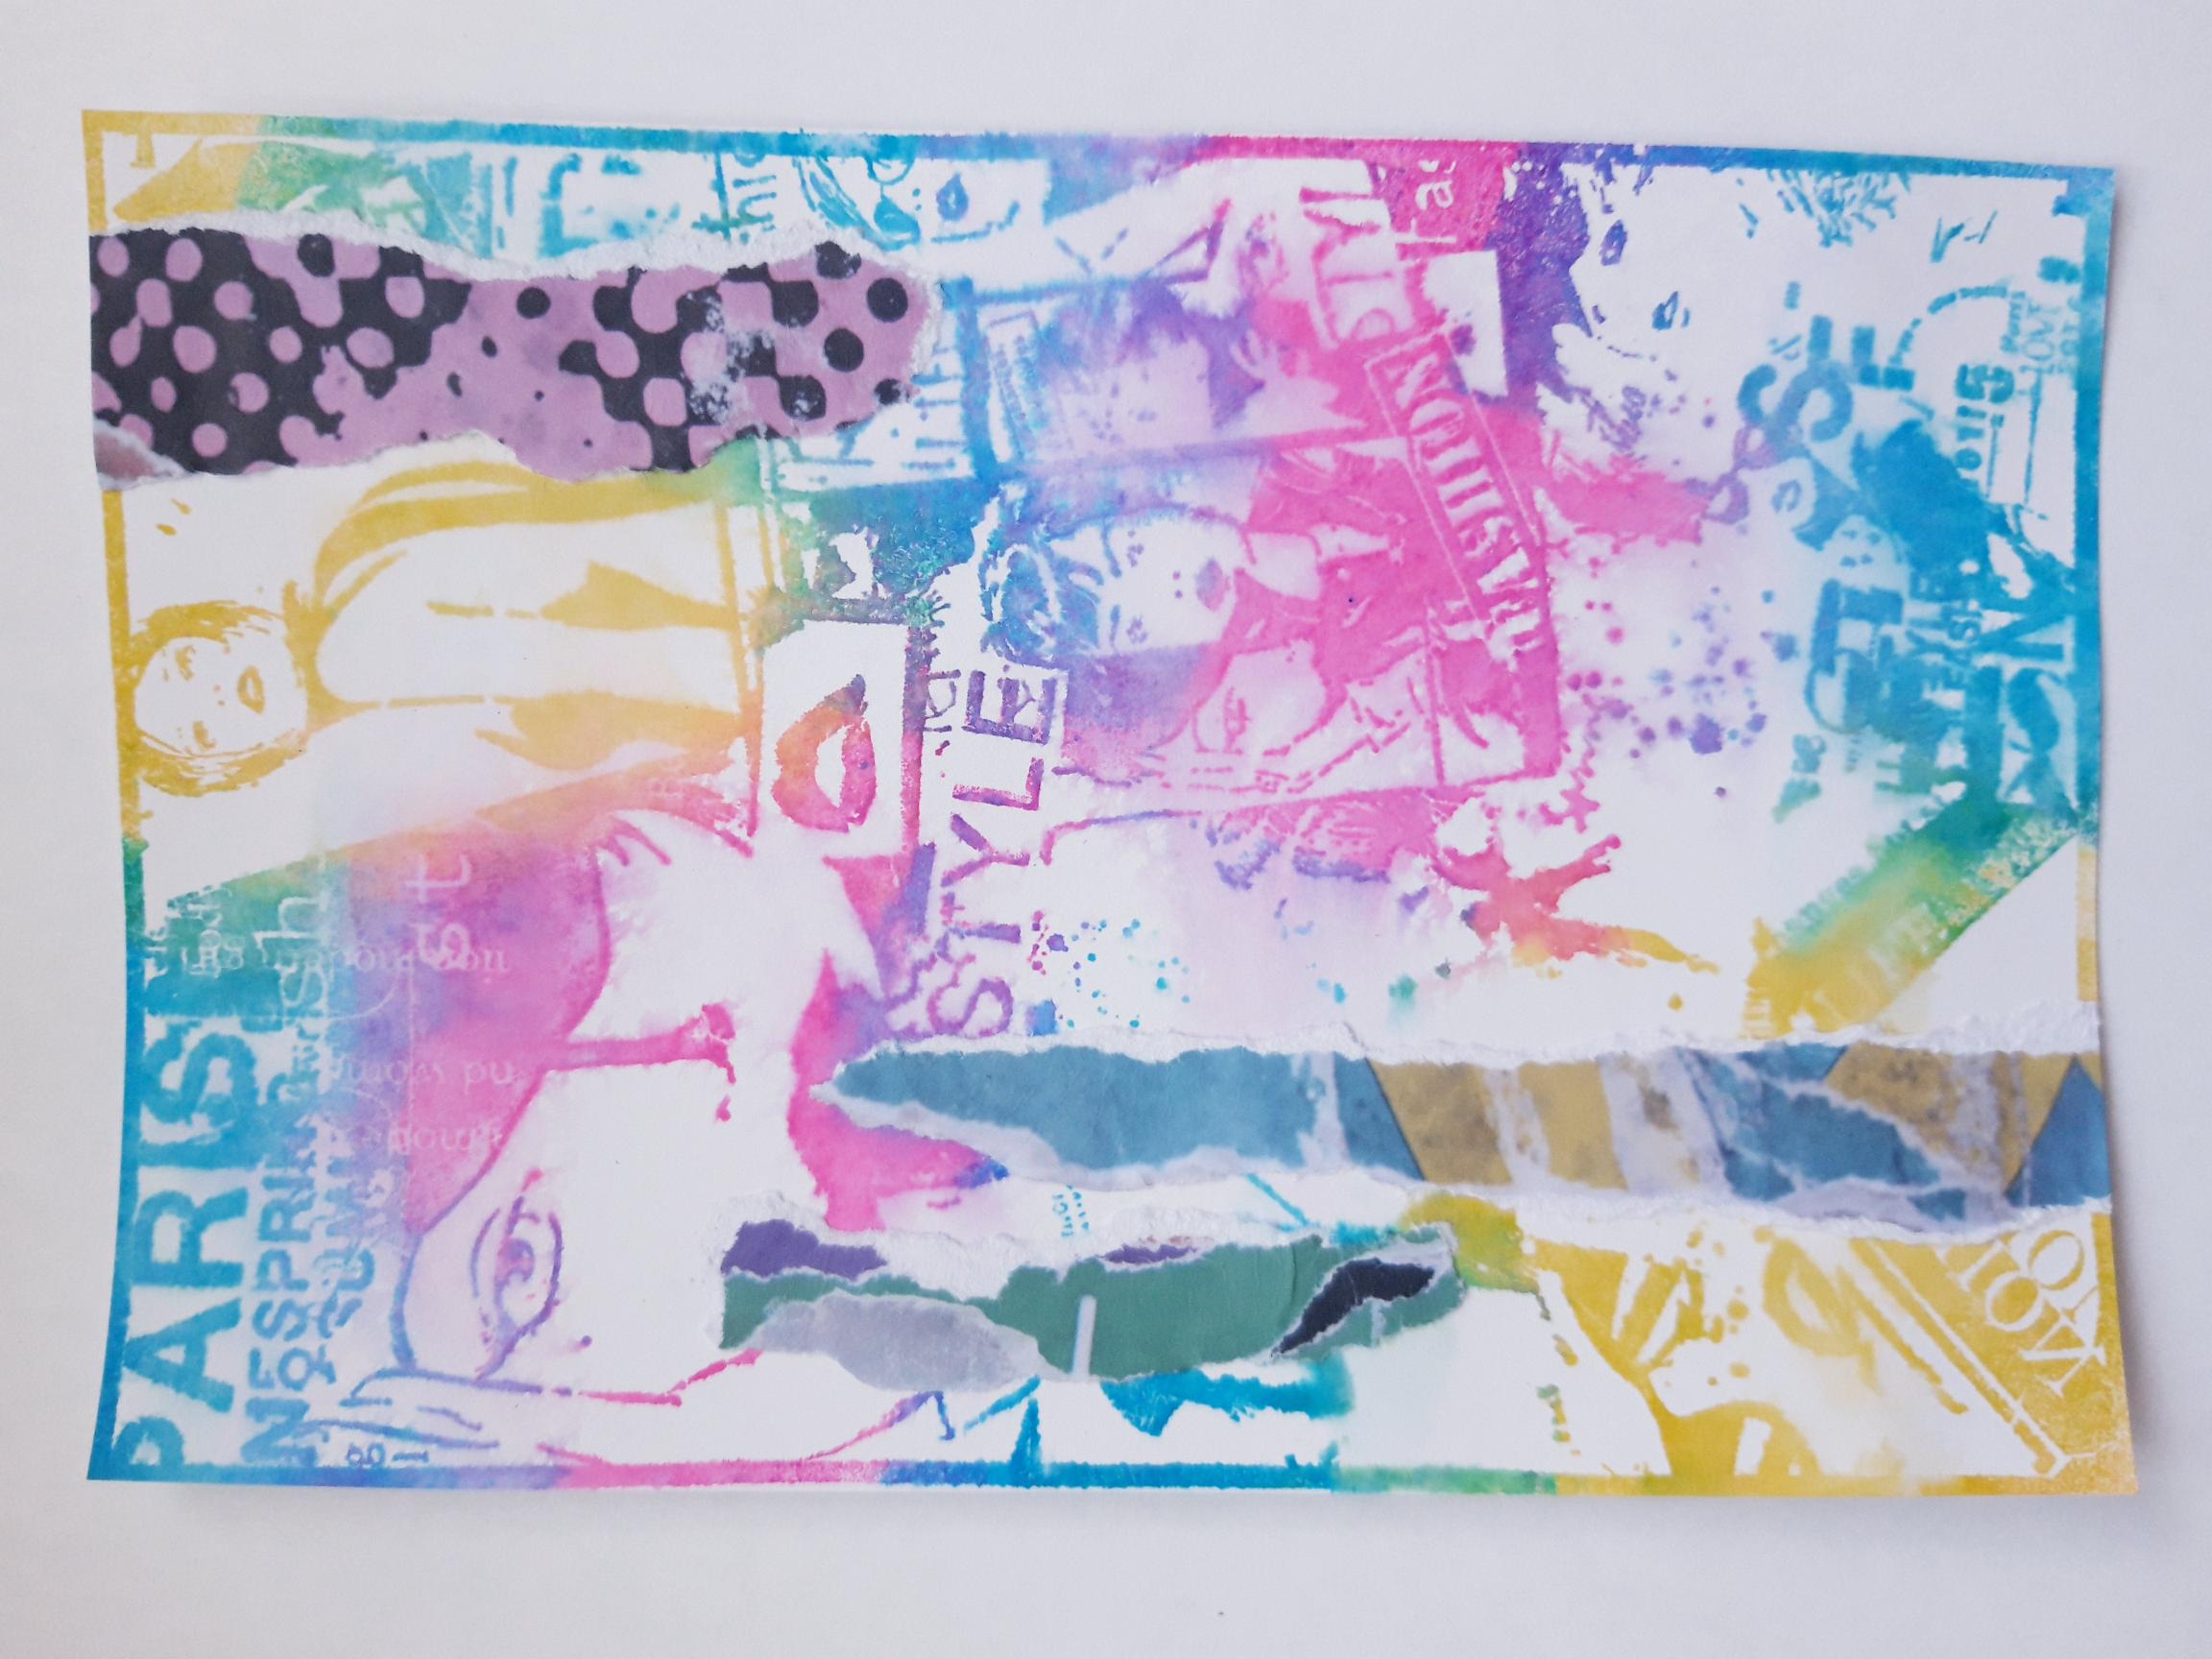
Ink up the Magazines stamp randomly, with the Izink Dye ink pads. Spritz the stamp with water and stamp on to the white card (7 x 5"). You can reink and stamp again, to intensify the vibrancy of the colours. You can also spritz your stamped image, allowing it to "bleed", before drying it with a heat gun. |
|
Trim off the excess white card around your stamped image. |
|
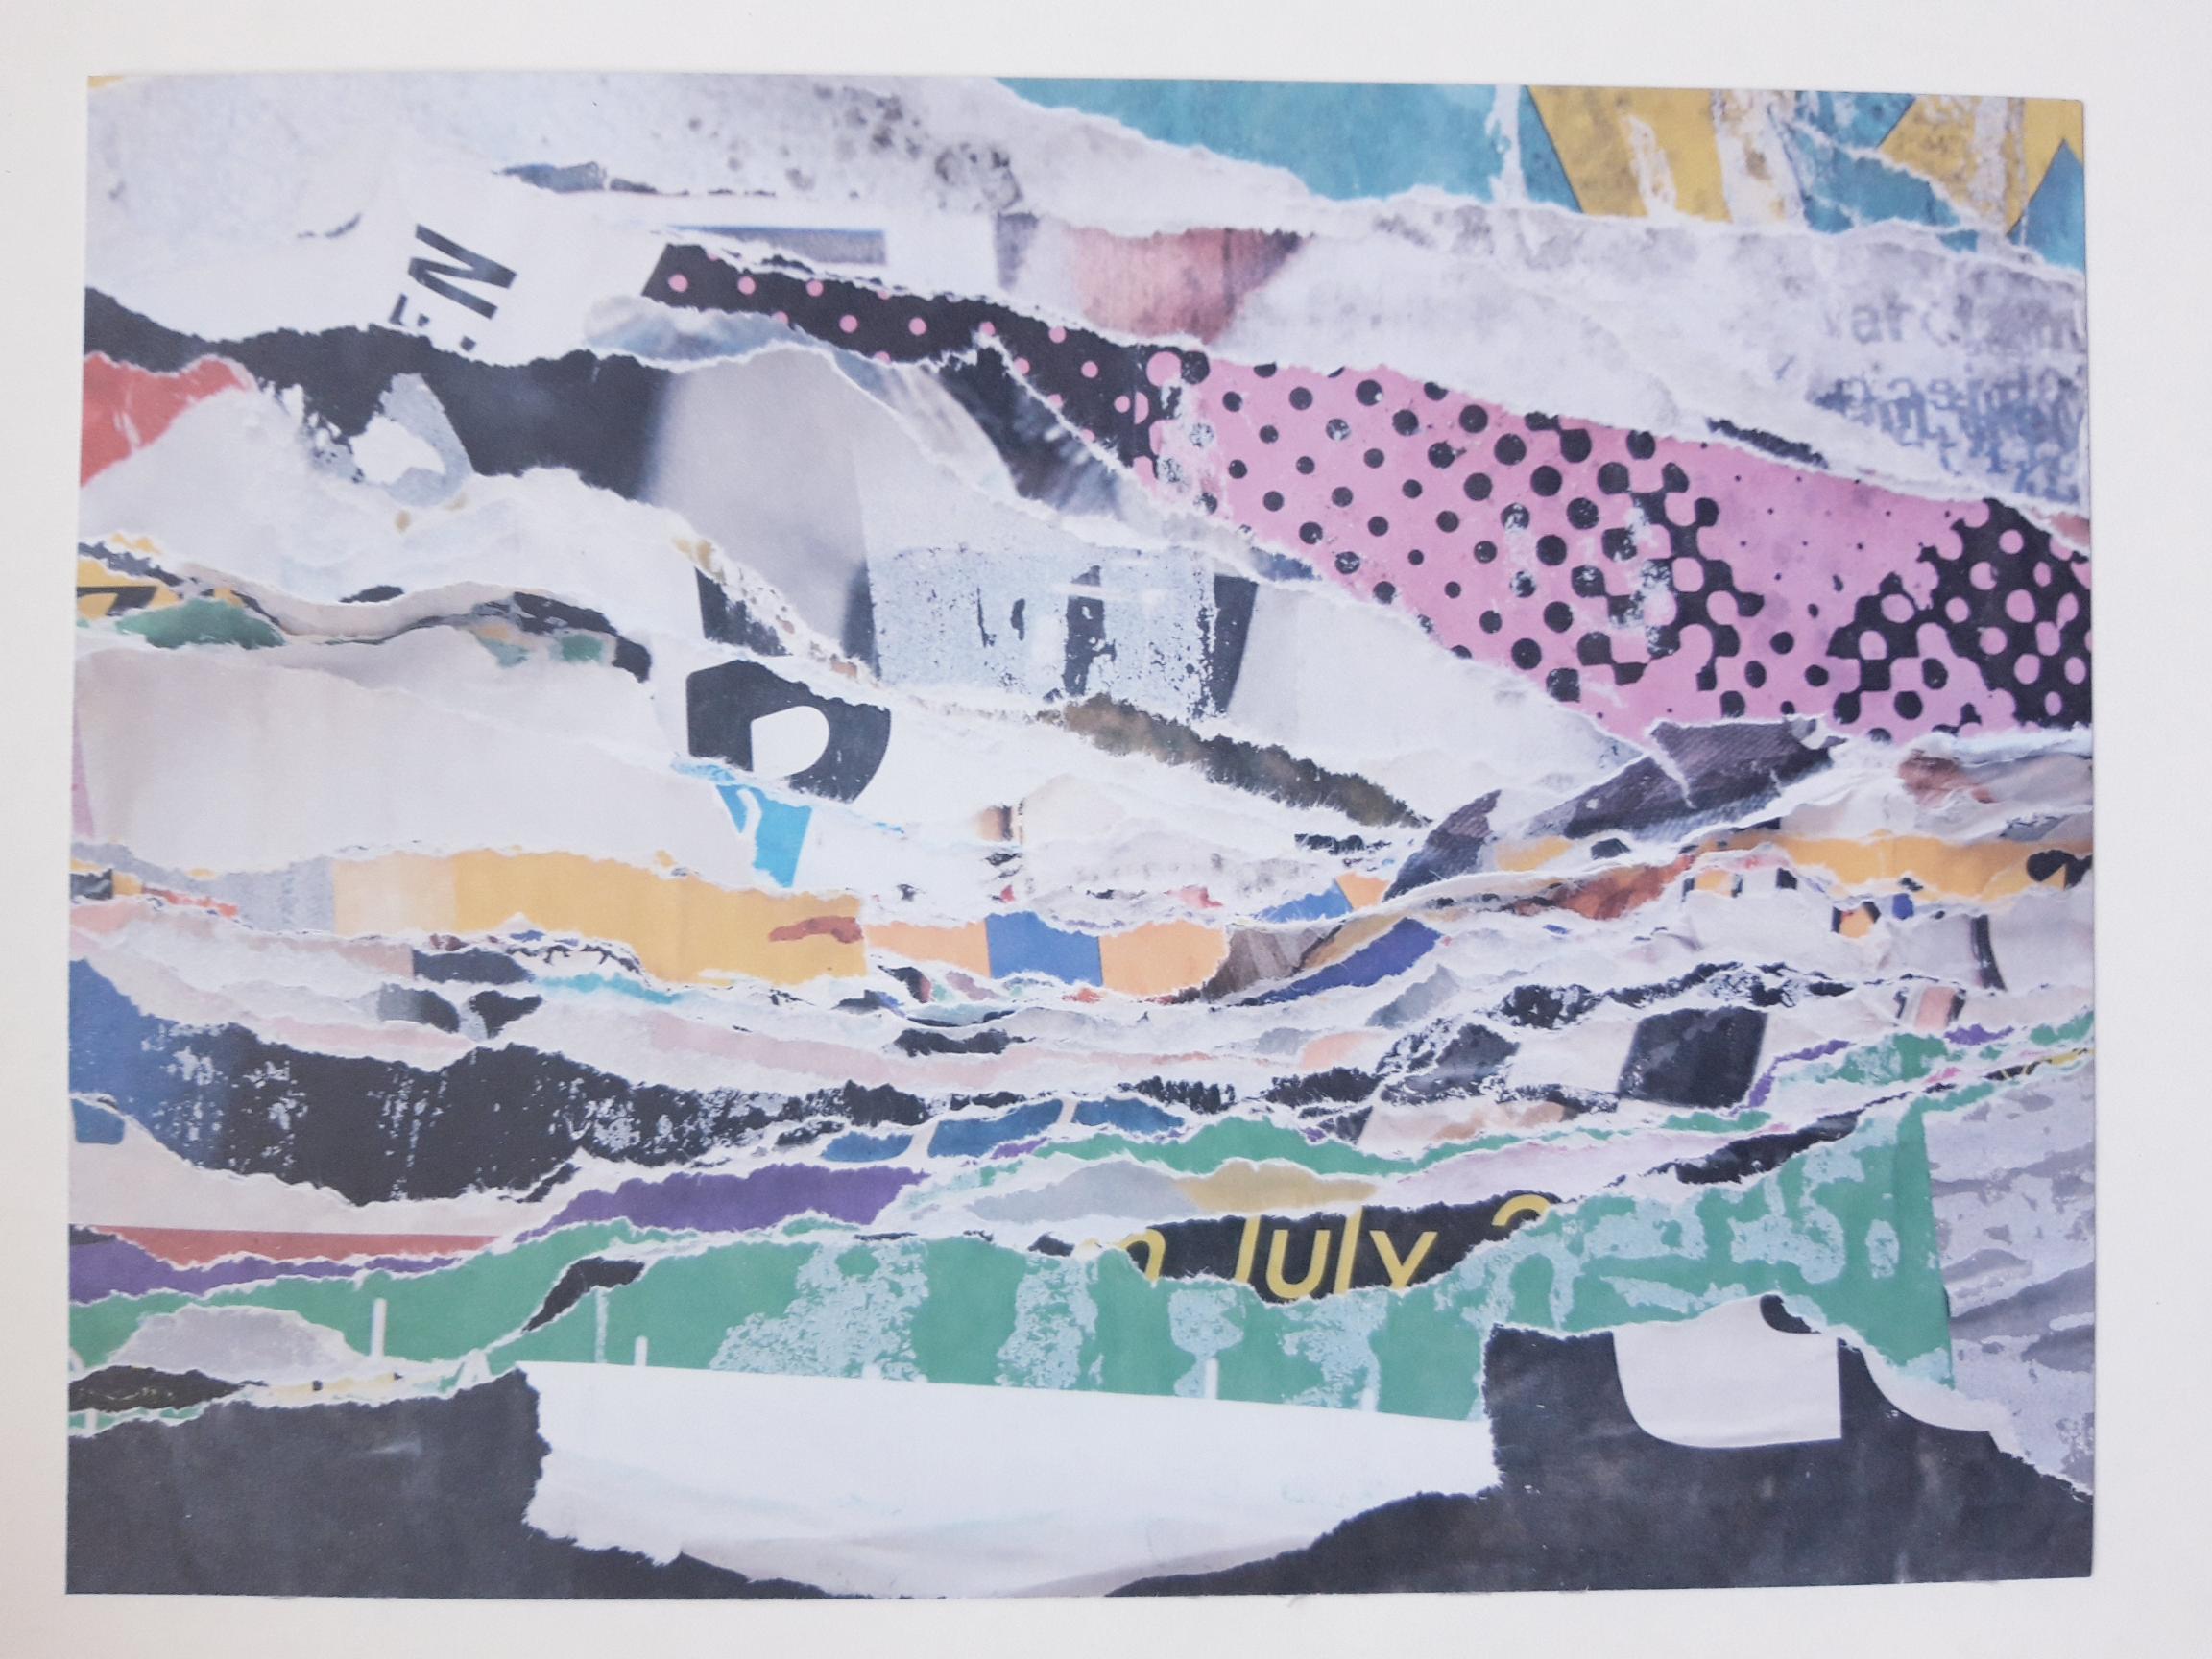
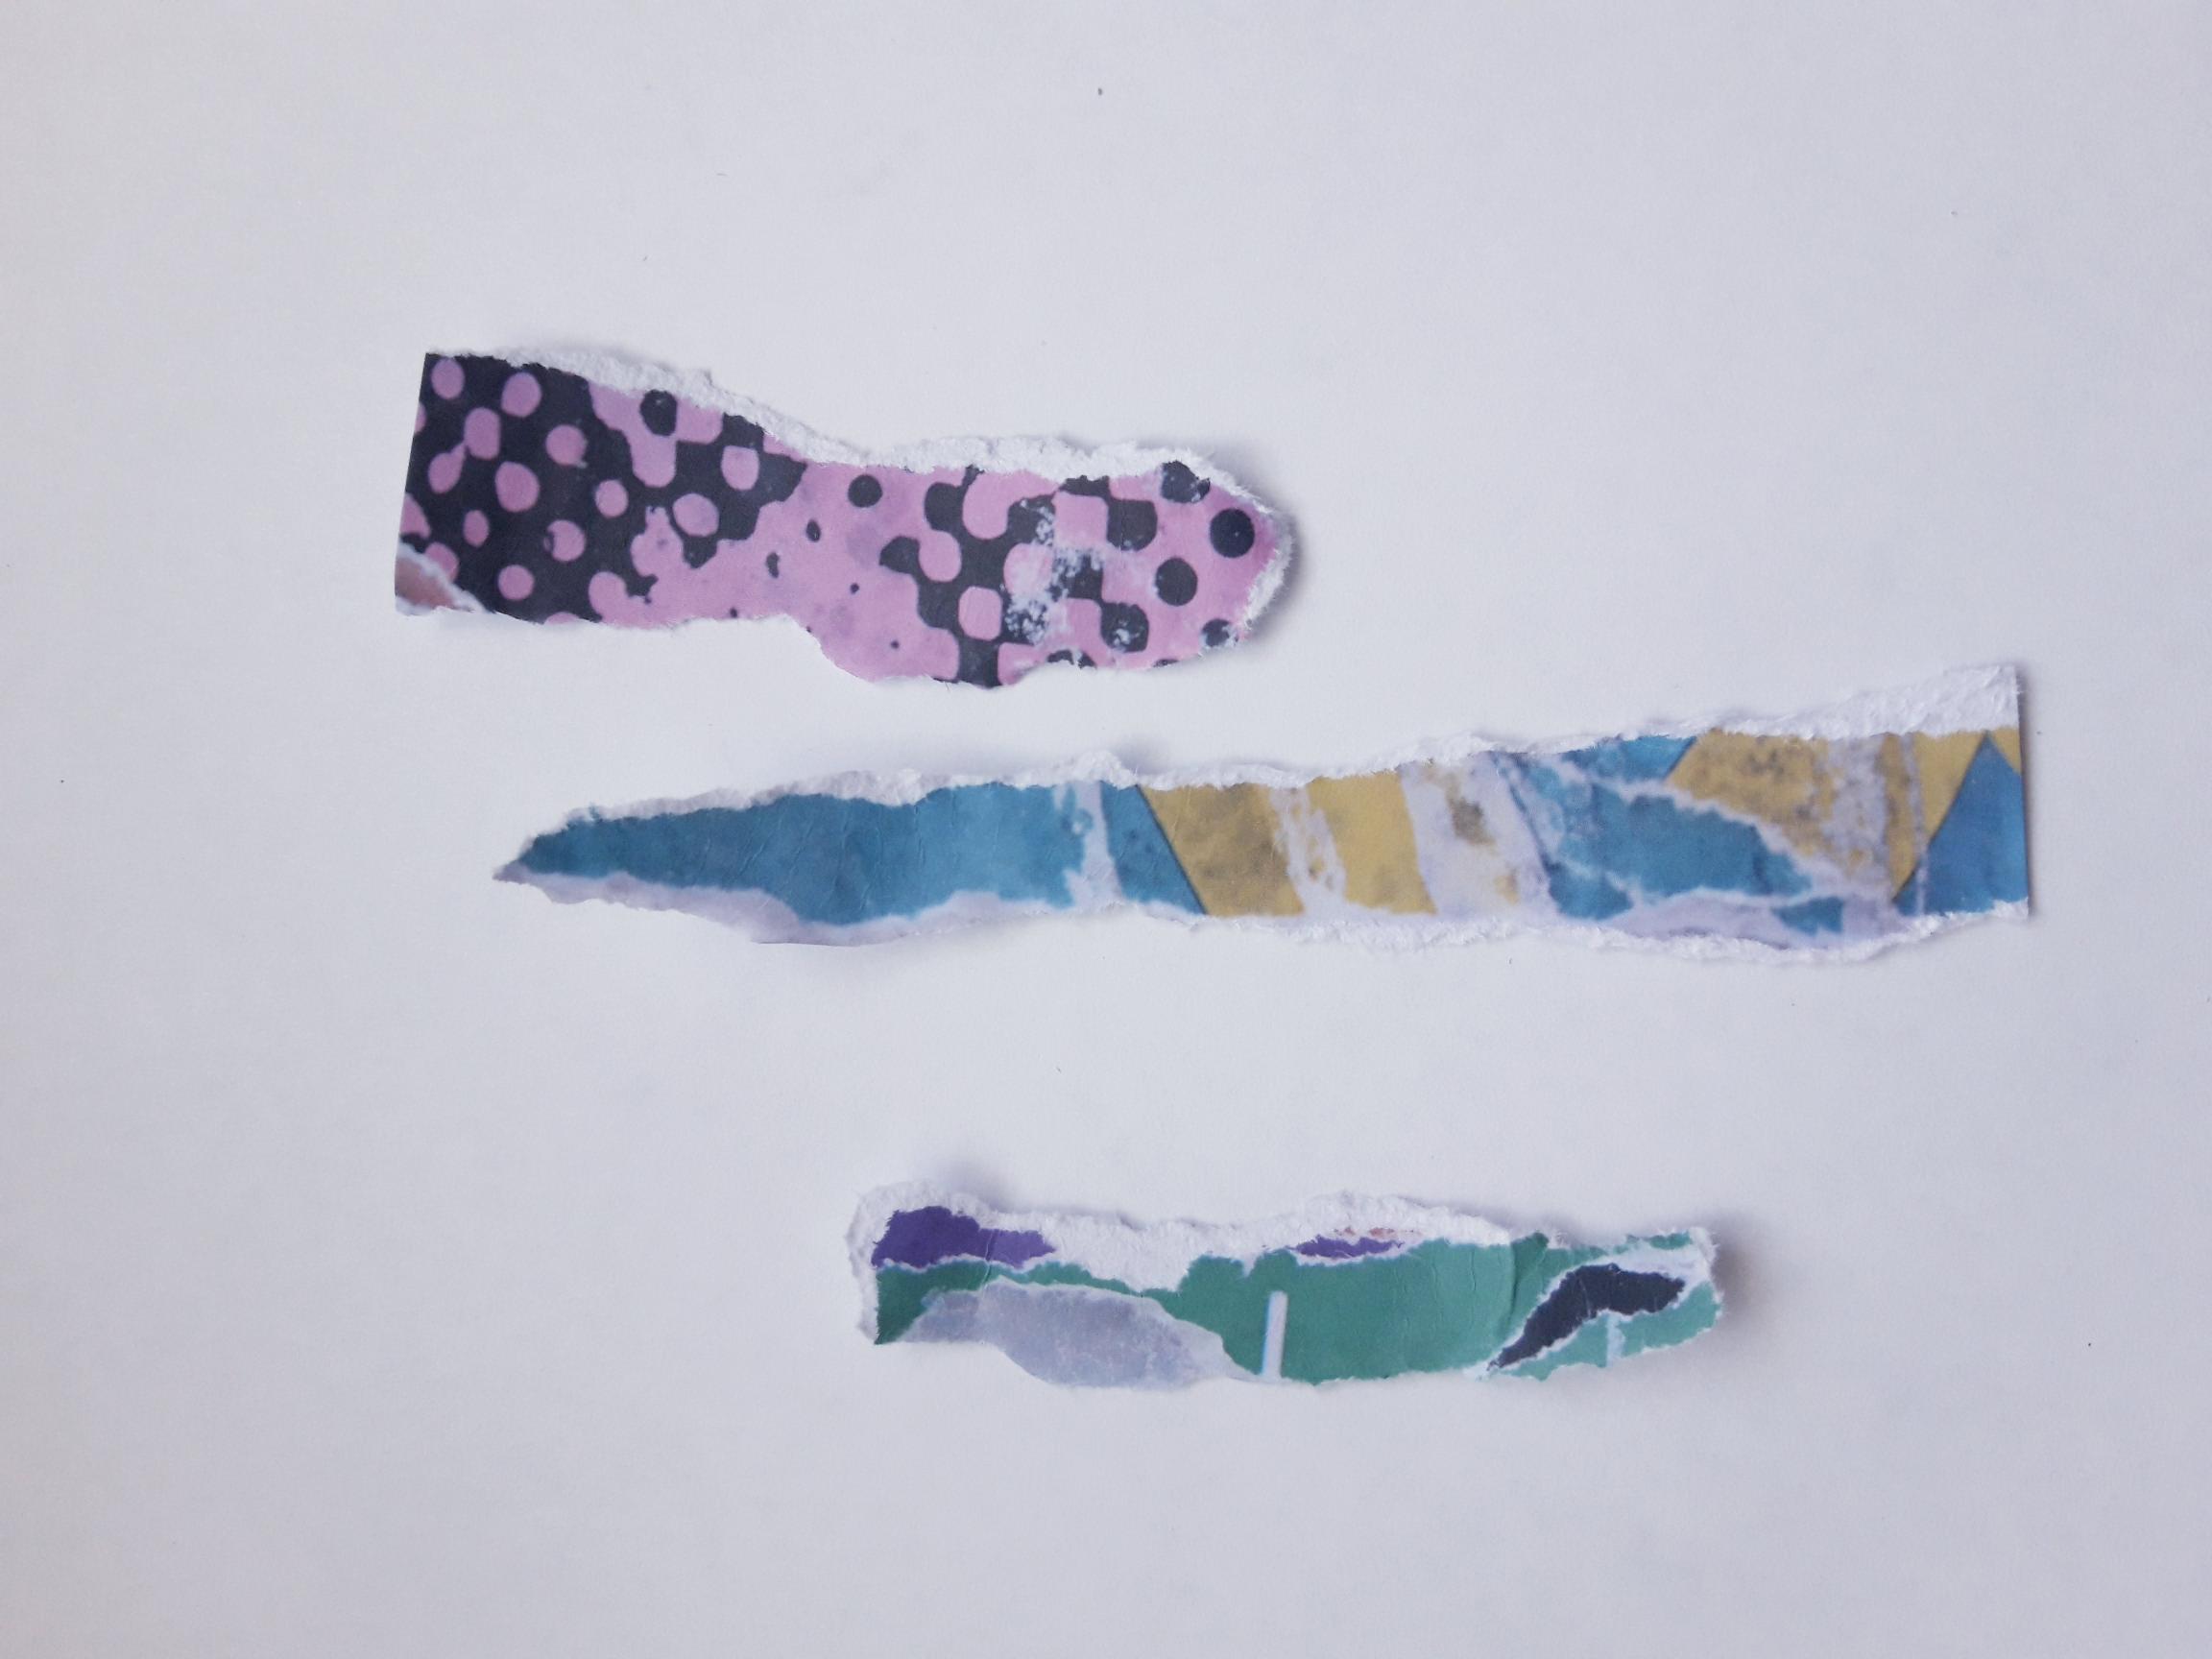
Tear out this decorative sheet, from the Imala Collage Collection paper pad. |
|
Randomly tear strips from the paper, as seen here. Set this decorative sheet to one side, as you will need it in a later step. |
|
Adhere them coming up, from the bottom left and down, from the top right, of your stamped background. |
|
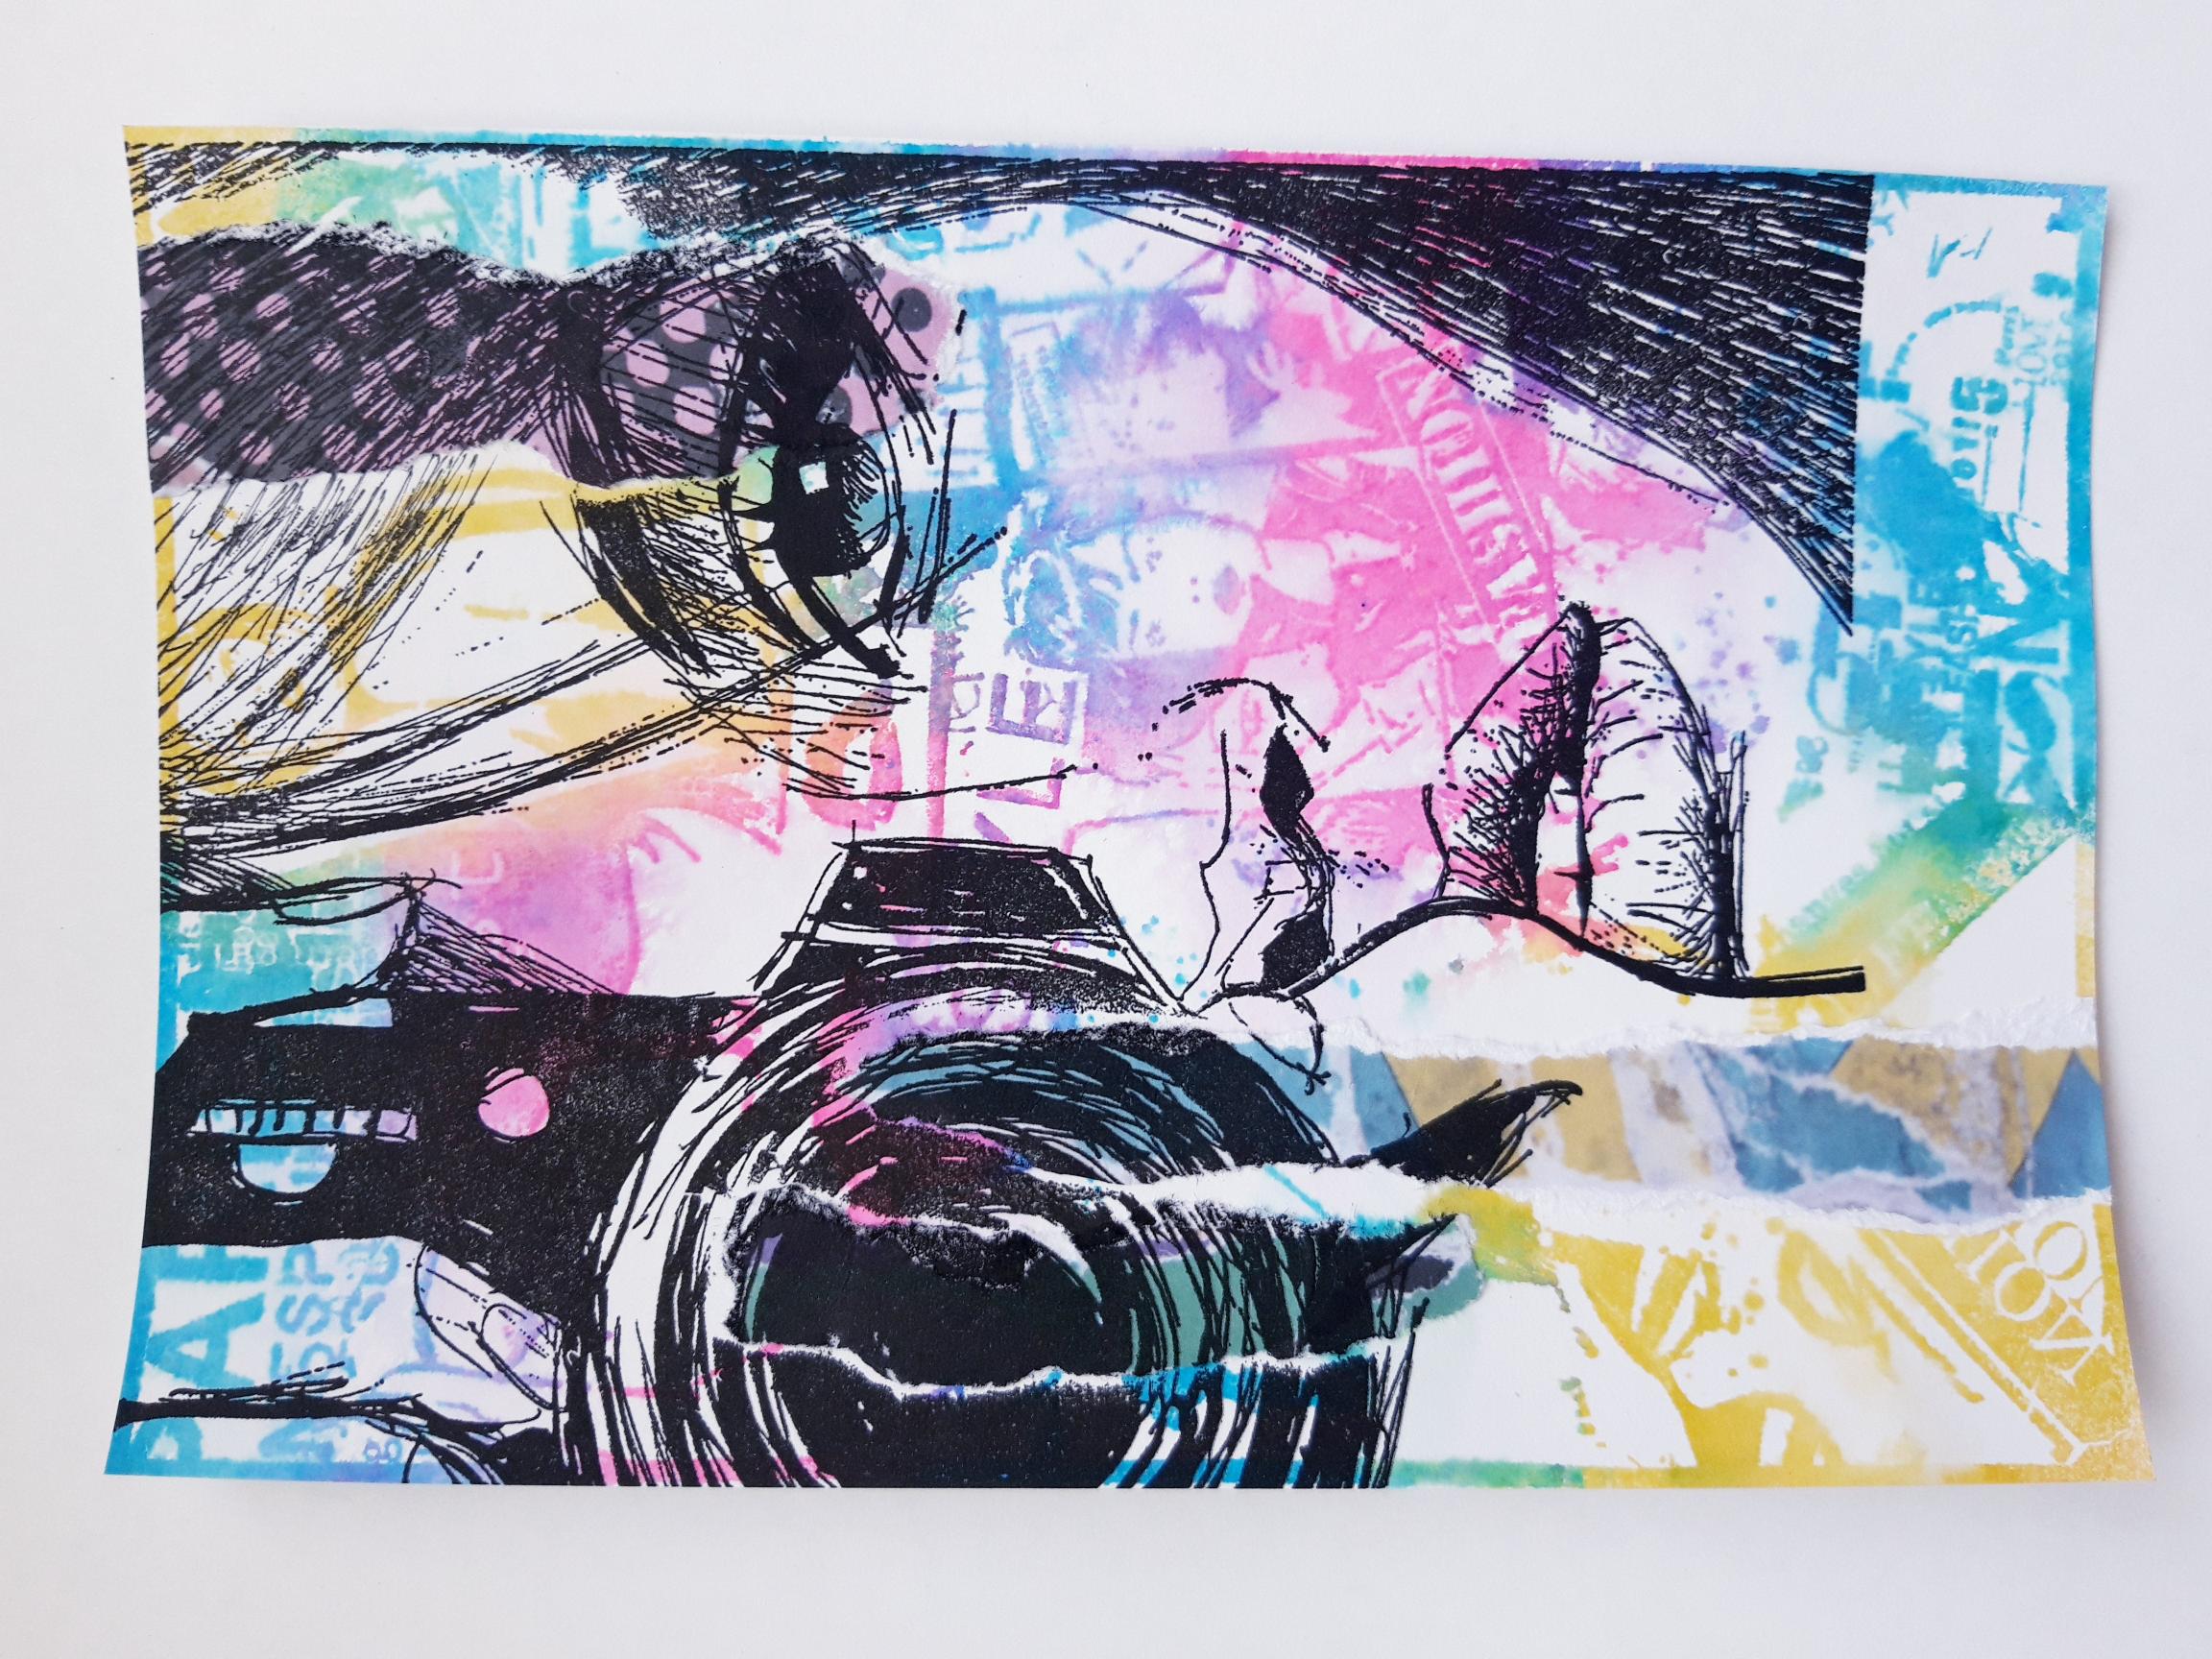
Ink up the stamp from Imala Snapshot, with the Onyx Black Versafine and stamp on to your background. You can reink and stamp again, if you want to get a clearly defined image, but I preferred the distressed look. |
|
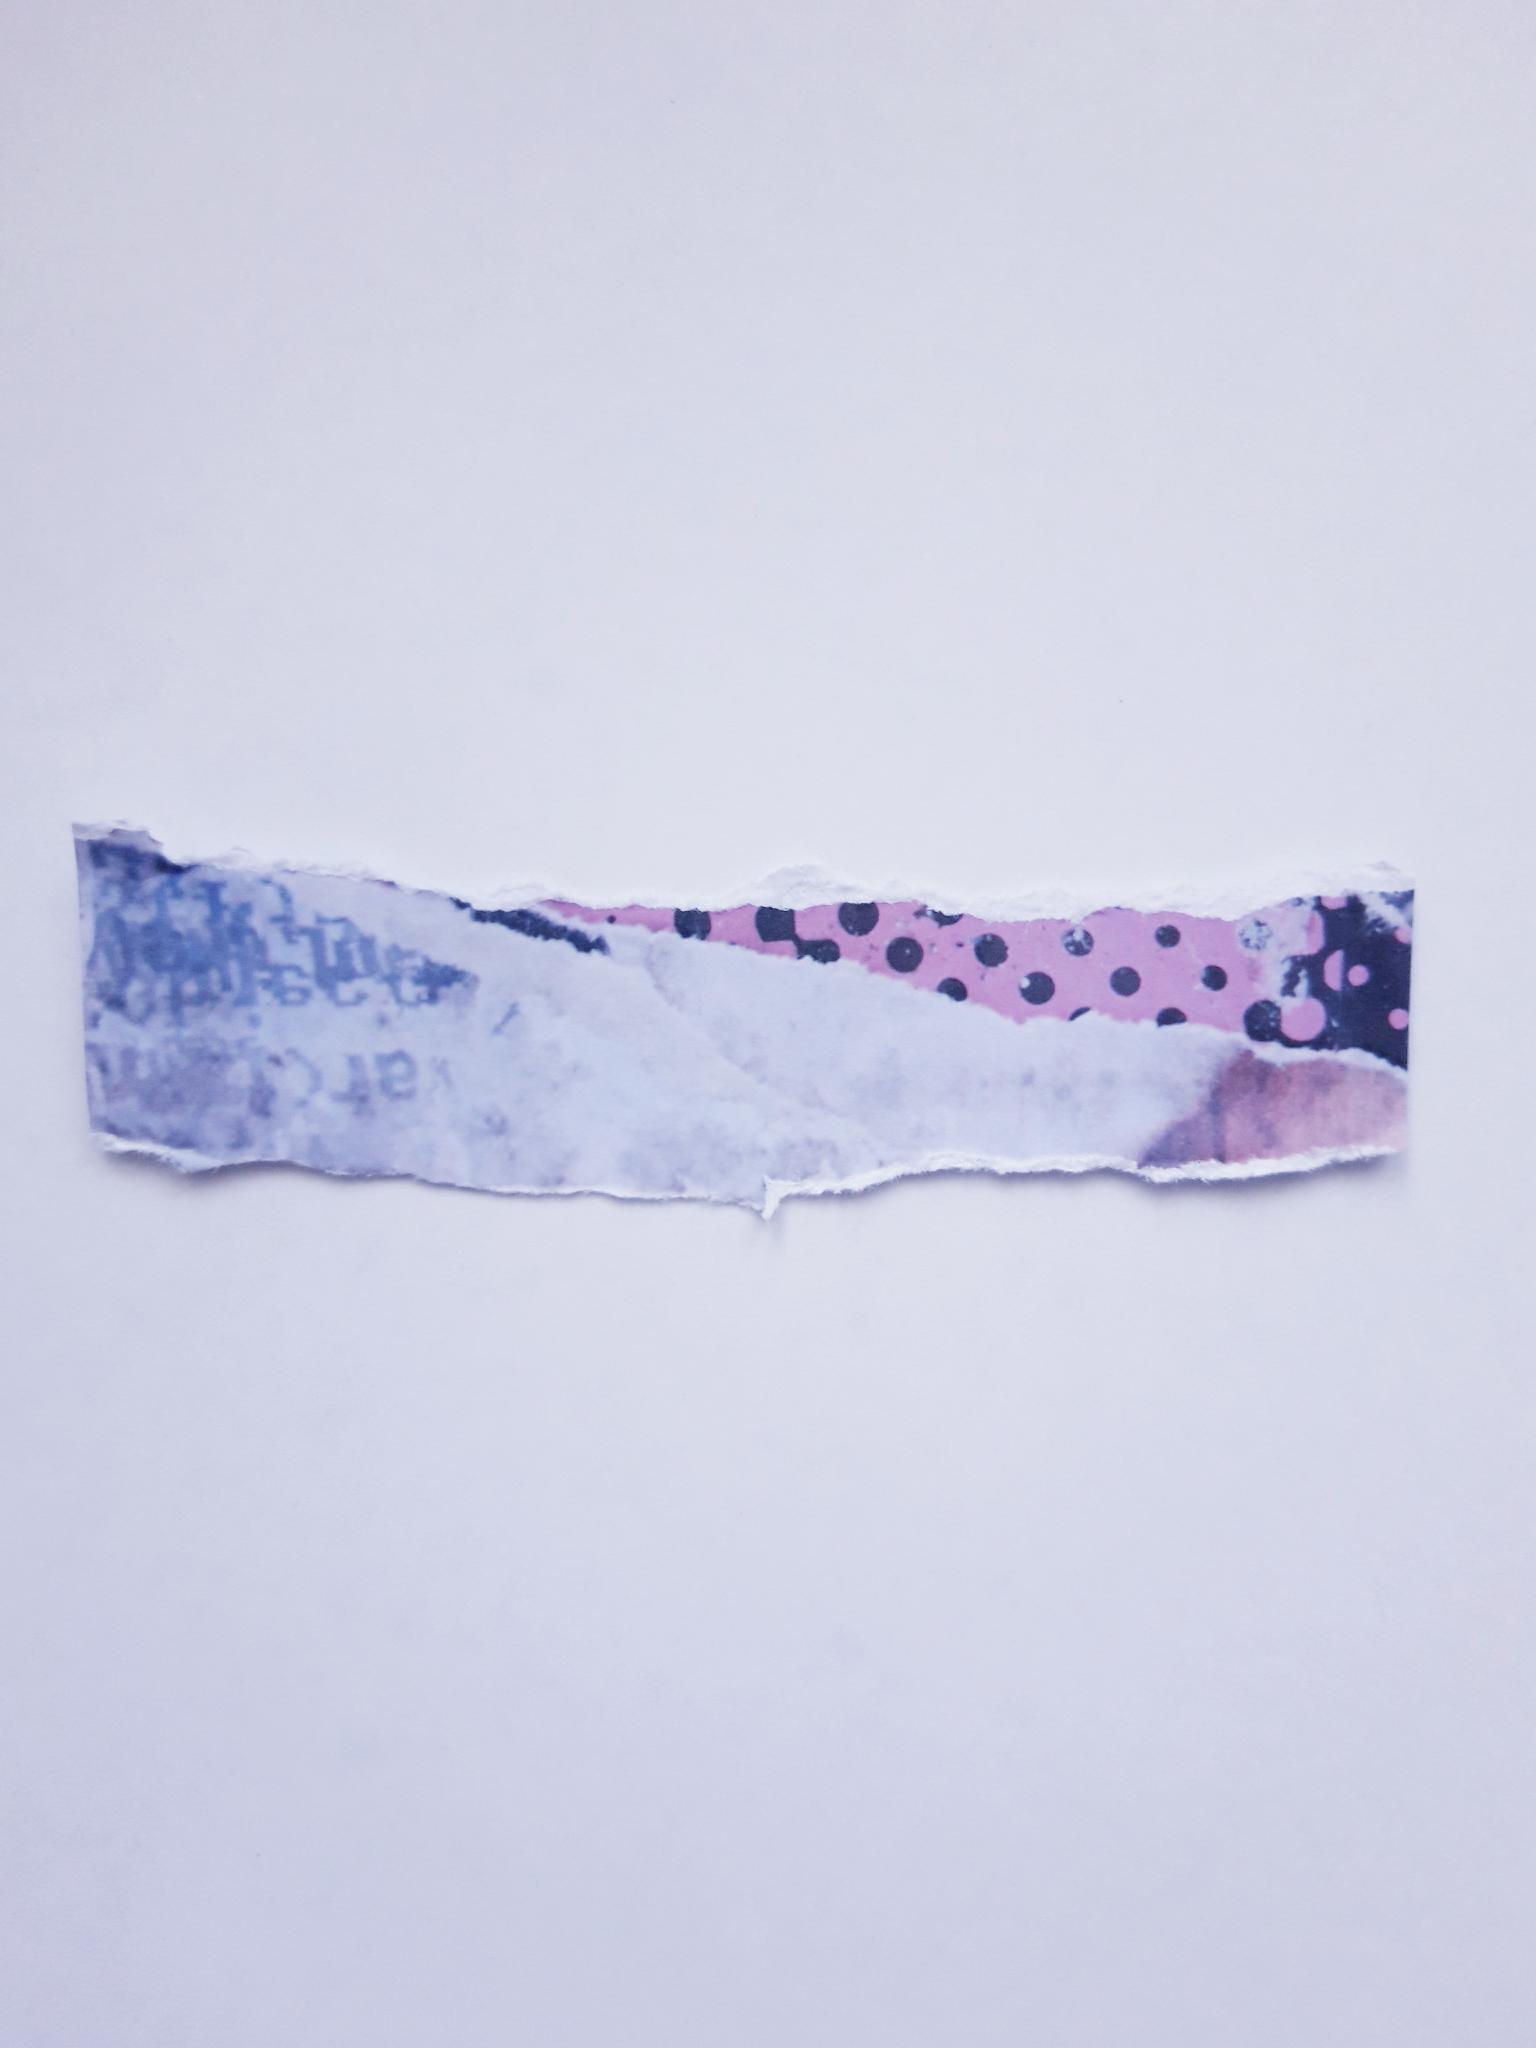
Tear another strip from the decorative sheet, set aside earlier. NB: It must be the same width as your stamped background, and deep enough to stamp the sentiment on to. |
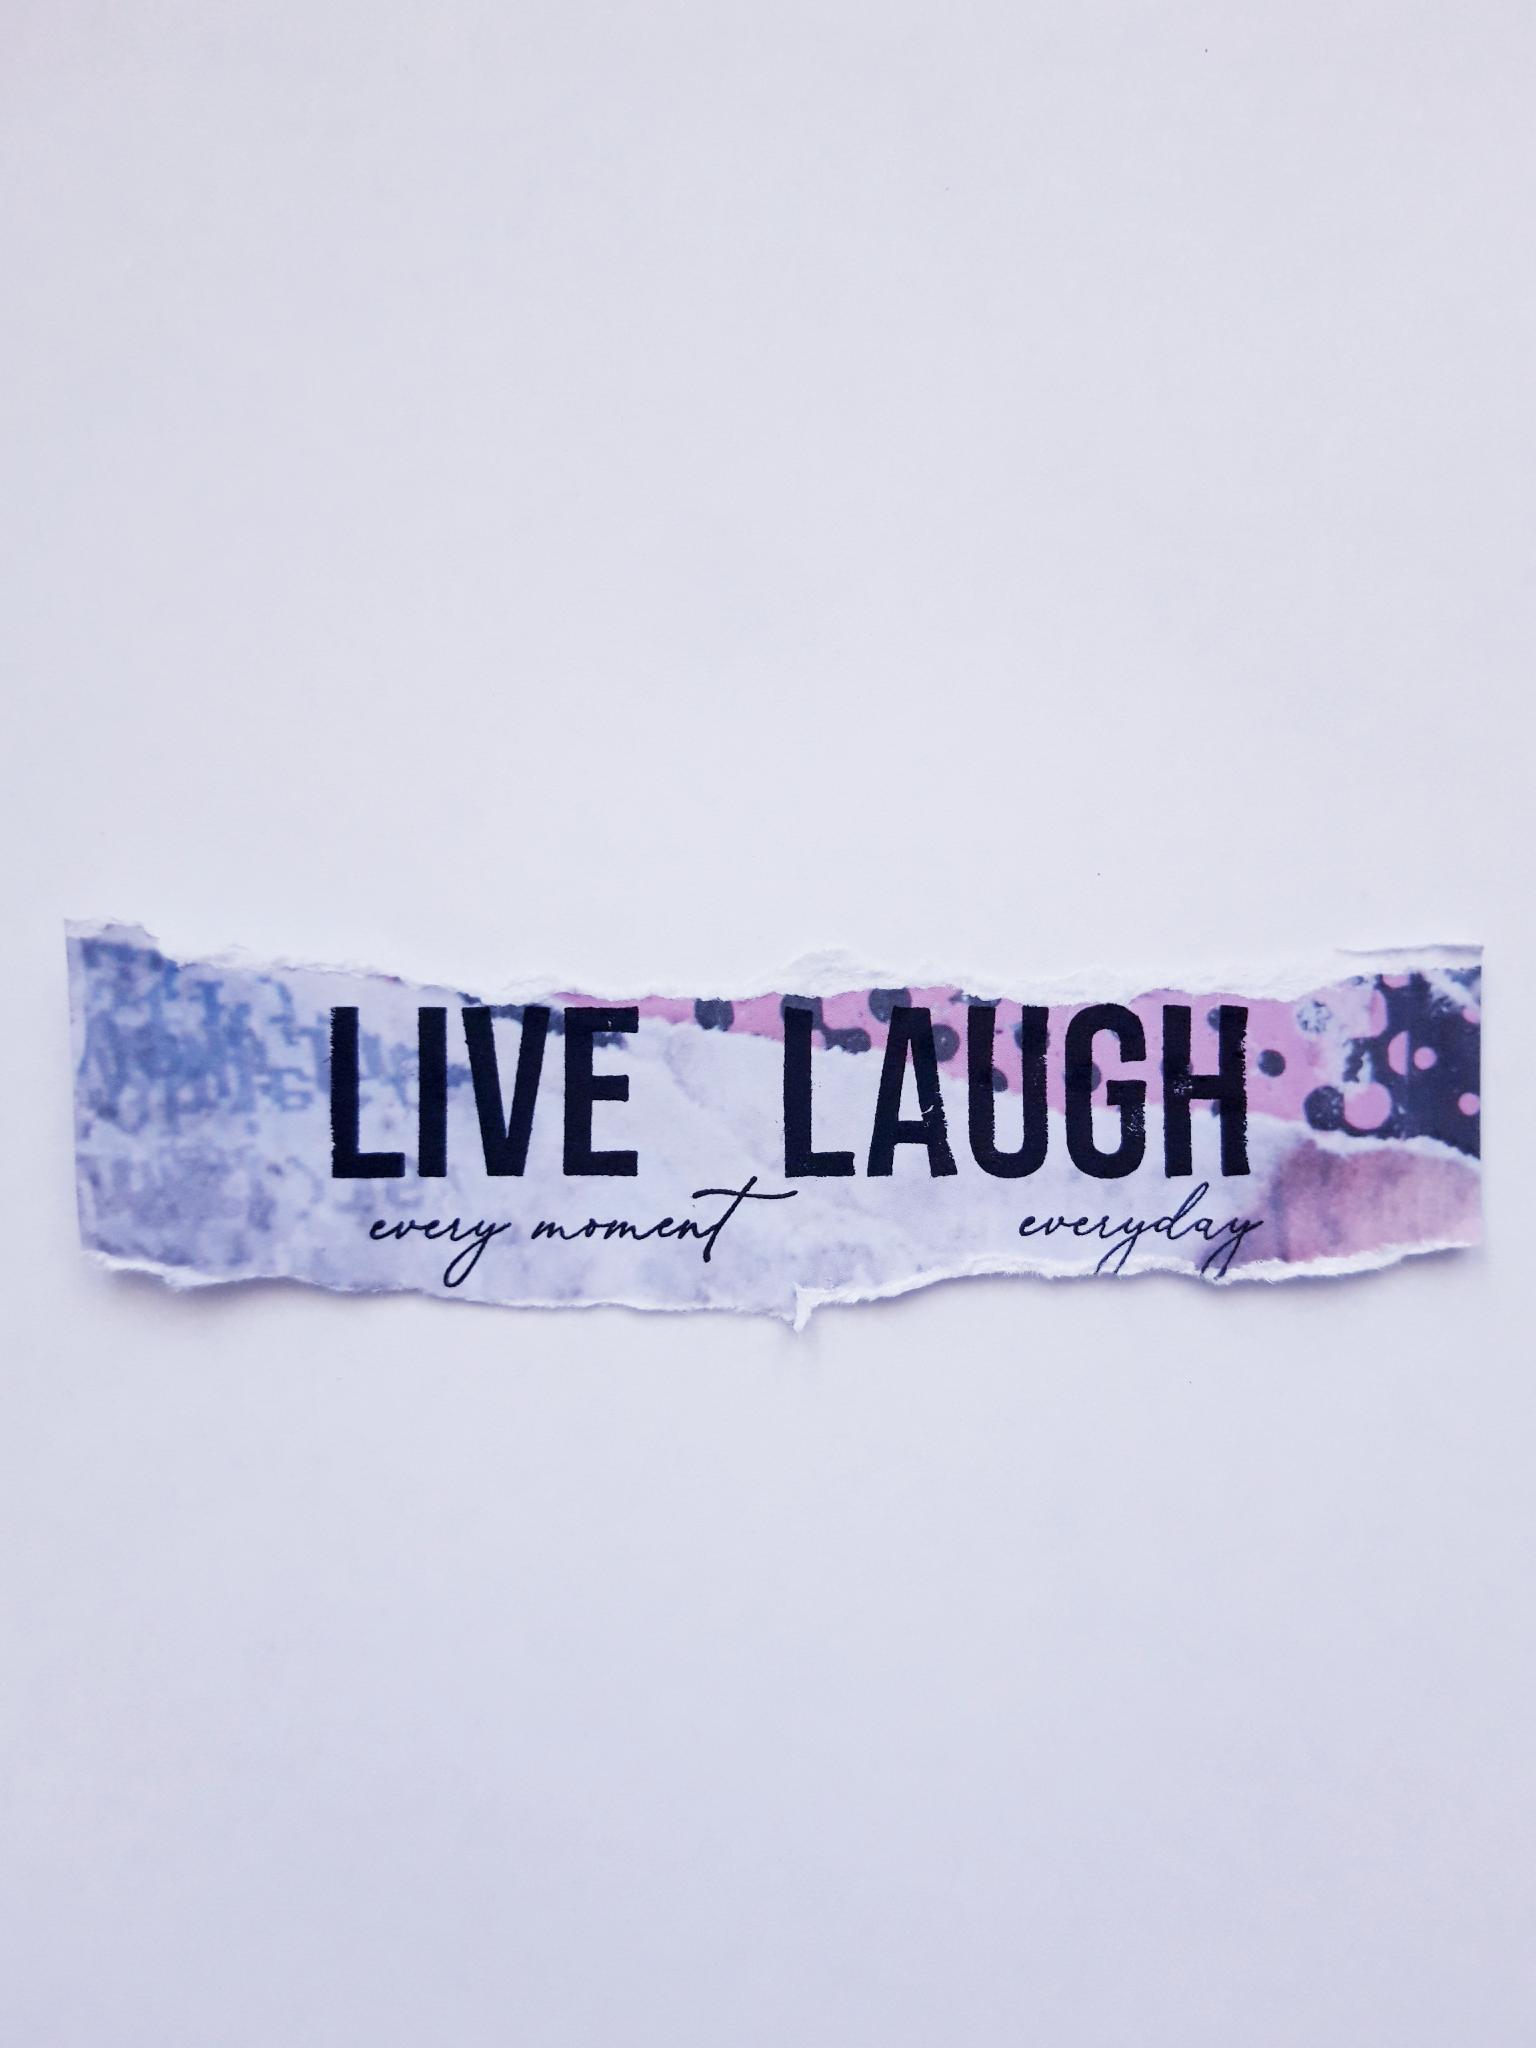
|
Ink up the sentiment, as shown here, with the Versafine and stamp in the centre of the torn strip. |
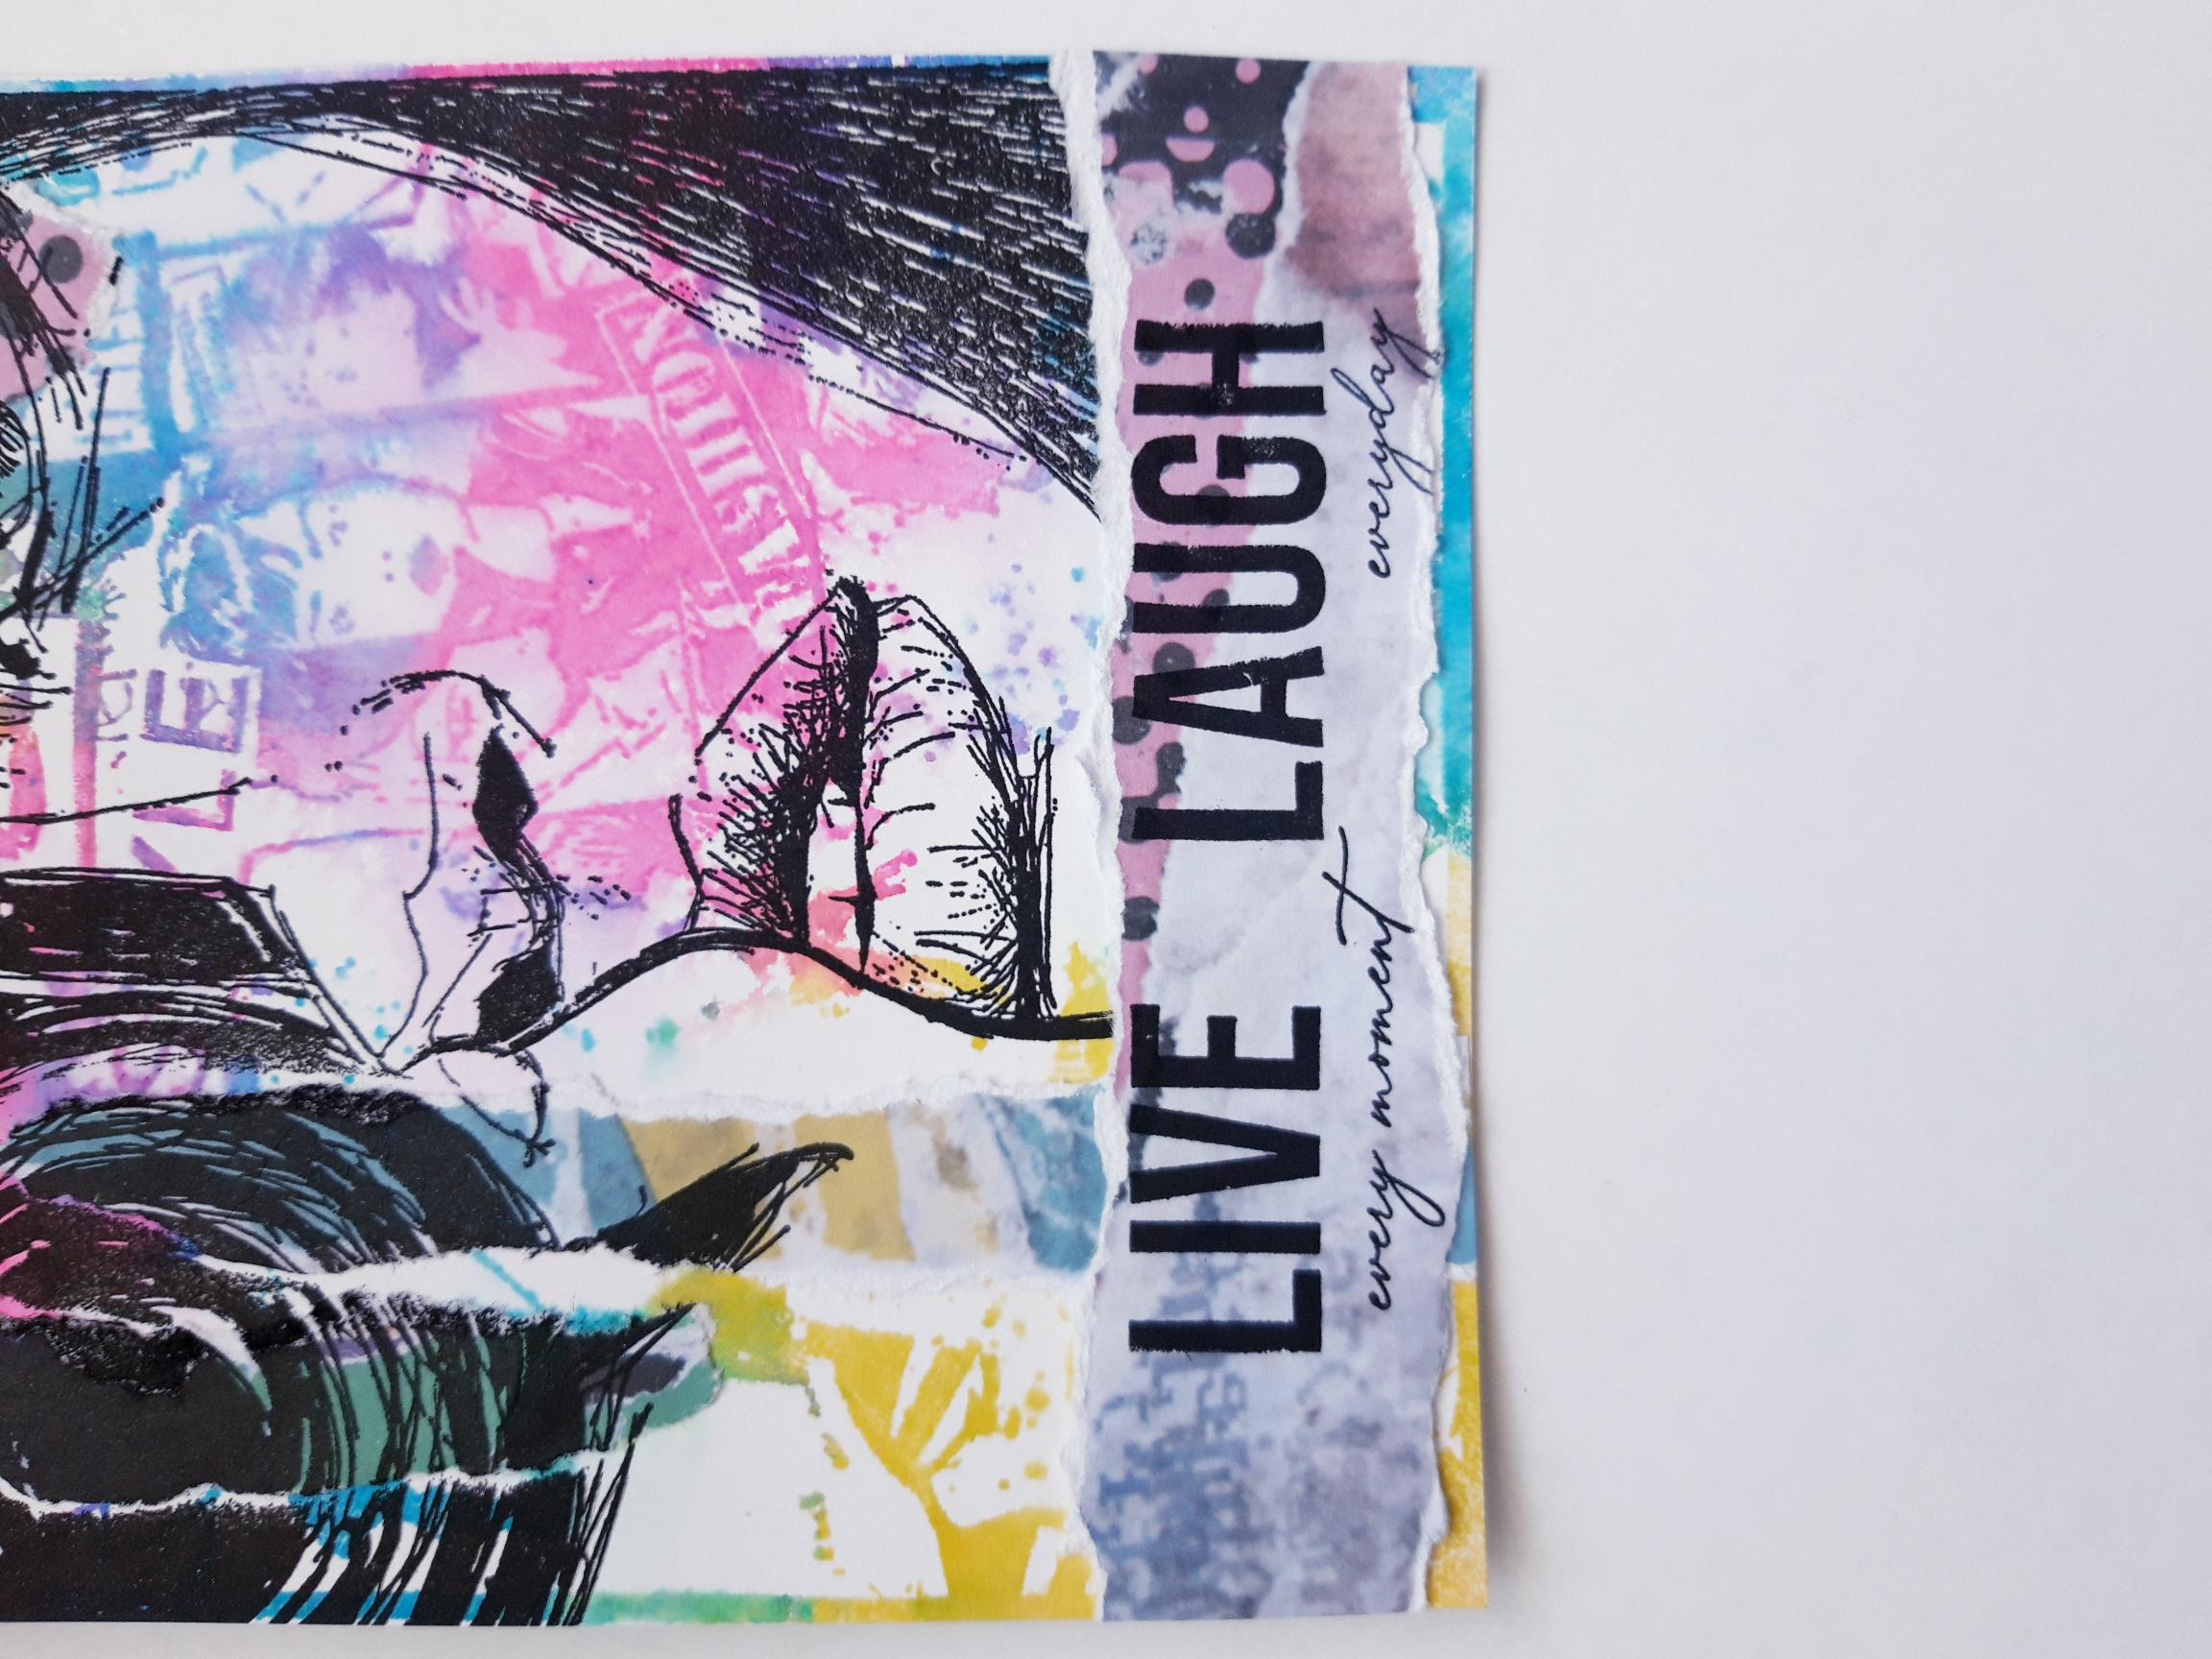
|
Adhere it just up from the bottom, of your stamped background. |
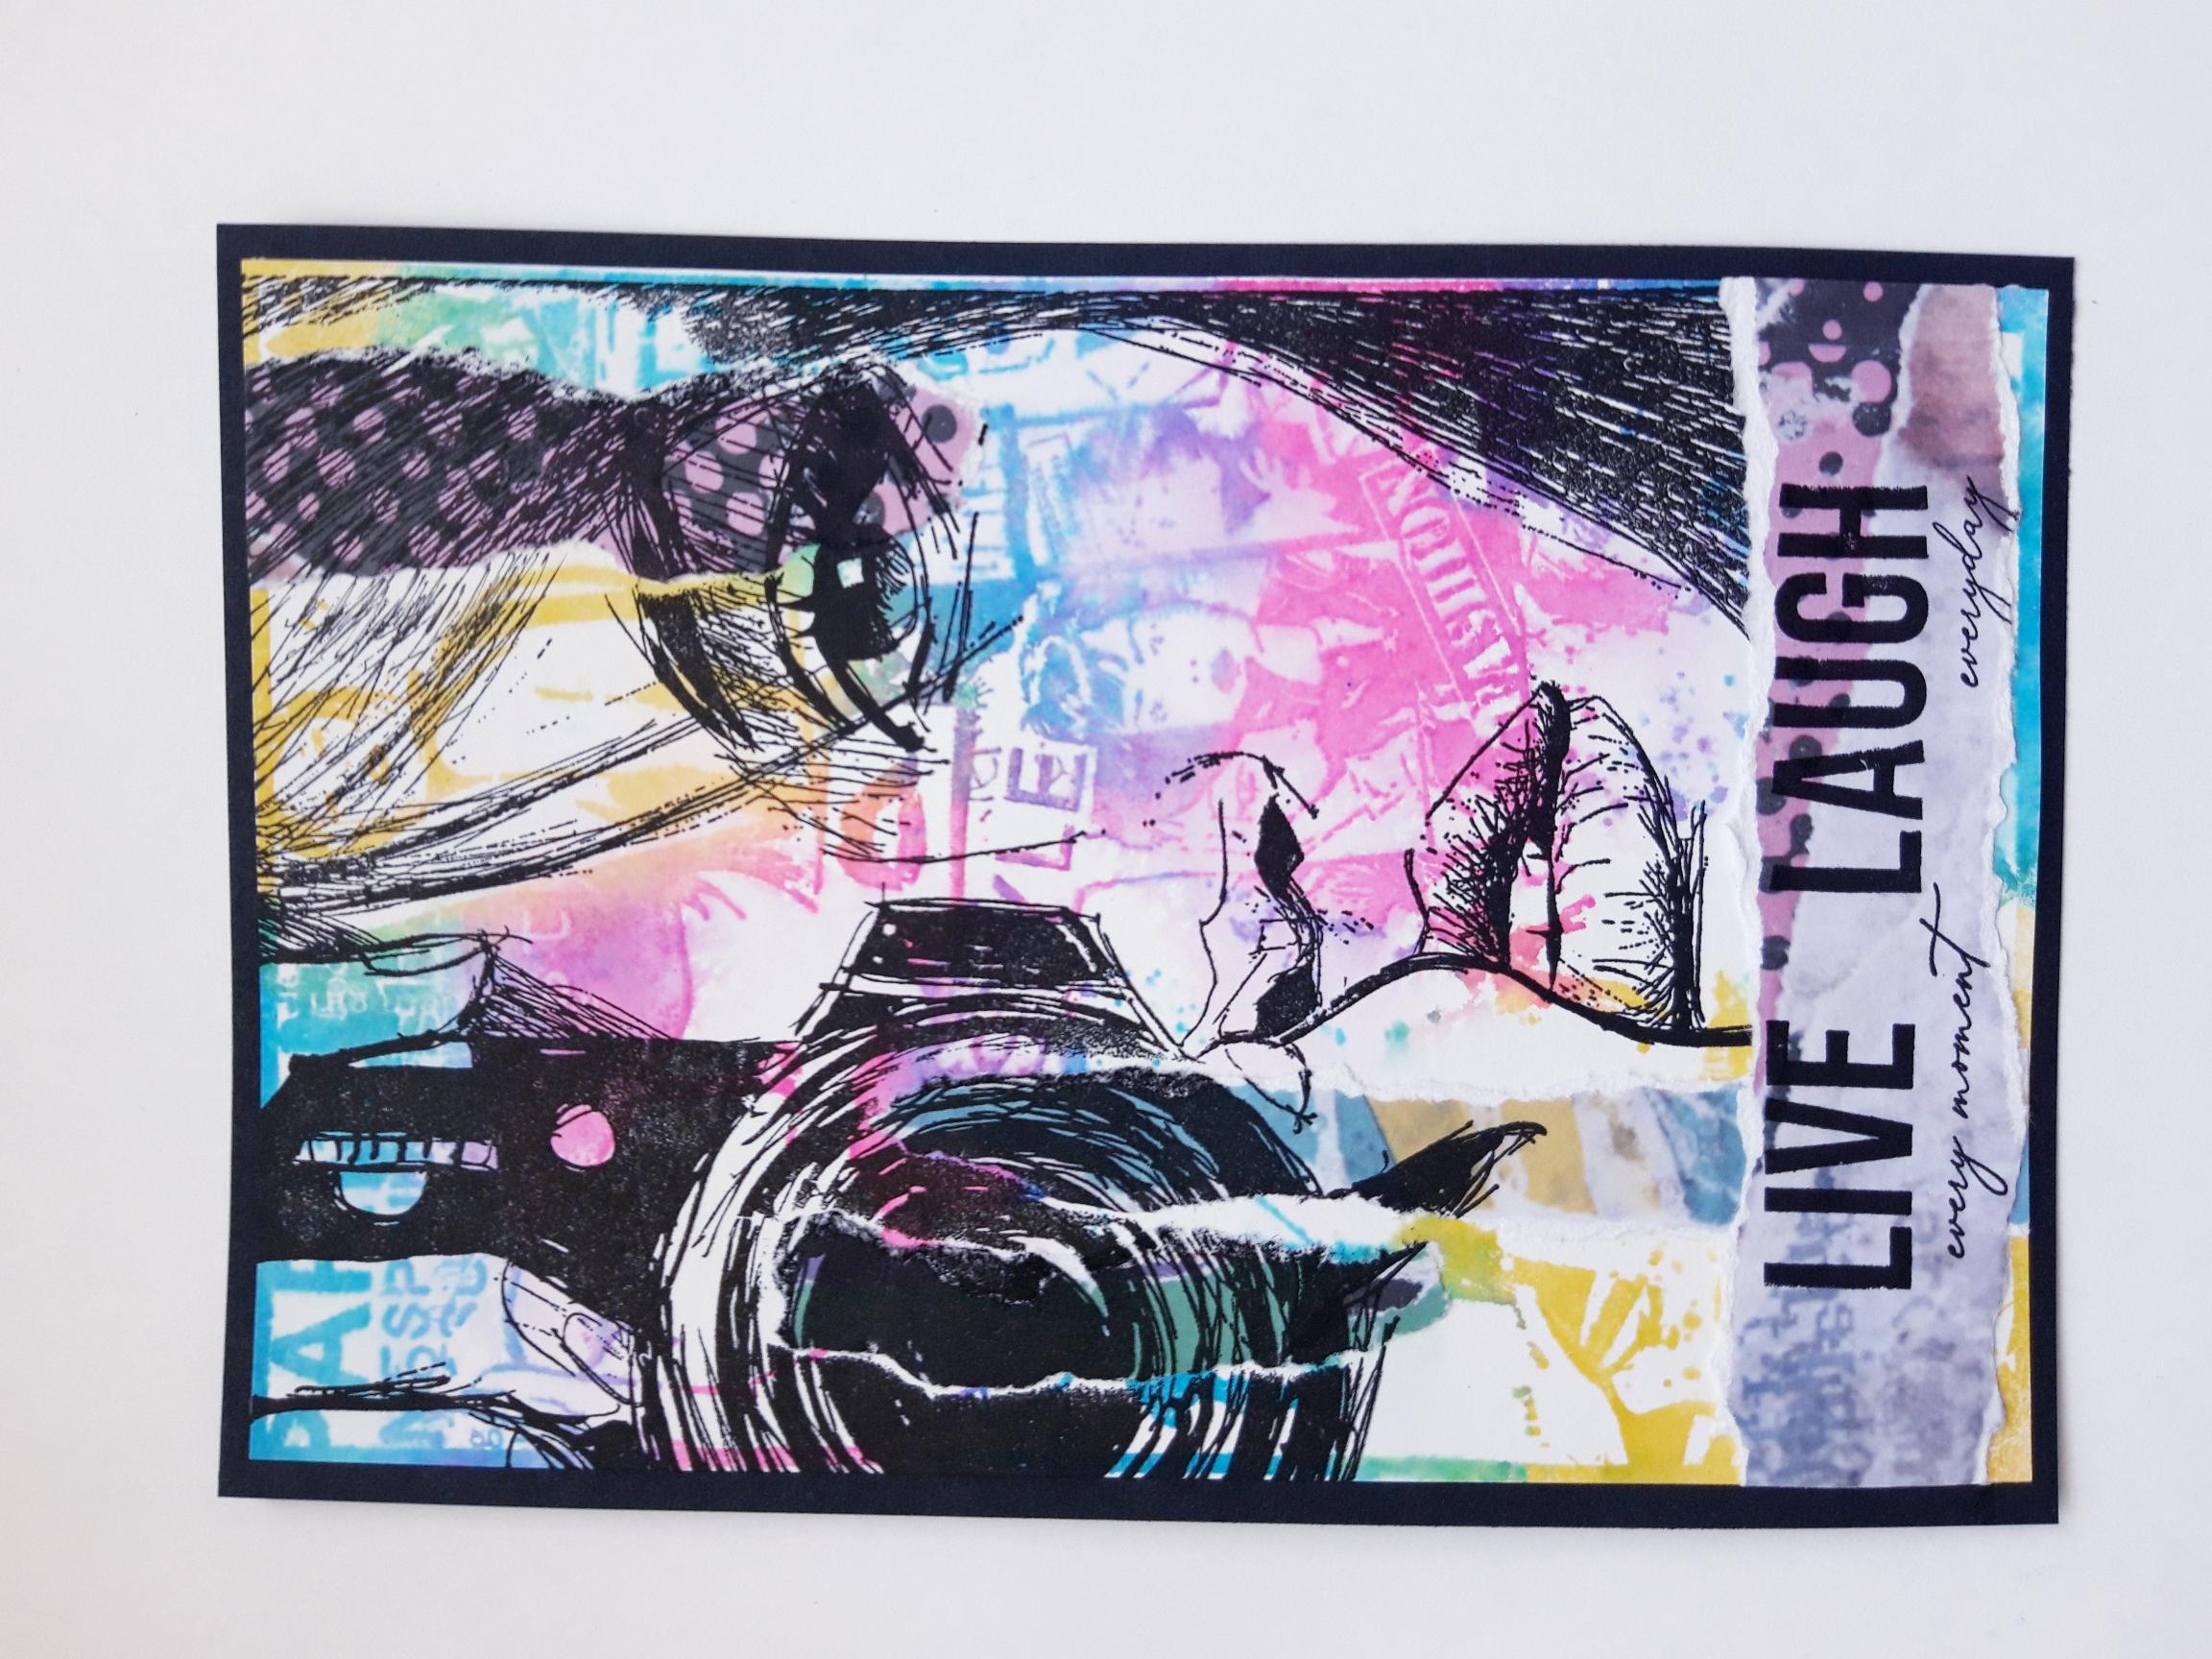
|
Adhere on to the black card. |
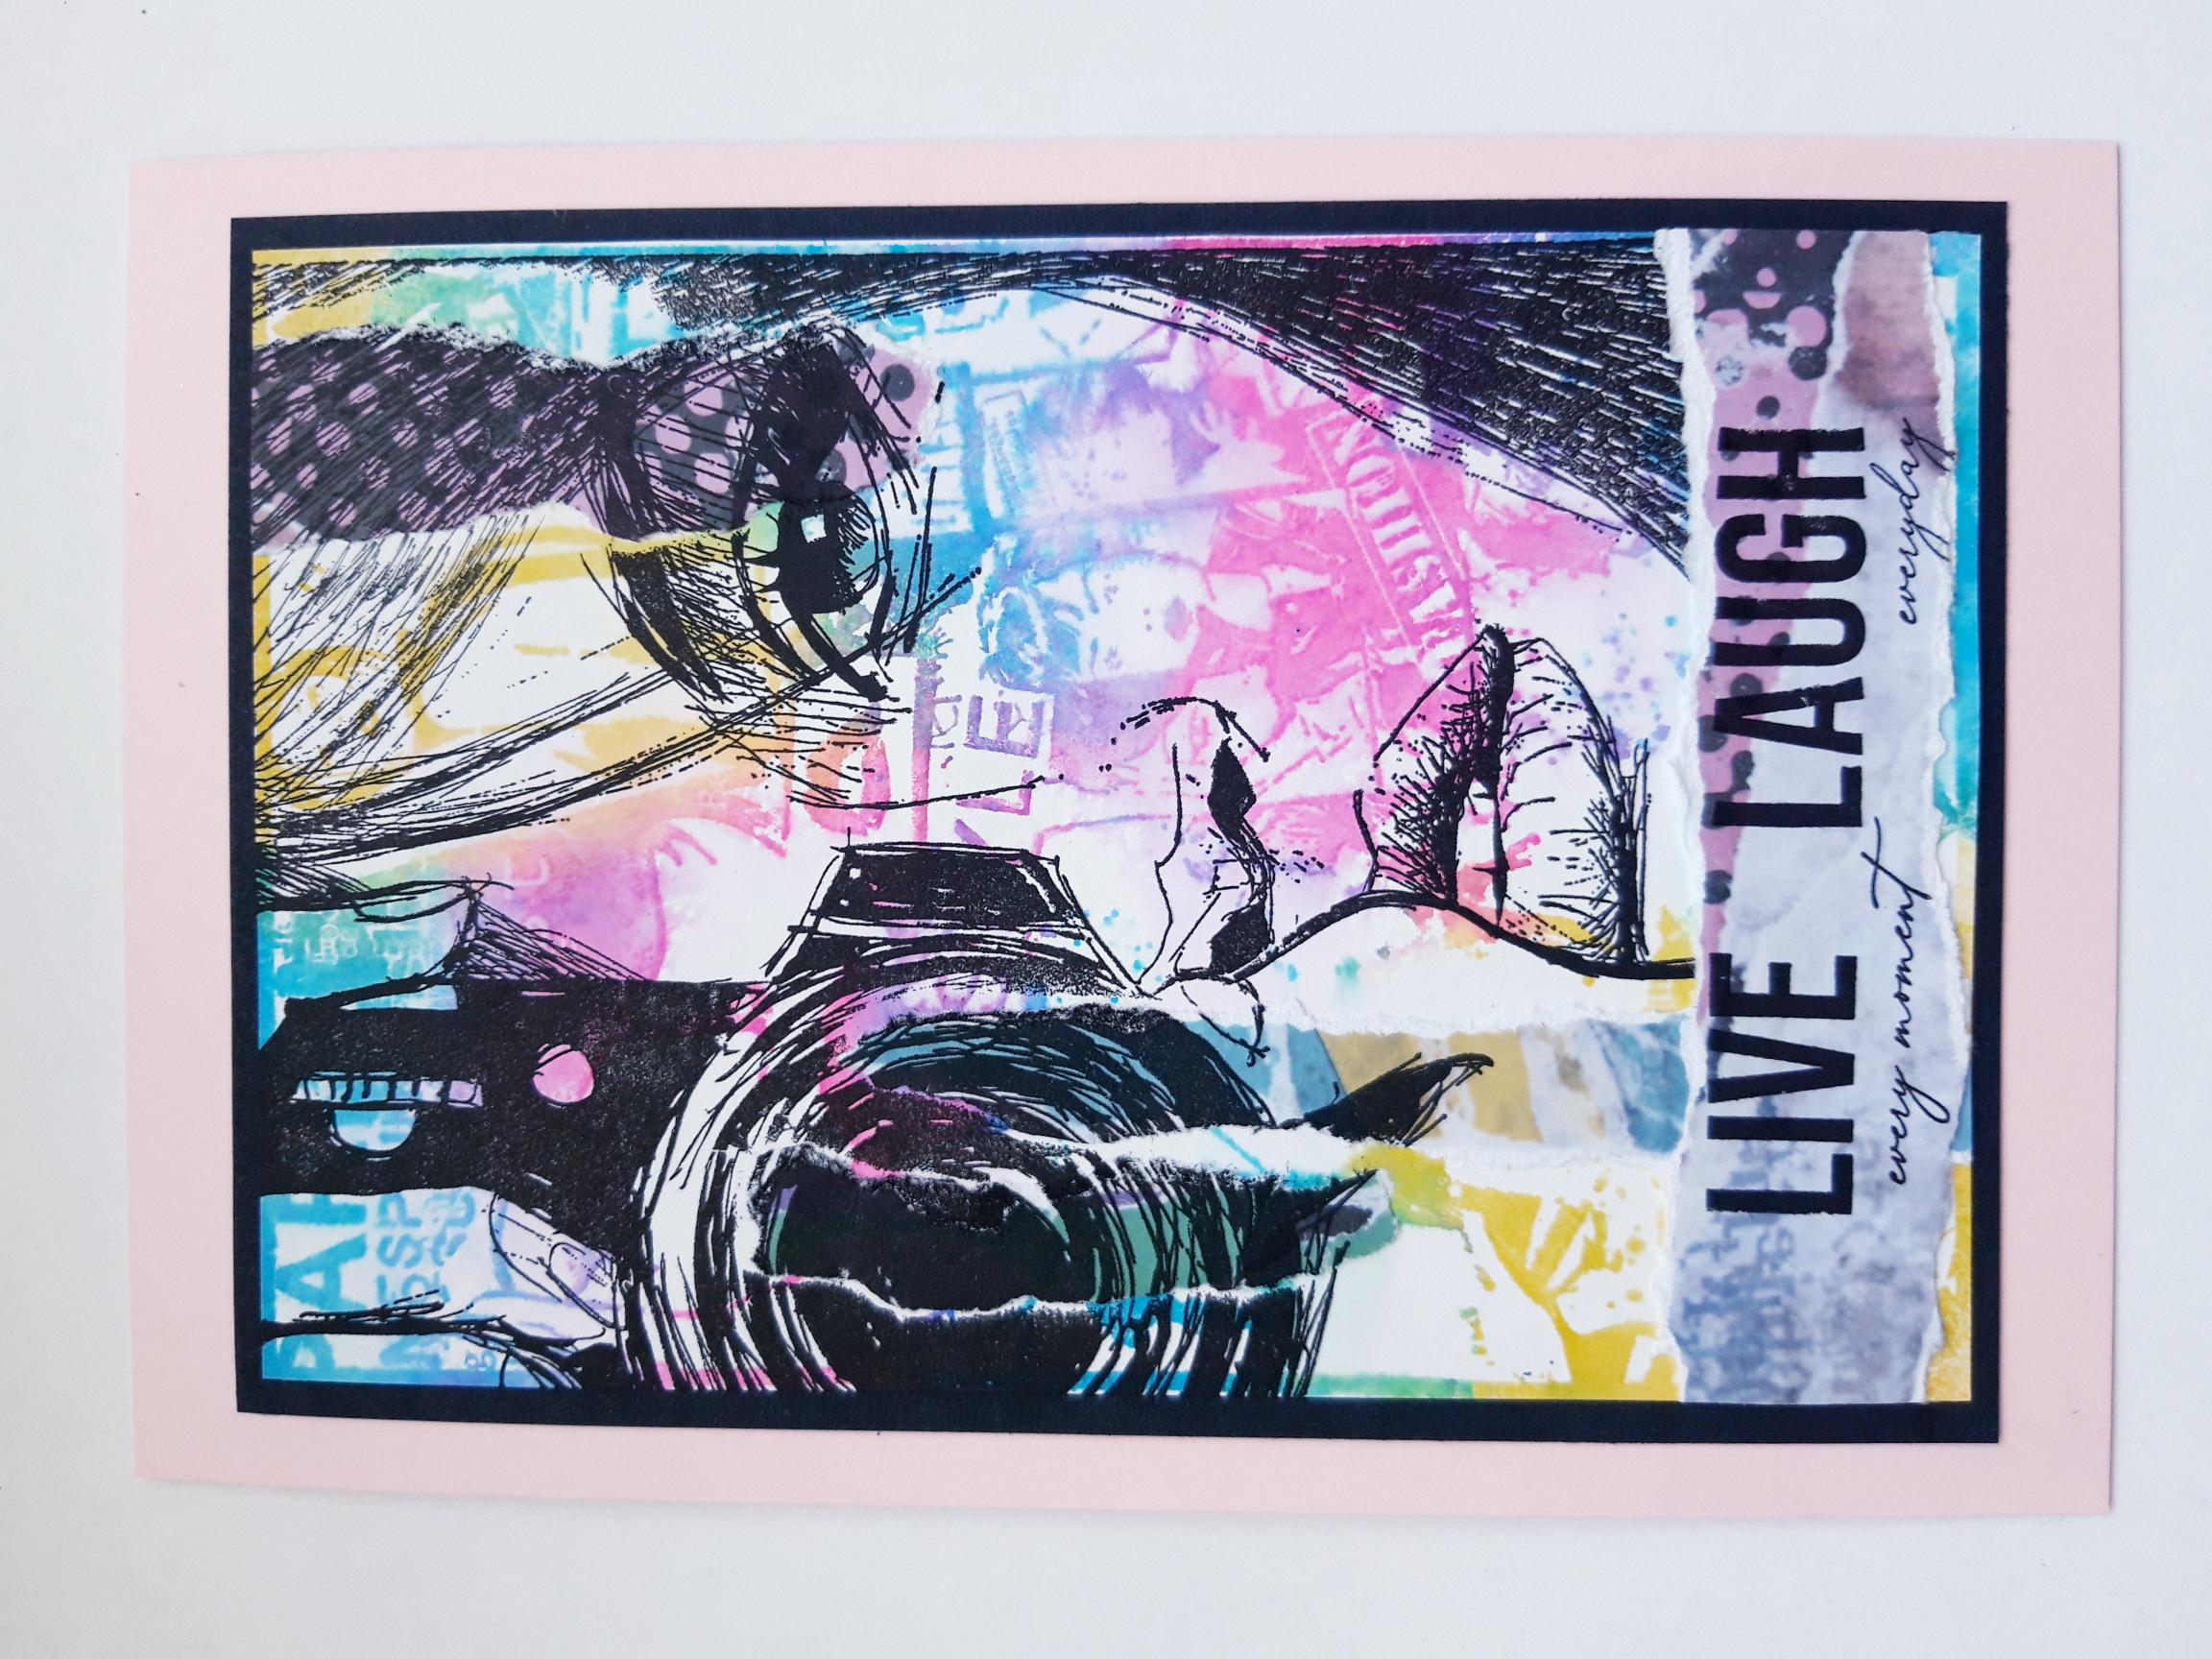
|
Ahere on to the front of your pink, top folding card blank. |