Offrez à vos amis 10 € de réduction sur leur première commande !
Parrainez un AMI








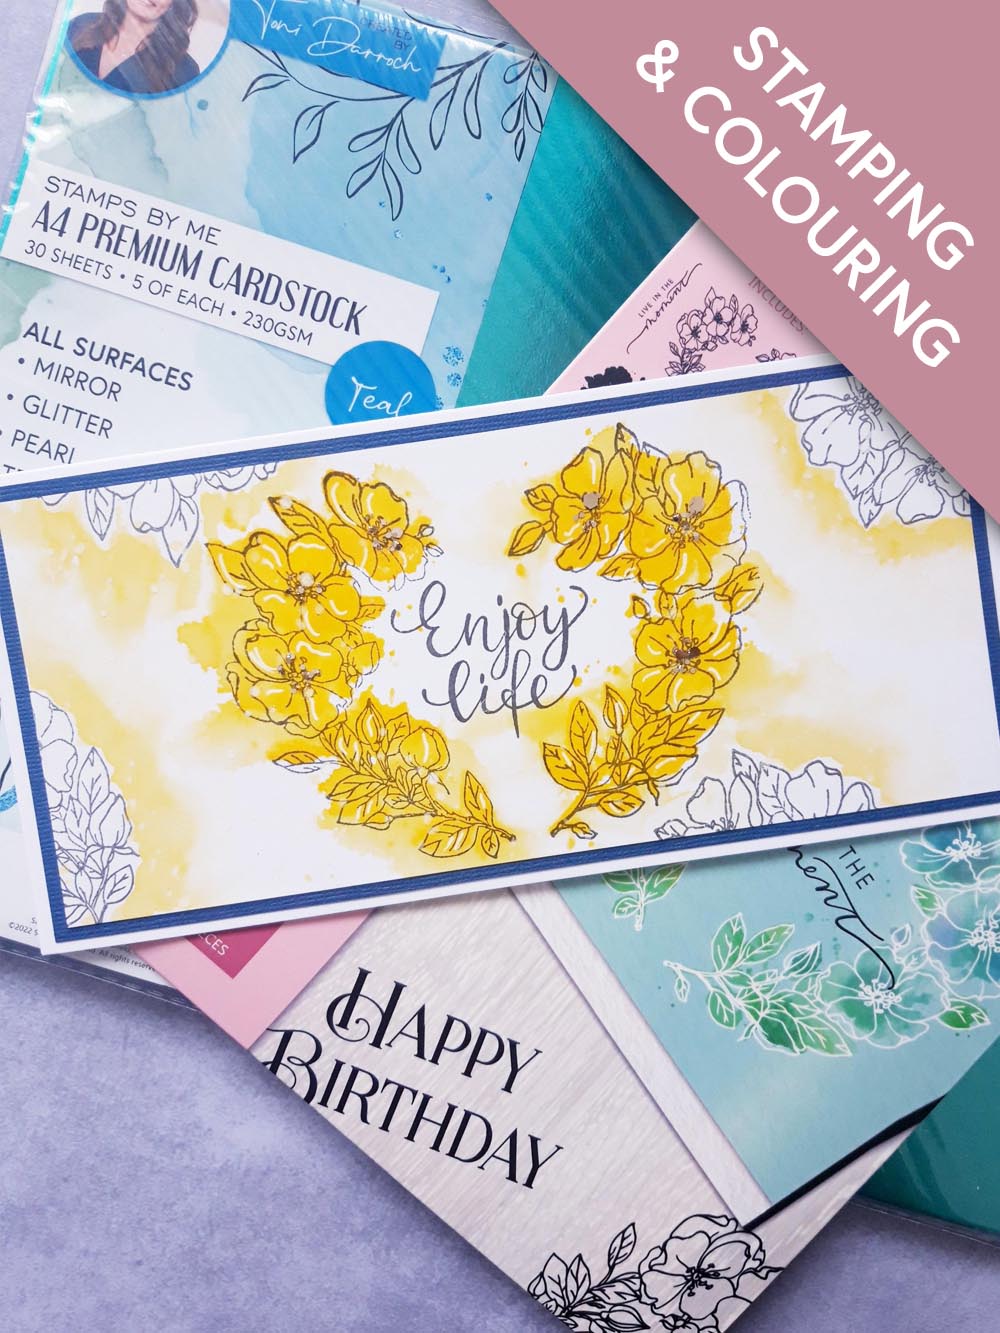
CE DONT VOUS AUREZ BESOIN :
Carte vierge DL blanche 8 1/4 x 4" (format paysage)
Papier cartonné blanc 7 3/4 x 3 1/2"
Premium A4 Teal Cardstock Collection : papier cartonné bleu texturé 8 x 3 3/4"
Enjoy Life Lamination Collection
Encreur Versafine : Smoky Grey
Encreur Premium Dye : Sherbet
Feras Gold Twinkle Collection
Confetti Paint : White Lace
Stylo gel blanc
Vaporisateur d'eau
Pinceau
Pistolet chauffant WOW
Eureka 101
Massicot
Colle Perfect Together
[cliquez sur l'image pour l'agrandir] 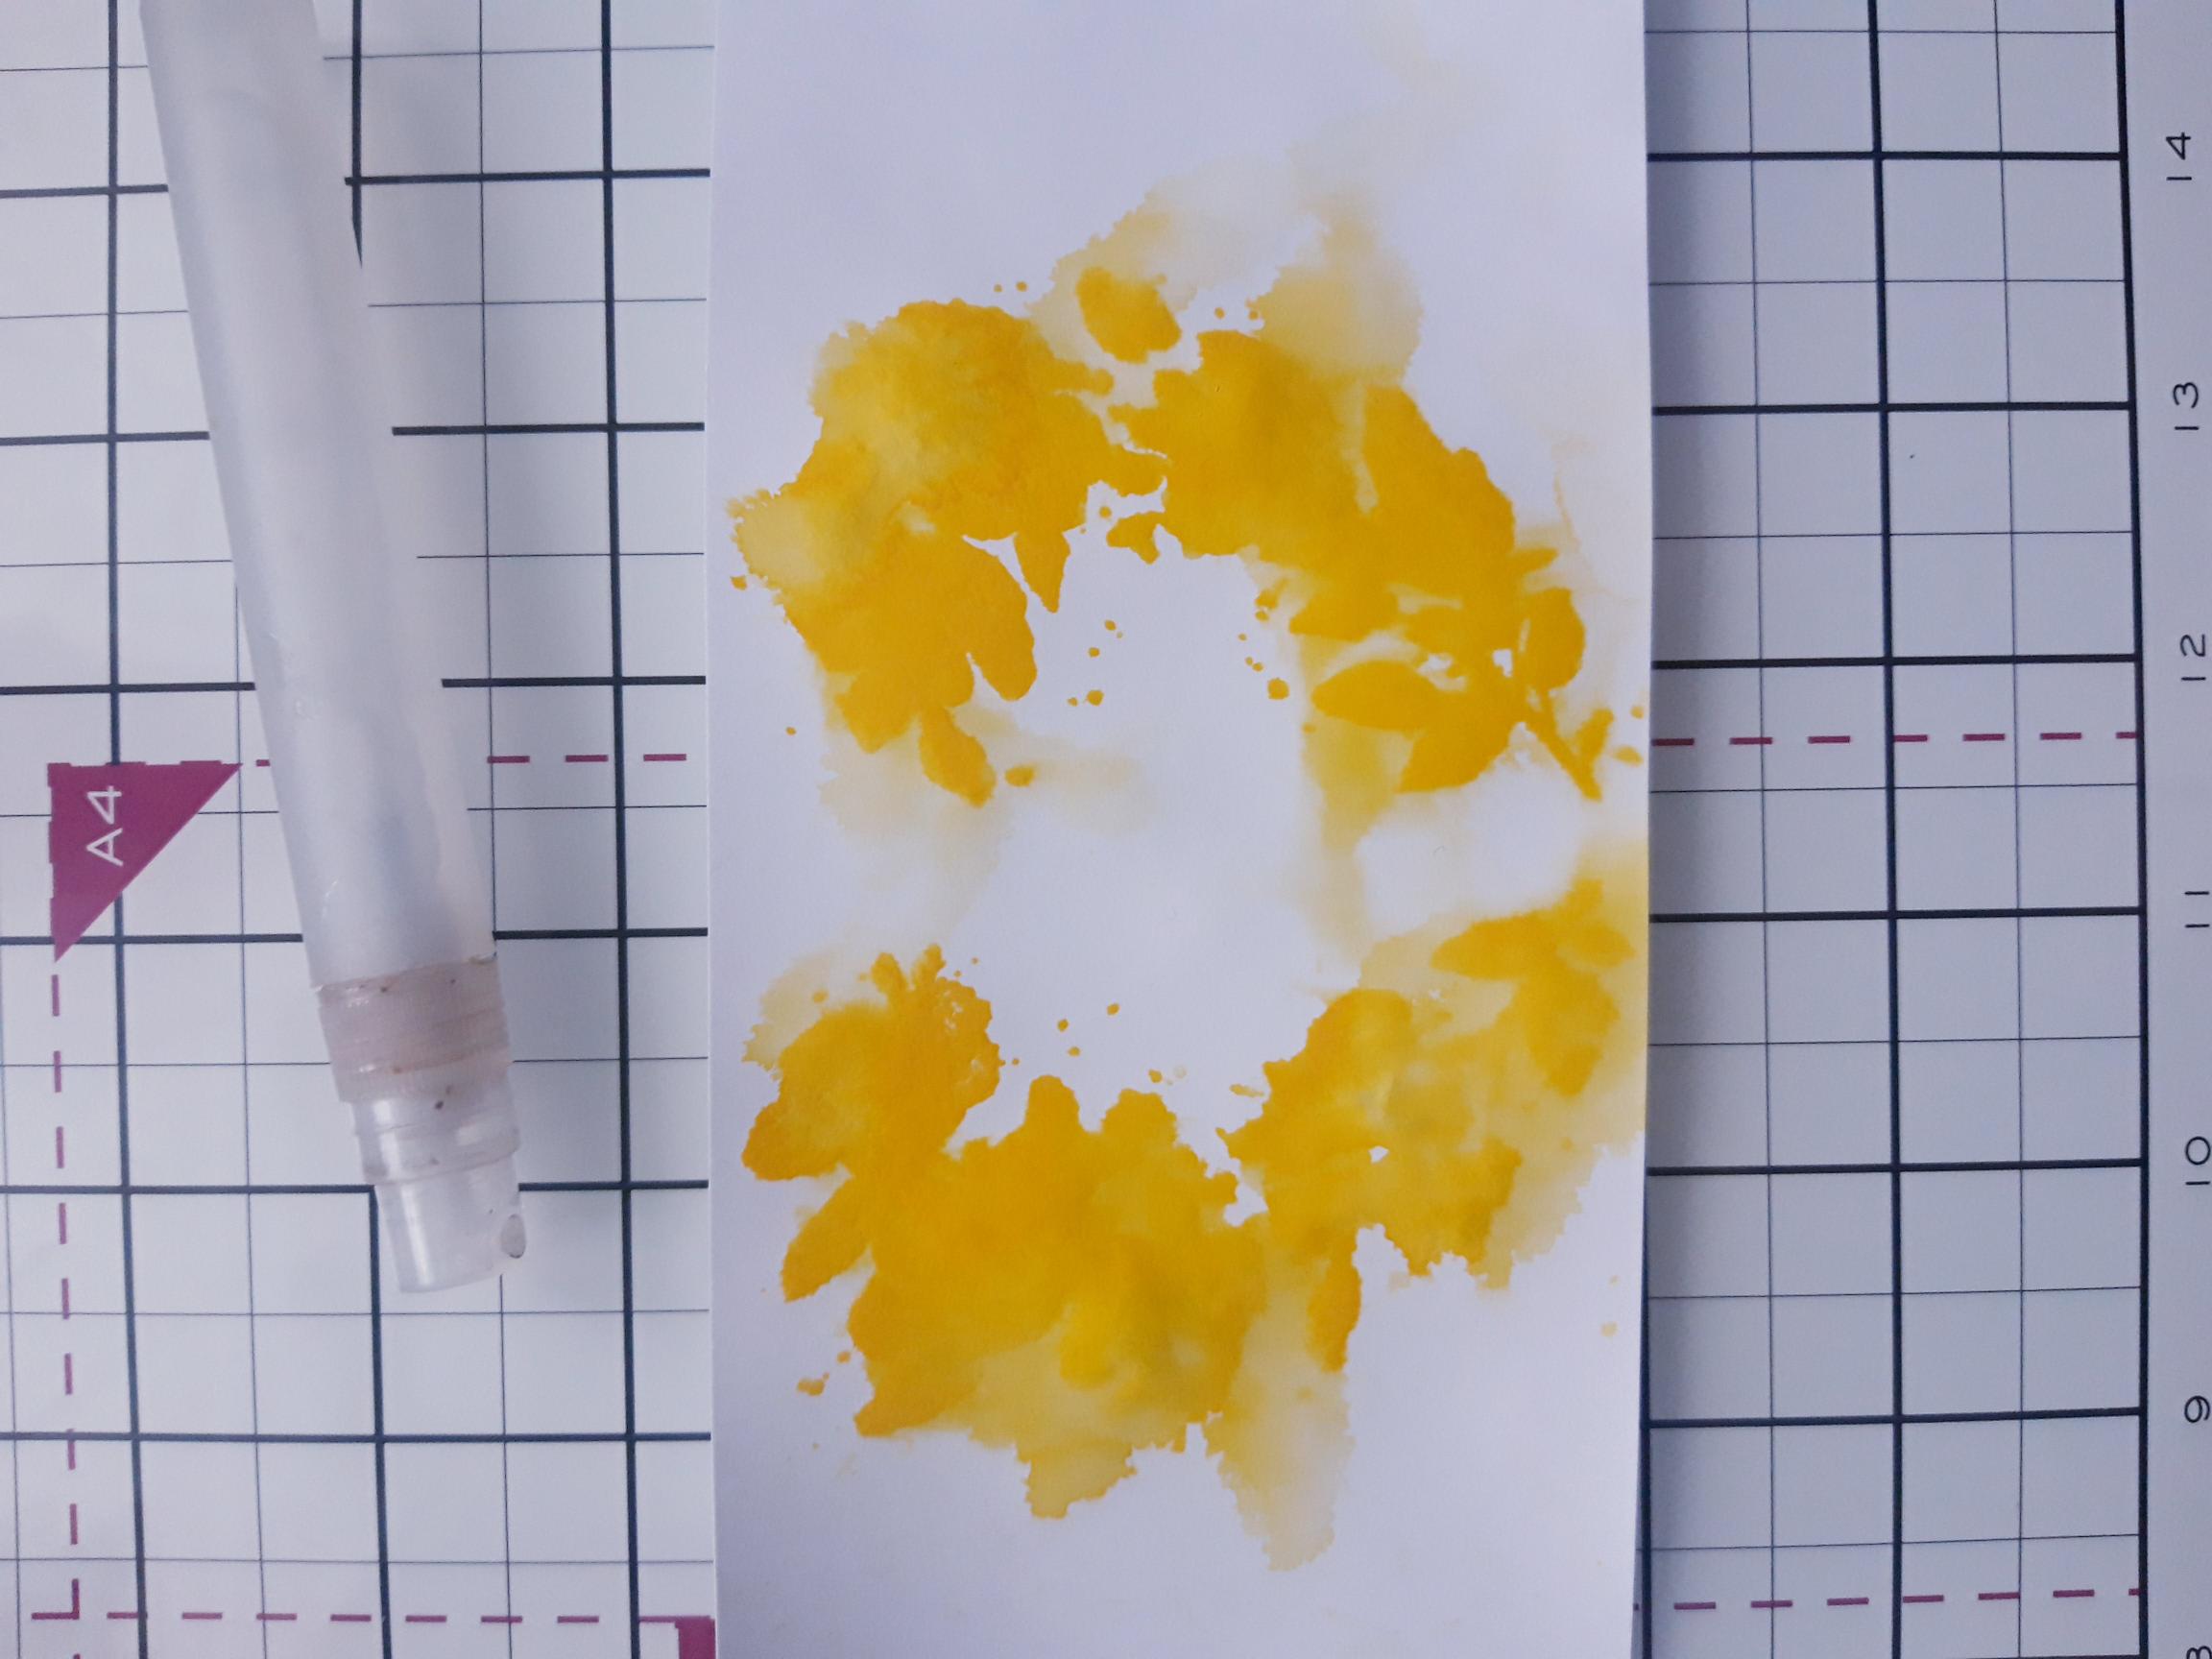
|
Ink up the solid stamp, from Enjoy Life Lamination Collection, with the Sherbet ink pad. Spritz the stamp with water and stamp in the centre of the white, landscape card. Spritz the stamped image, allowing the ink to bleed. Mop up any excess water and ink, with a paper towel and then dry off the ink with your heat tool. |
|
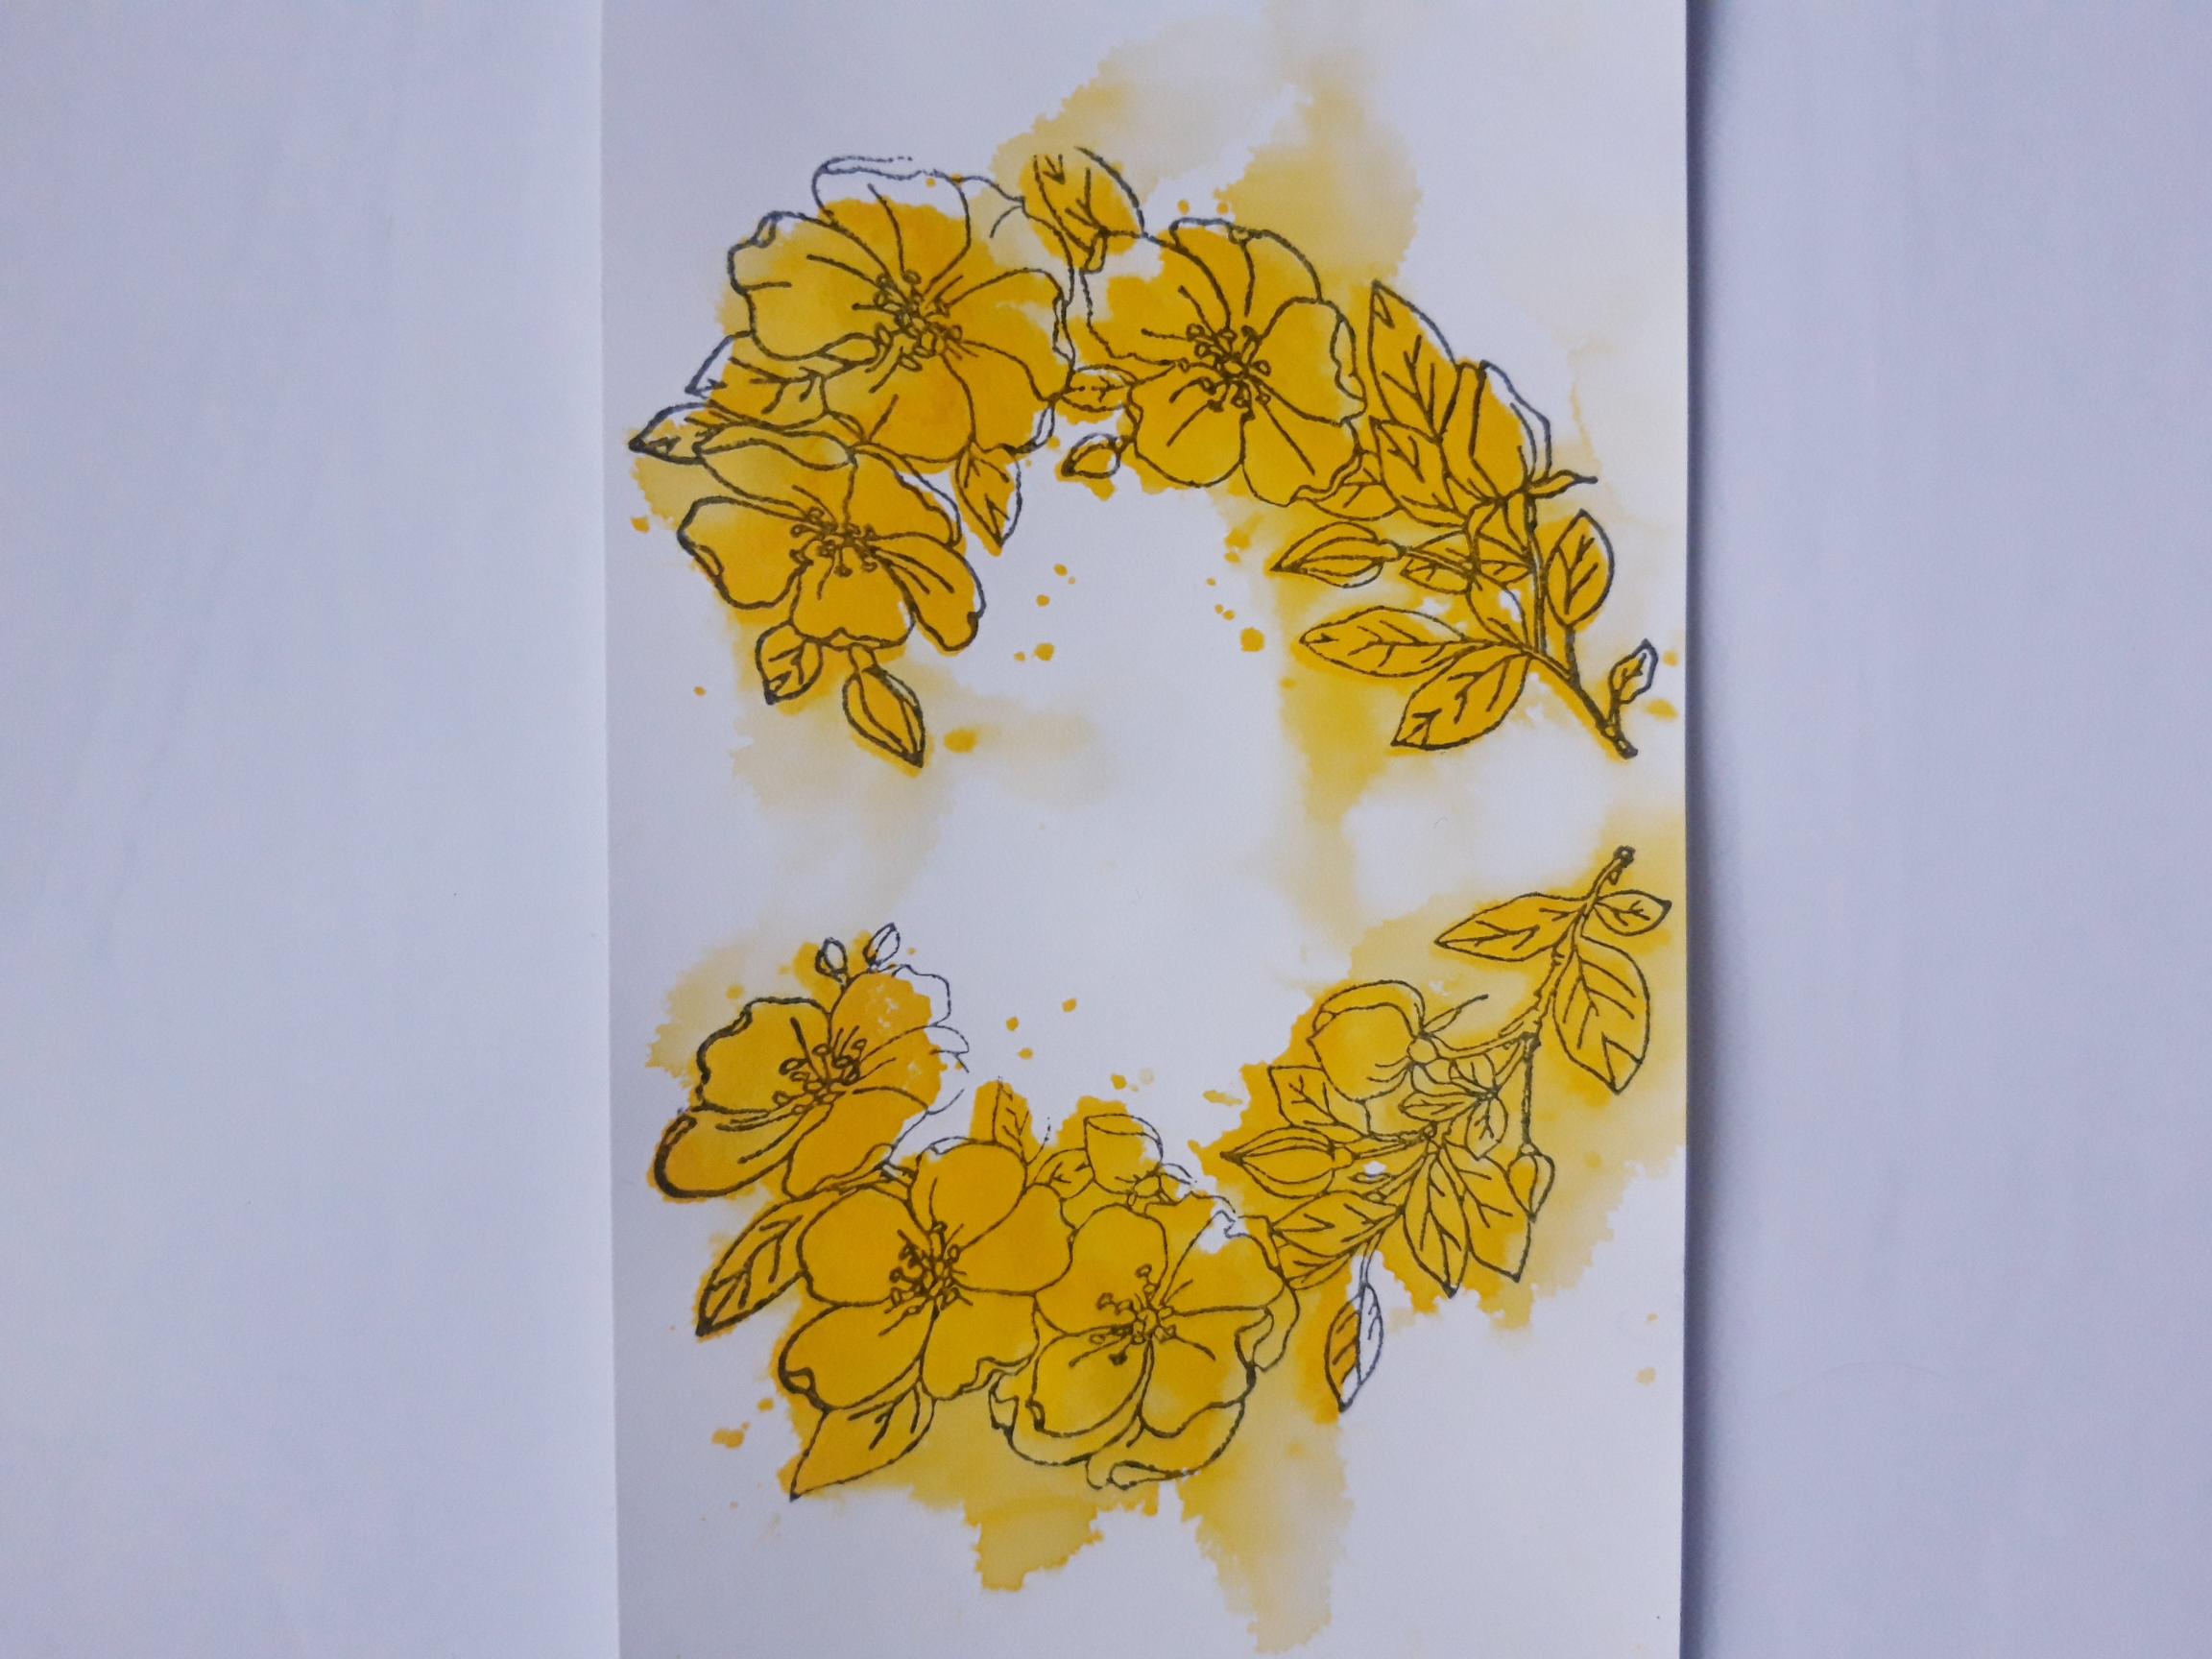
Ink up the coordinating detailed stamp, with the Smoky Grey Versafine and stamp over the stamped ink. |
|
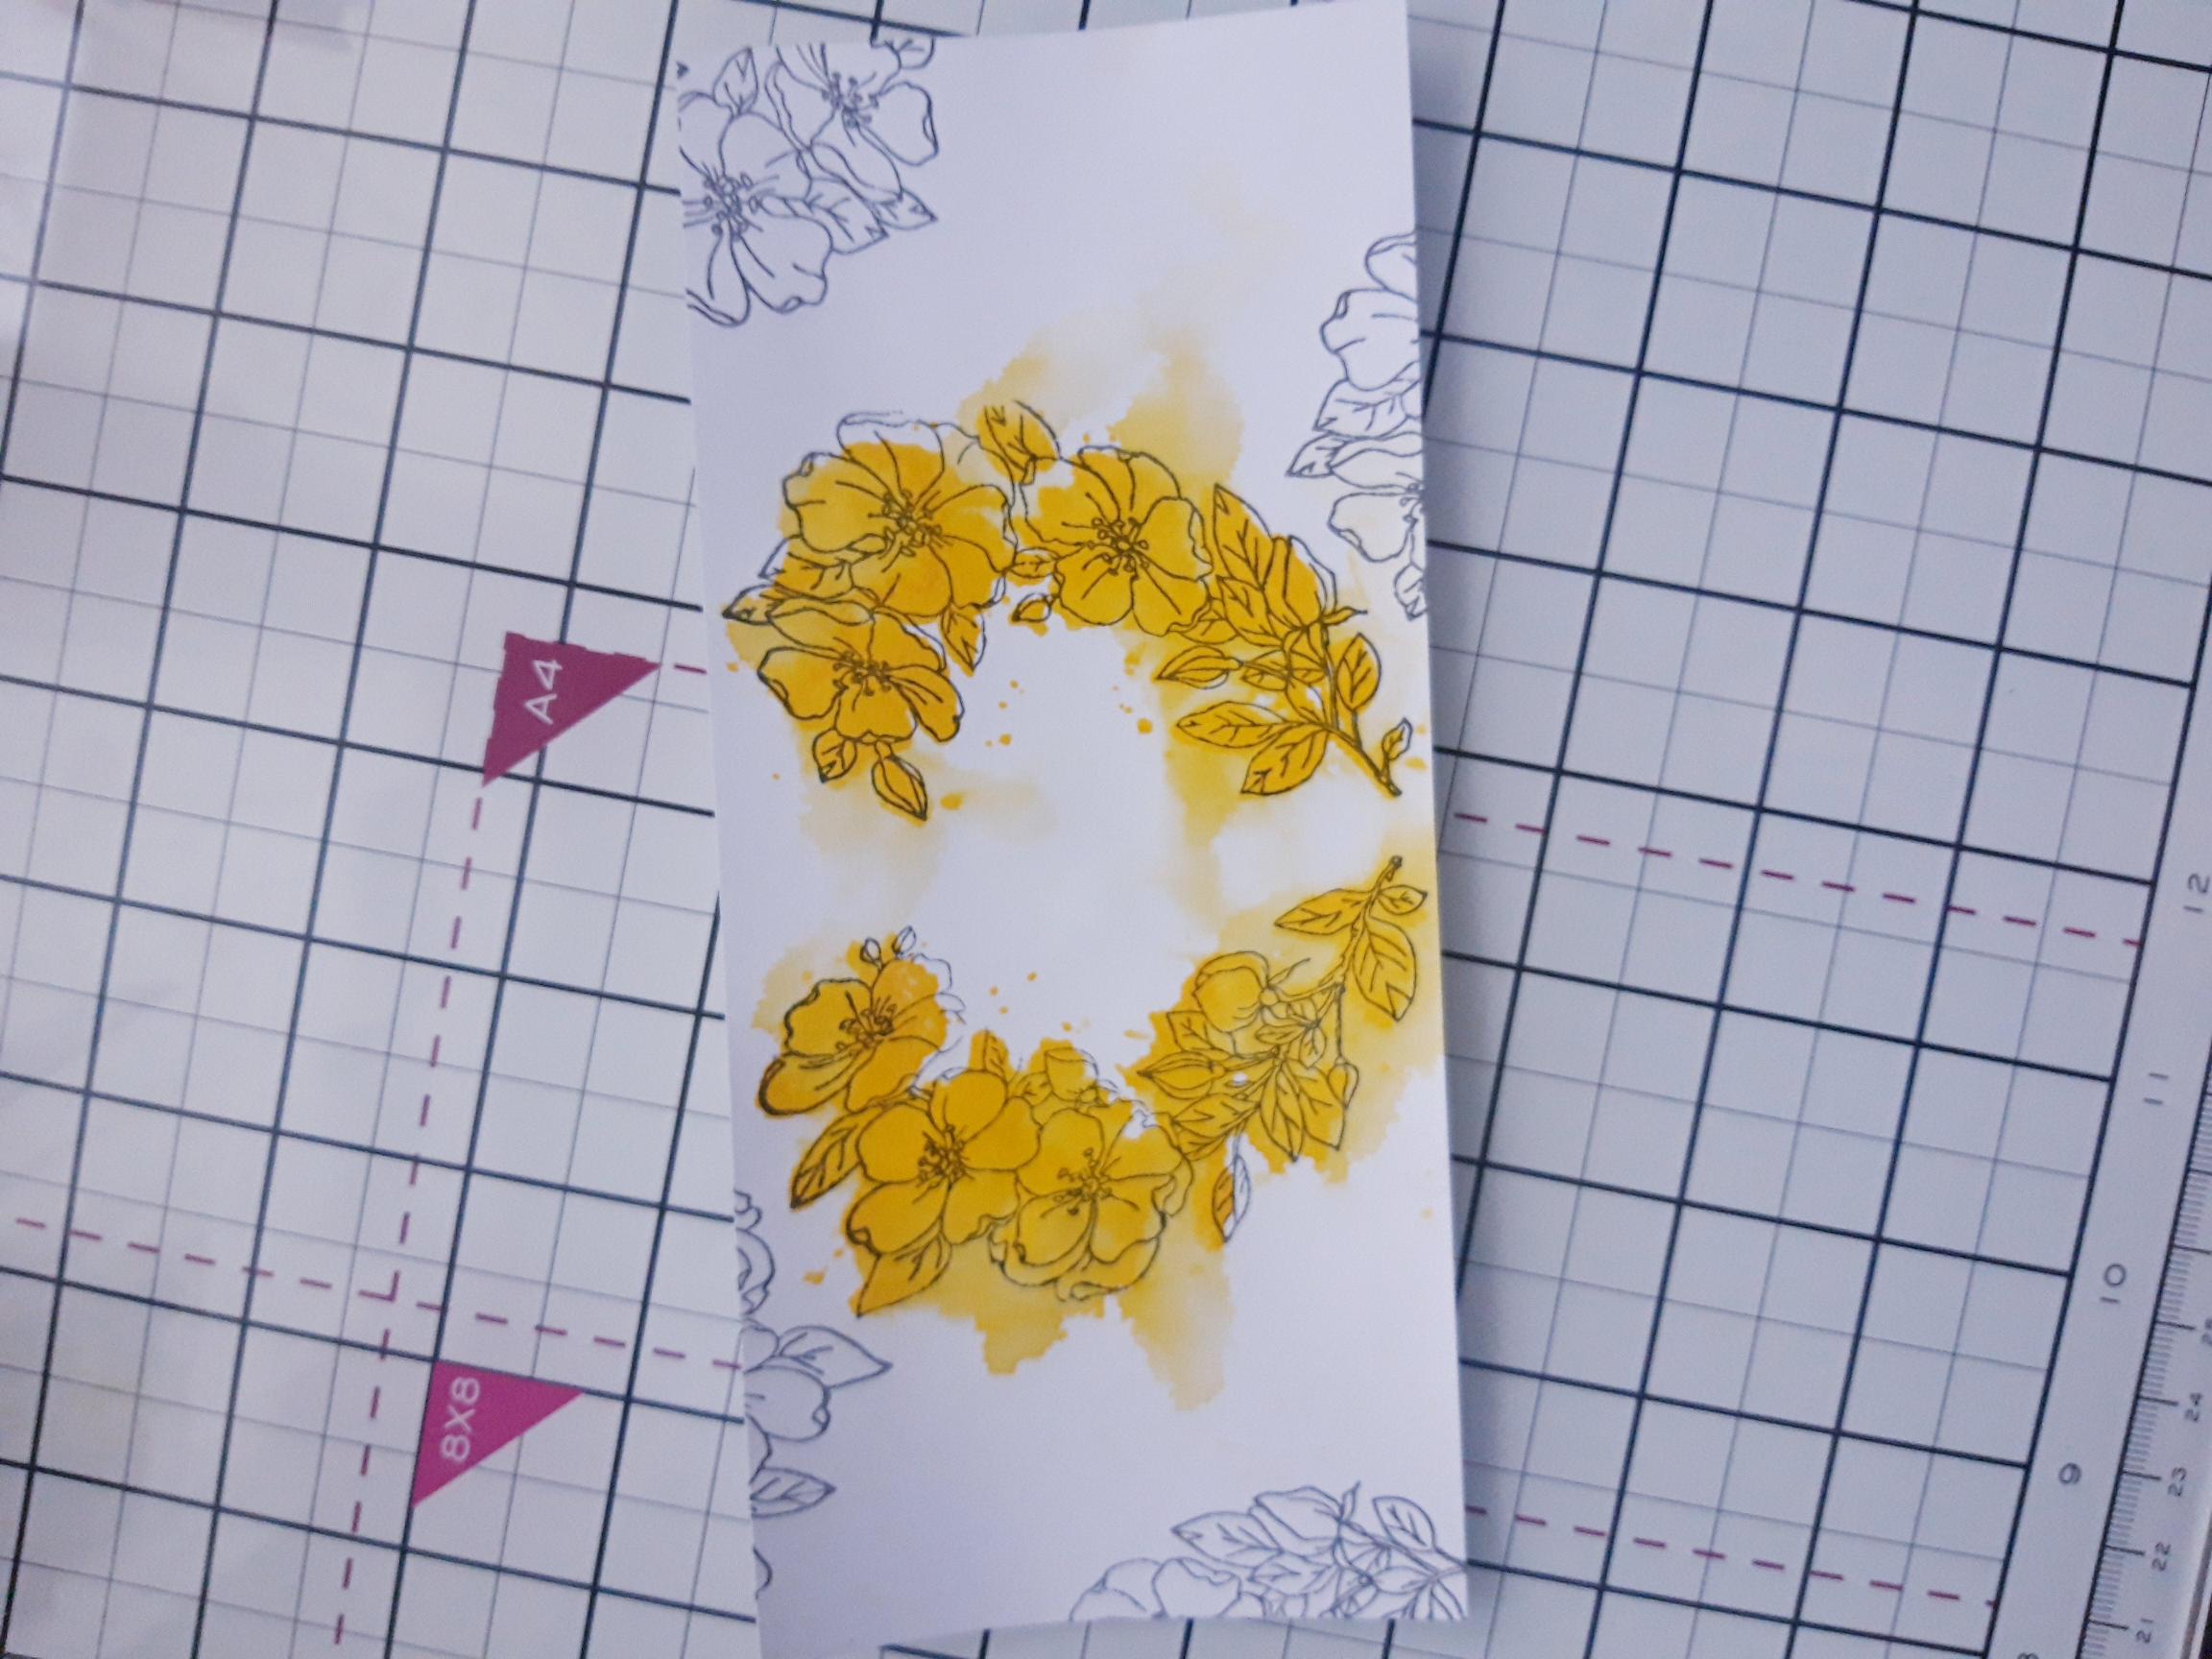
Ink up the stamp again and stamp randomly, off the edges of the card. |
|
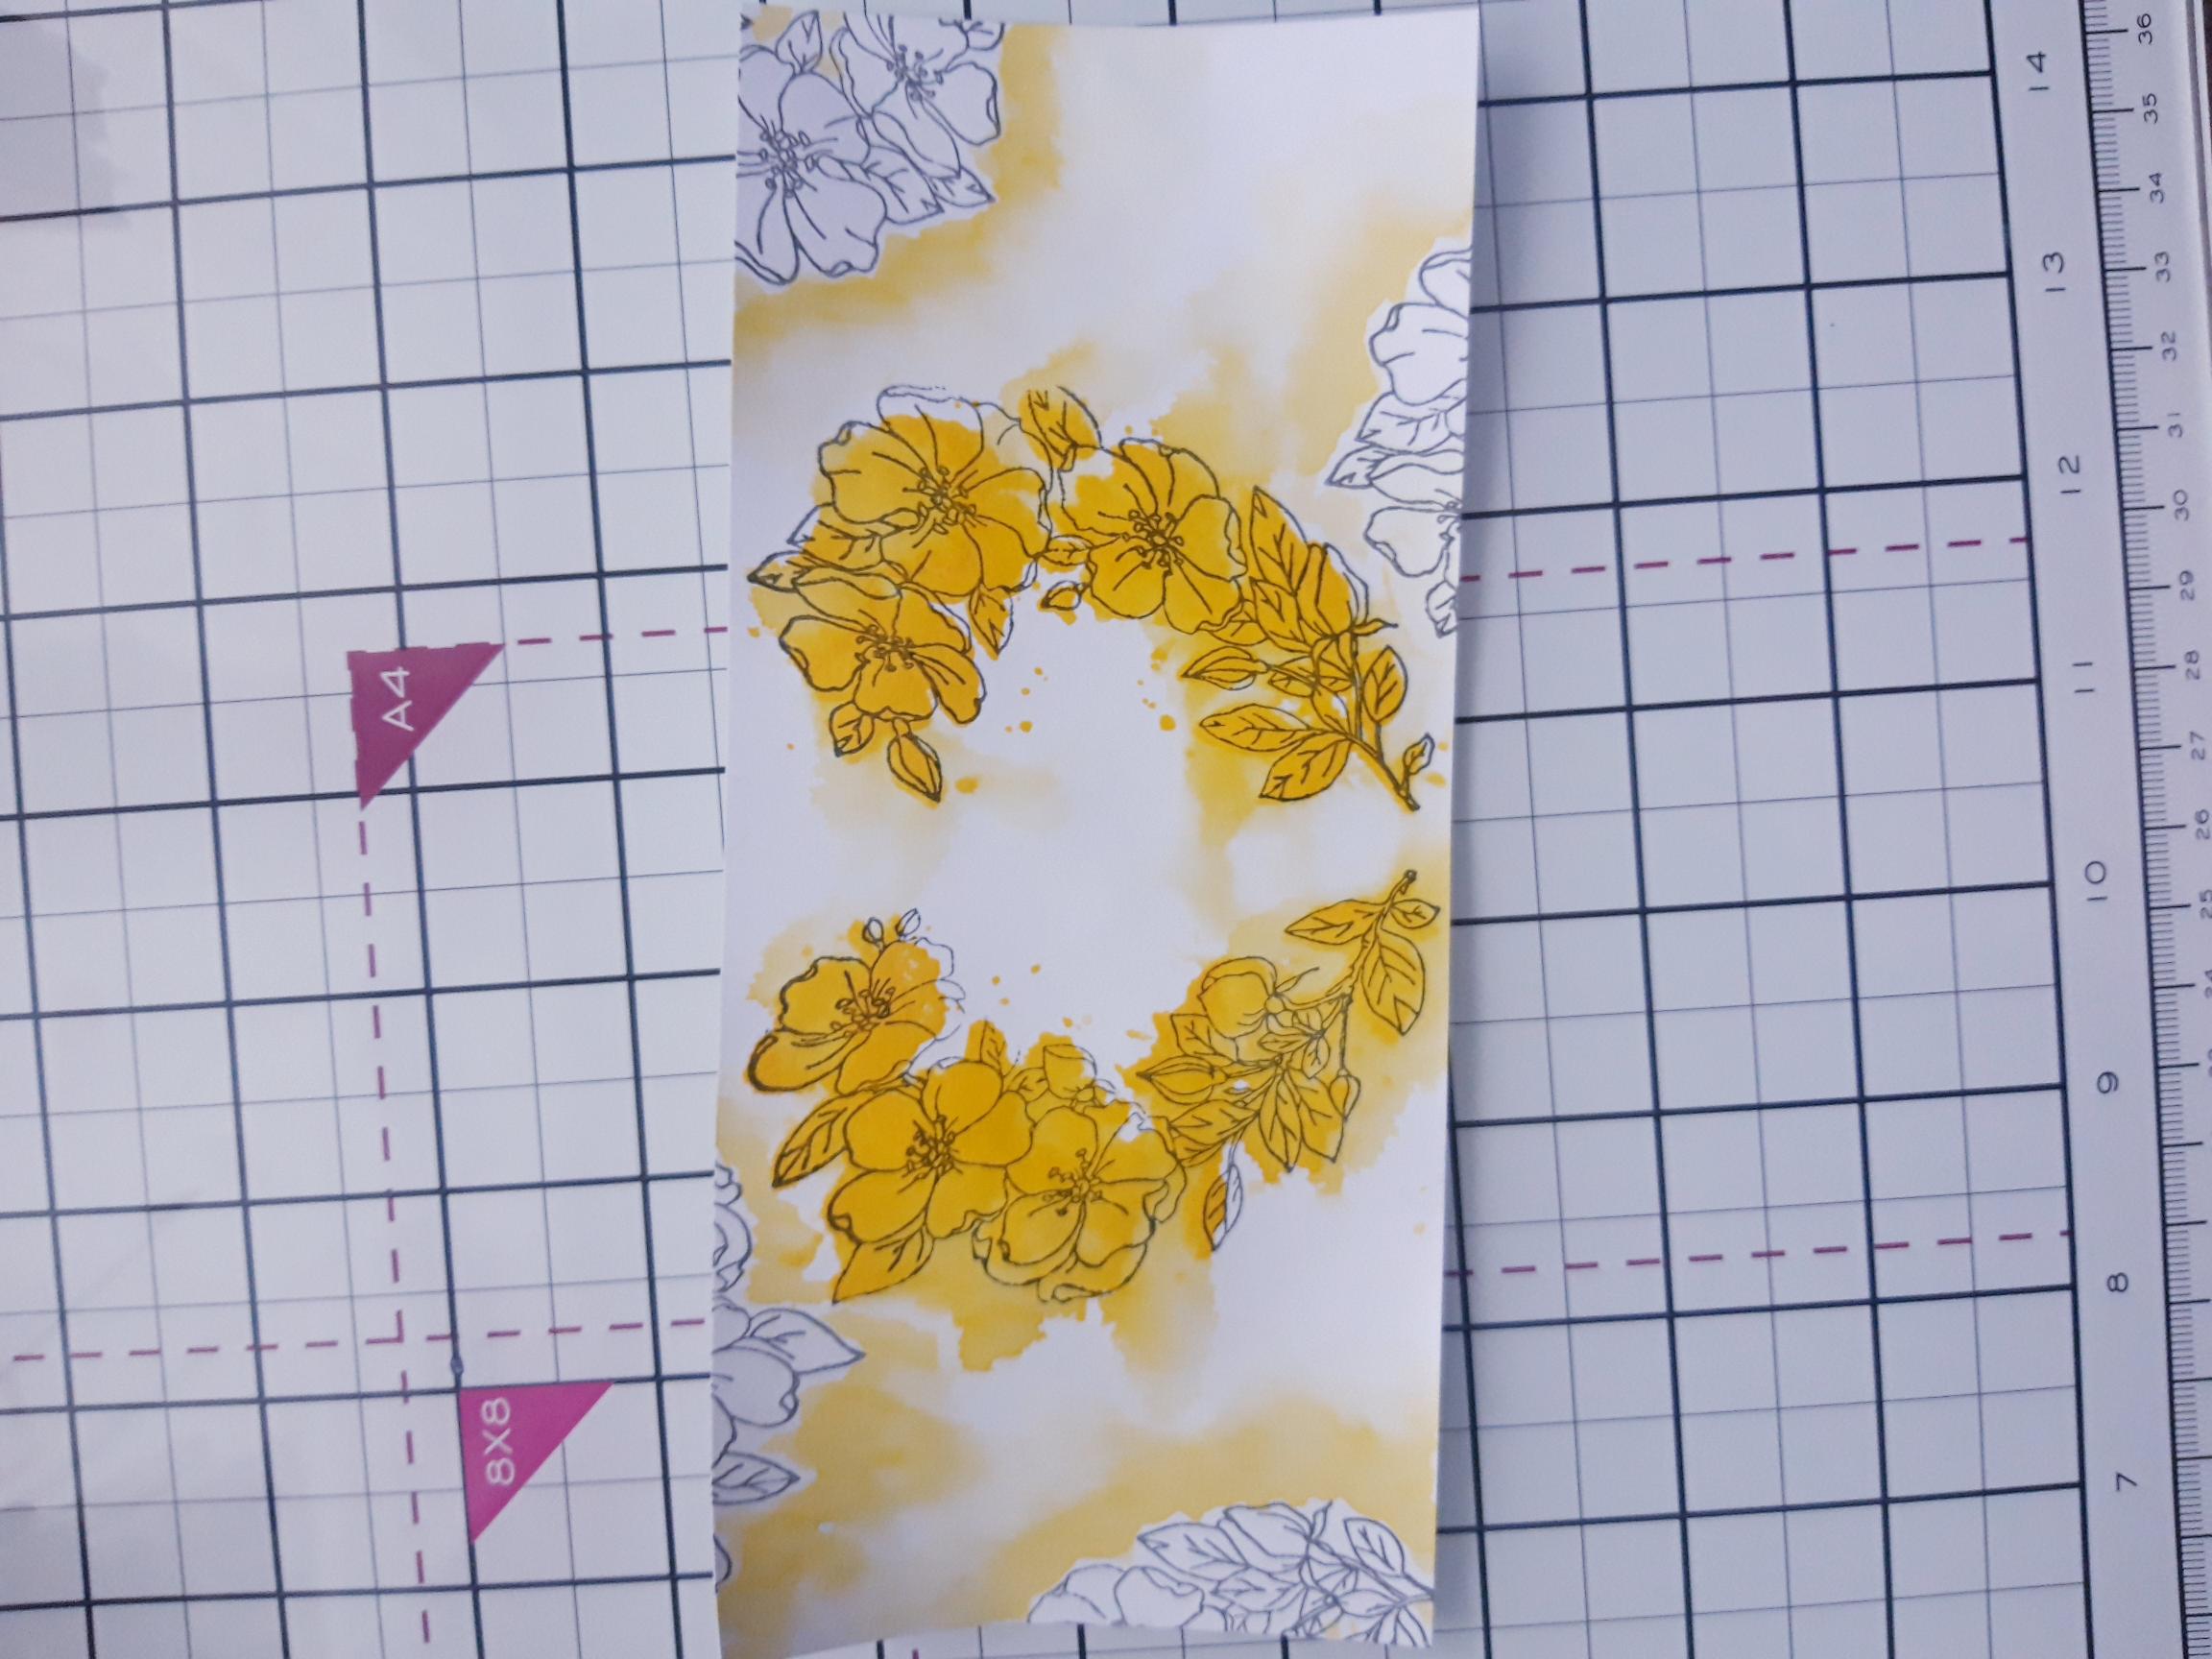
Apply the Sherbet ink pad to your craft mat and spritz liberally with water. Using your paint brush and clear water, apply water around the edge of one of the stamped images, drop in the Sherbet ink and allow it to do it's own thing. Blend the edges of the ink to disperse any harsh lines. This is known as the "wet in wet " technique. Repeat this around each of your stamped images. Tip: Whilst the ink is still wet, you can go back in adding and blending more colour, until you are happy with the effect. |
|
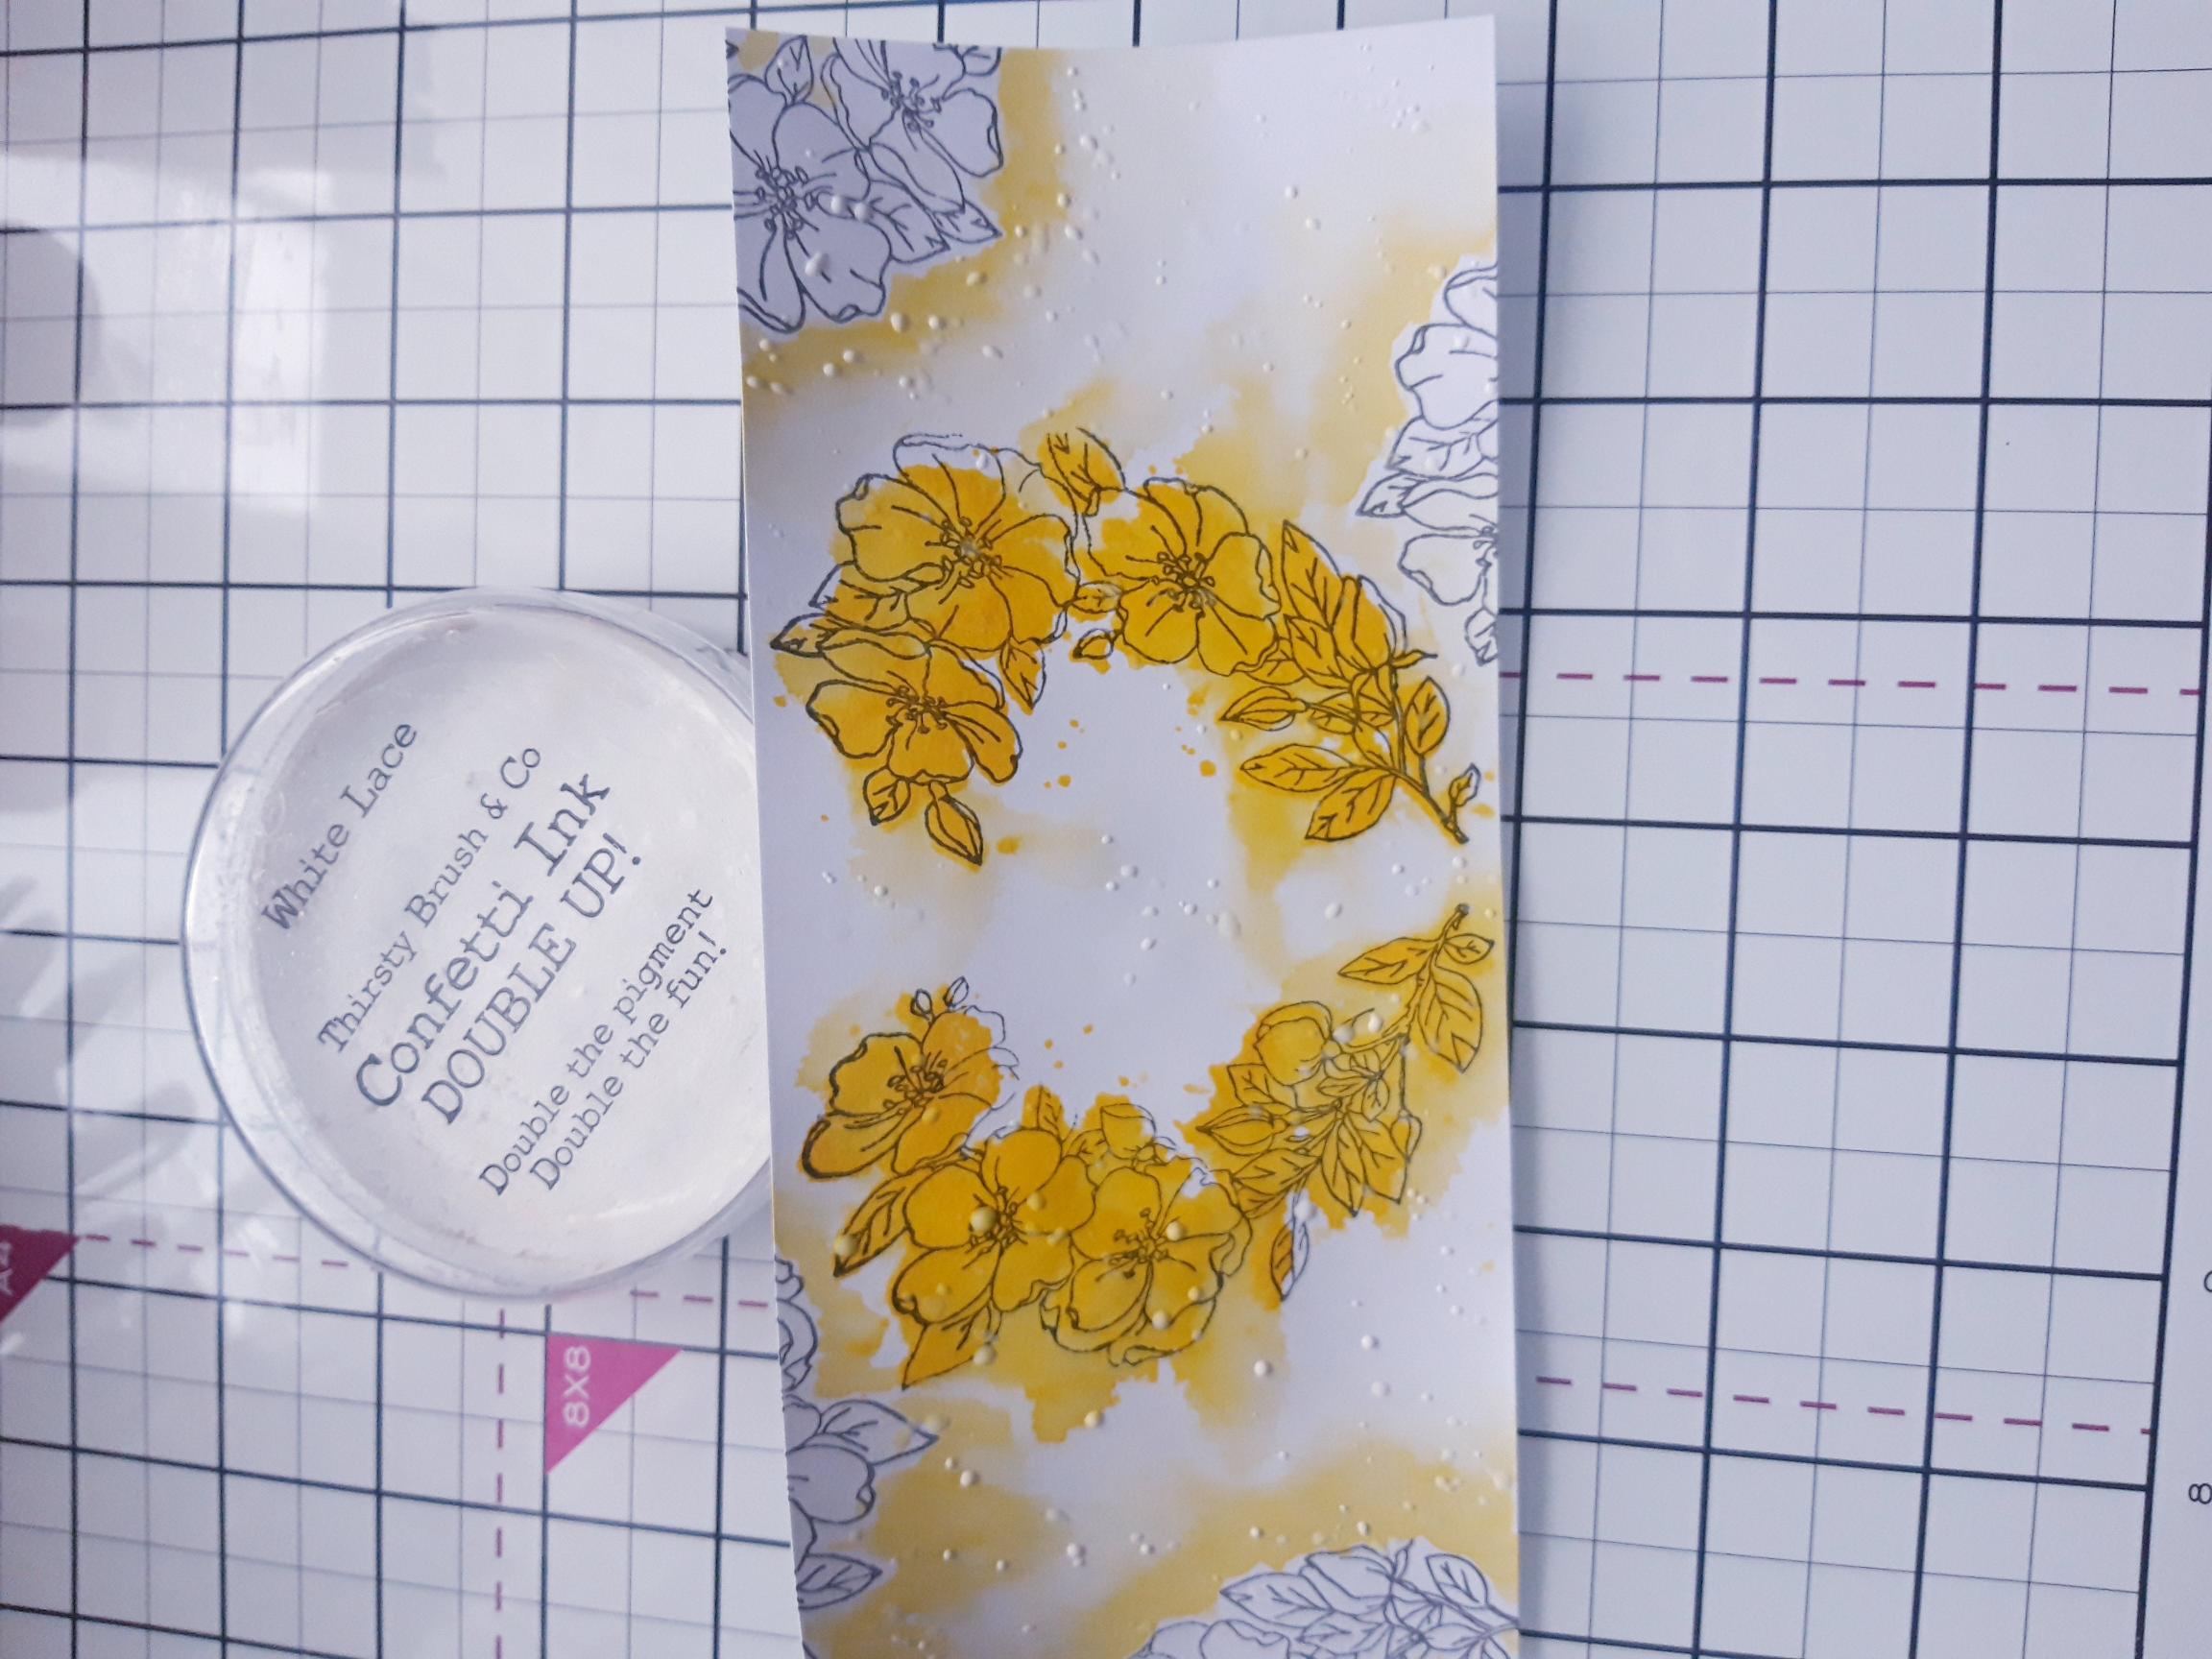
Add water to your Confetti paint and once your artwork is dry, splatter as required...I like lots of splats!!! |
|
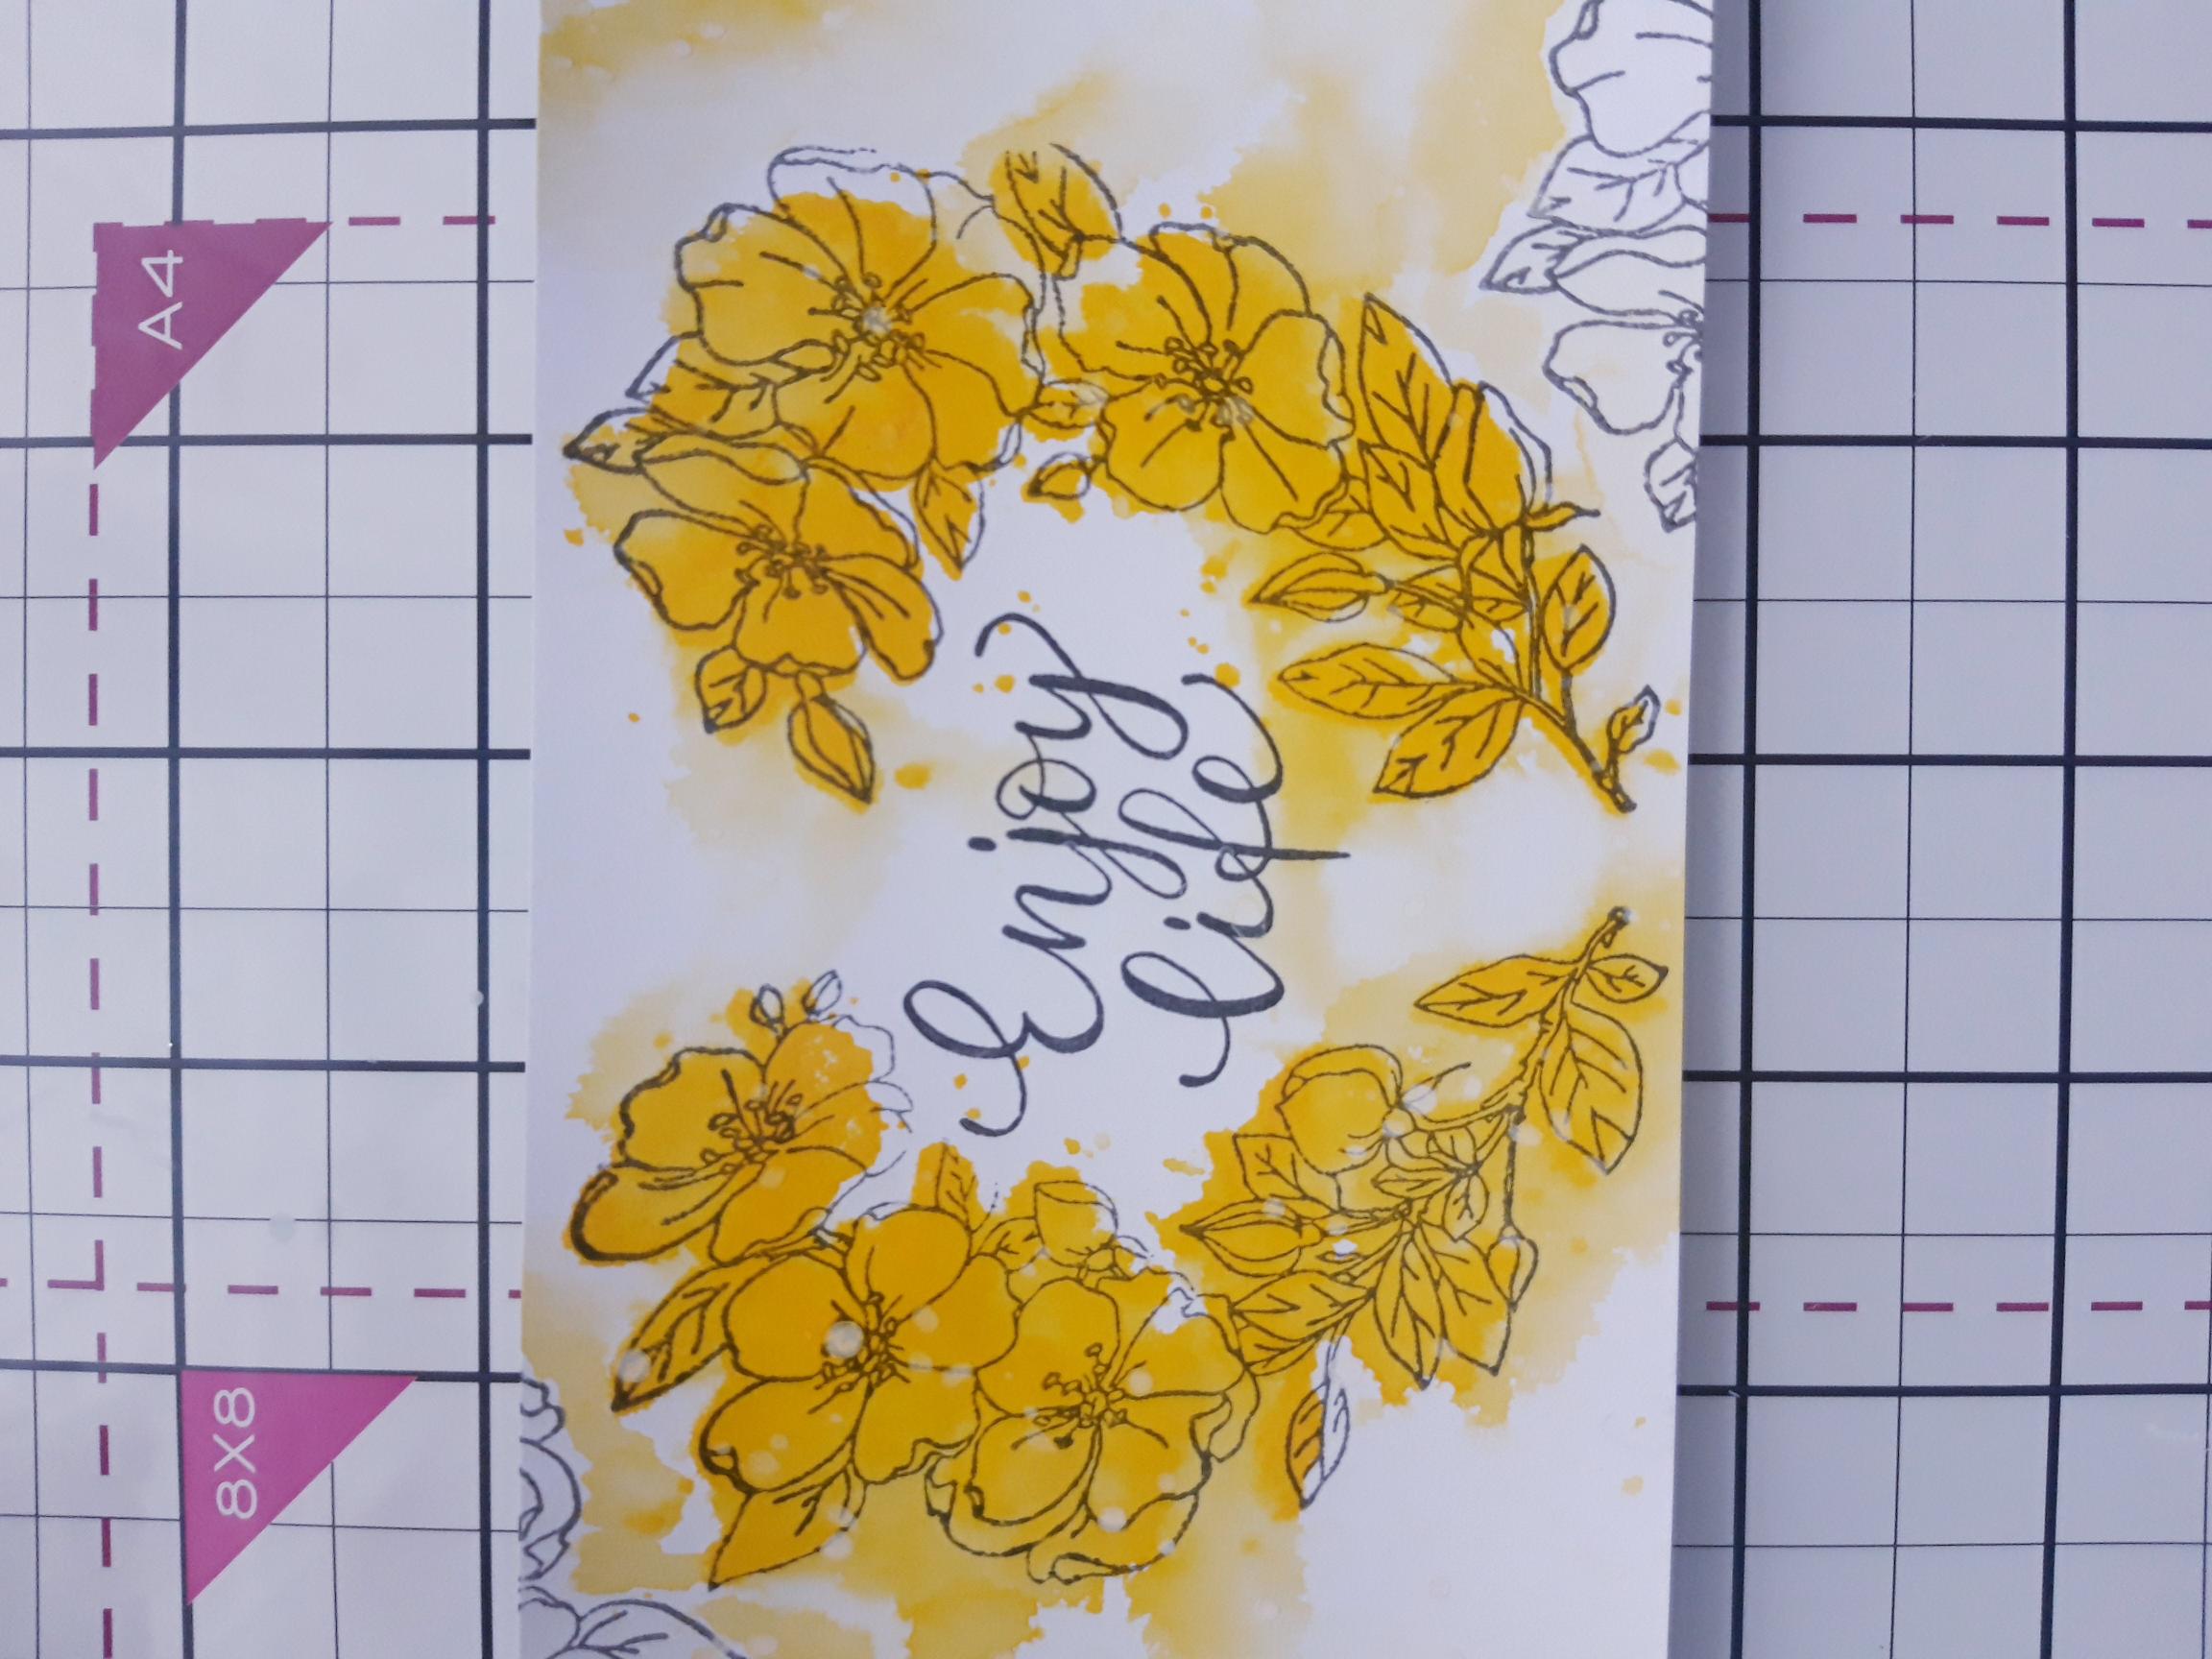
Ink up the sentiment stamp, from the same collection, with the Versafine and stamp in the centre of your heart wreath. |
|
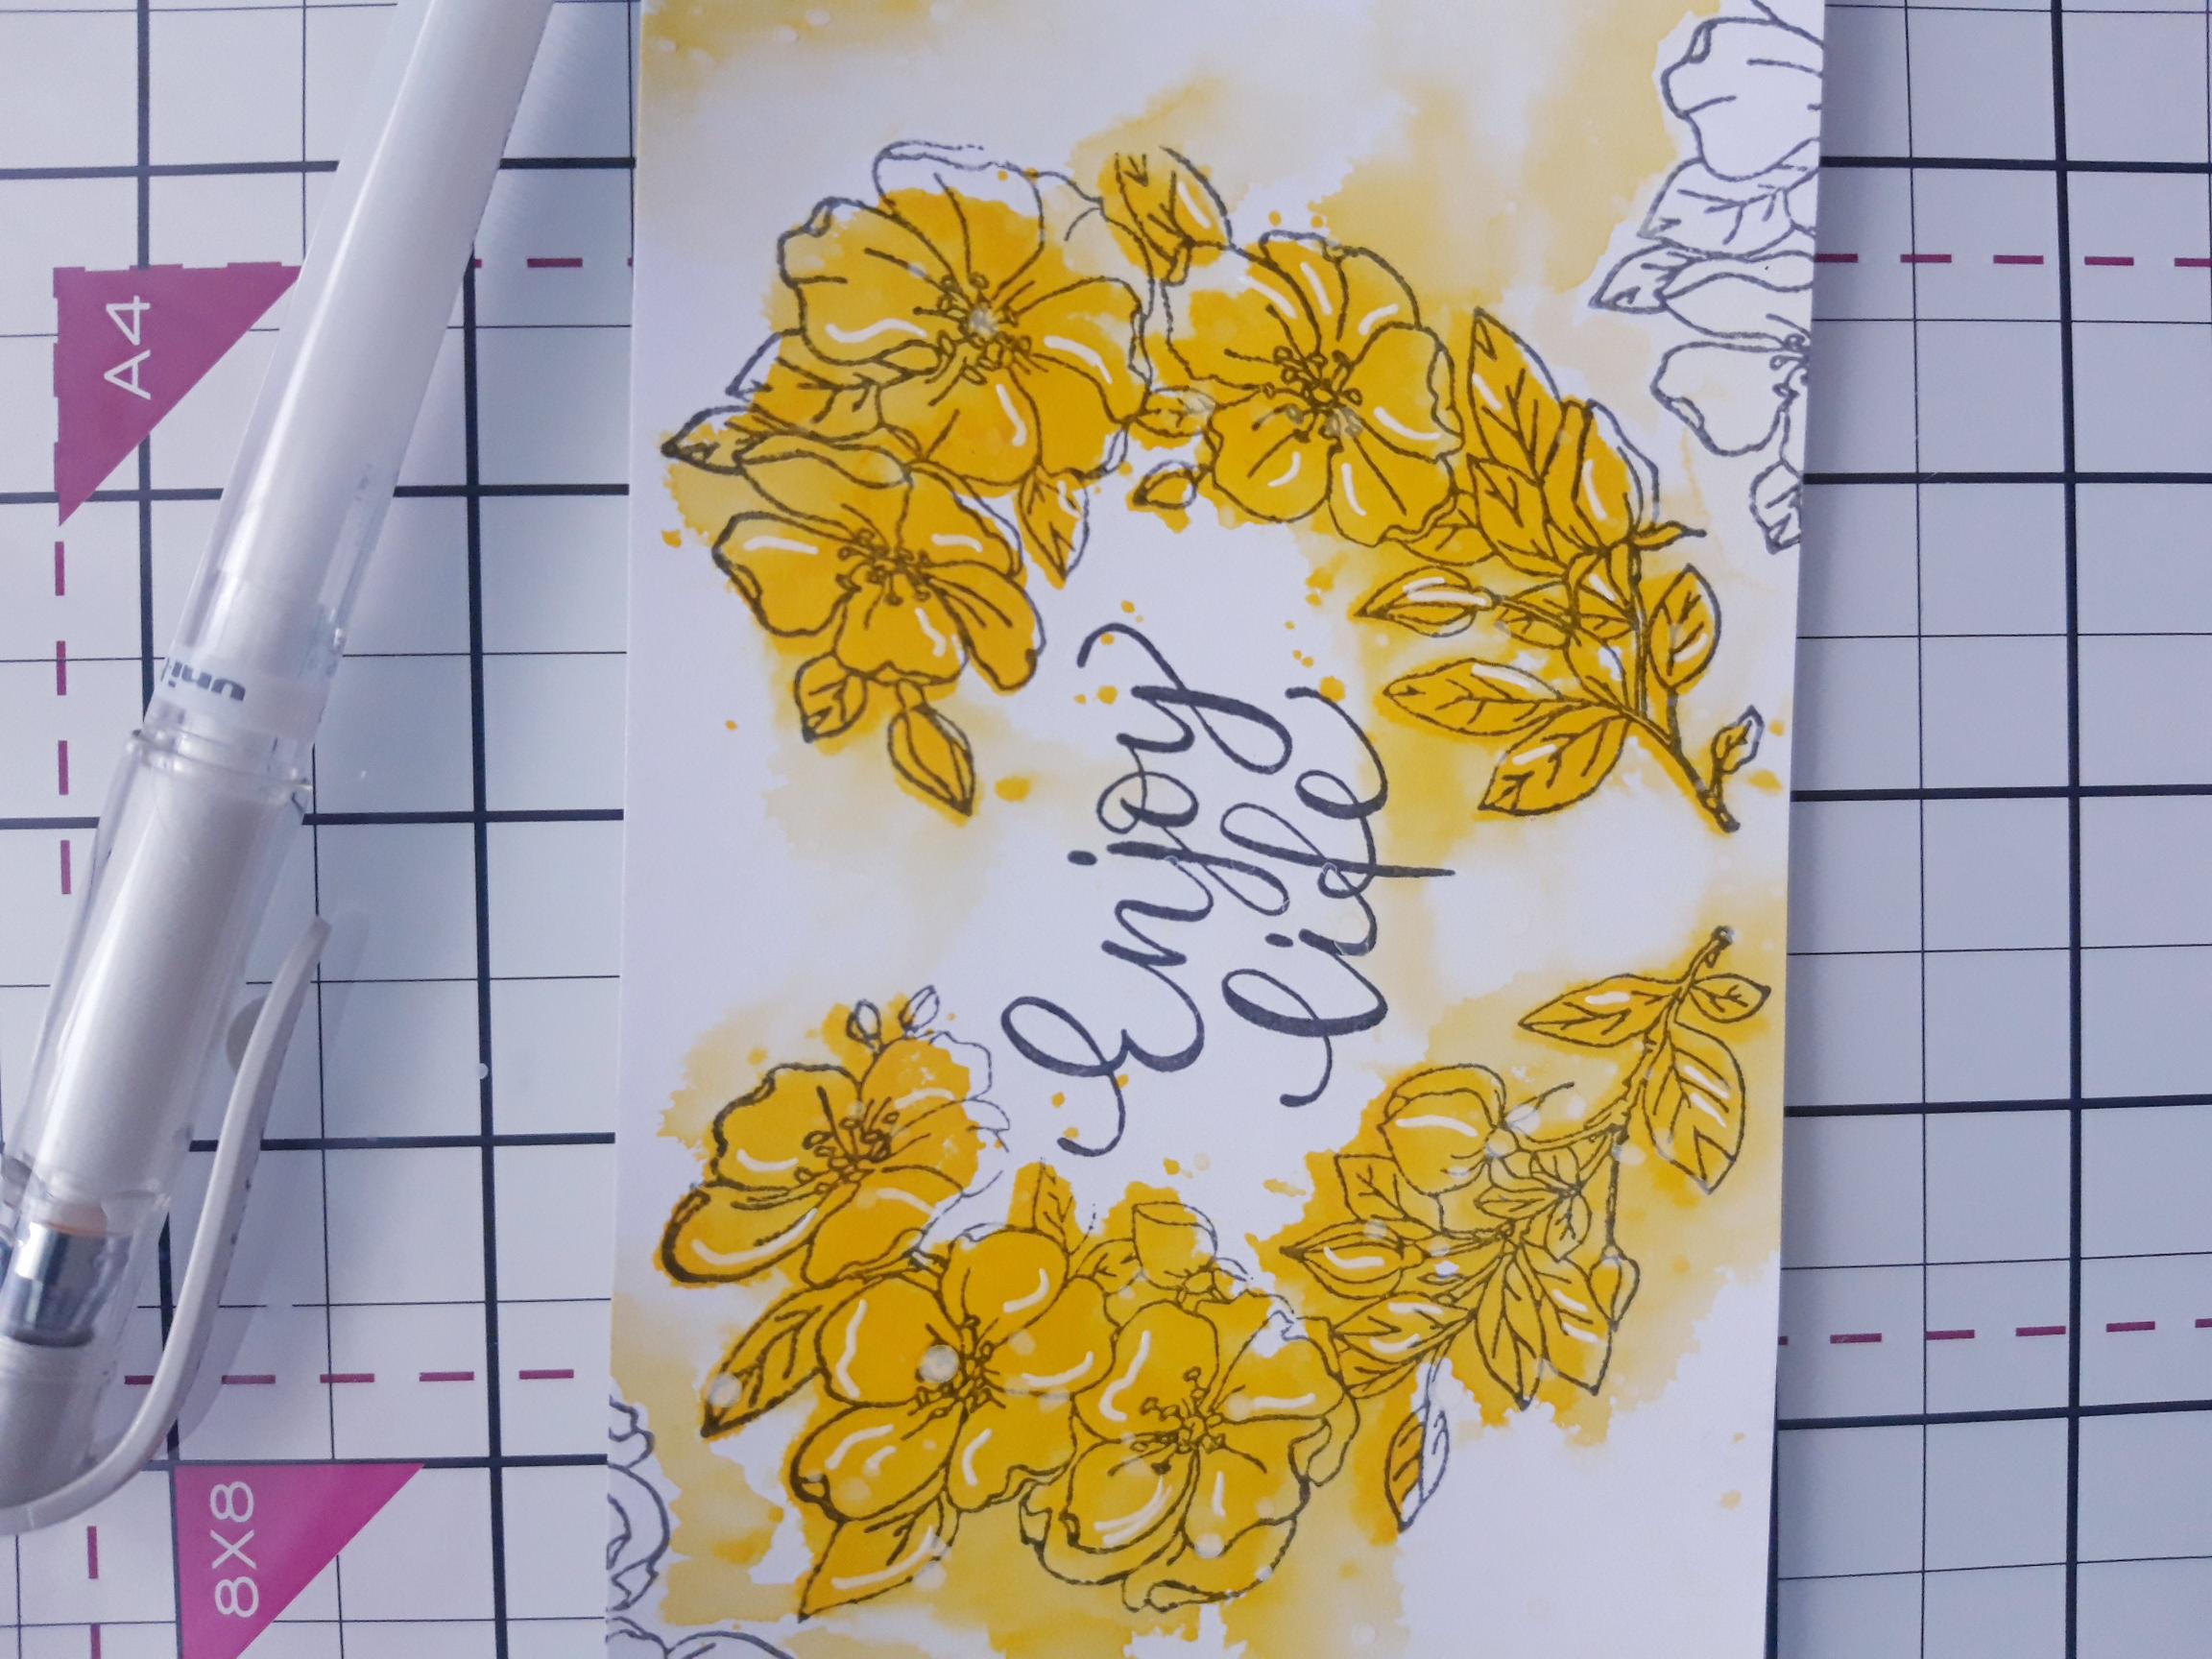
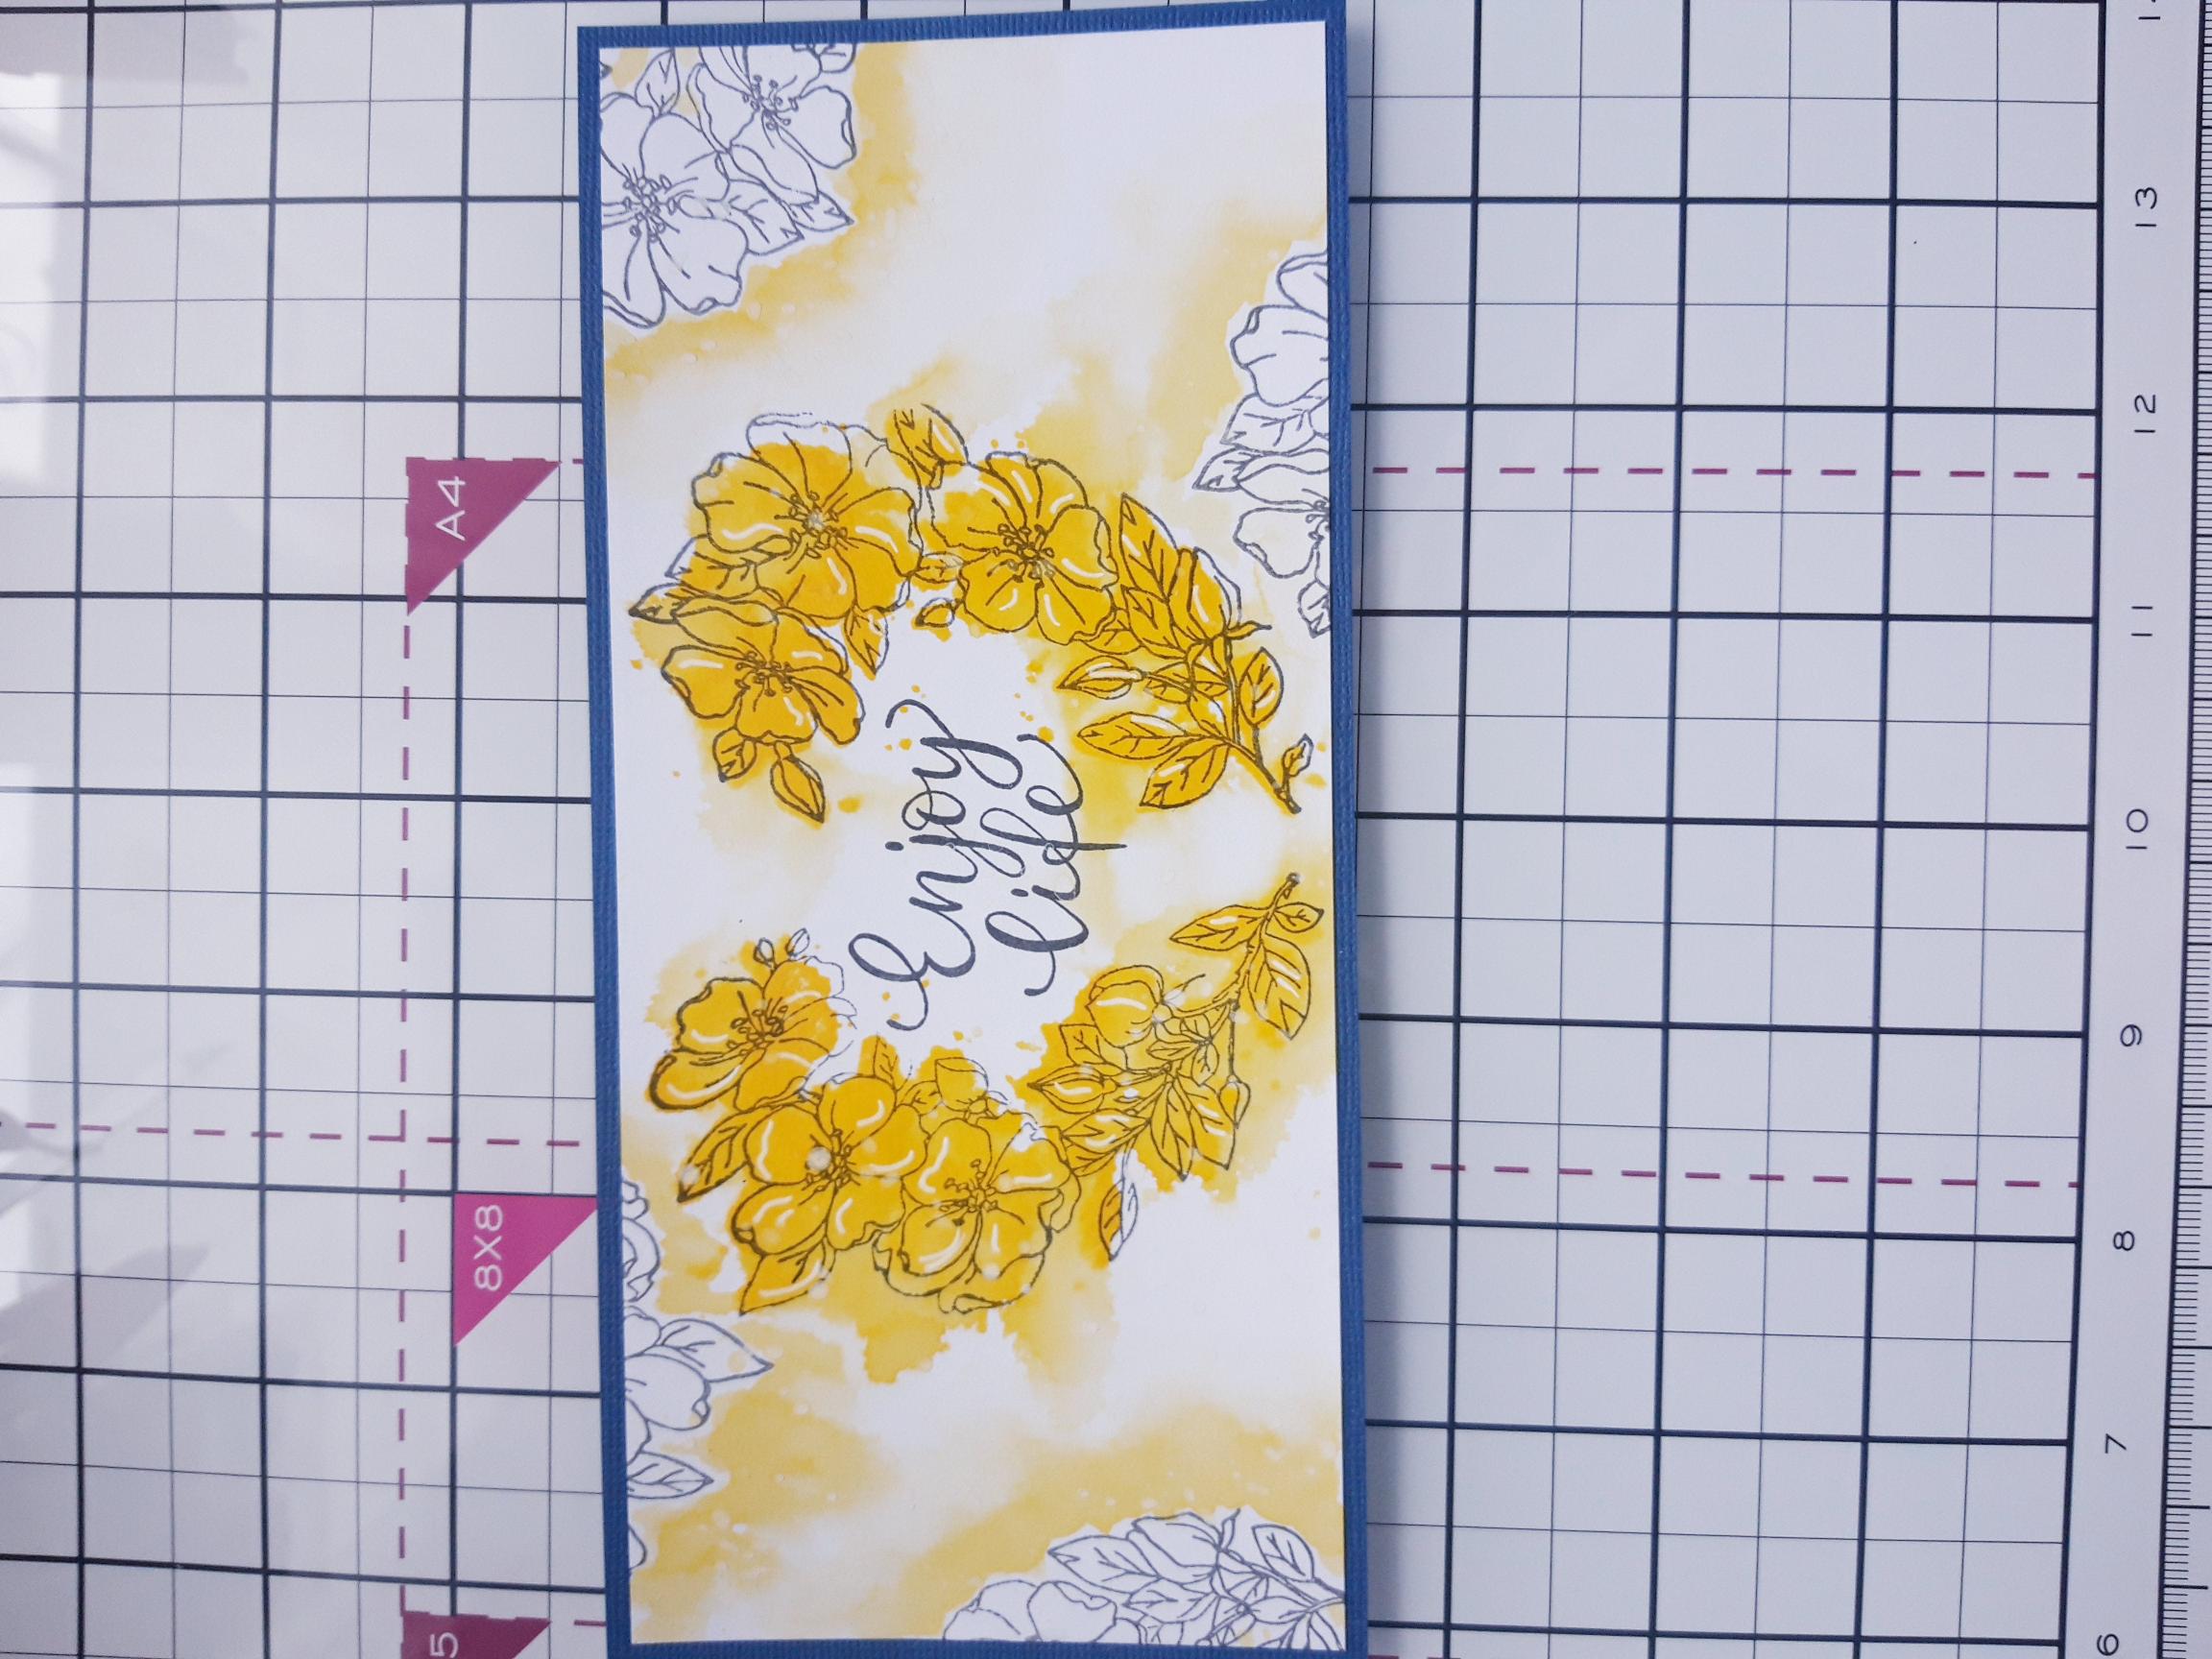
Use a white gel pen to add accents and highlights to your artwork. |
|
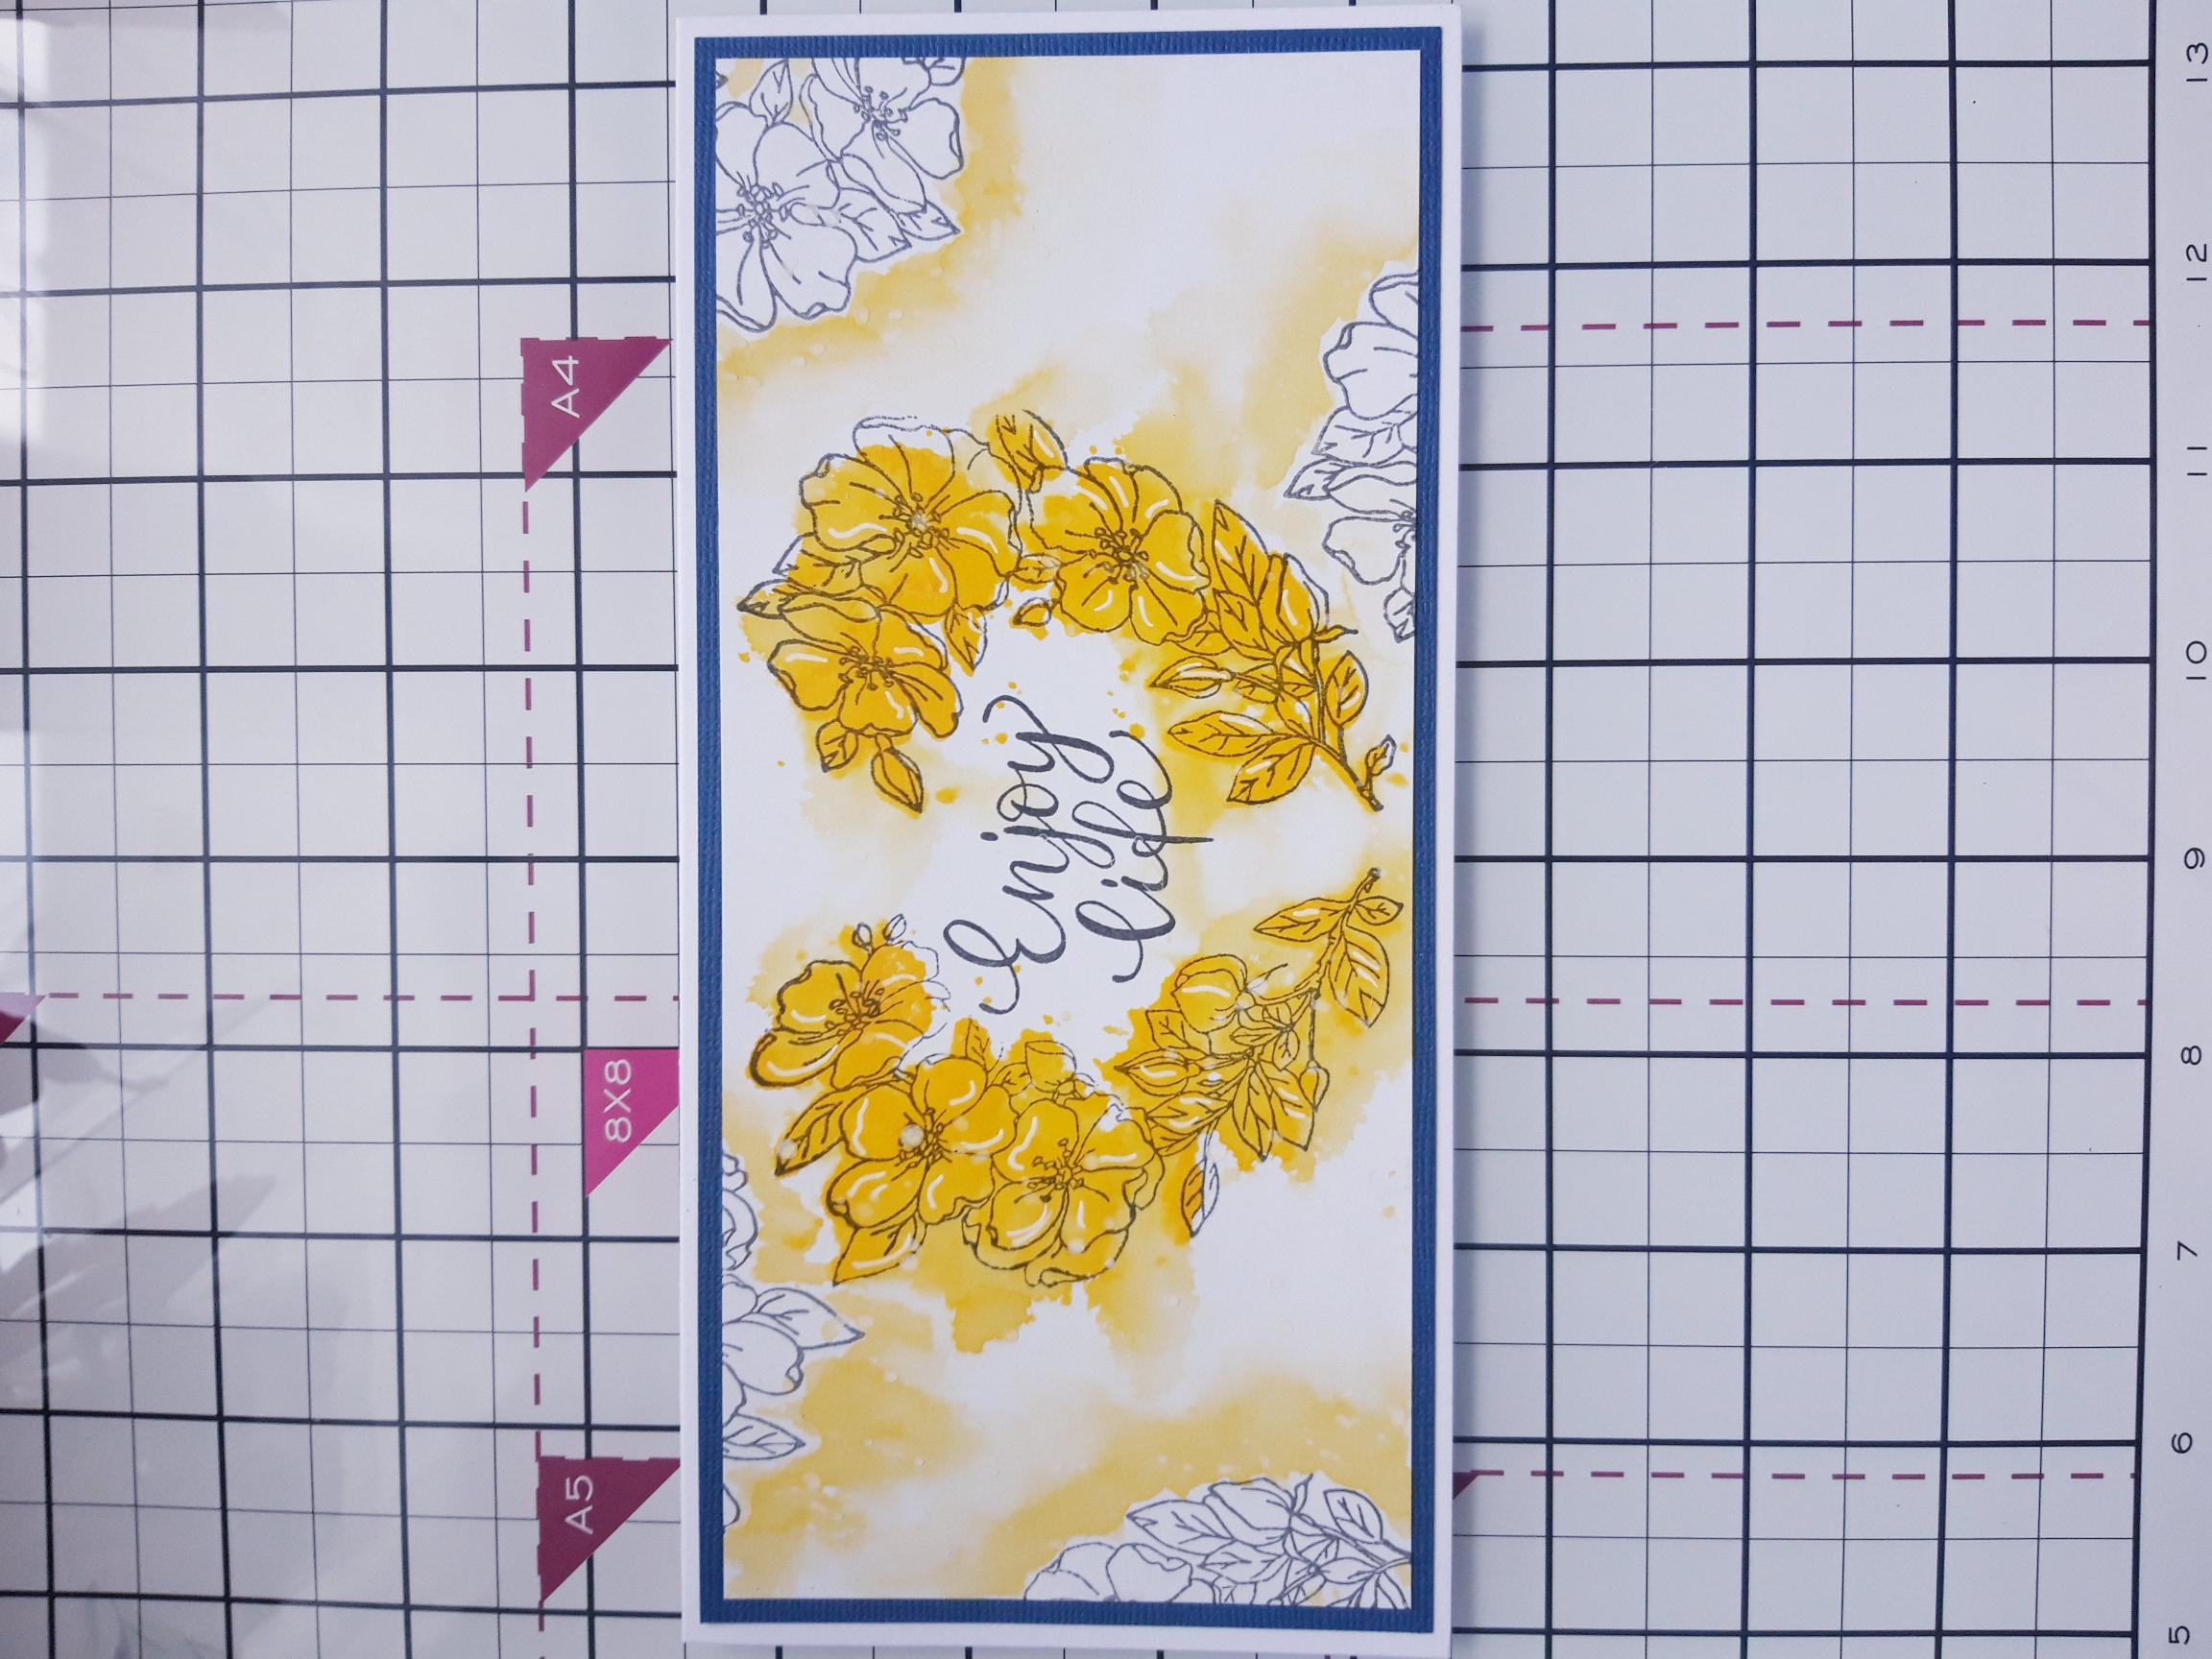
Adhere your artwork on to the blue, textured cardstock. |
|
Adhere to the front of your DL card blank. |
|
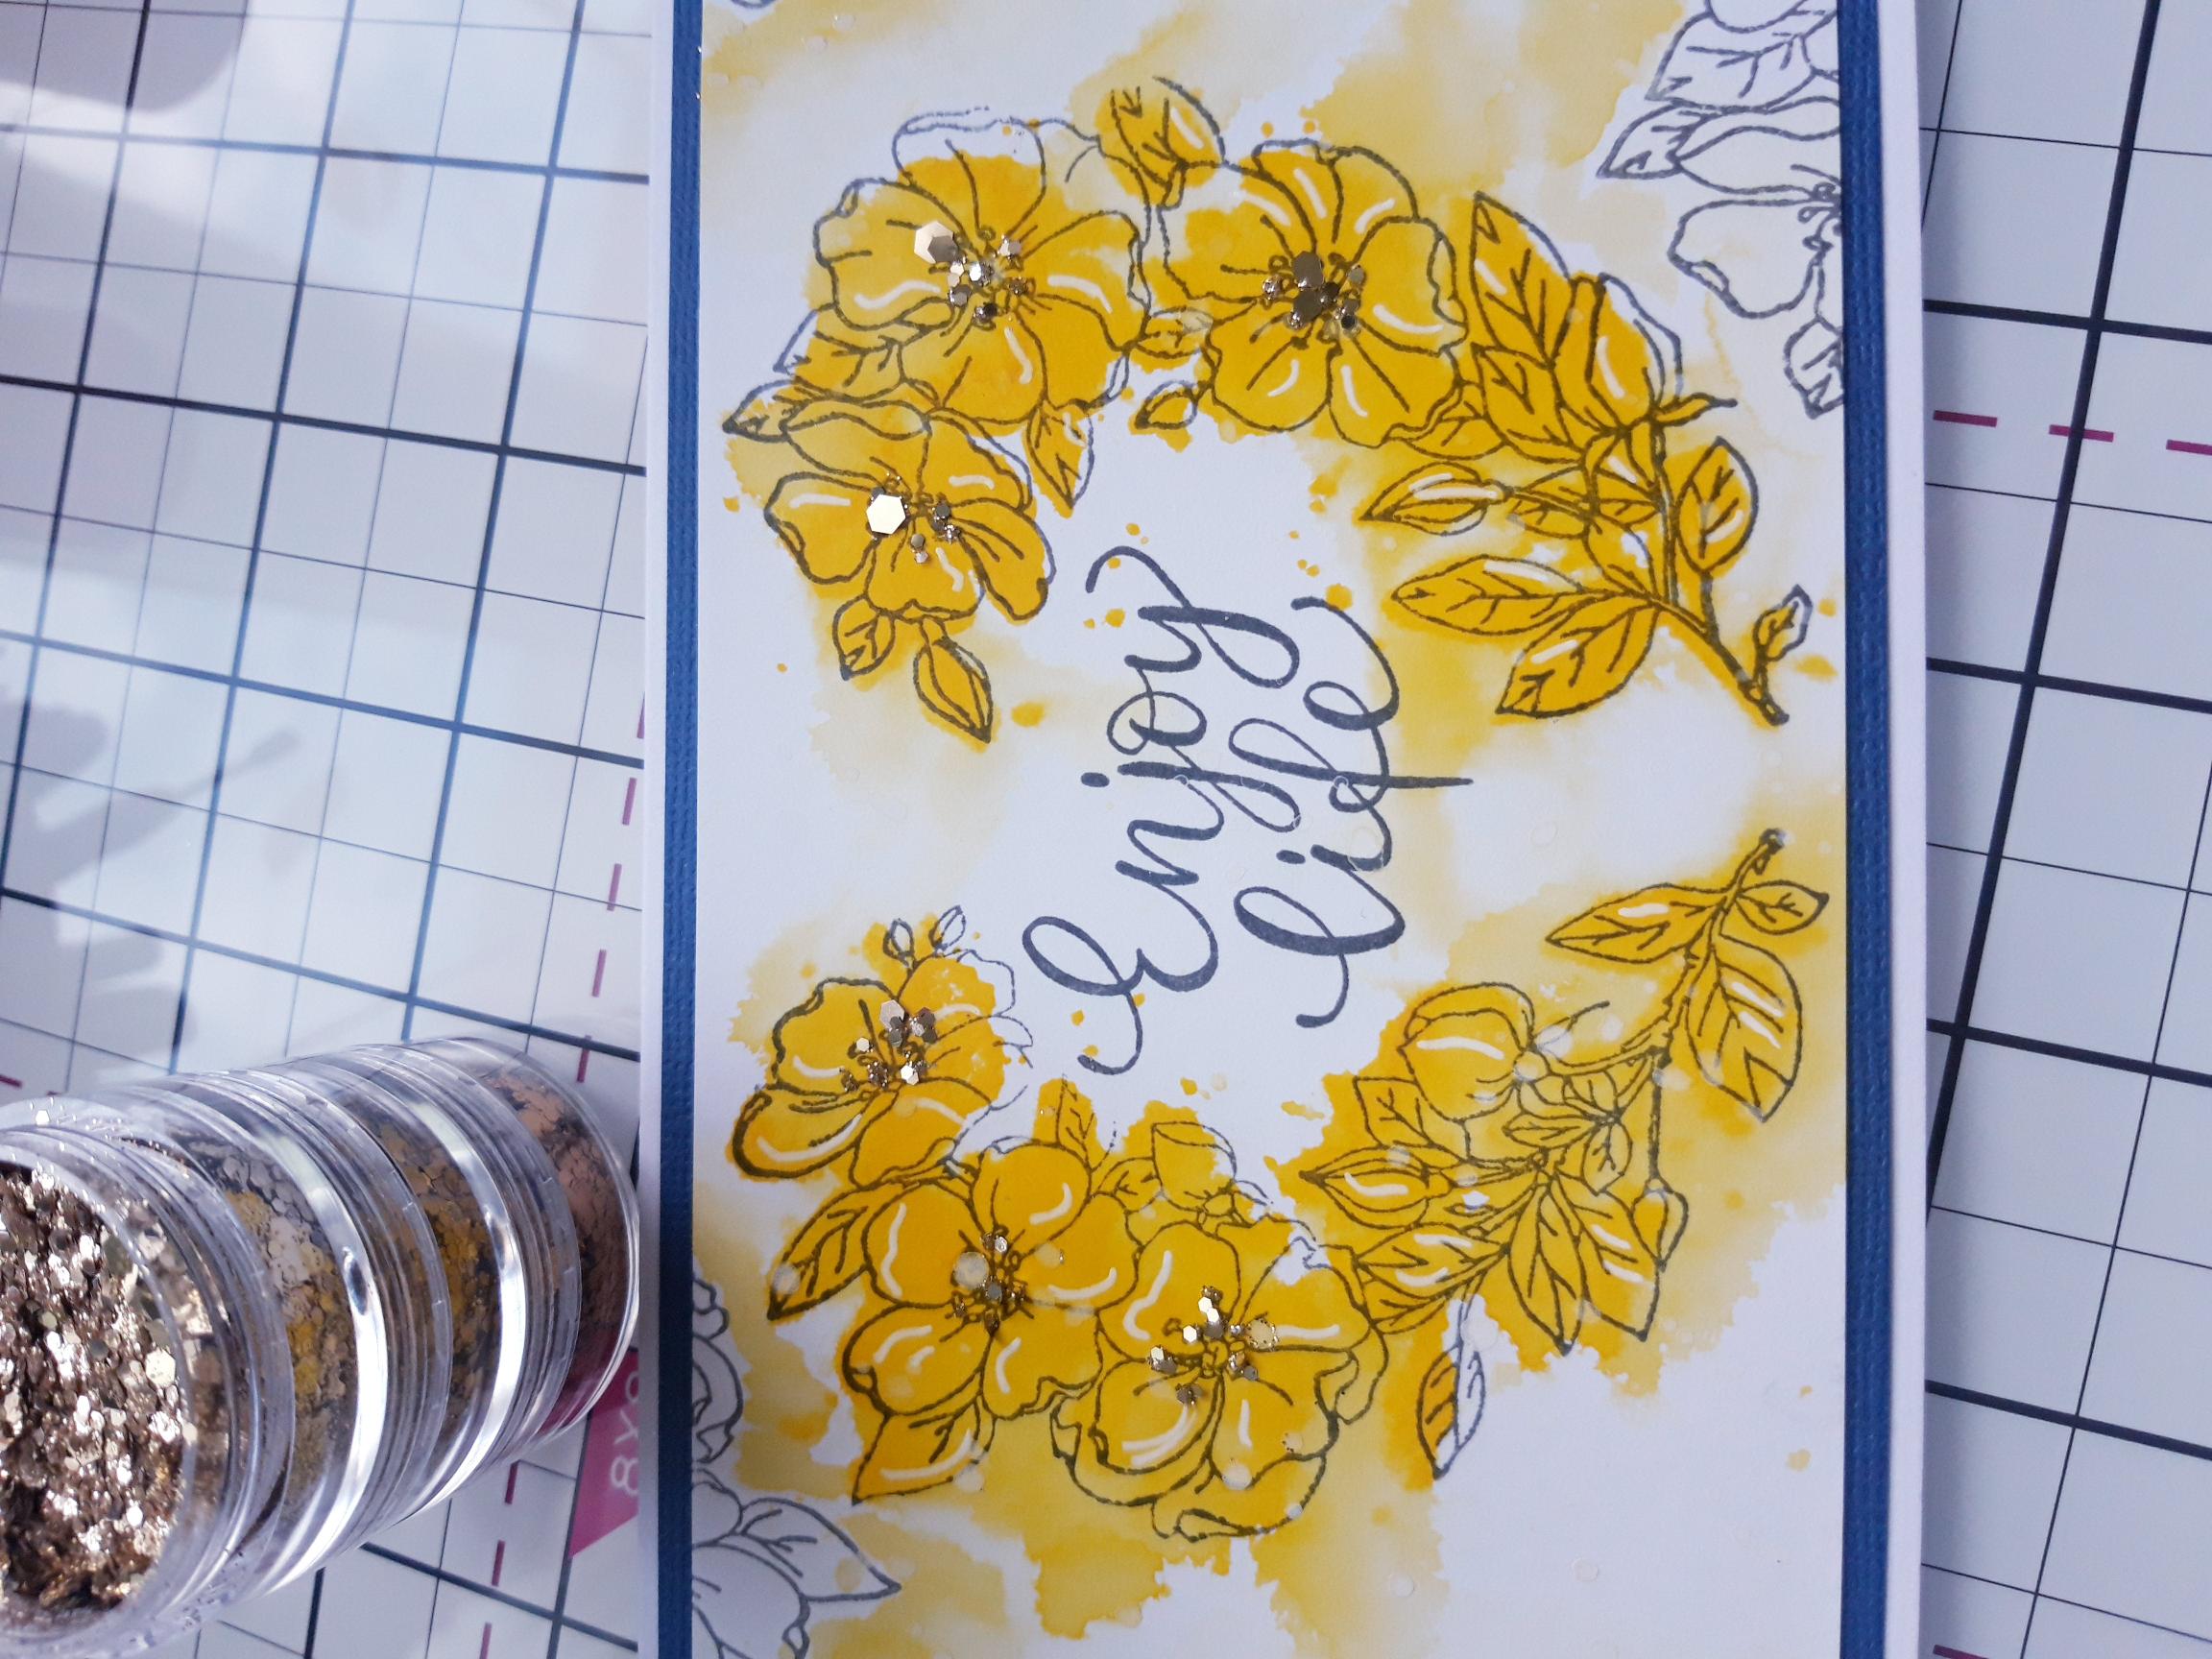
To finish, add any of the gold glitters, from the Feras Gold Twinkle Collection, to the centres of your flowers. |