Offrez à vos amis 10 € de réduction sur leur première commande !
Parrainez un AMI








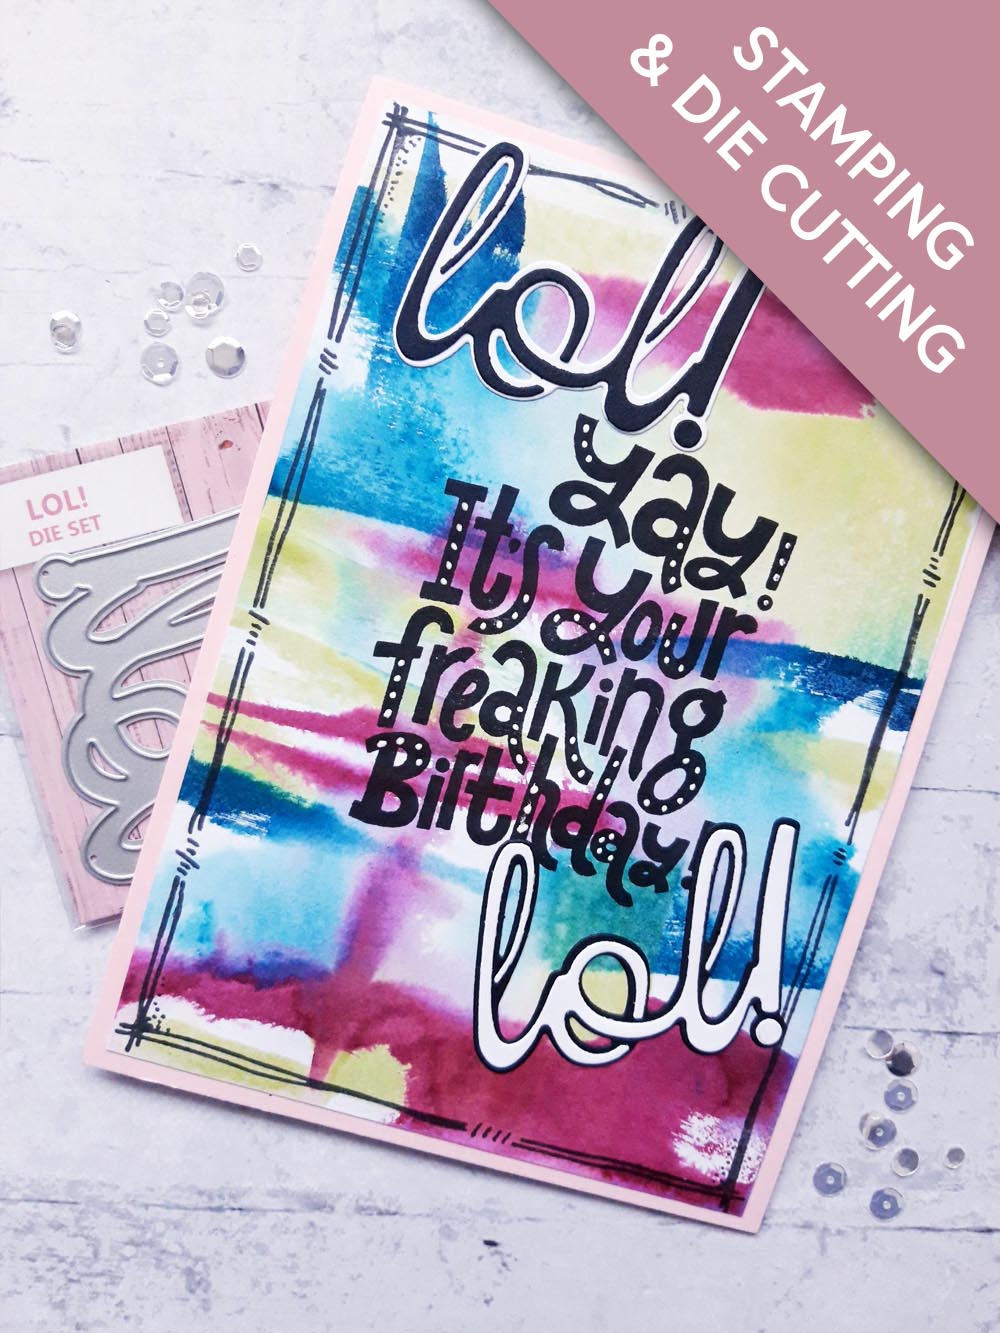
MATÉRIEL NÉCESSAIRE :
Carte vierge rose 7 x 5"
Papier cartonné blanc 6 3/4 x 4 3/4"
Papier cartonné noir/blanc pour les découpes du texte
Set de matrices de découpe LOL! A6
Craft Stash Stamp Collection
Dash Frame Stamp Collection
Encreur SBM Hybrid : Midnight
Encreurs SBM Premium Dye : Limeade, Fandango, Ocean
Vaporisateur d'eau
Stylo gel blanc
Pistolet chauffant
Eureka 101 Watercolour Tablet
Tapis en verre magnétique SBM
Massicot
Colle Perfect Together
Machine de découpe
[cliquez sur l'image pour l'agrandir] 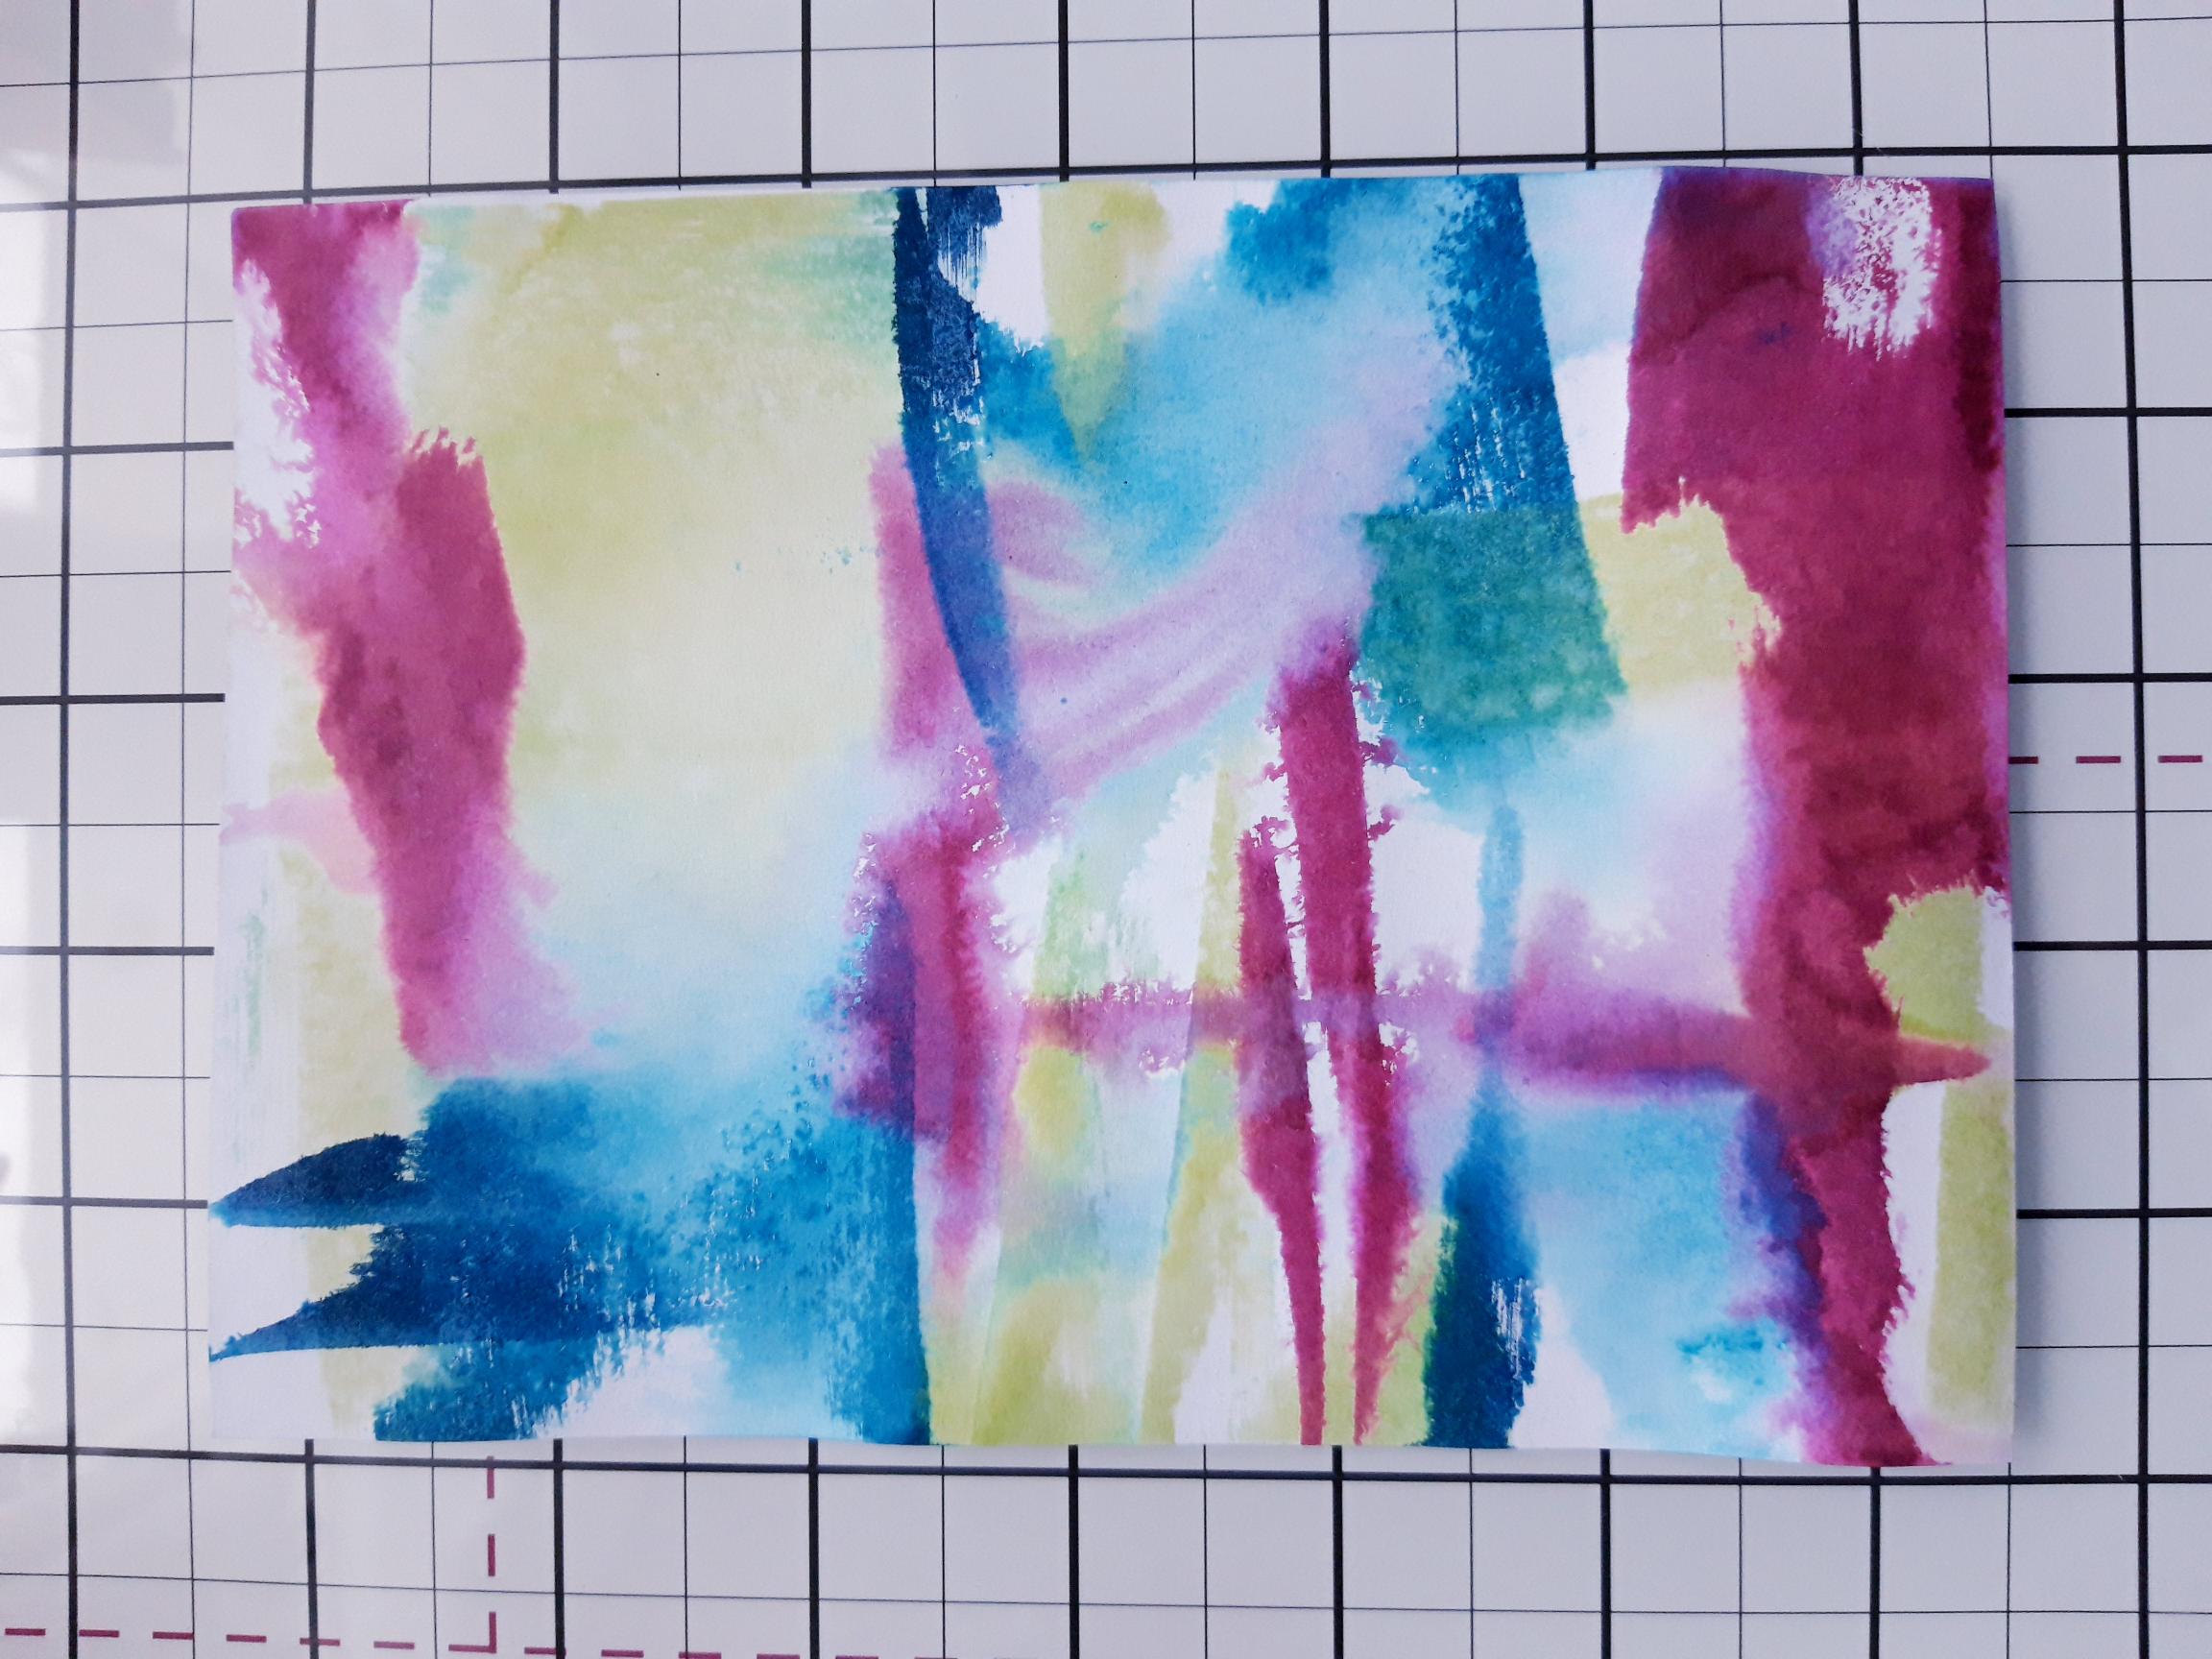
|
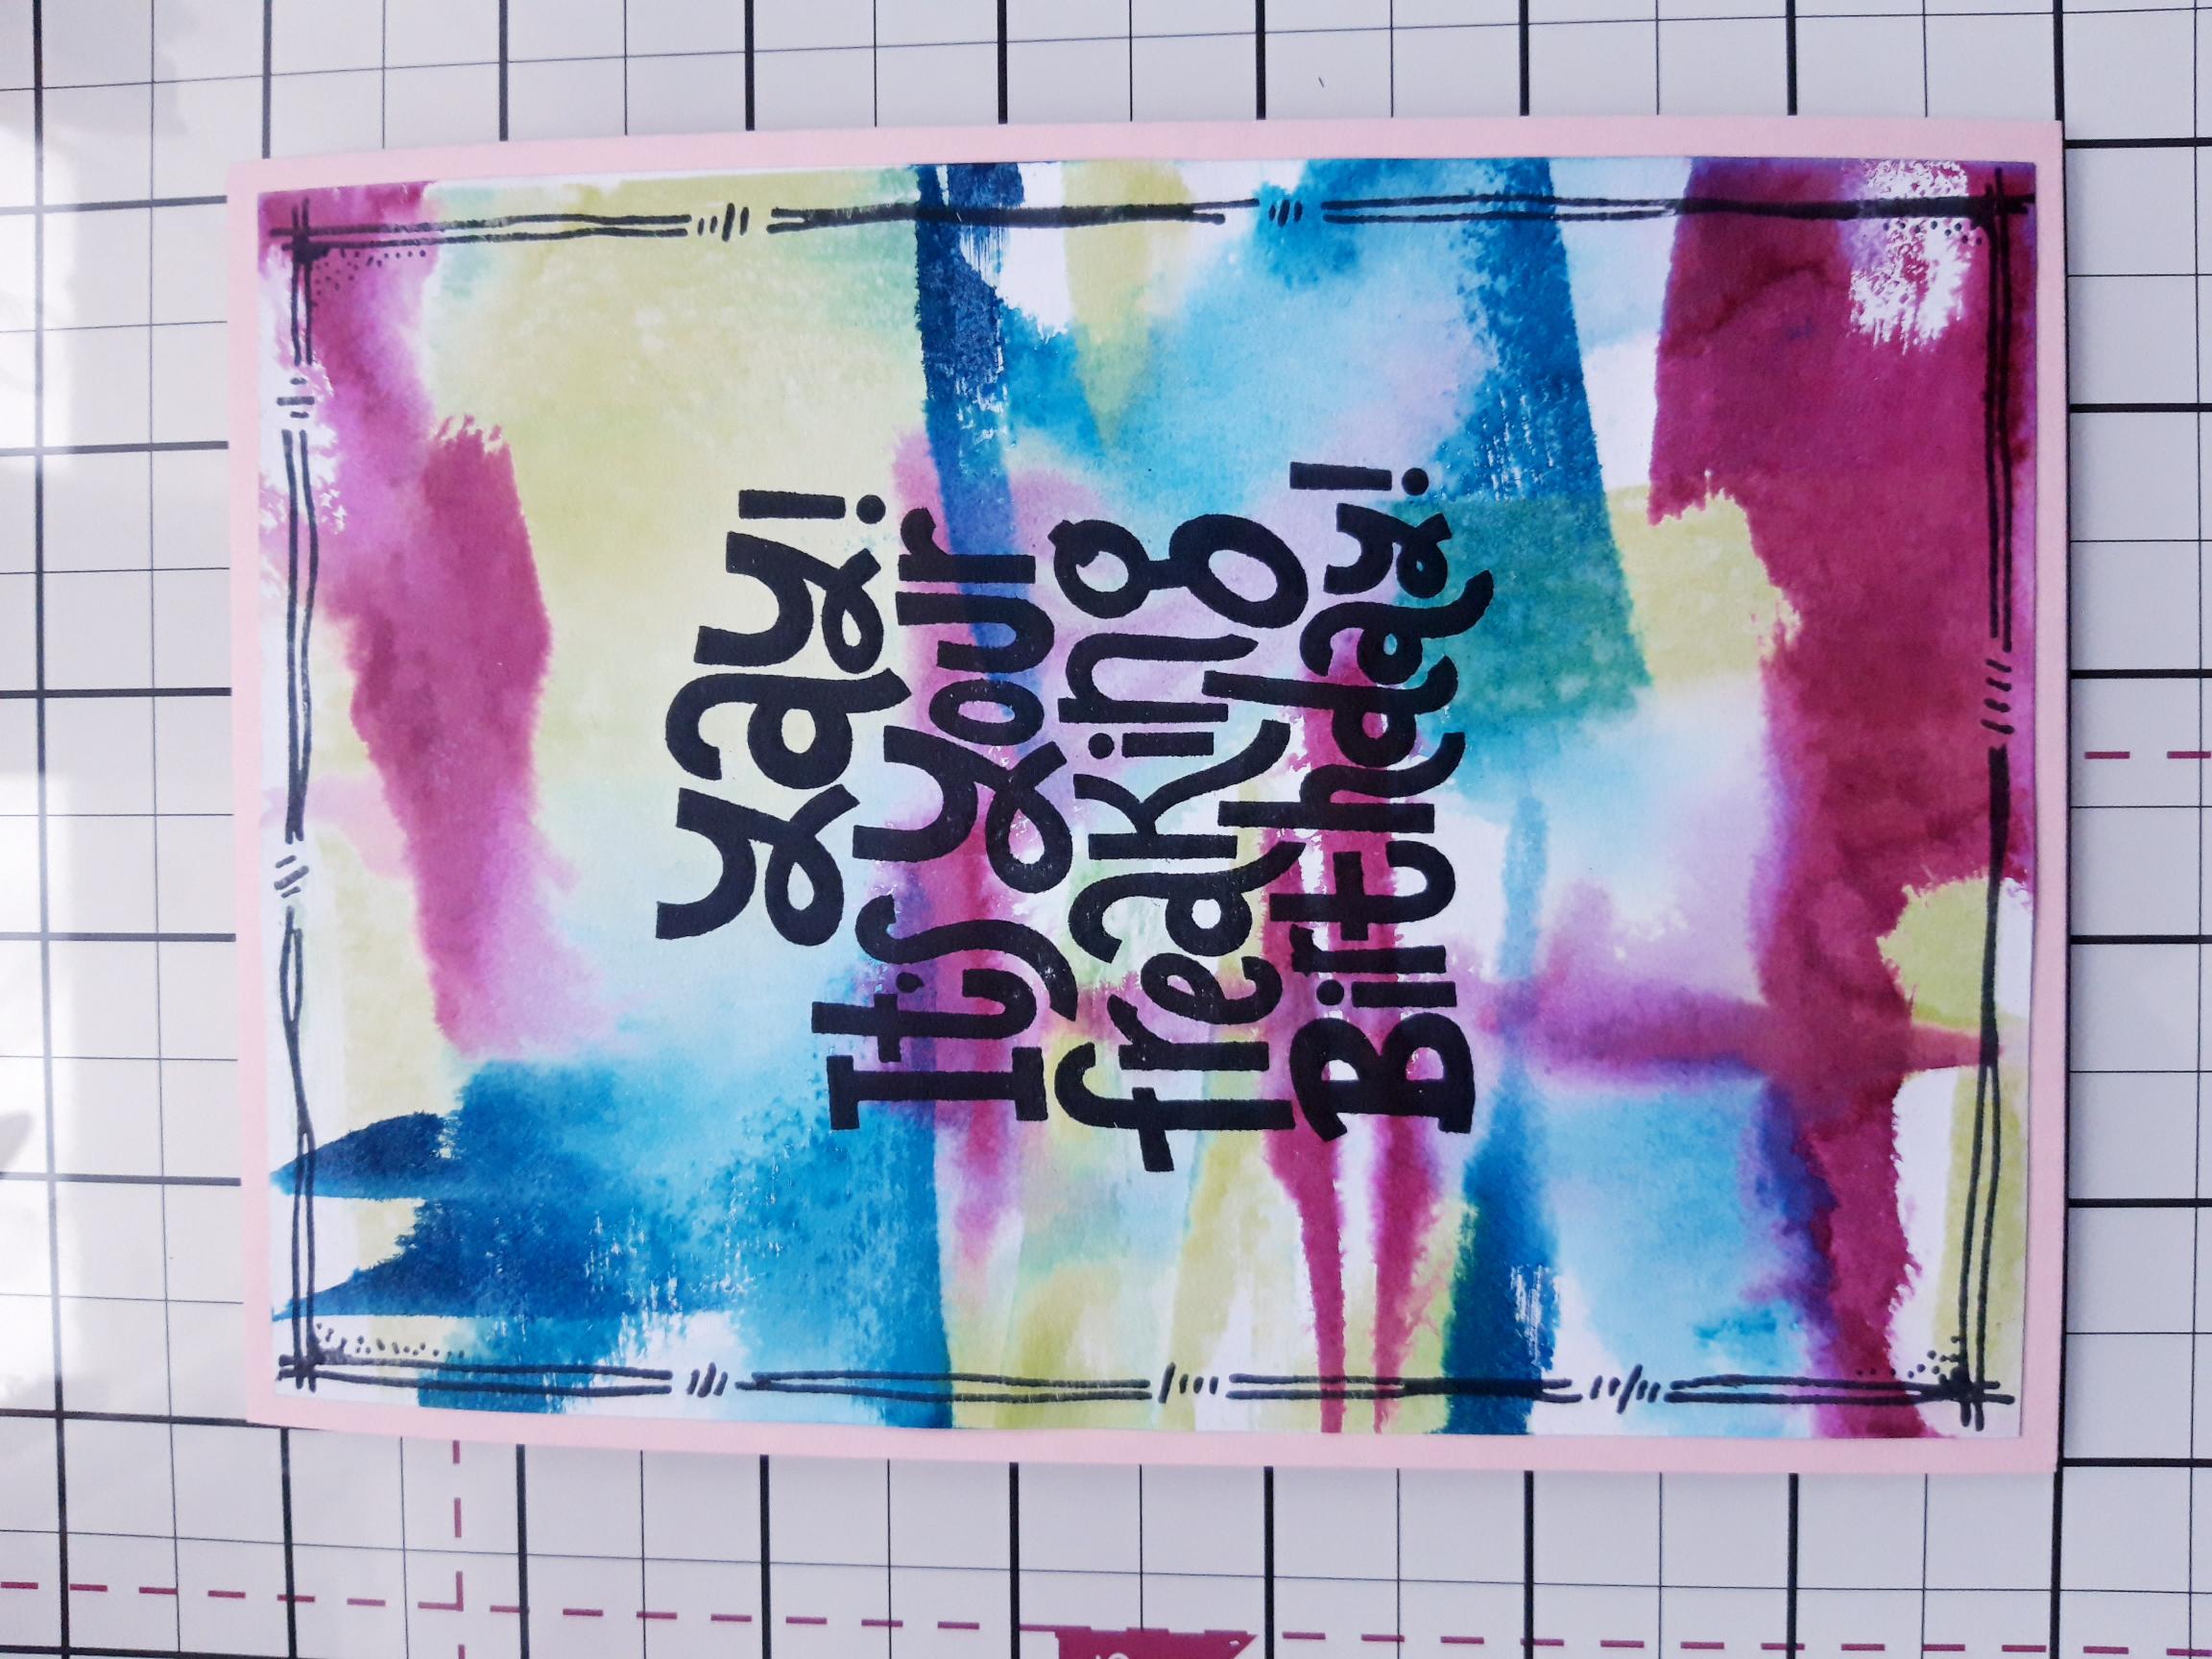
Spray the white card, cut to 6 3/4 x 4 3/4", liberally with water! Randomly swipe the 3 Premium ink pads on to the wet card, then spritz again with water! Allow the ink to move freely, then mop up the excess with a paper towel, before blasting it dry with a heat tool. Repeat until you are happy with your arty background. |
|
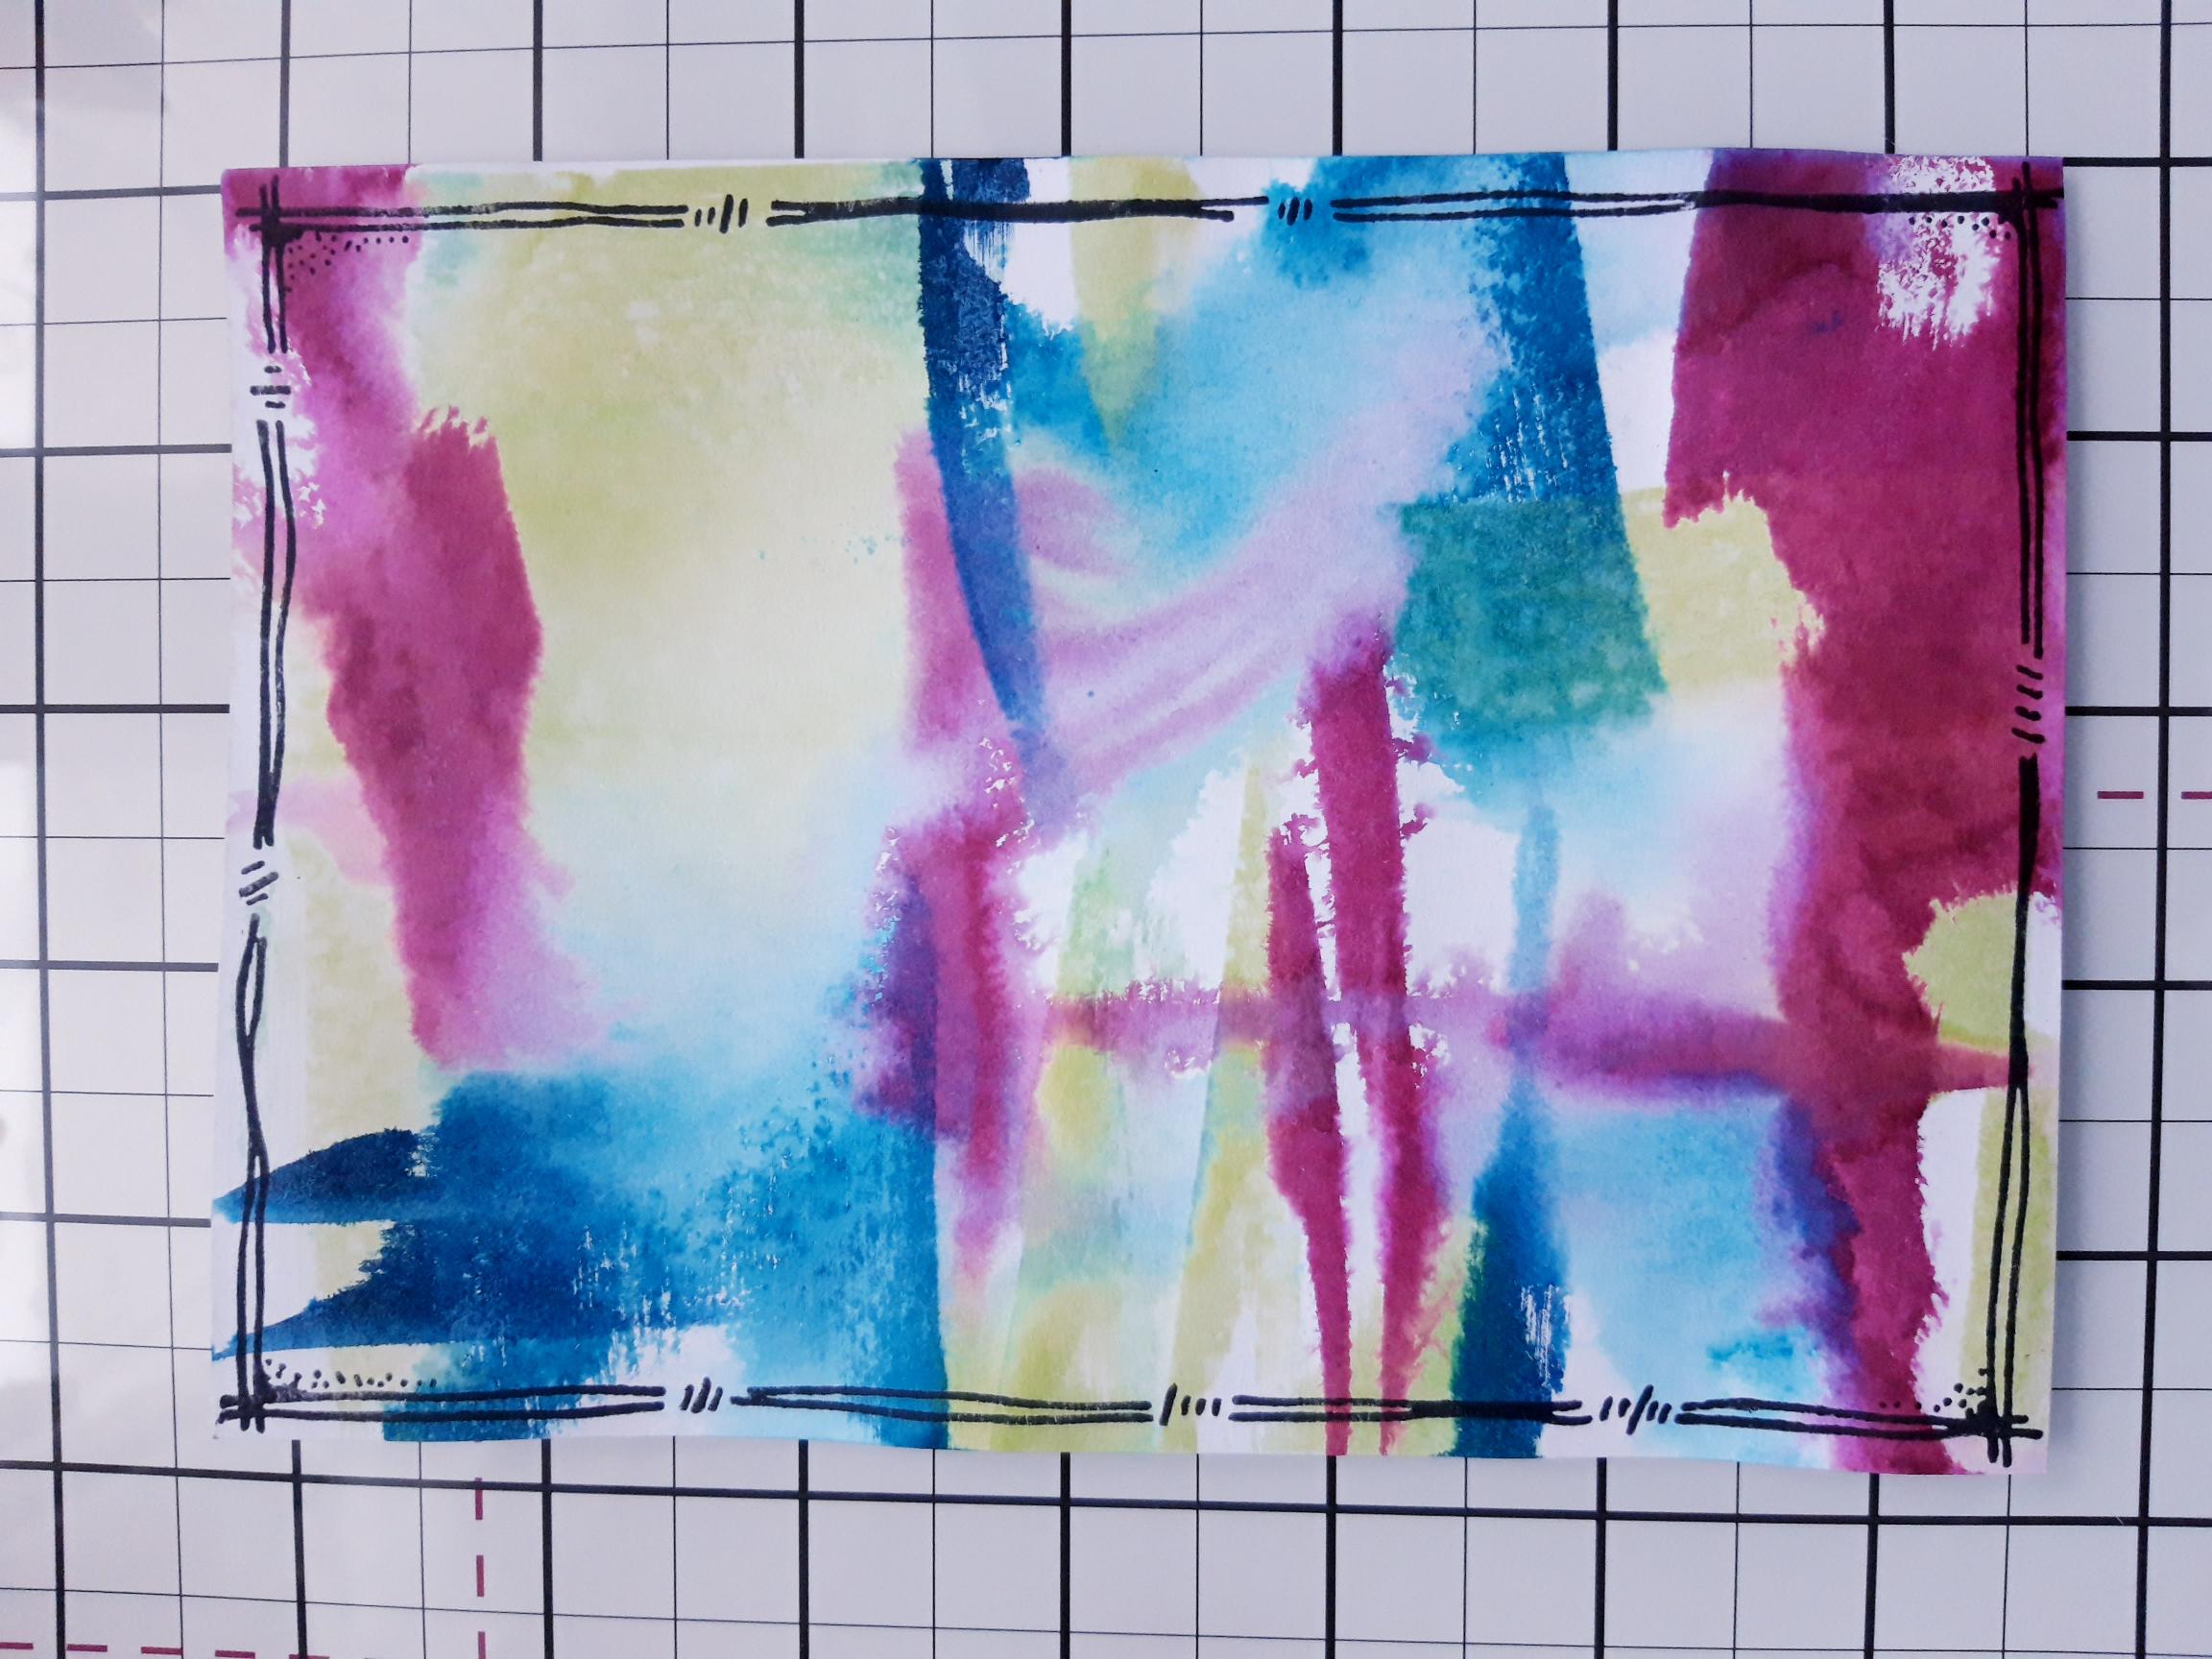
Ink up the Dash Frame stamp, with the Midnight Hybrid ink and stamp on to your inky background. |
|
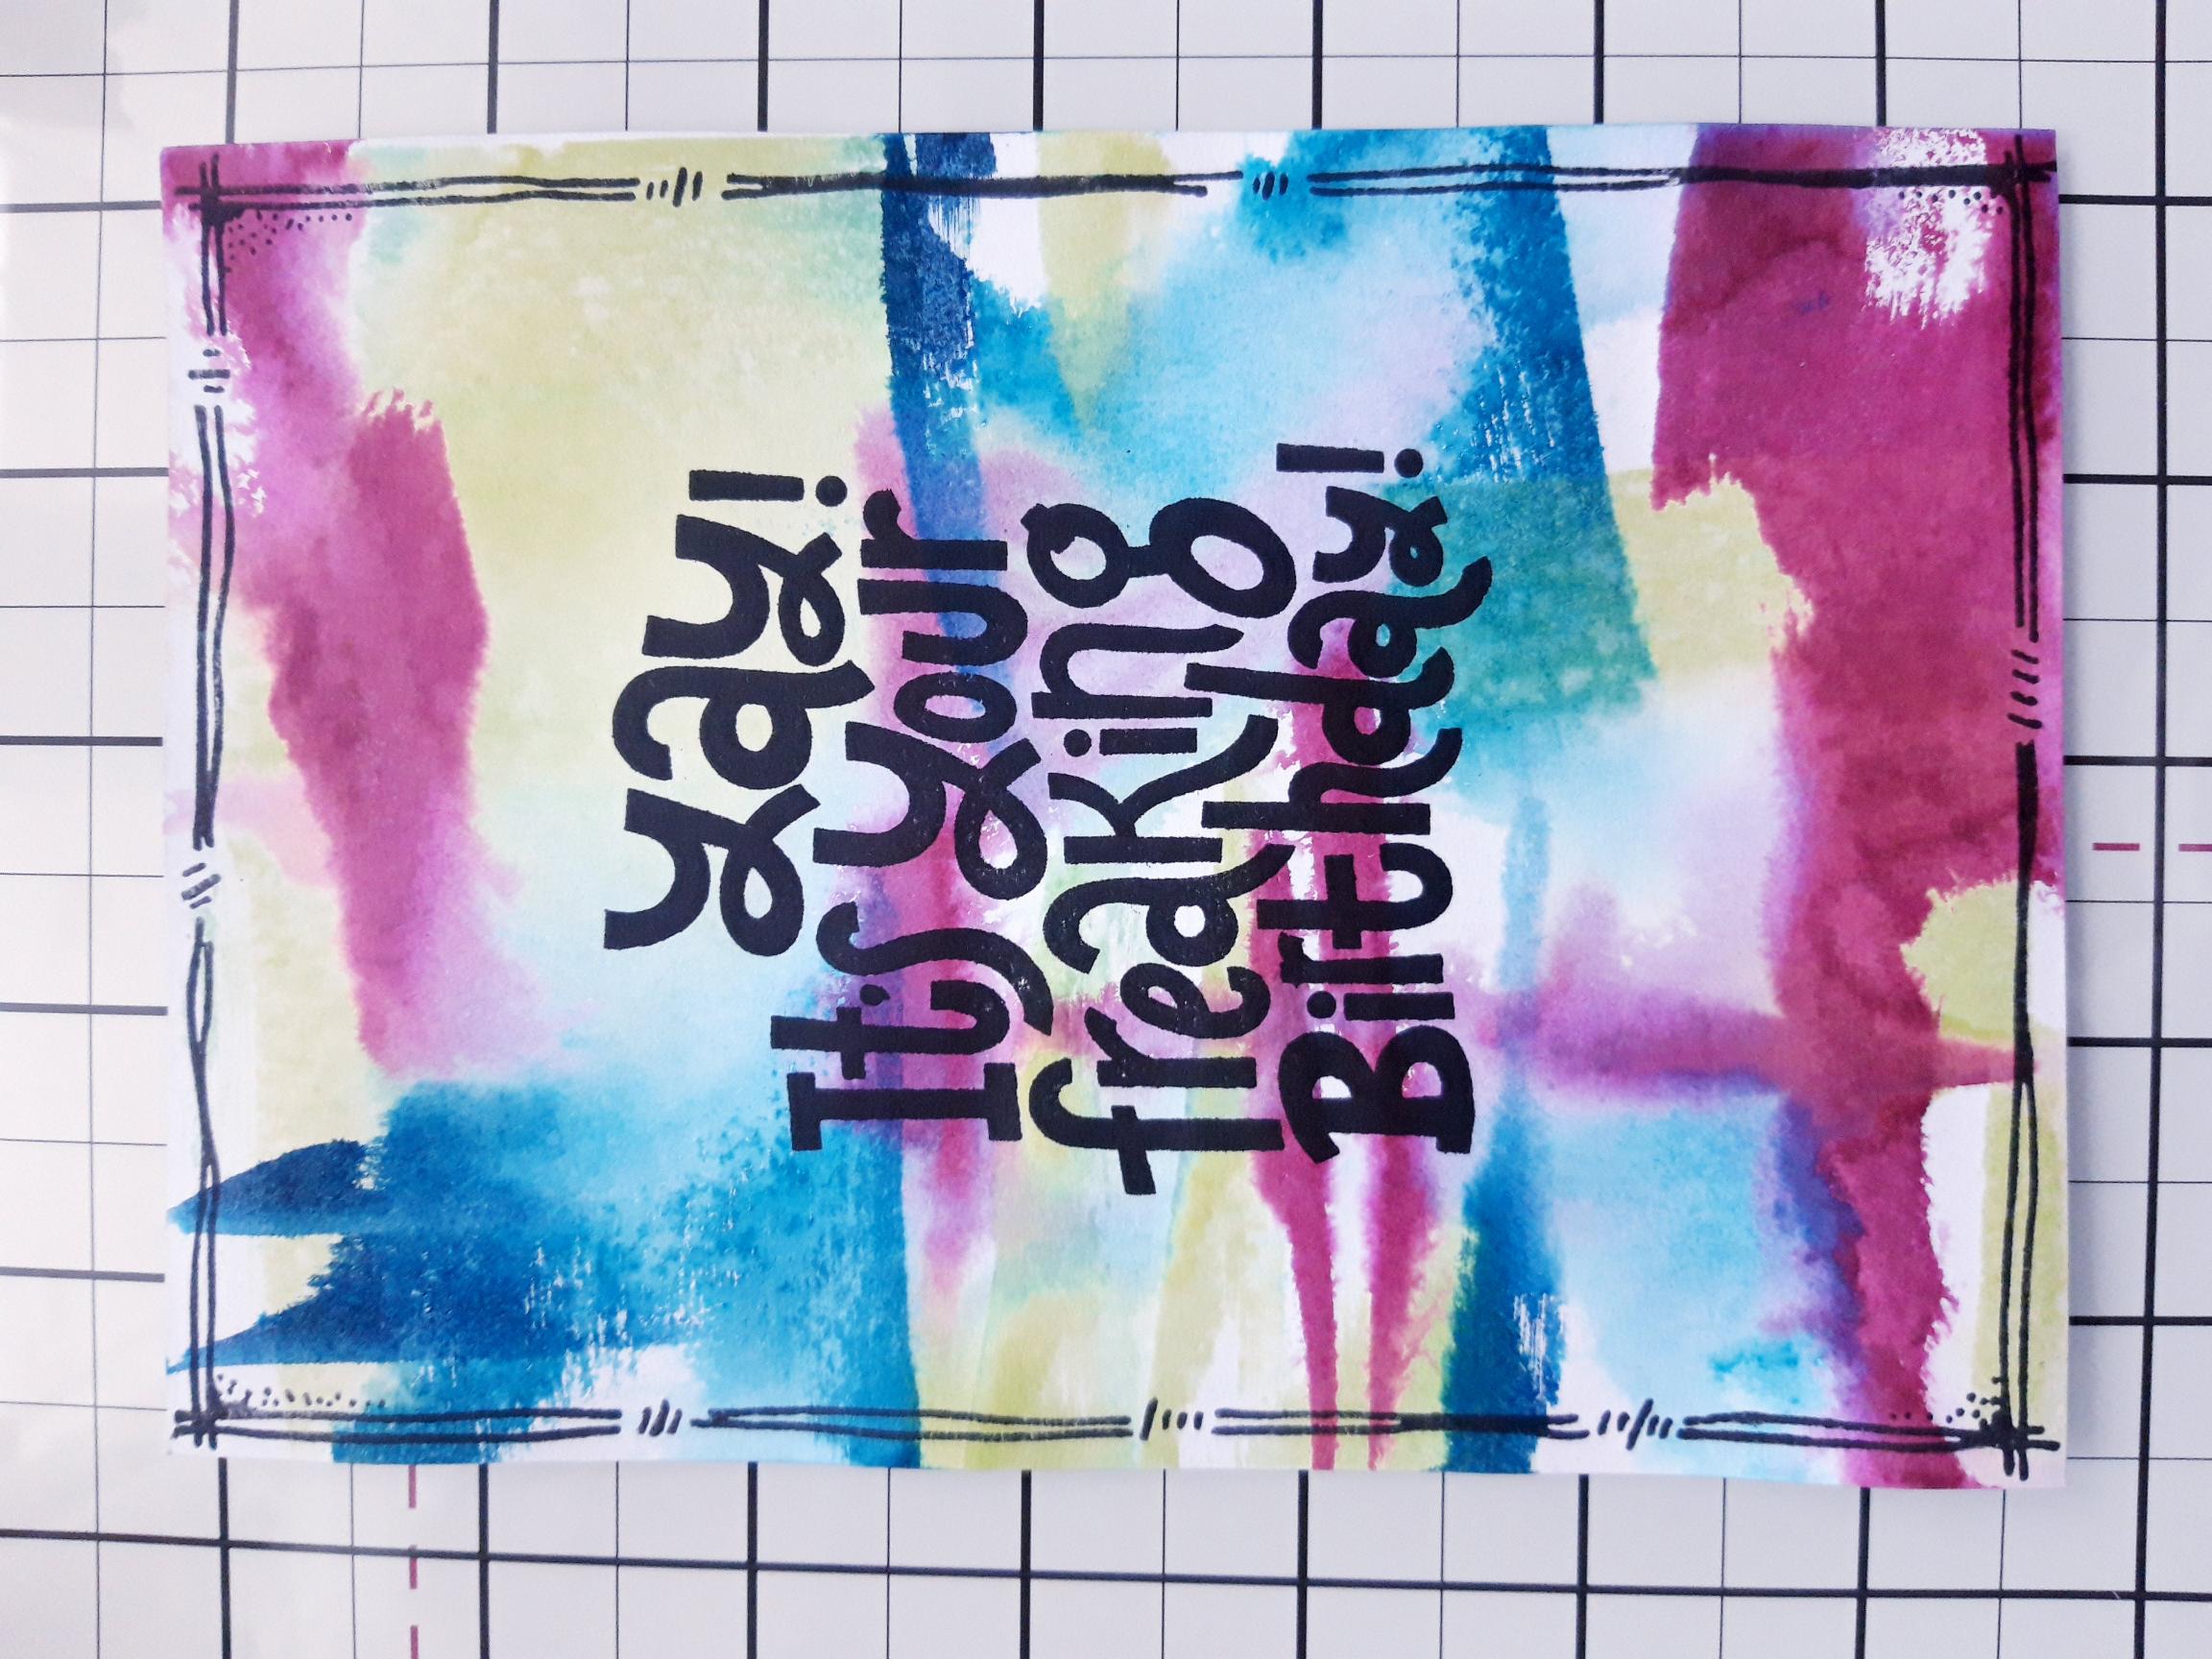
Ink up the sentiment from the Craft Stash Stamp Collection, with Midnight and stamp in the centre of your background. Such a fun sentiment!! |
|
Once dry, adhere your artwork on to your pink card blank. |
|
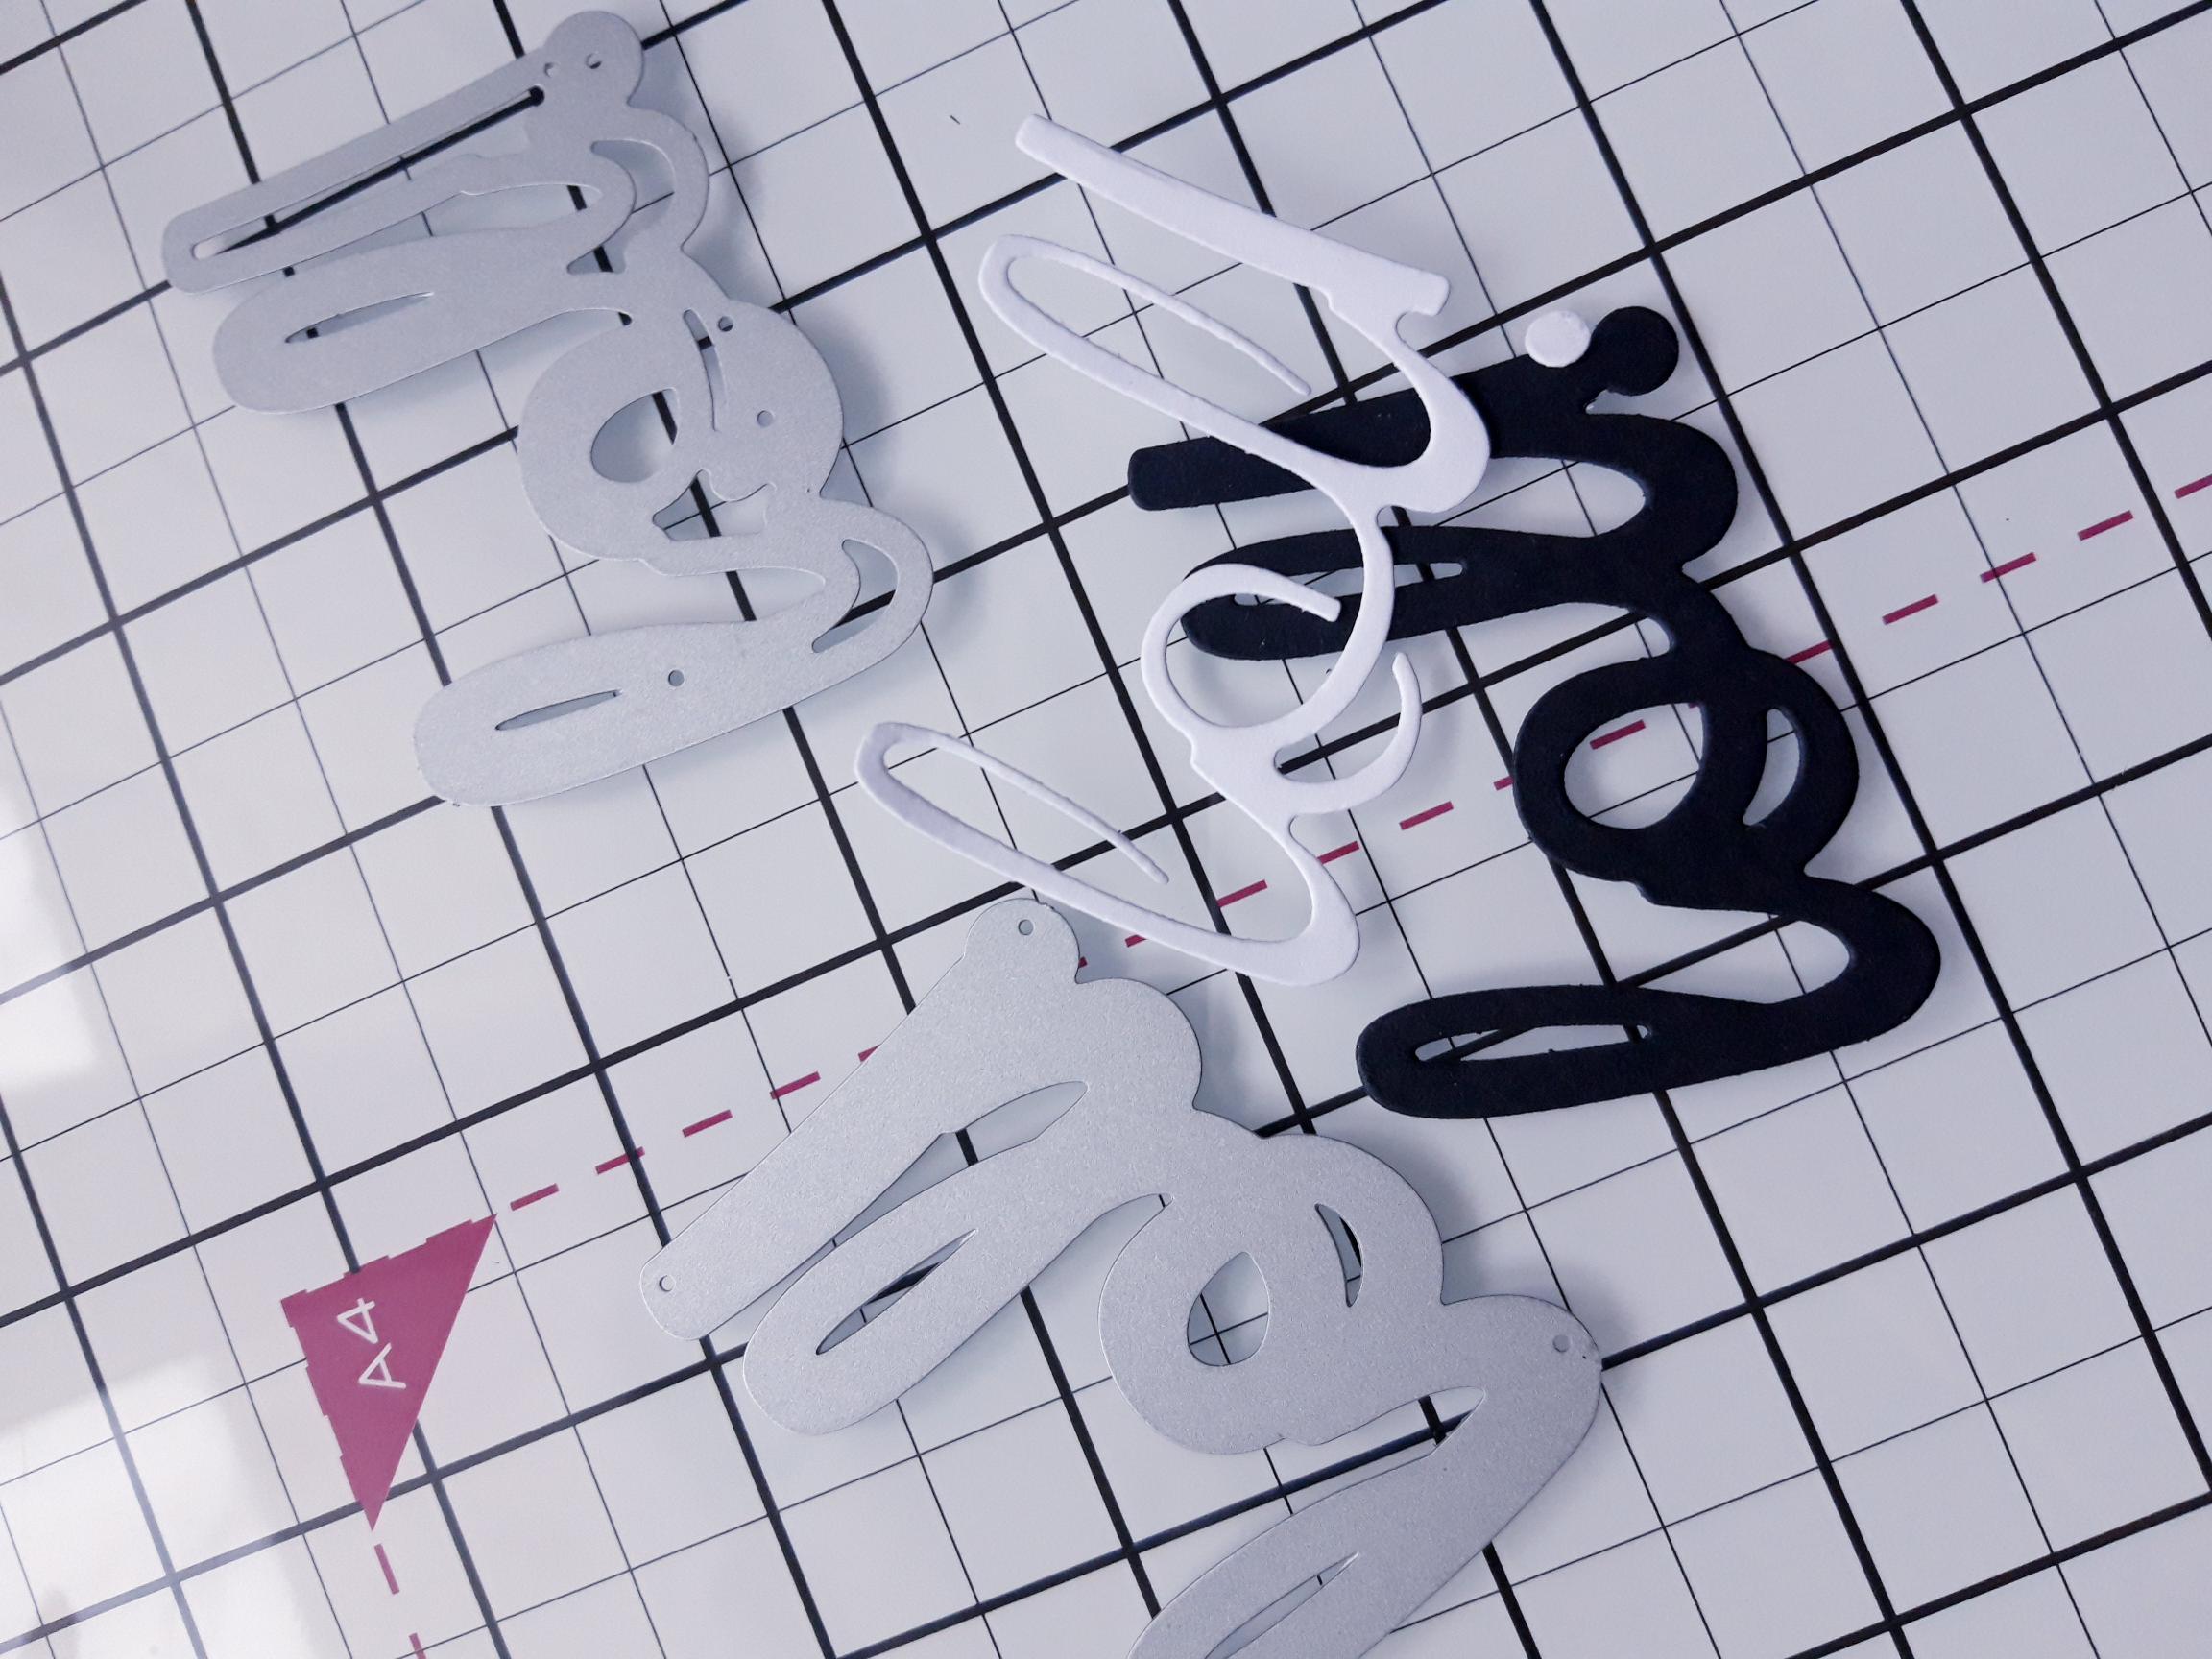
Using the LOL dies, die cut the detailed die from white card and the solid die from black card. |
|
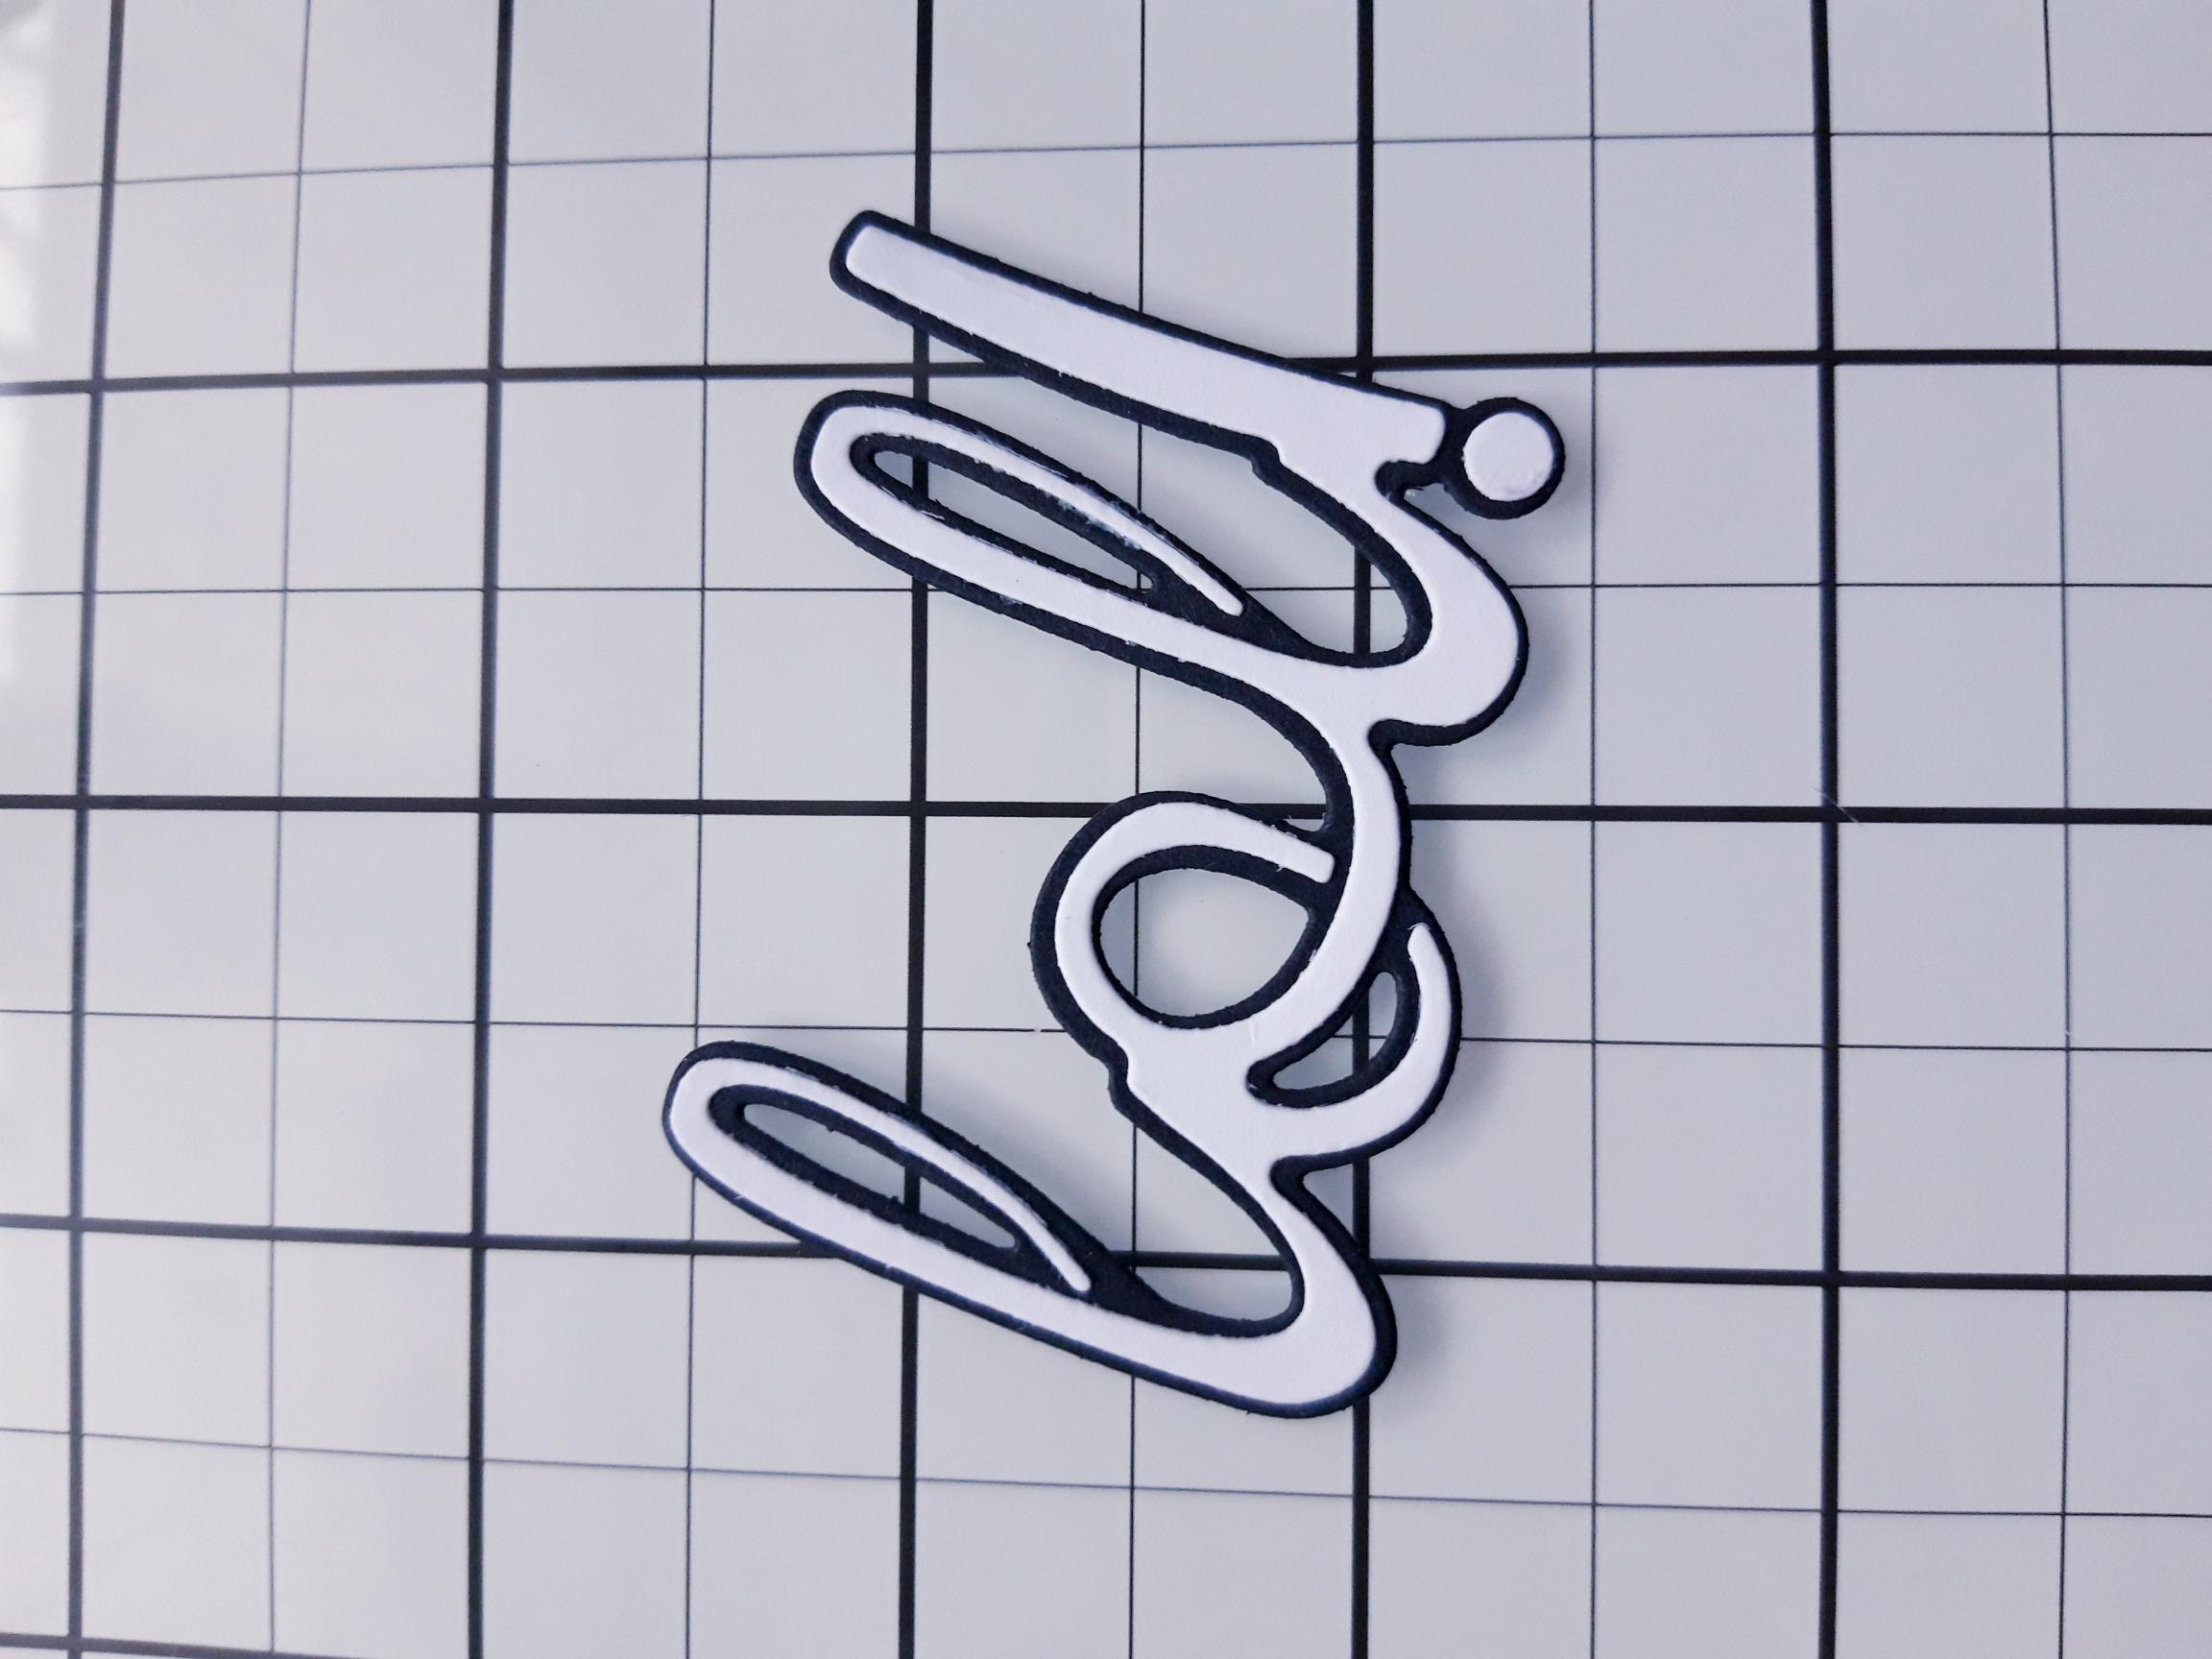
Adhere the white die cut on top of the black die cut mat. |
|
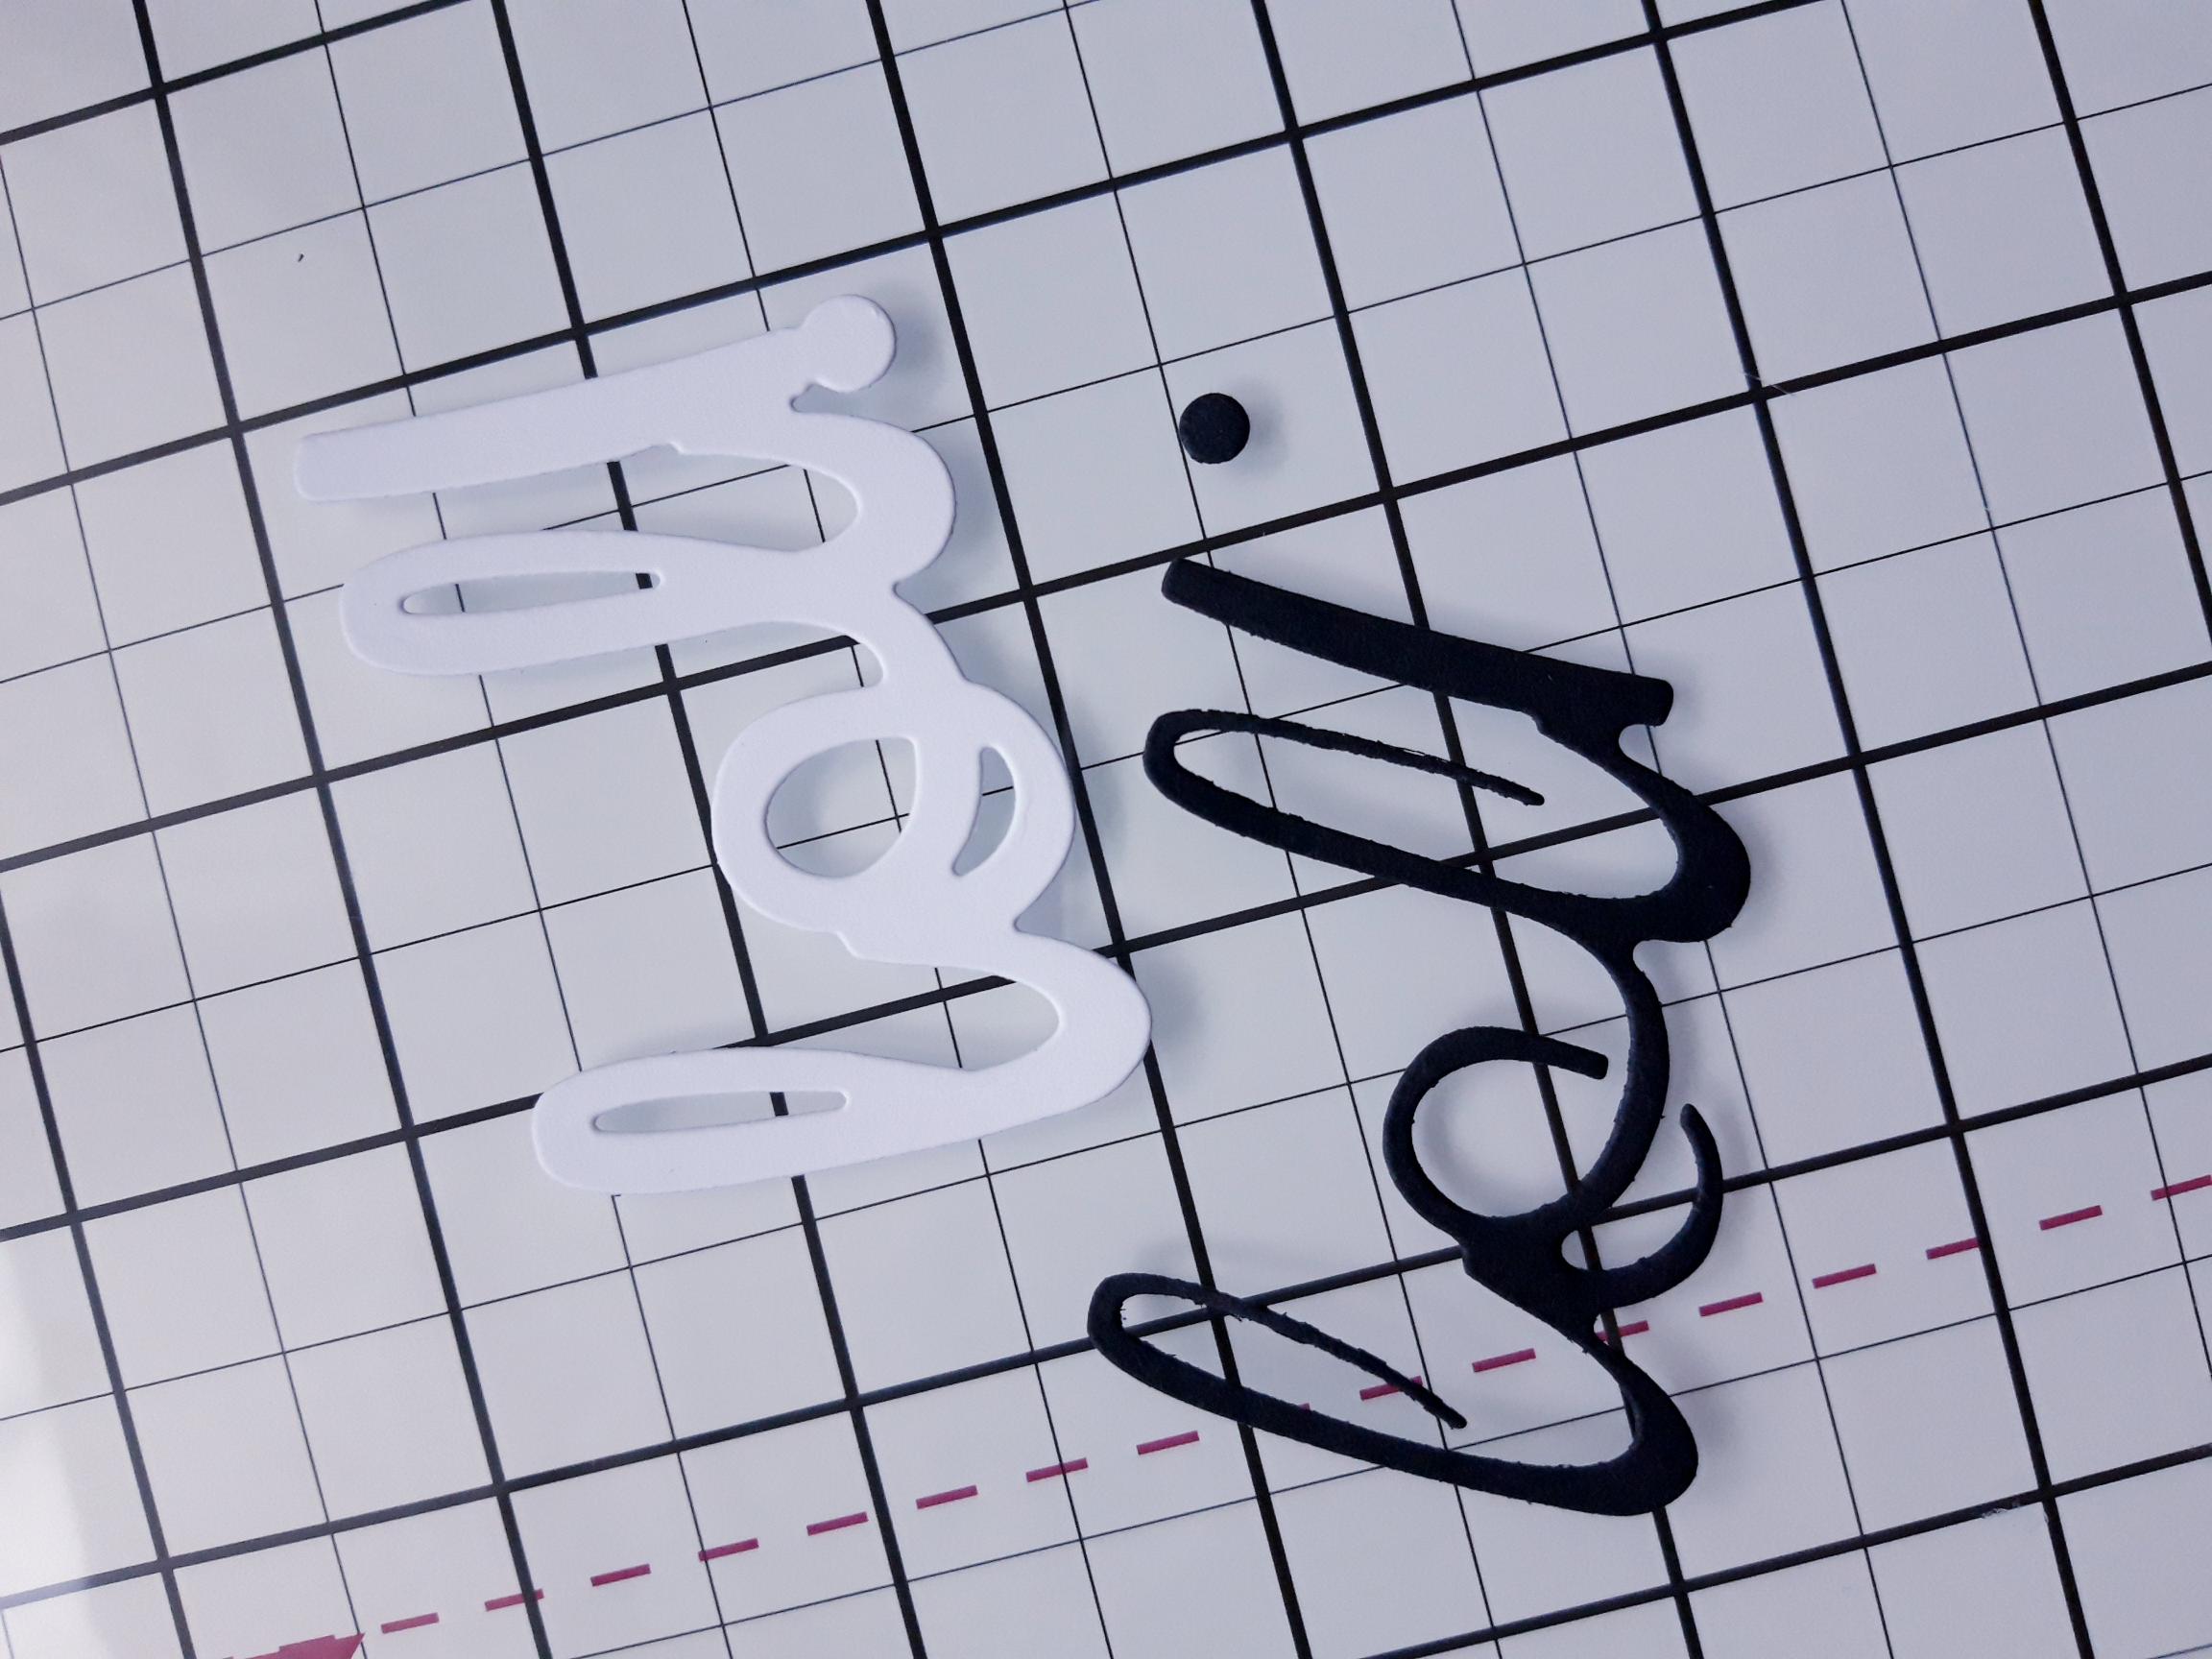
Now do the opposite...die cut the detailed die out of black card and the solid die from white card. |
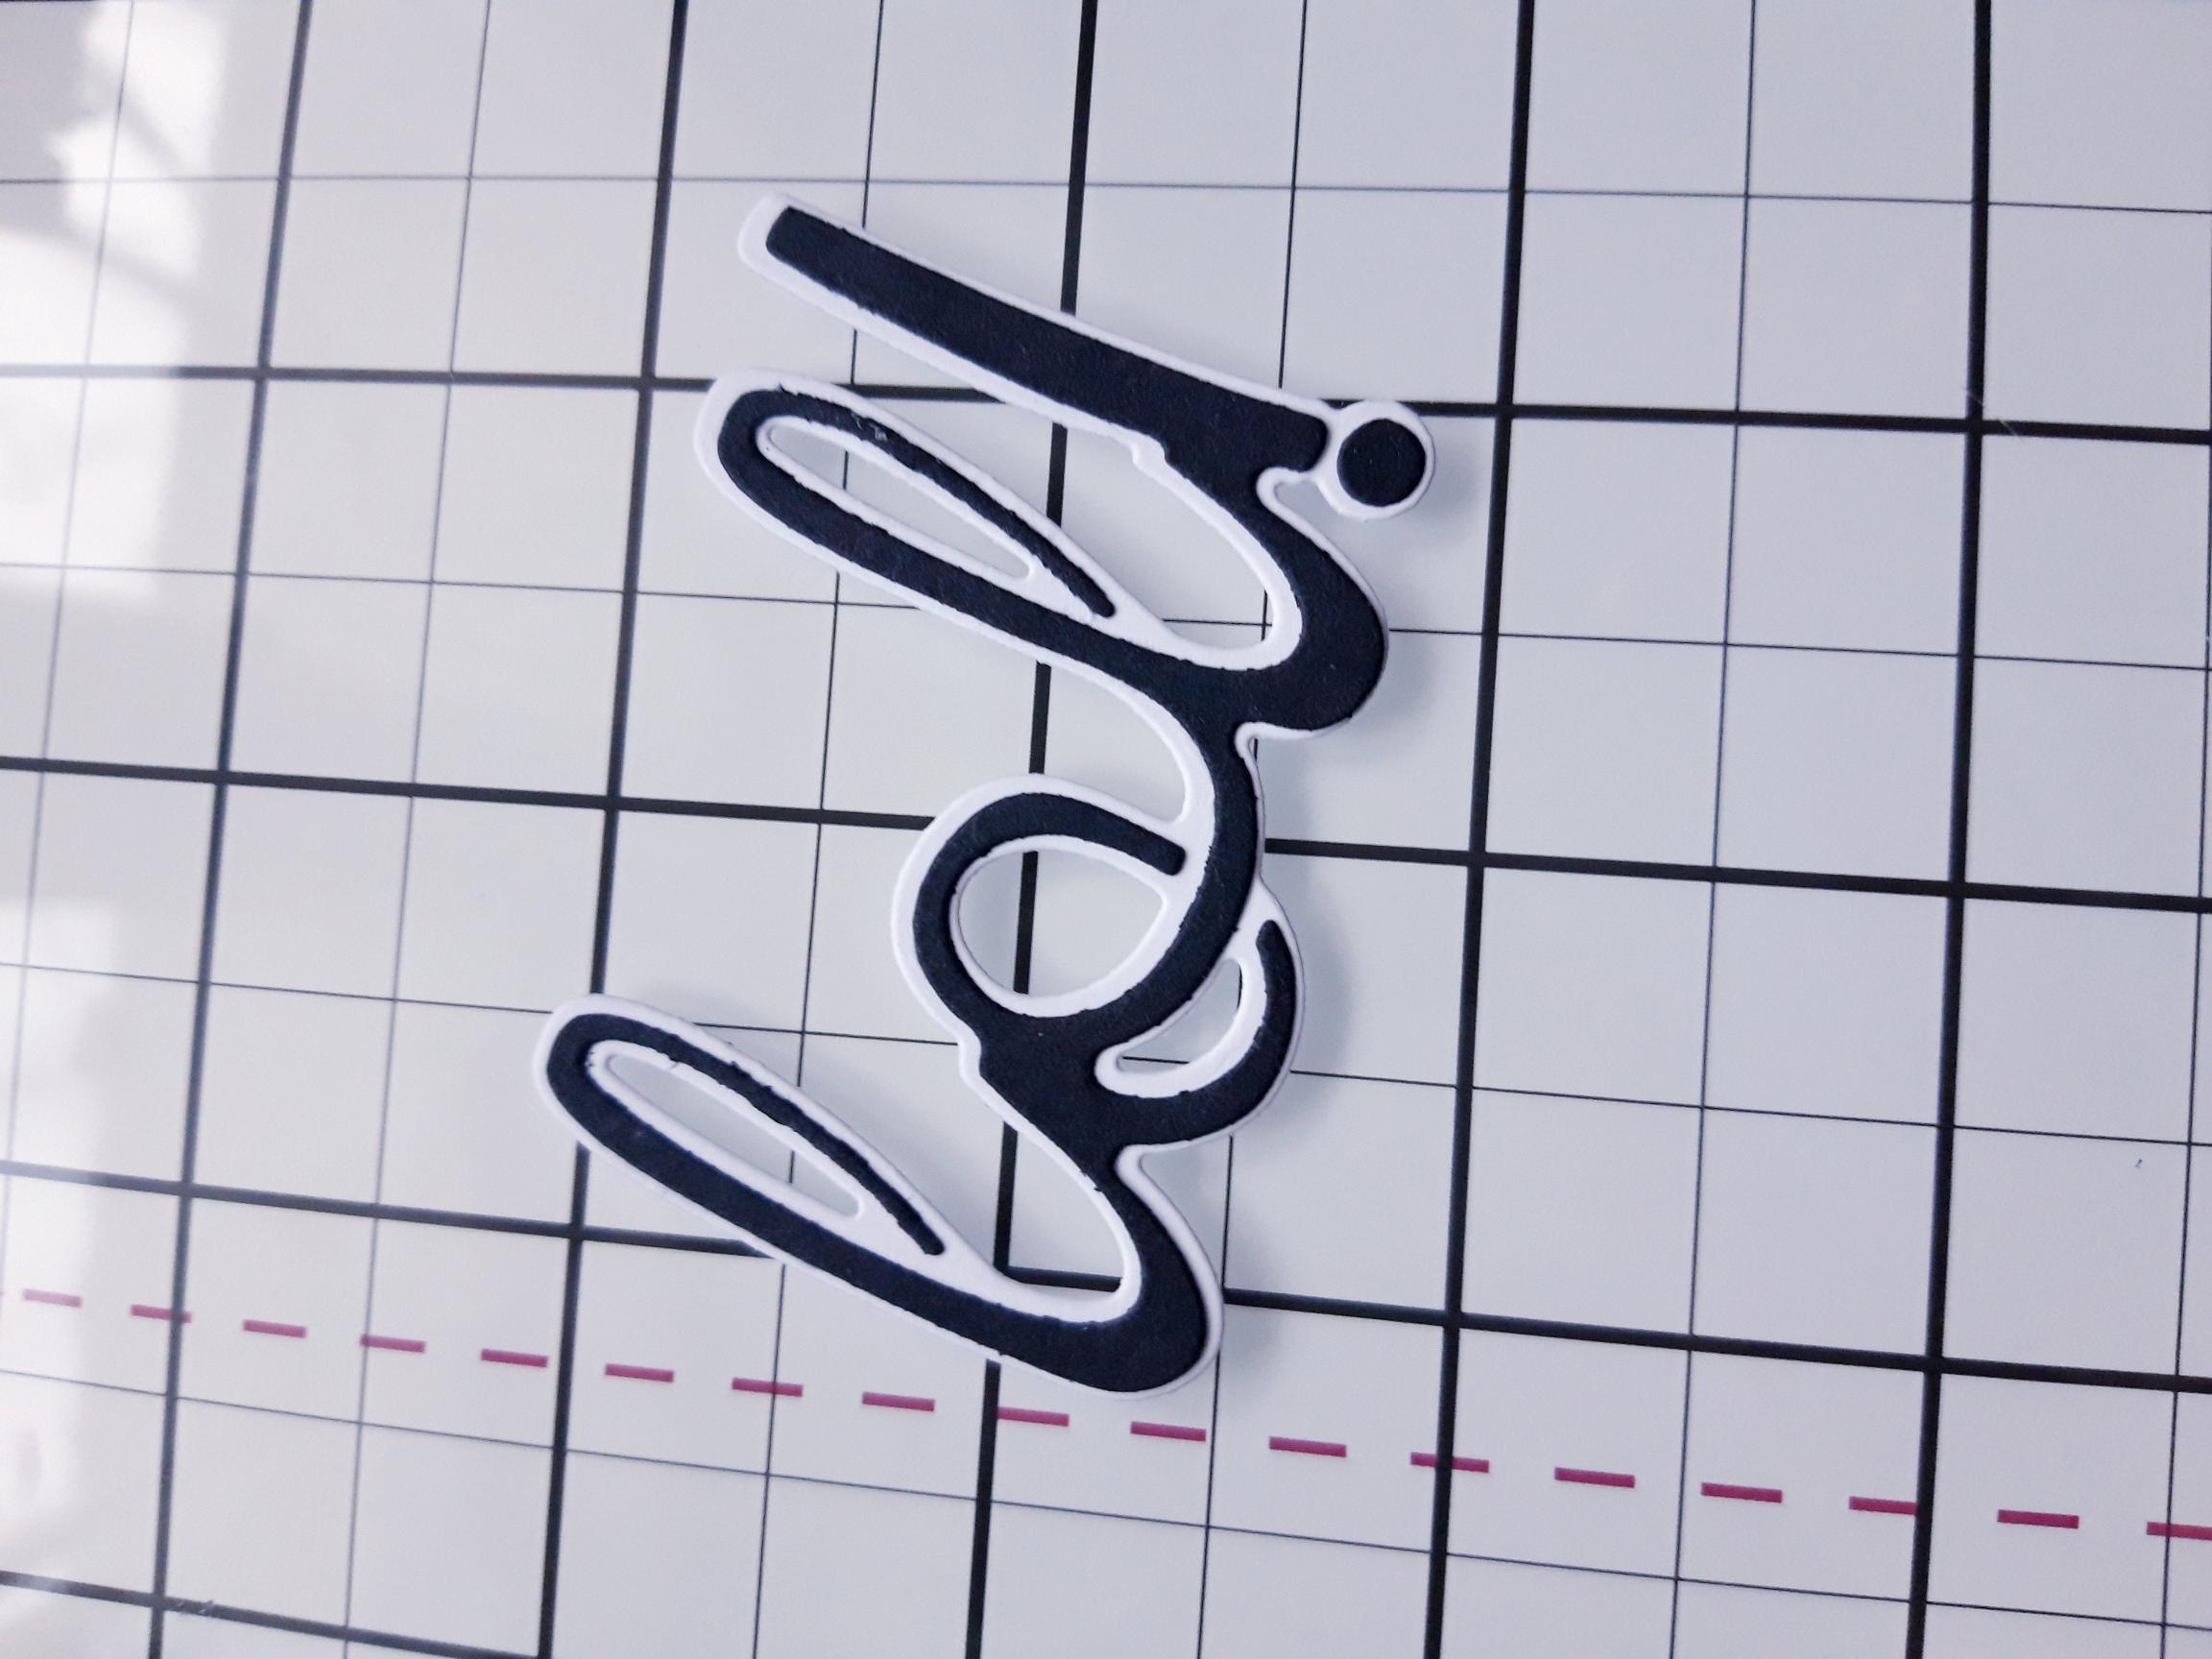
|
Adhere the black die cut on top of the white die cut mat. |
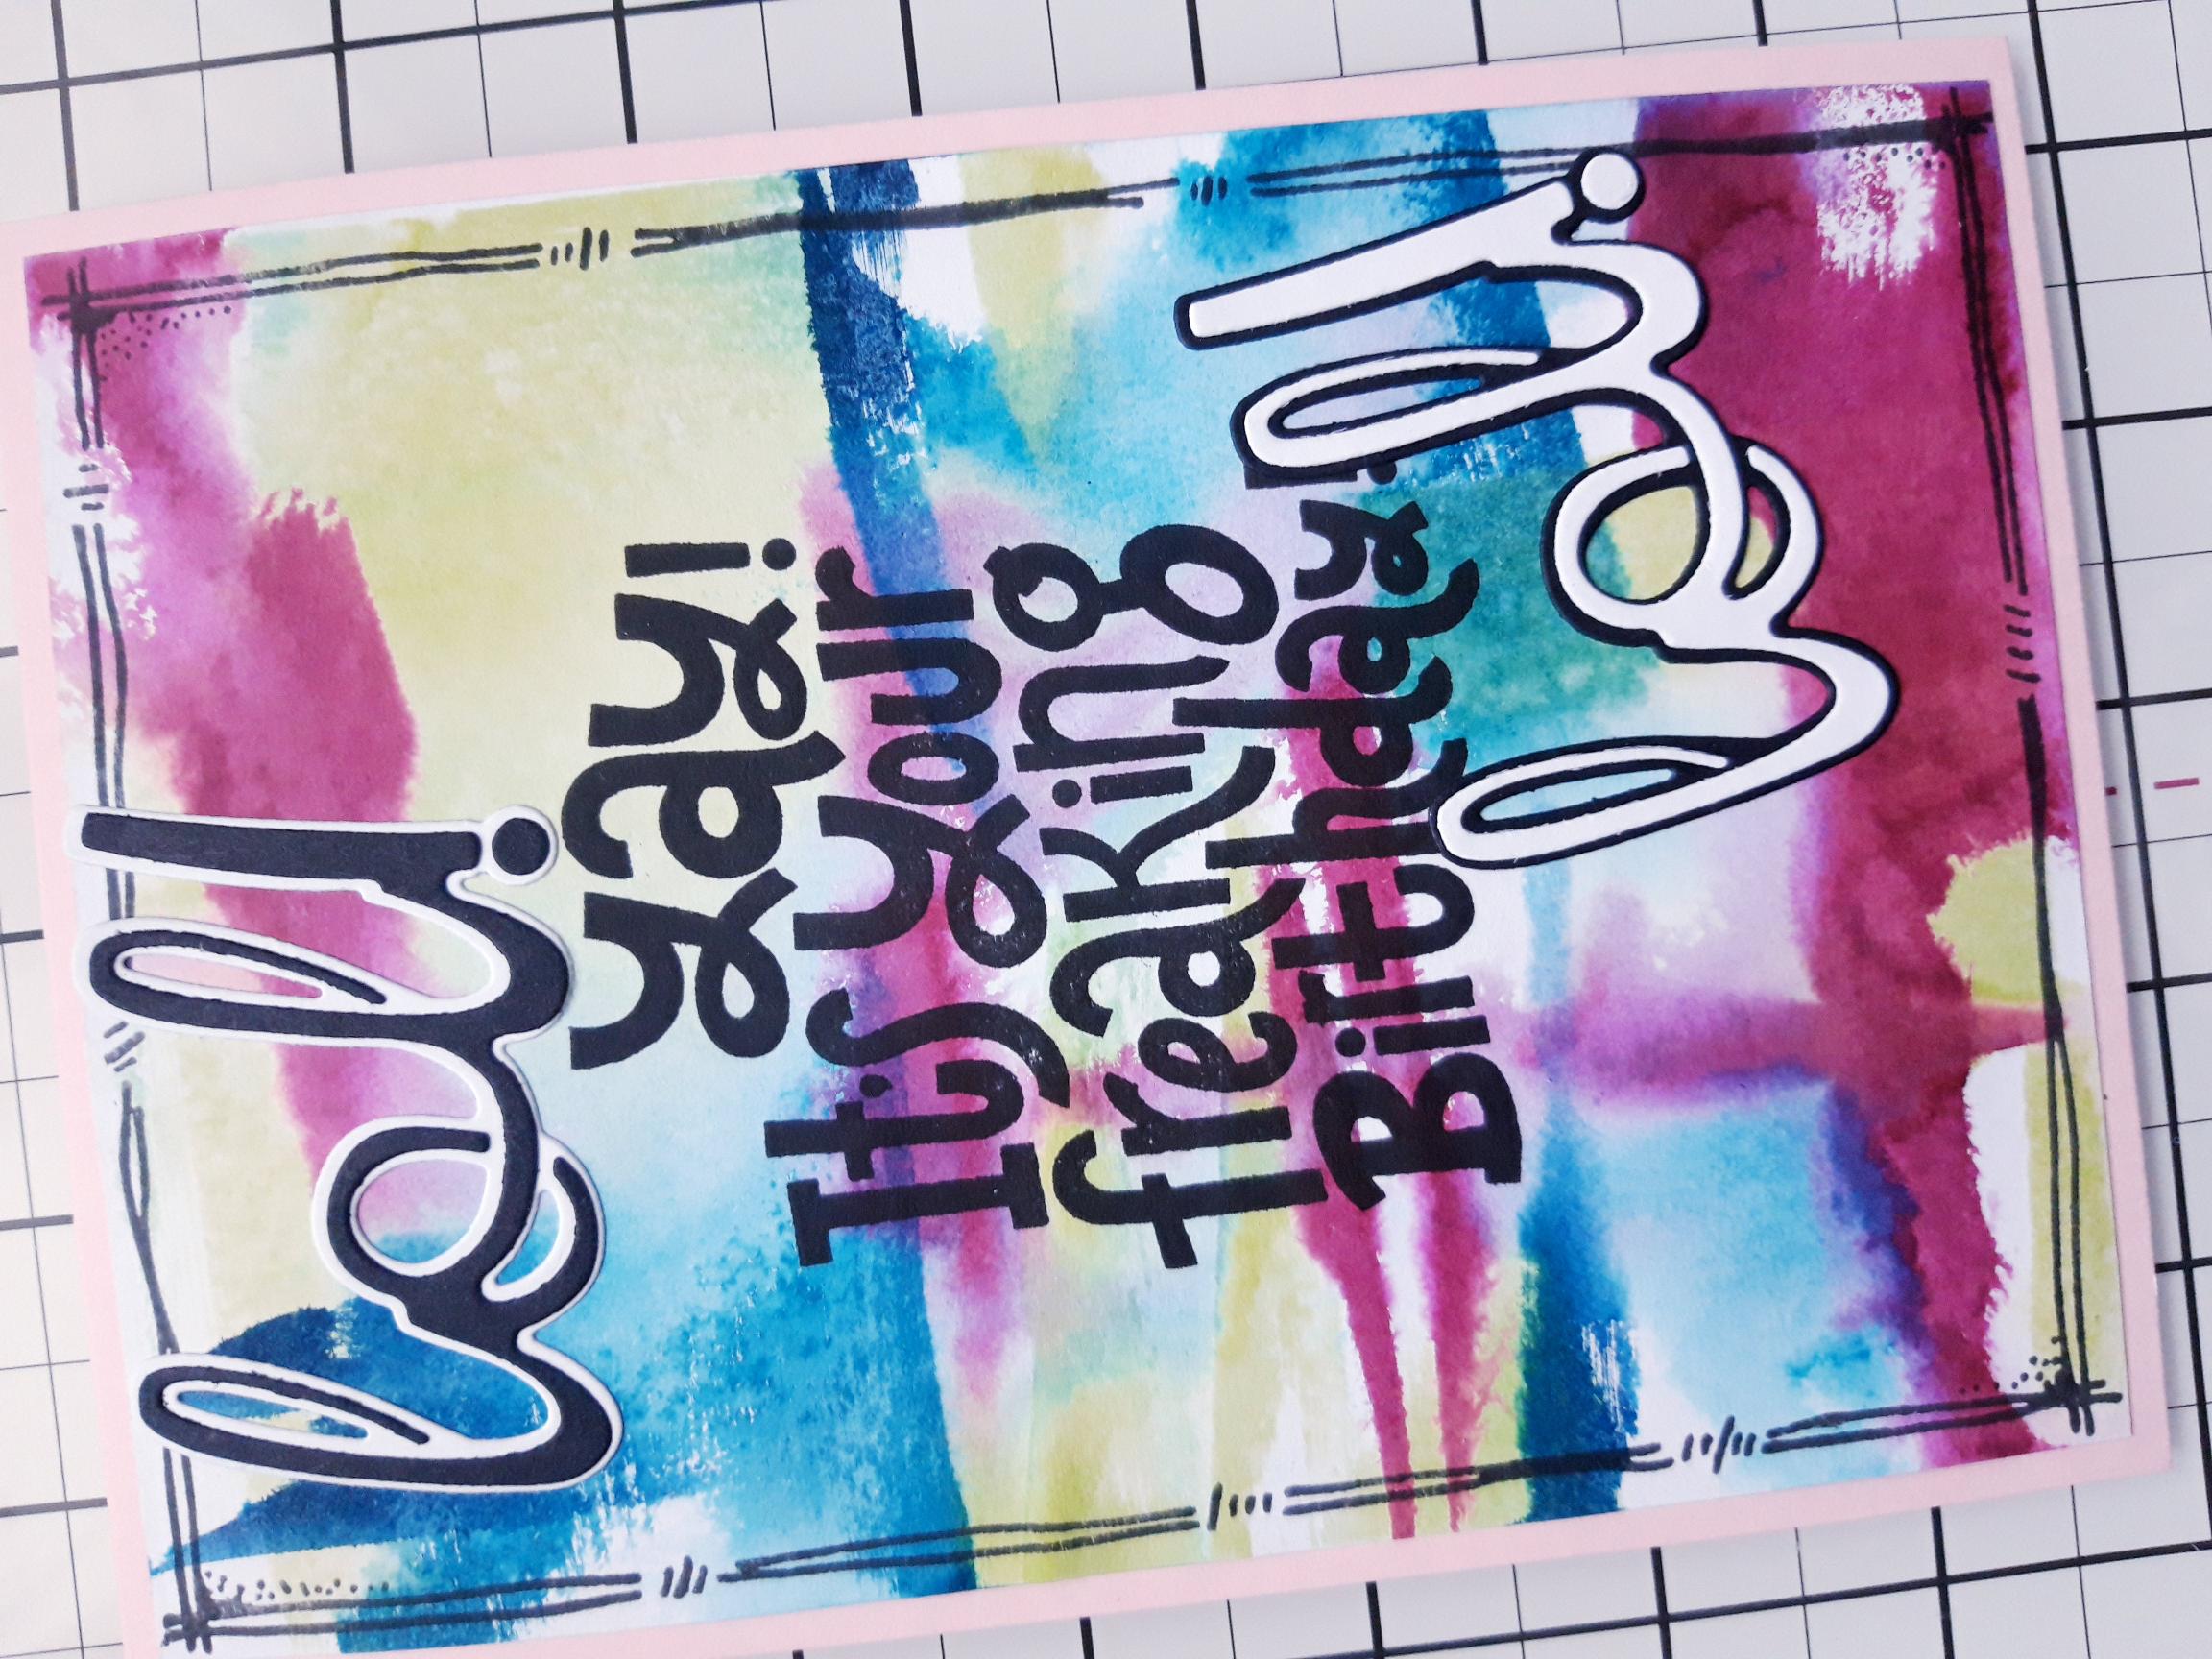
|
Adhere one of the die cut words to the top left, of the stamped sentiment and the other bottom right, at a jaunty angle!. |
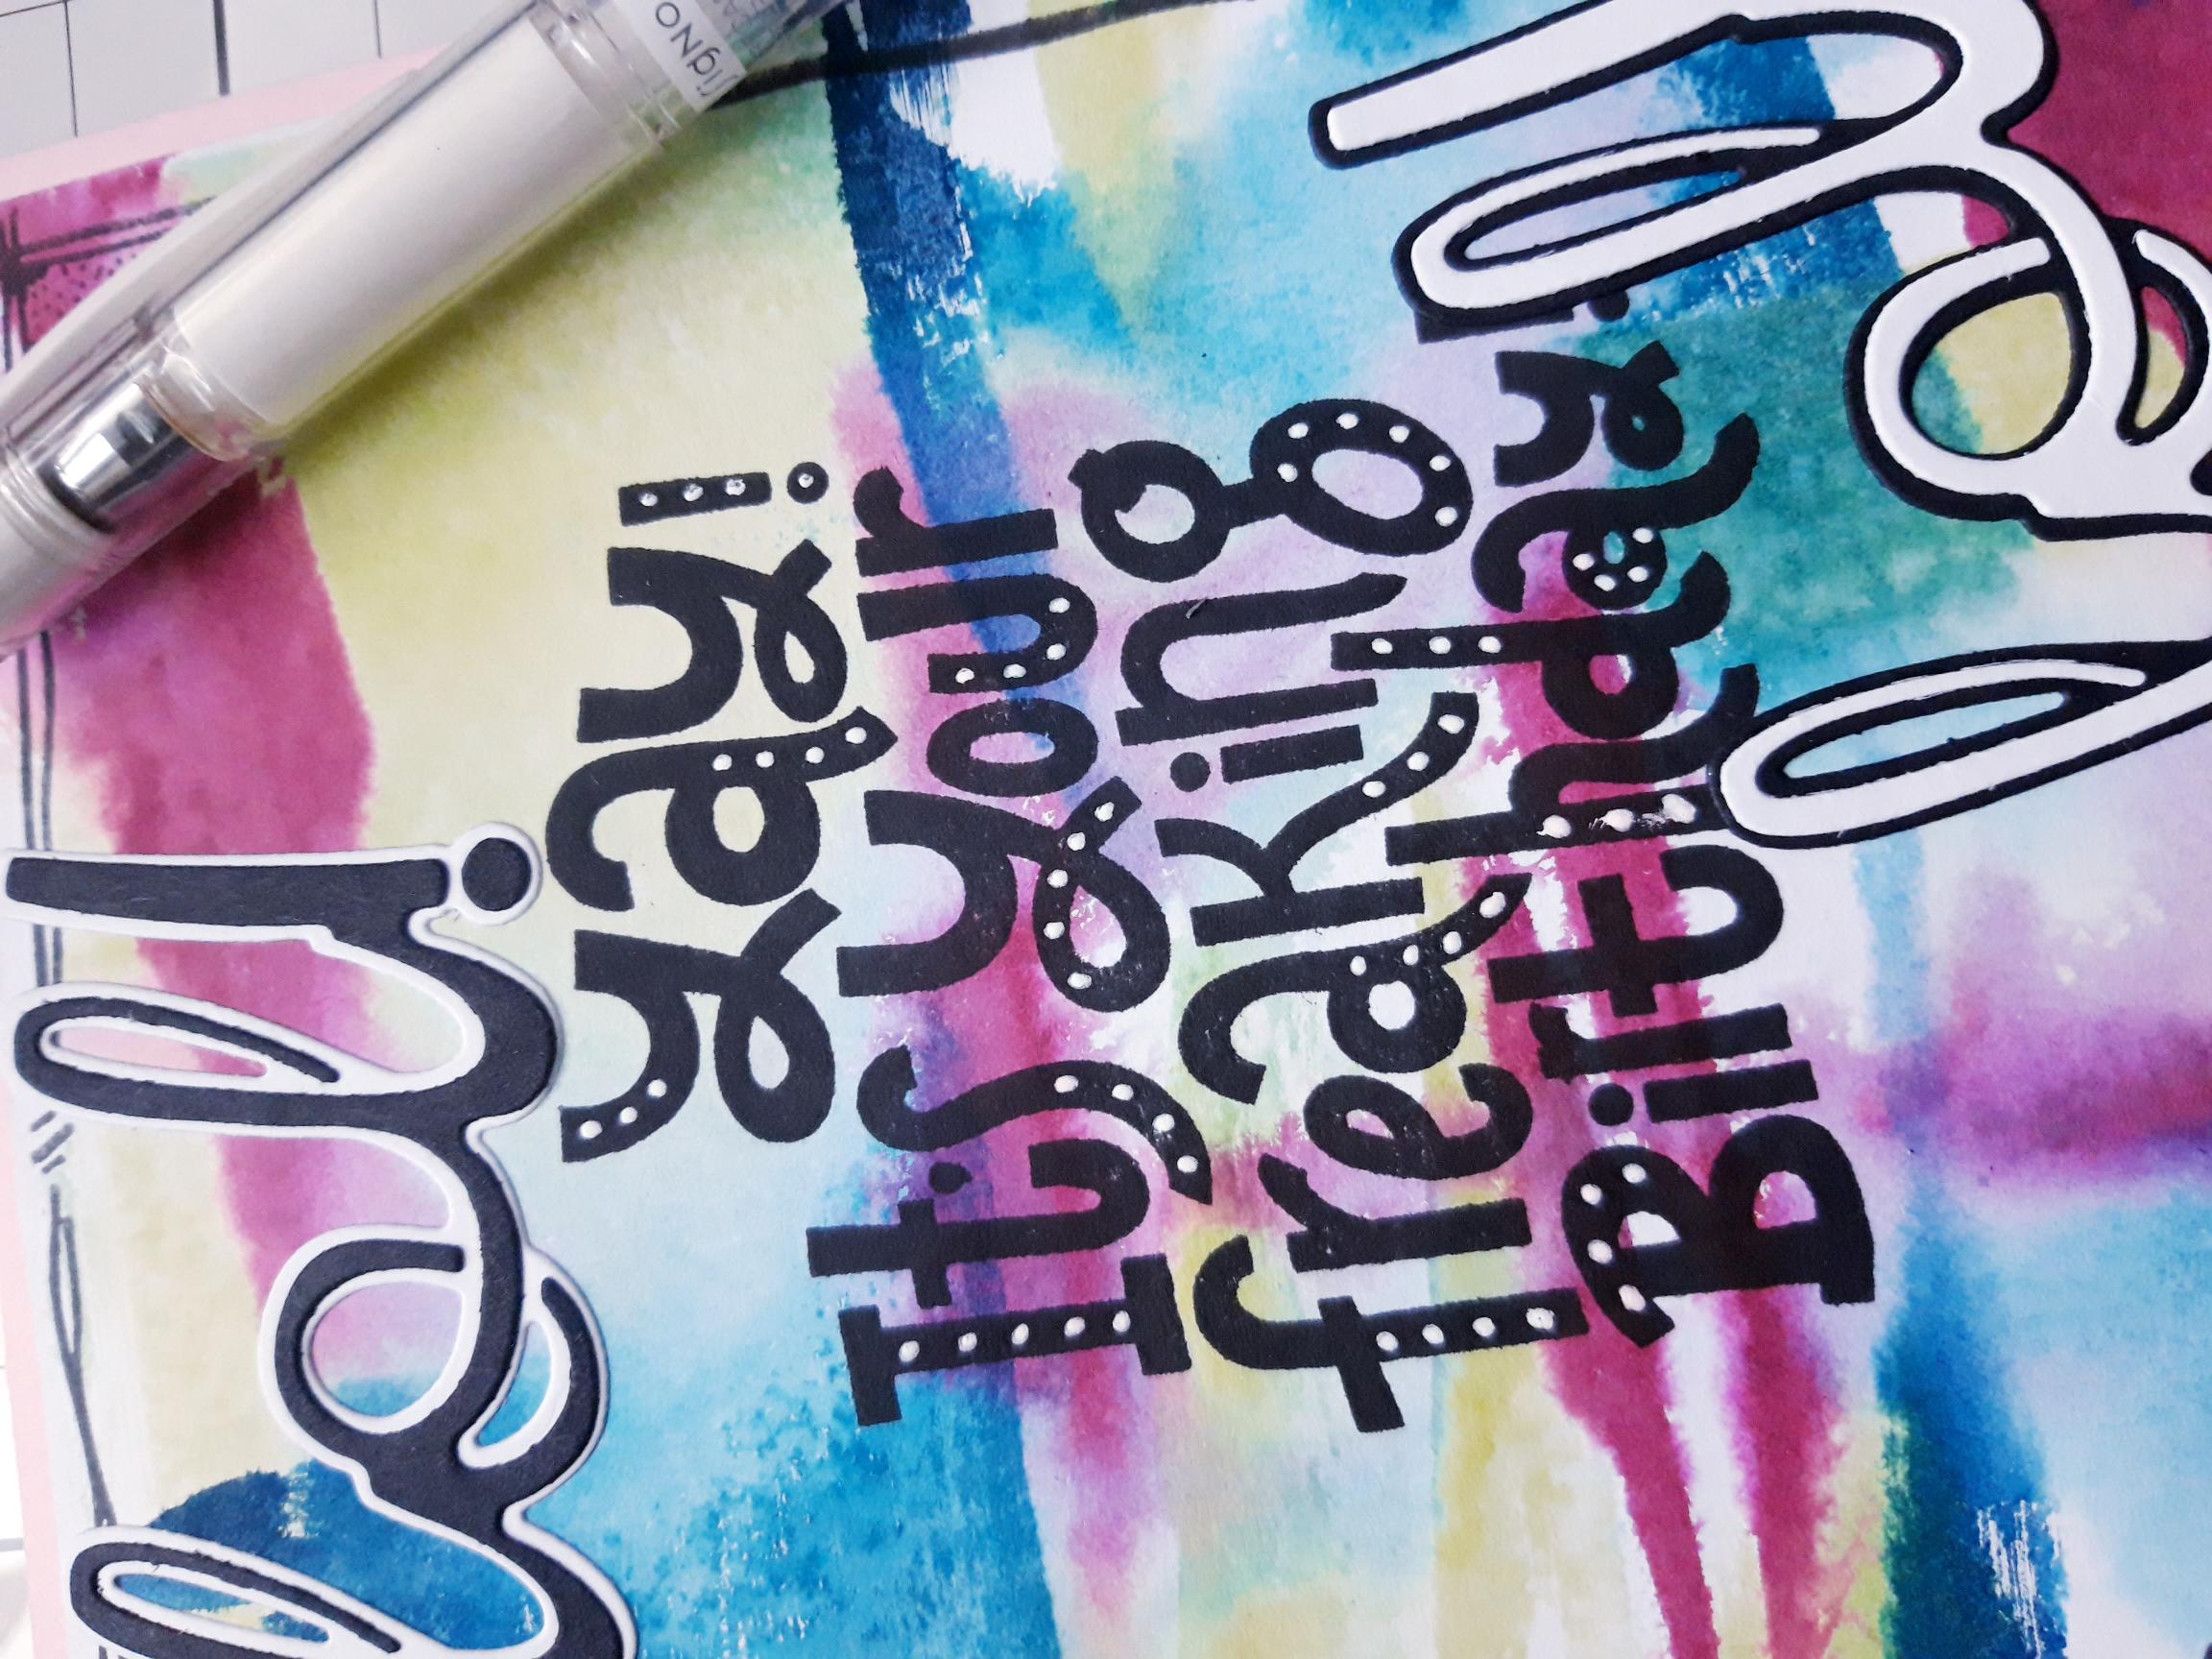
|
To finish, use a white gel pen to add decorative dots to random areas of the stamped sentiment. |