Offrez à vos amis 10 € de réduction sur leur première commande !
Parrainez un AMI








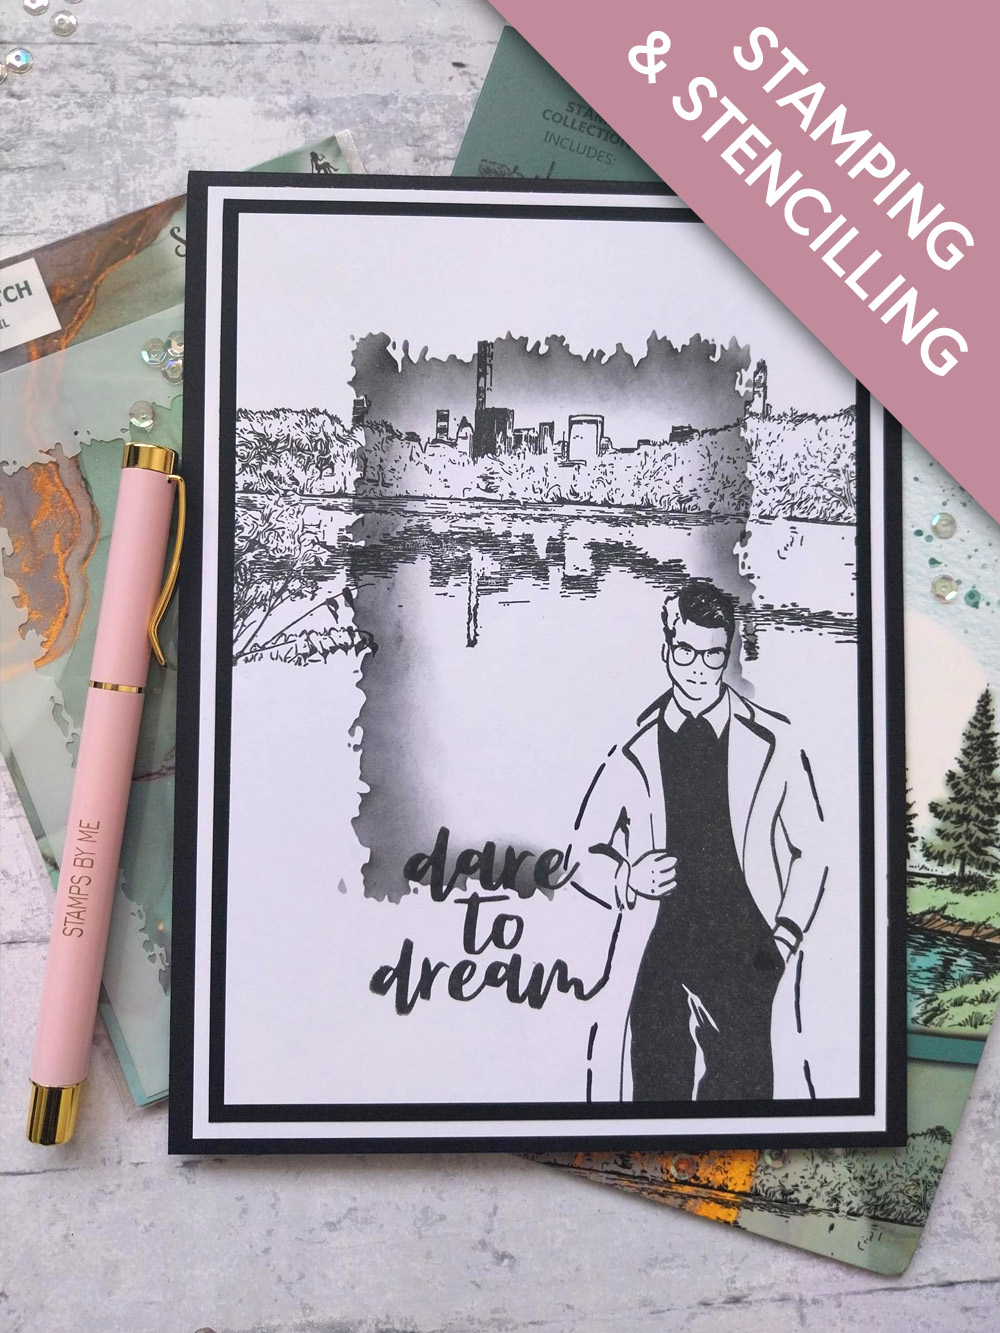
CE DONT VOUS AUREZ BESOIN :
Carte vierge noire 7 3/4 x 5 3/4"
Papier cartonné blanc 7 1/2 x 5 1/2"
Papier cartonné noir 7 1/4 x 5 1/4"
Papier cartonné blanc 7 x 5"
Pochoir Stylized Sketch
Collection de tampons Dare To Dream
Collection de tampons Imala Impossible
Encreur hybride SBM : Midnight
Distress Ink/Oxide : Black Soot
Stylos irisés Gossip : vert, bleu
Outil de mélange (blending tool)
Palette d'aquarelle Eureka 101
Tapis en verre magnétique SBM
Massicot
Colle Perfect Together
[cliquez sur l'image pour l'agrandir] 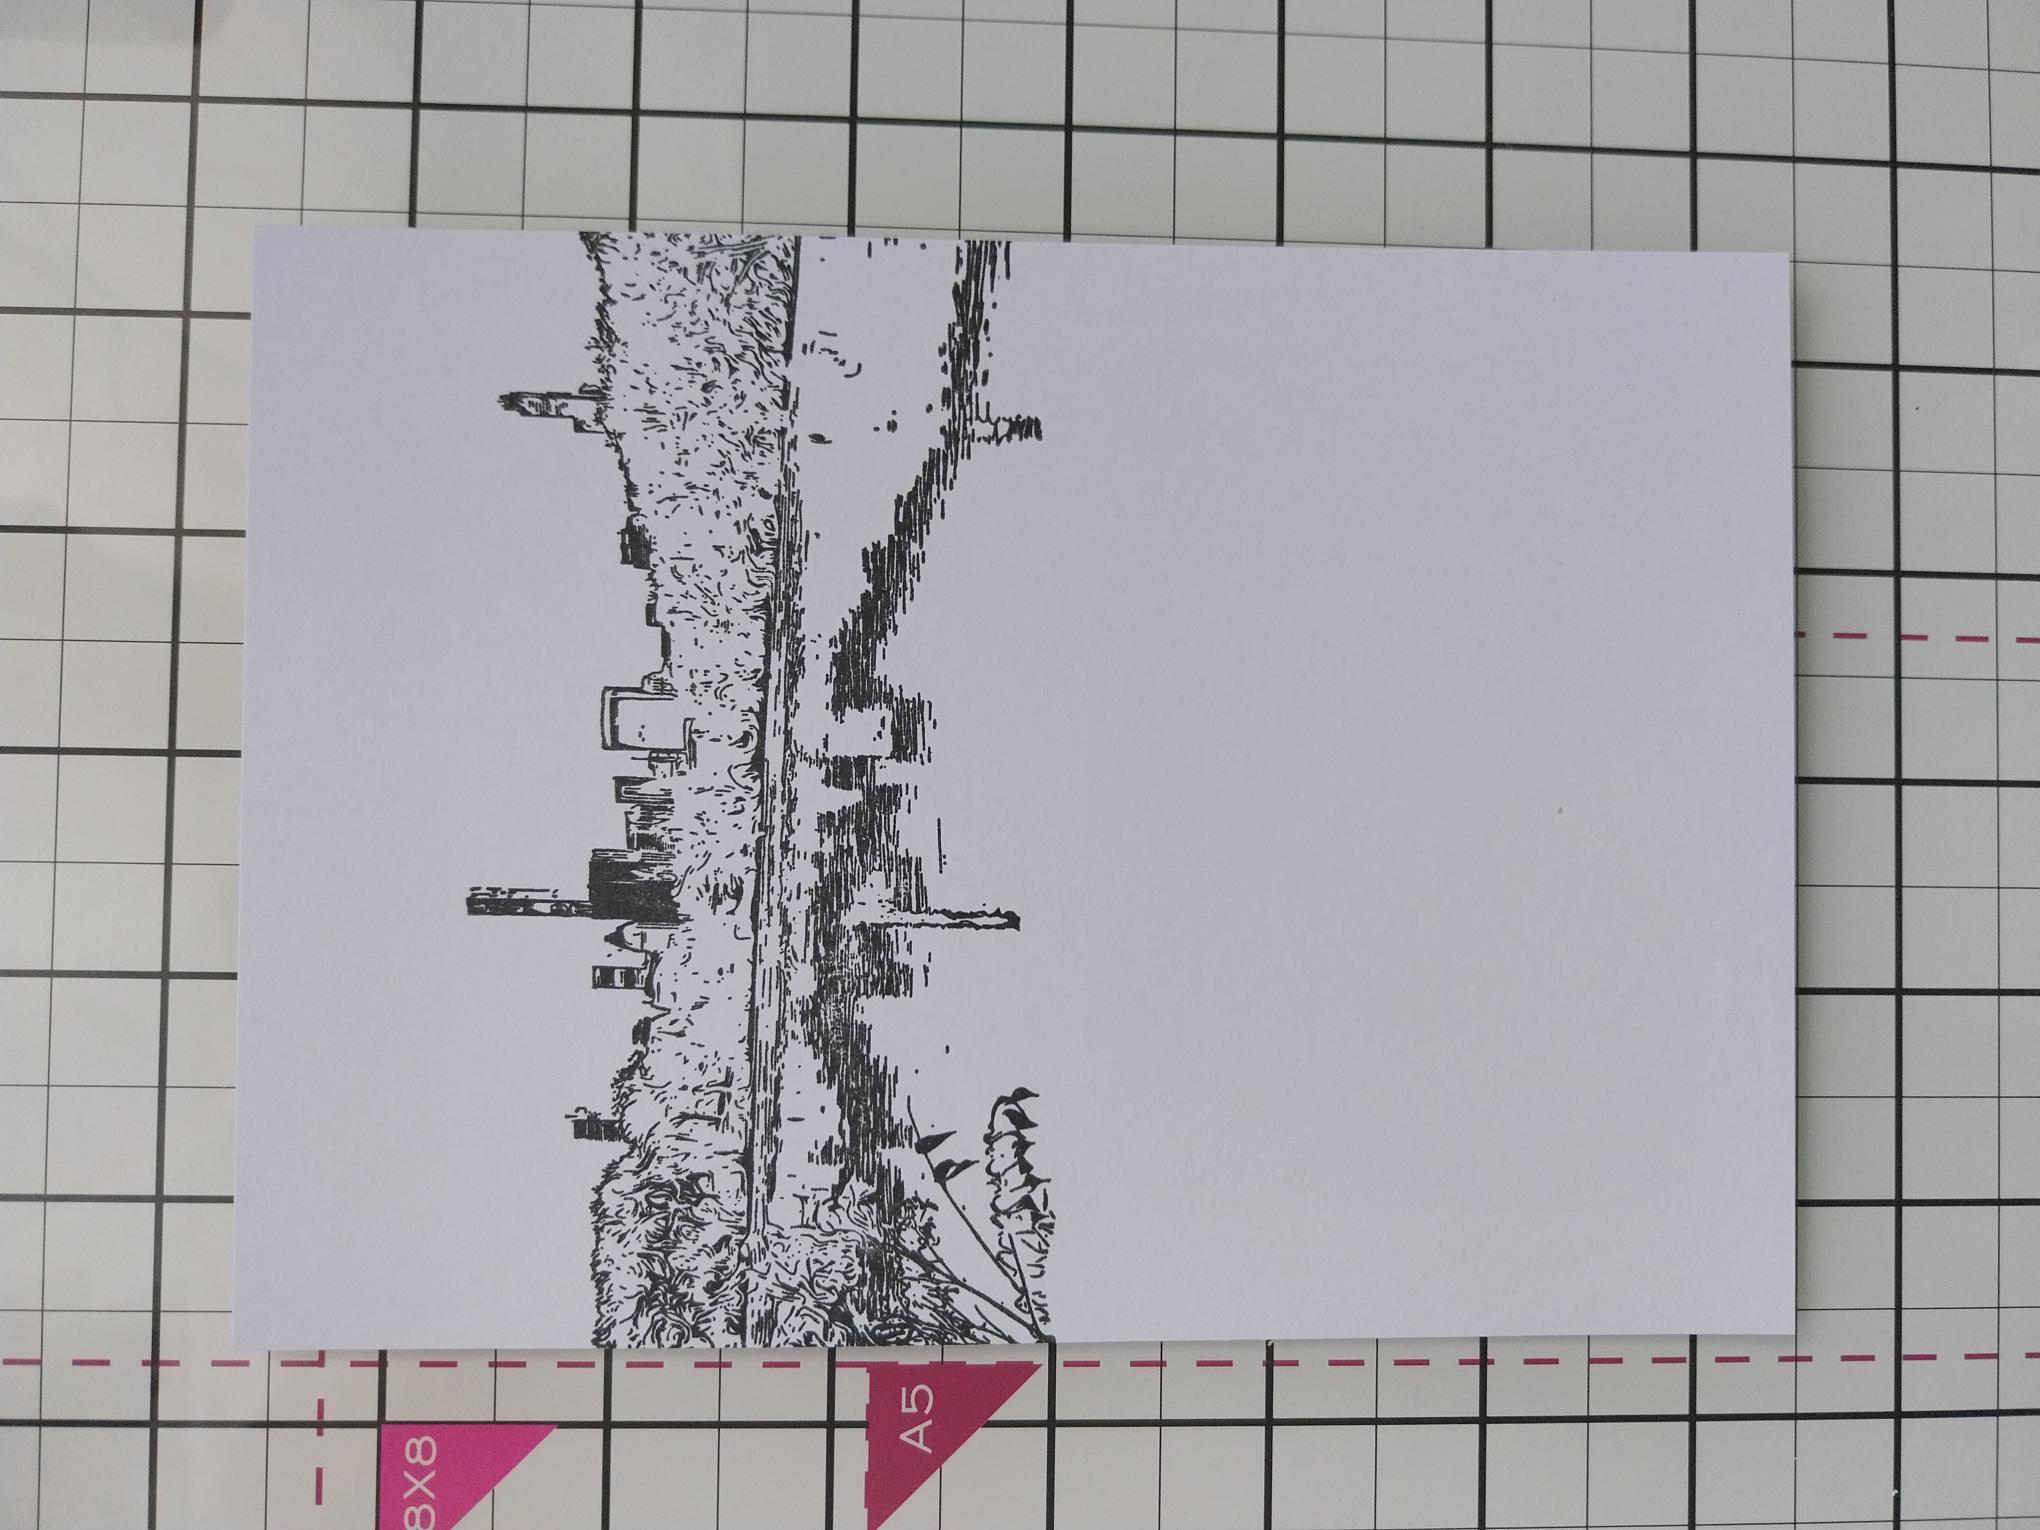
|
Ink up this reflective cityscape stamp, from Dare To Dream, with the Midnight Hybrid ink and stamp across the top third of the white card, cut to 7 x 5". |
|
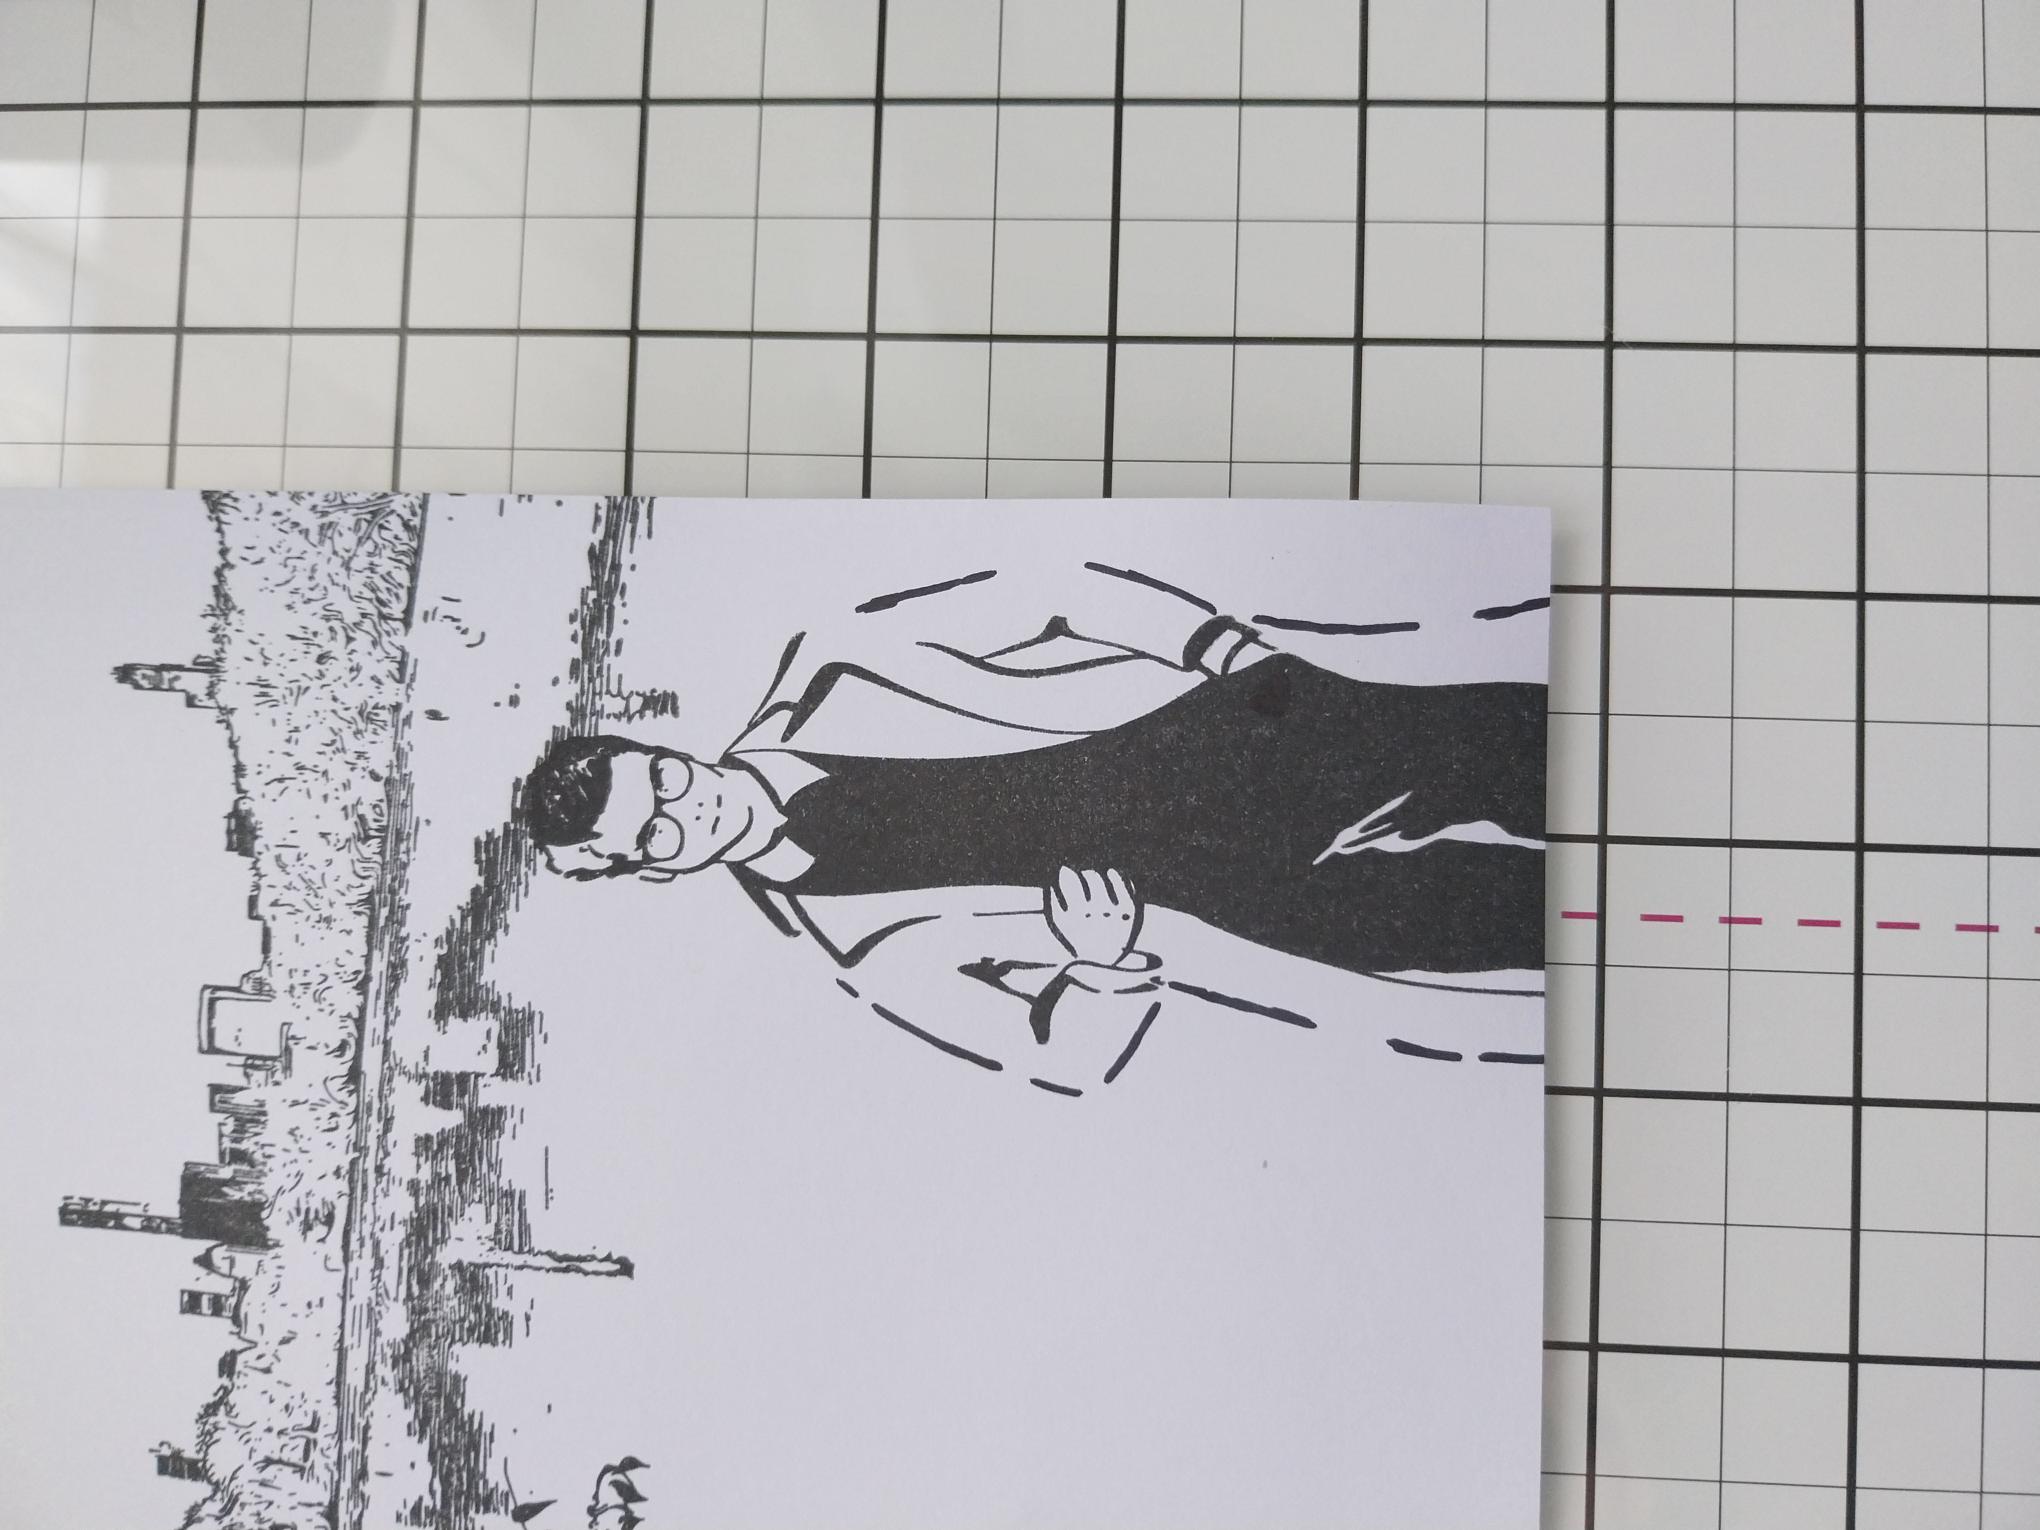
Apply Midnight ink to this lovely young man from the Imala Impossible Collection and stamp to the right of your artwork. |
|
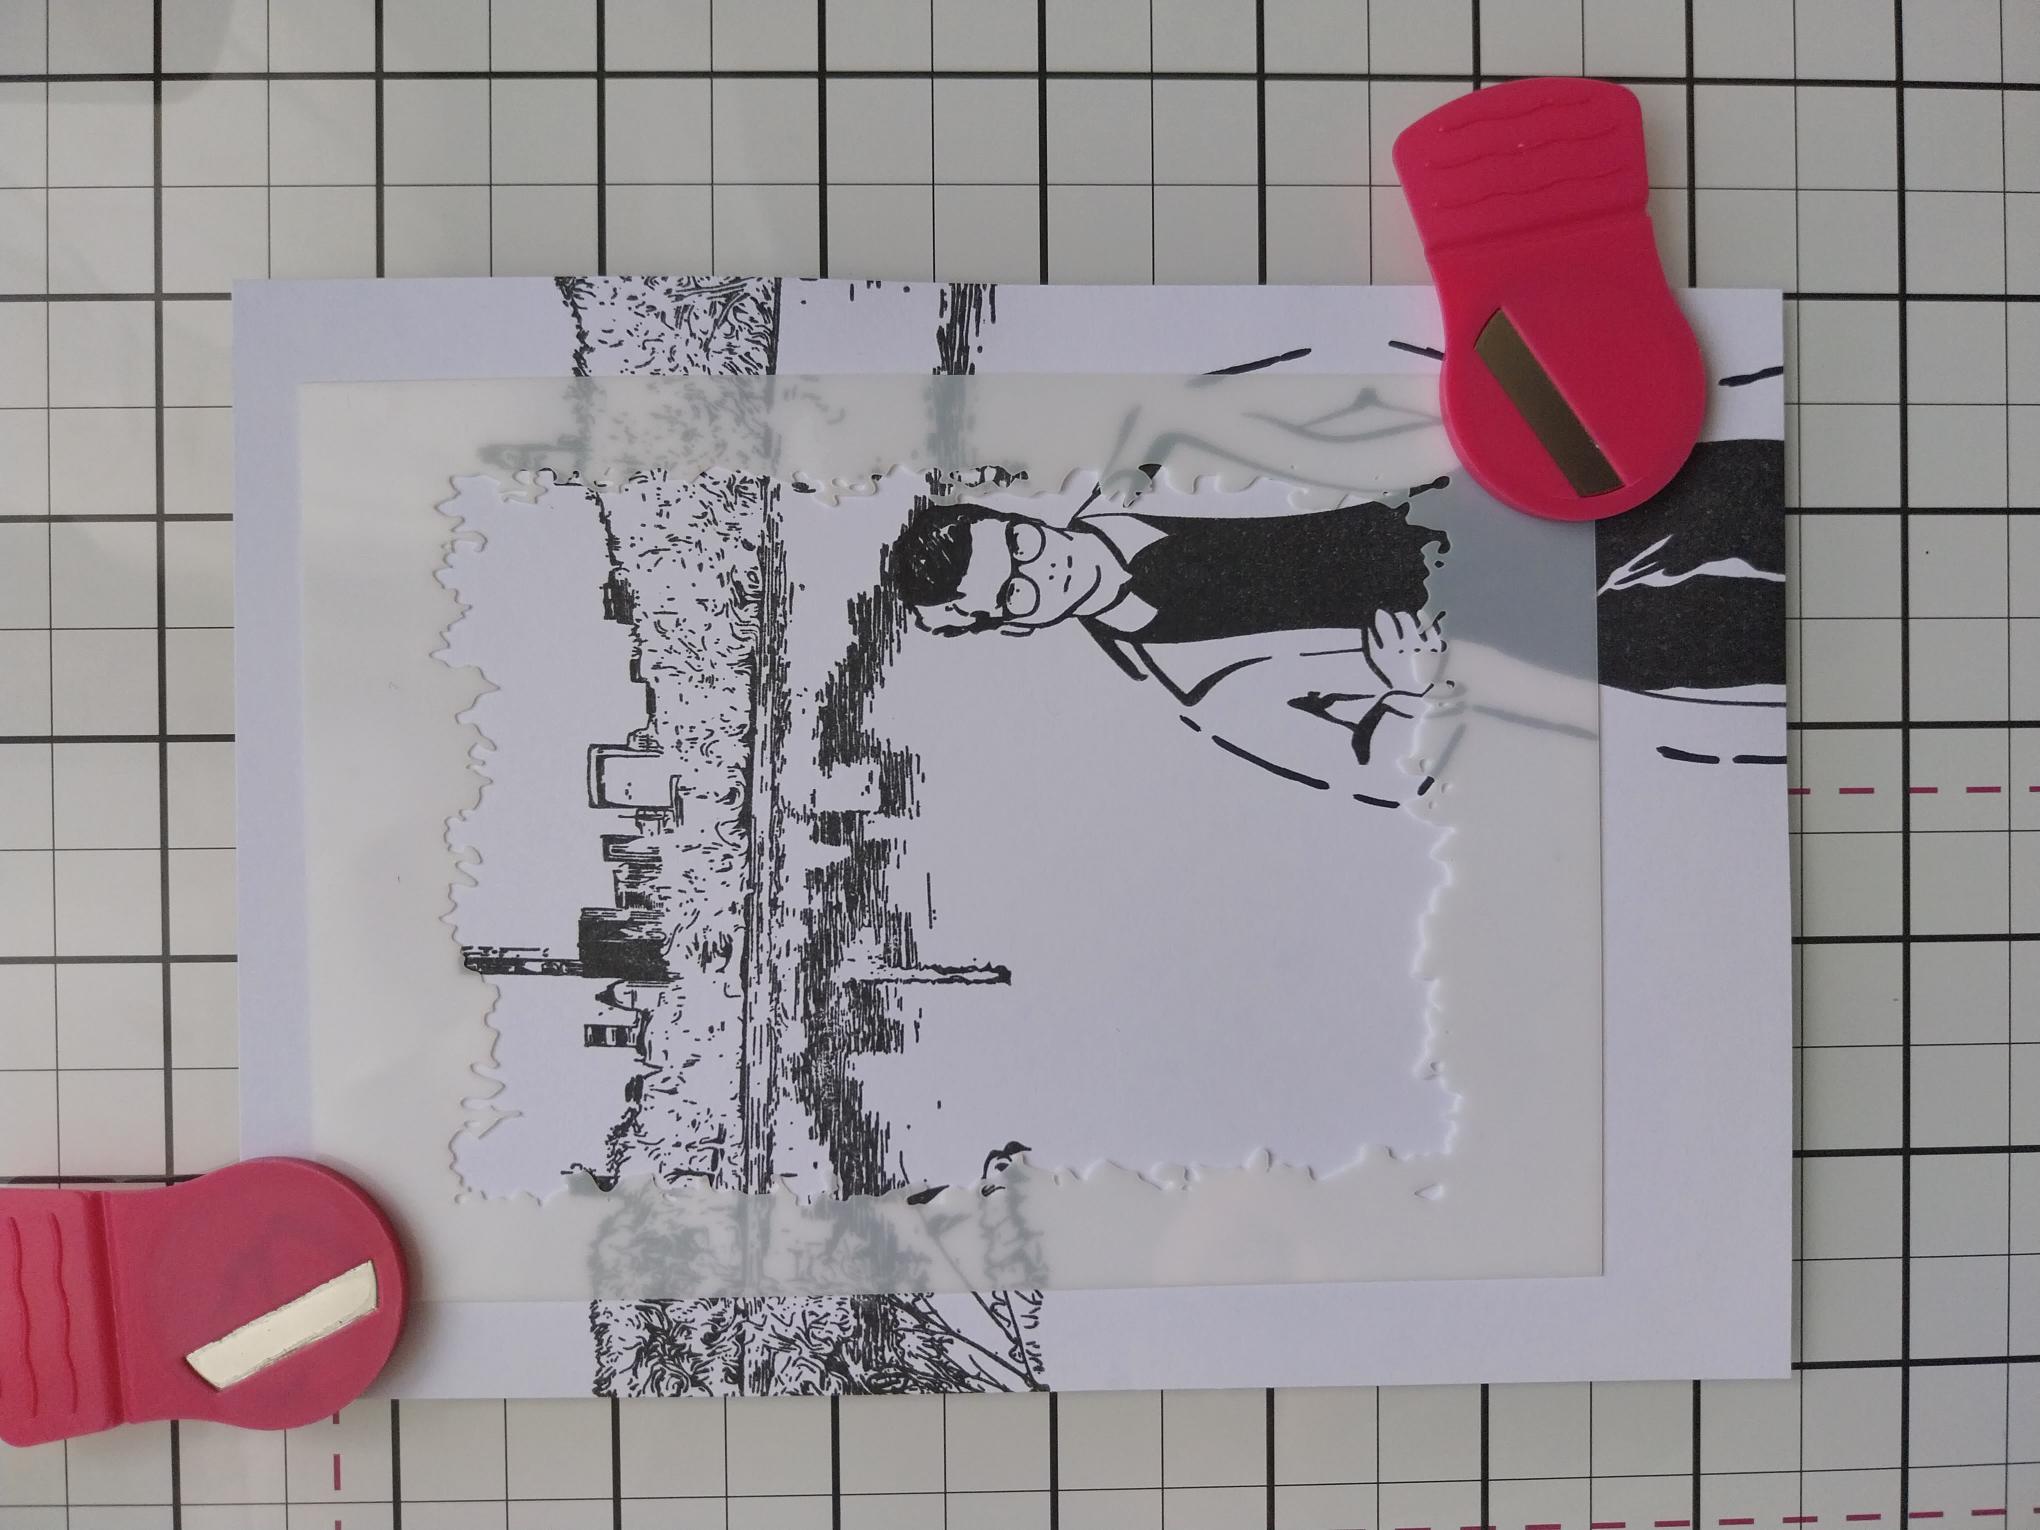
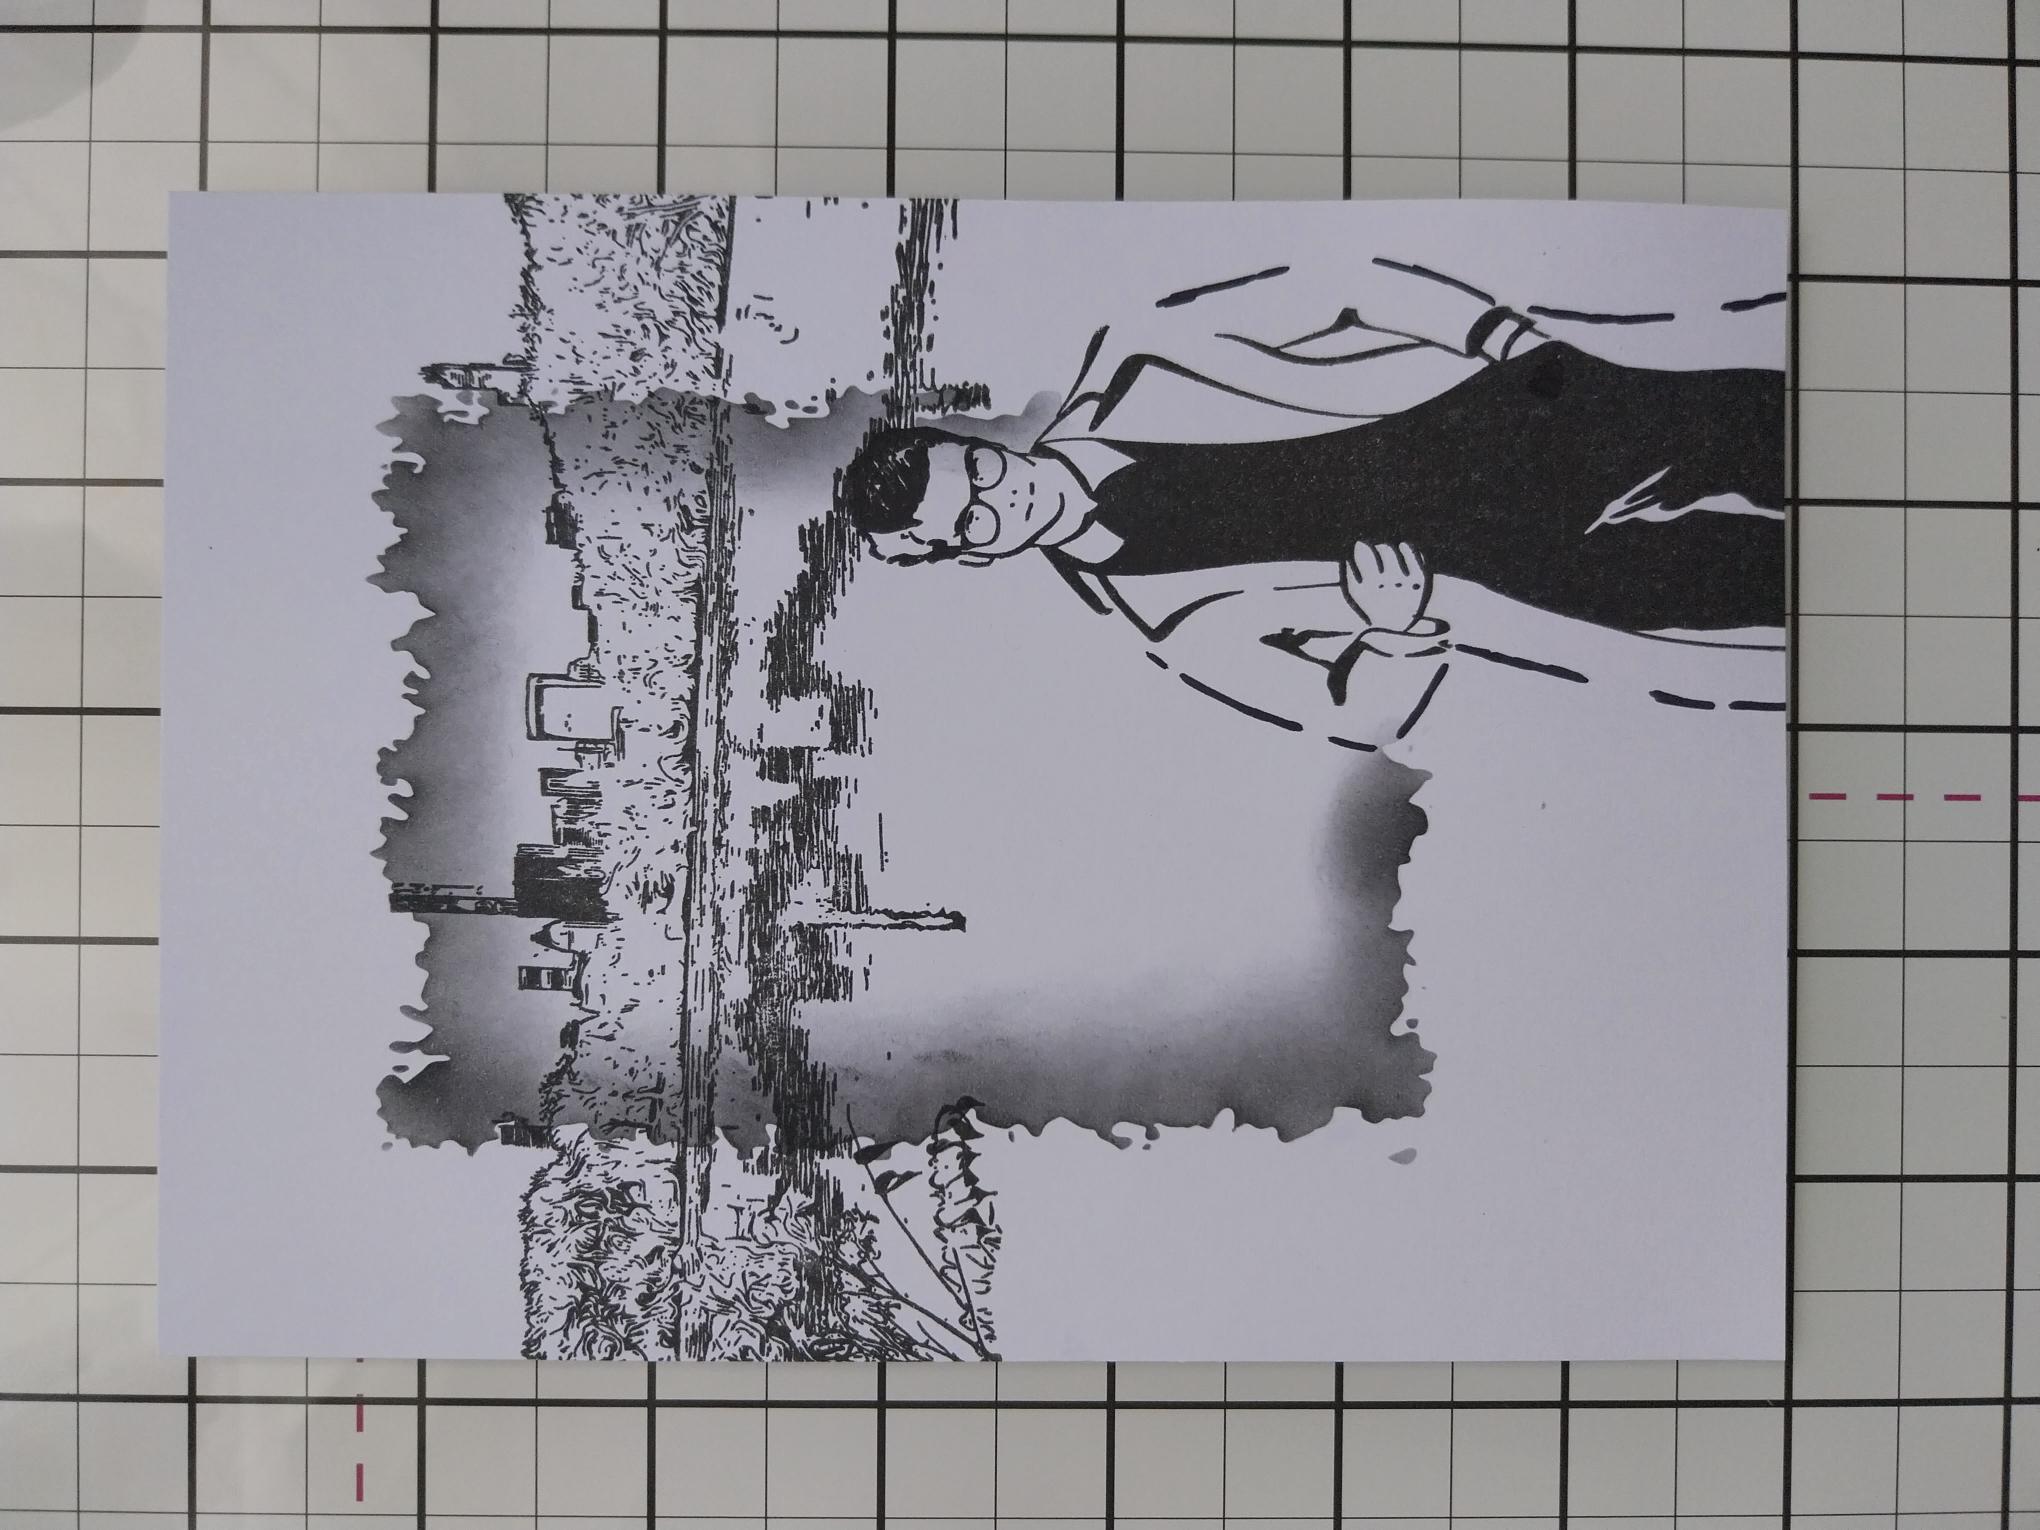
Secure the Stylized Sketch stencil verically, down the centre of your stamped artwork, with magnets or low tack tape. |
|
Use a blending tool to apply the Black Soot within the stencil frame, the colour being darker around the outer edges and fading out as you move inwards. |
|
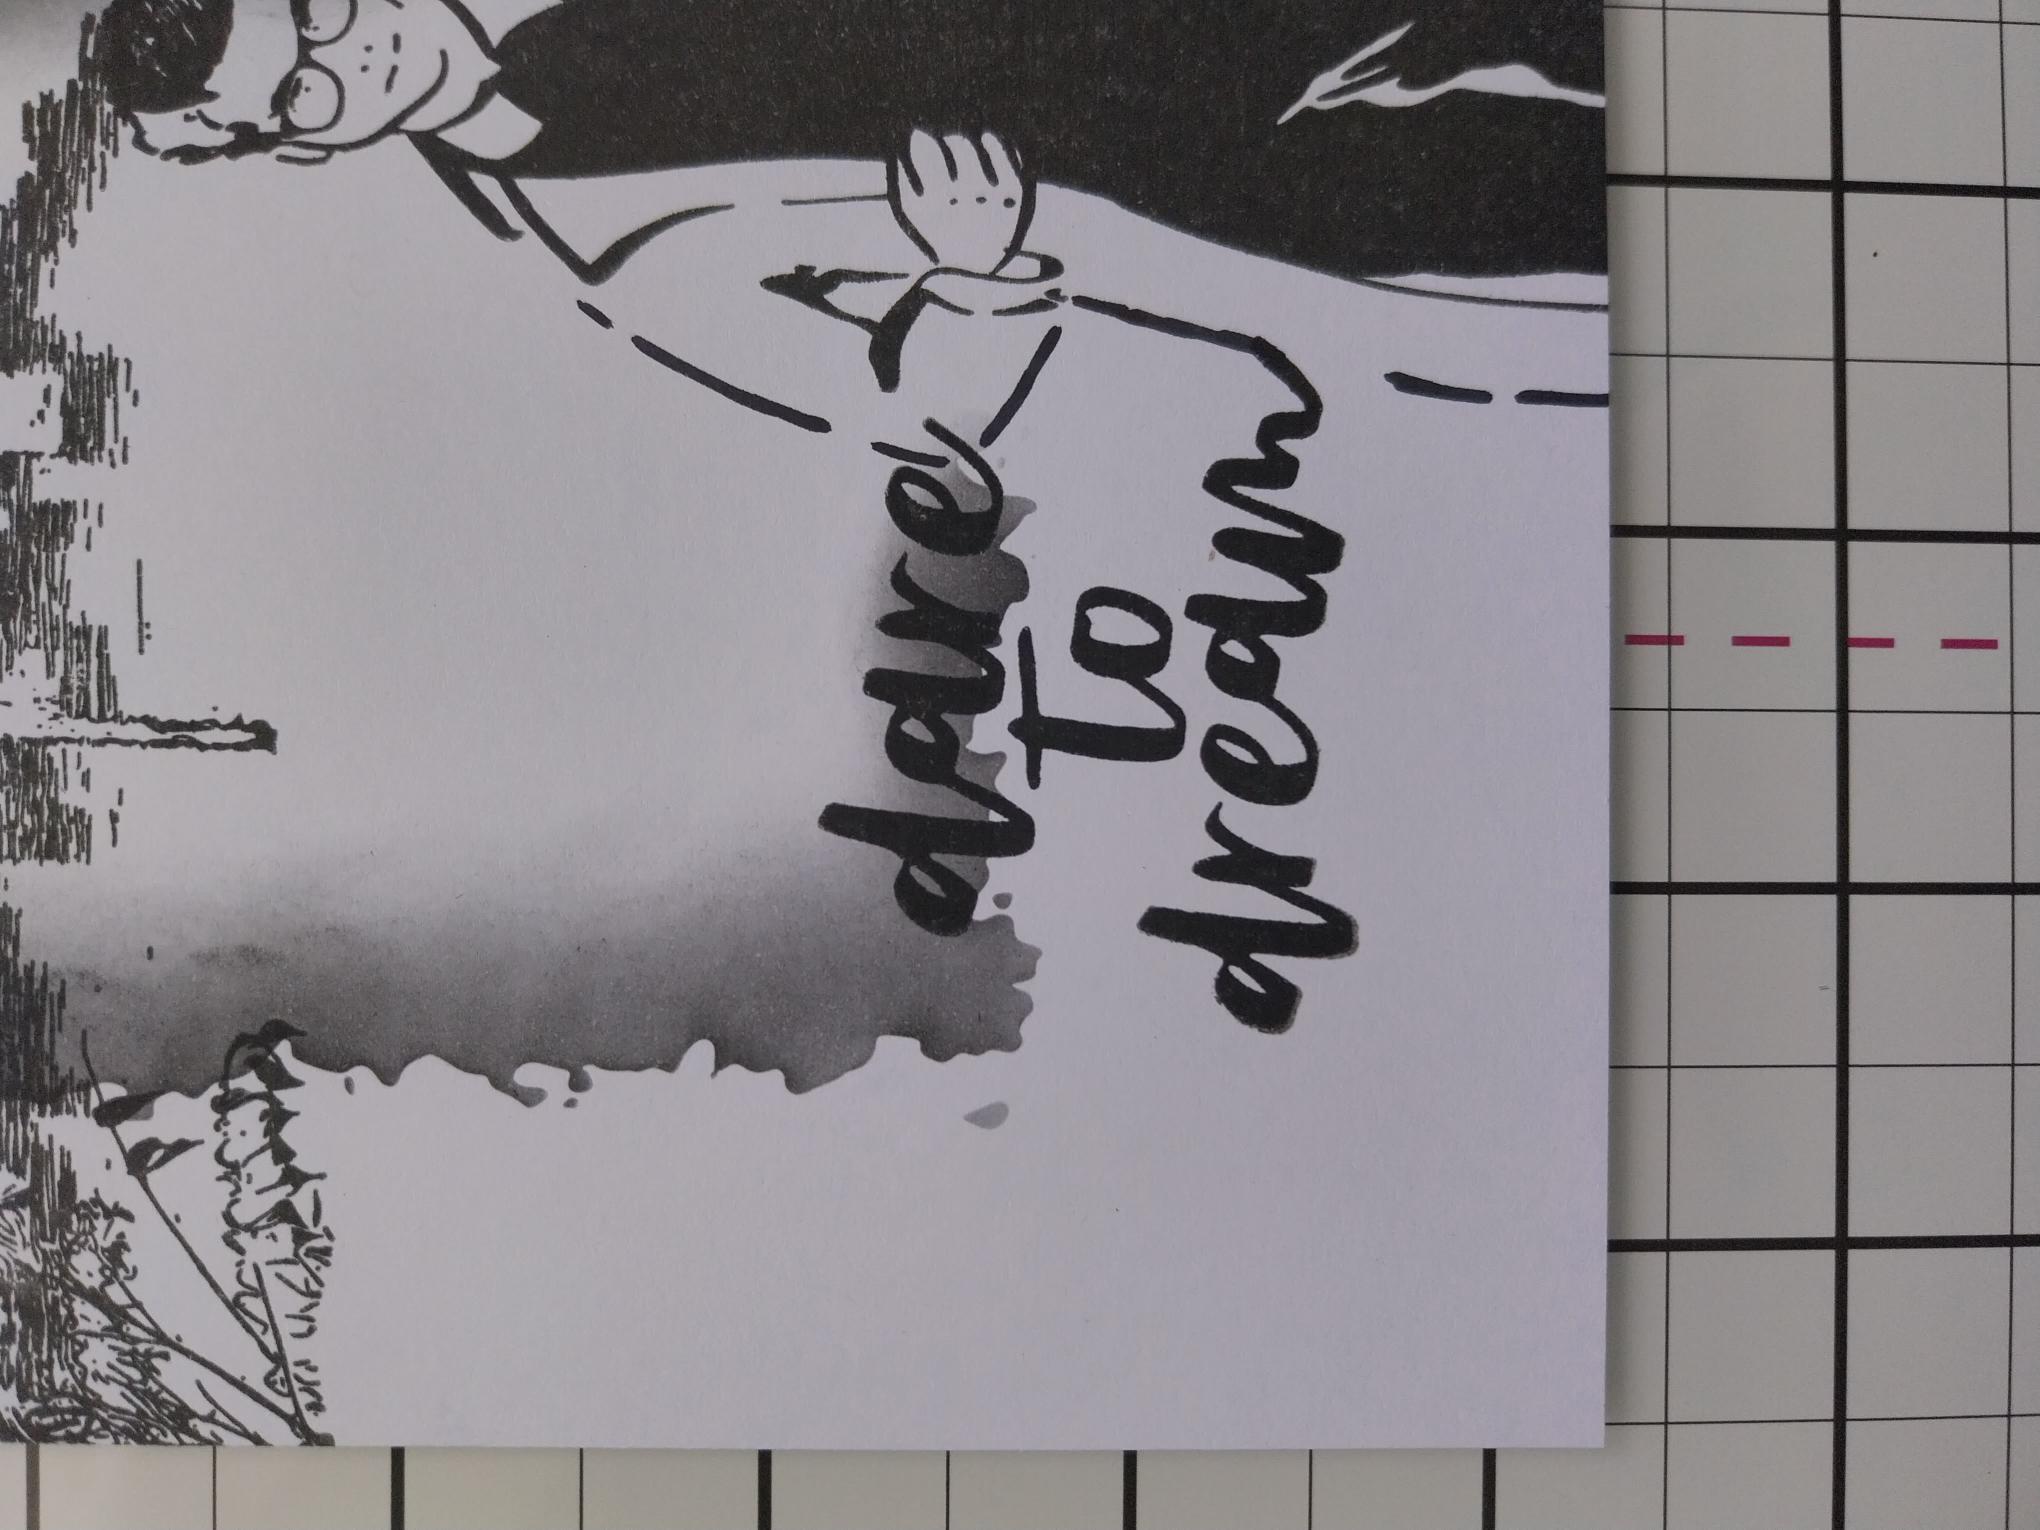
Ink up the "Dare To Dream" sentiment with Midnight, then stamp bottom left of your artwork. |
|
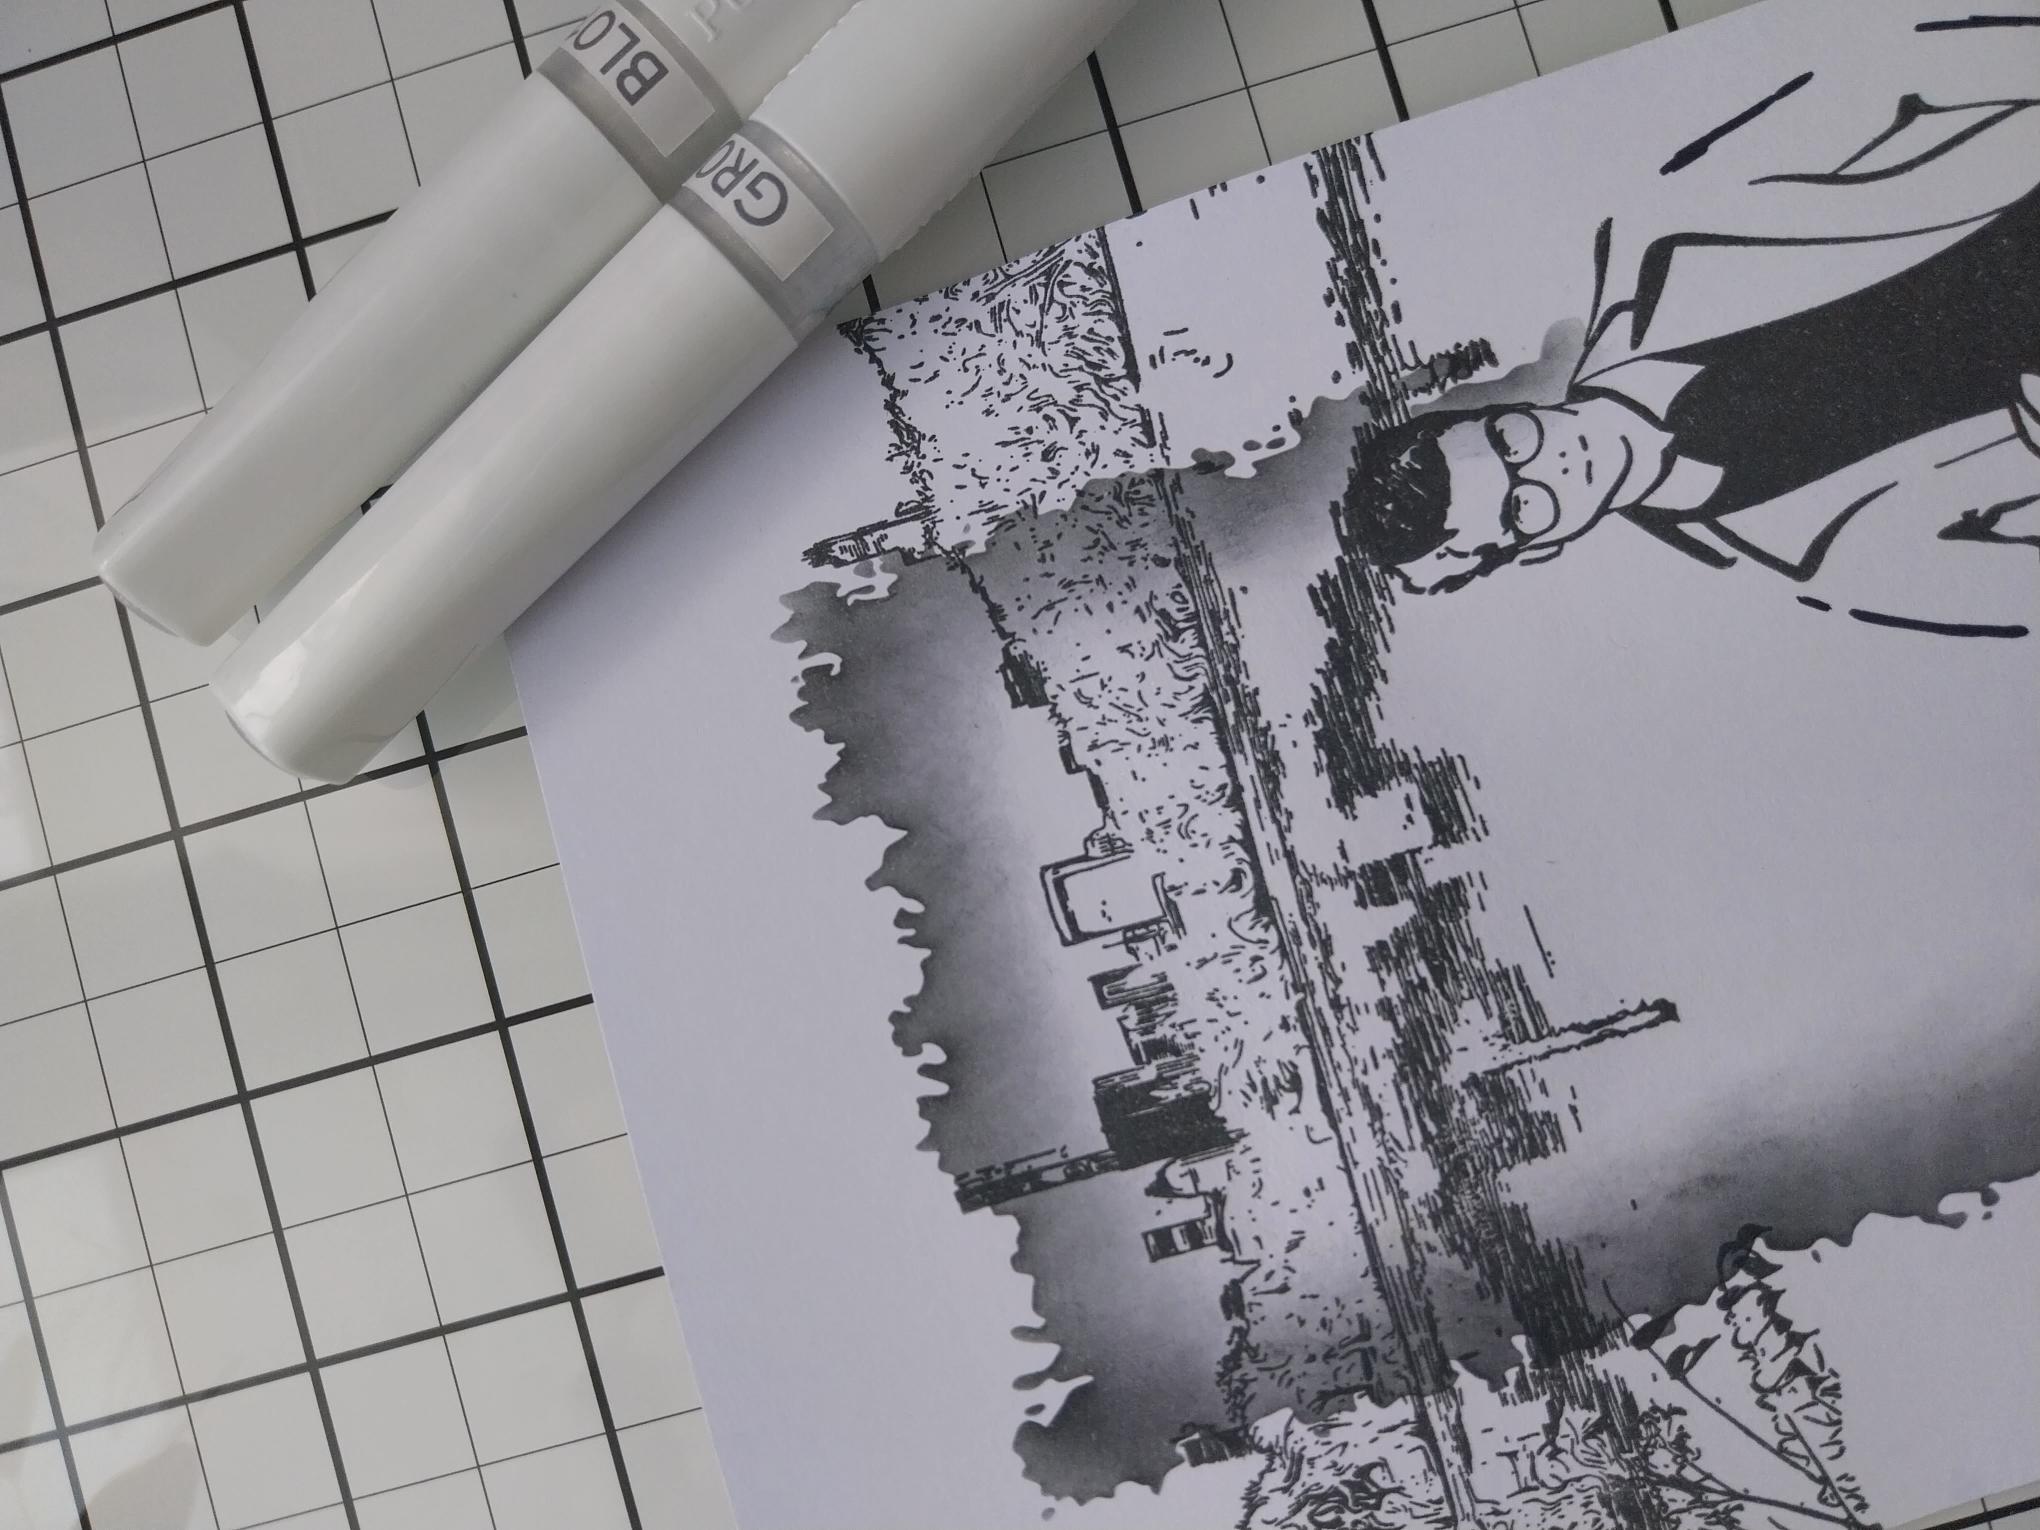
Shake the Gossip Iridescent pens to wake the glitter, then apply to your artwork where required. I added blue glitter to the water reflection and green to the greenery. |
|
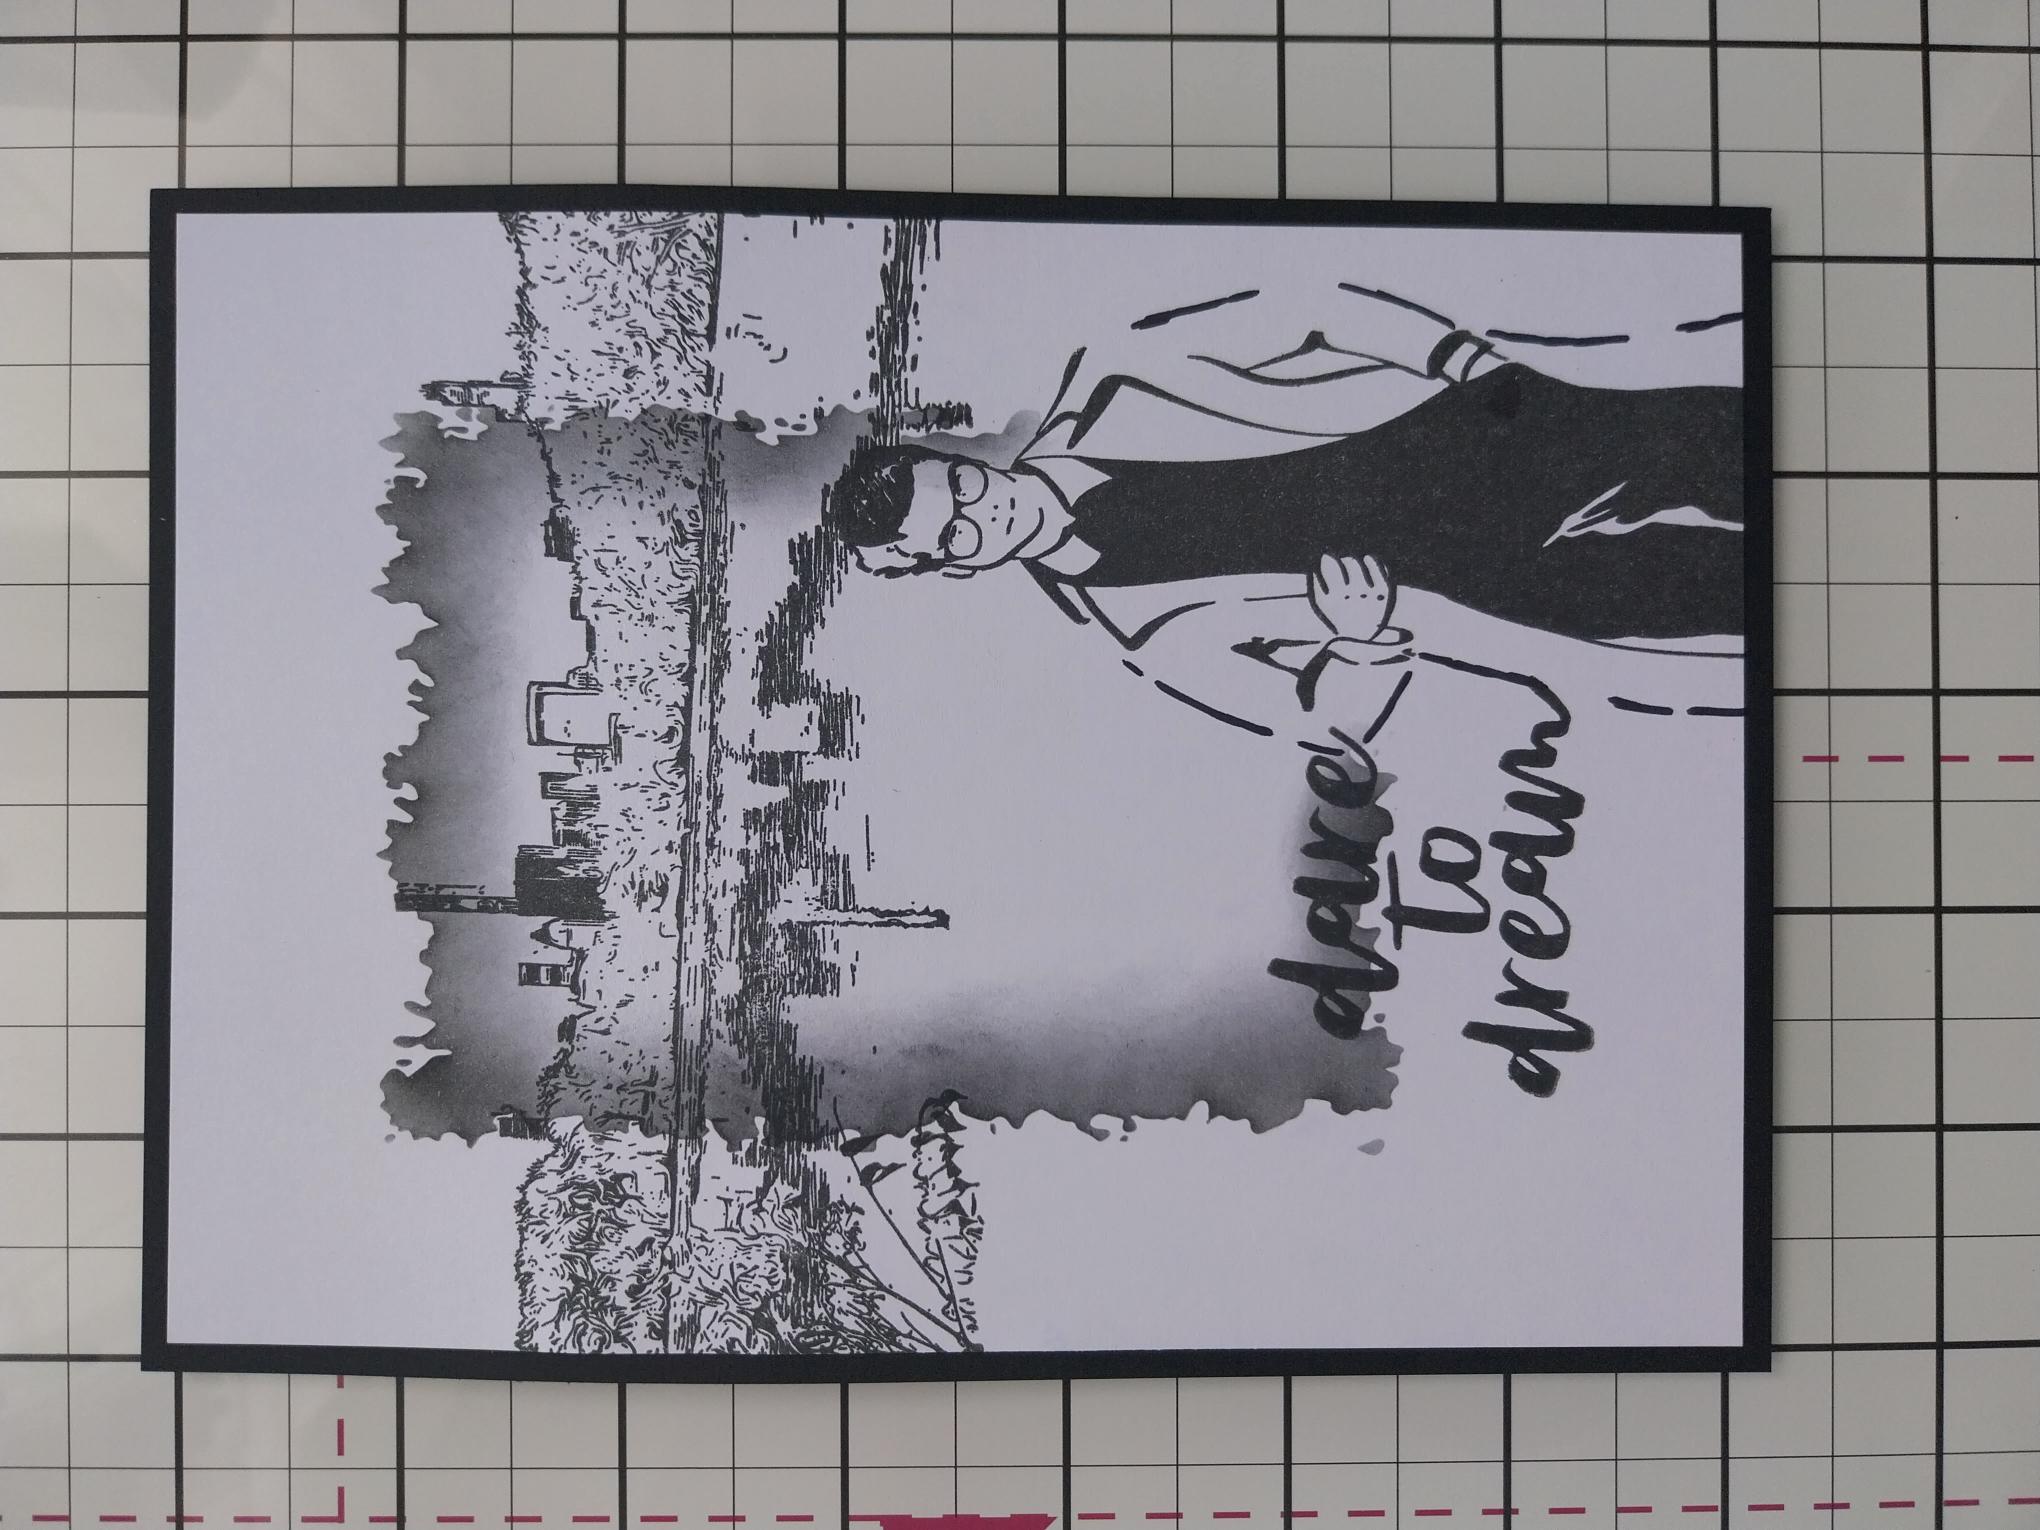
Once your artwork is dry, adhere to the black card cut to 7 1/4 x 5 1/4". |
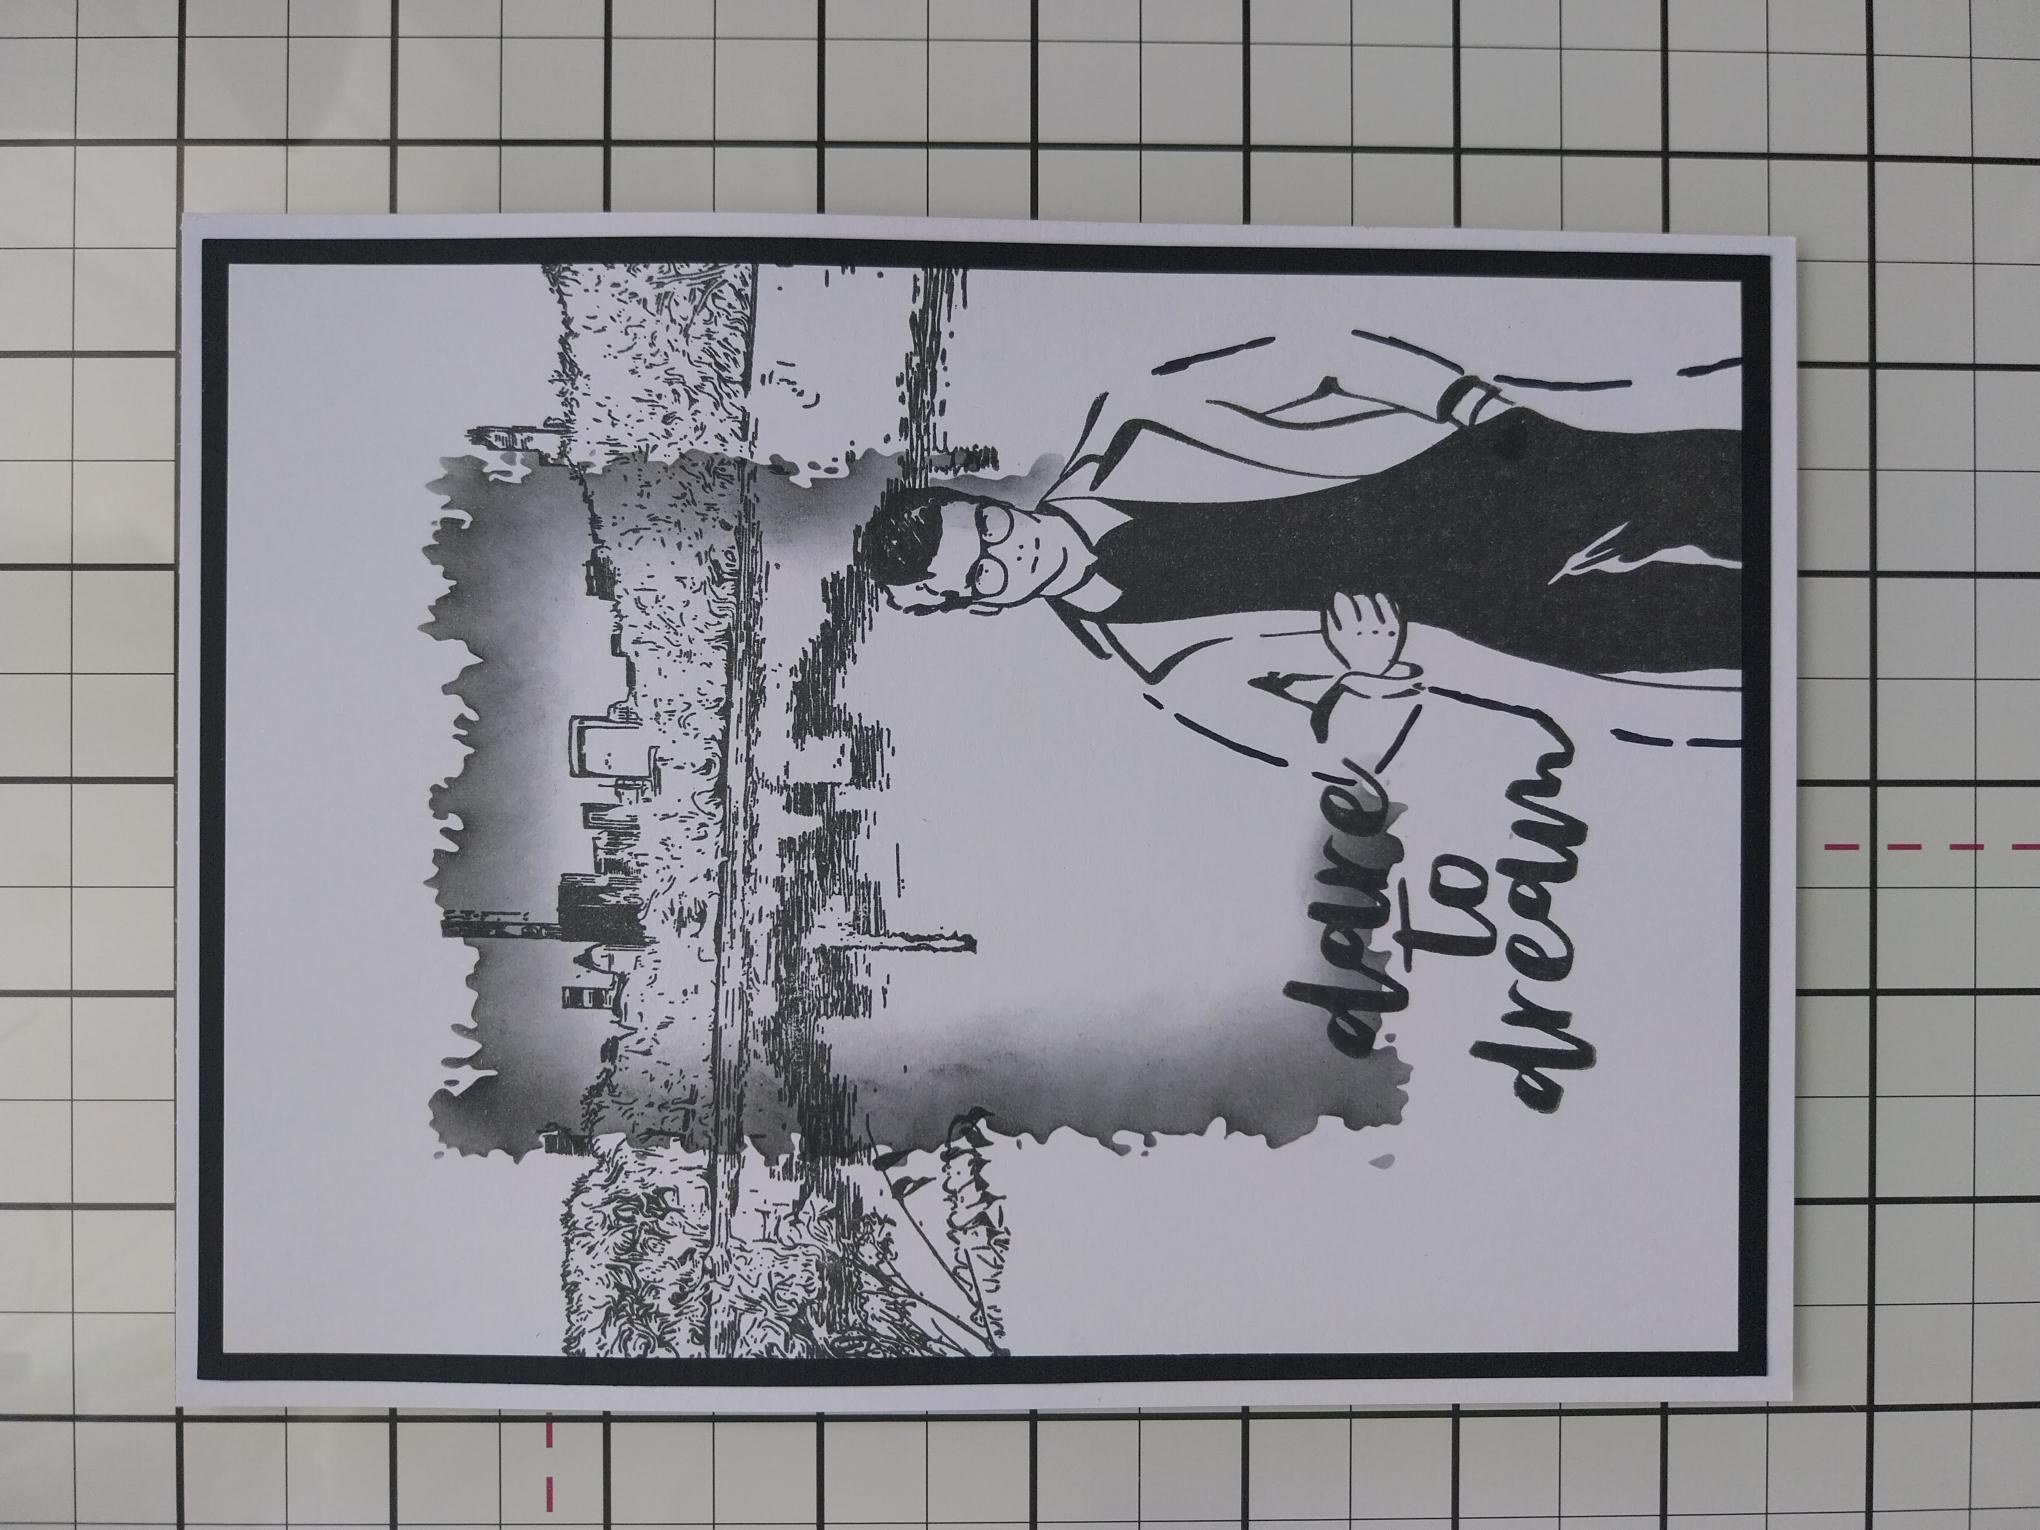
|
Adhere this on to the white card cut to 7 1/2 x 5 1/2". |
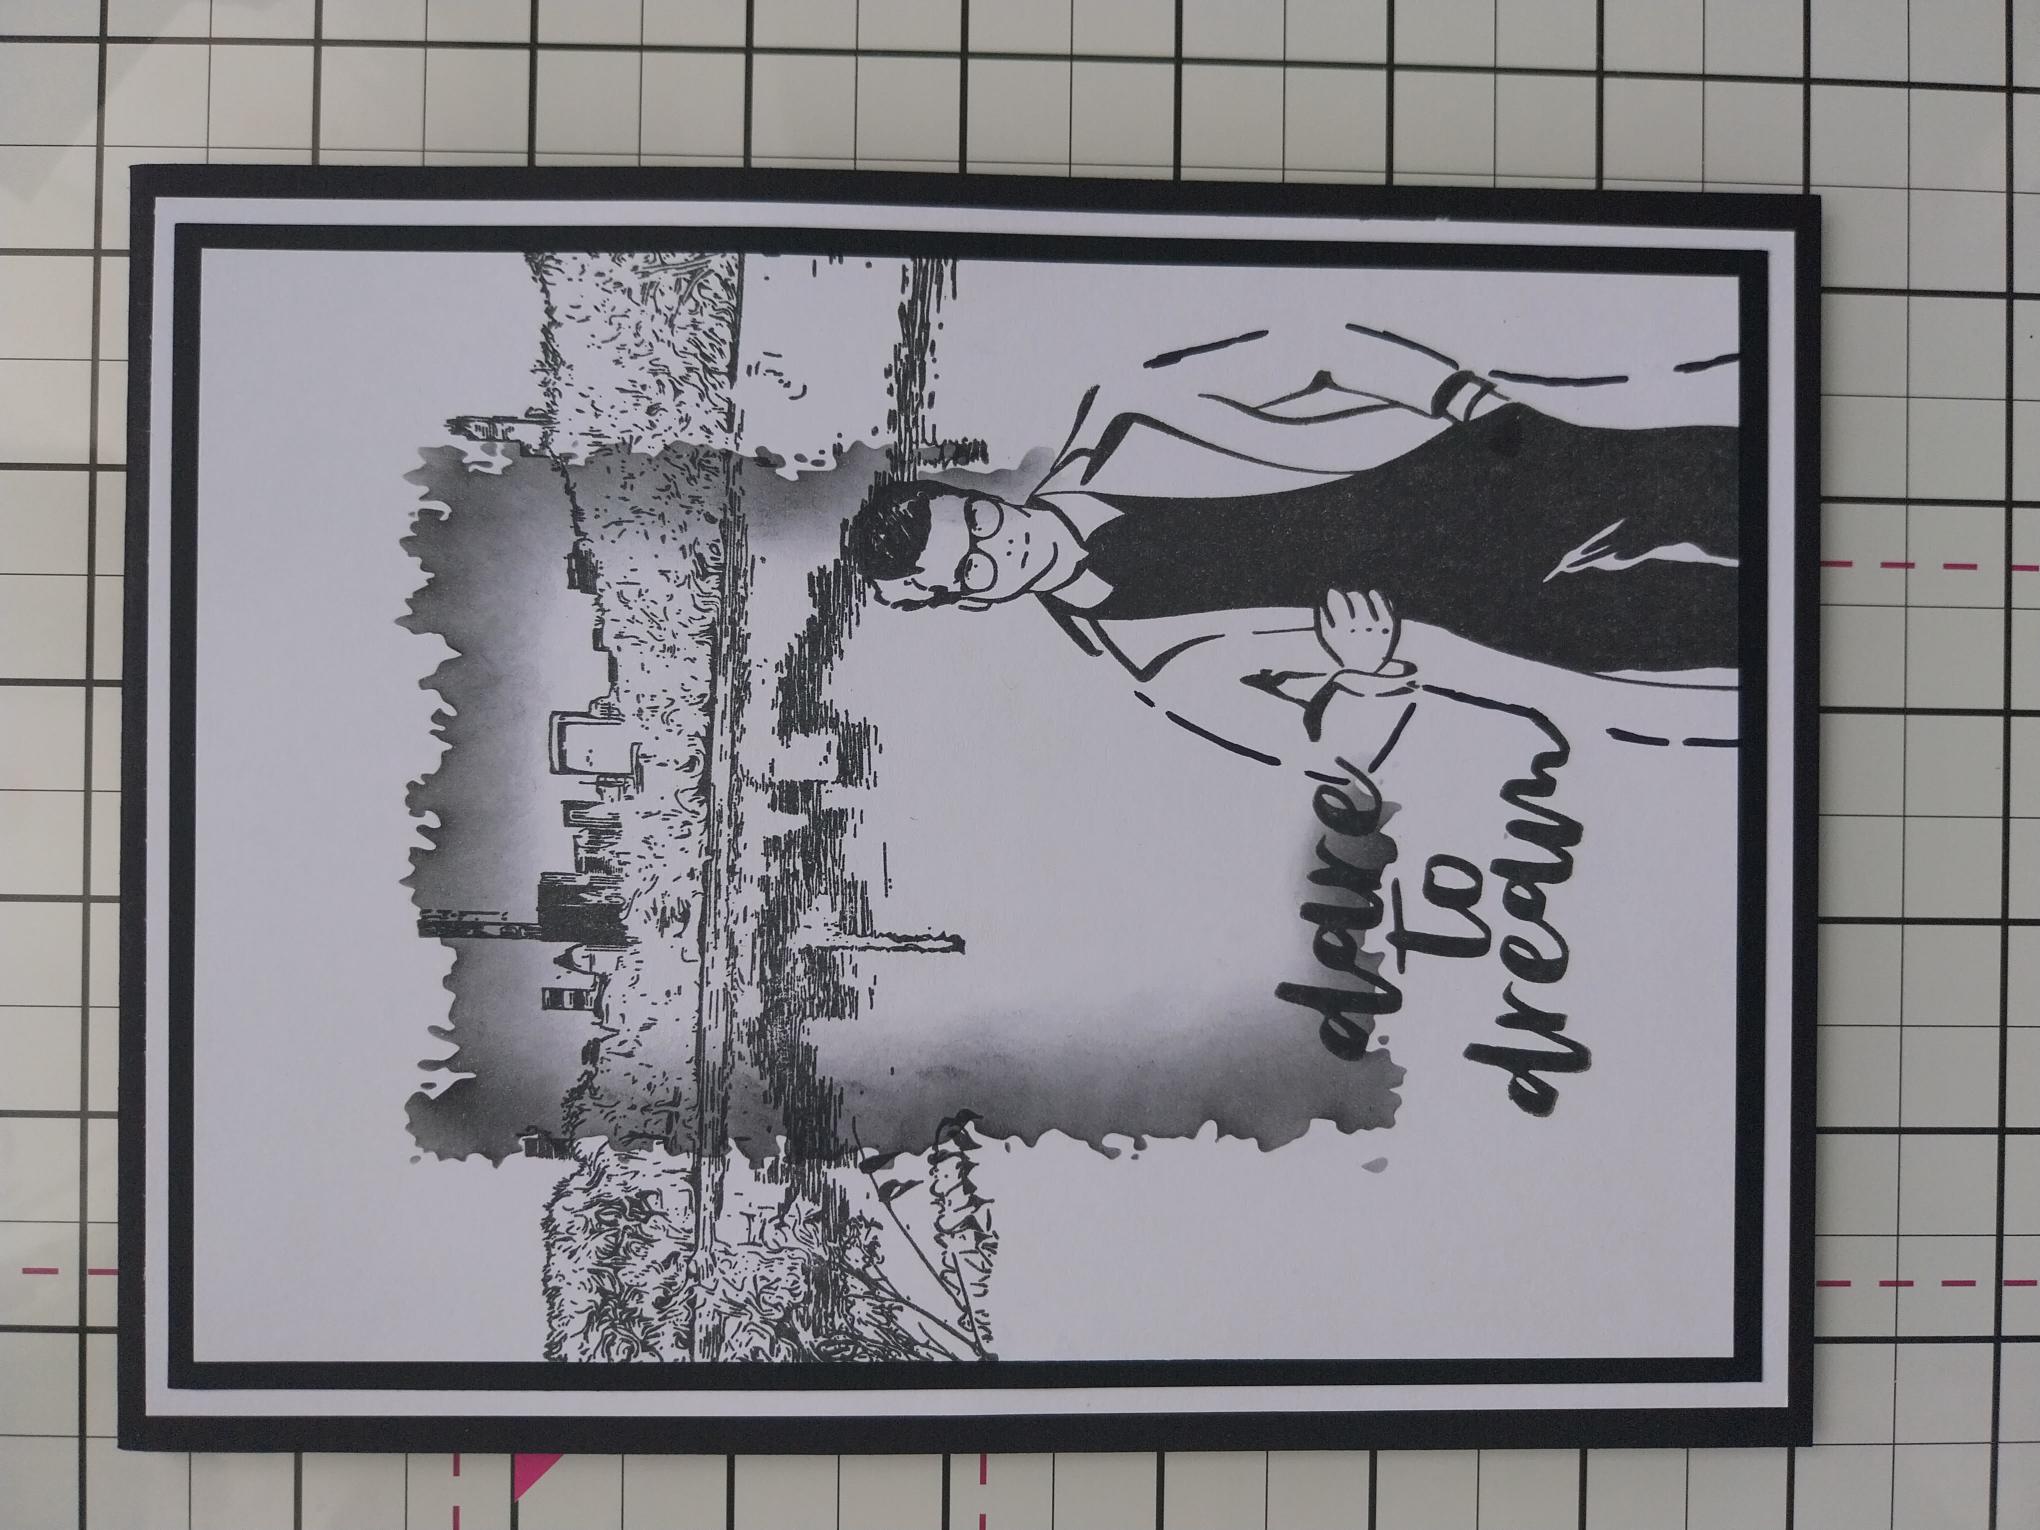
|
Adhere to your black card blank, to finish. |