Offrez à vos amis 10 € de réduction sur leur première commande !
Parrainez un AMI








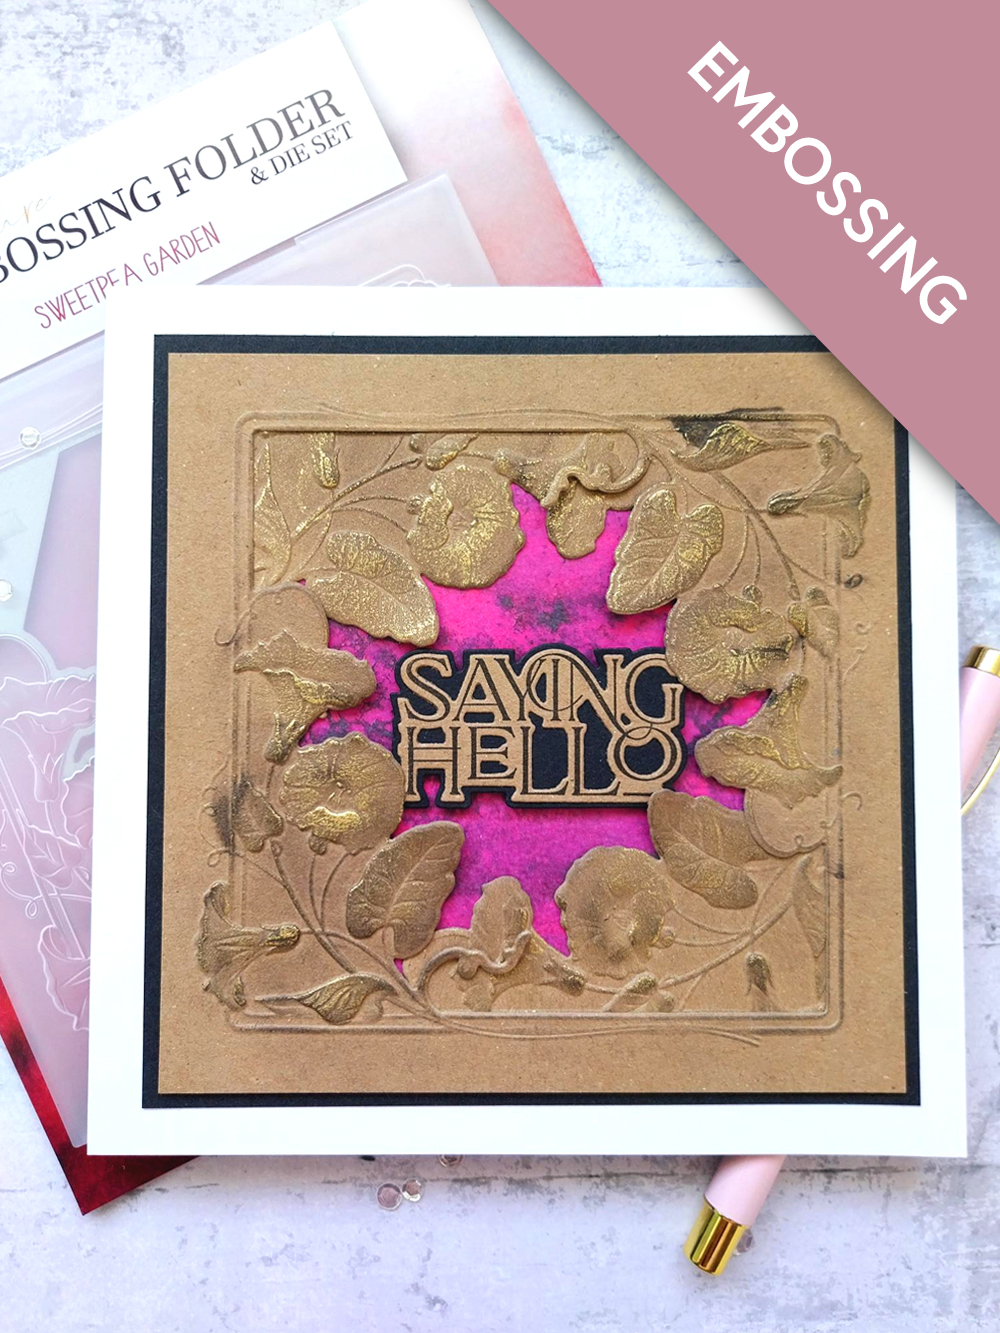
MATÉRIEL NÉCESSAIRE :
Carte vierge blanche 7 x 7"
Carte noire, carré de 6"
Carte blanche, carré de 5 1/2"
Papier cartonné kraft, carré de 5 3/4" (DEUX)
Classeur de gaufrage et matrice de découpe Sweetpea Garden
Papier calque A4 Thirsty Brush UnLtd Life In Full Colour
Collection de tampons et matrices de découpe Saying Hello
Encreur hybride SBM : Midnight
Encreur à encre dye Izink : Reglisse
Cire à dorer Pebeo : Gold
Palette d'aquarelle Eureka 101
Tapis en verre magnétique SBM
Massicot
Colle Perfect Together
Machine de découpe
[cliquez sur l'image pour l'agrandir] 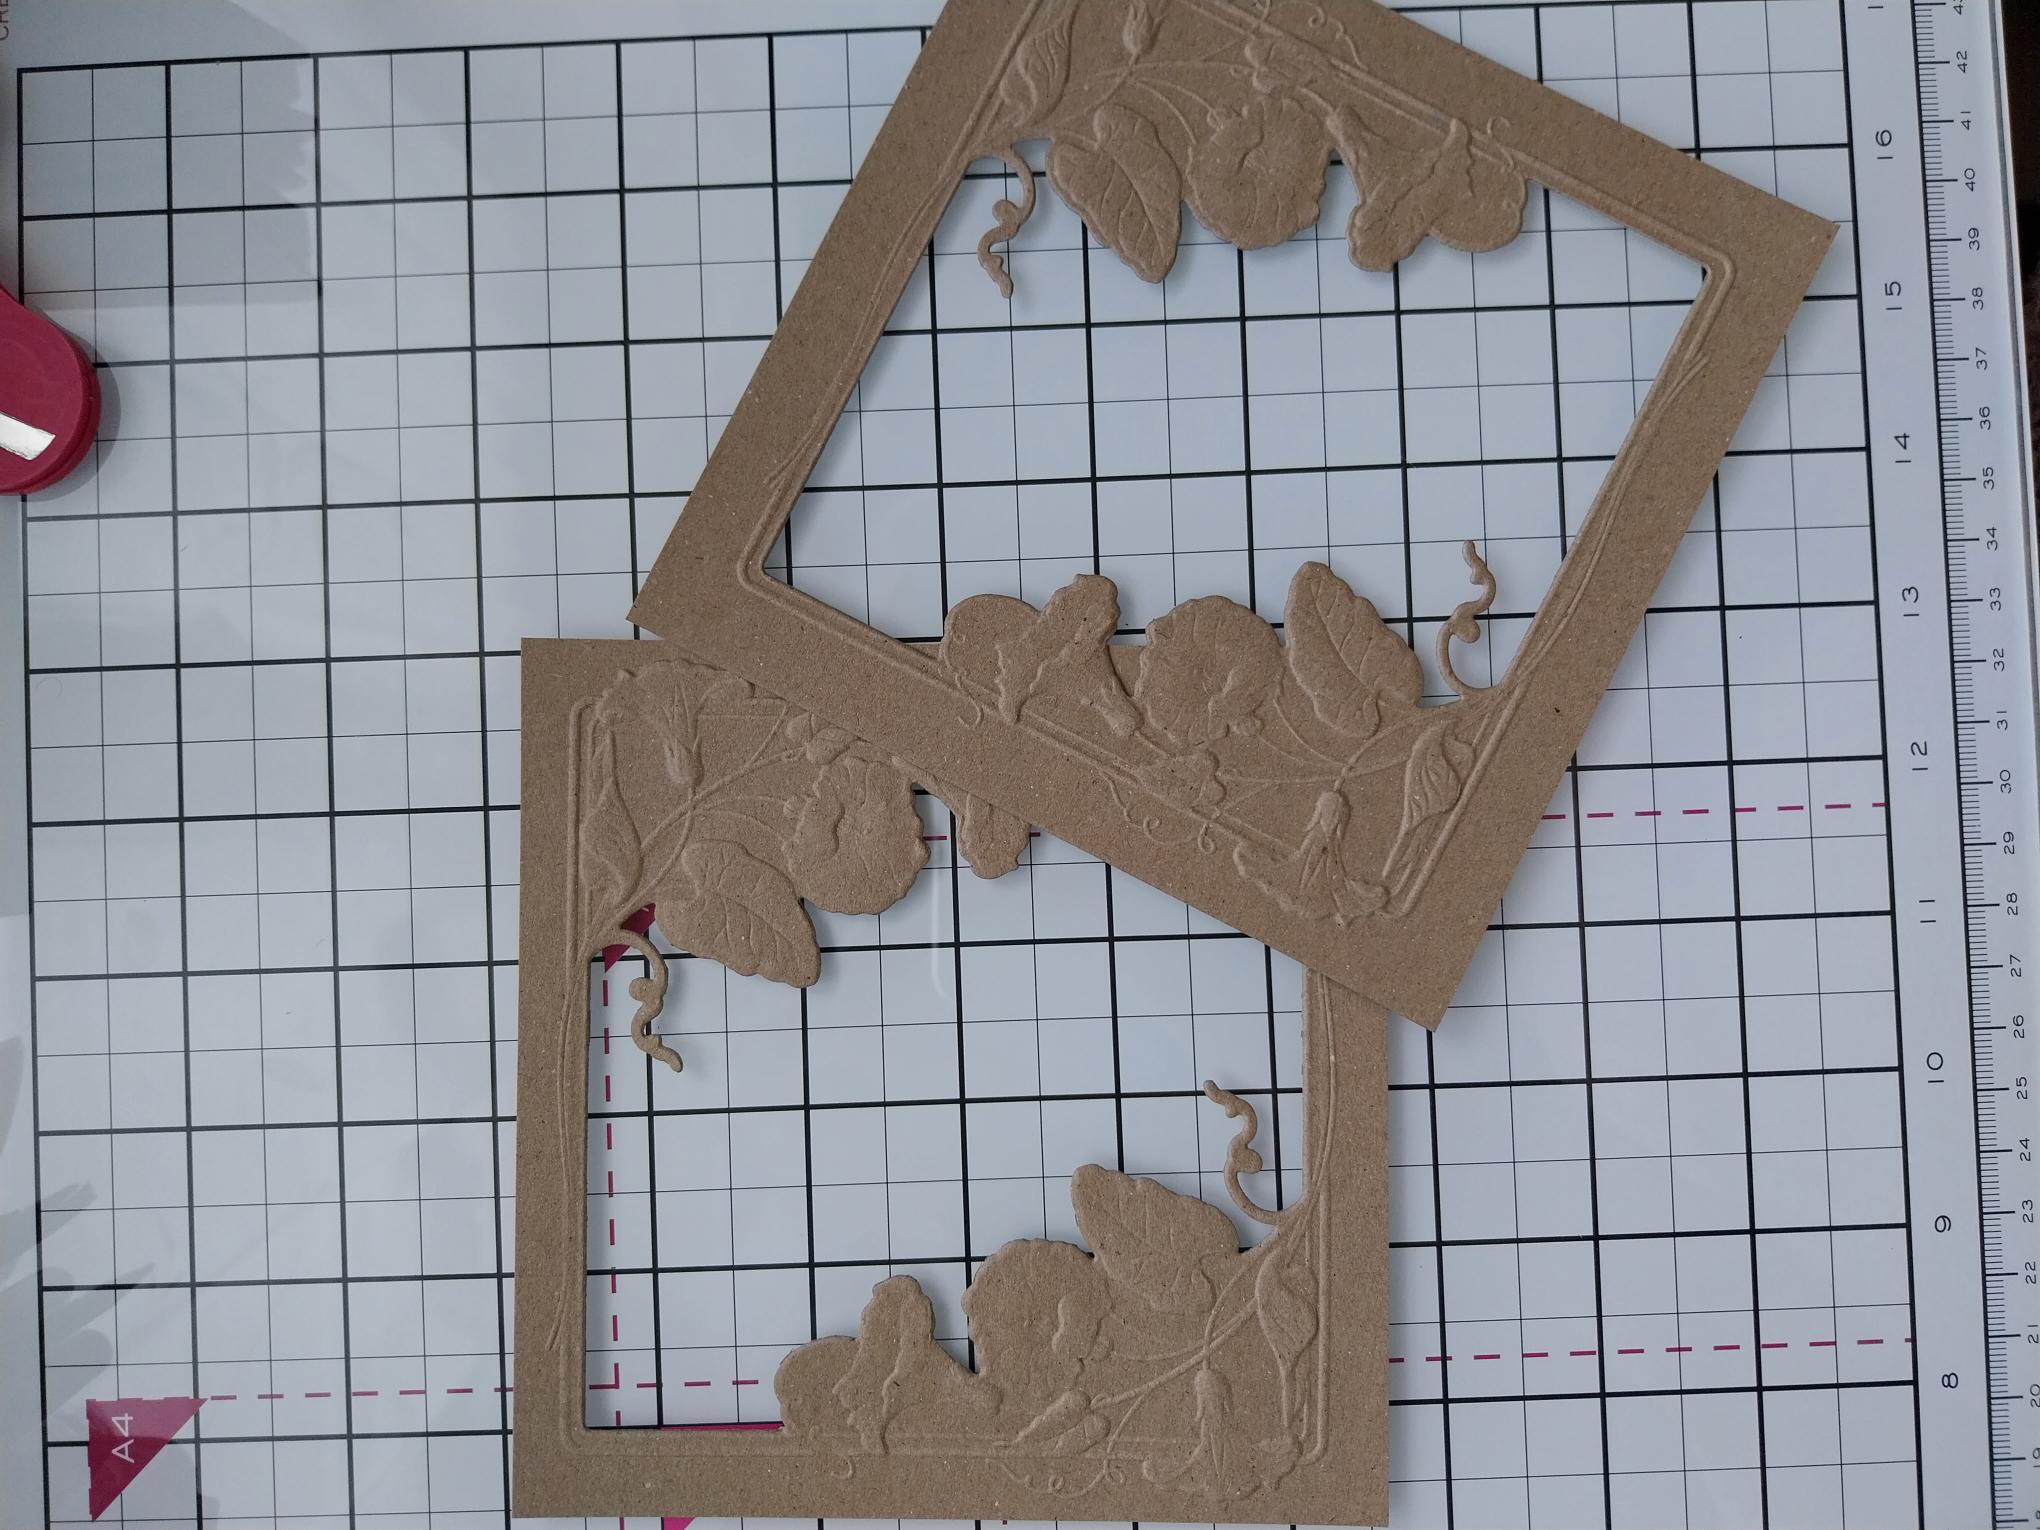
|
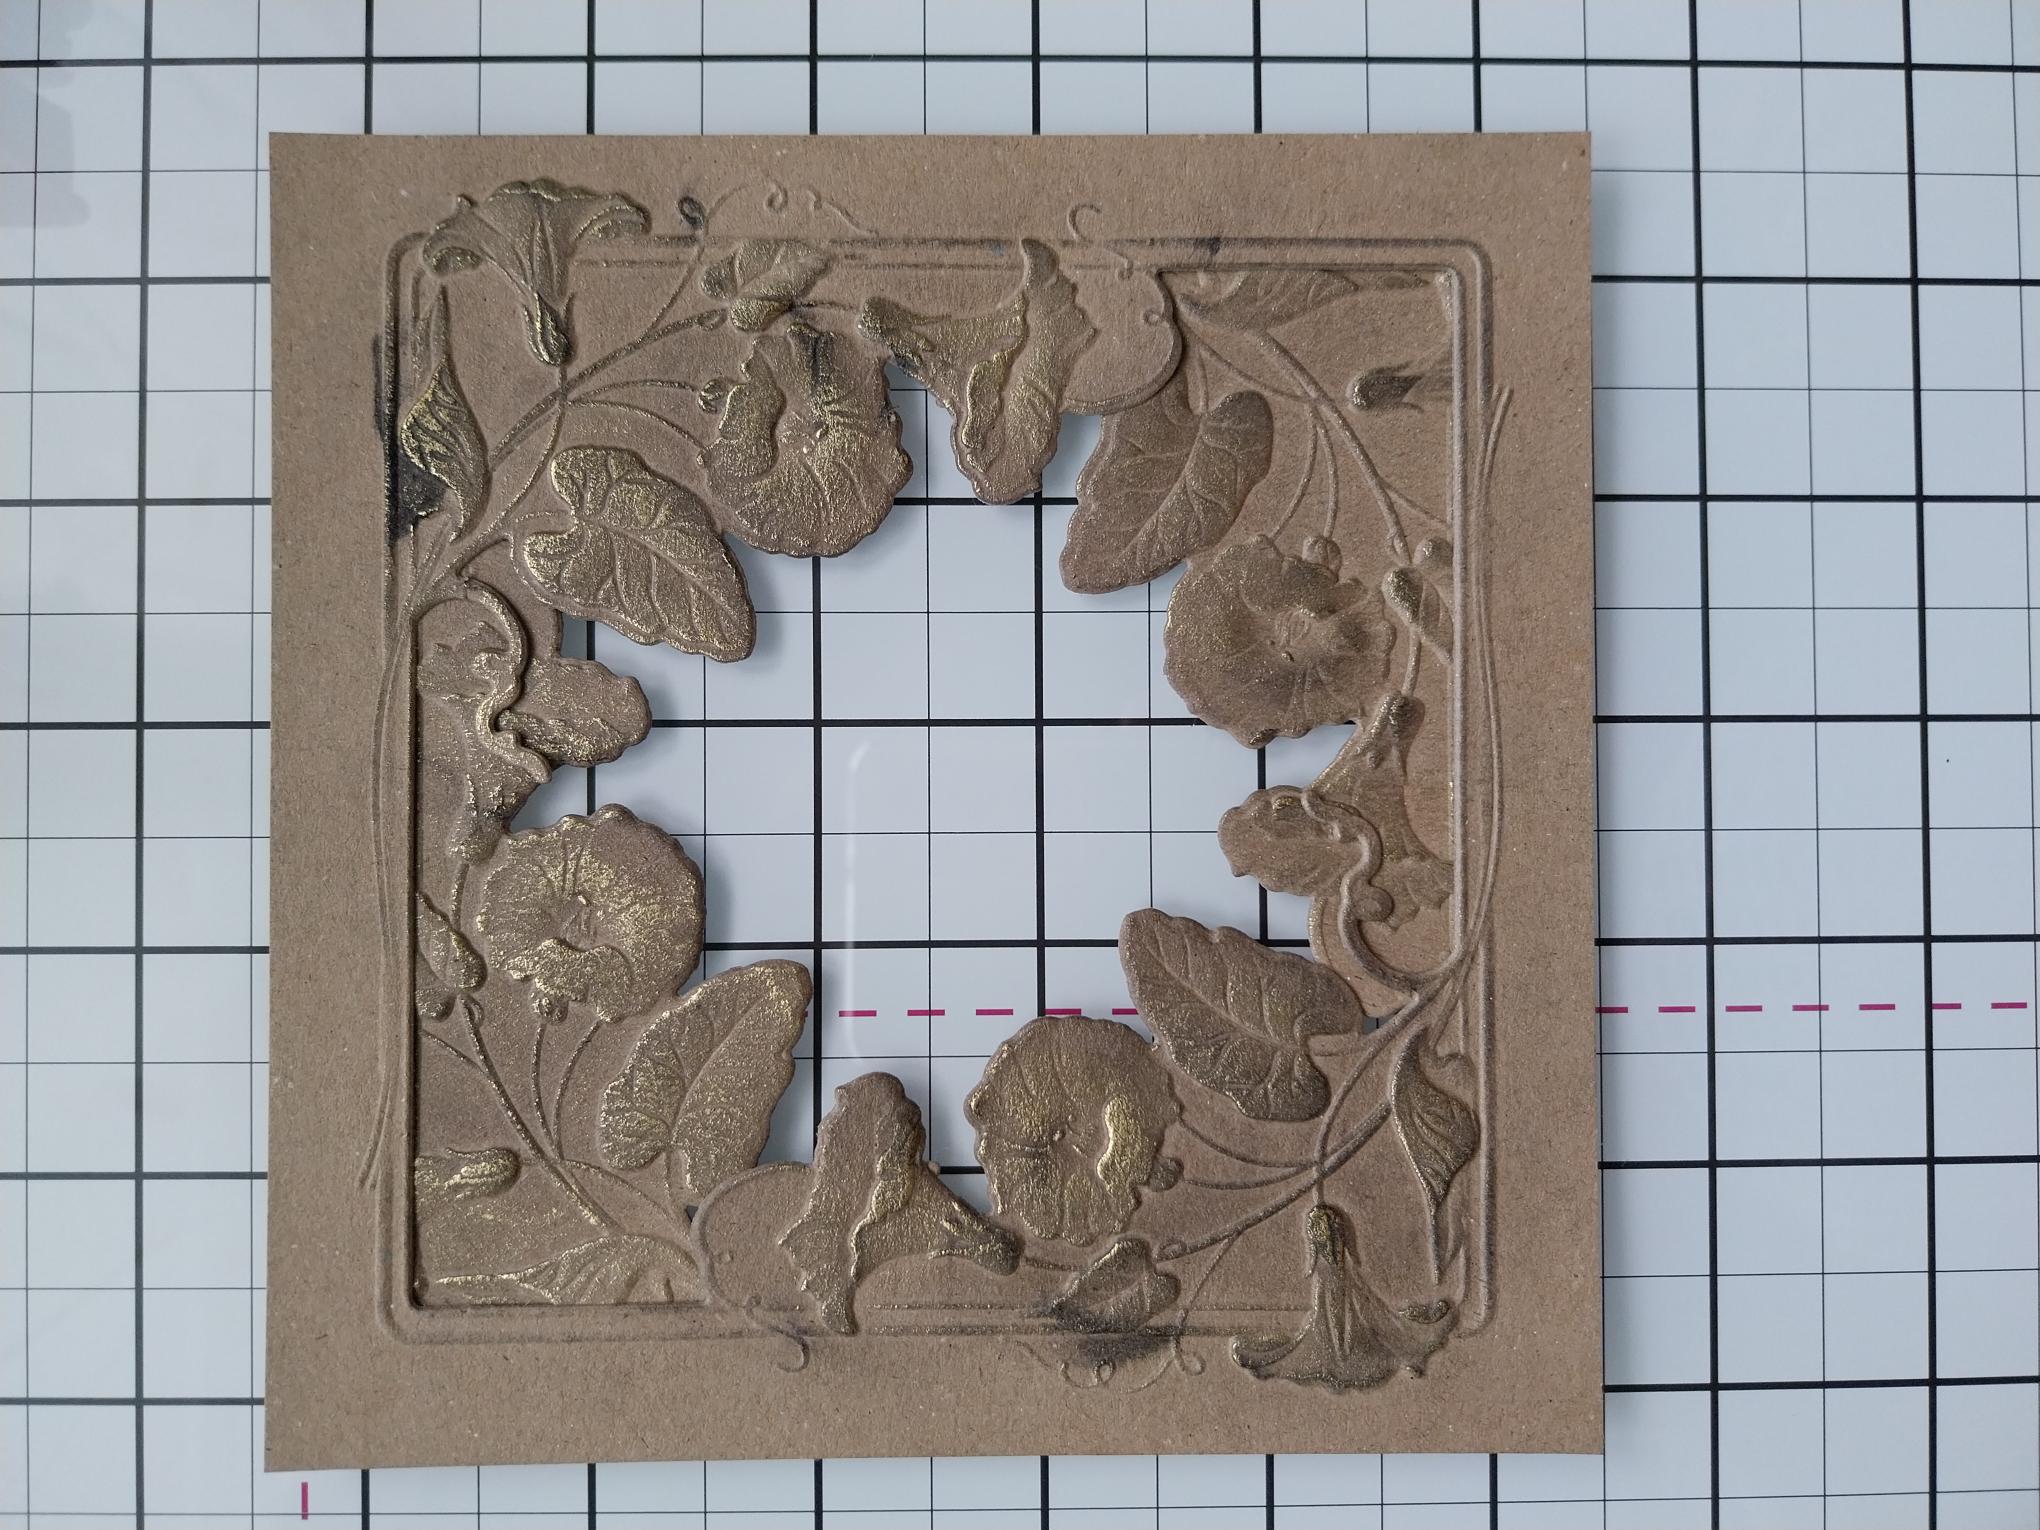
Use the Sweetpea Garden to emboss and die cut from the TWO kraft card squares. |
|
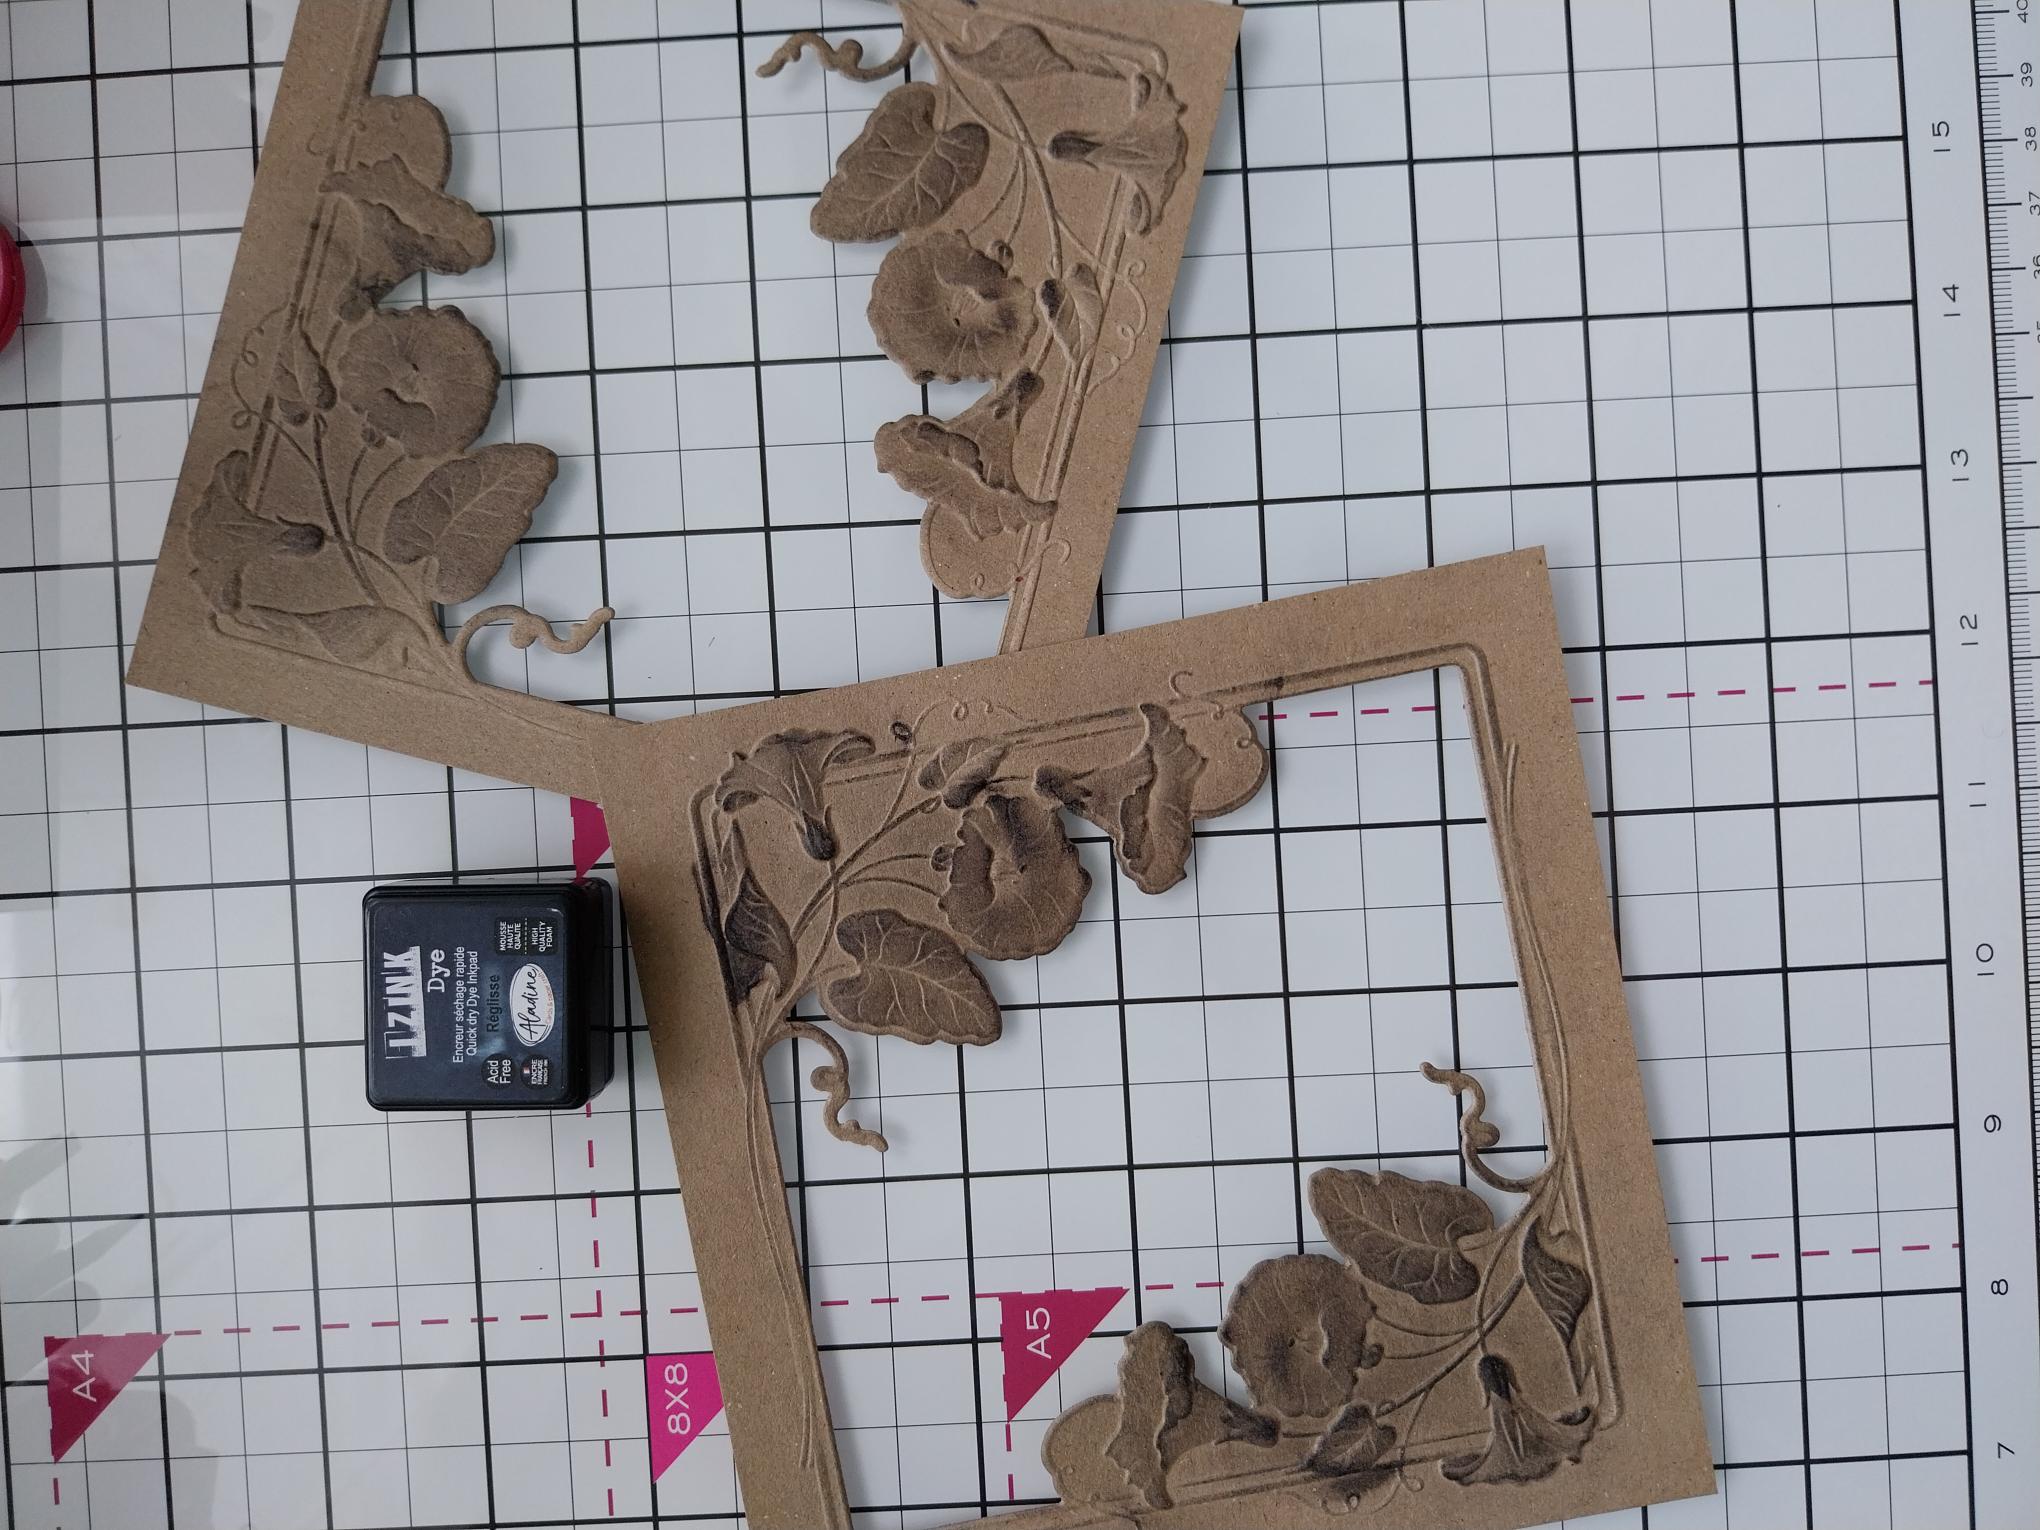
Gently wipe your Izink Reglisse ink pad over the raised, embossed areas on both the frames. |
|
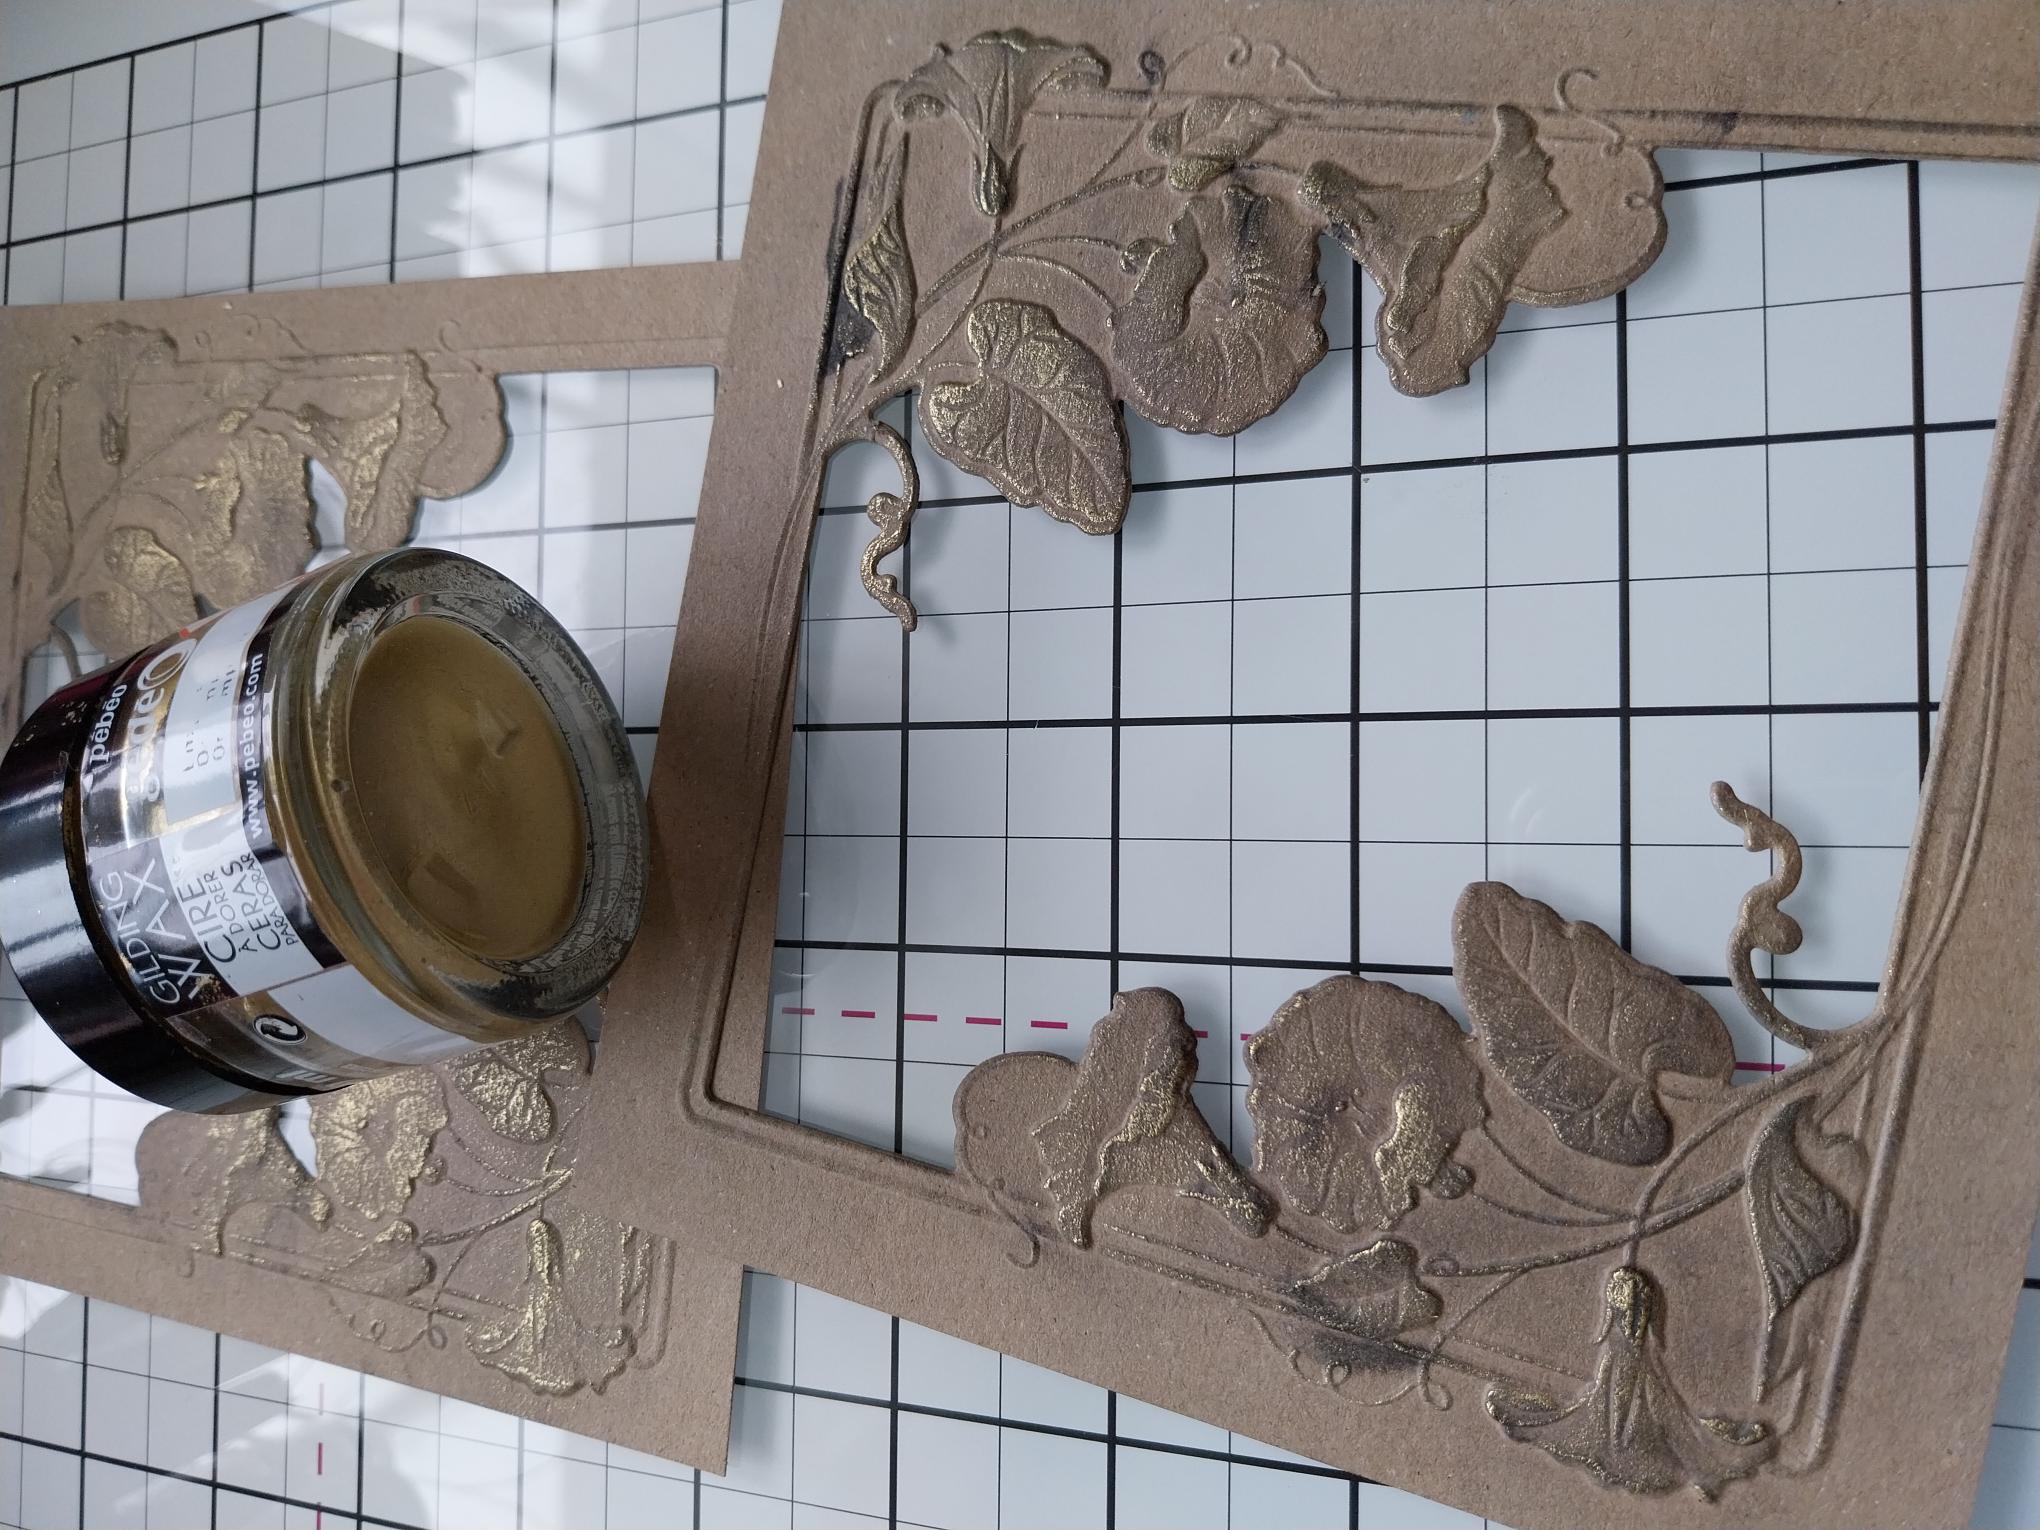
Once the ink is dry, apply the Gold gilding wax over random areas of your embossed frames. Buff with a soft cloth to enhance the shine. |
|
Rotate one of the frames before adhering them together, thus creating a circular Sweetpea frame. |
|
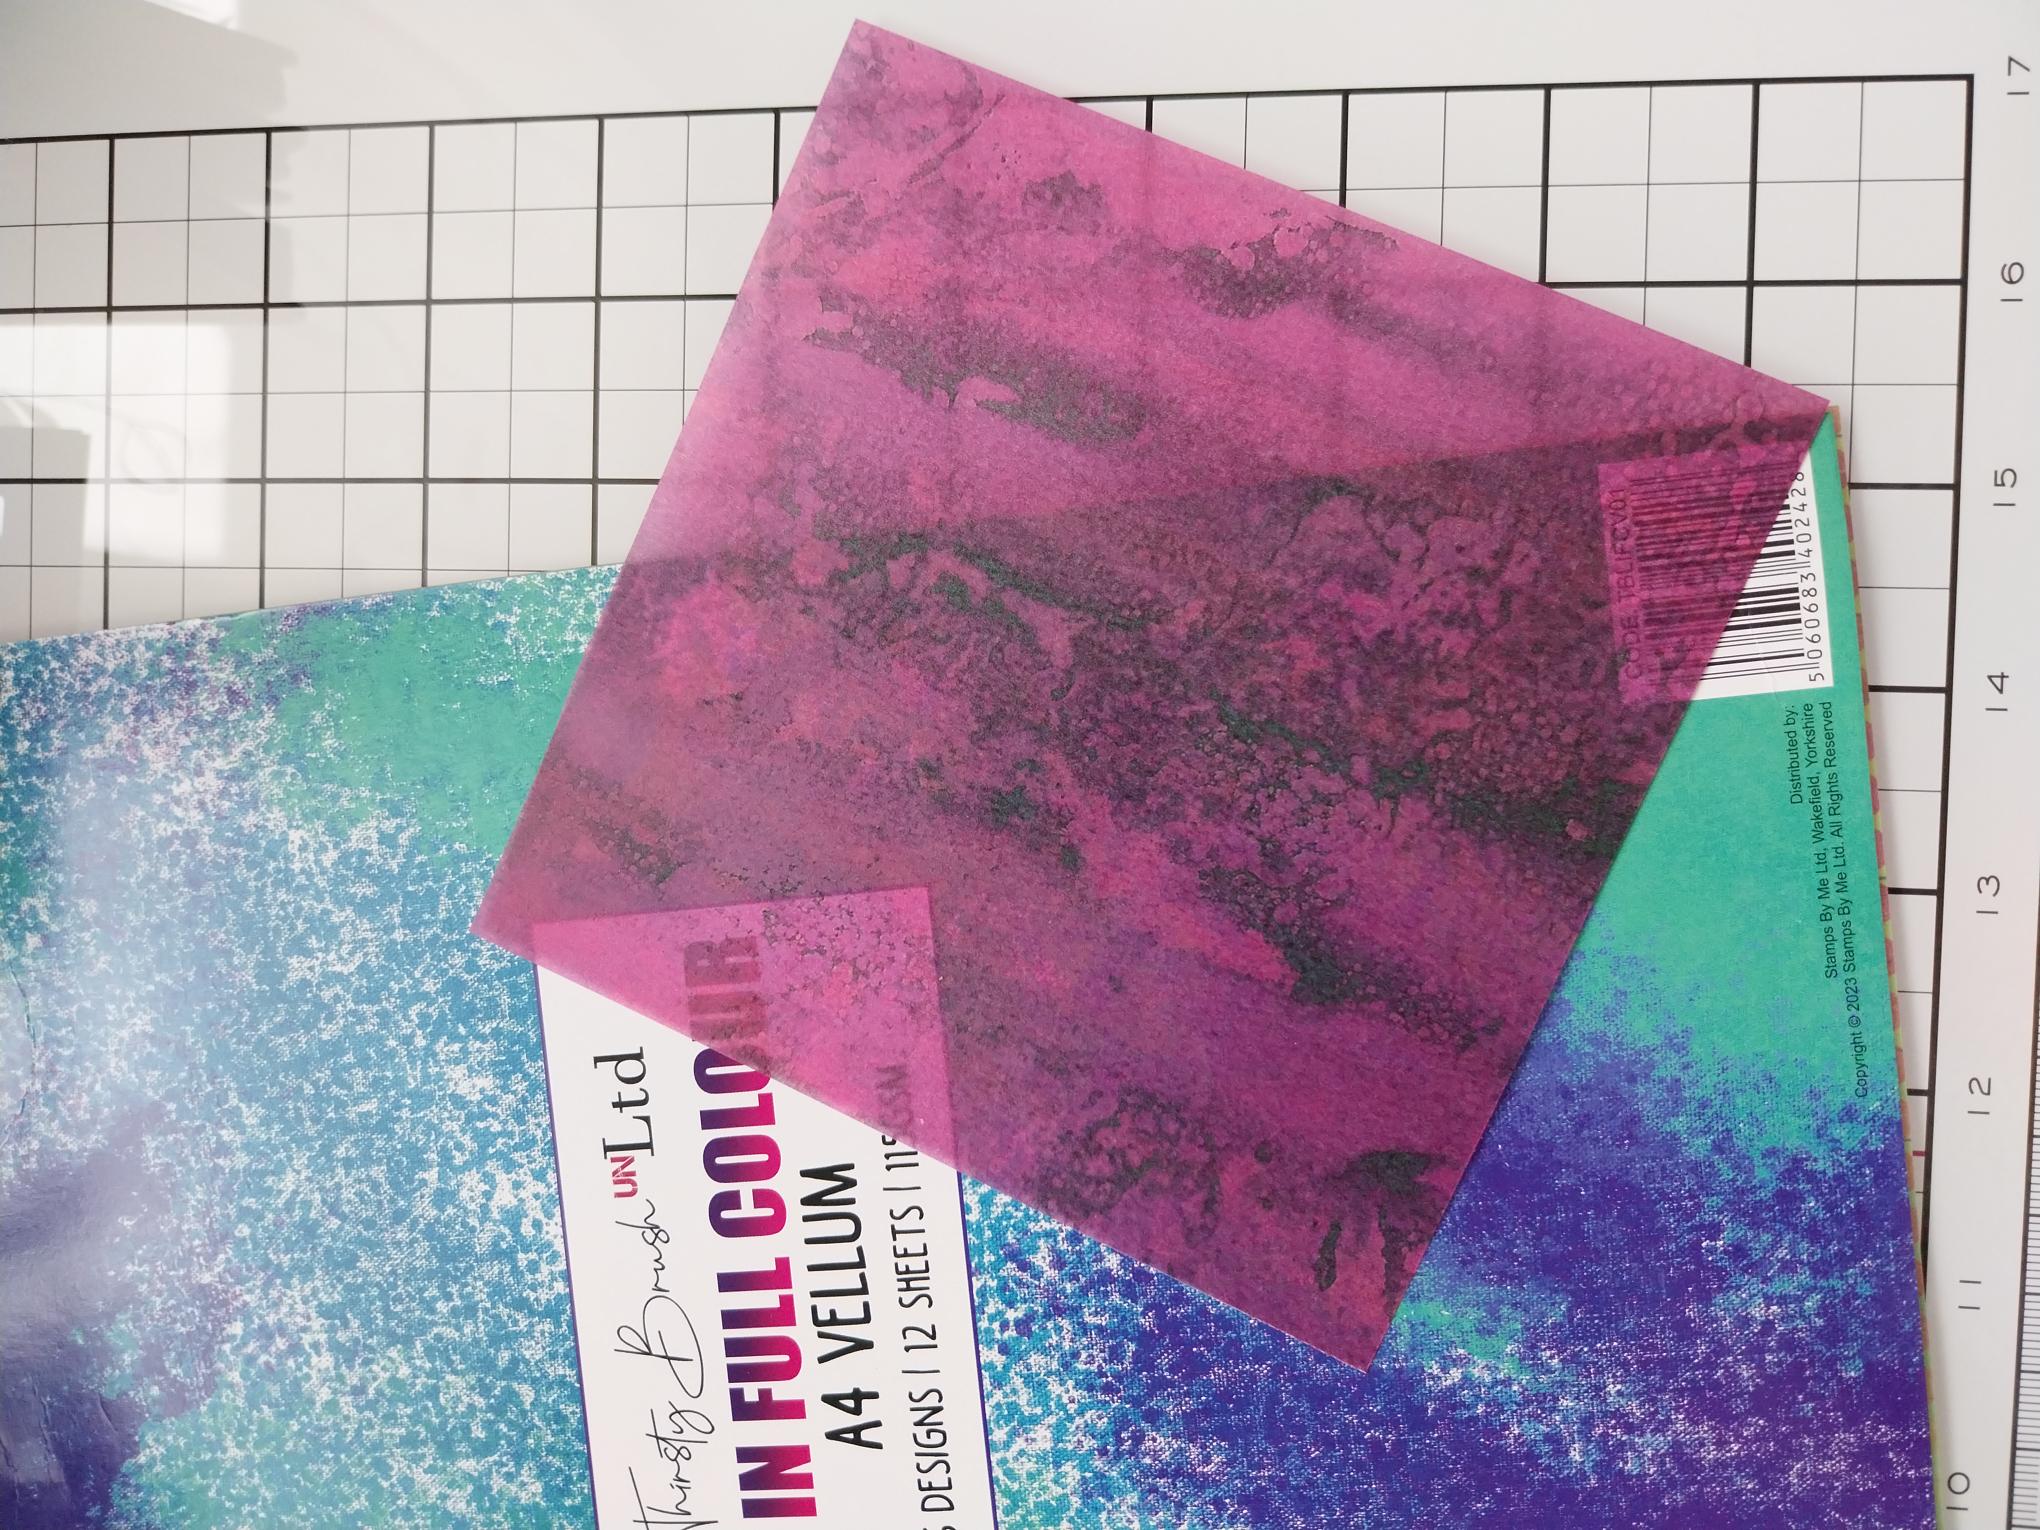
Remove this sheet from the vellum pack and trim to 5 1/2" square. |
|
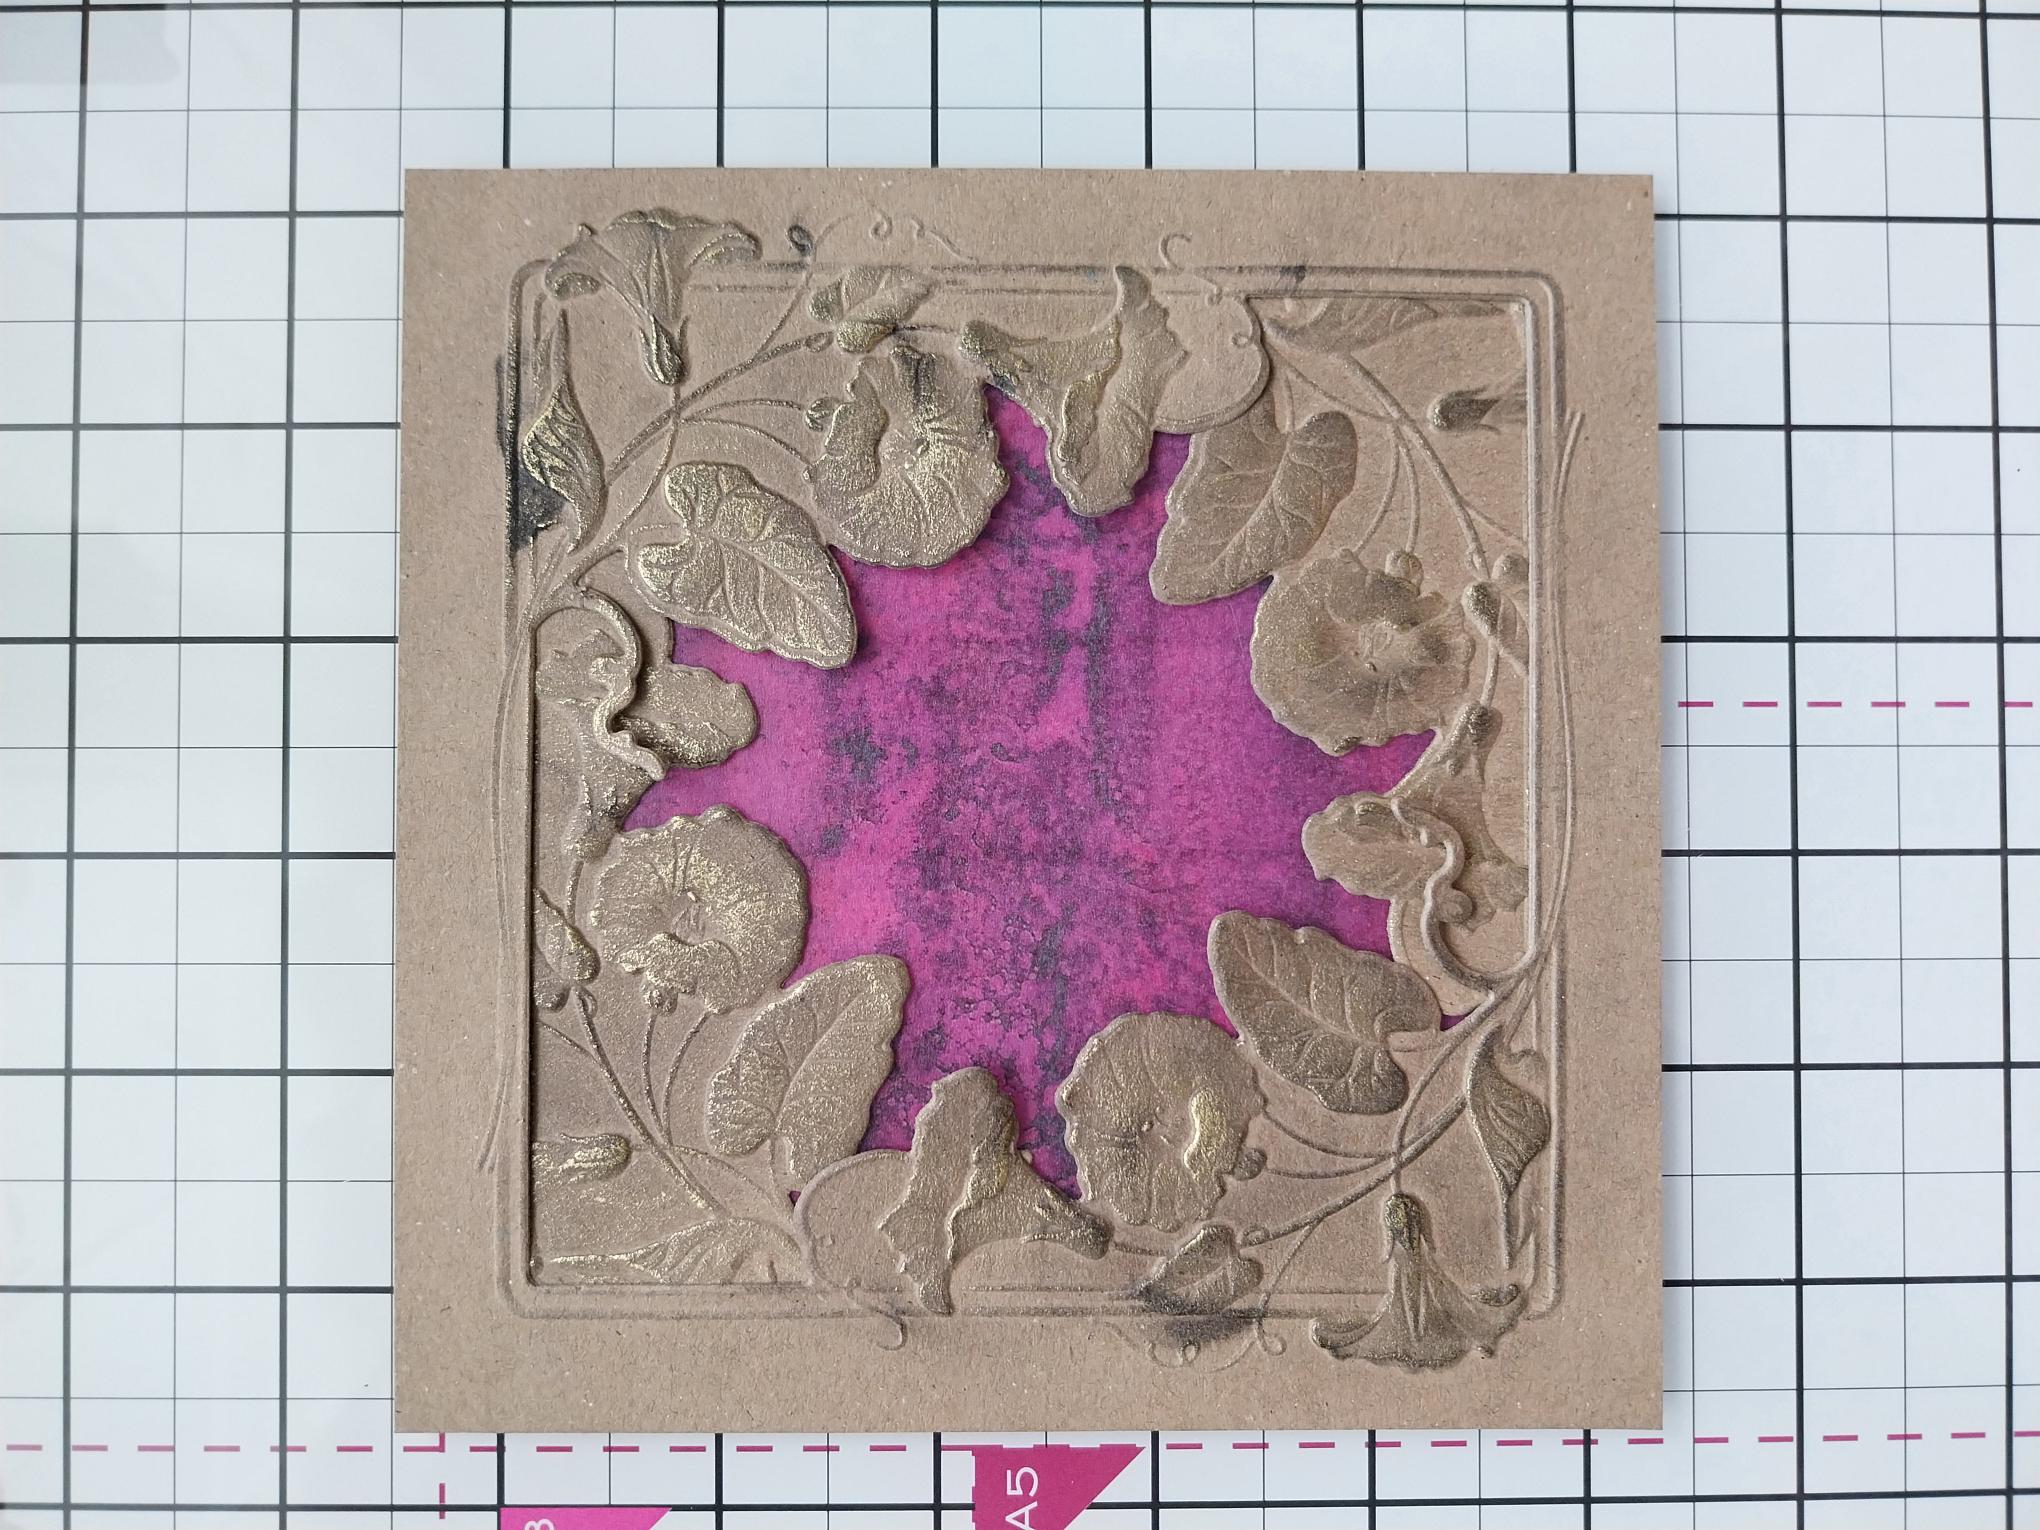
Adhere the vellum panel behind the embossed frames. |
|
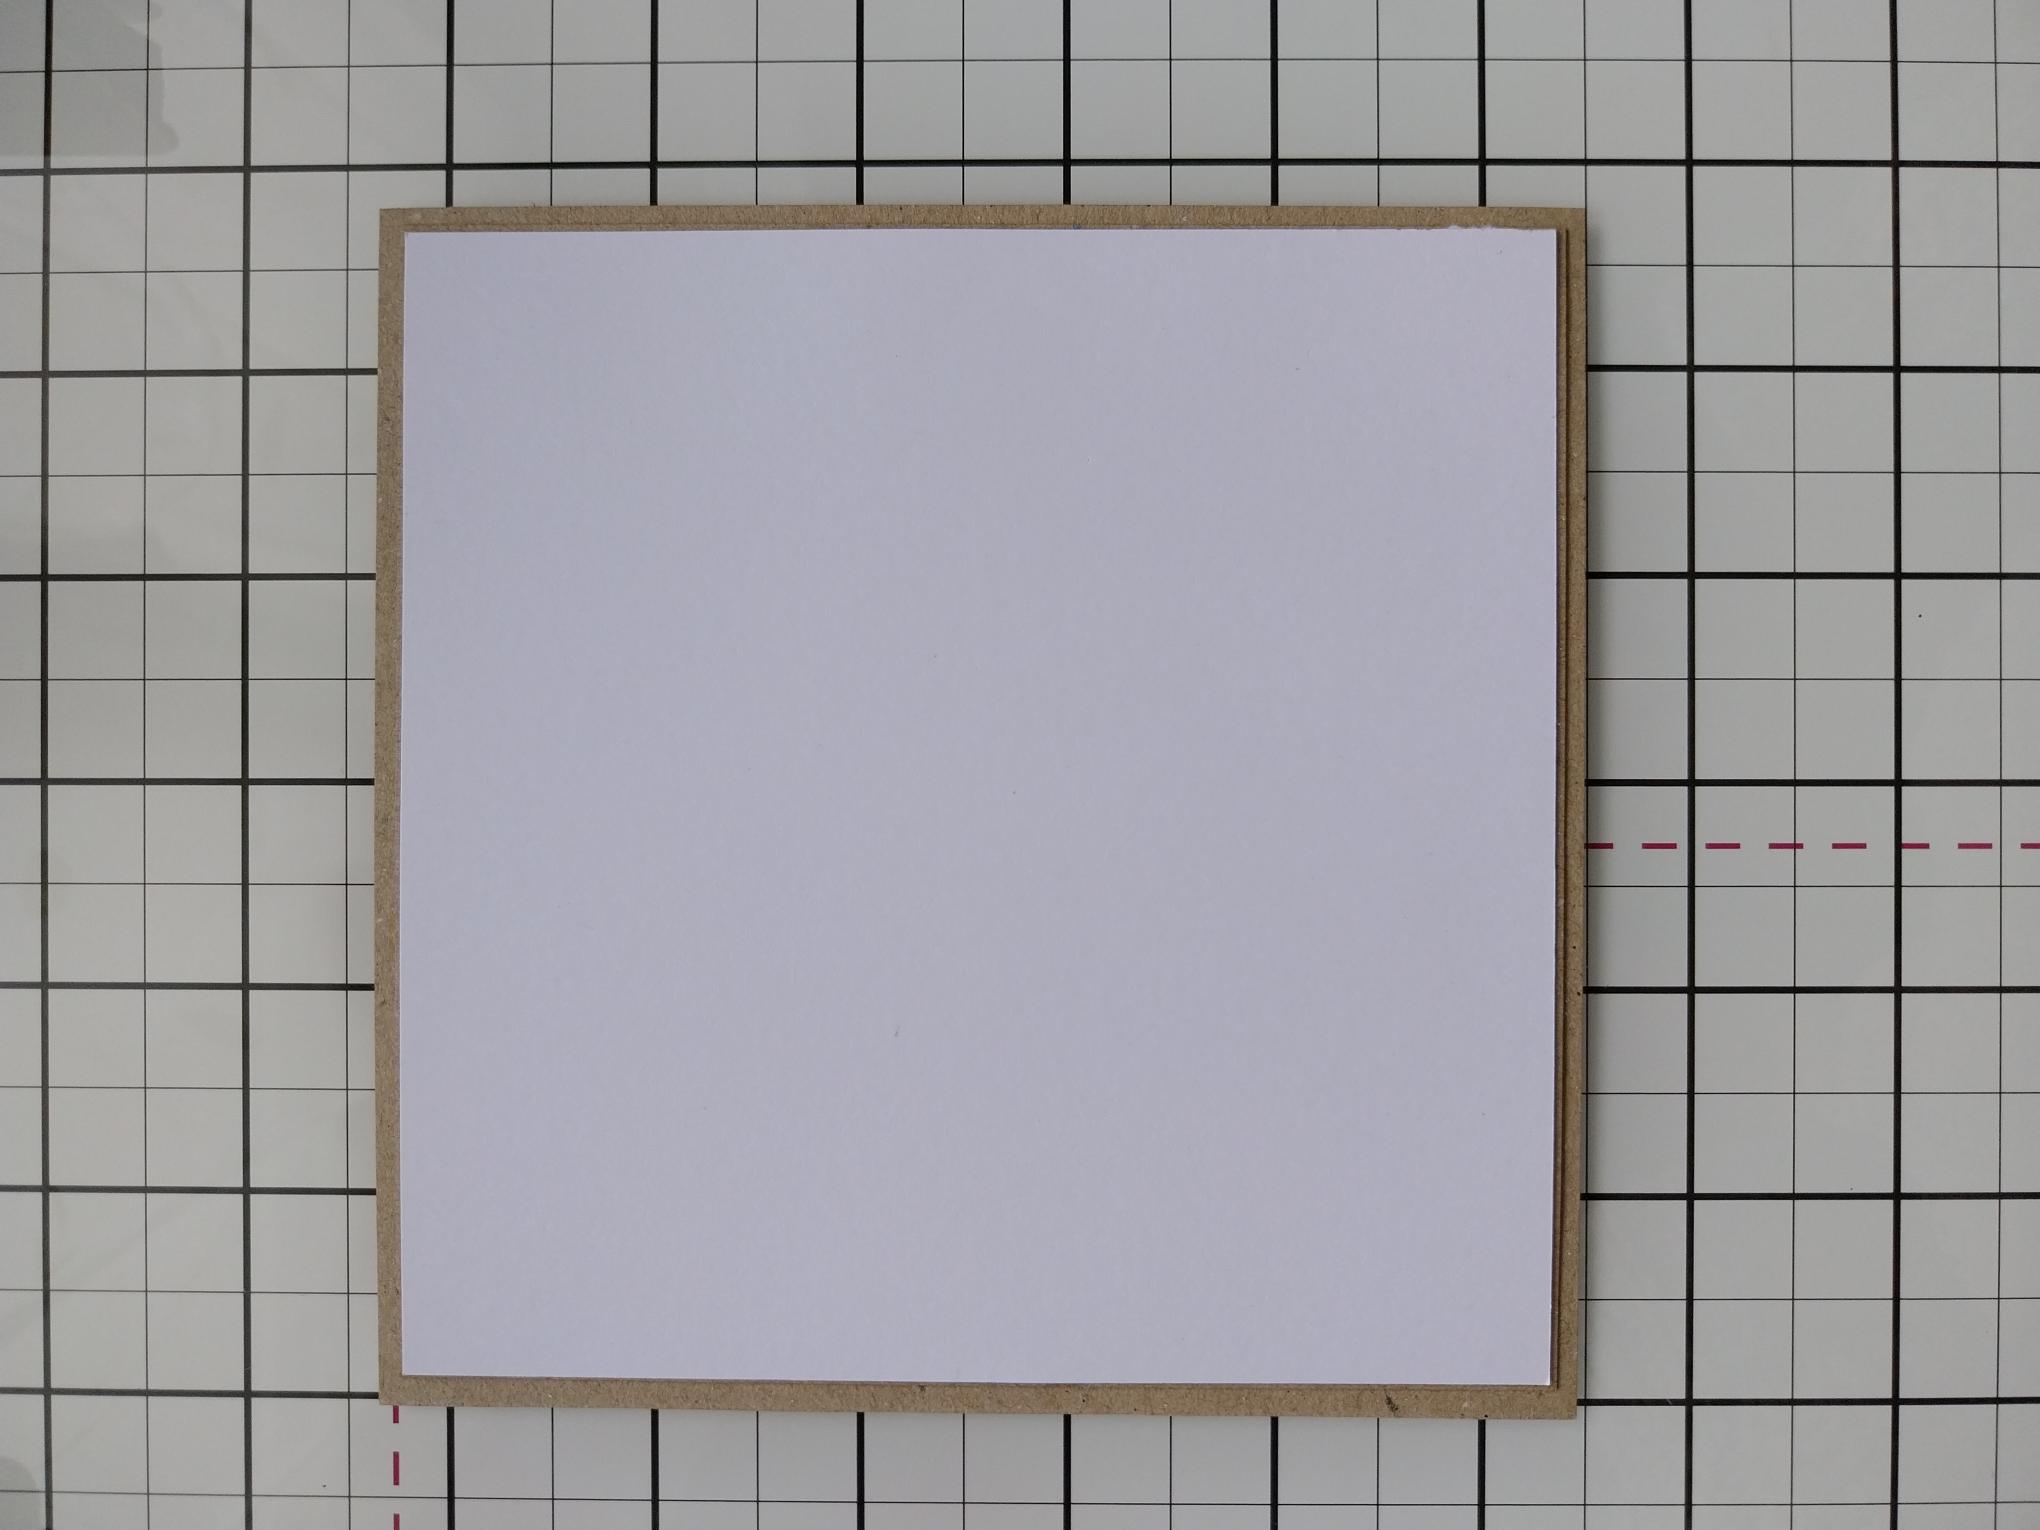
Adhere the 5 1/2" square white card behind the vellum panel, as this will help to "lift" the vibrancy of the pink!! |
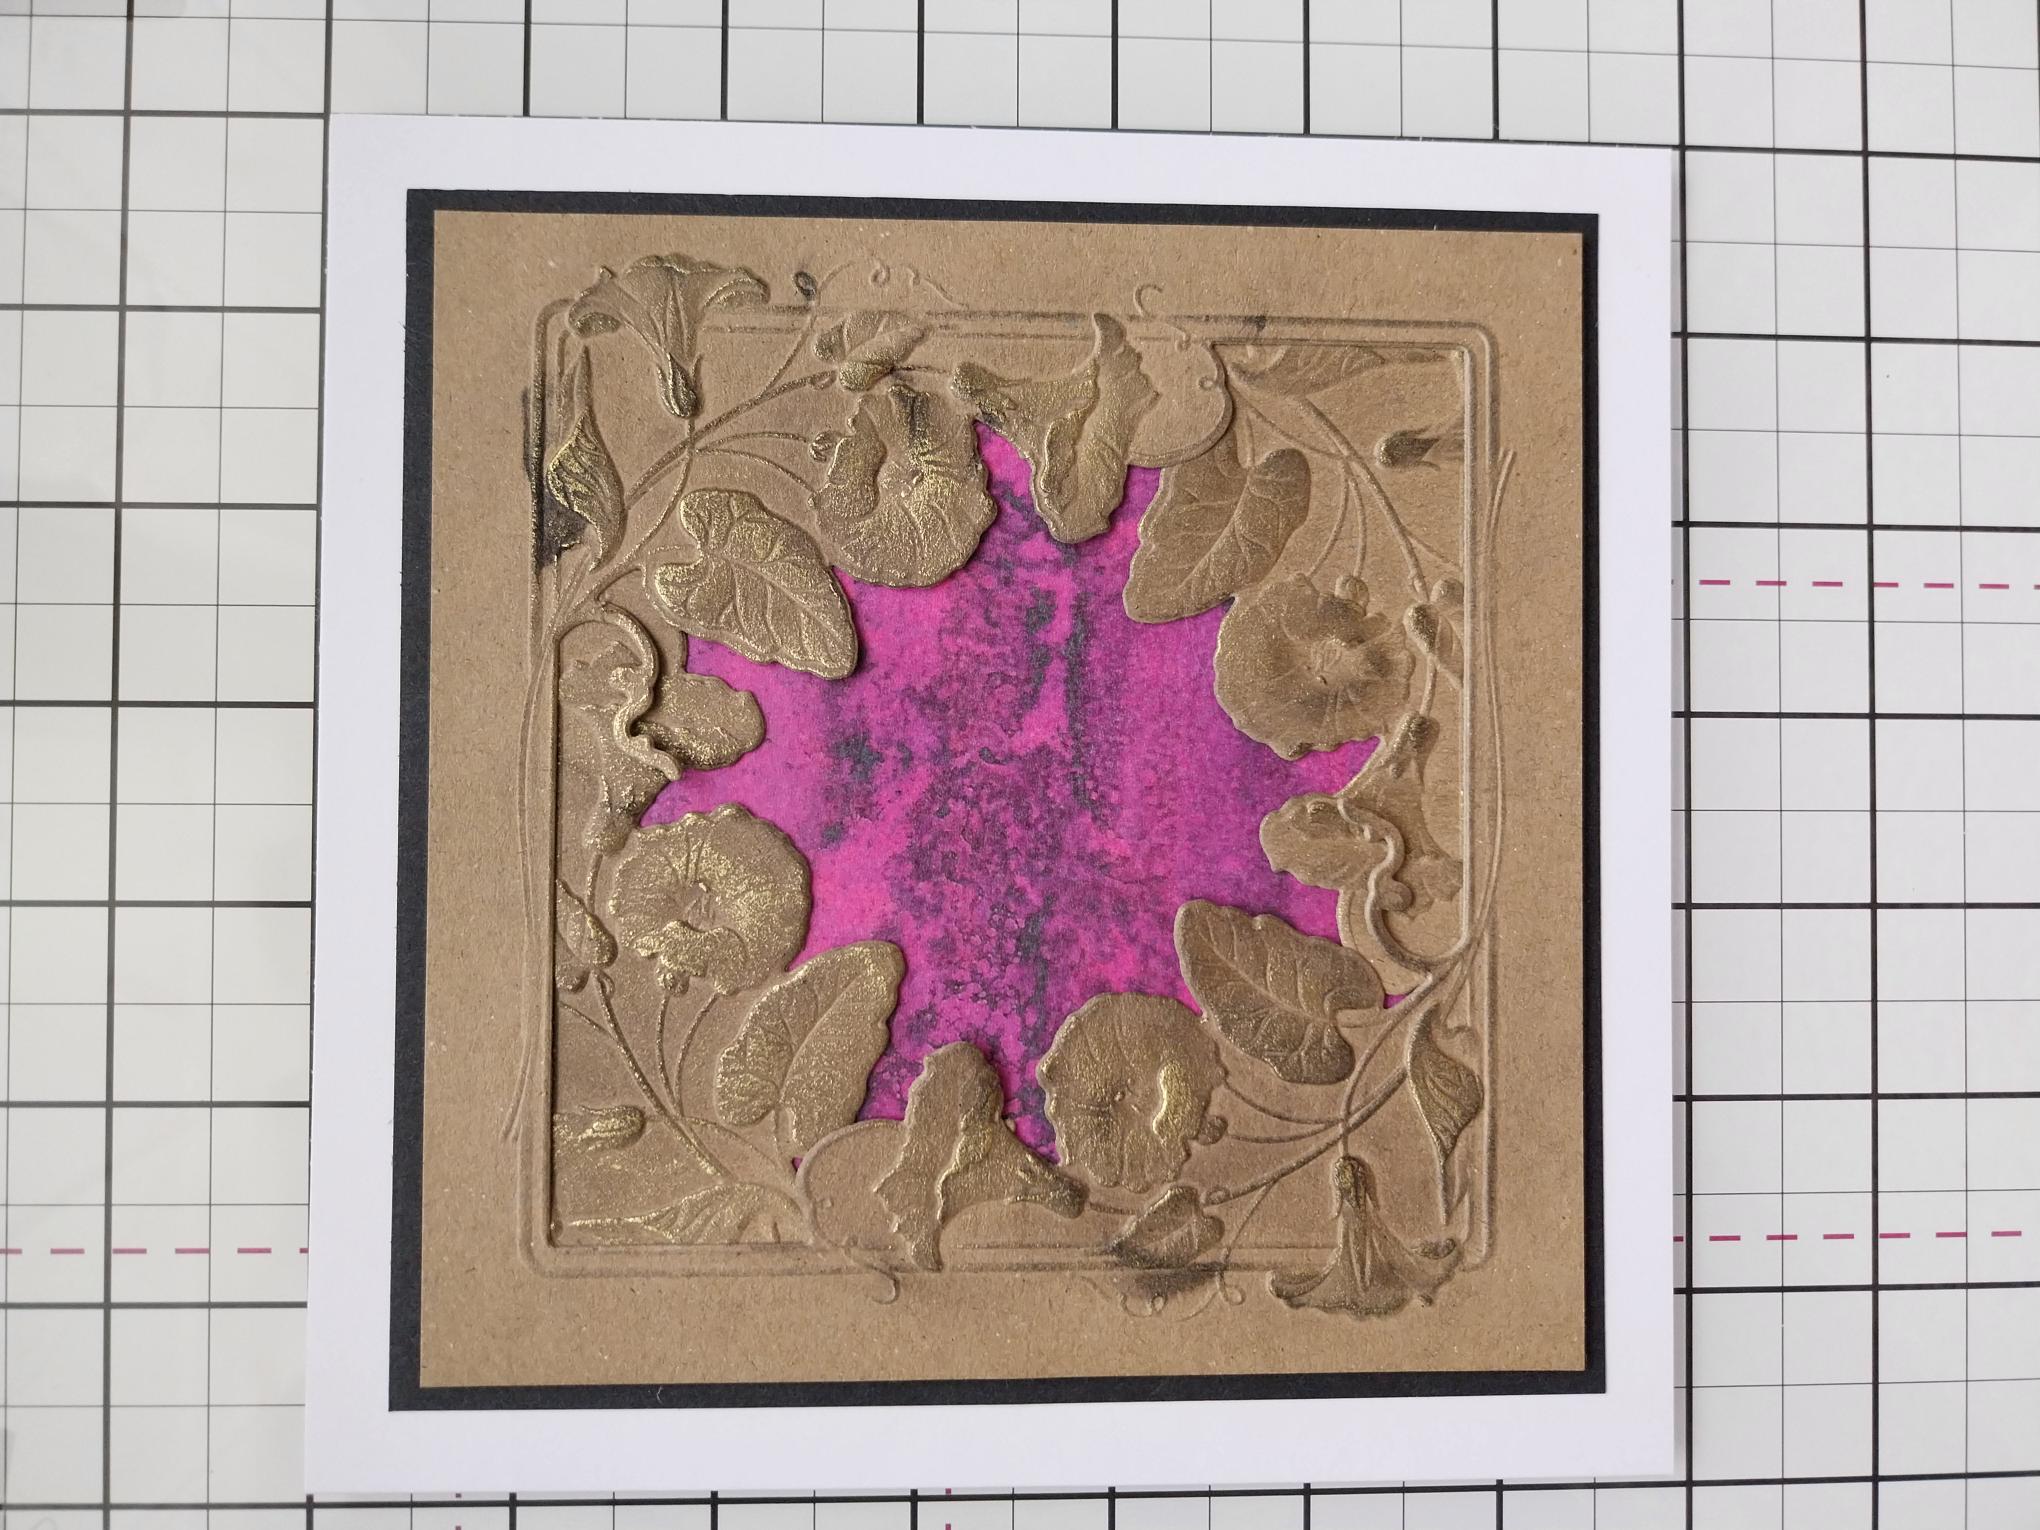
|
Adhere this on to the black card, cut to 6" square and then on to the front of your 7" square white card blank and pop to one side. |
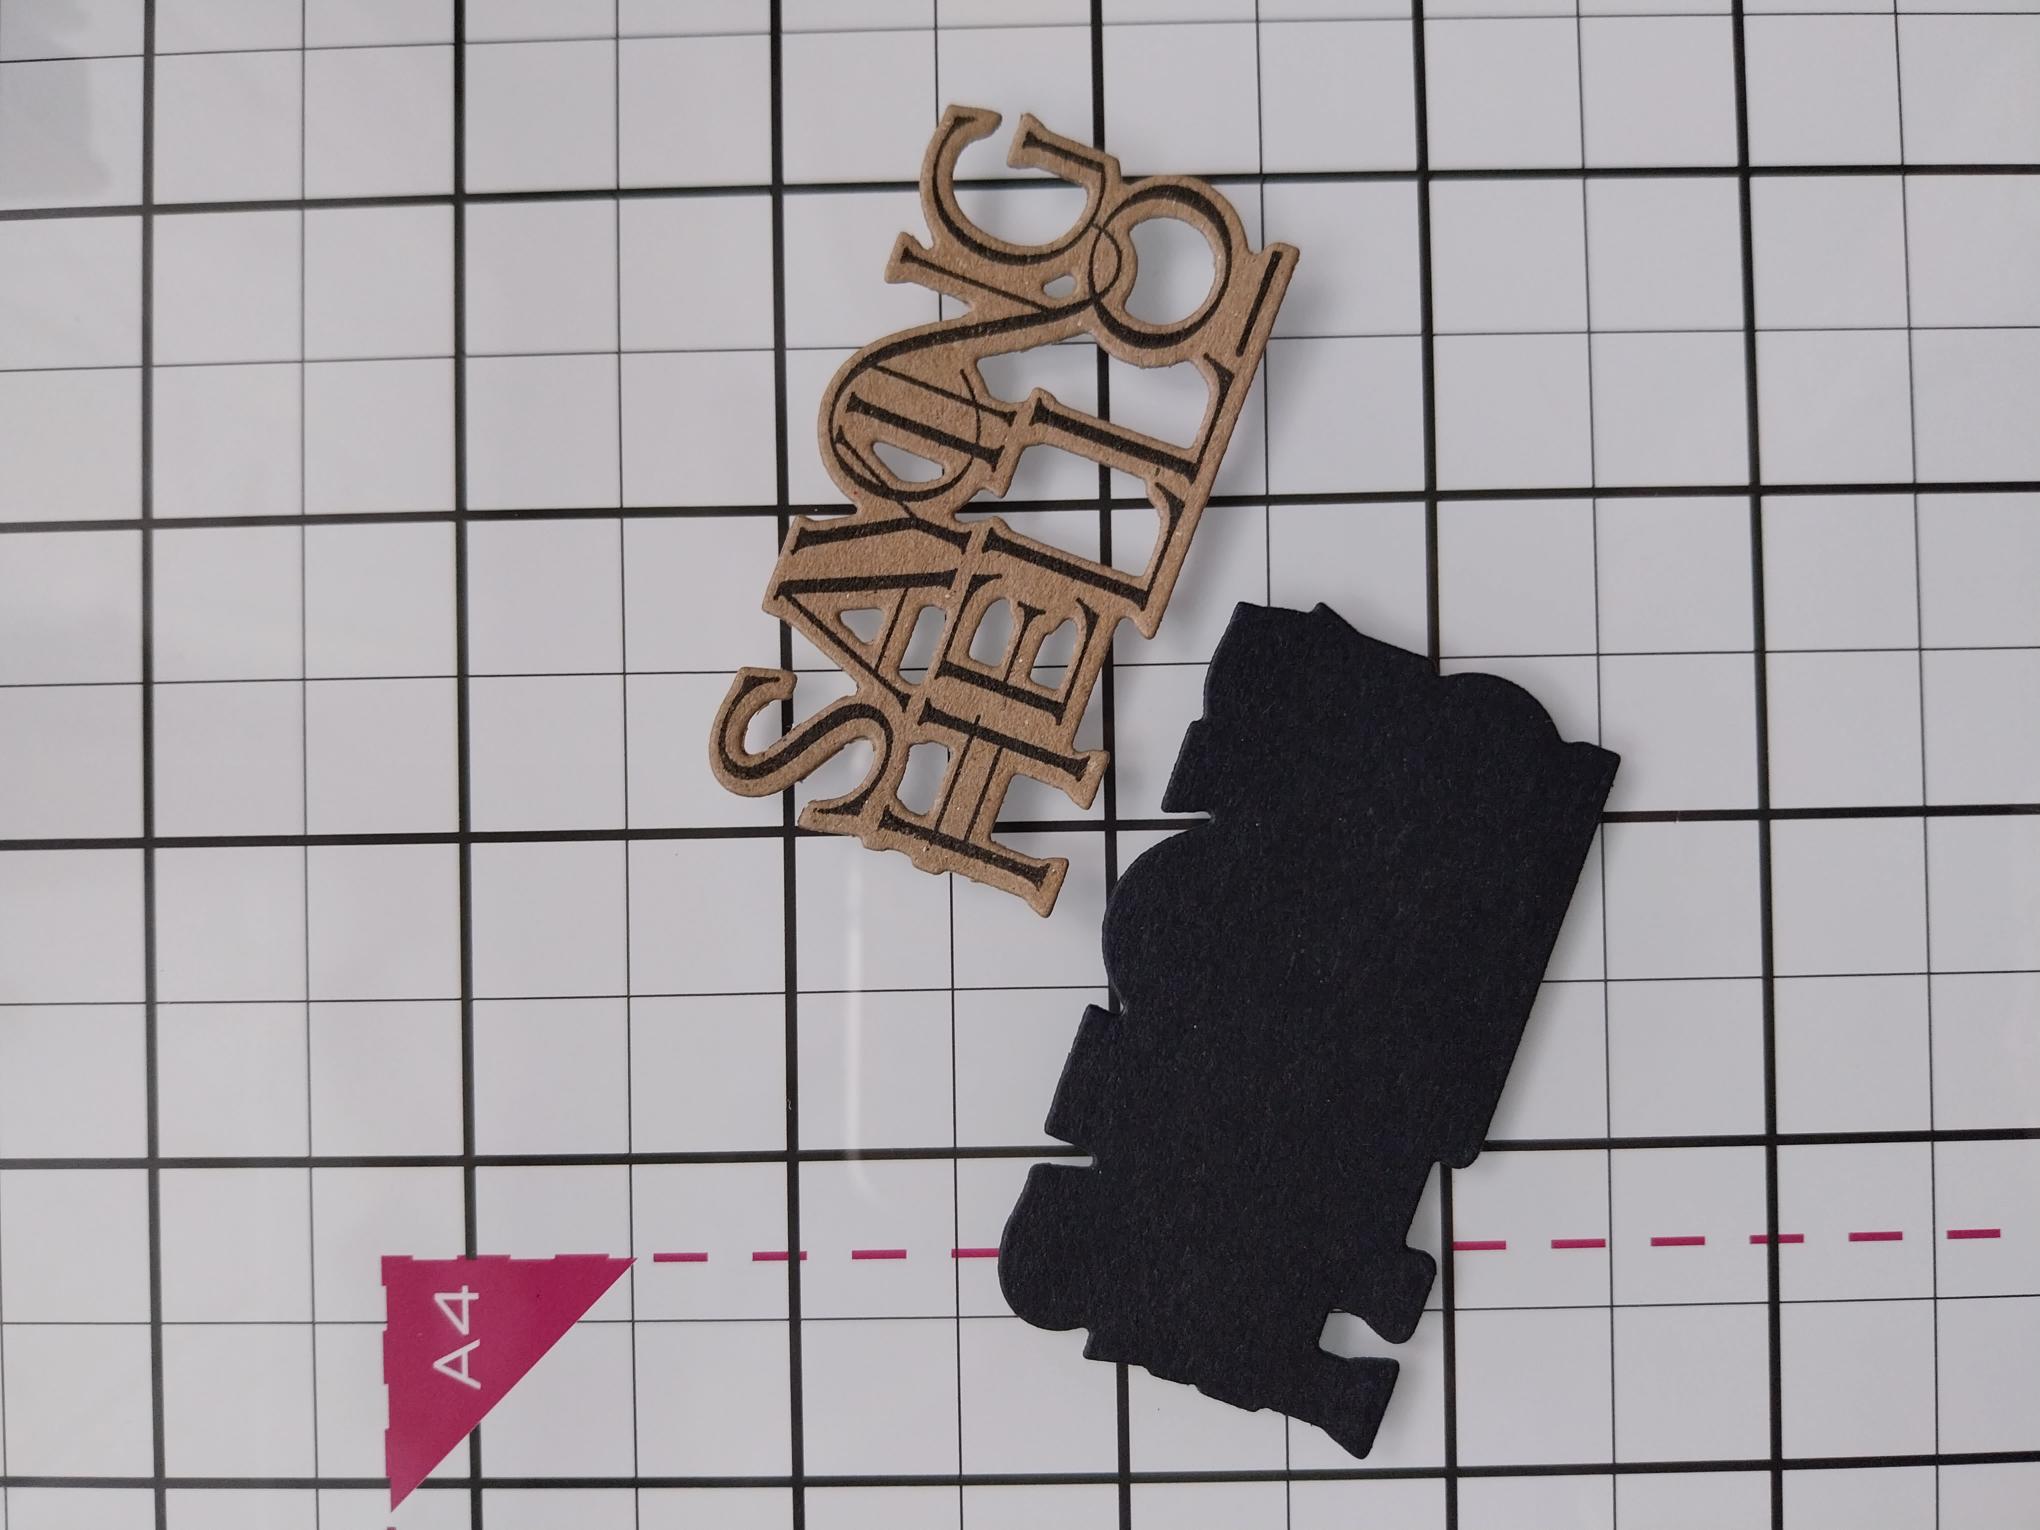
|
Stamp "Saying Hello", in Midnight, on to a piece of kraft card. Place the coordinating die over your sentiment. Place the layering die on to a piece of black card and run both through your die cutting machine. |
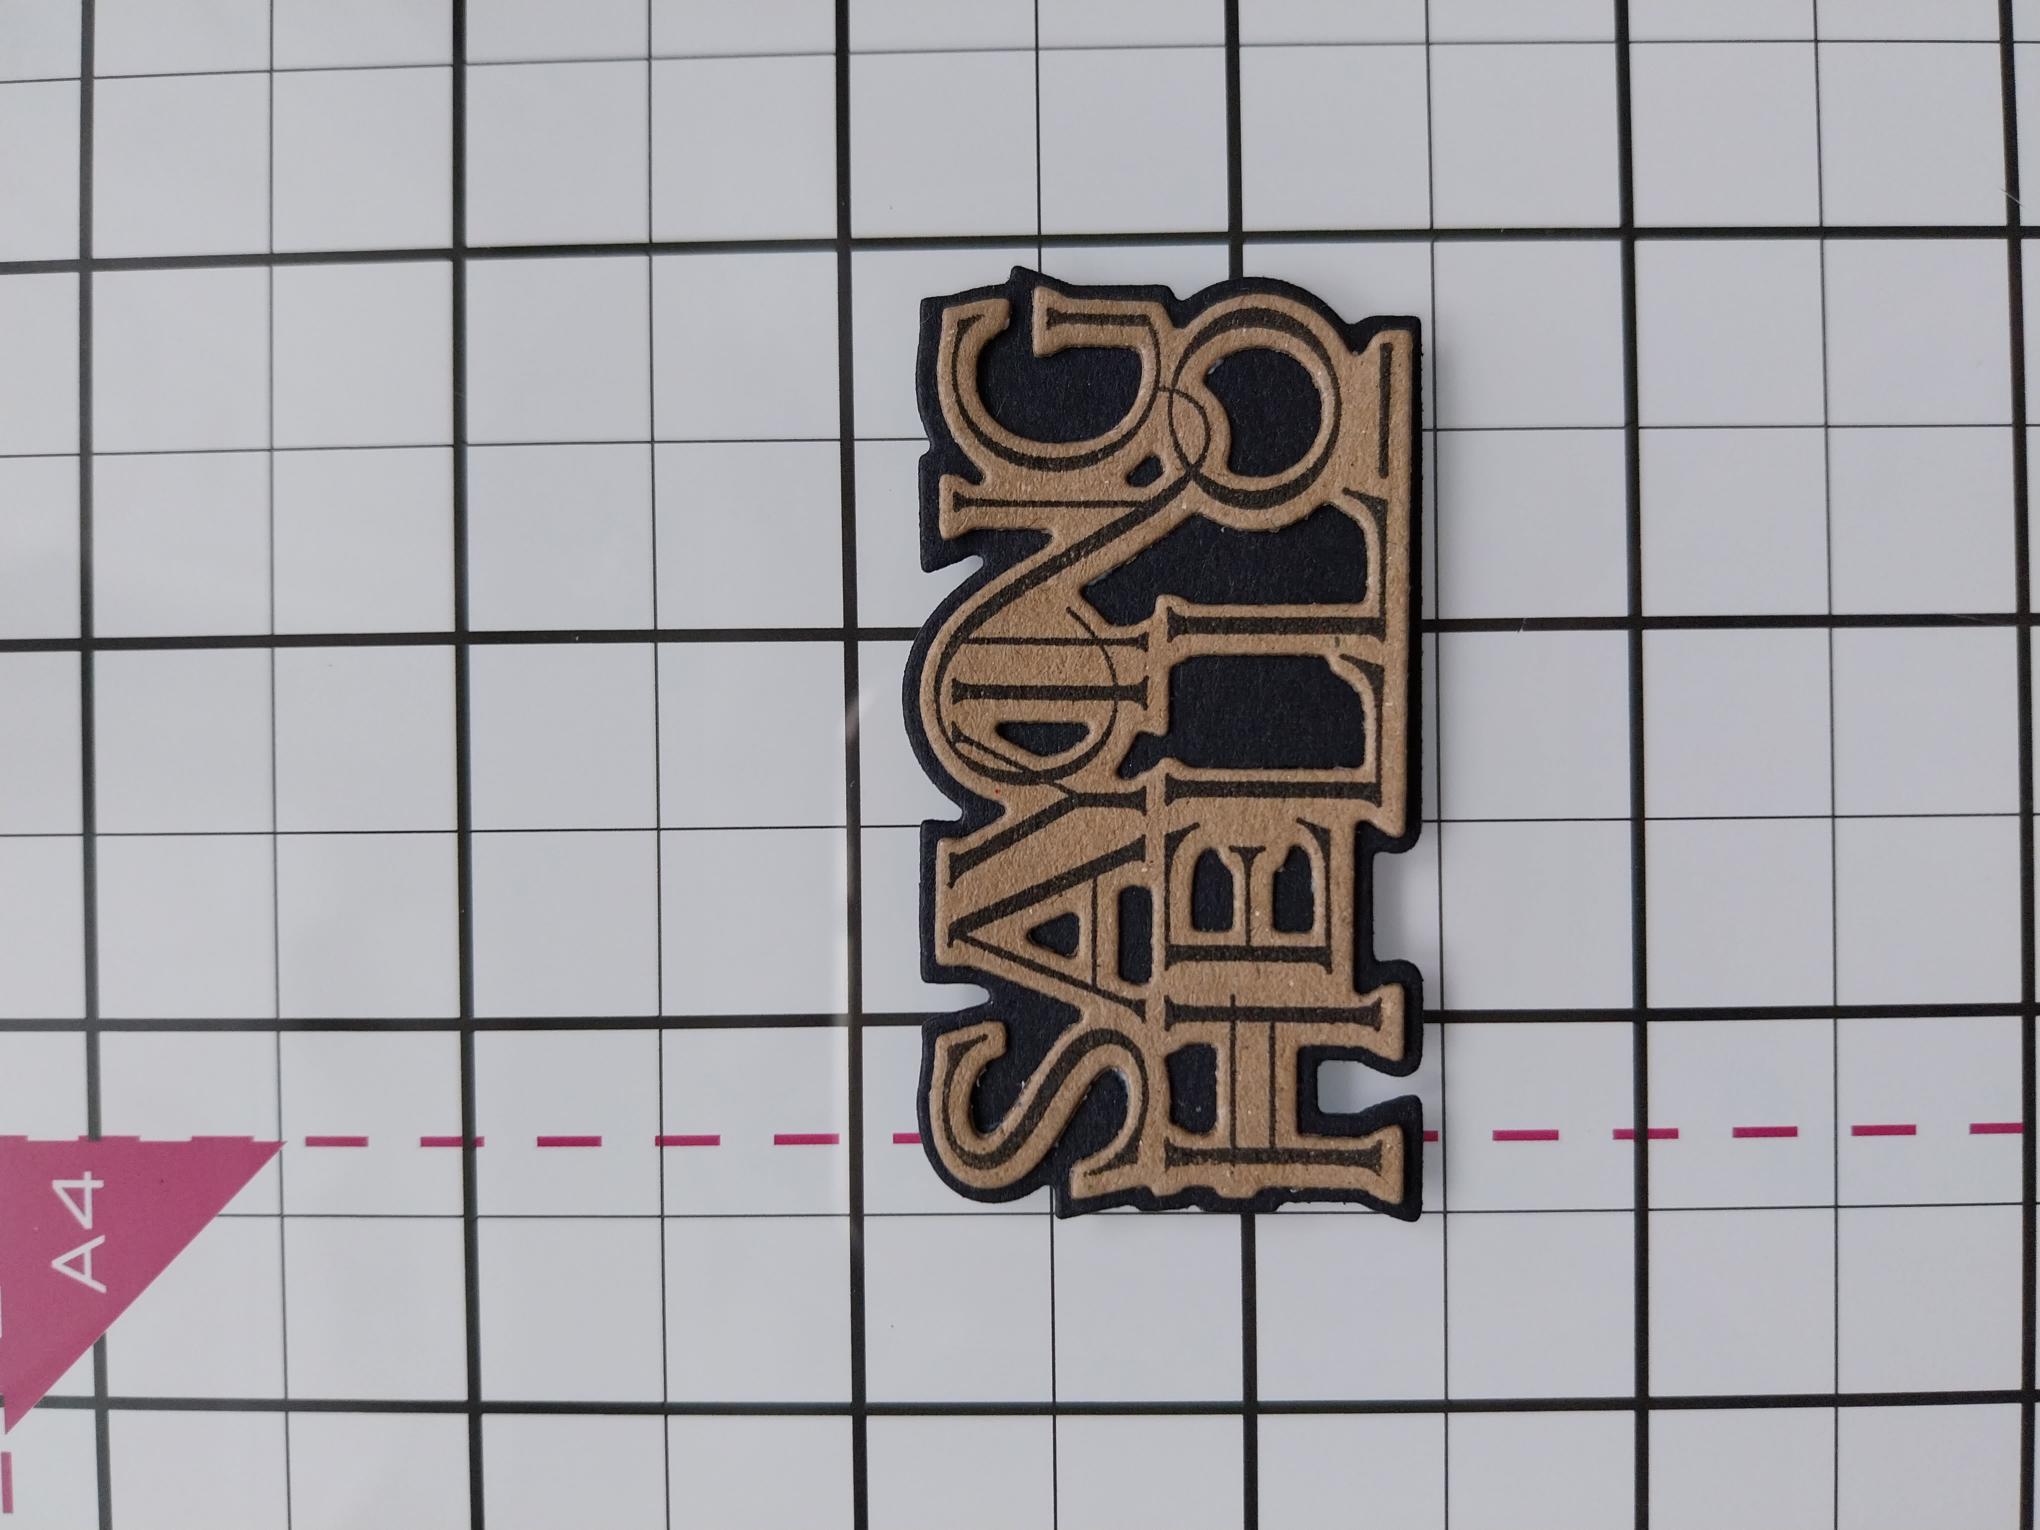
|
Adhere the detailed die cut on top of the layering die cut. |
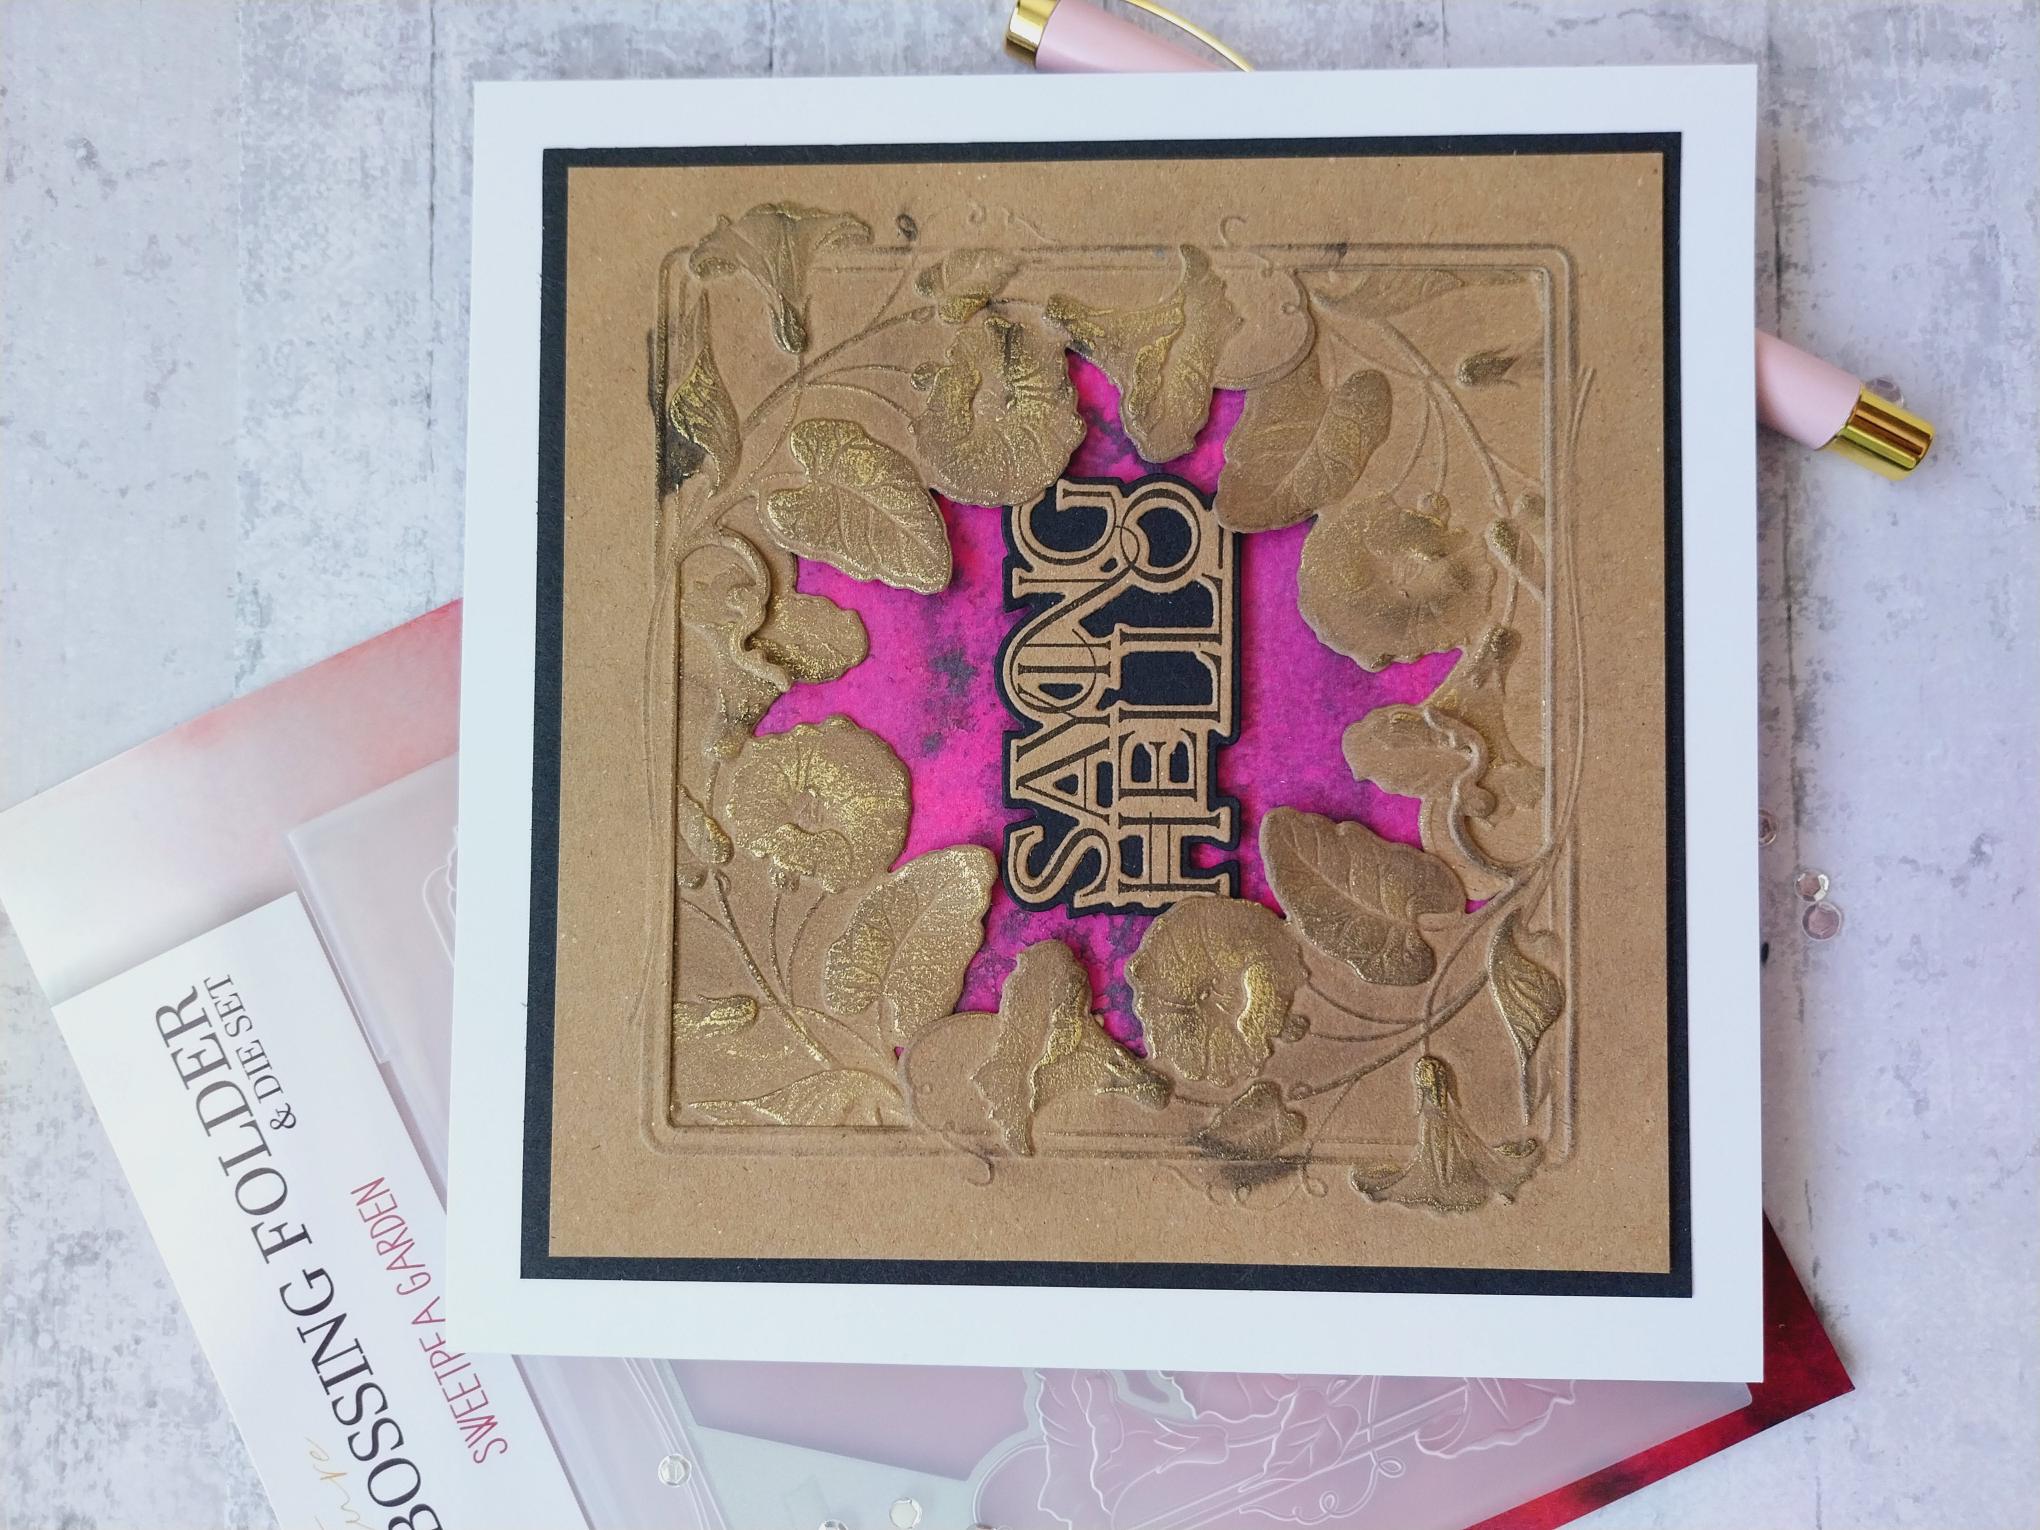
|
Adhere in the centre of your embossed frame, to finish. |