Offrez à vos amis 10 € de réduction sur leur première commande !
Parrainez un AMI








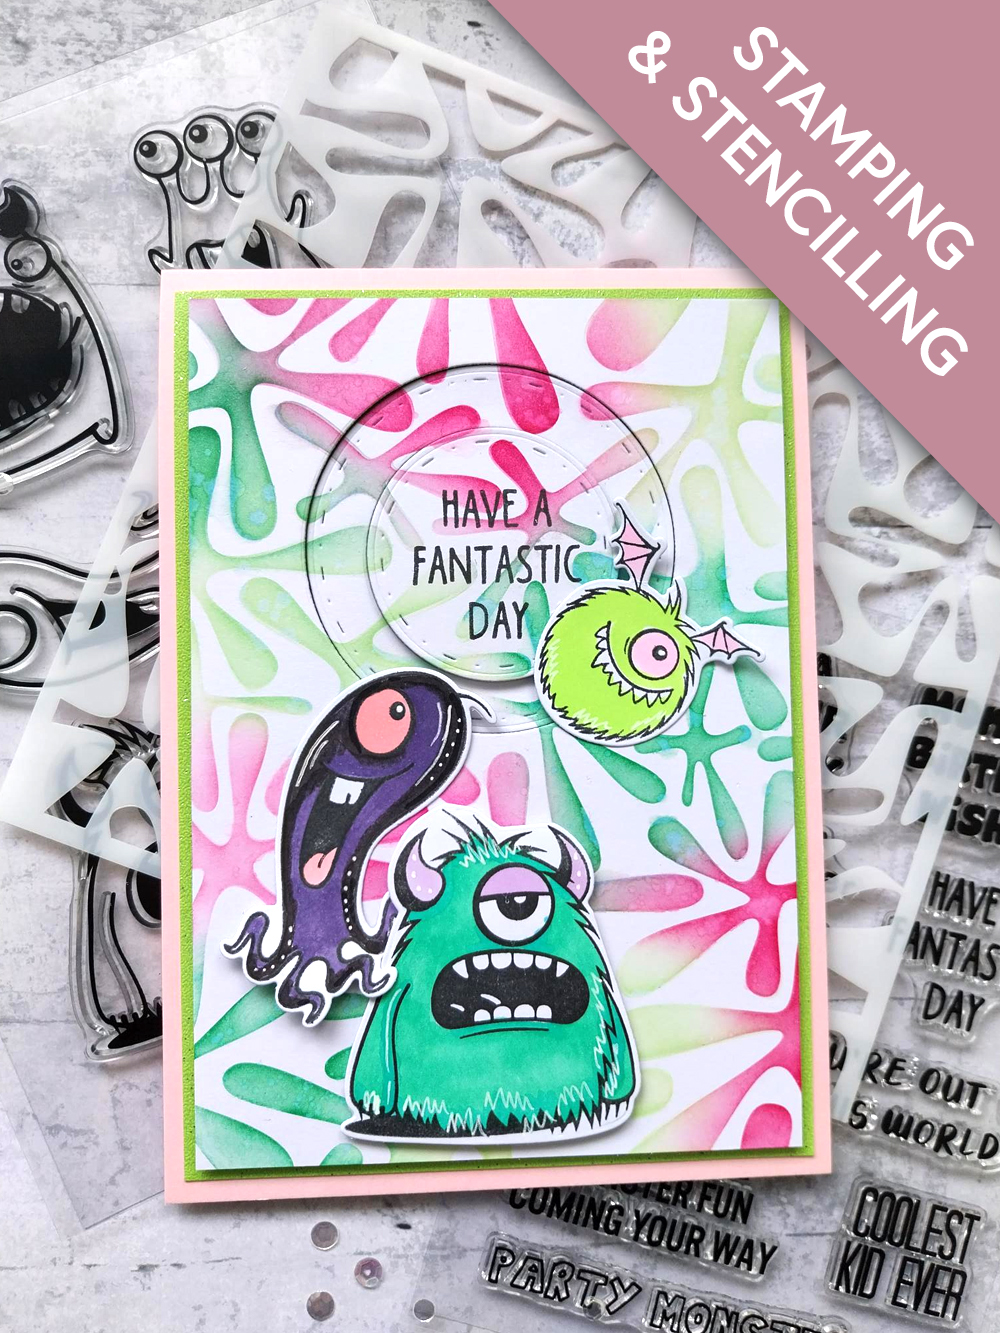
MATÉRIEL NÉCESSAIRE :
Carte vierge rose 7 x 5"
Papier cartonné pailleté (couleur de votre choix) 6 3/4 x 4 3/4"
Papier cartonné blanc 6 1/2 x 4 1/2"
Papier cartonné blanc
Avago Ink Designs Graffiti Monster 7 x 7" Stencil
Avago Ink Designs Graffiti Monster 7 x 7" Stencil and Stamp Set
Avago Ink Designs Graffiti Monster 7 x 5" Stamp and Die Set
Deboss Circle Nesting Dies Collection
Encreur SBM Hybrid Ink Pad : Midnight
Encreurs SBM Premium Dye Ink Pads : Limeade, Hedgerow, Magenta
Pinceau d'estompage
Feutres à alcool Gossip
Pinceau
Stylo gel blanc Imala
Eureka 101 Watercolour Tablet
Tapis en verre magnétique SBM
Massicot
Colle Perfect Together Glue
Feuille mousse / pastilles mousse 3D
Ruban adhésif double face rouge (red liner tape)
Machine de découpe
[cliquez sur l'image pour l'agrandir] 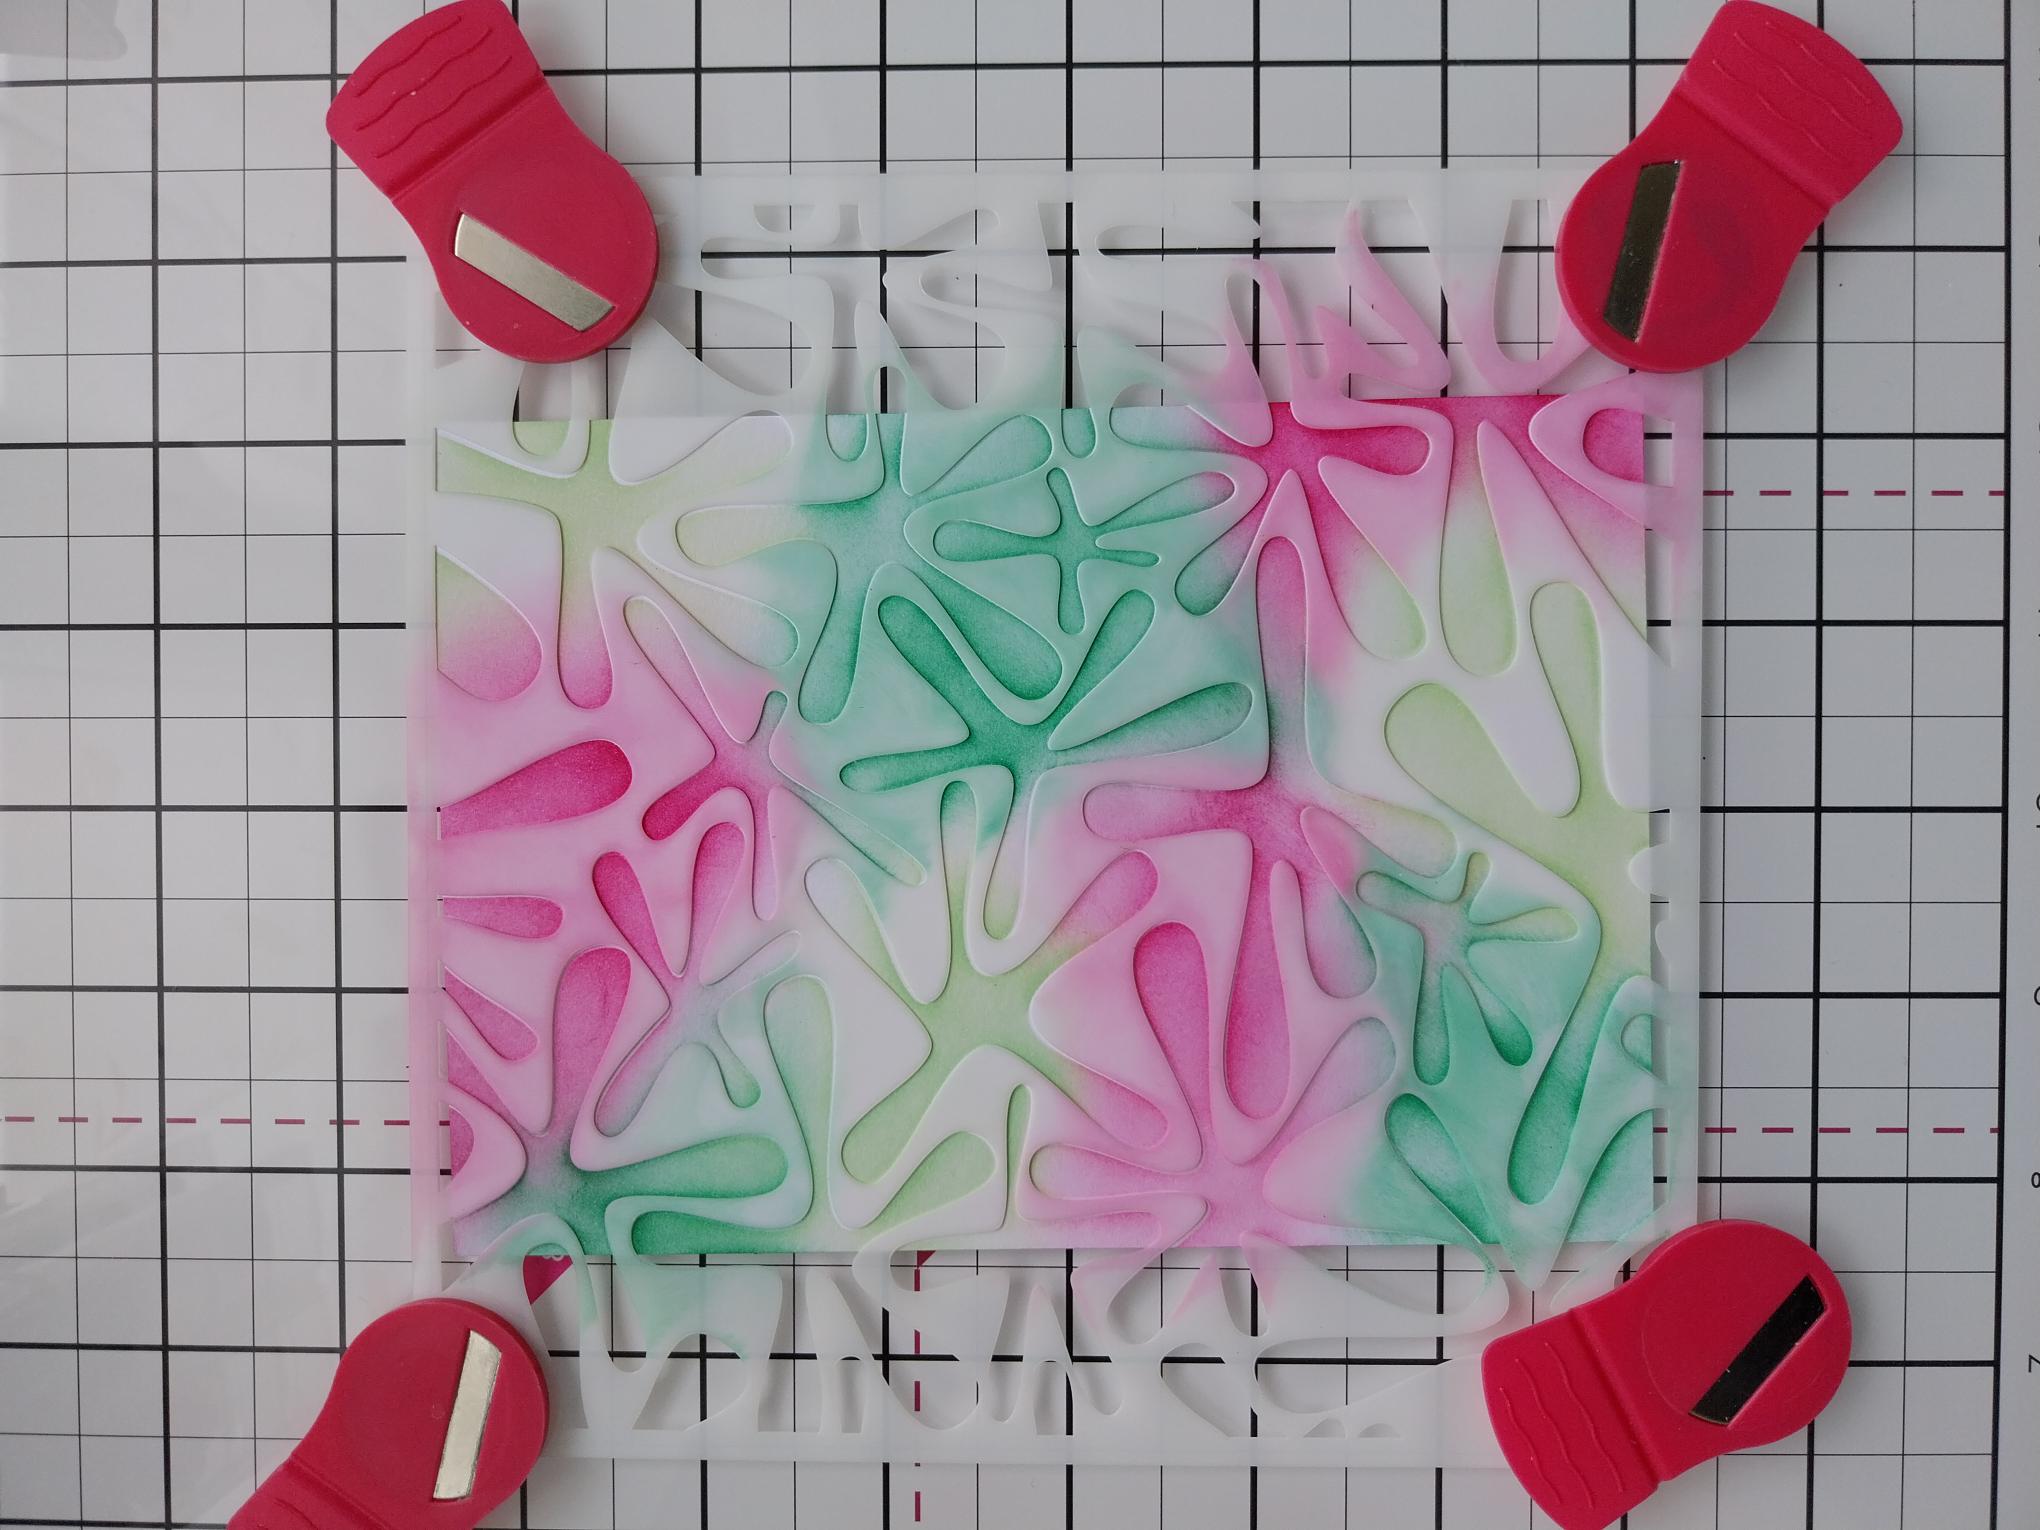
|
Place the stencil on top of your white card, cut to 6 1/2 x 4 1/2" and use your blending tool to randomly blend with the Limeade, Hedgerow and Magenta inks. |
|
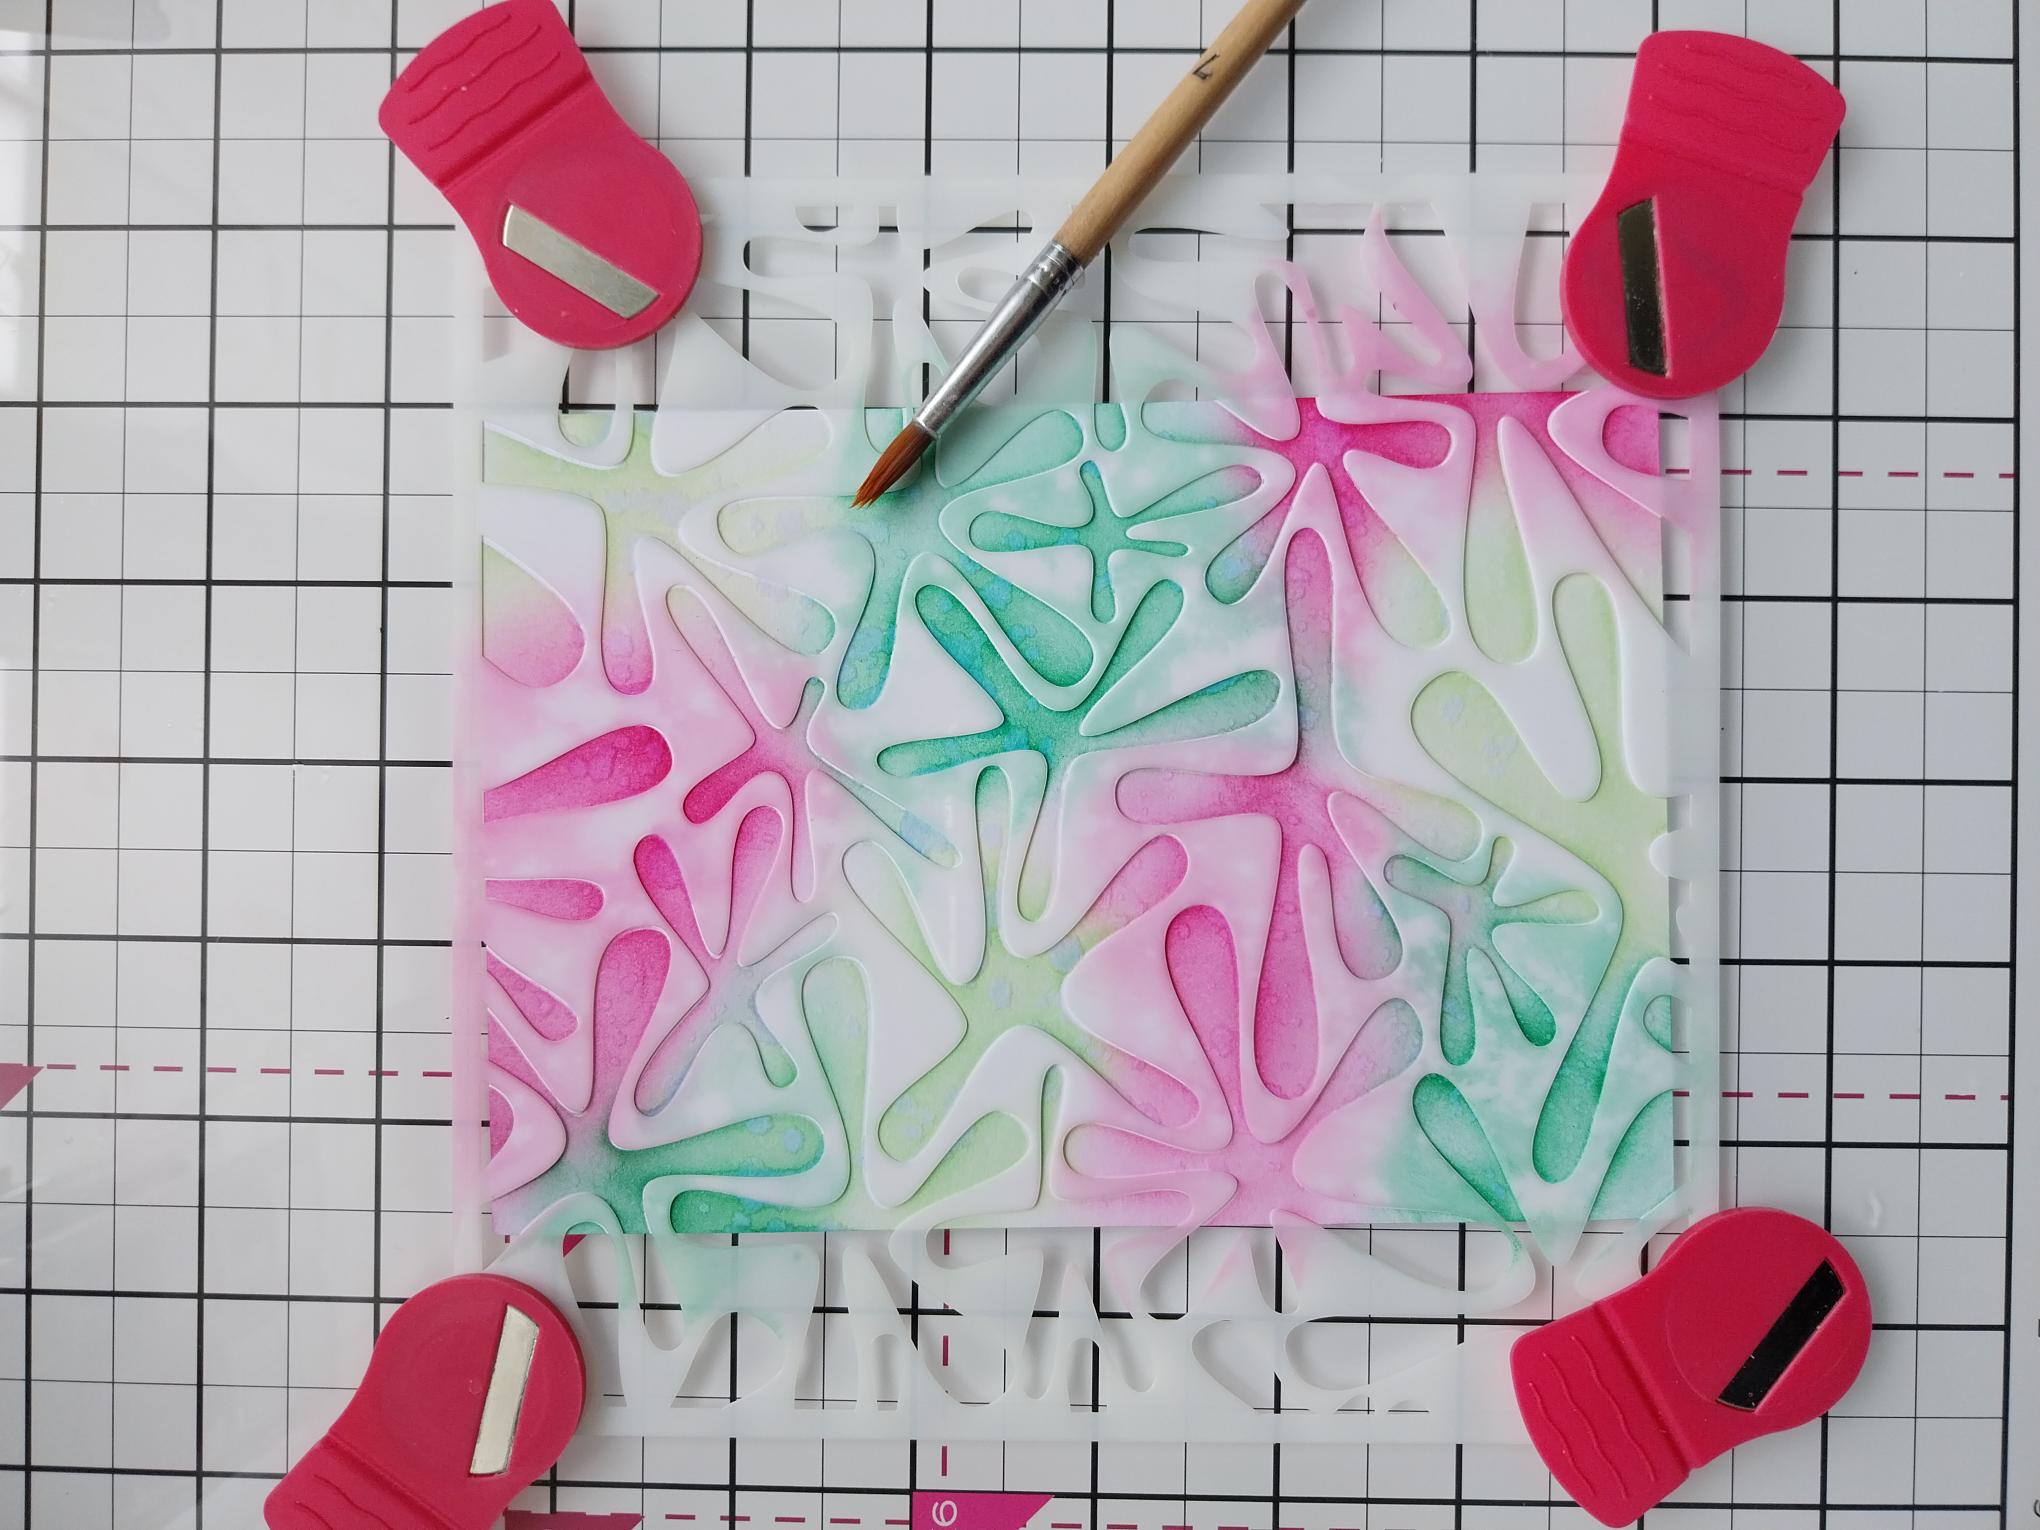
Whilst the stencil is still in place, splatter water over the ink, wait a few seconds then mop up with a paper towel. |
|
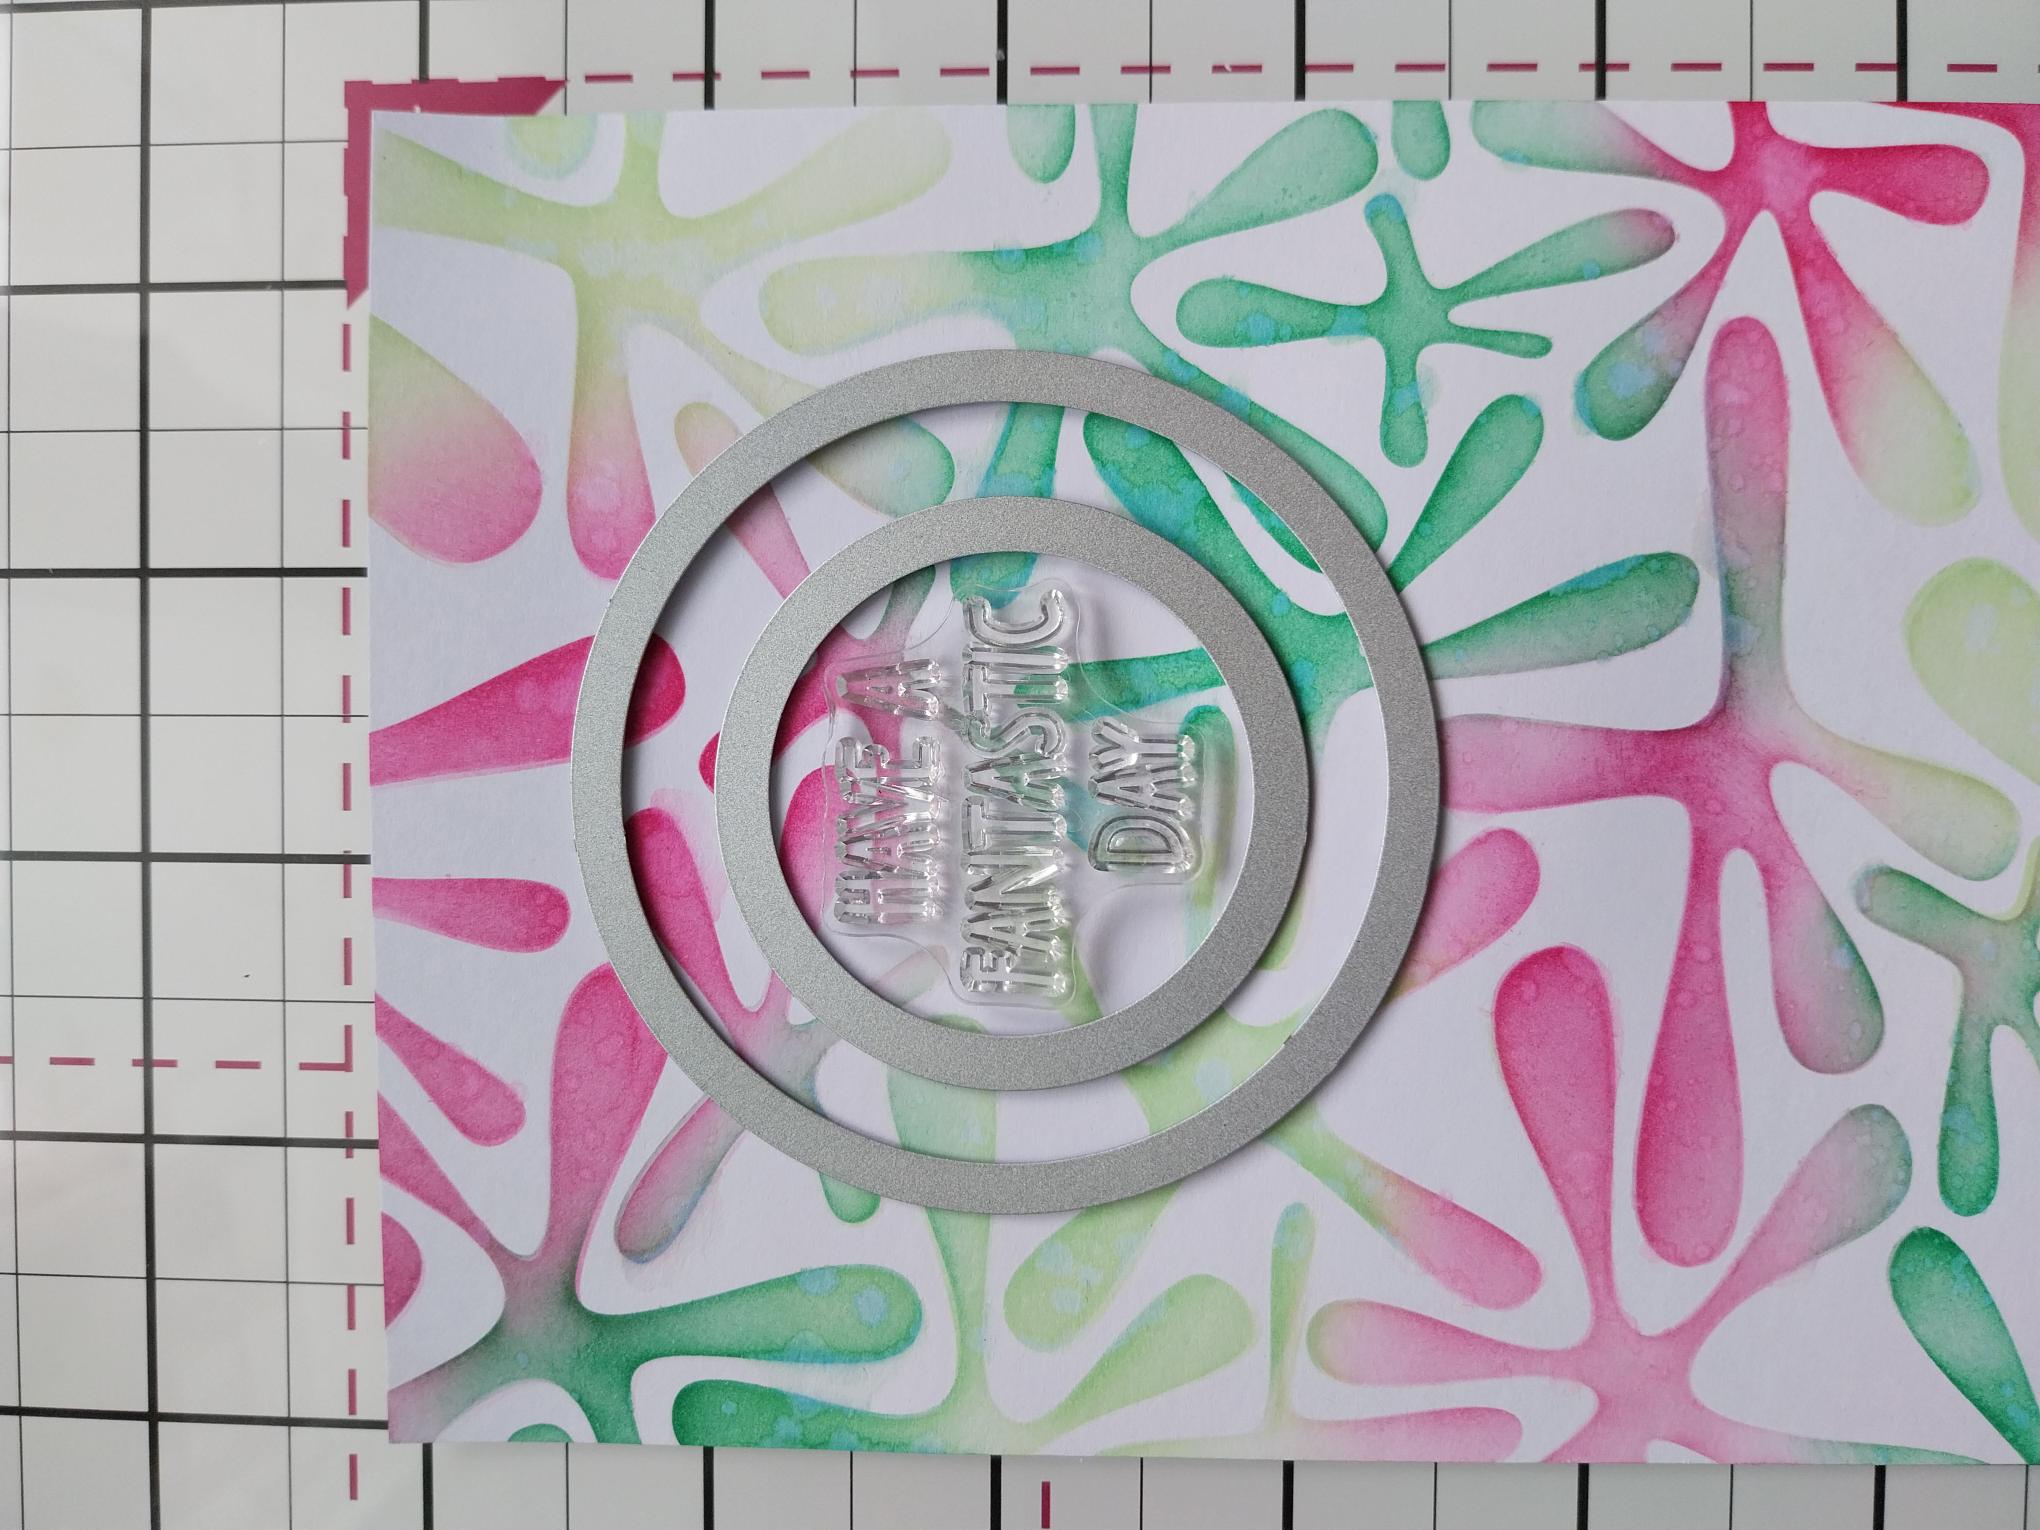
Placing the 2" and 2 3/4" circle nesting dies where you want them to be, position the sentiment stamp in the middle. |
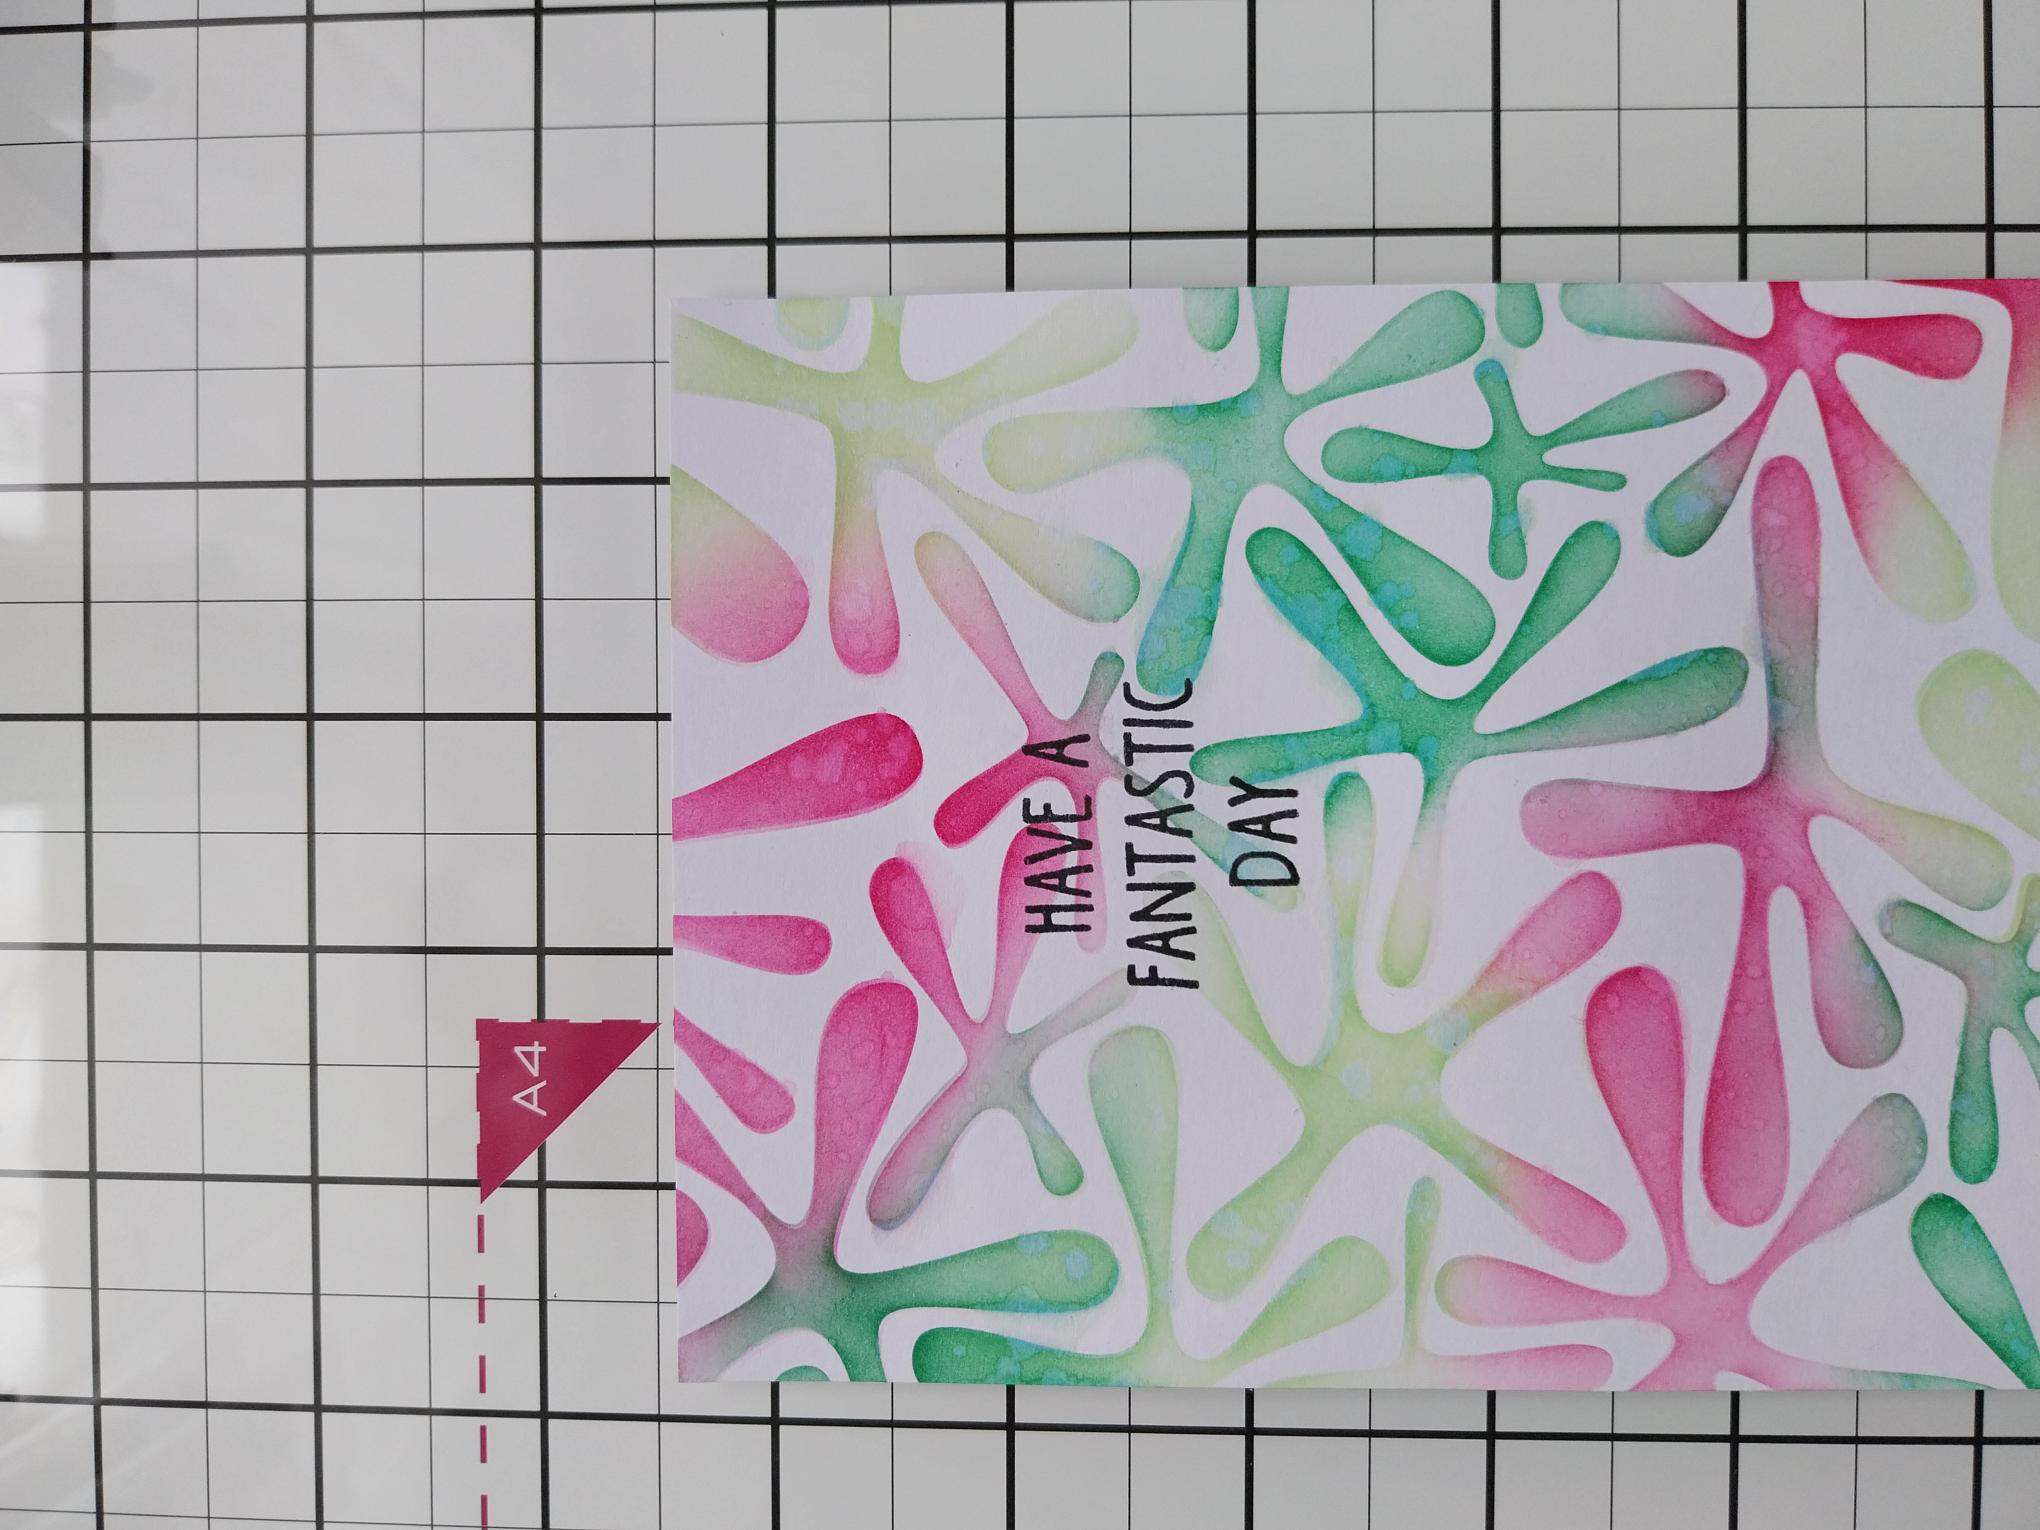
|
Stamp the sentiment in position, in the Midnight ink. |
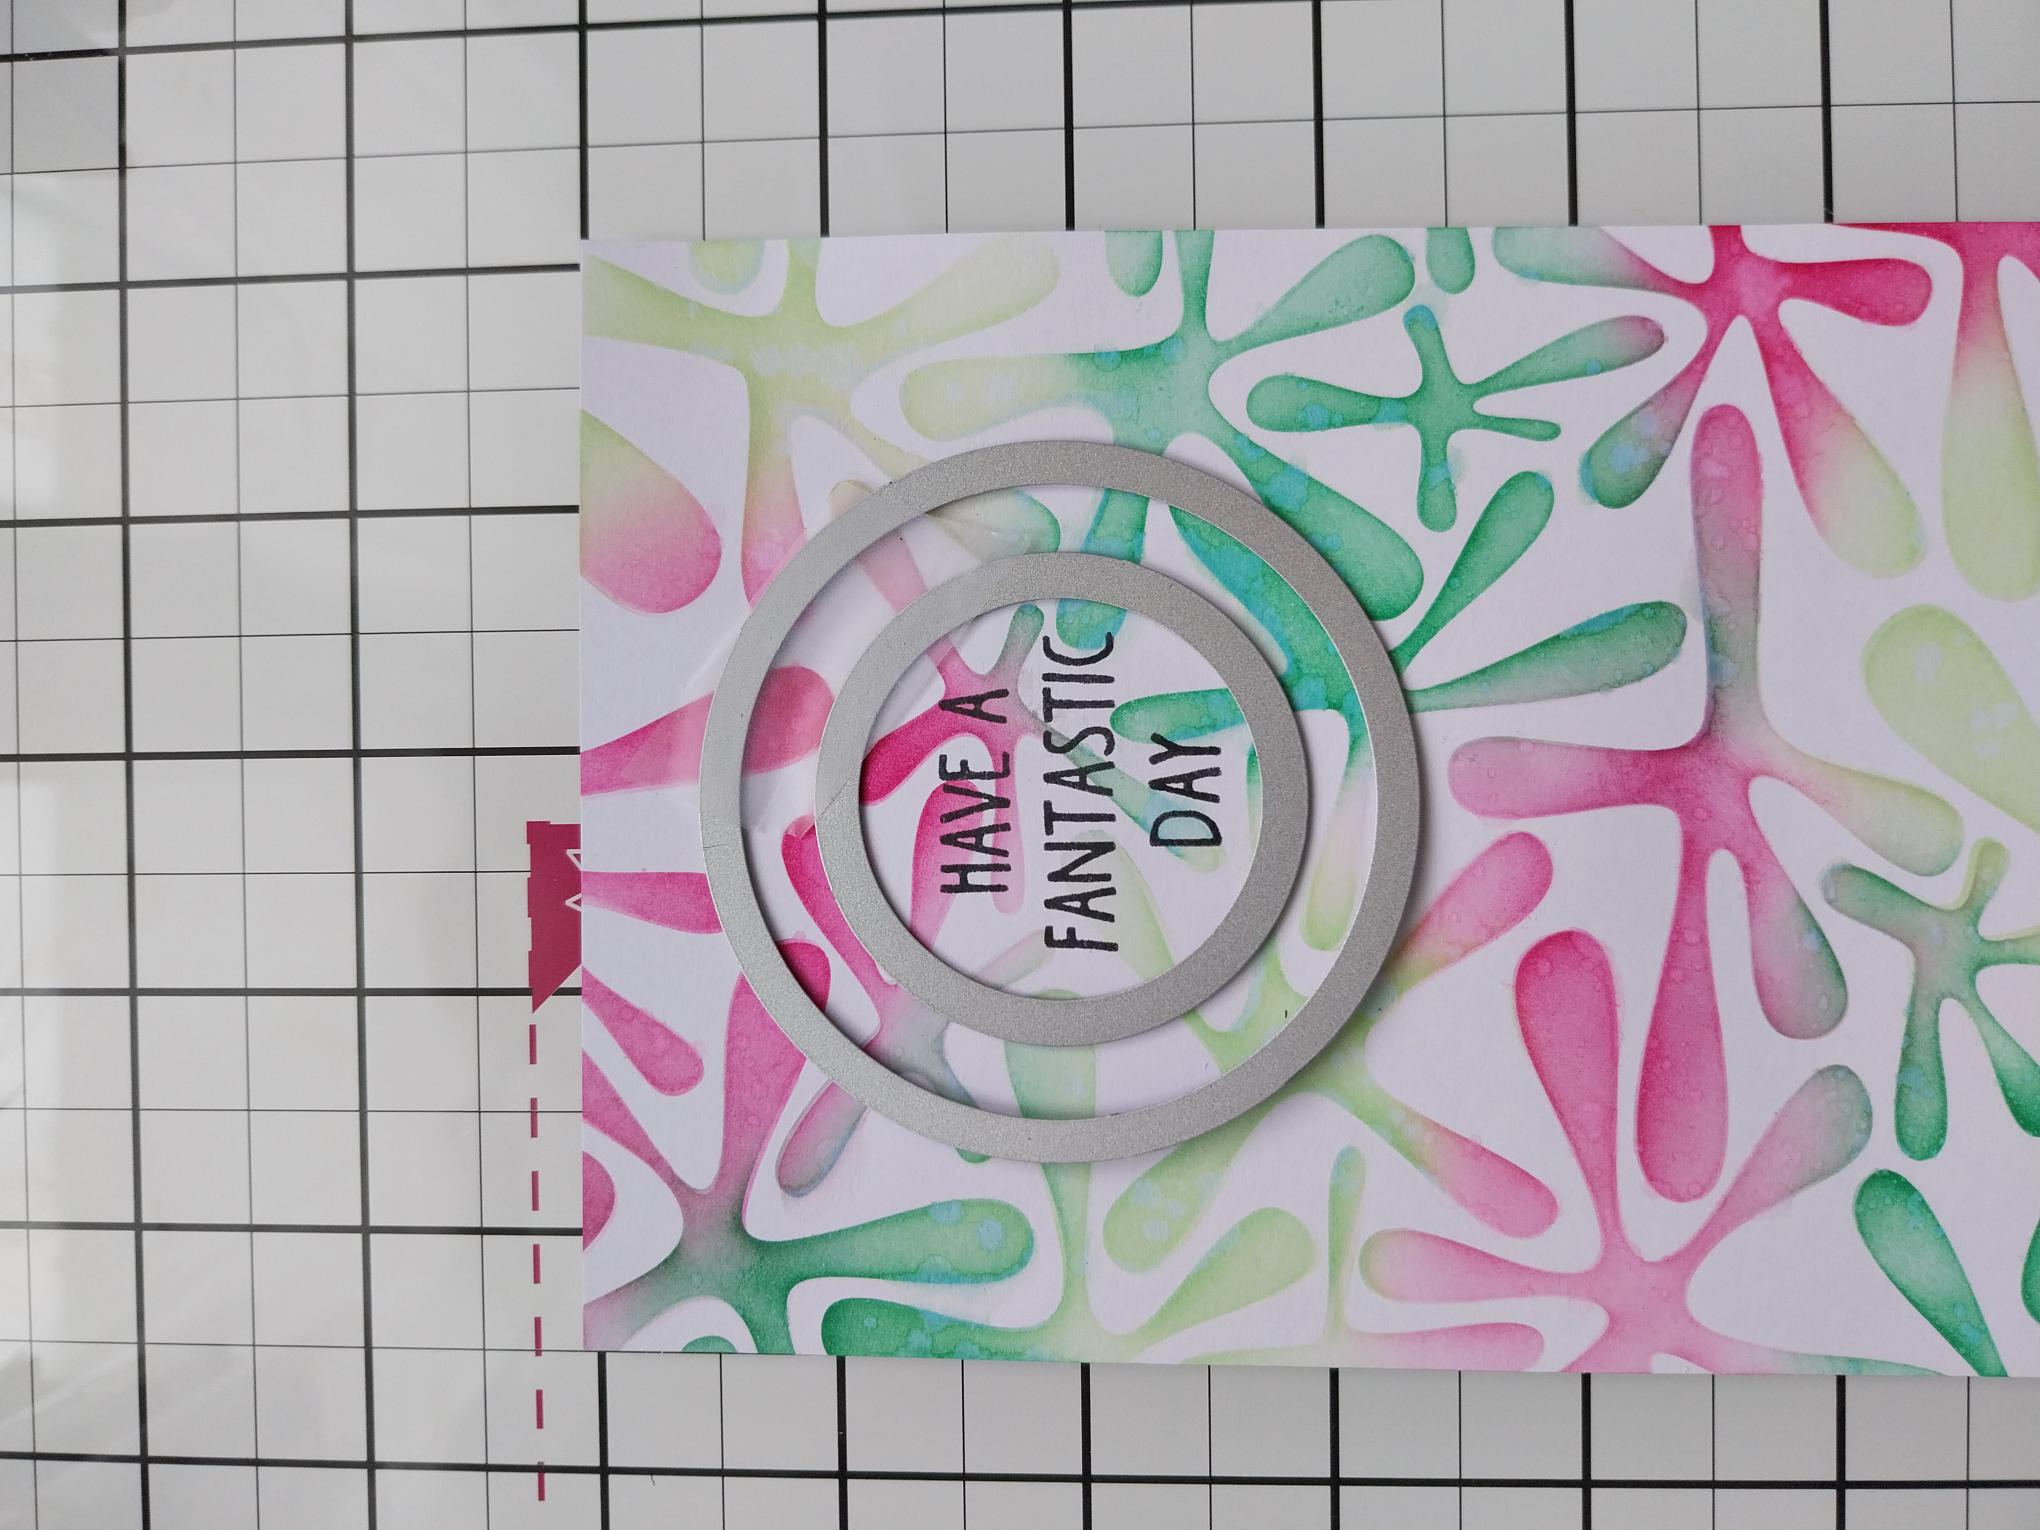
|
Place the 2 dies back in position, around your sentiment and run them through your die cutting machine. |
|
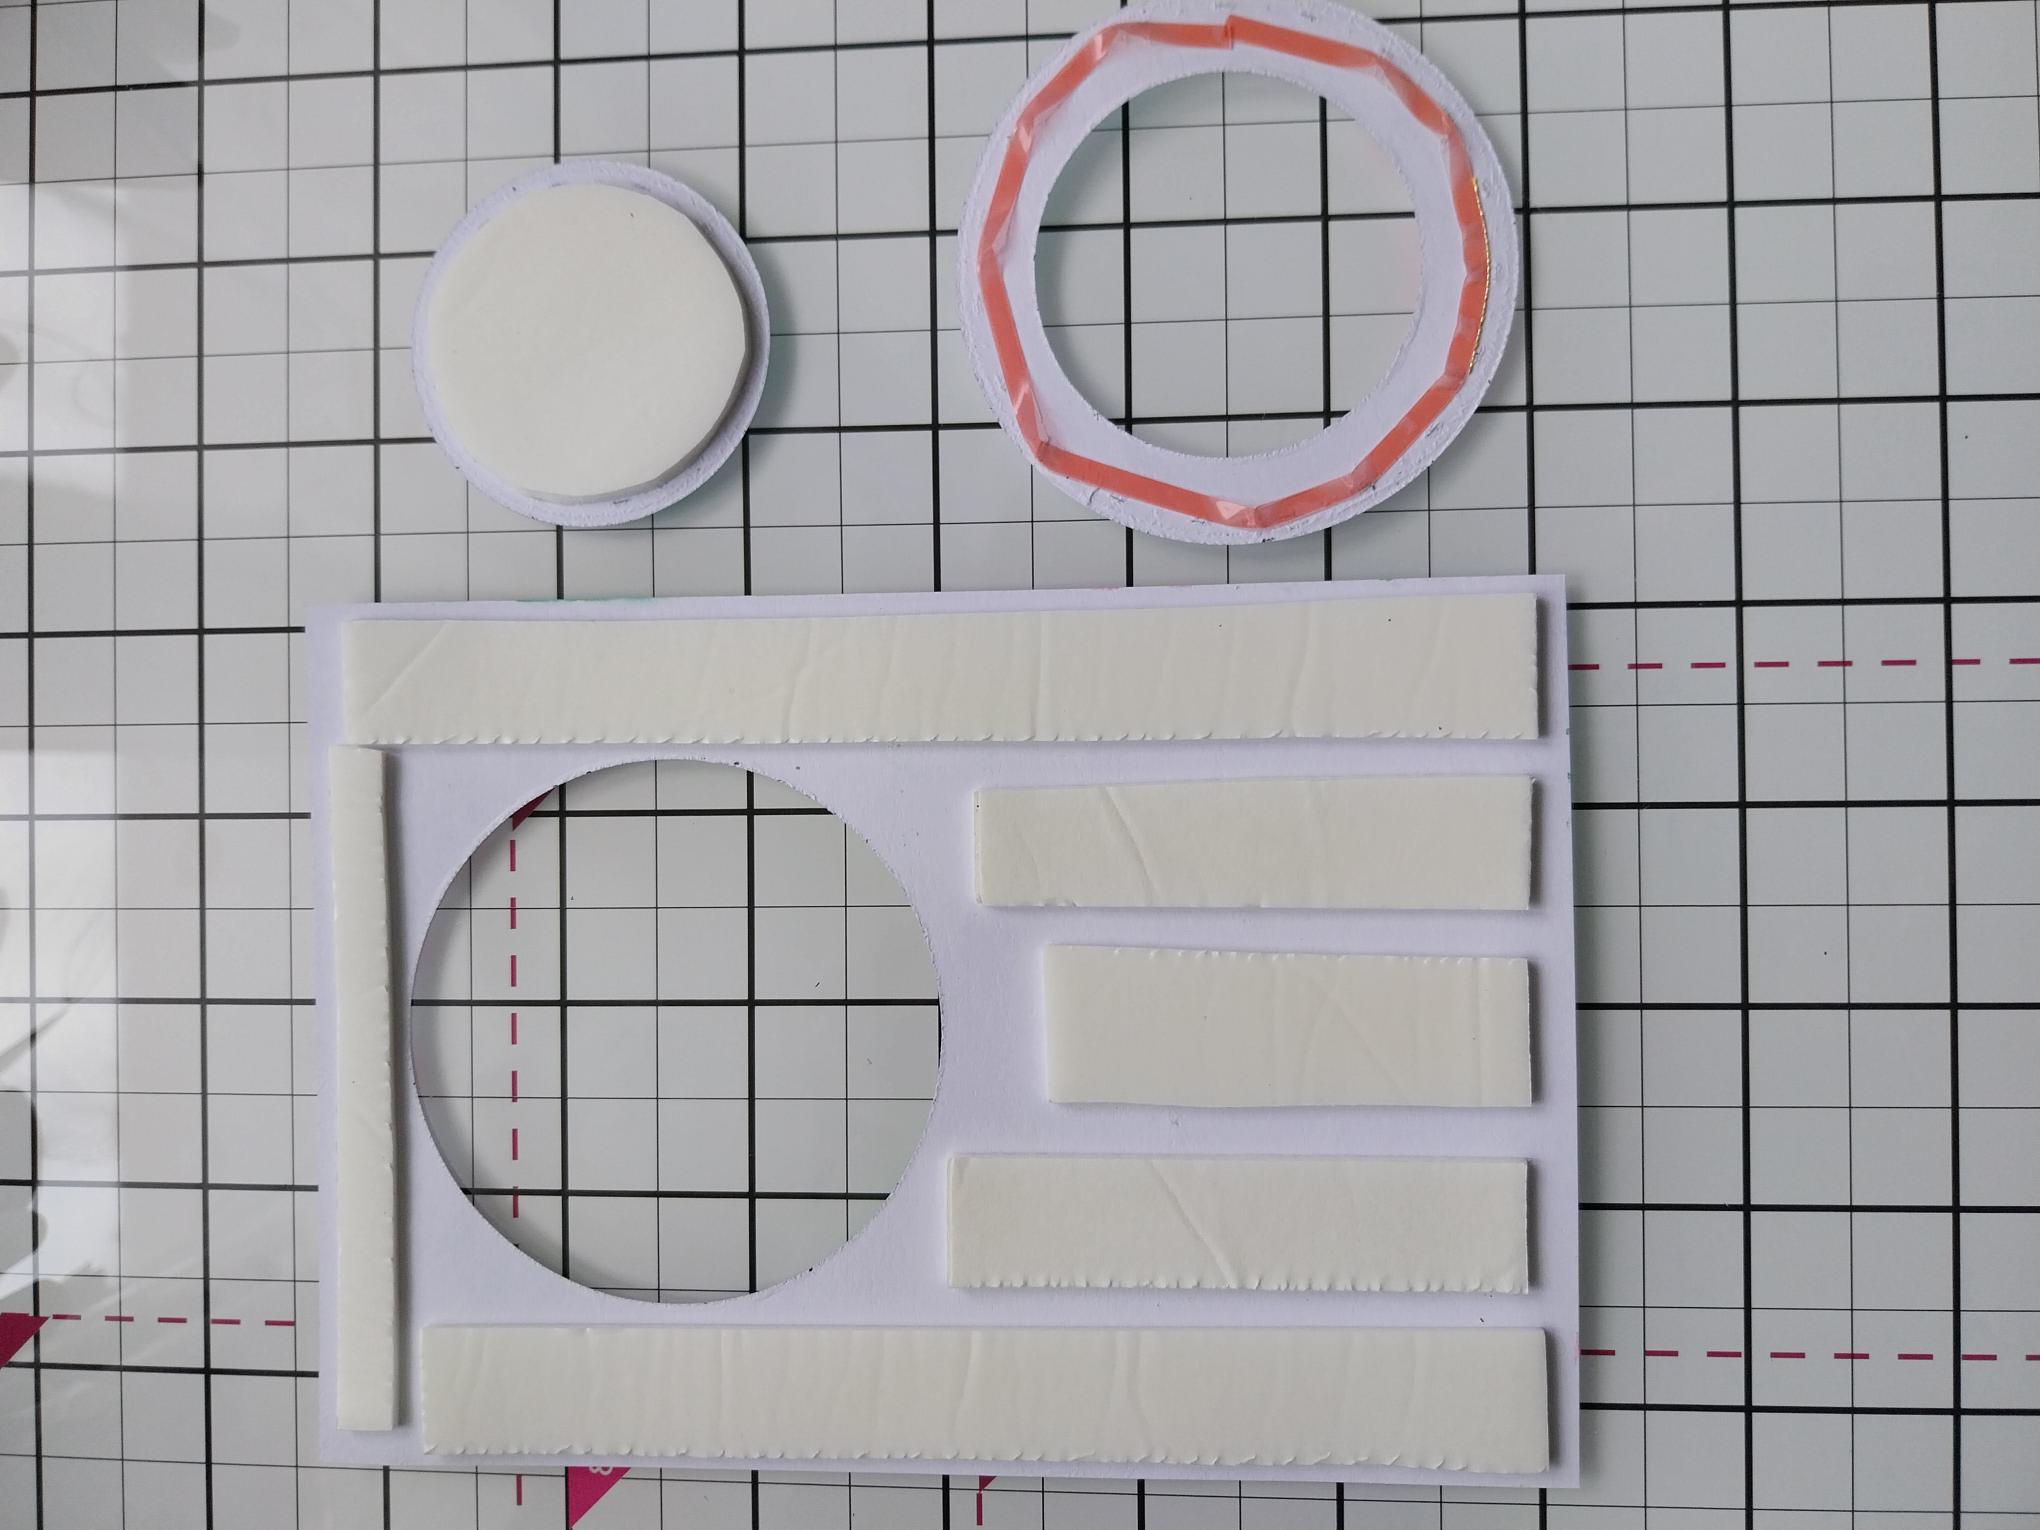
Adhere foam pads to the reverse of the stencilled card and on the stencilled circle die cut. Apply red liner tape or wet glue, on the reverse of the die cut circle frame, as seen here. |
|
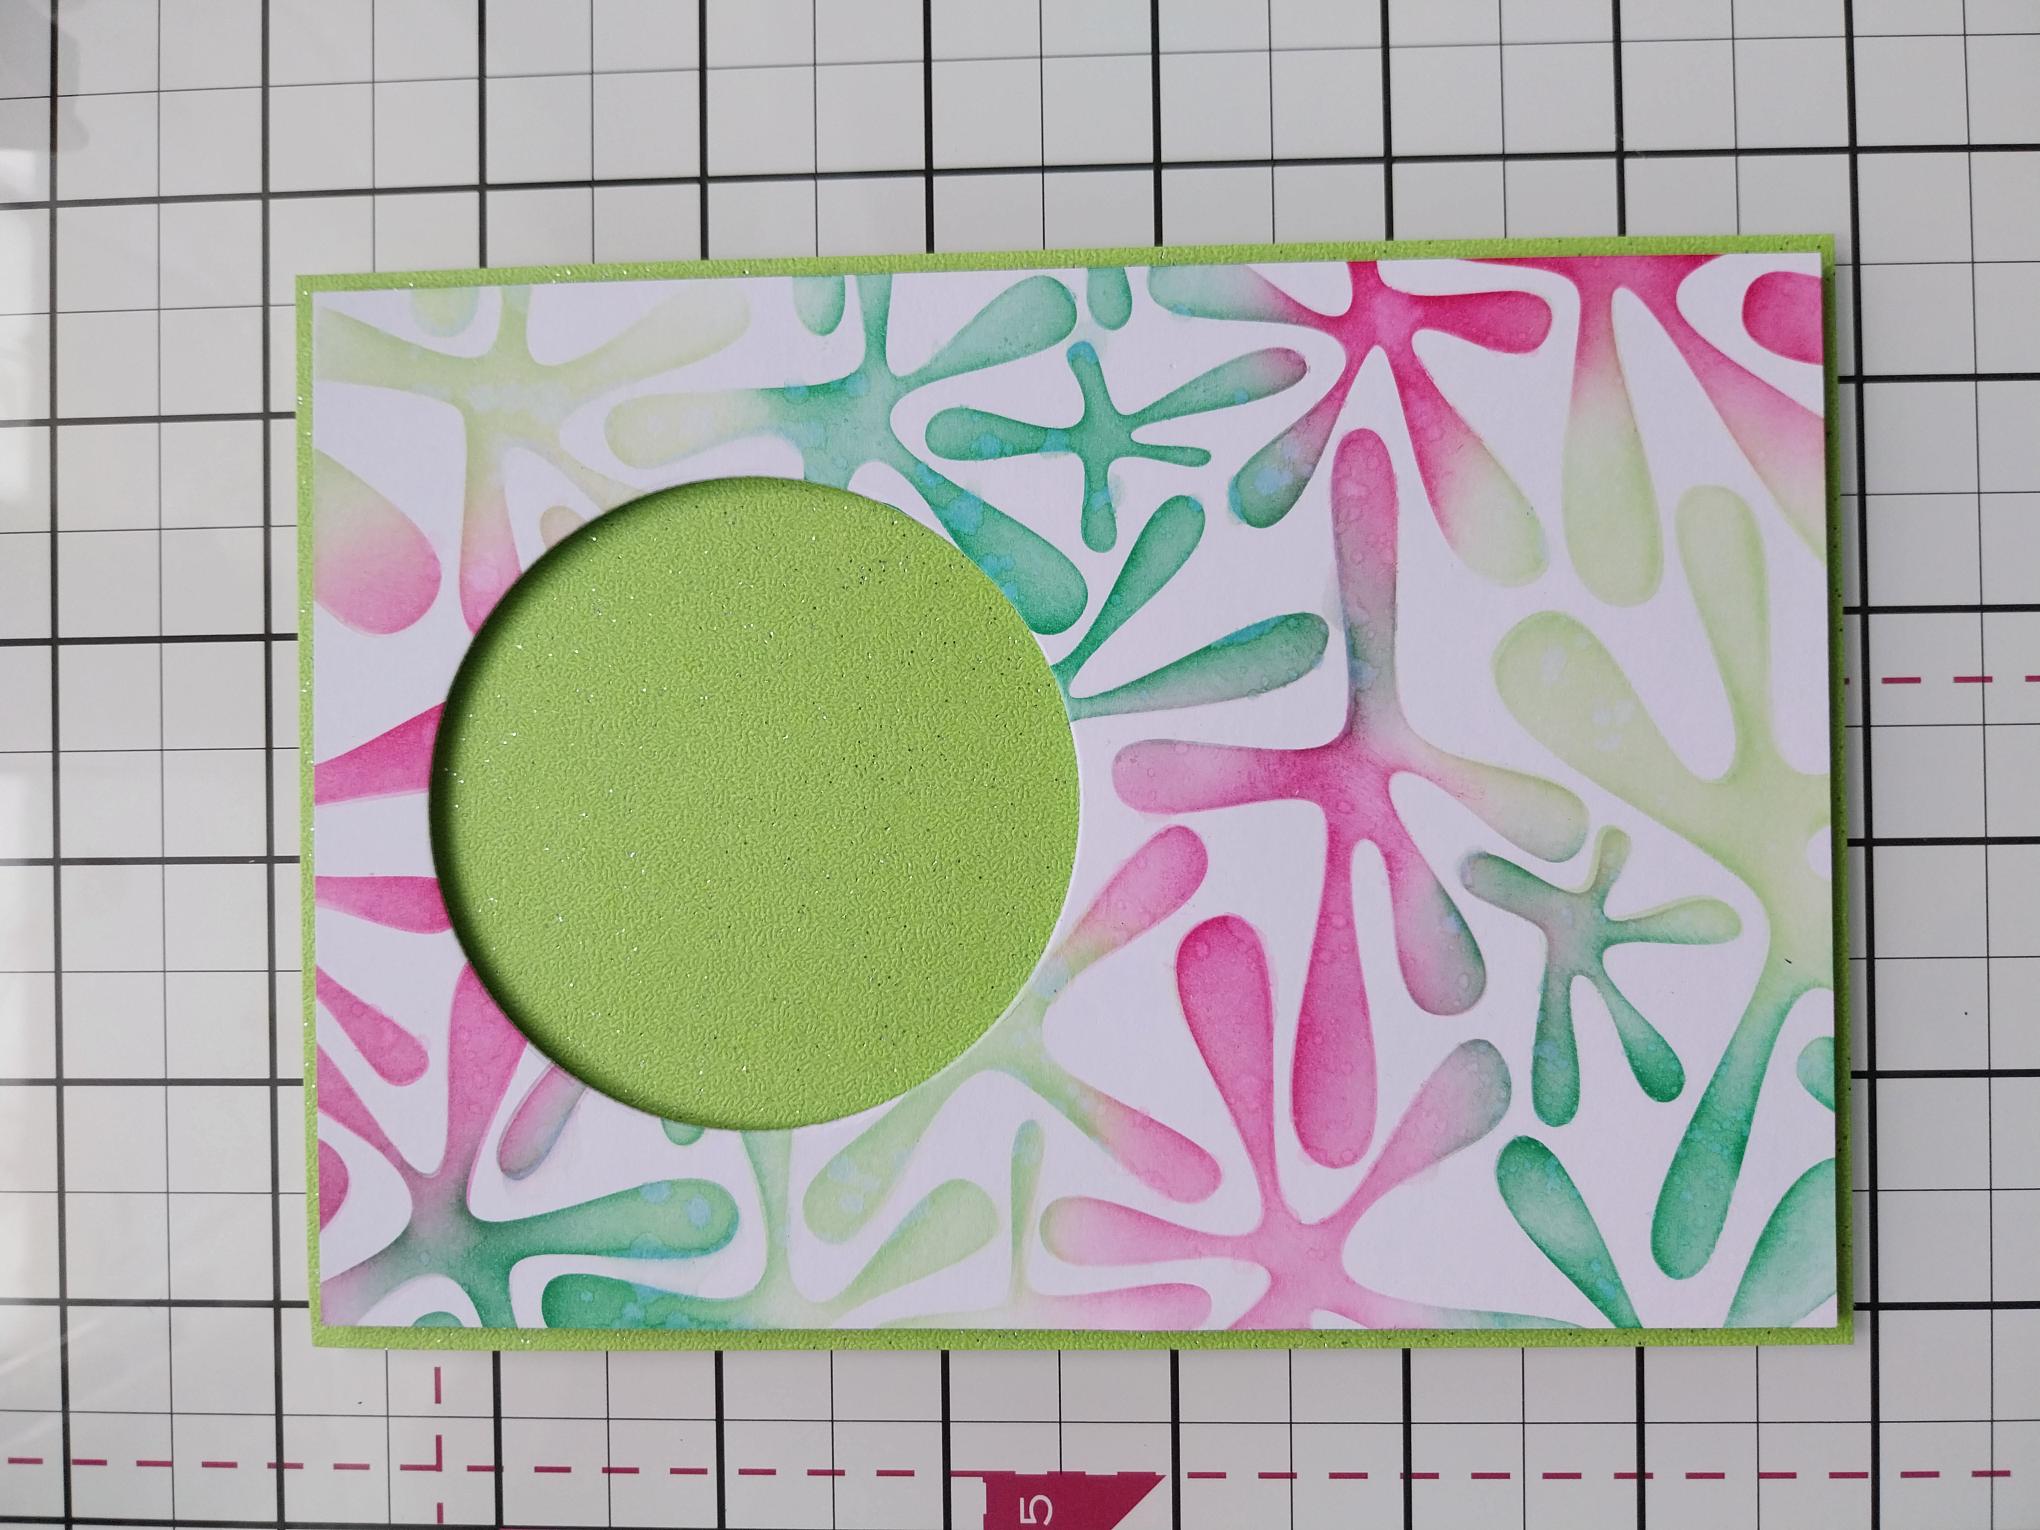
Adhere the stencilled aperture background on to glitter card, cut to 6 3/4 x 4 3/4". |
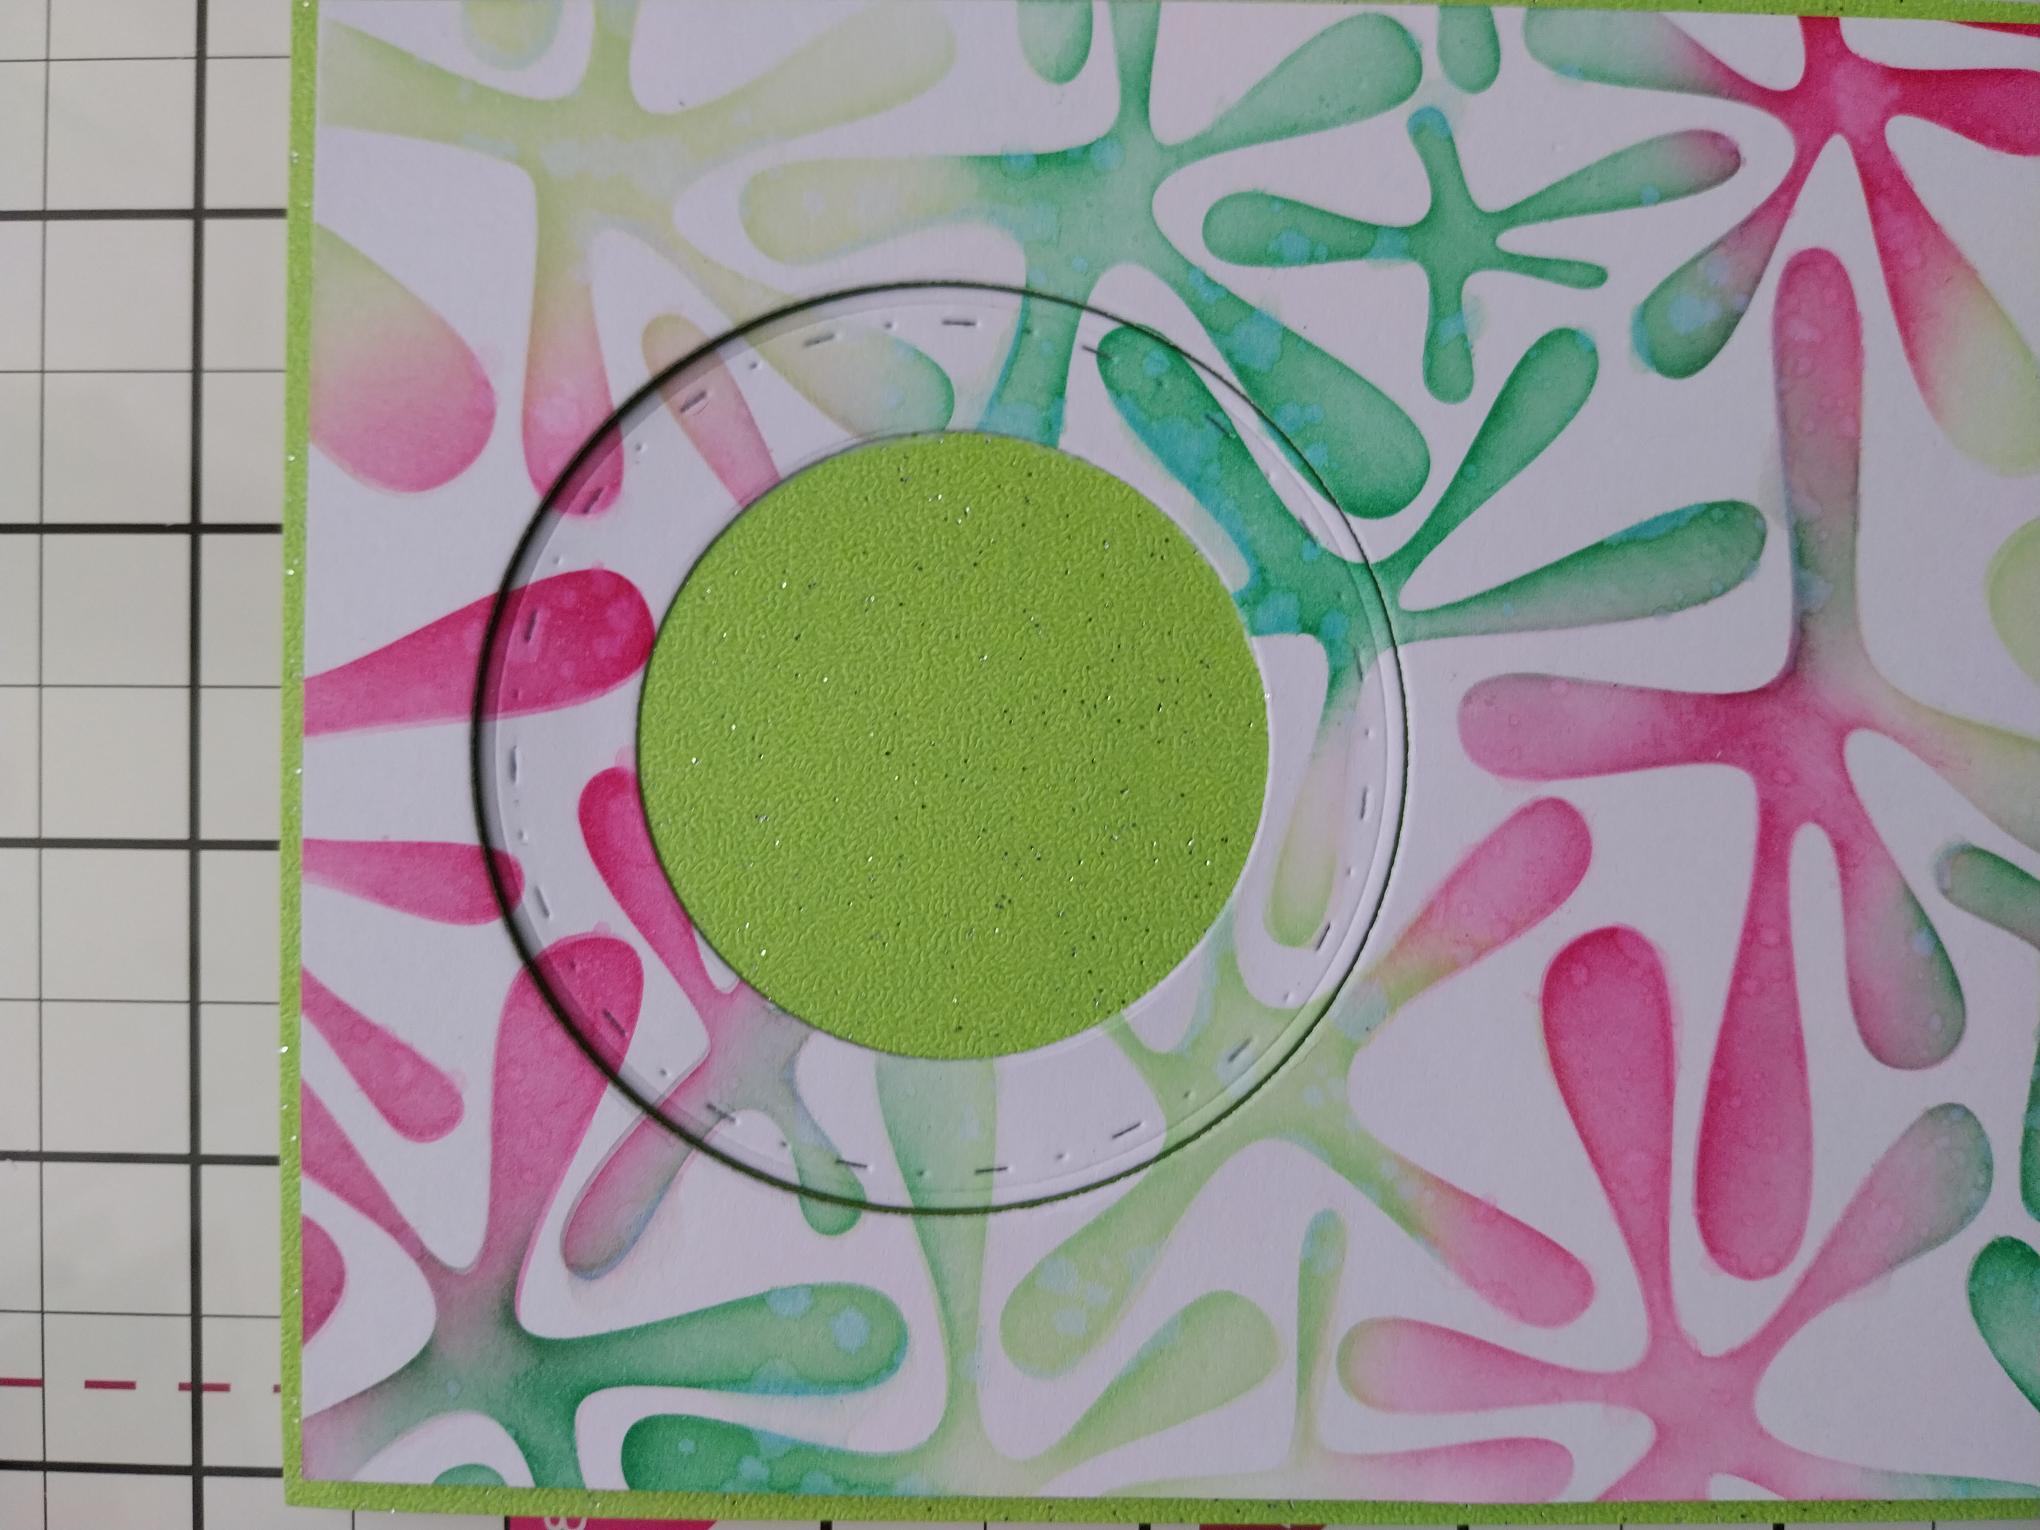
|
Adhere the stencilled frame flat, within the aperture, ensuring you line up the stencilled pattern. |
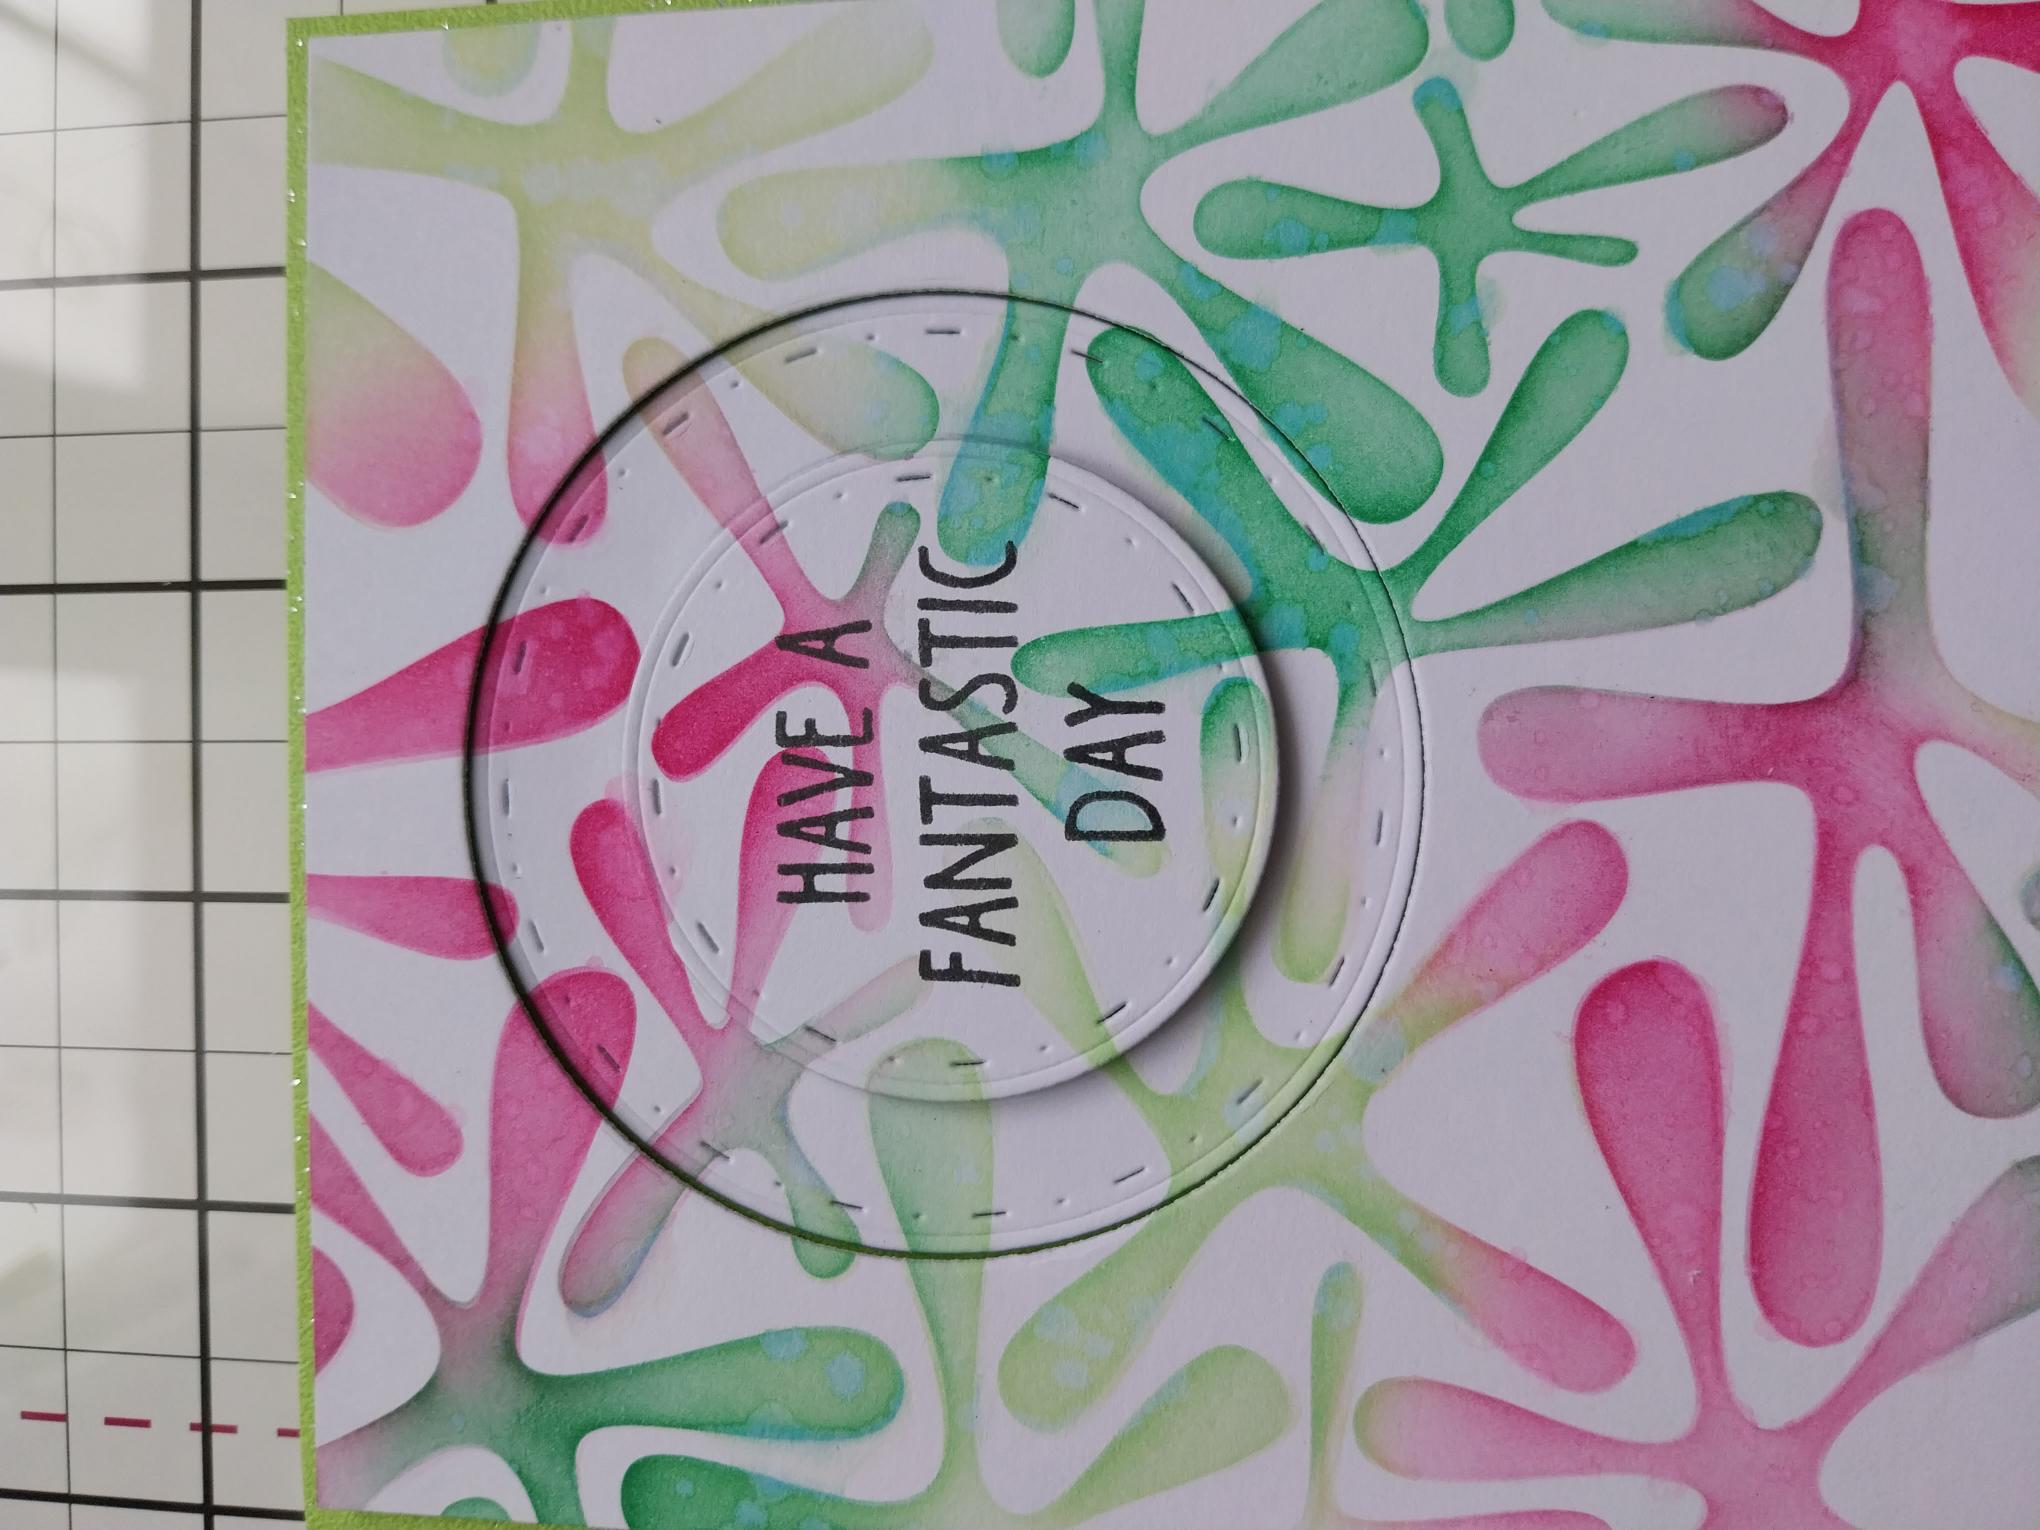
|
Adhere your stencilled sentiment in the centre, again ensuring you line up the stencilled design. |
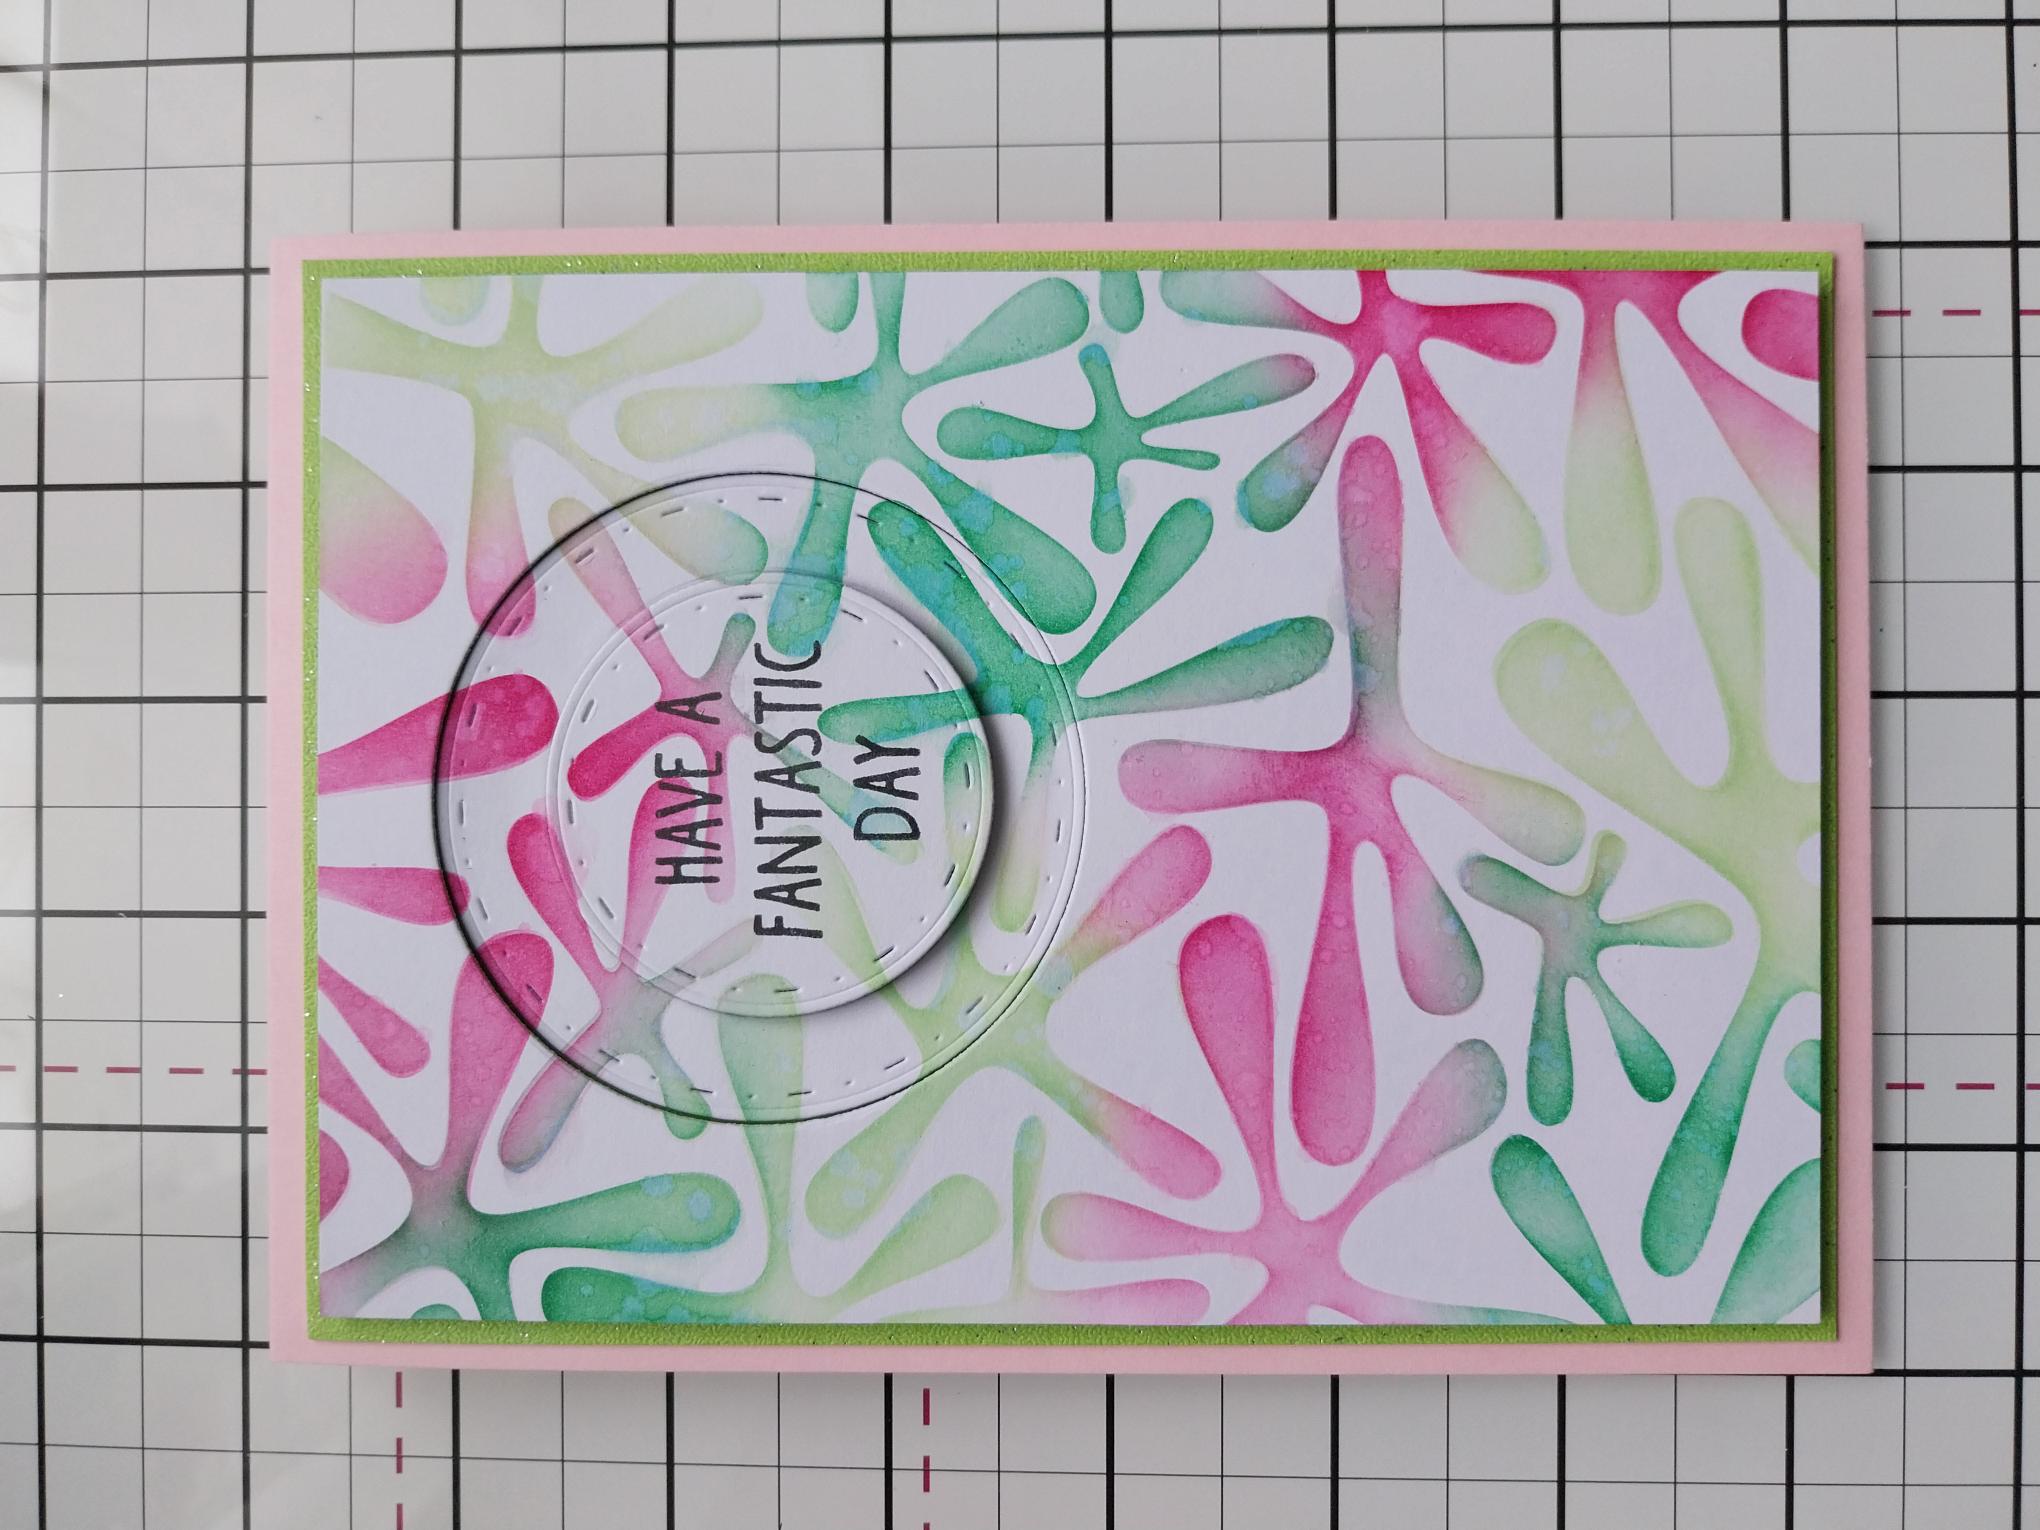
|
Adhere this to the front of your 7 x 5" pink card blank, then pop to one side. |
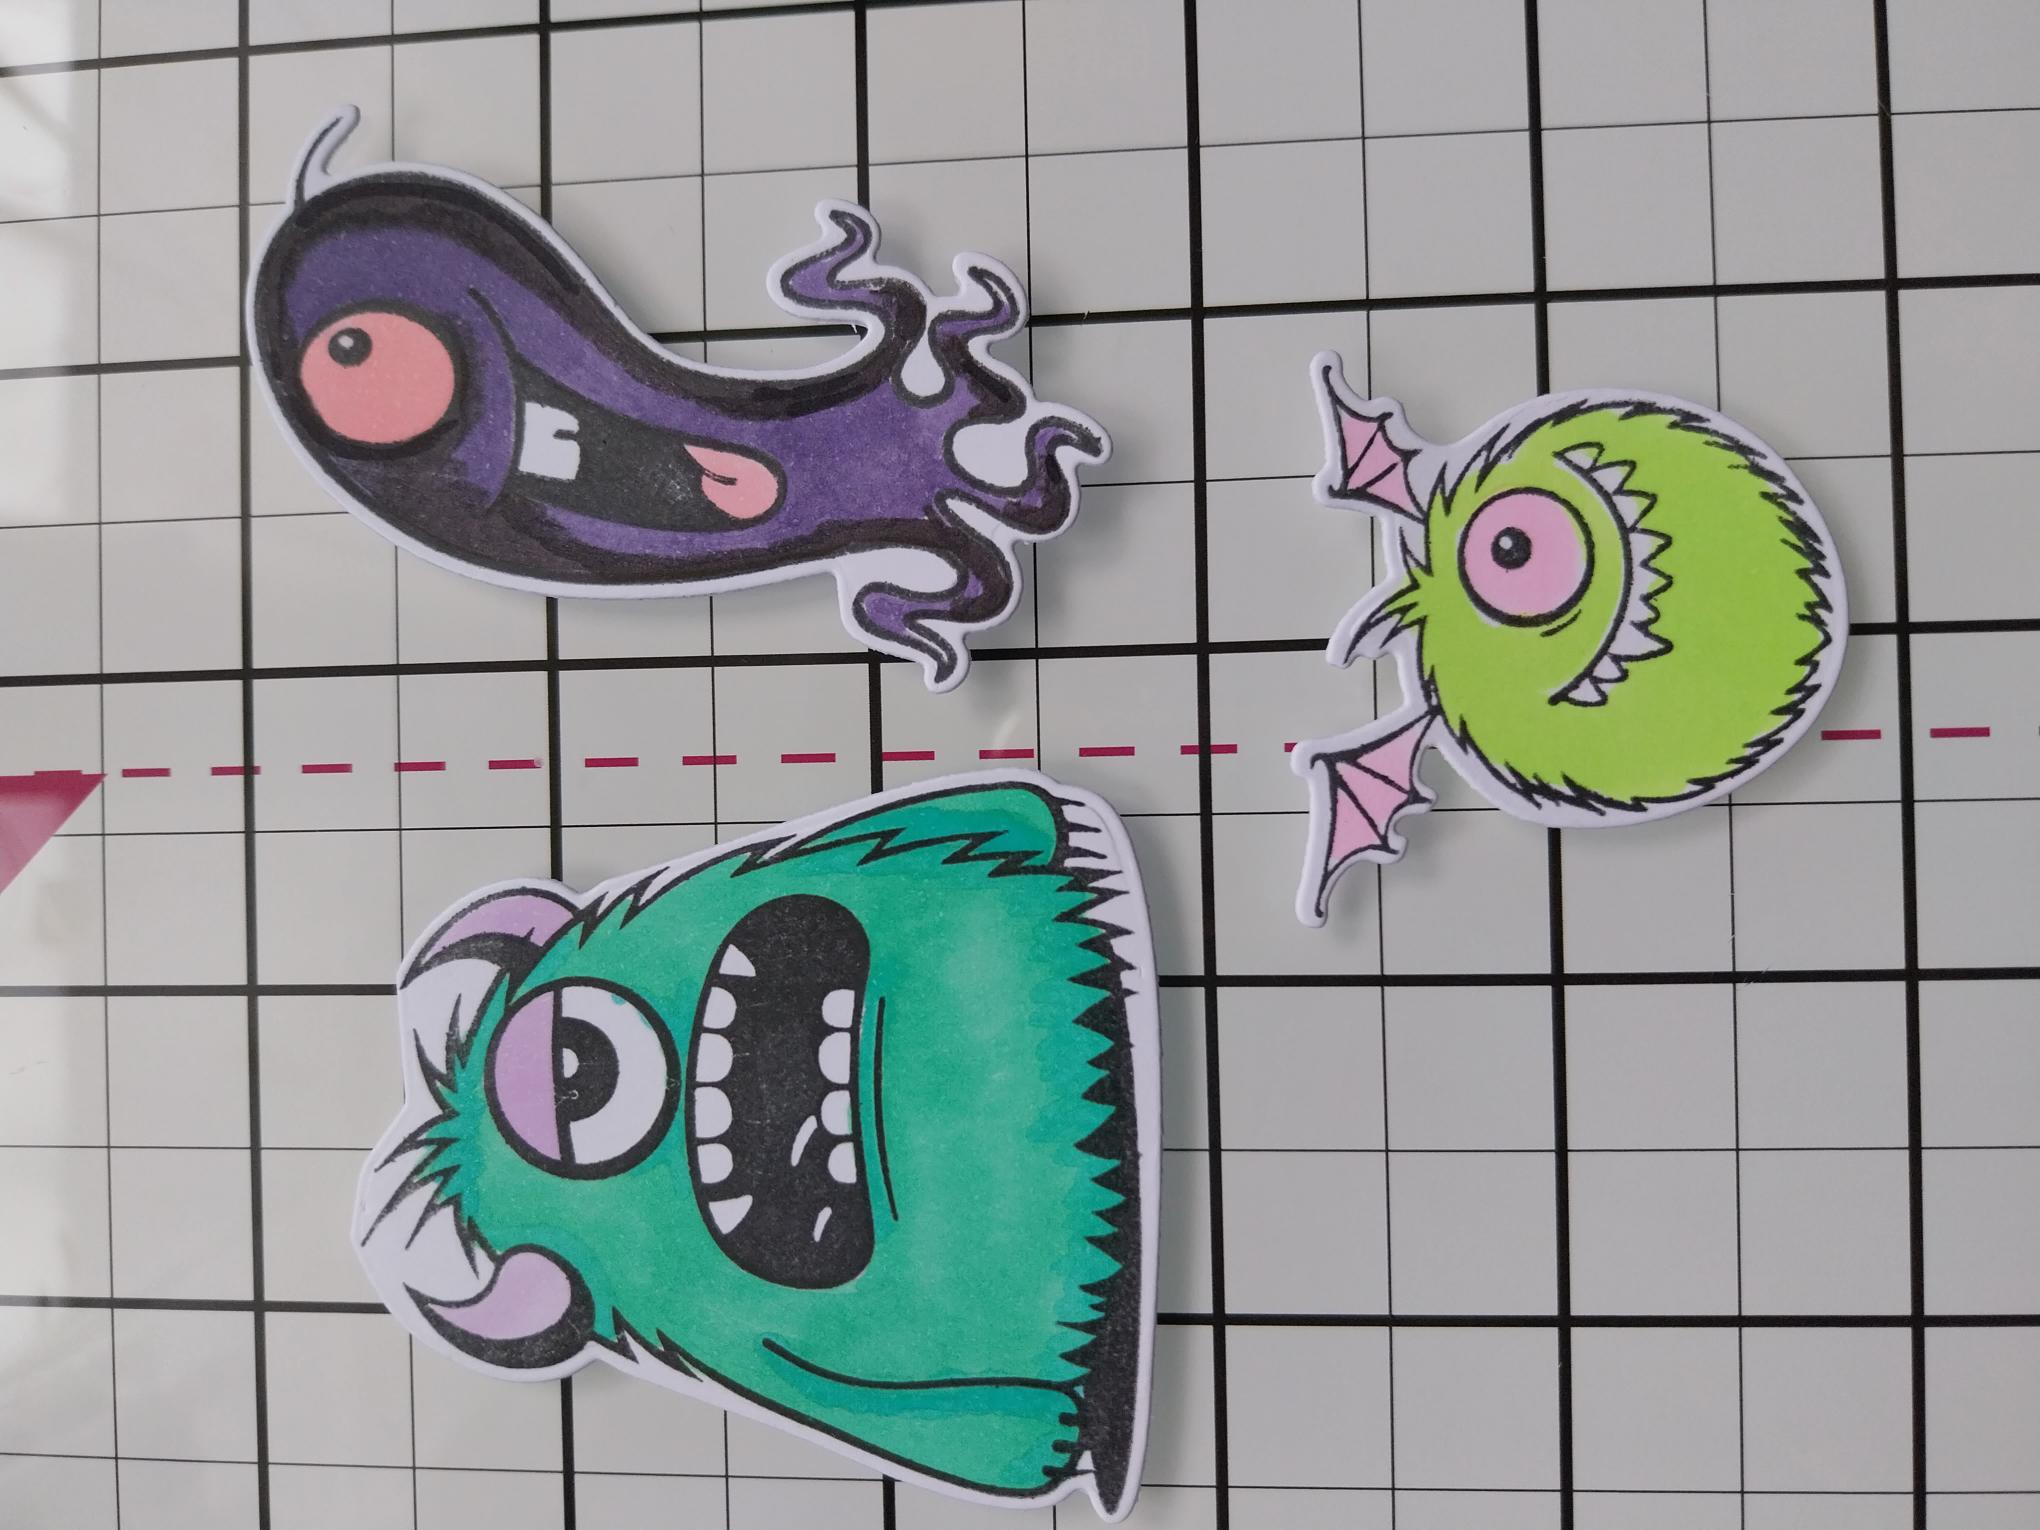
|
Stamp these cheeky monsters in the Midnight ink, on to a piece of white card. Use the coordinating die to cut them out. Use your Gossip alcohol pens to colour them in. Tip: Place a sheet of copy paper underneath, to protect your work surface from the alcohol ink that will bleed through the card. |
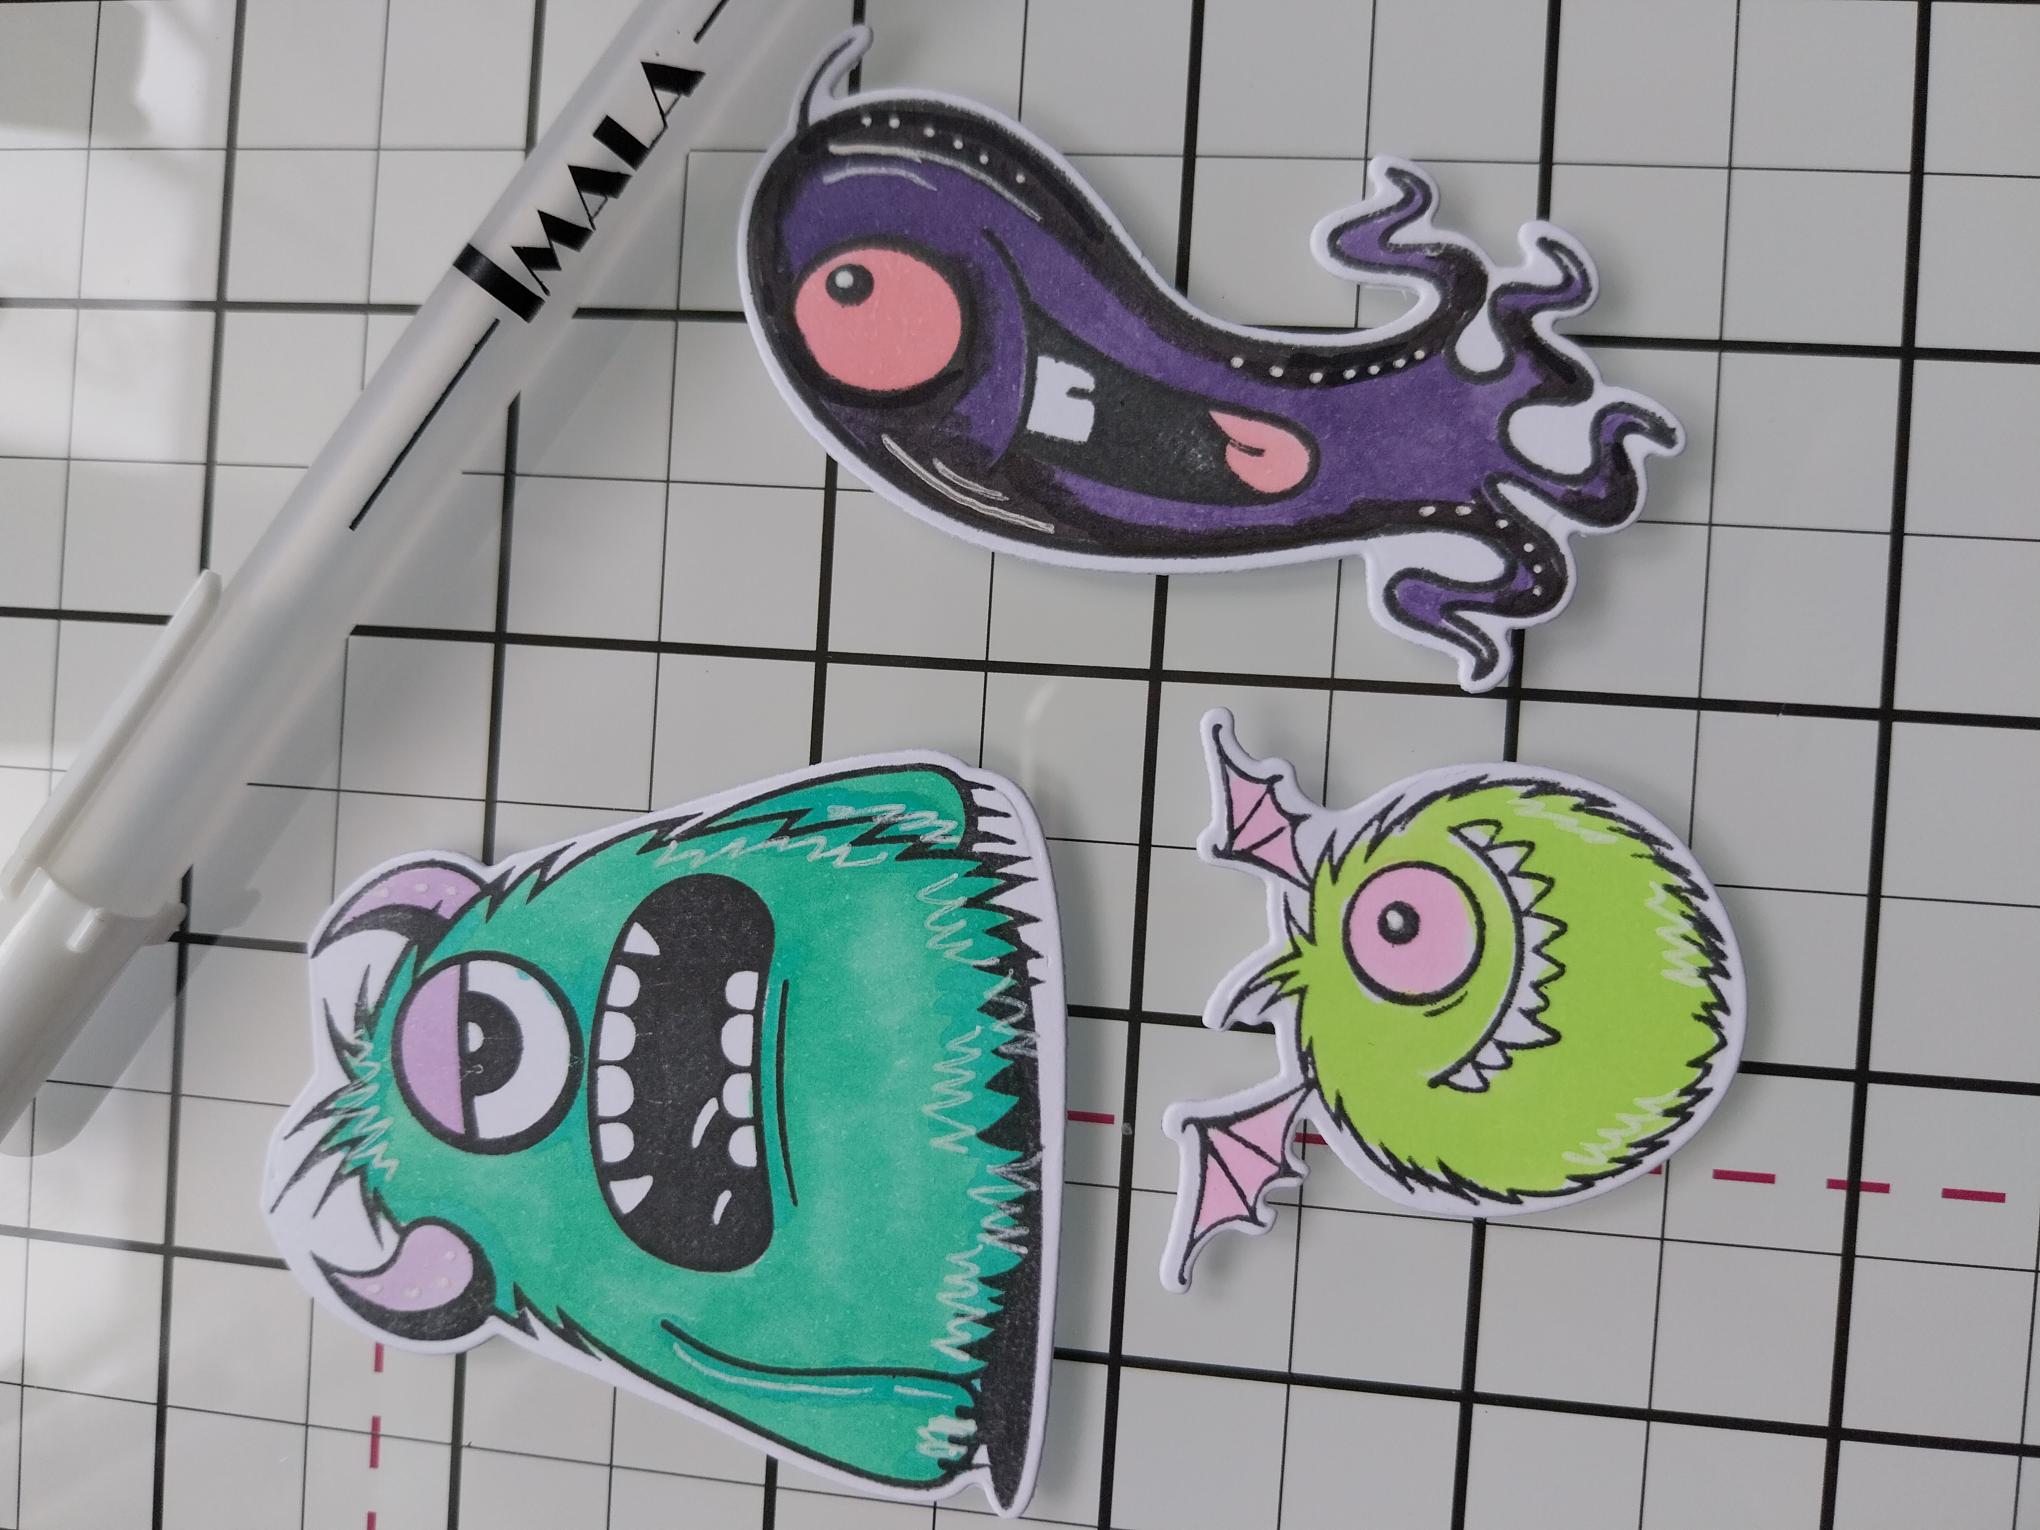
|
Use your white gel pen to add accents and highlights to your characters. |
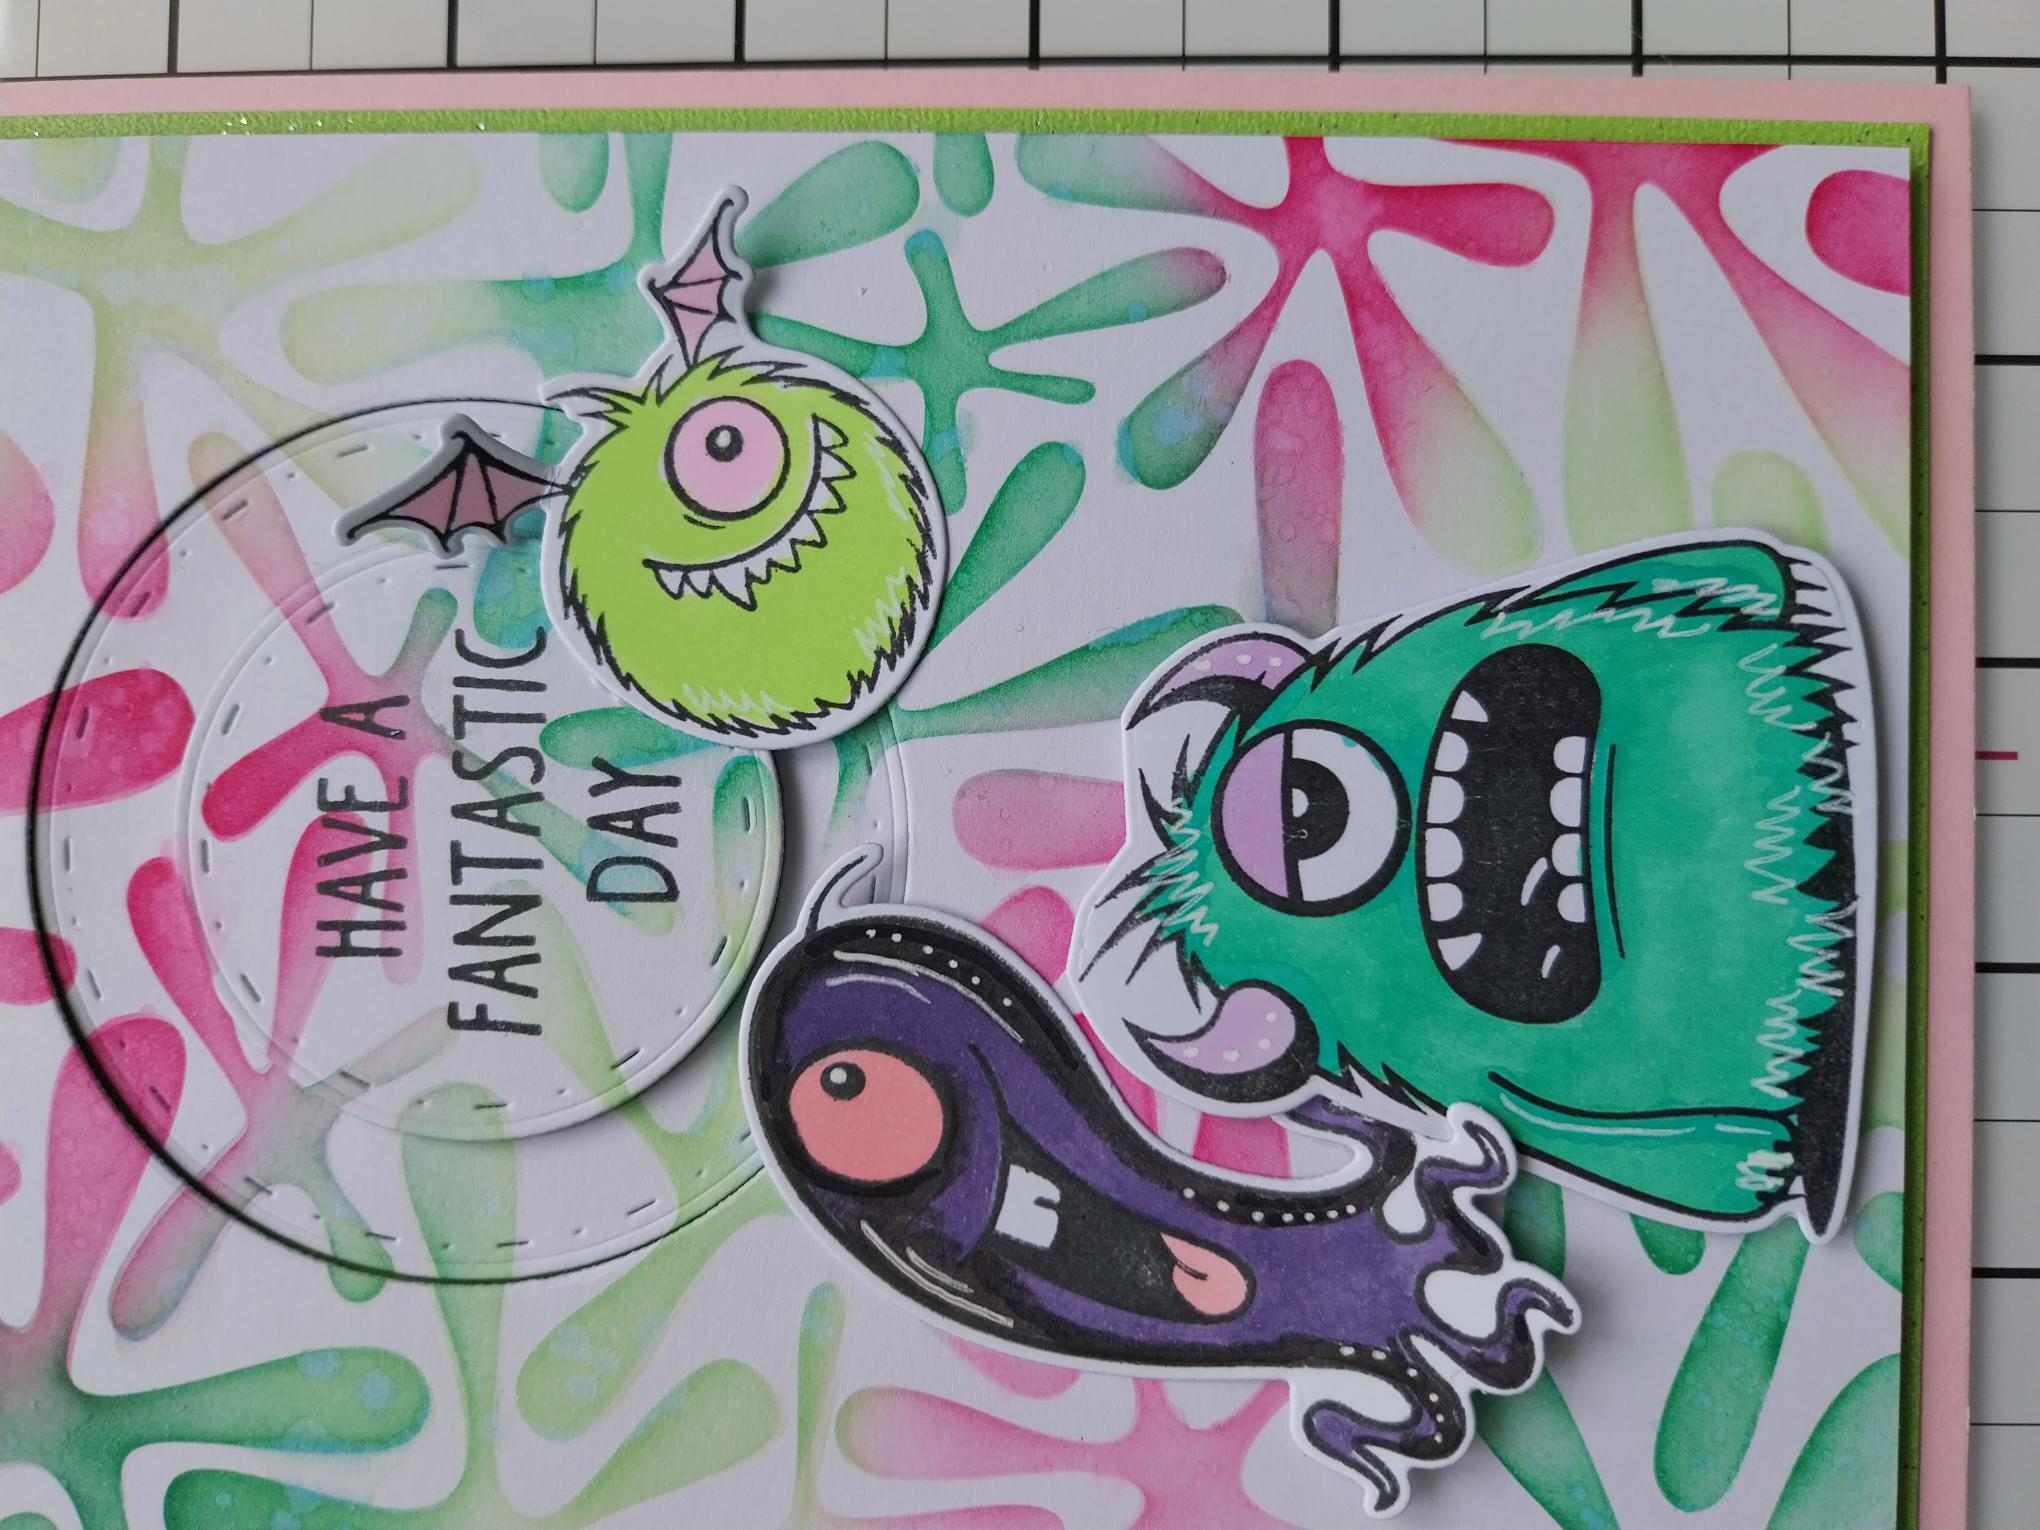
|
Adhere your monsters with foam pads where required and voila!! |