Offrez à vos amis 10 € de réduction sur leur première commande !
Parrainez un AMI








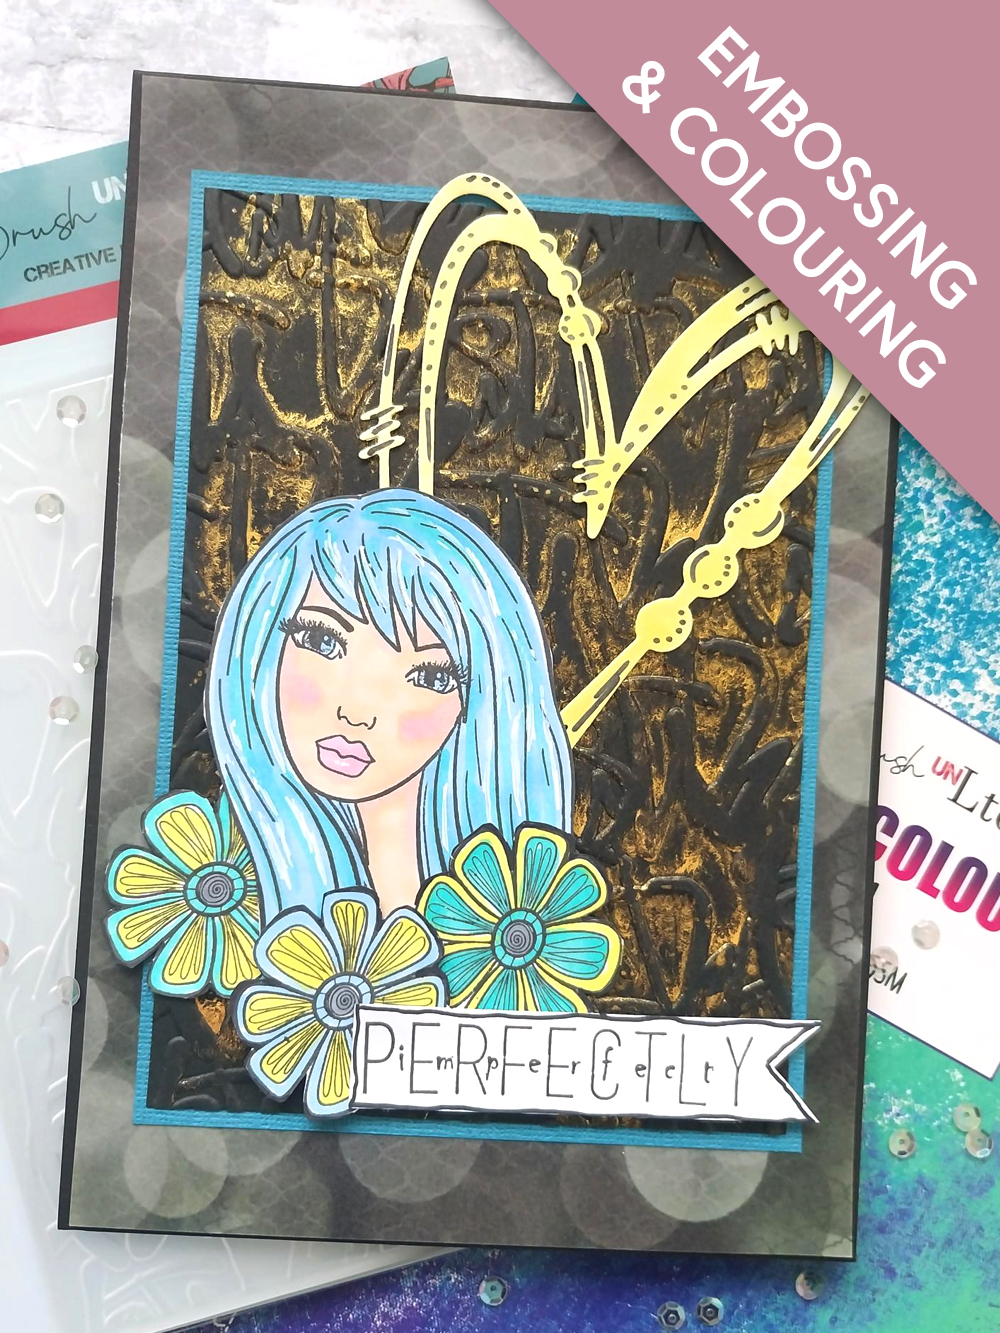
MATÉRIEL NÉCESSAIRE :
Carte vierge noire 8 1/4 x 5 3/4"
Collection de papier cartonné premium A4 Teal : papier cartonné texturé bleu canard 6 3/4 x 4 3/4"
Papier cartonné noir 7 x 5"
Papier cartonné jaune 7 x 5"
Papier cartonné blanc
Classeur de gaufrage Thirsty Brush UnLtd Scribble It
Set de tampons et matrices de découpe Thirsty Brush UnLtd Perfectly Imperfect
Set de matrices de découpe Thirsty Brush UnLtd Mixed Up Hearts
Lot de papier calque (vellum) A4 Thirsty Brush UnLtd Life In Full Colour
Encreur hybride SBM : Midnight
Feutres à alcool Gossip
Encre Confetti : Goldmine
Vaporisateur d'eau
Feutre noir
Stylo gel blanc Imala
Tablette aquarelle Eureka 101
Tapis en verre magnétique SBM
Massicot
Colle Perfect Together
Pastilles mousse 3D
Machine de découpe
[cliquez sur l'image pour l'agrandir] 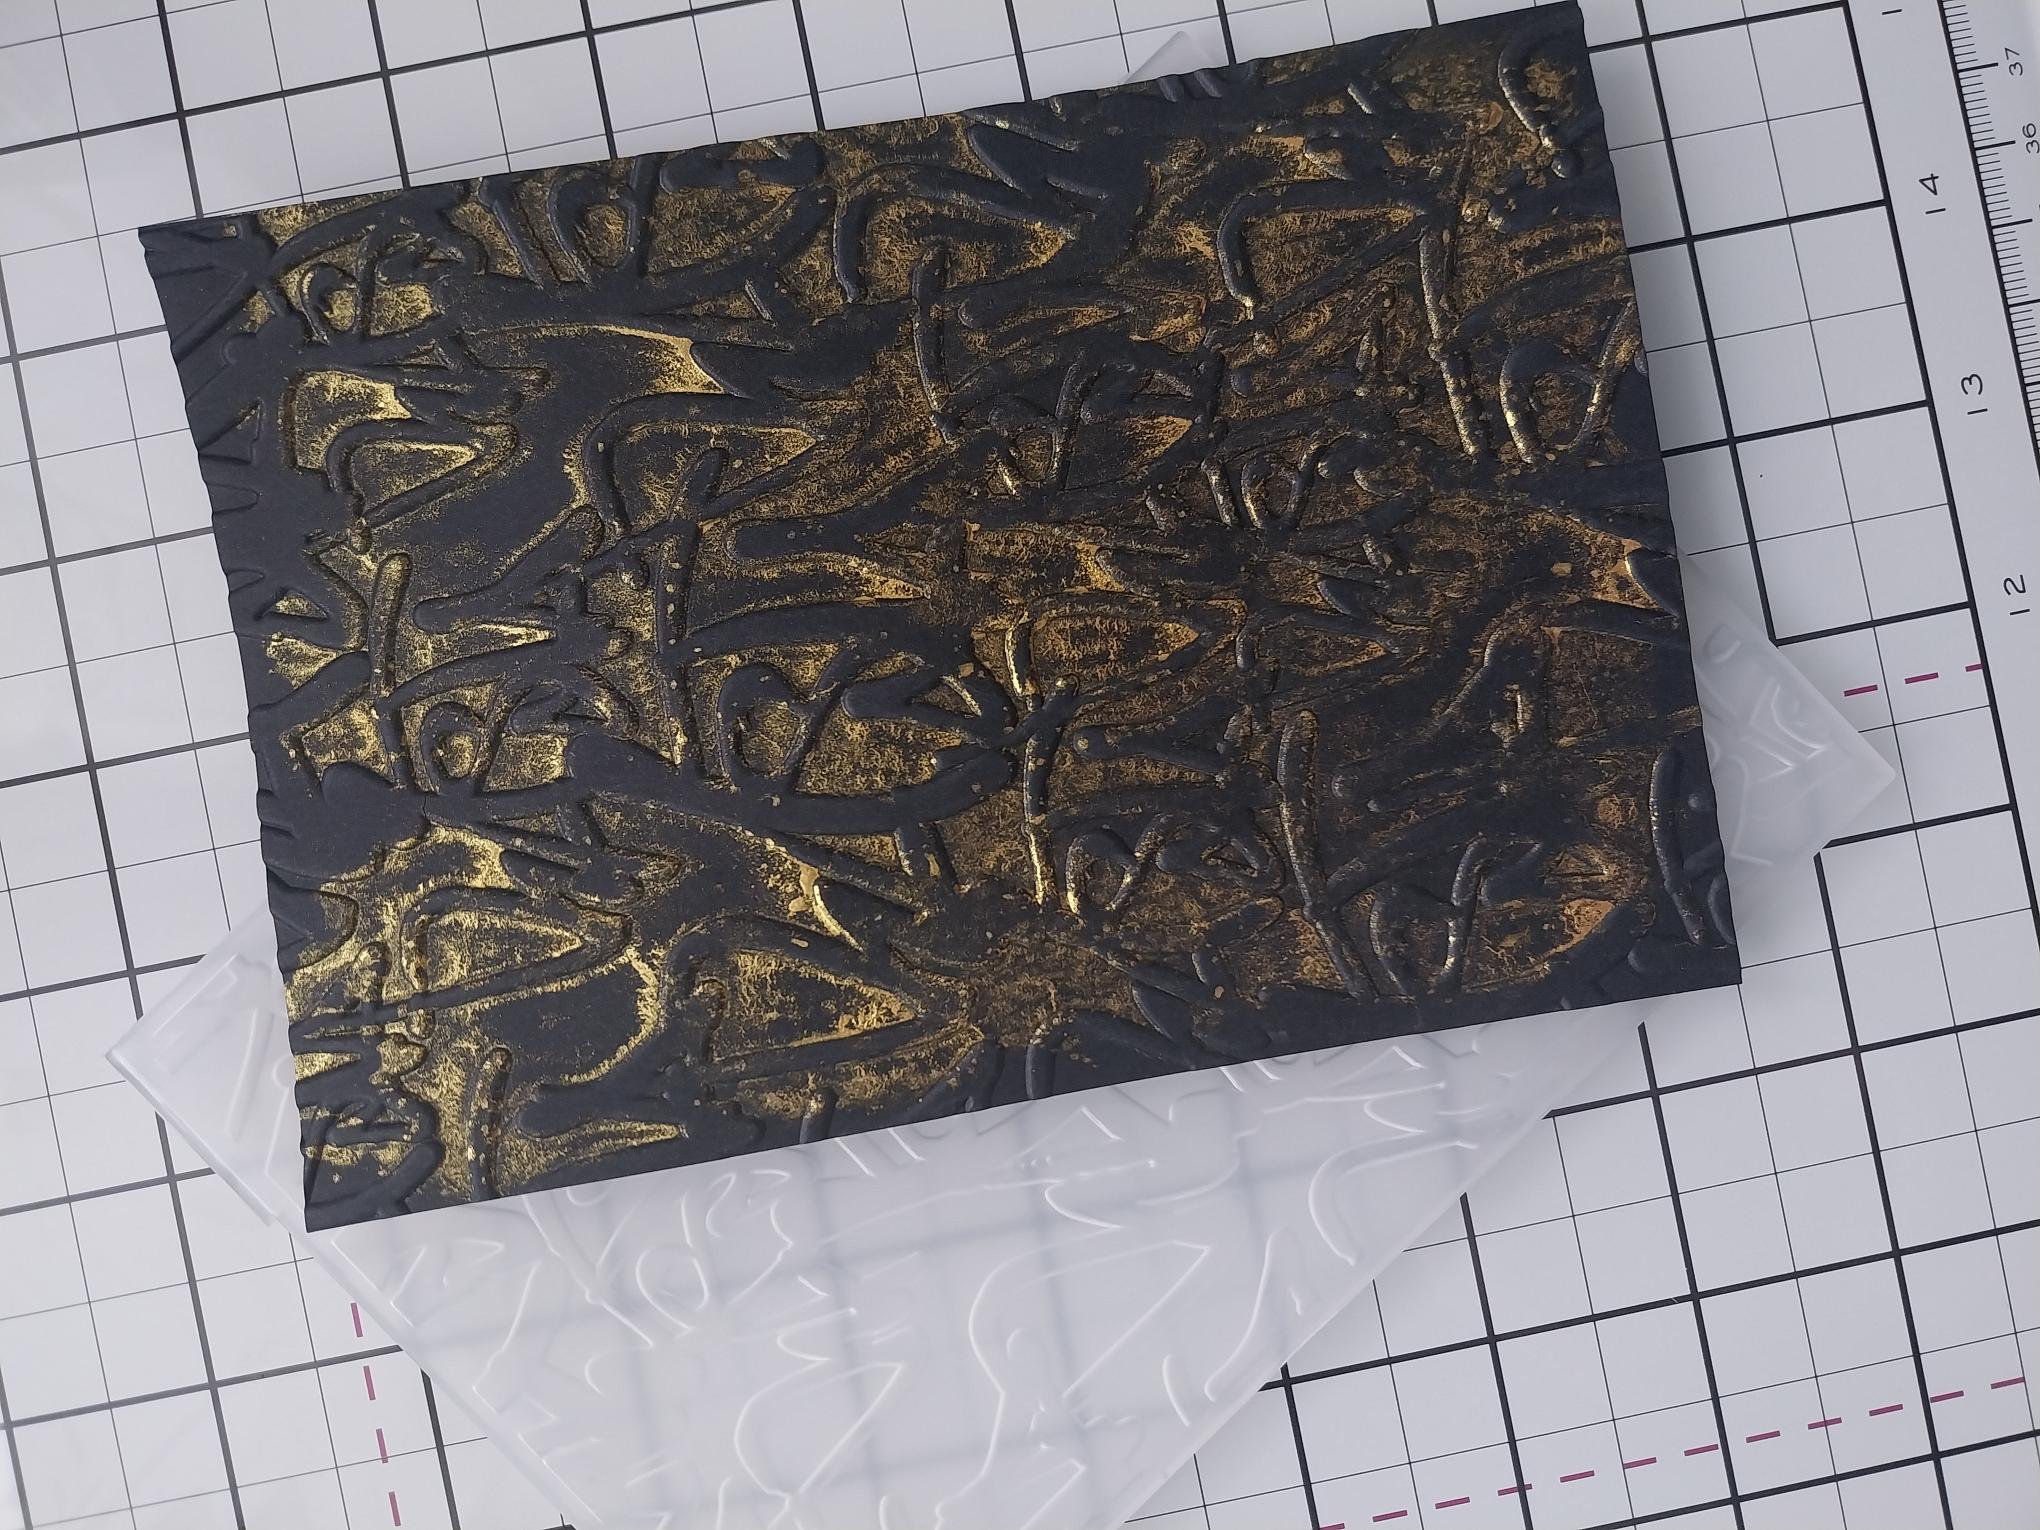
|
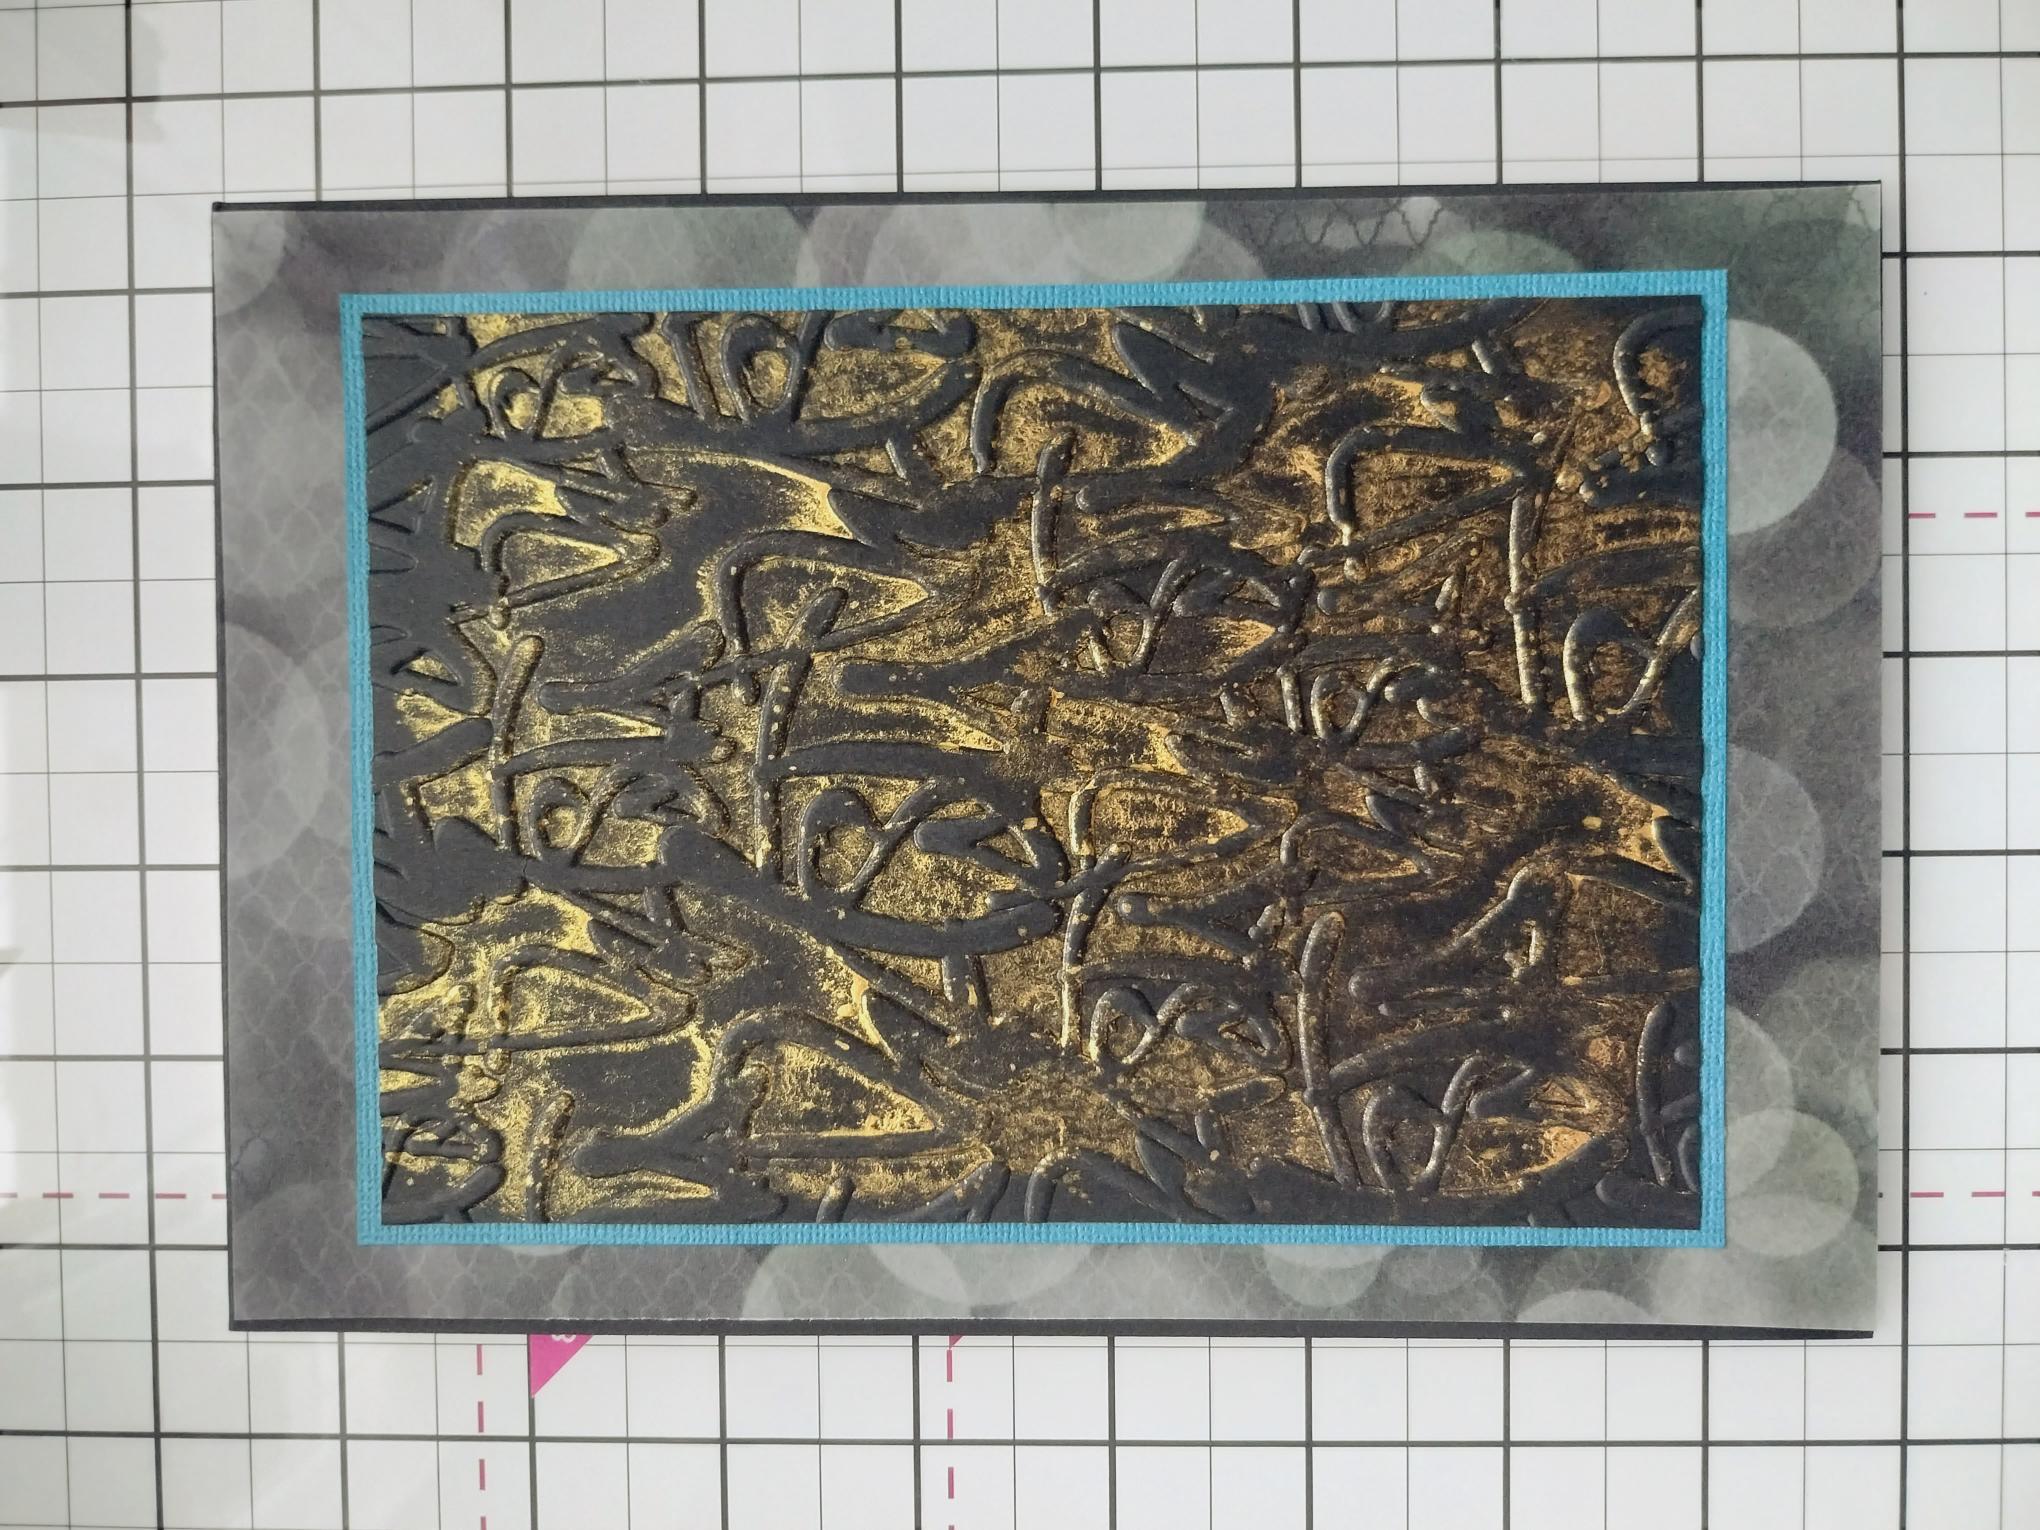
Cut a piece of black card to about 7 x 5", place inside the Scribble It embossing folder and run it through your machine. Trim to 6 1/2 x 4 1/2". Spray water in your Confetti Goldmine ink tub, to activate the paint. Using the pad of your finger and a light touch, apply the paint to the raised, embossed areas of your background. |
|
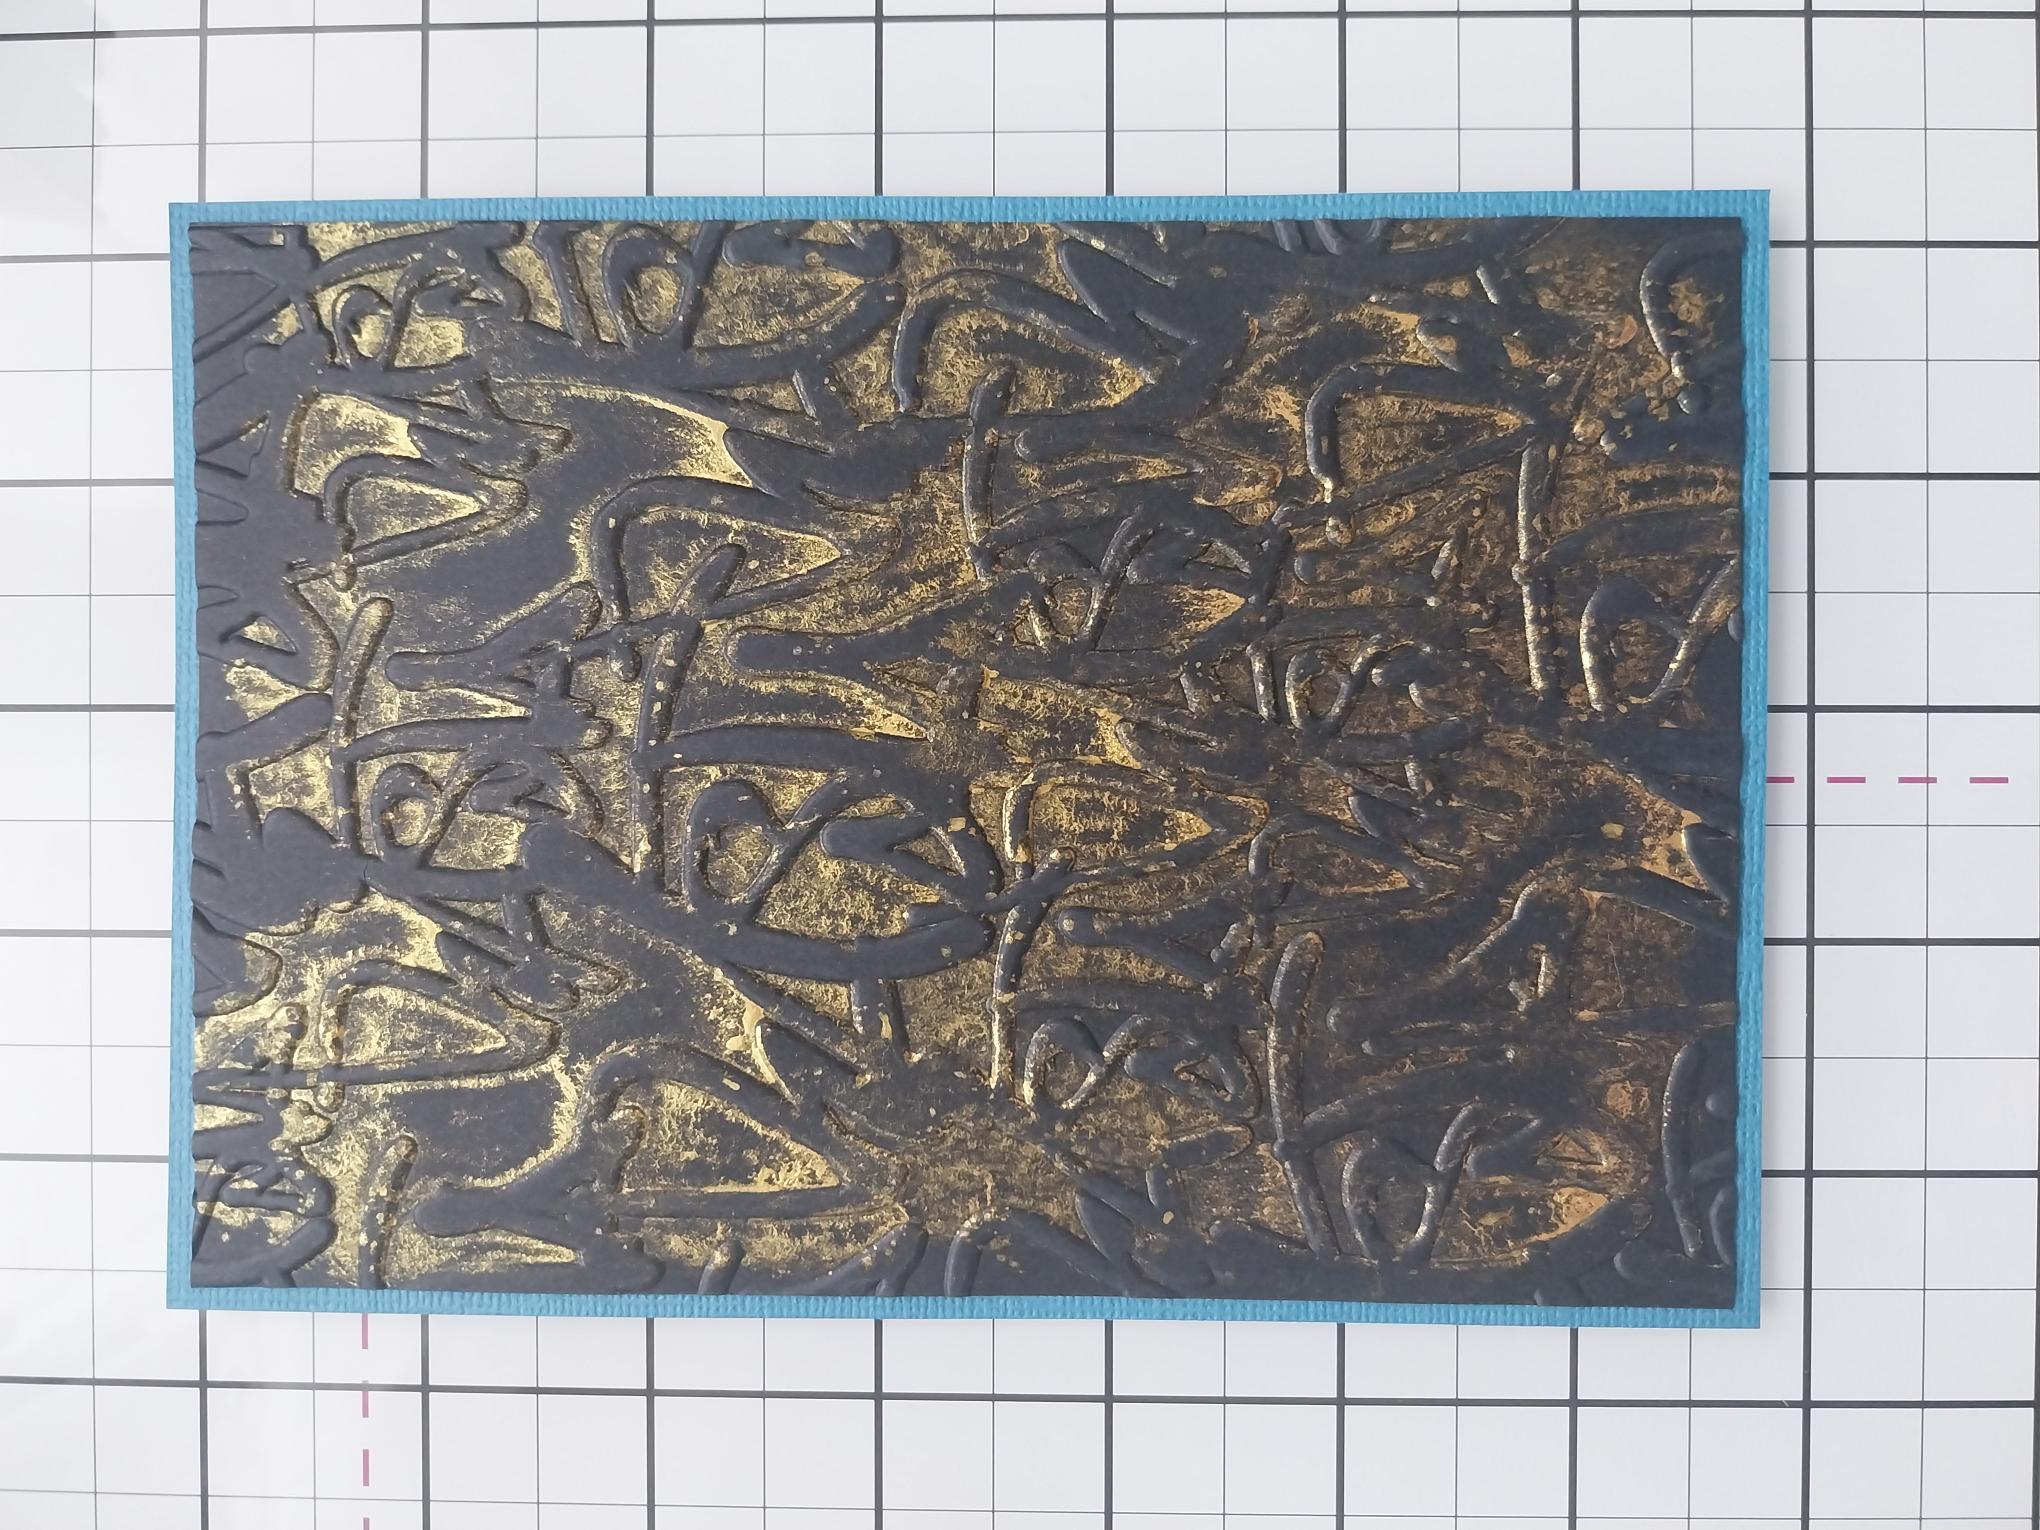
Once dry, mat on to the teal textured card, pre-cut to 6 3/4 x 4 3/4". |
|
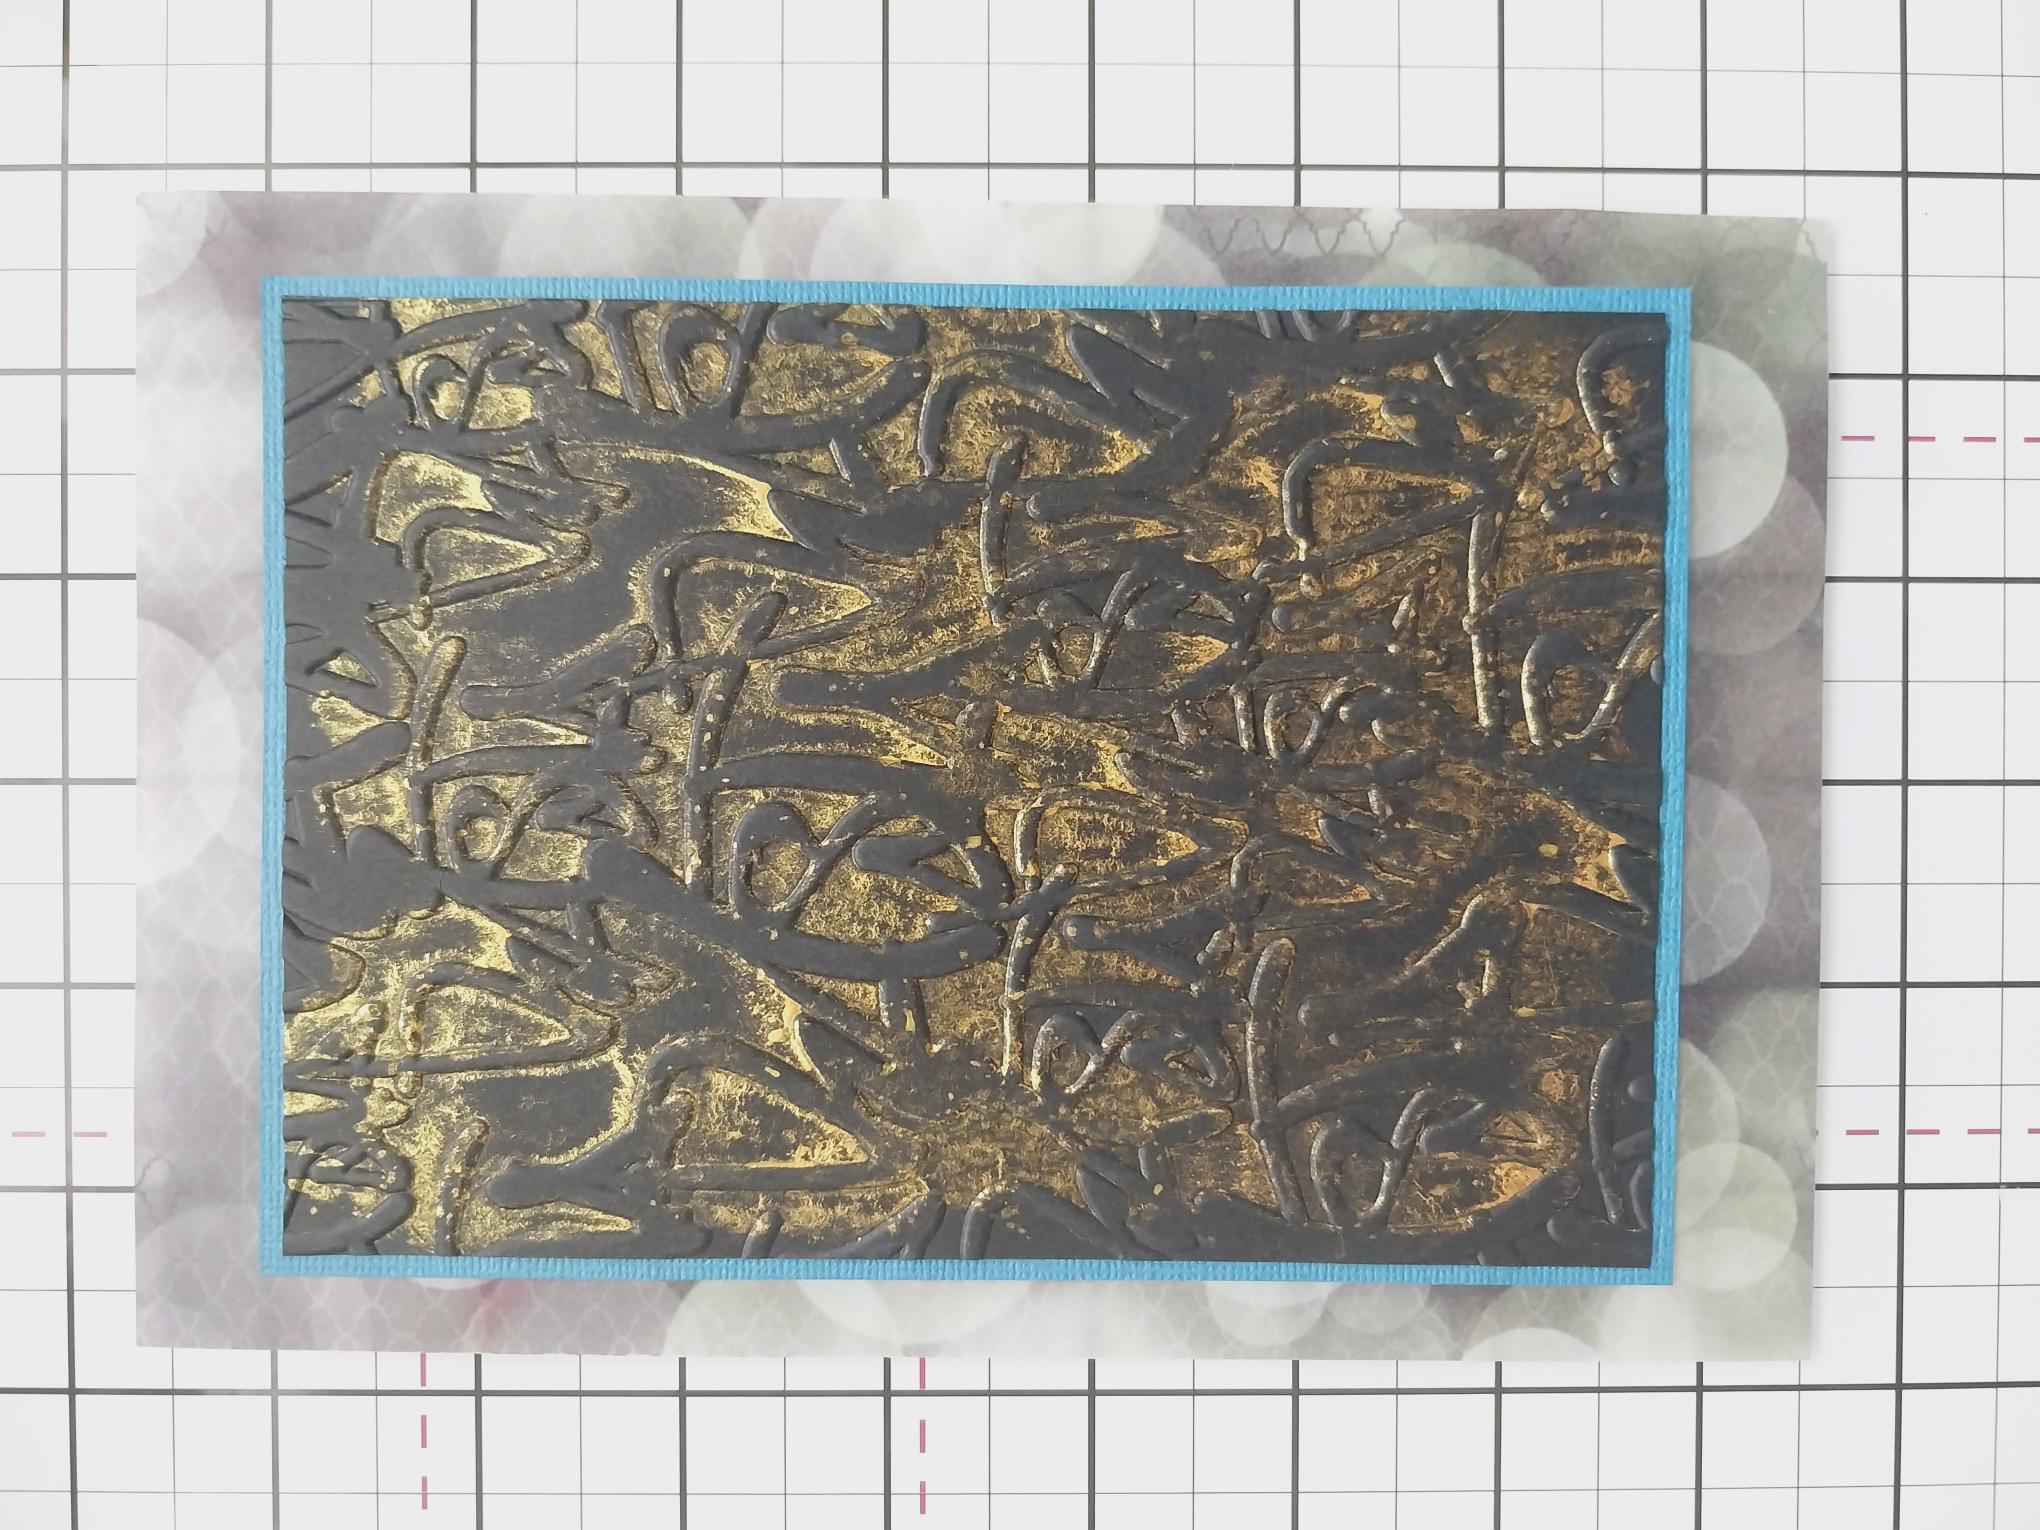
Remove the bokeh effect vellum, from the Life In Full Colour Vellum Pack and trim to fit the front of your card blank. Adhere your embossed background, on to the vellum panel. |
|
Adhere this on to your black card blank and pop to one side. |
|
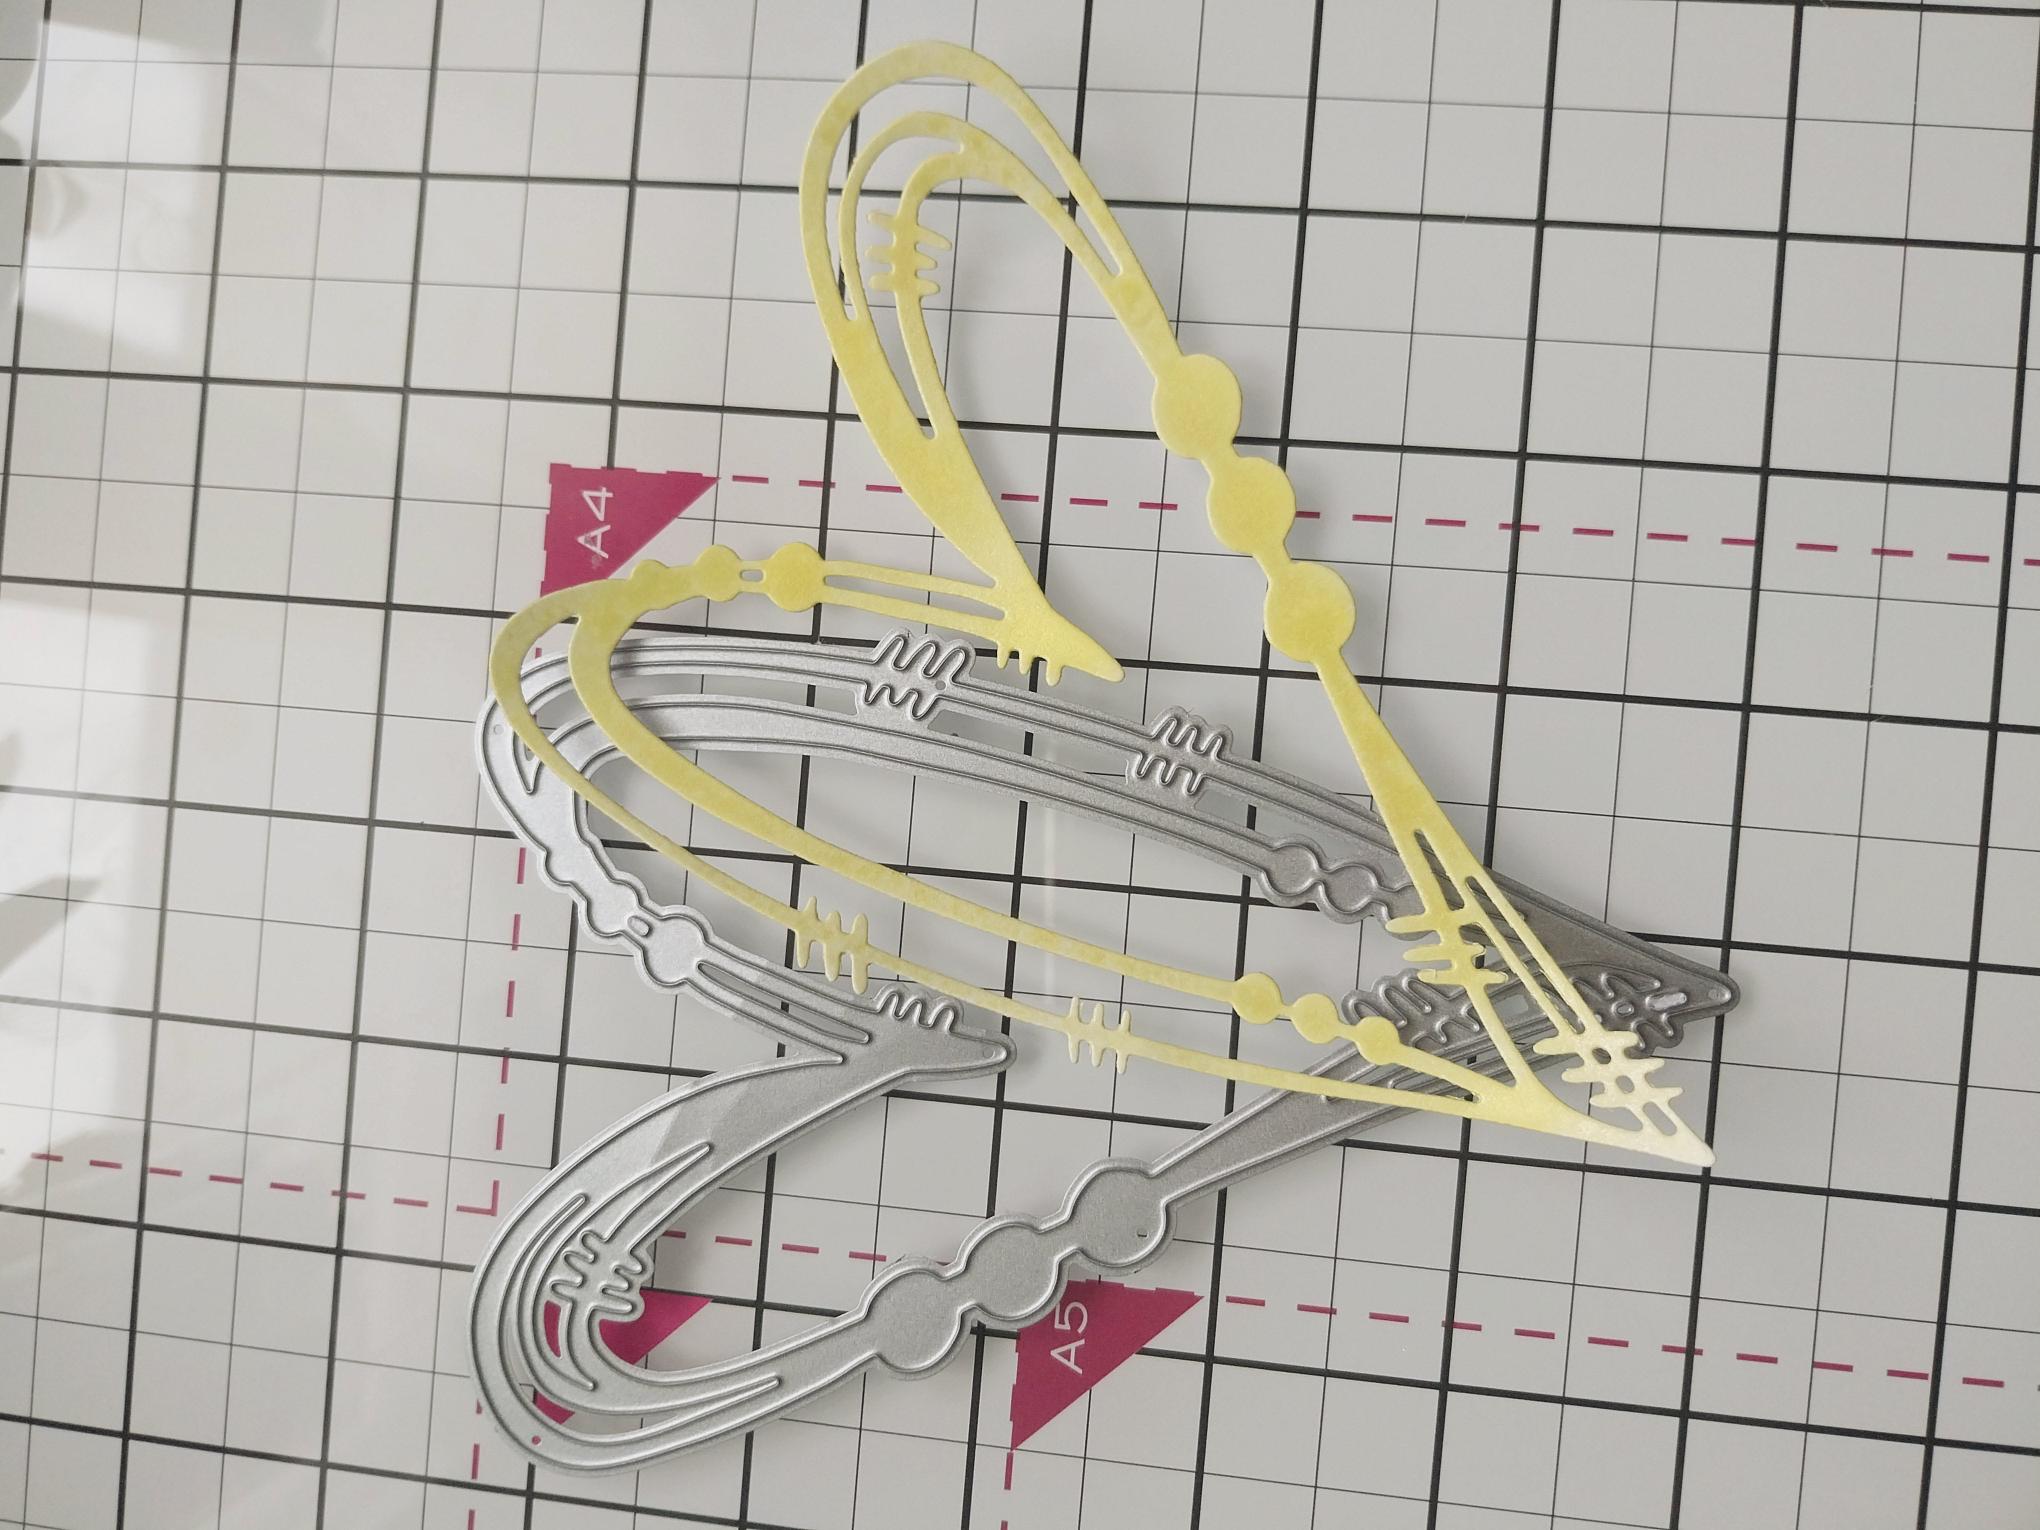
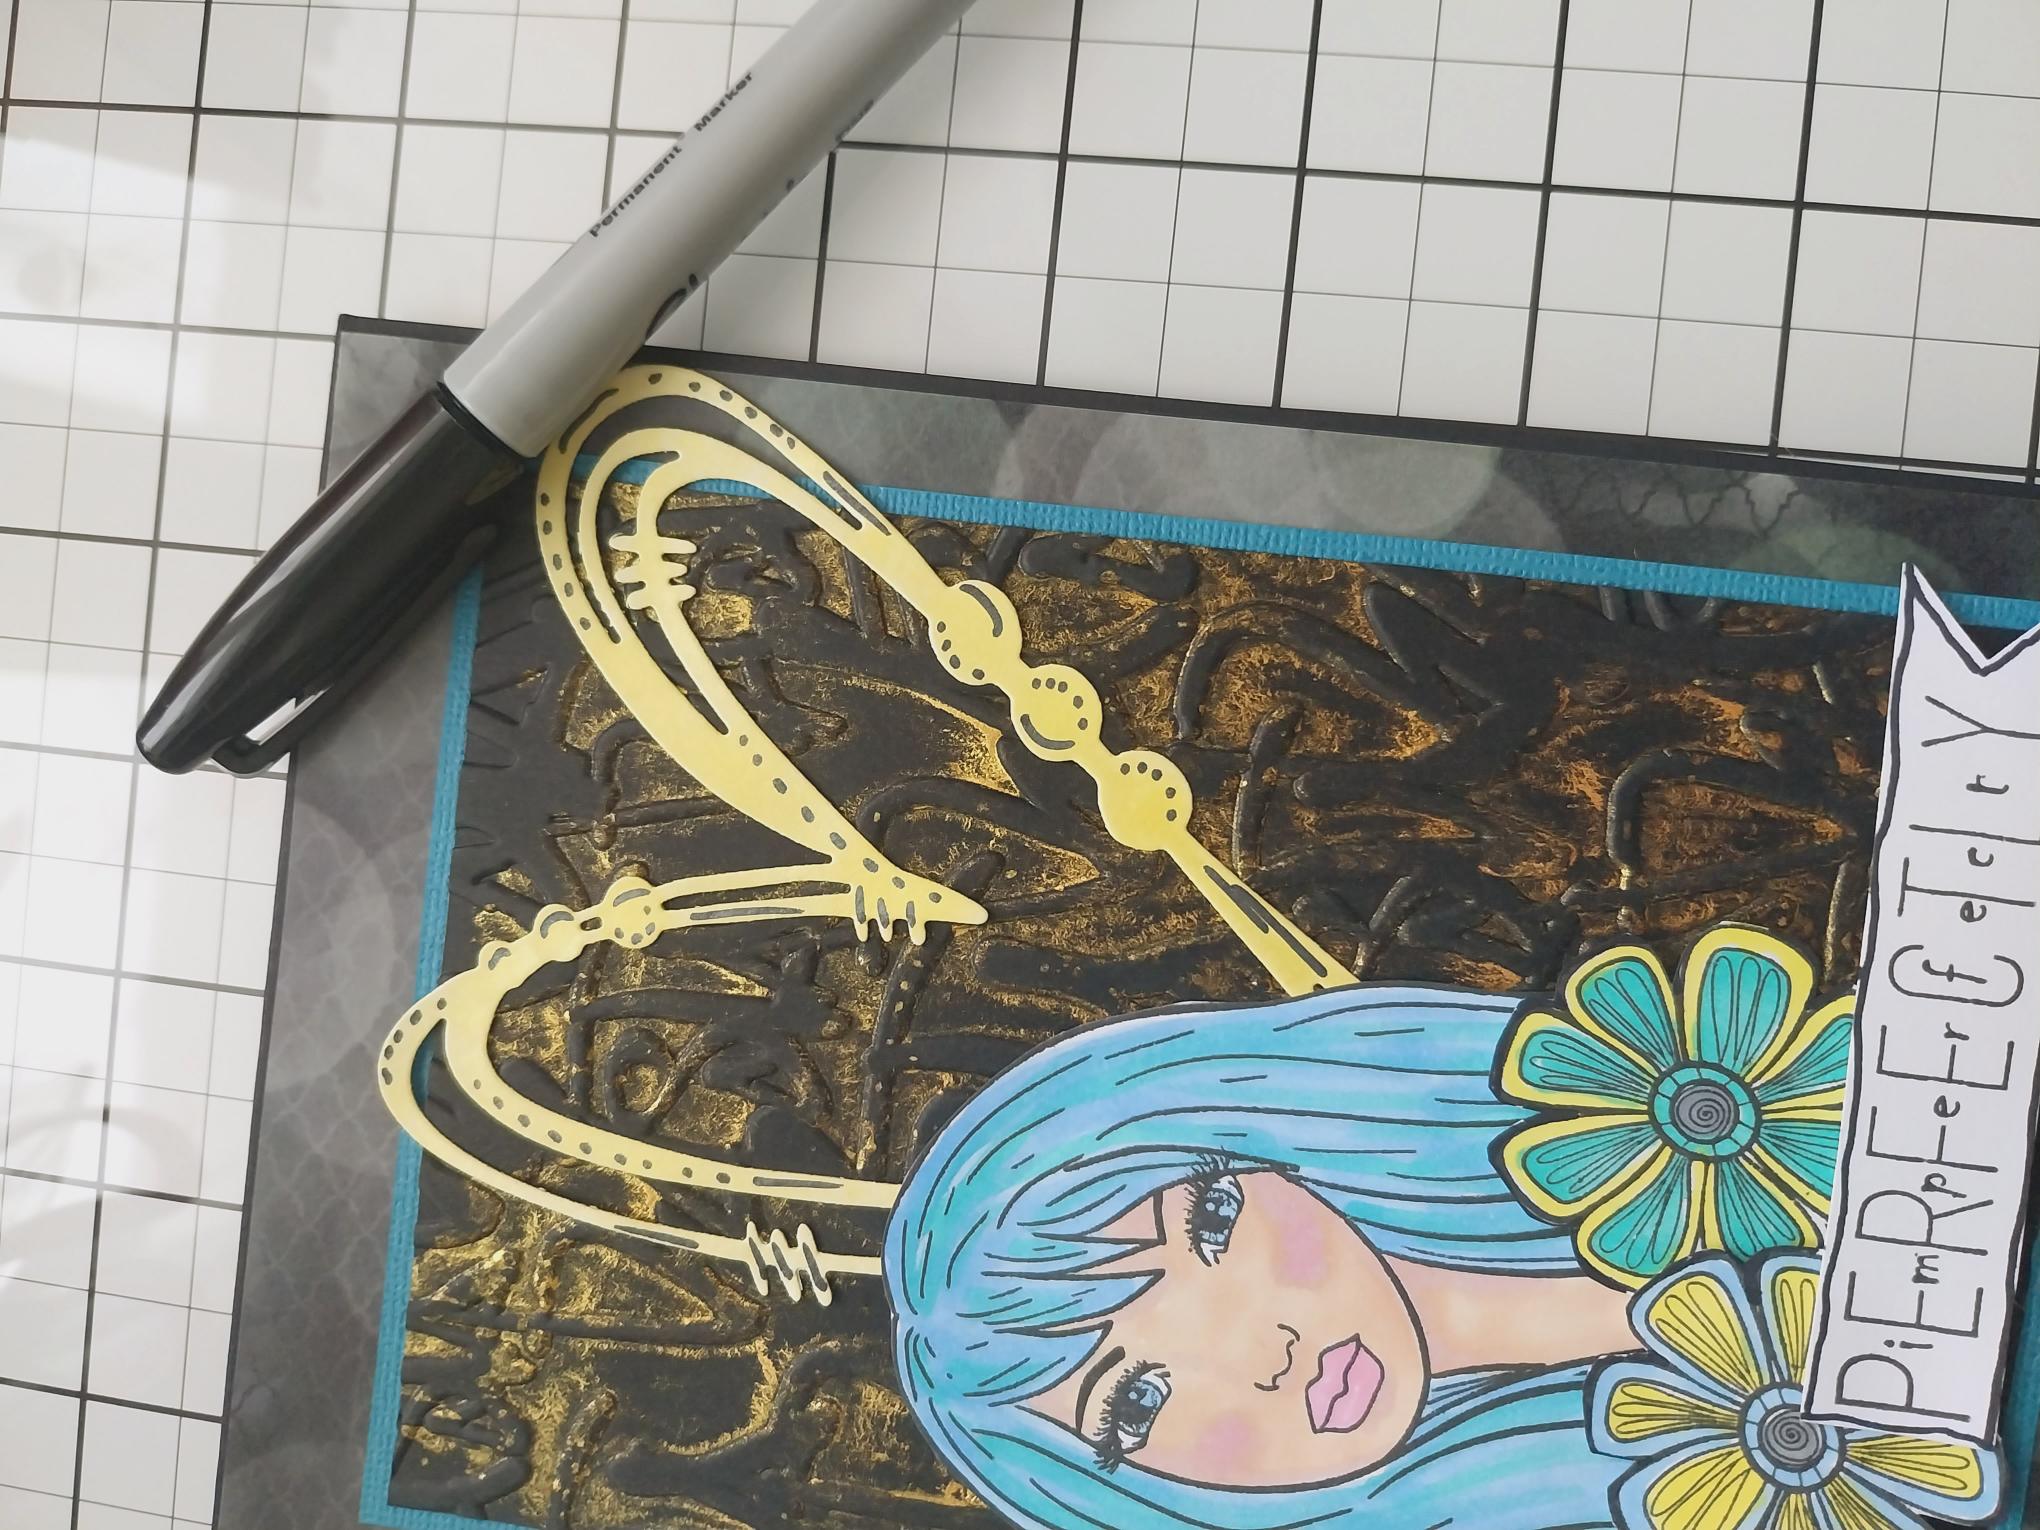
Die cut this heart, from the Mixed Up Hearts Die Collection, out of yellow cardstock. |
|
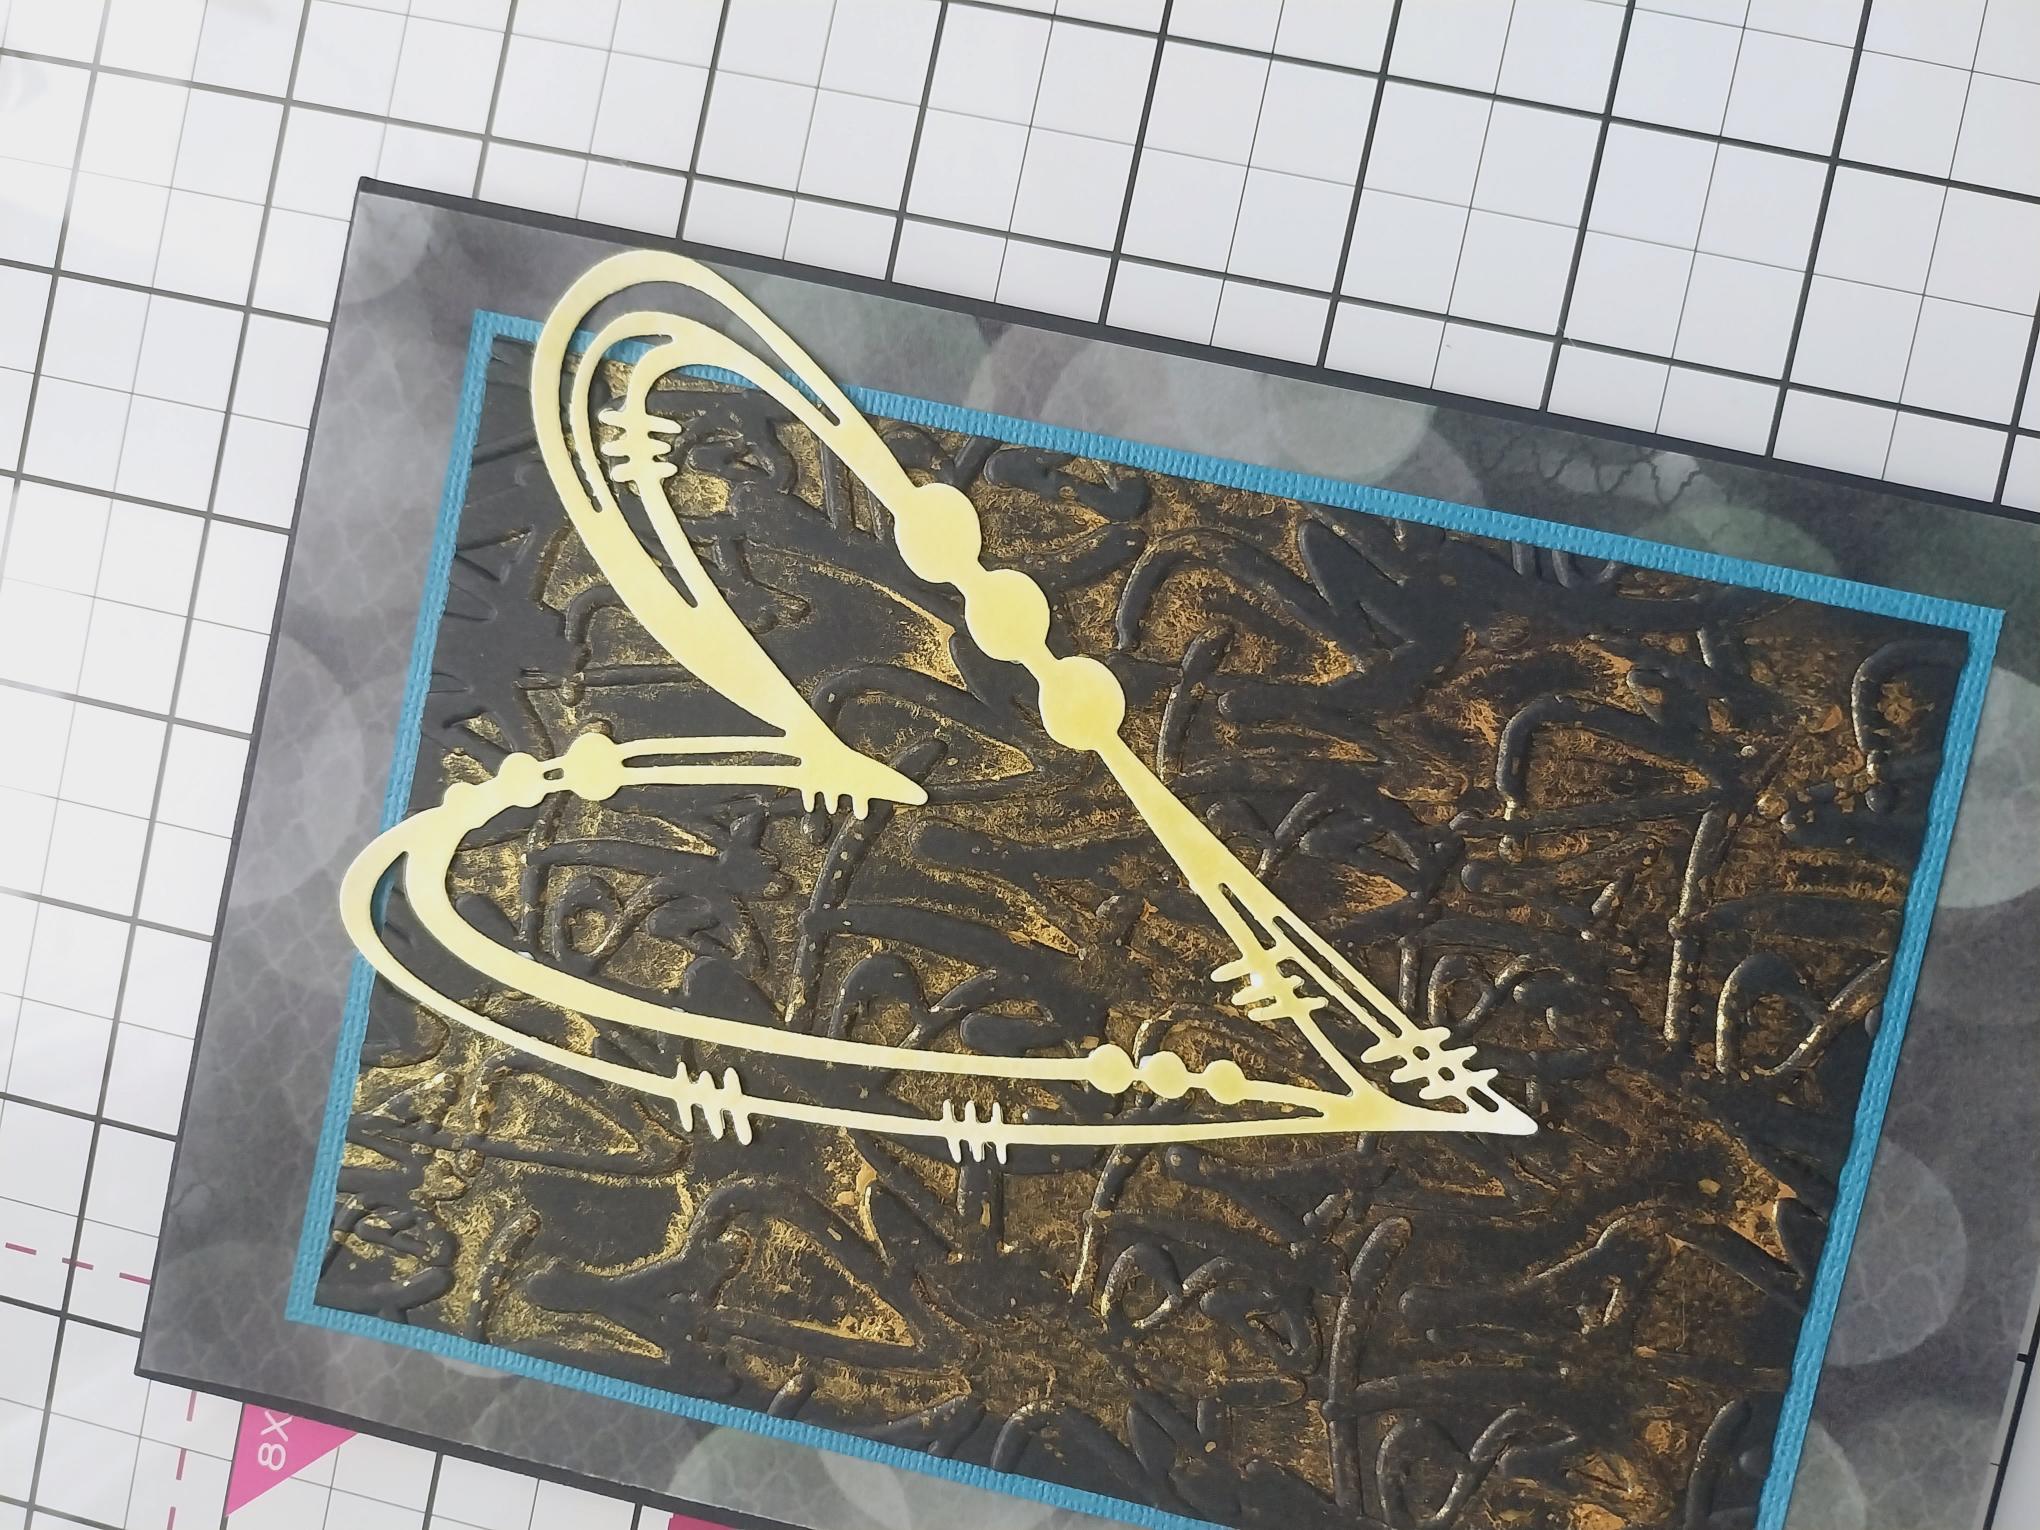
Adhere on to your card, towards the top right corner, as seen here, before popping the card to one side. |
|
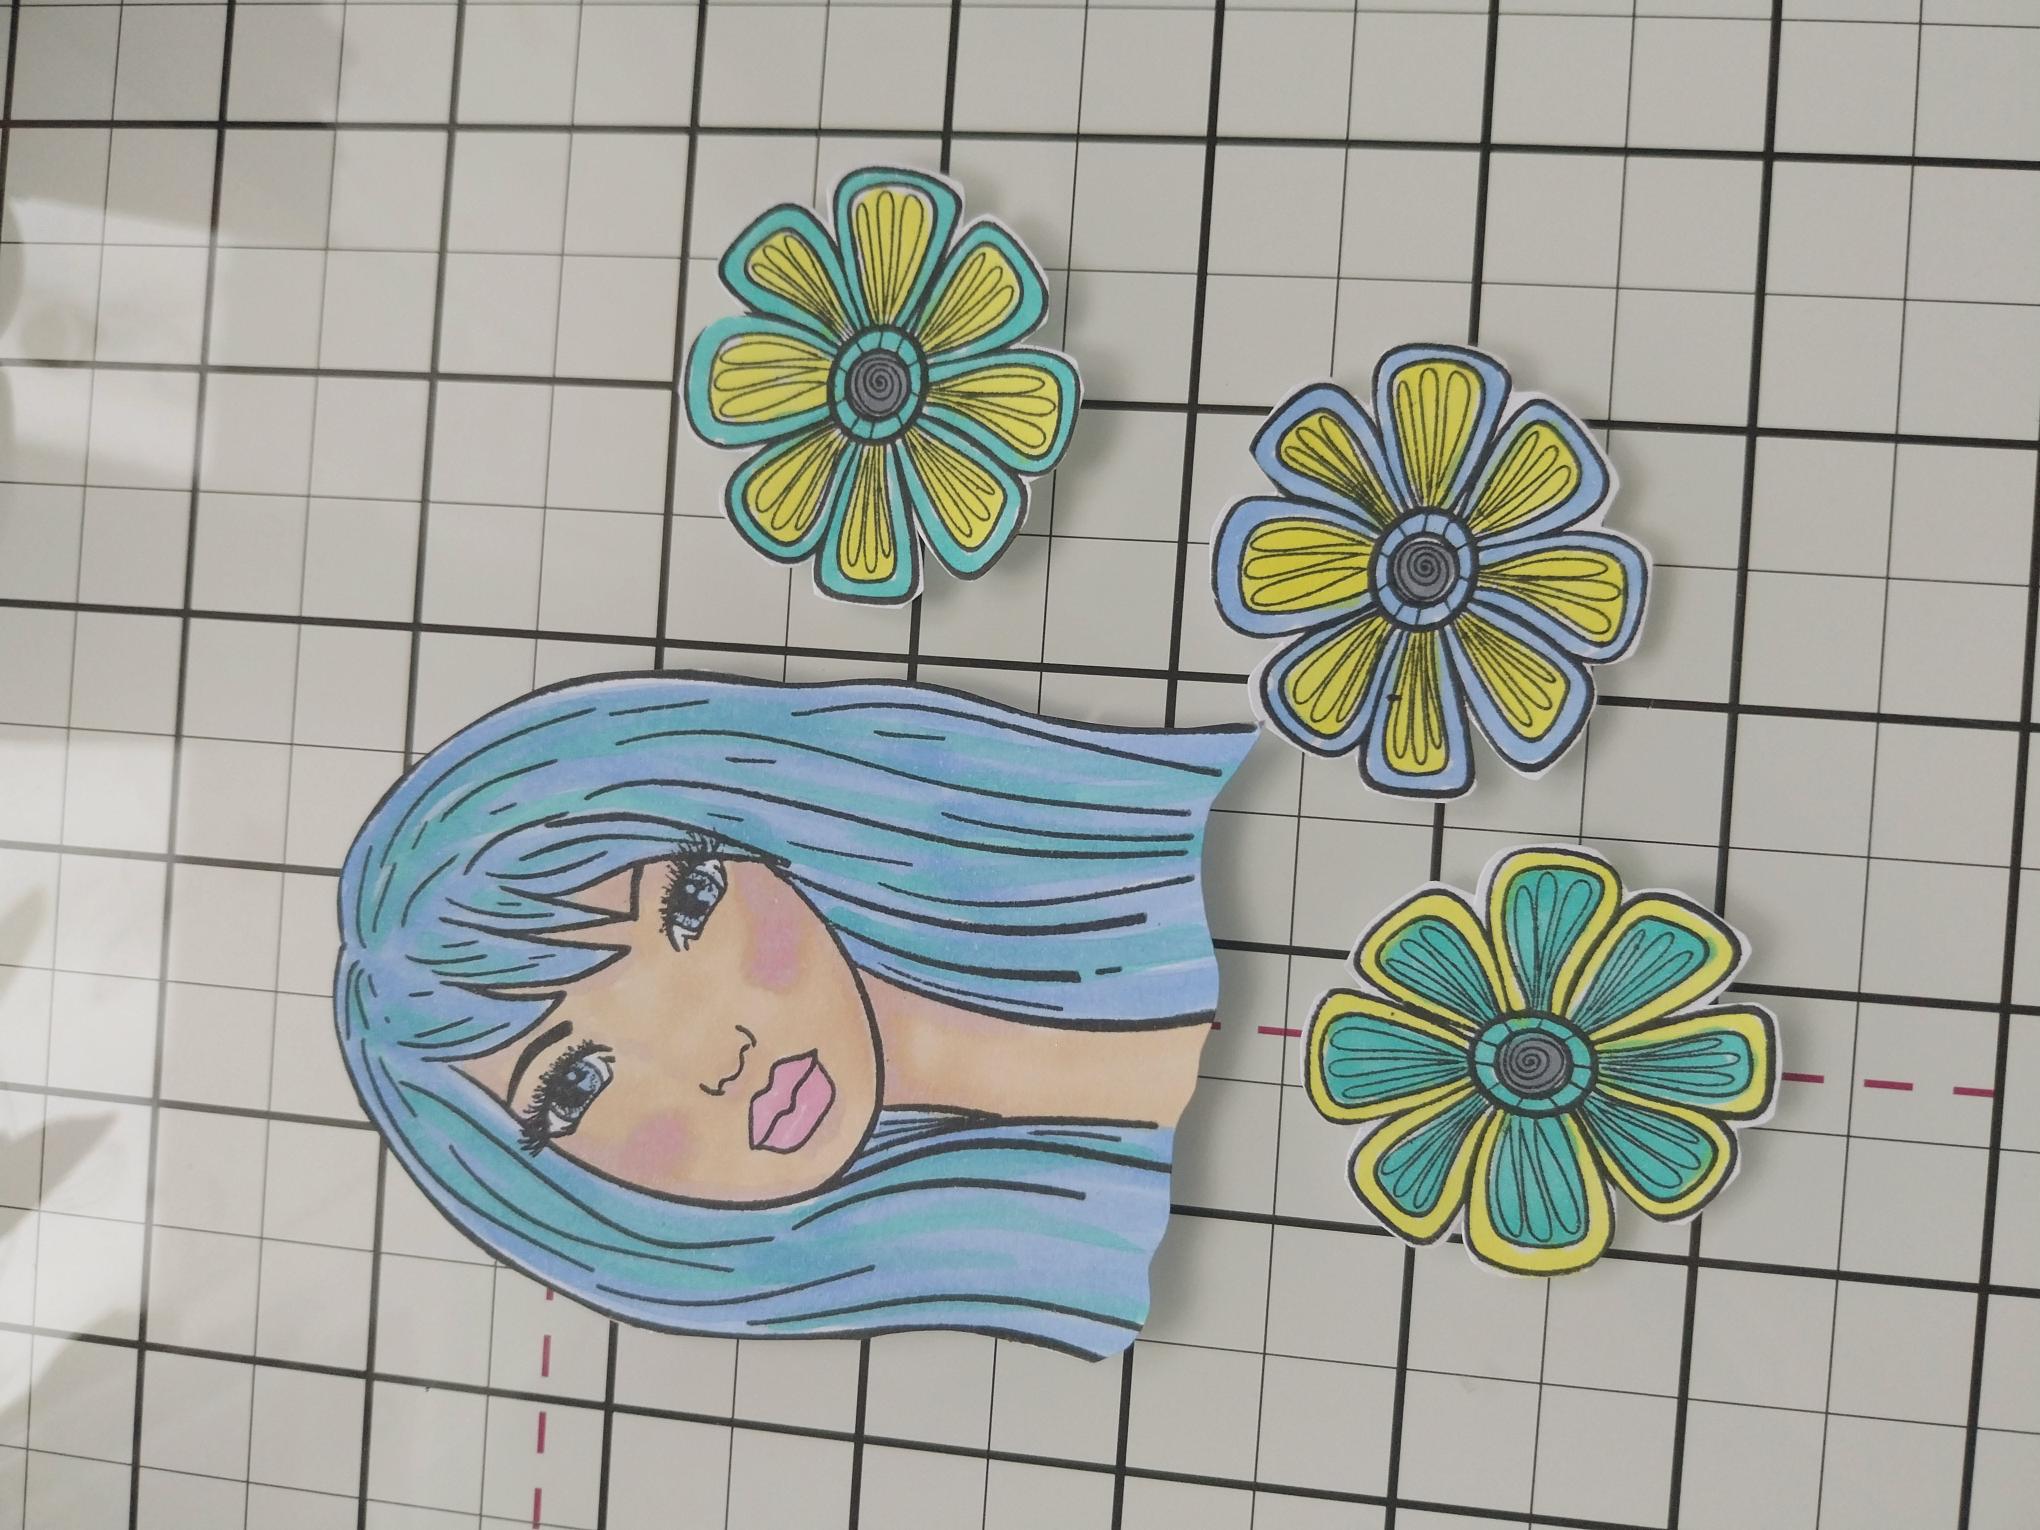
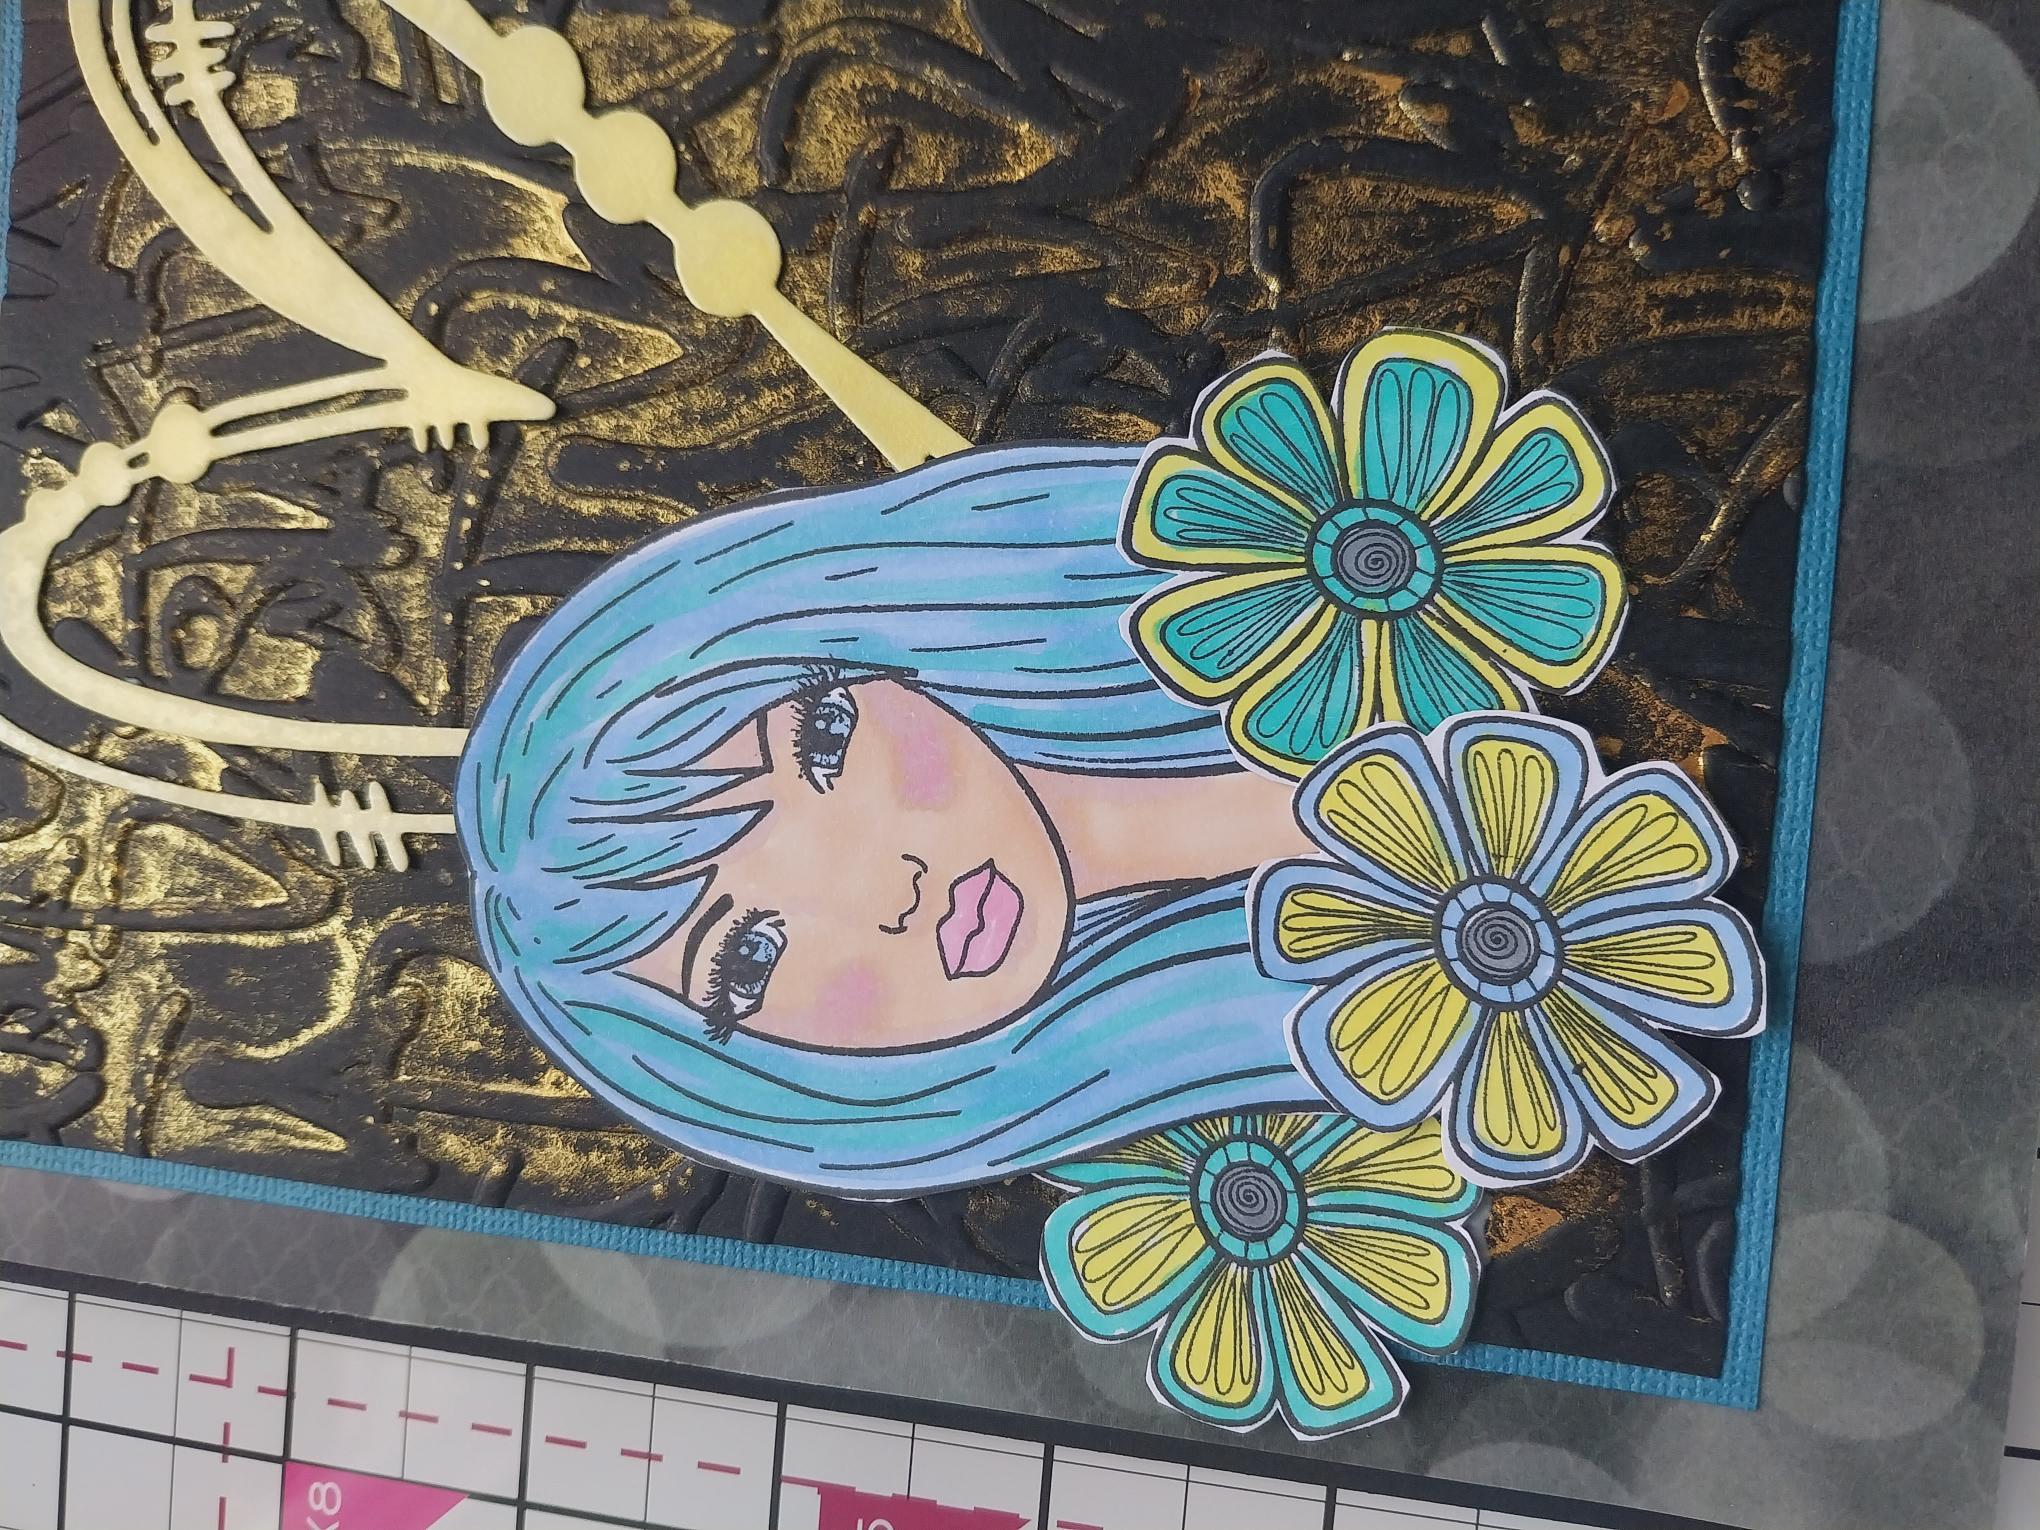
Stamp these elements on to a piece of white card, with the hybrid Midnight ink and die cut. Use your Gossip alcohol pens to colour them in, placing a sheet of copy paper underneath. This protects your work surface from the alcohol ink that bleeds through the card. |
|
Using a combination of wet glue and foam pads, adhere your 3D elements to the bottom left of your embossed background. |
|
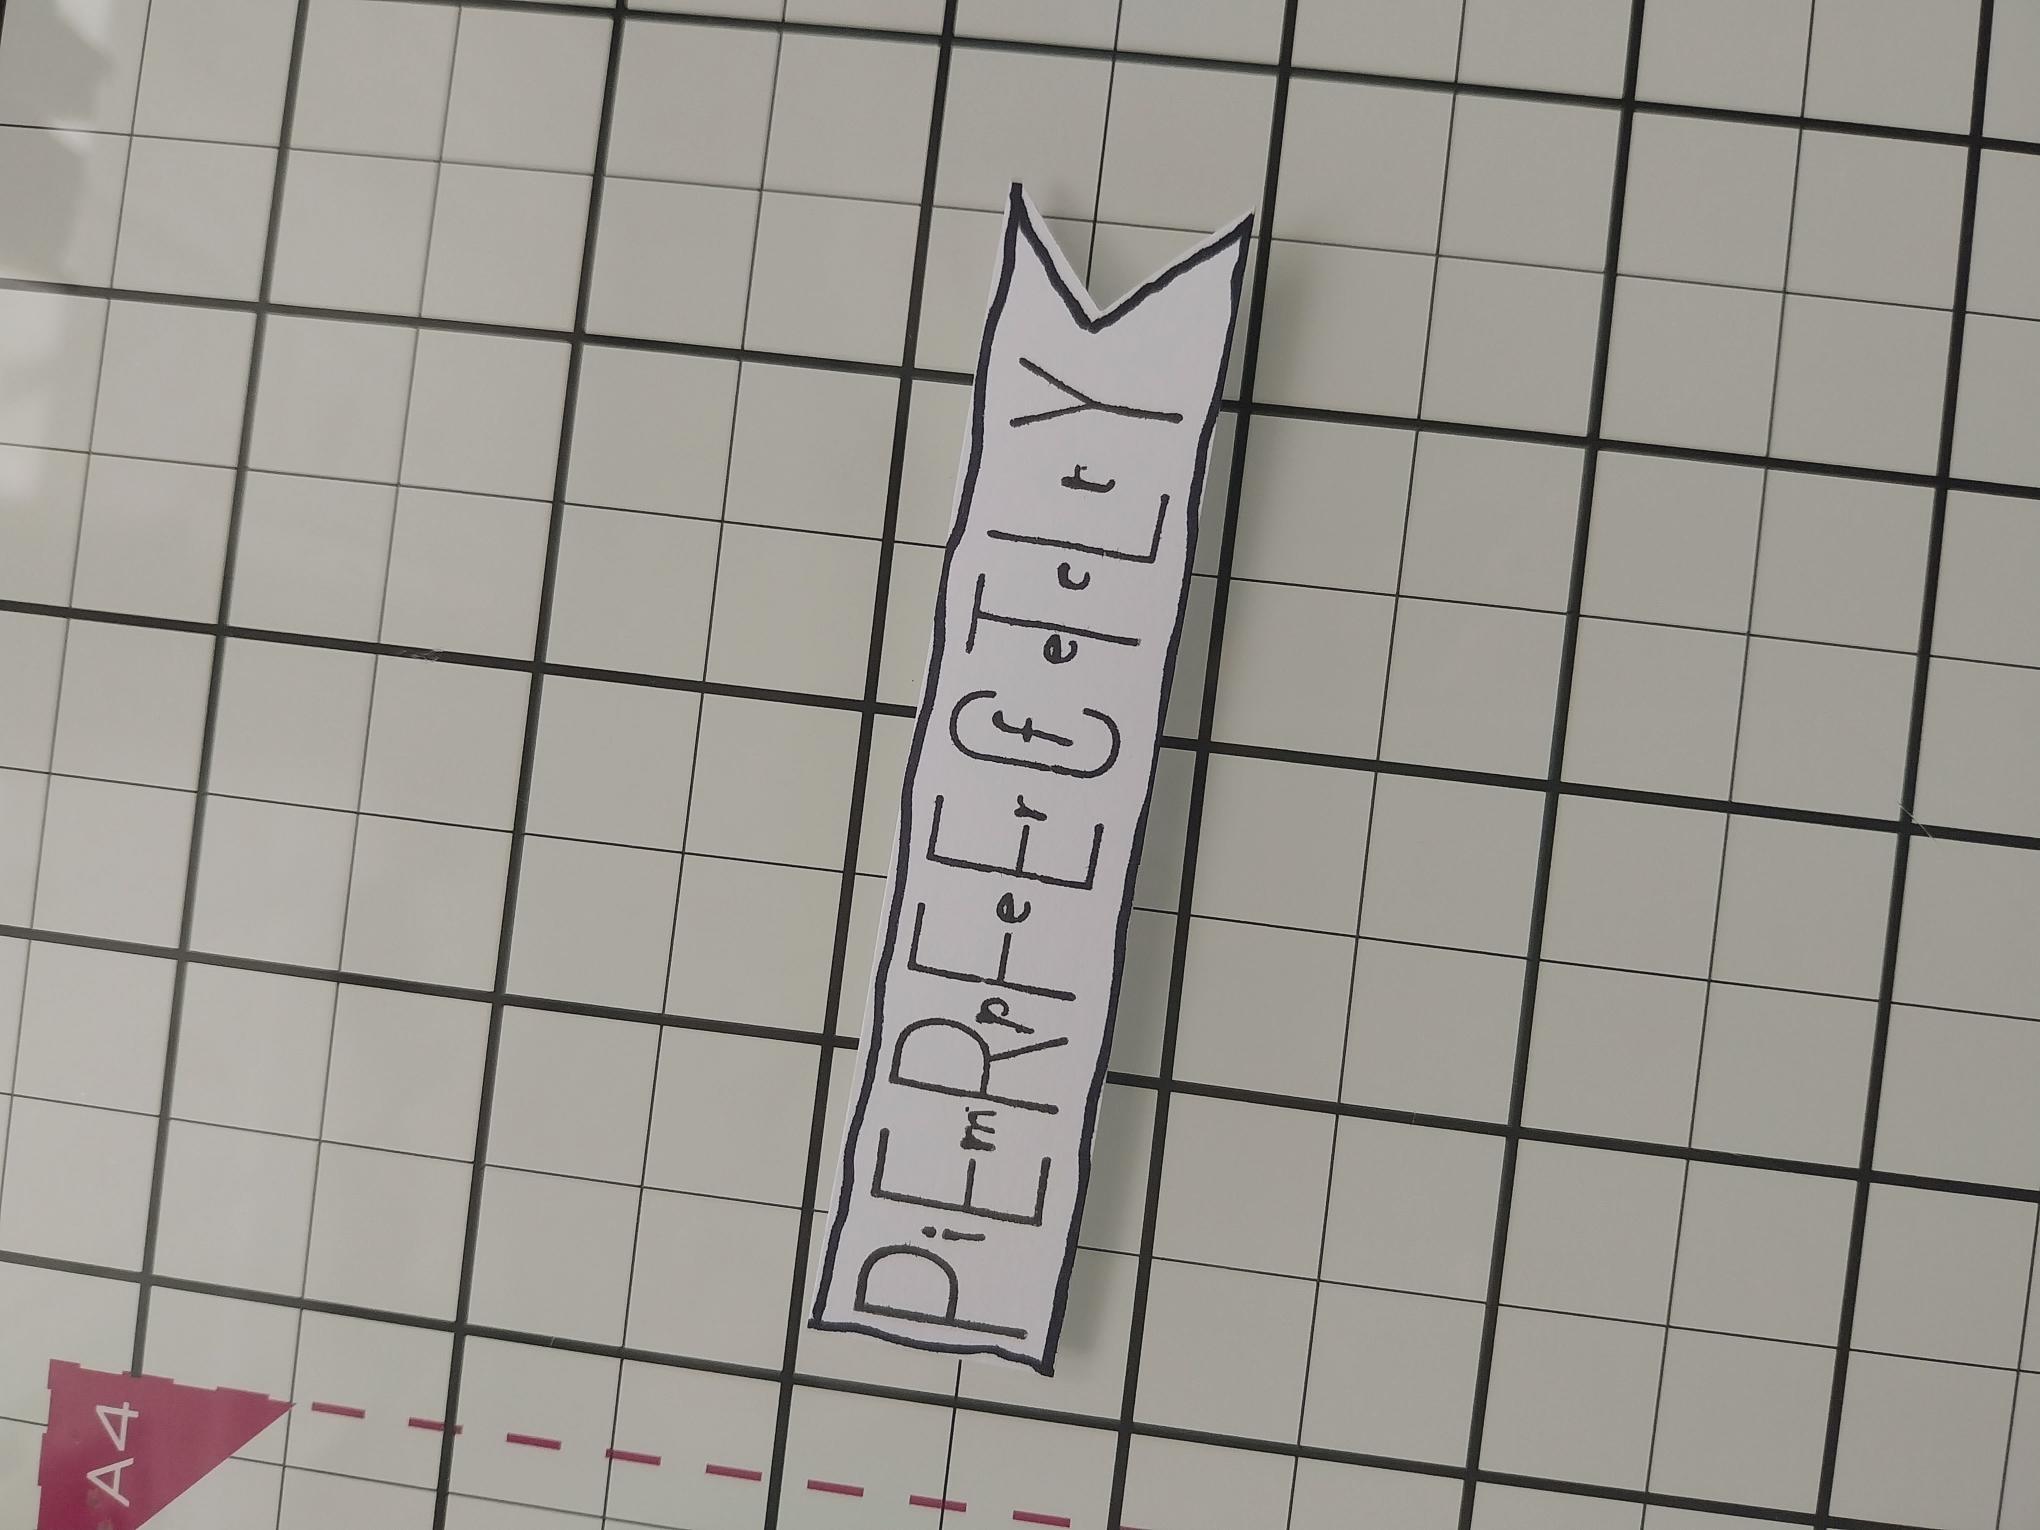
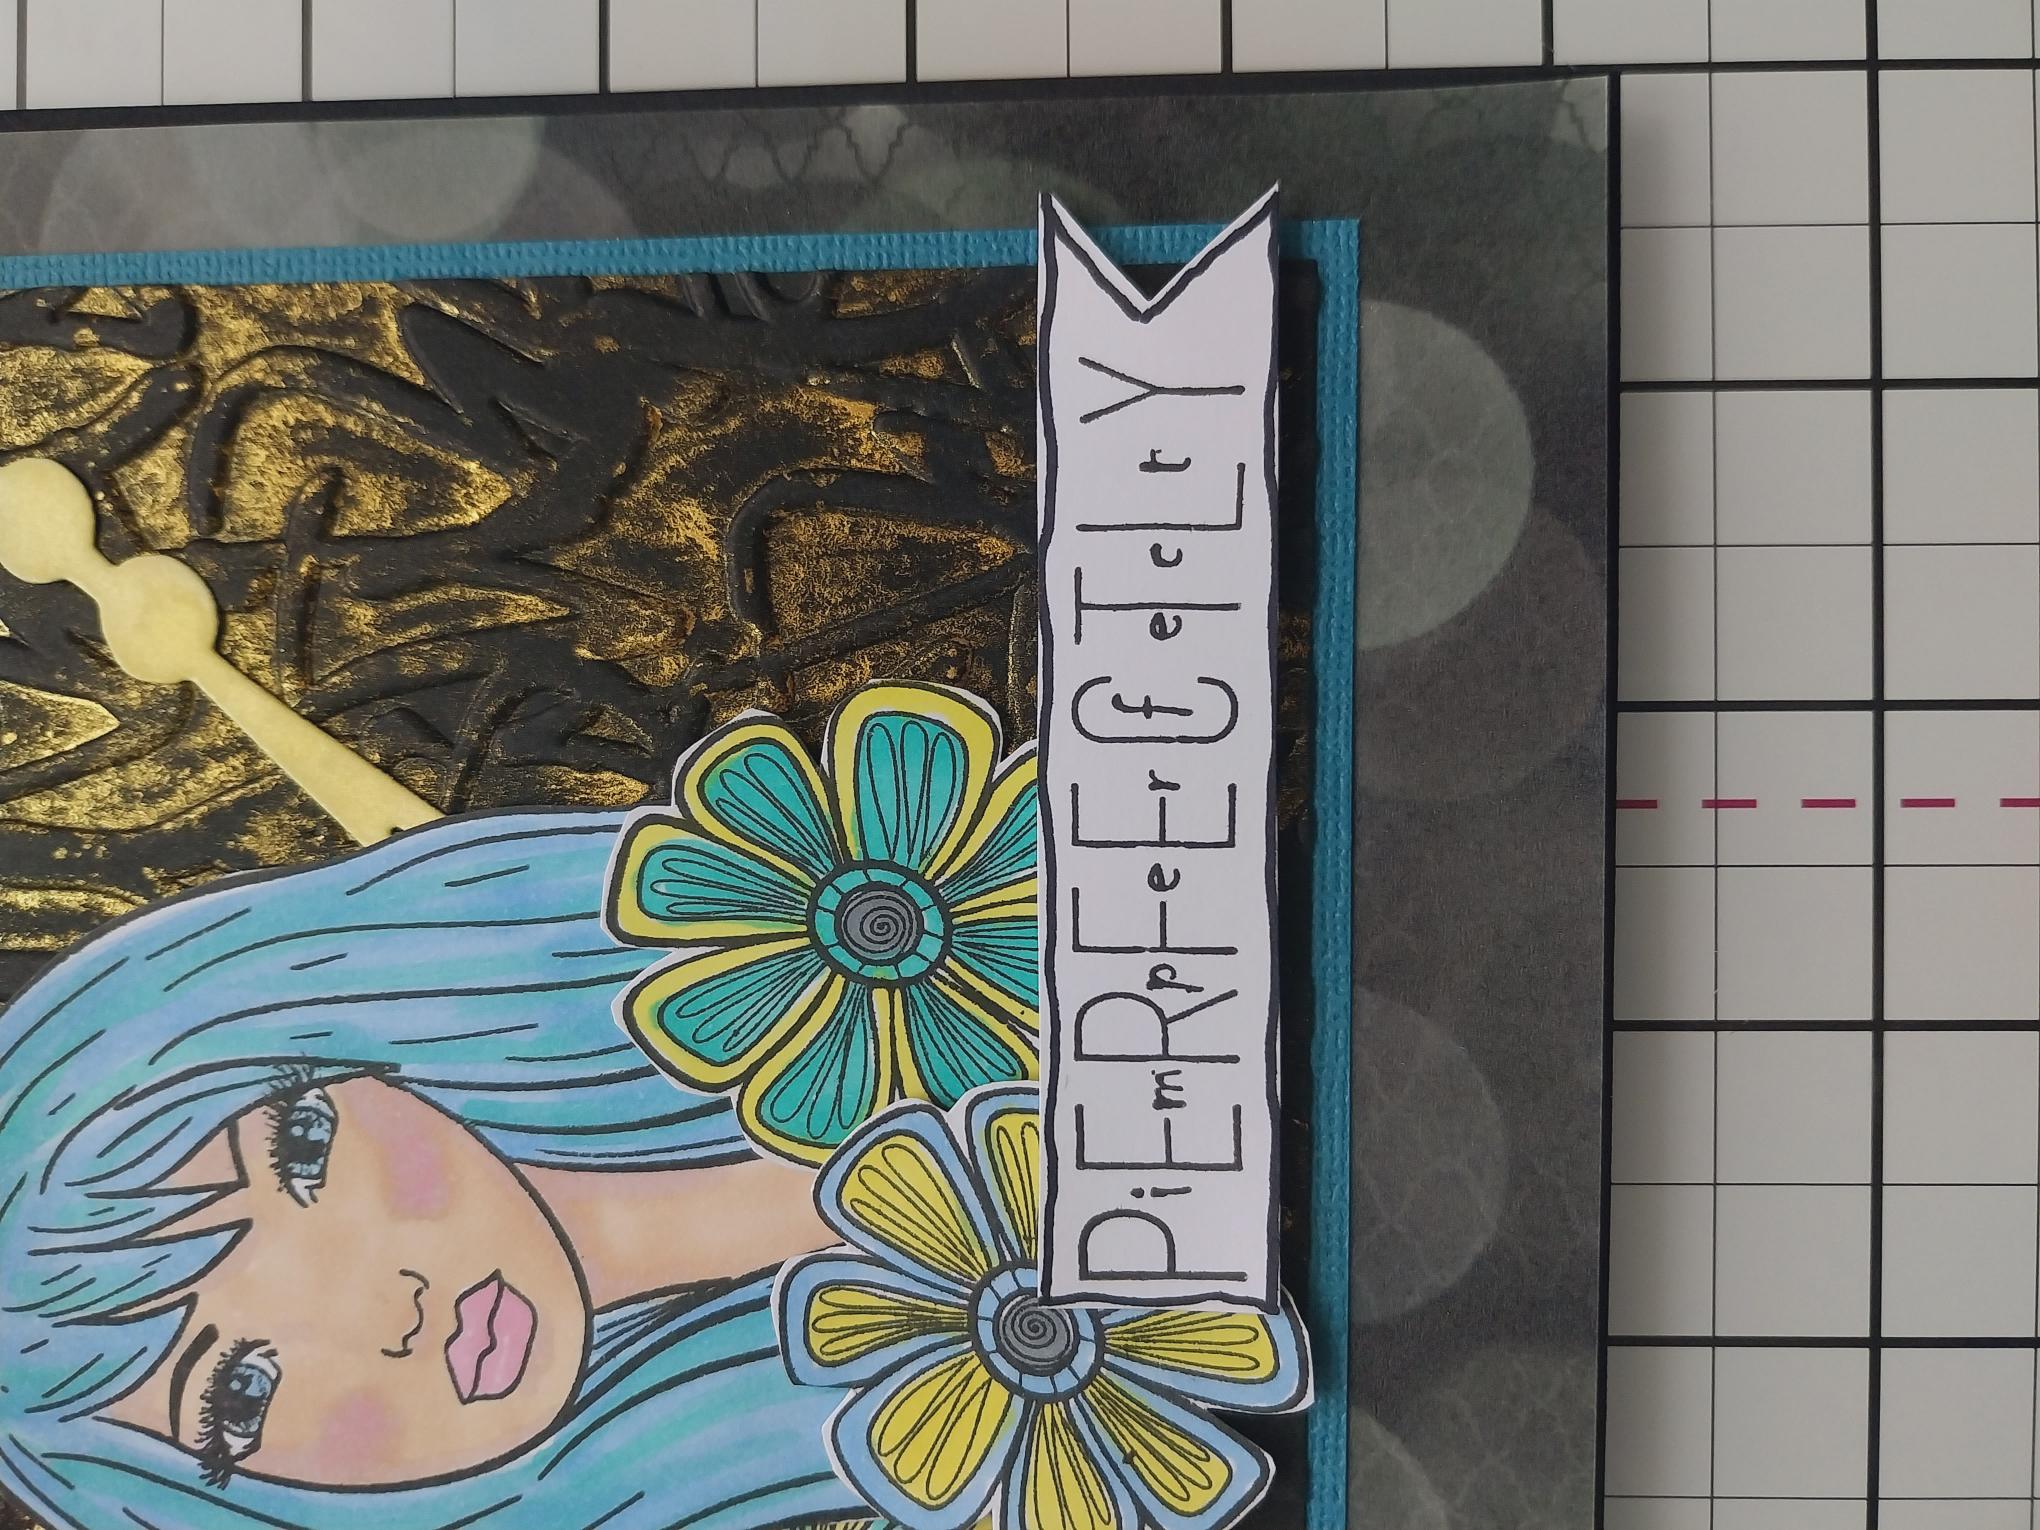
Stamp this sentiment in the Midnight ink, on to a piece of white card, before trimming around it to create a banner. Use a black pen to edge the card, which will make it "pop" from the page. |
|
Use foam pads to adhere your sentiment banner across the bottom right of your artwork. |
|
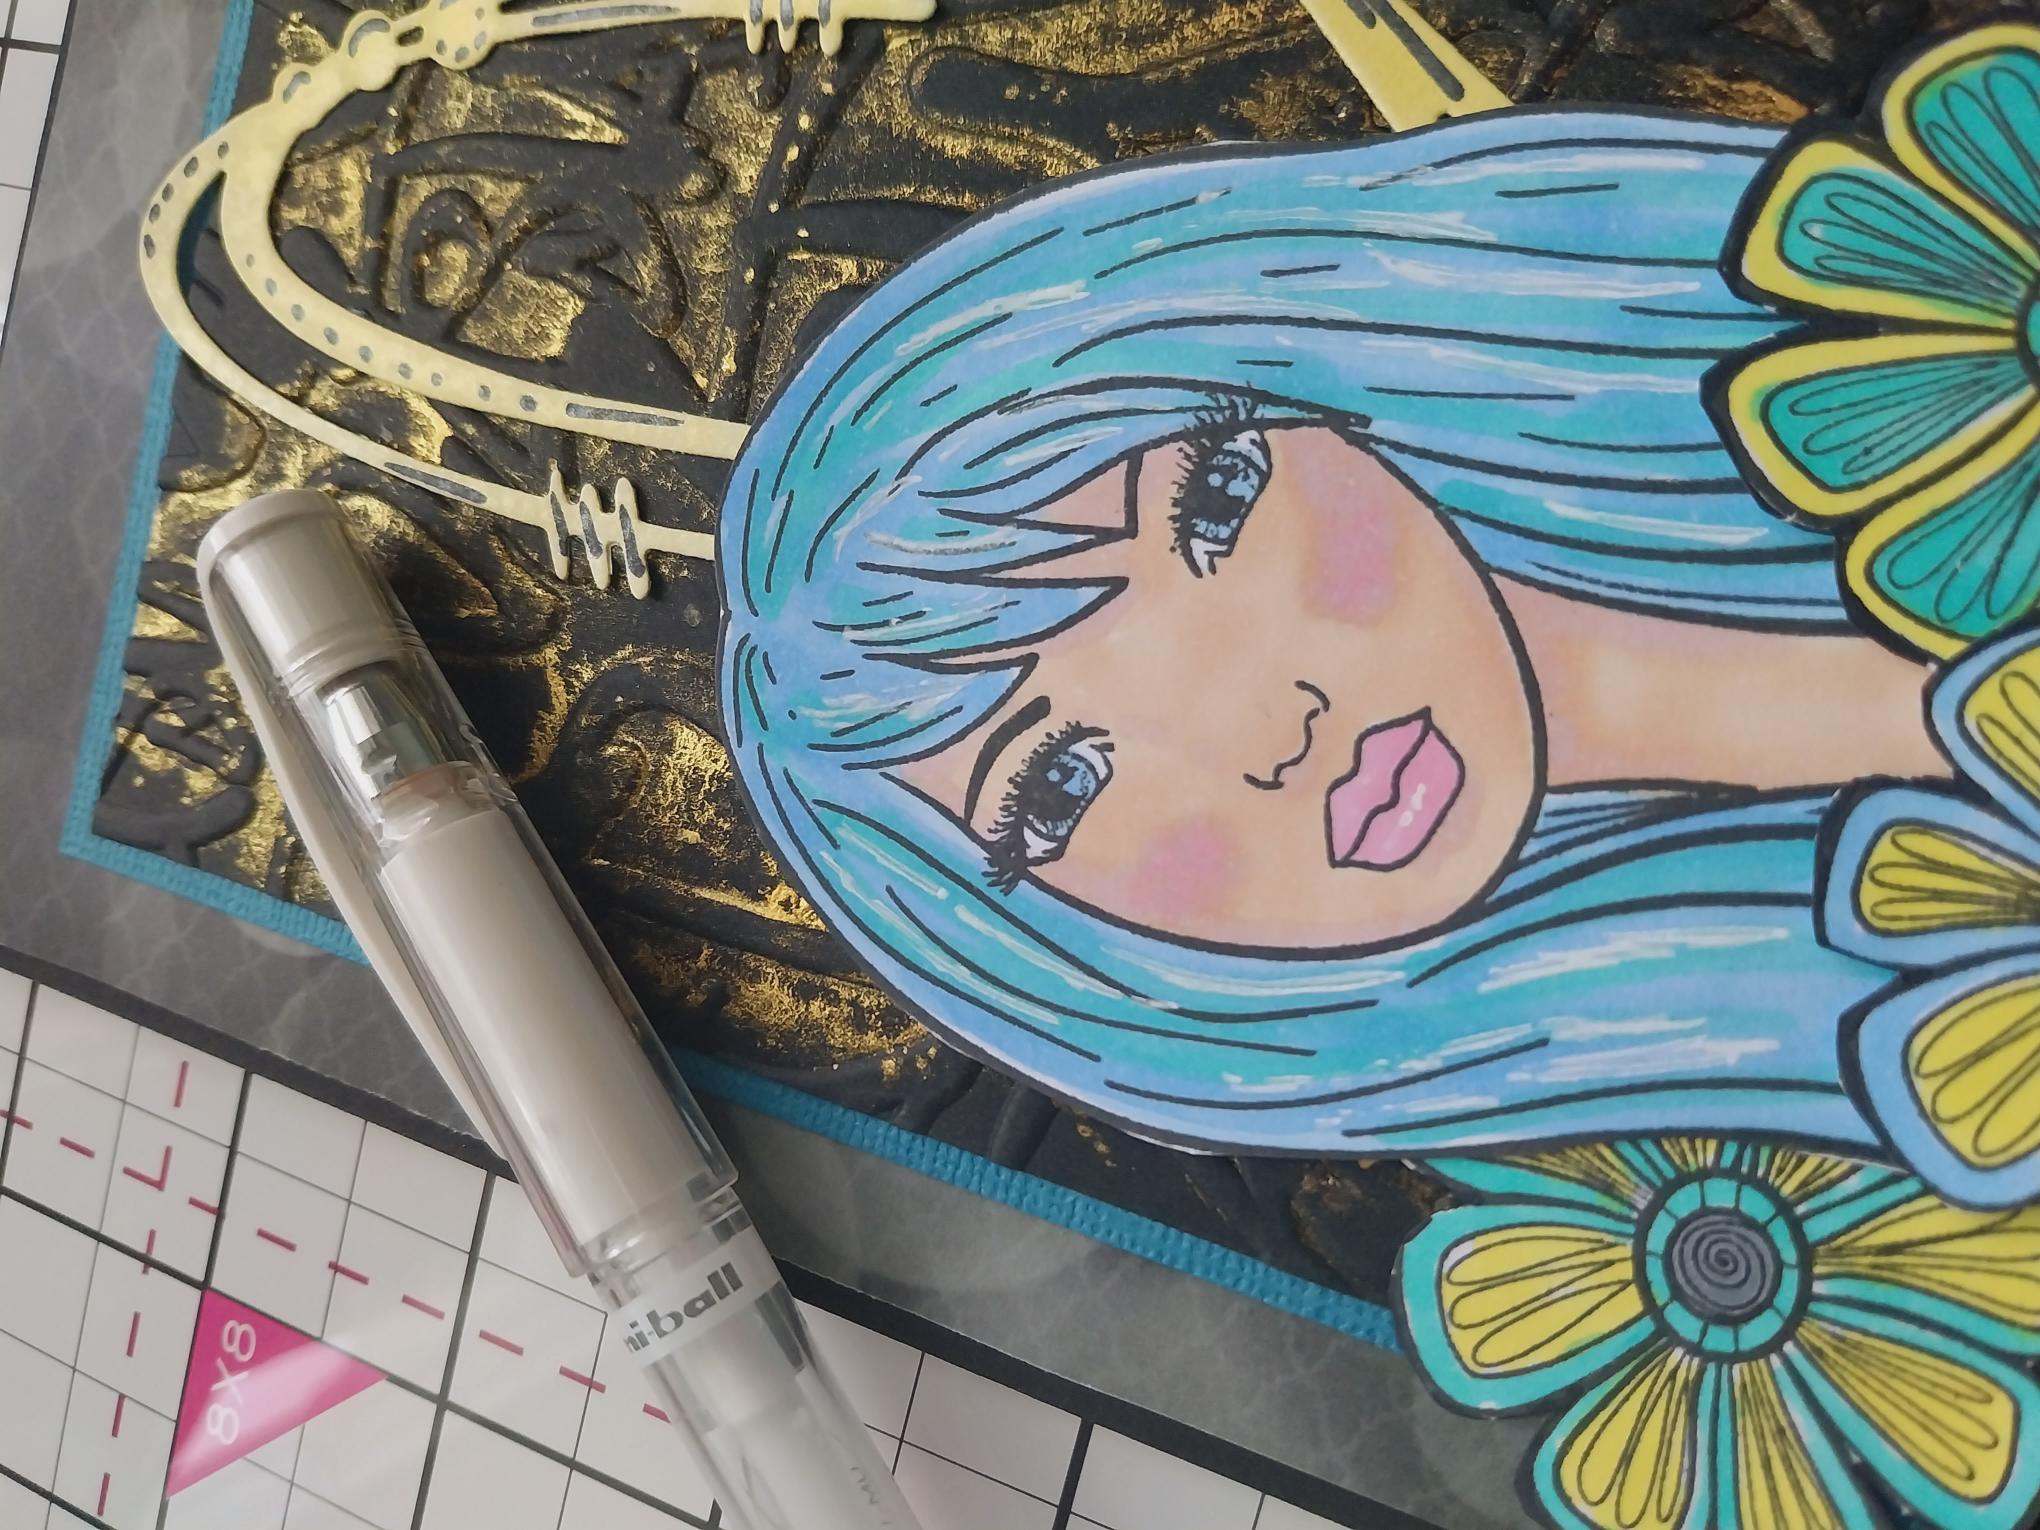
Use your black pen to add accents to your artwork, as required. I added accents in her hair, on the die cut heart and on the floral petals. |
|
To complete your project, use your Imala white gel pen to add highlights...I added a few to her hair. |