Offrez à vos amis 10 € de réduction sur leur première commande !
Parrainez un AMI








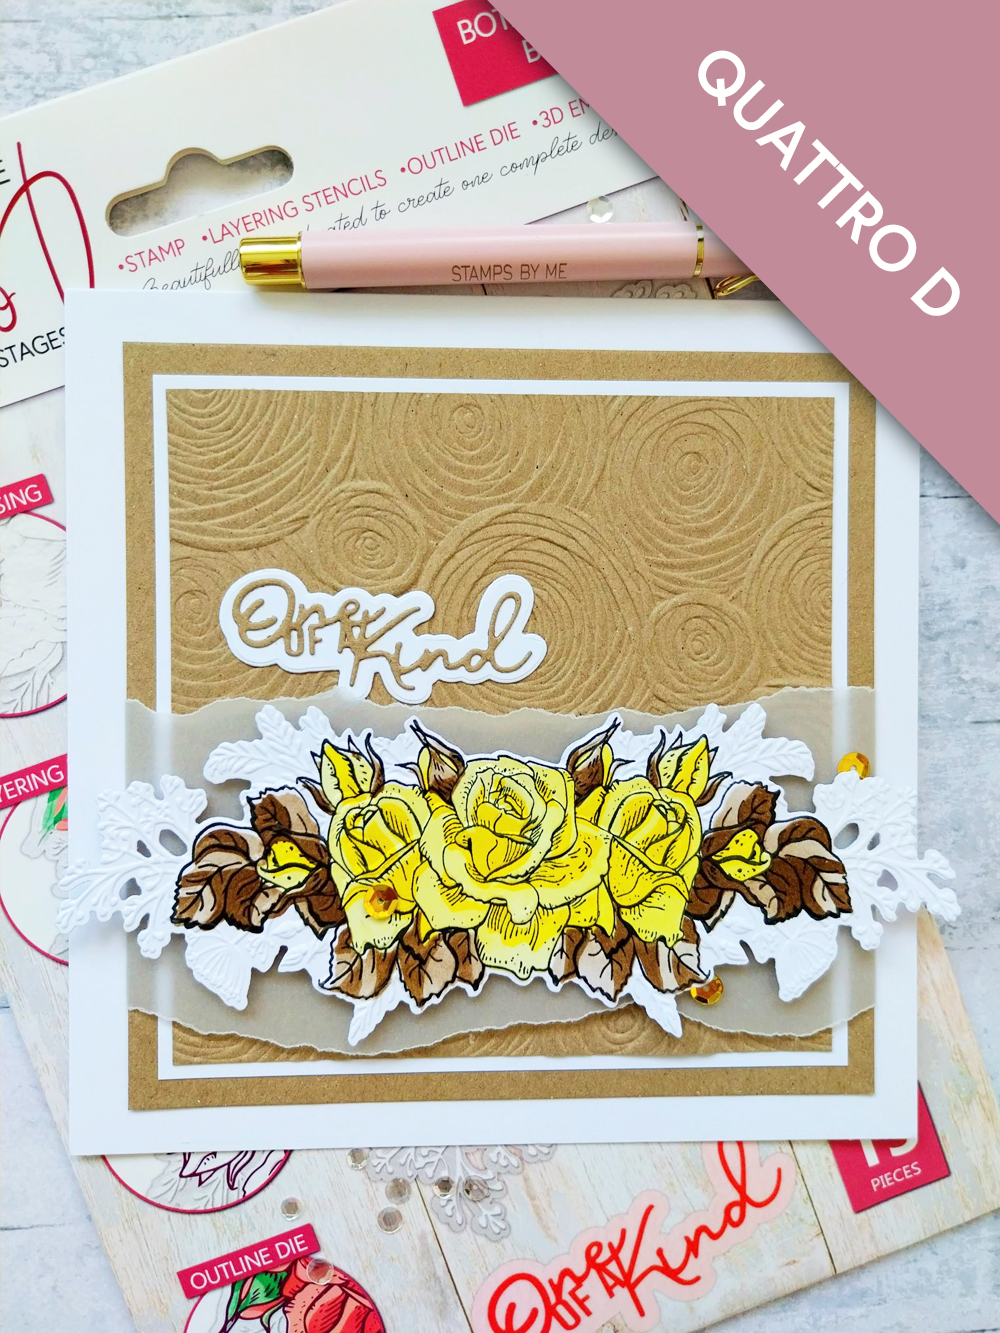
CE DONT VOUS AUREZ BESOIN :
Carte vierge blanche 7 x 7"
Papier cartonné blanc
Papier cartonné kraft
Papier calque
Collection Quattro D Botanical Bunch
Classeur de gaufrage 3D Lollipops
Encreur hybride SBM : Midnight
Encreur SBM Premium Dye : Sherbet
Encreur Distress : Walnut Stain
Outil d'estompage
Sequins : Gold
Outil Gem Pick Up and Pokey Tool
Palette d'aquarelle Eureka 101
Tapis en verre magnétique SBM
Massicot
Colle Perfect Together
Pastilles mousse 3D
Ruban adhésif double face
Machine de découpe
[cliquez sur l'image pour l'agrandir] 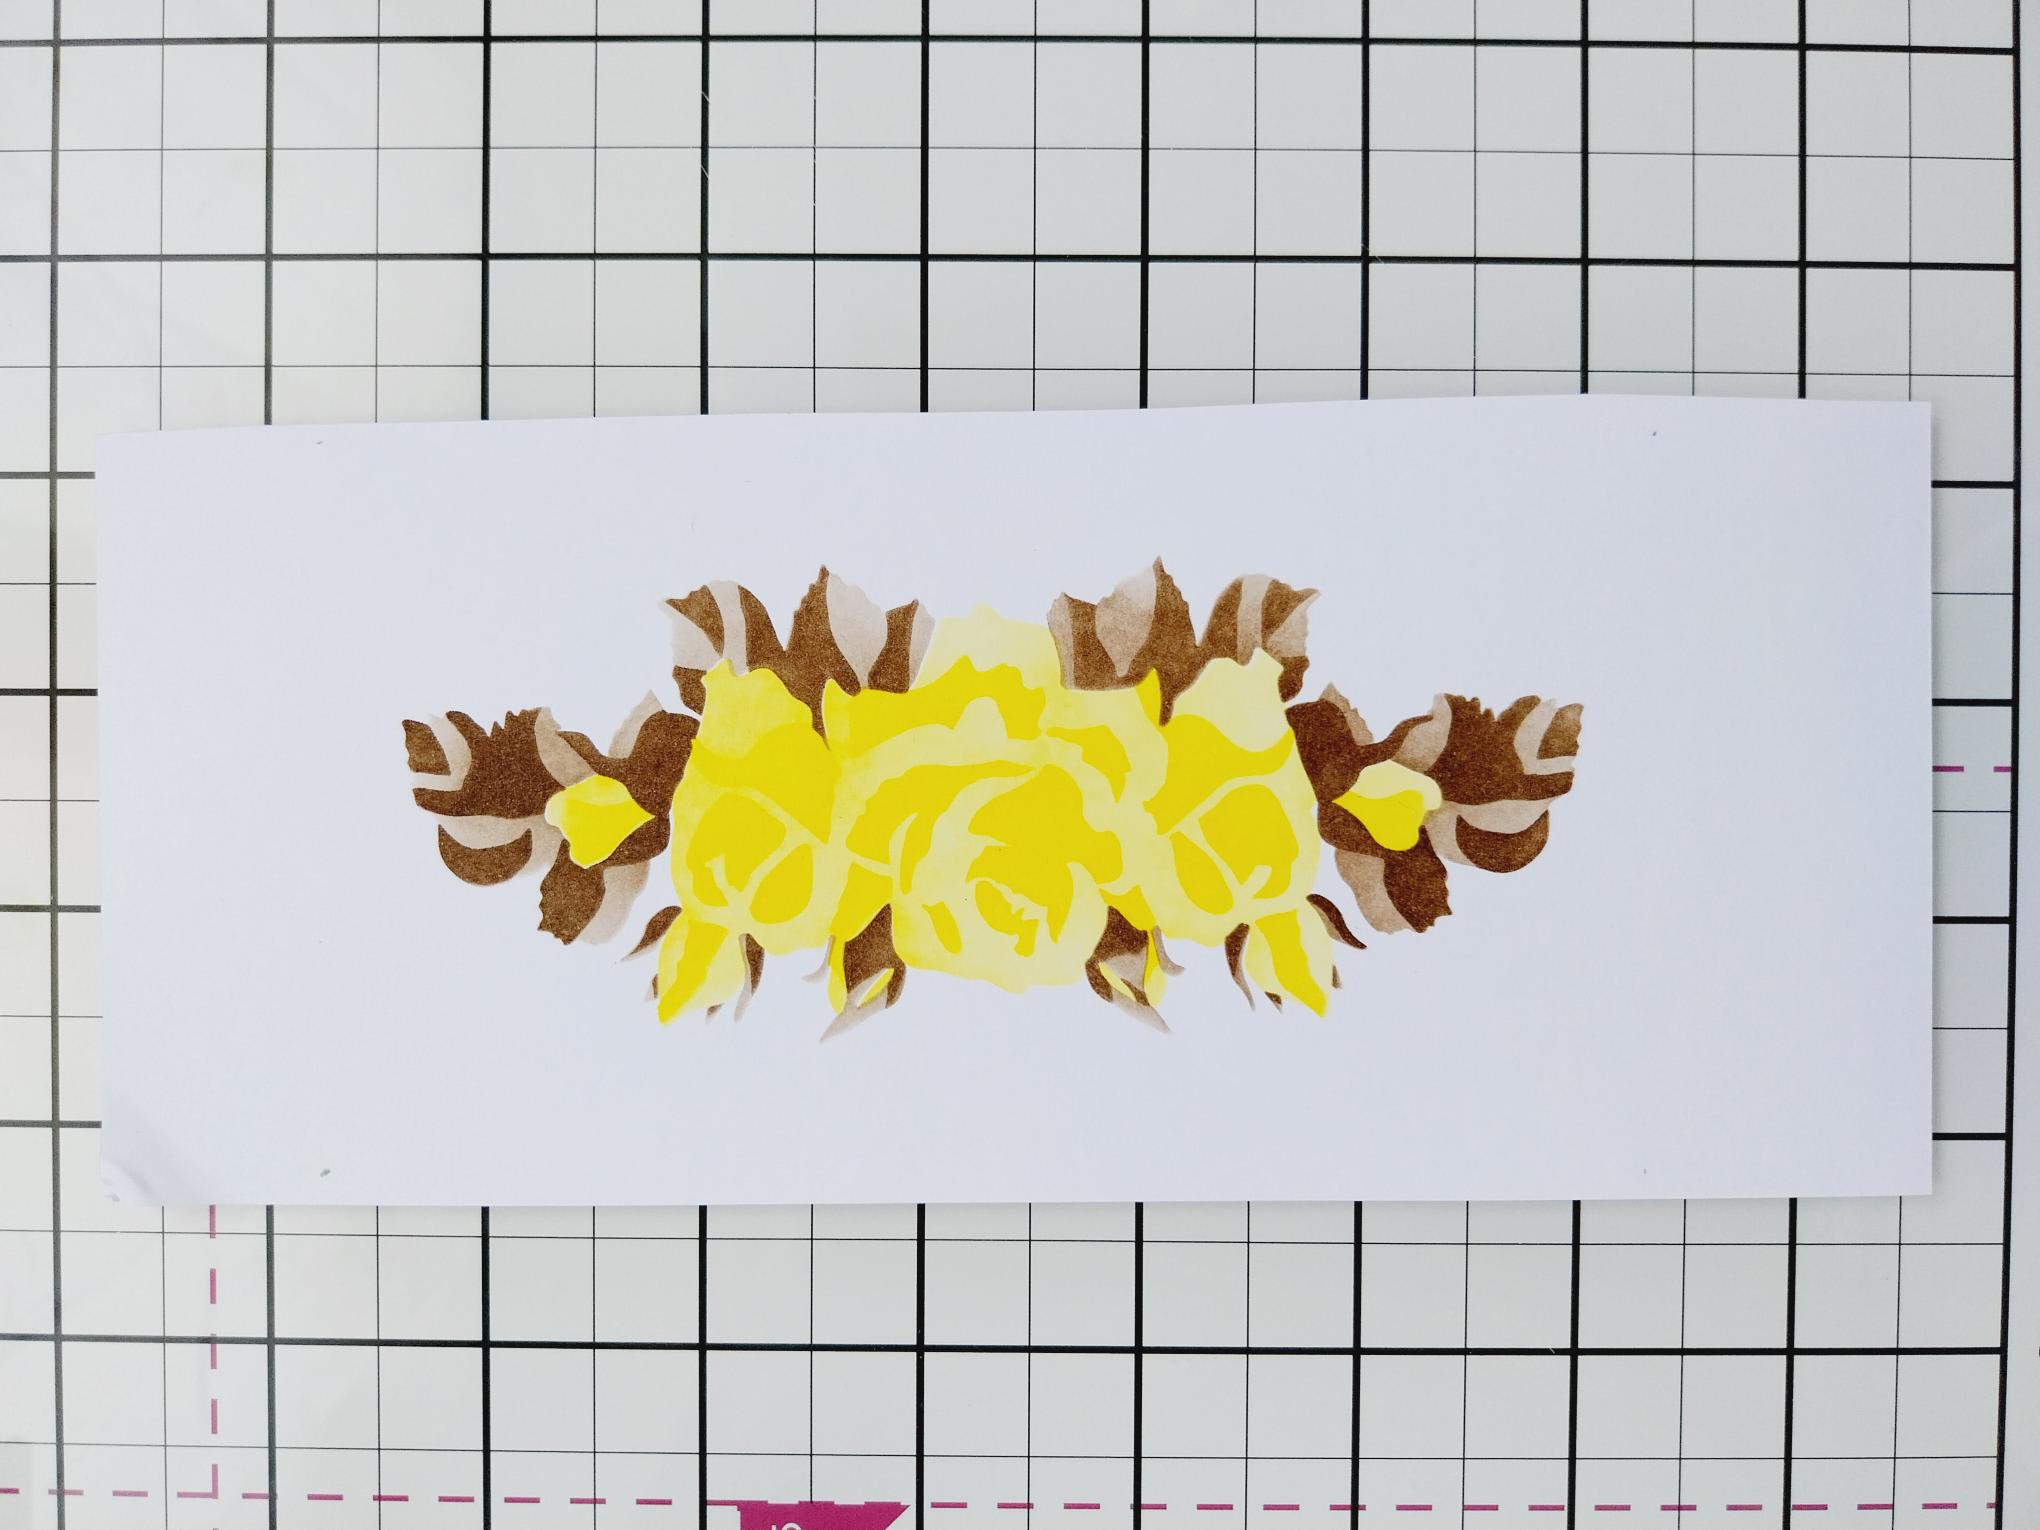
|
Each of the stencils in the Quattro D Botanical Bunch collection are numbered and have hearts in the corner to help you line each stencil up, if required. Use your blending tool to apply ink through each stencil, on to white card trimmed to 8 x 4", as follows: Stencil 1 Sherbet but only lightly Stencil 2 Sherbet but with more pressure for a more vibrant colour Stencil 3 Walnut Stain but lightly applied Stencil 4 Walnut Stain with more pressure |
|
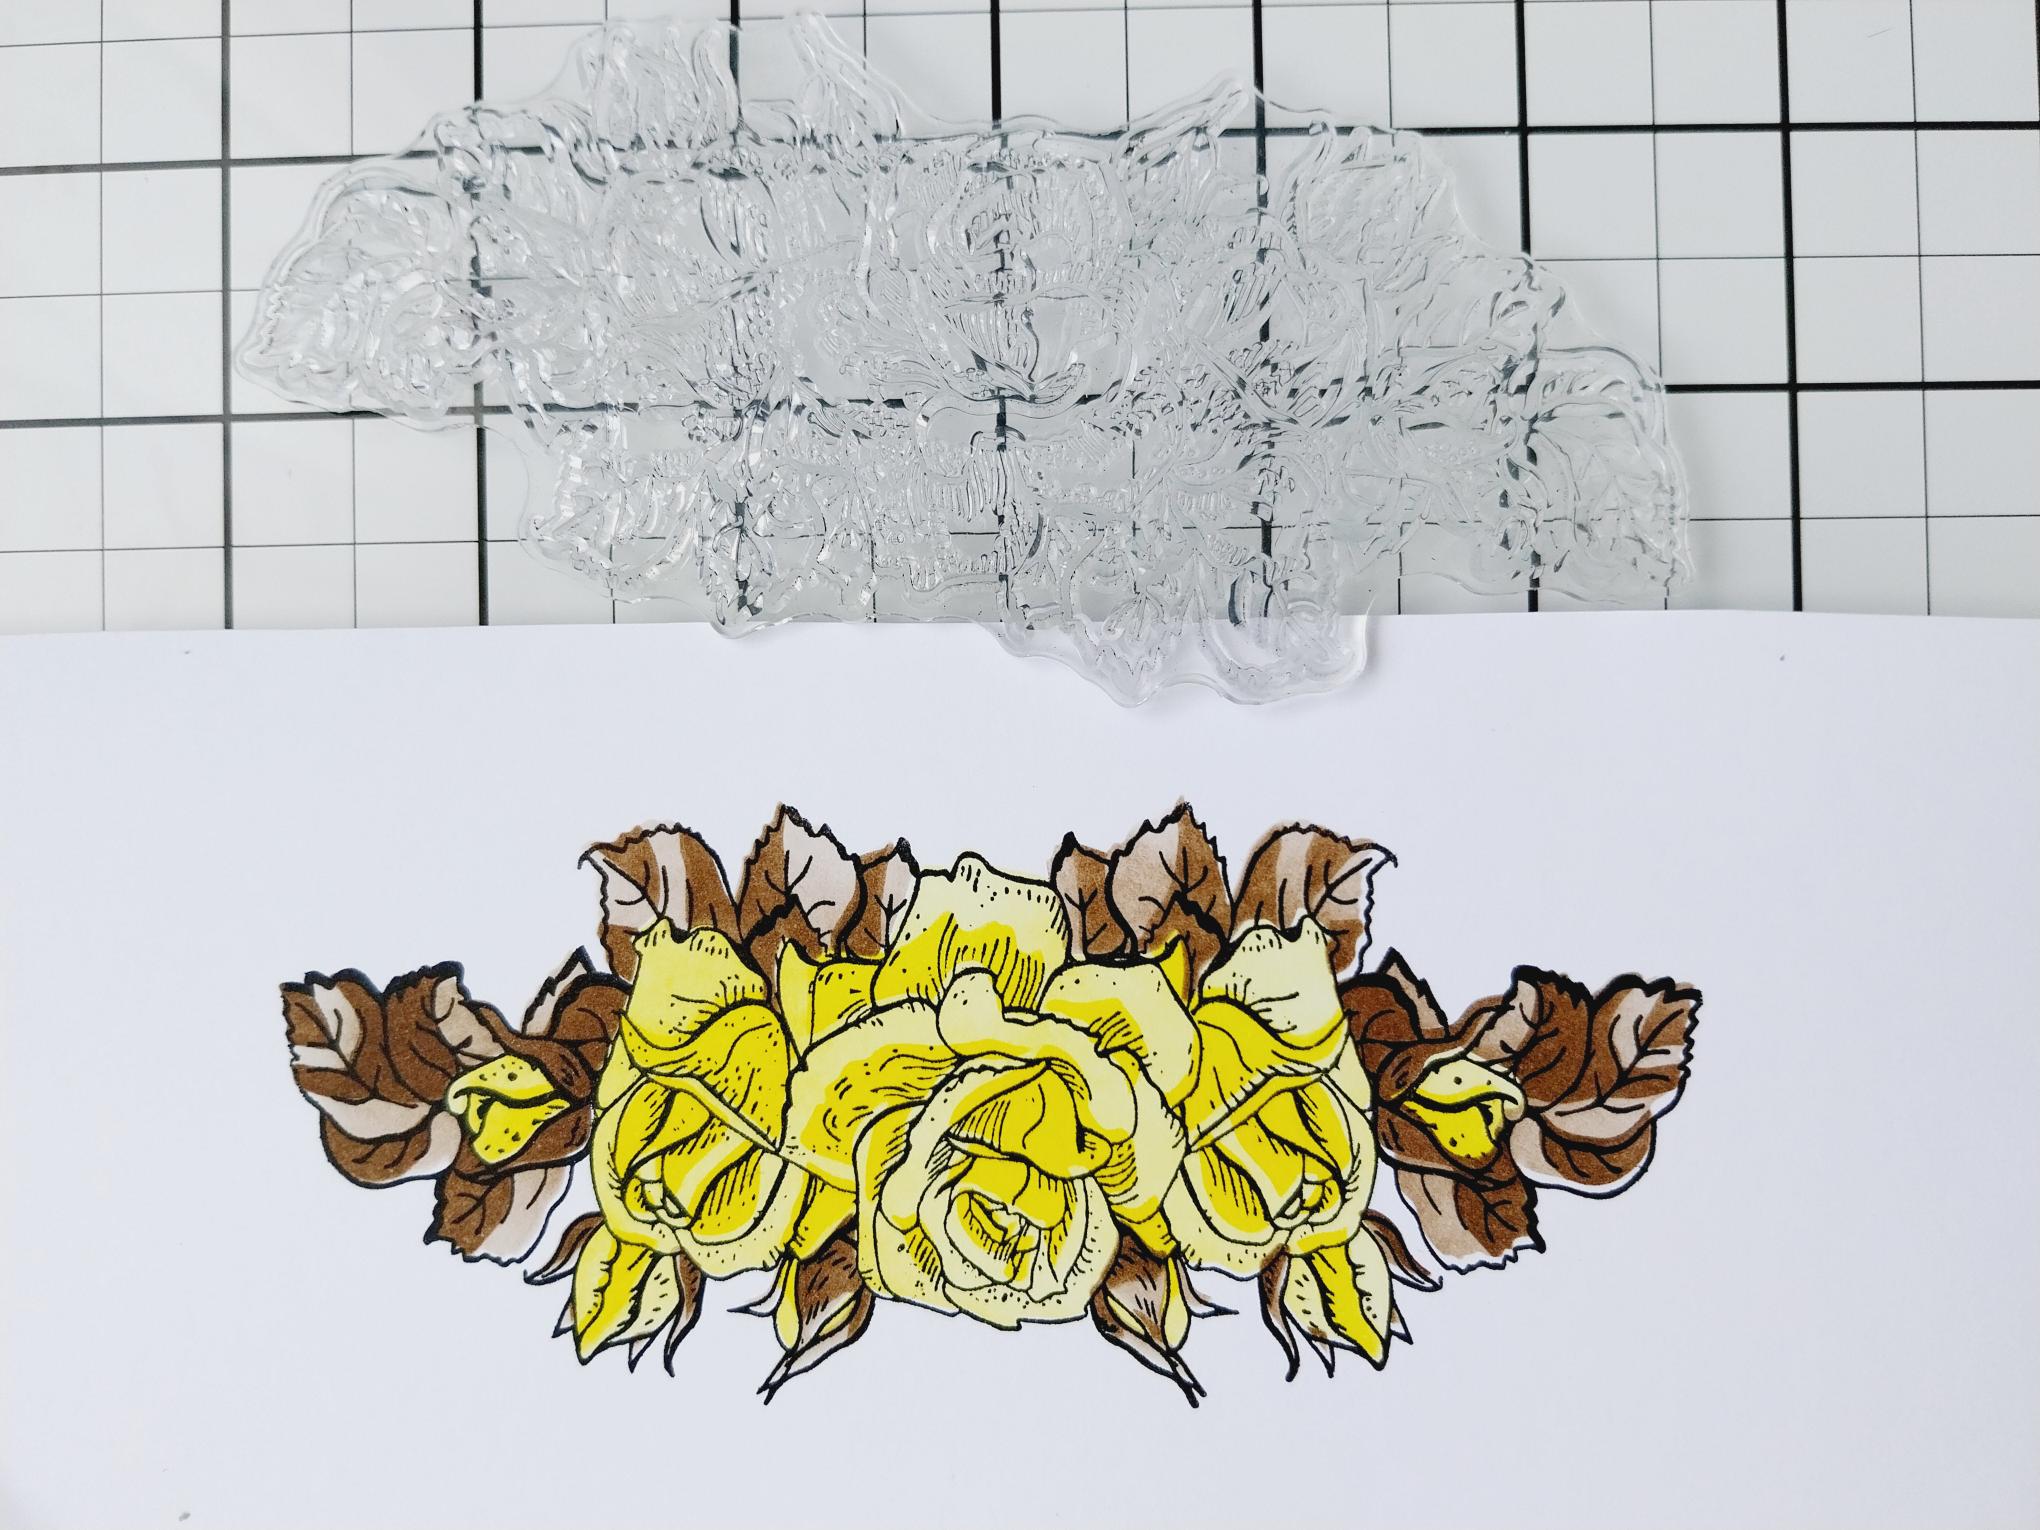
Stamp over the stencilled image in the Midnight hybrid ink. |
|
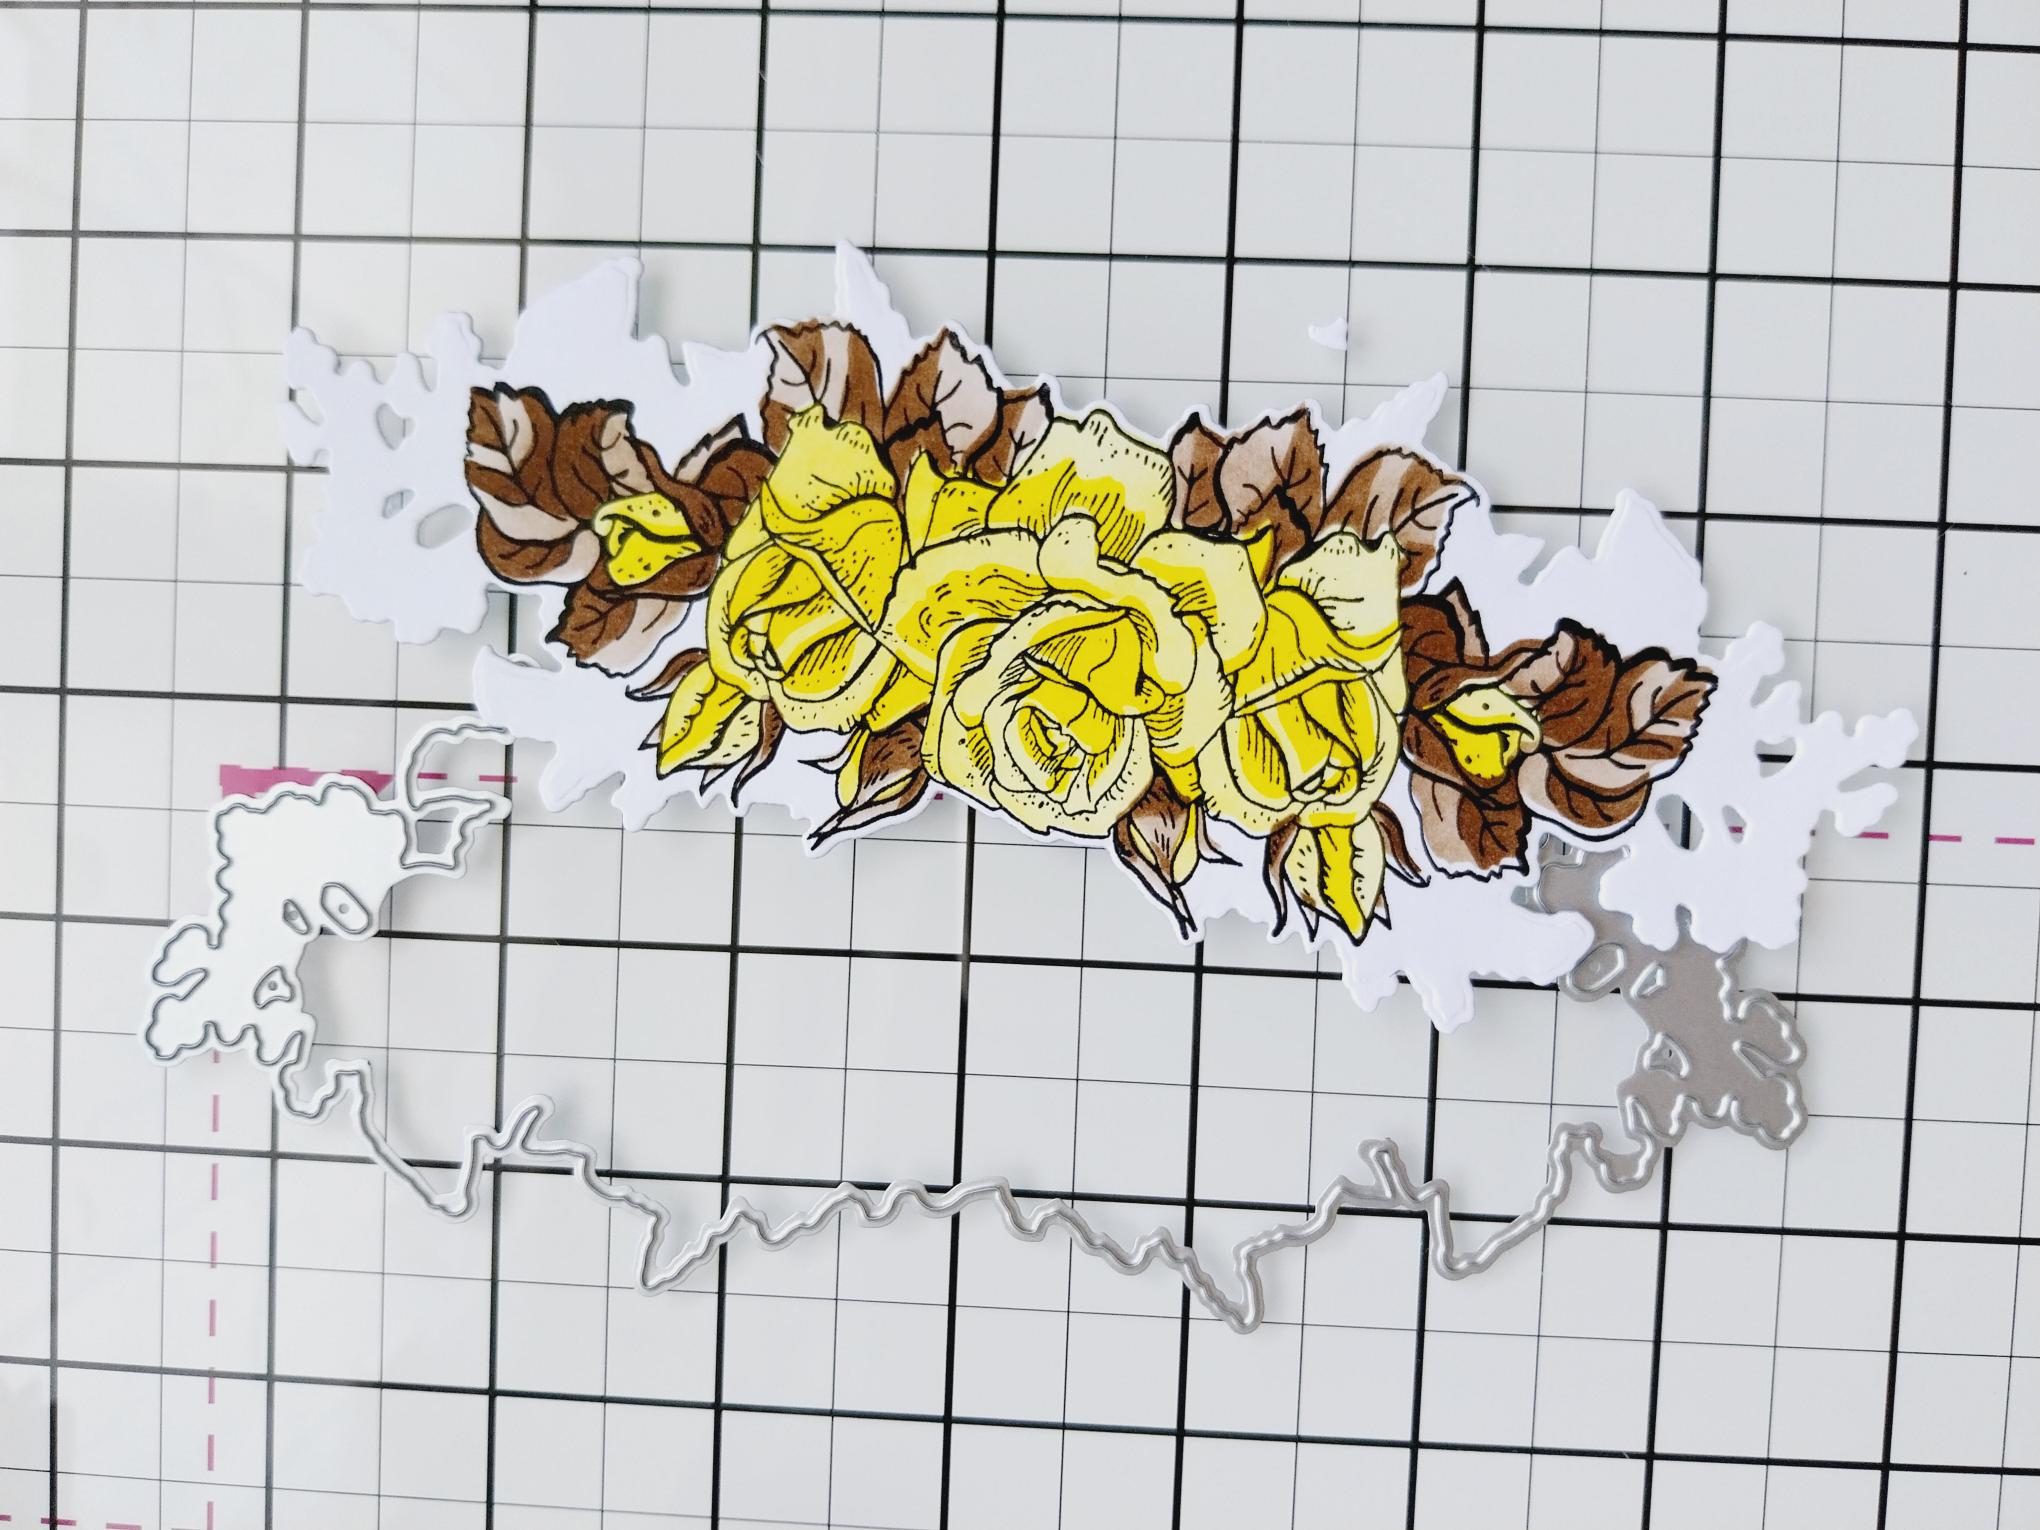
Use the coordinating die to cut it out. |
|
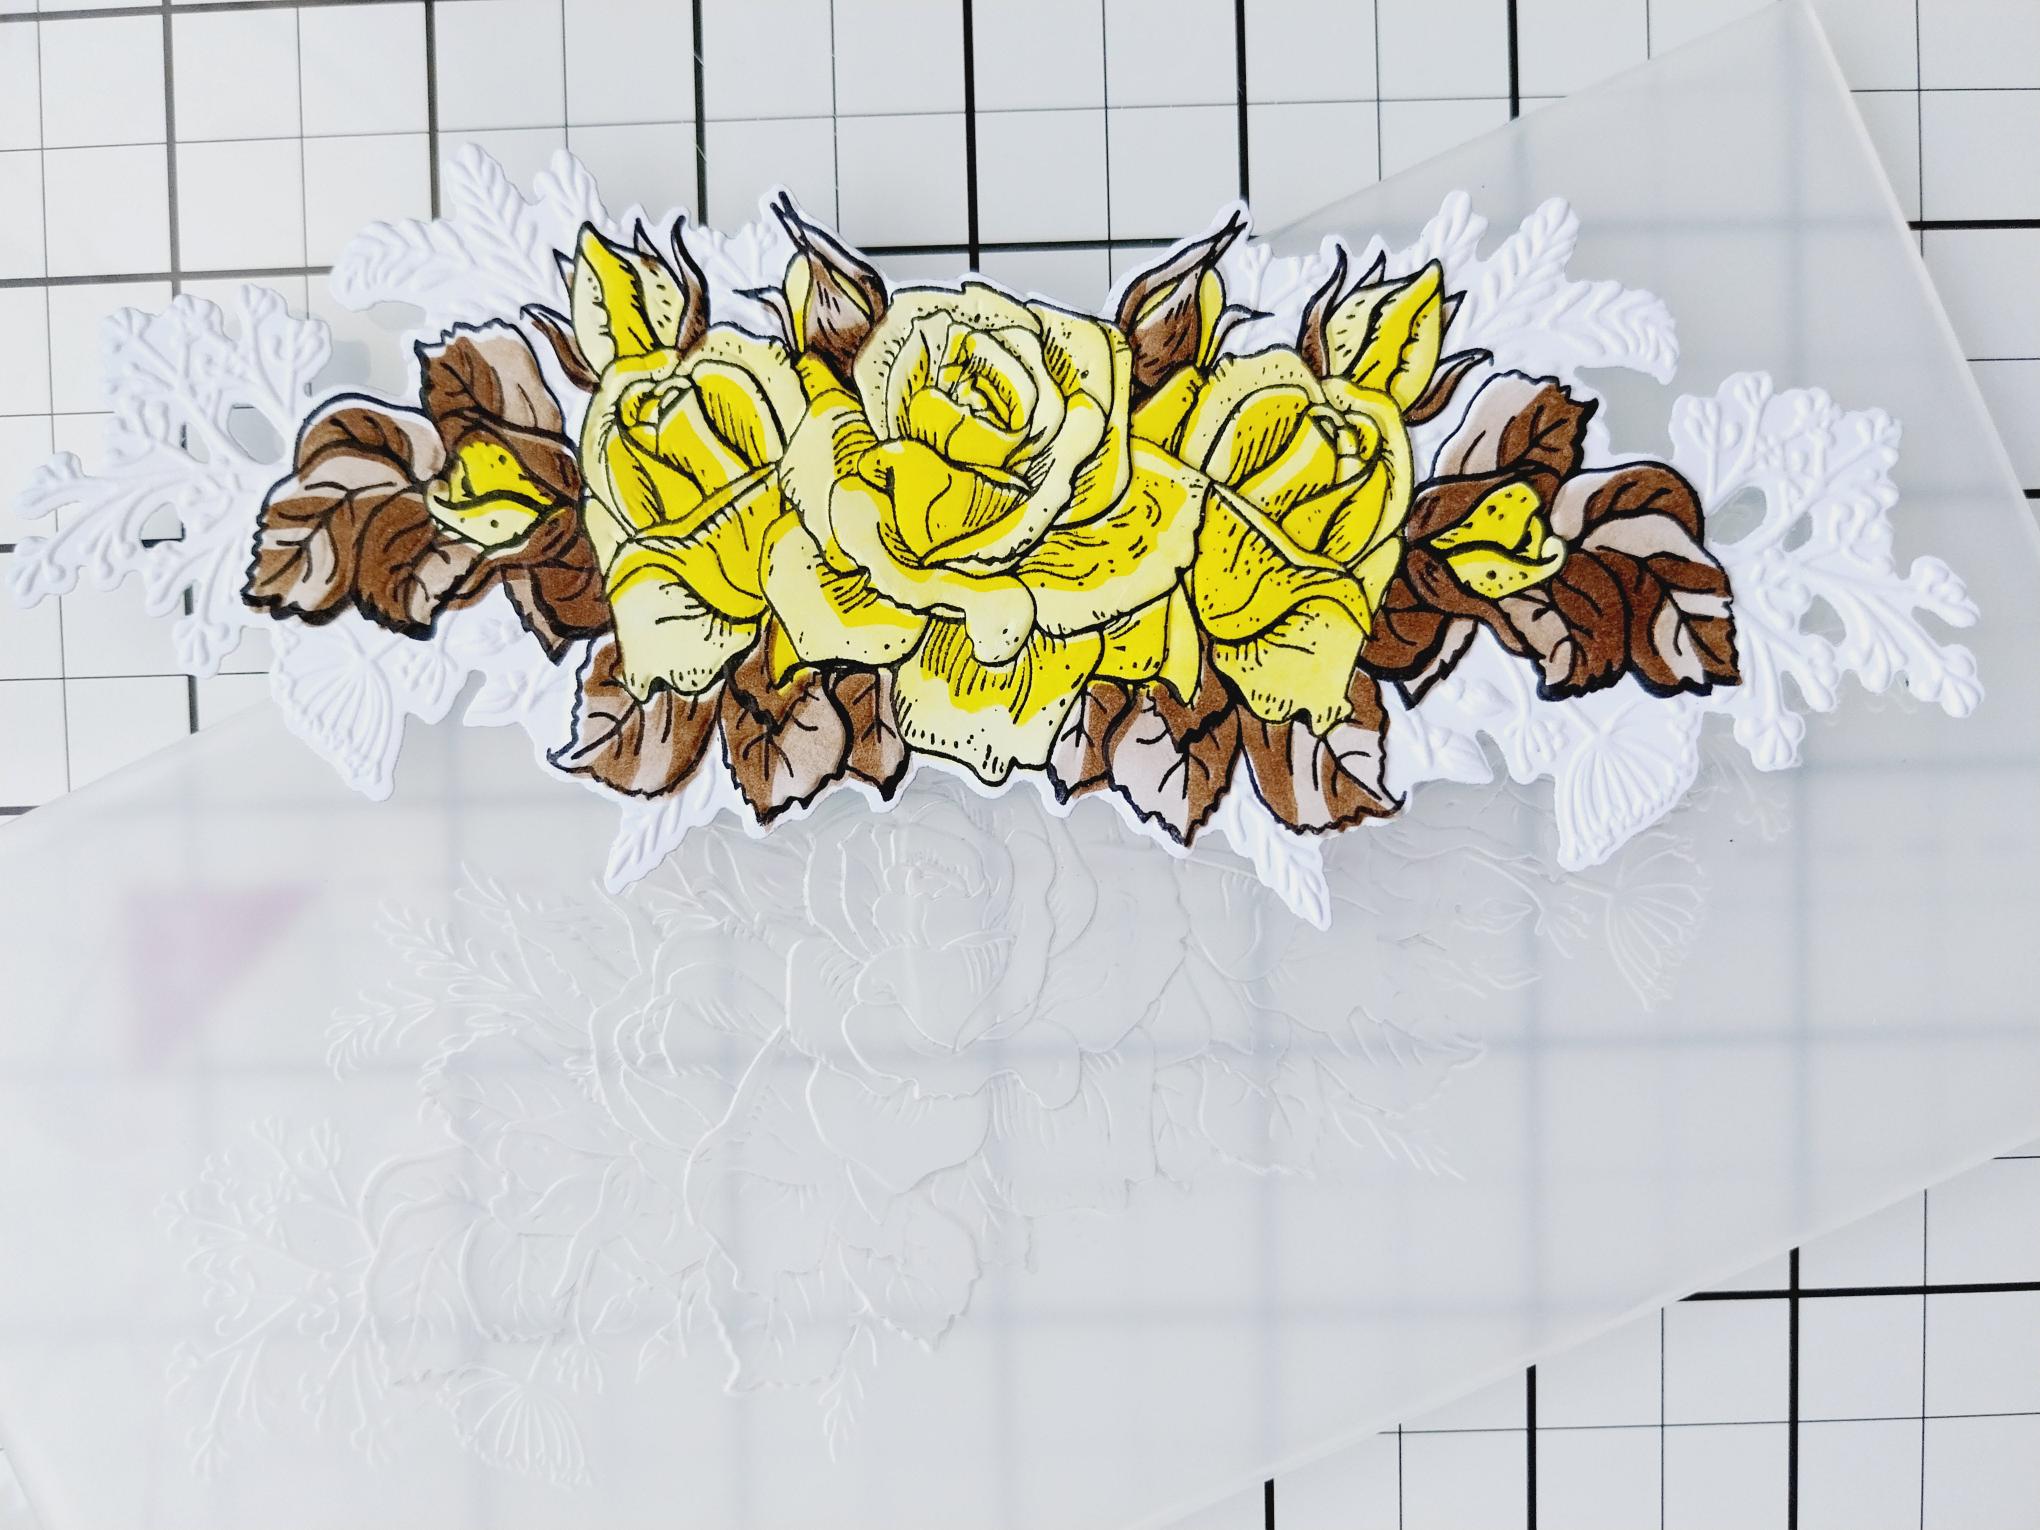
Line up your 3D element inside the embossing folder and run it through your machine. Pop to one side. |
|
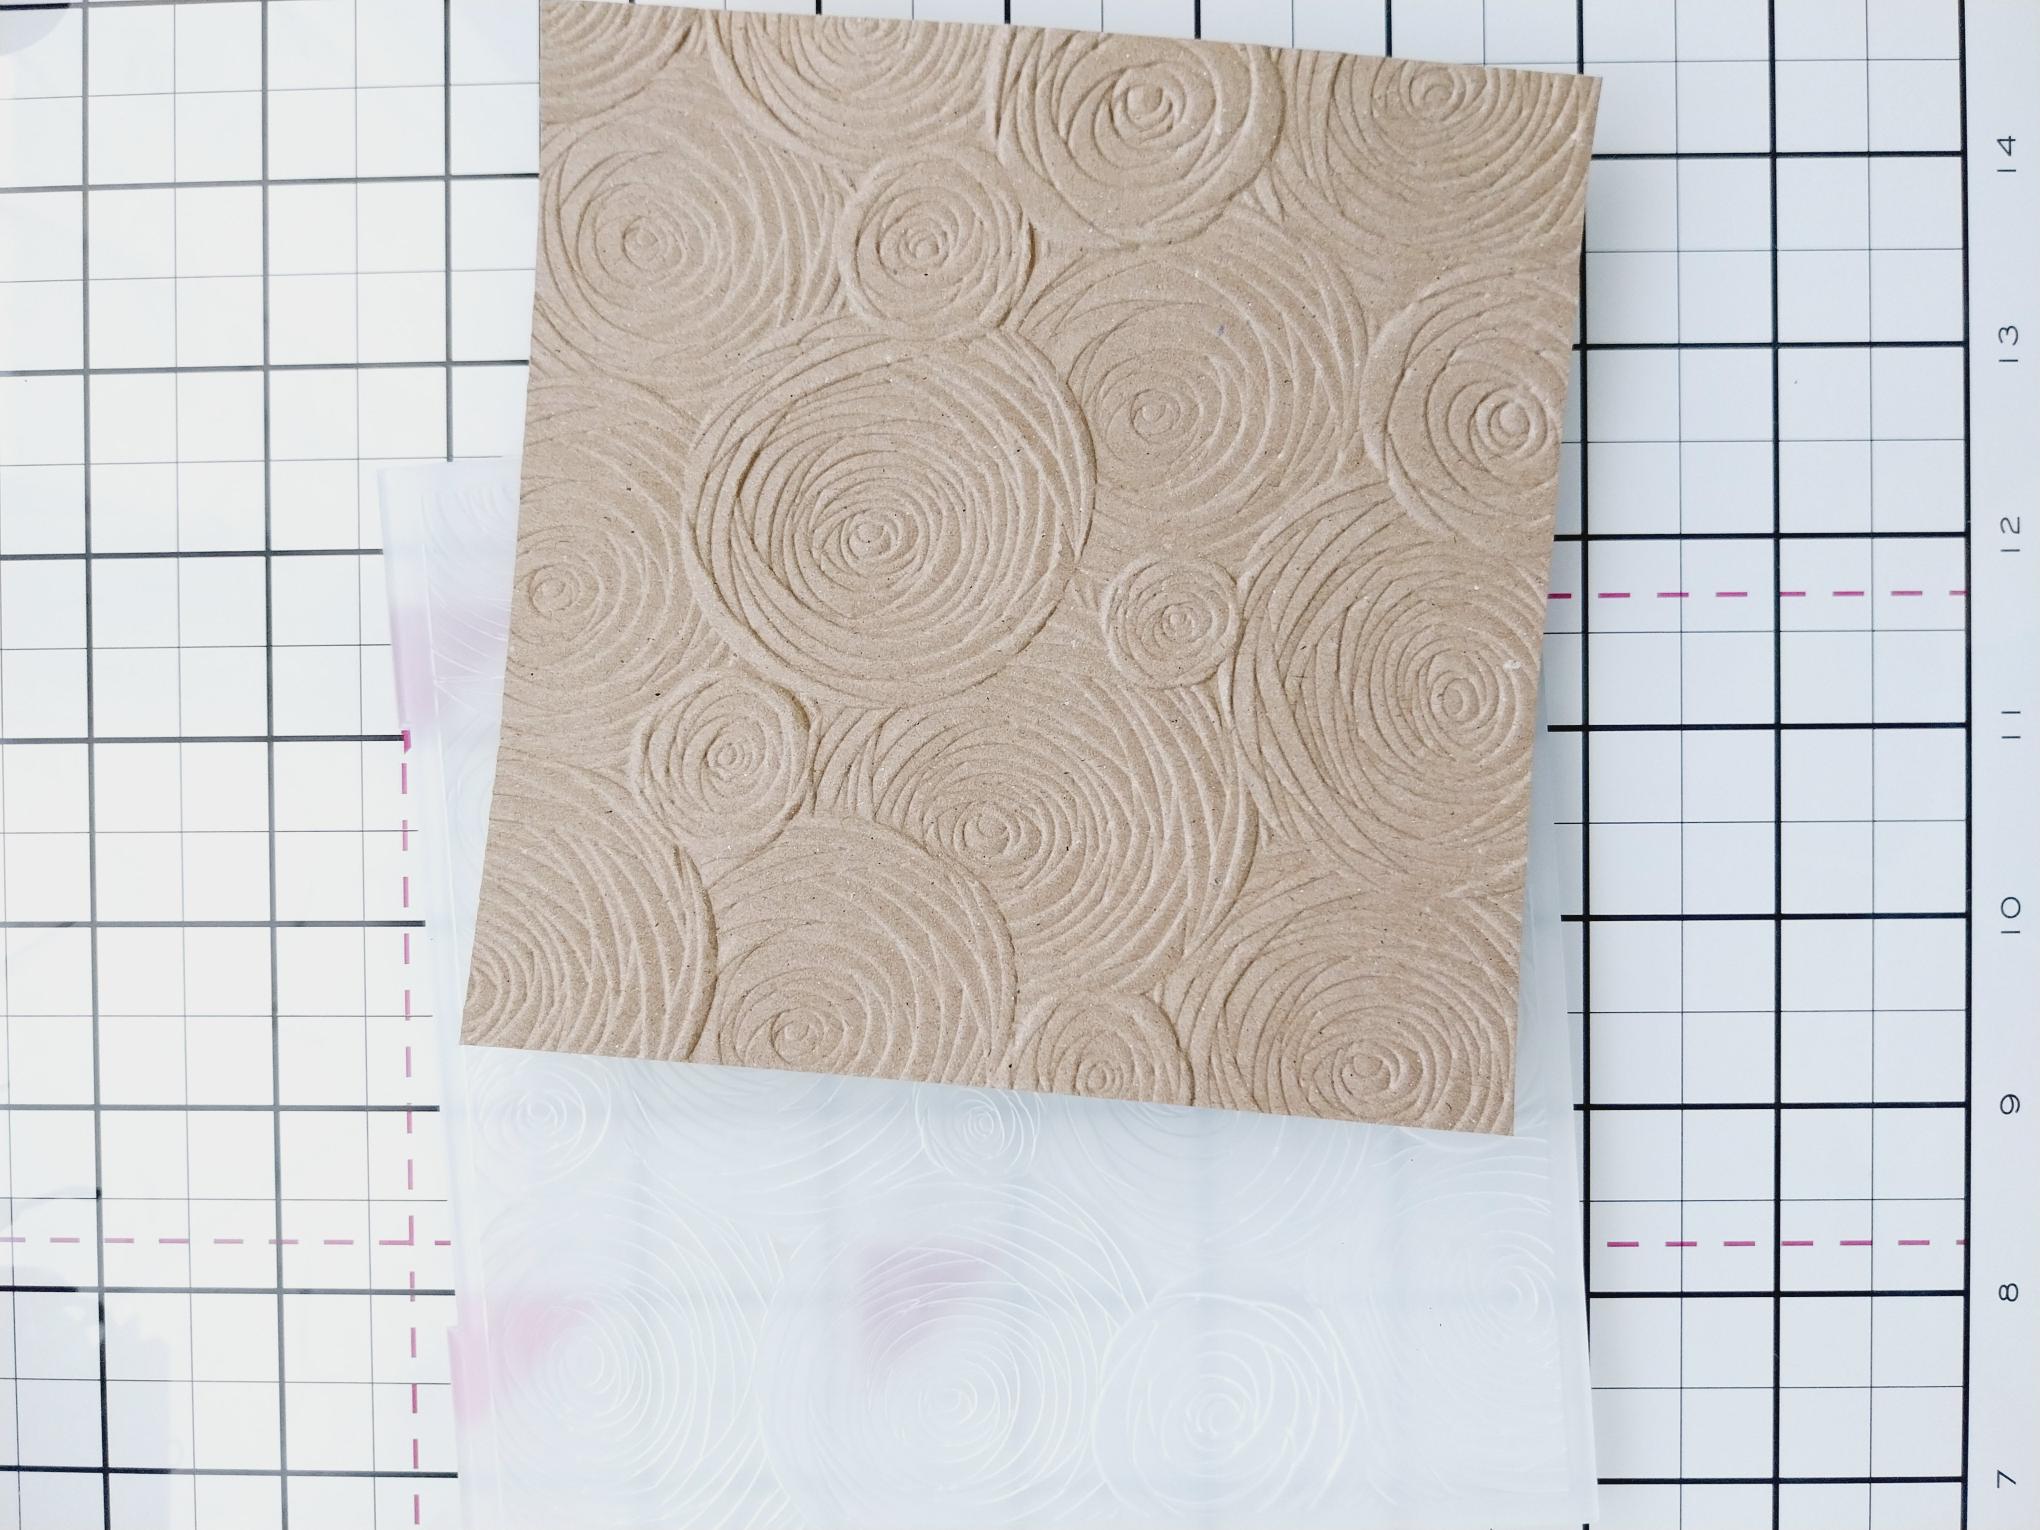
Cut a piece of kraft card to 5 1/4" square, place inside the Lollipops embossing folder and run it through your machine. |
|
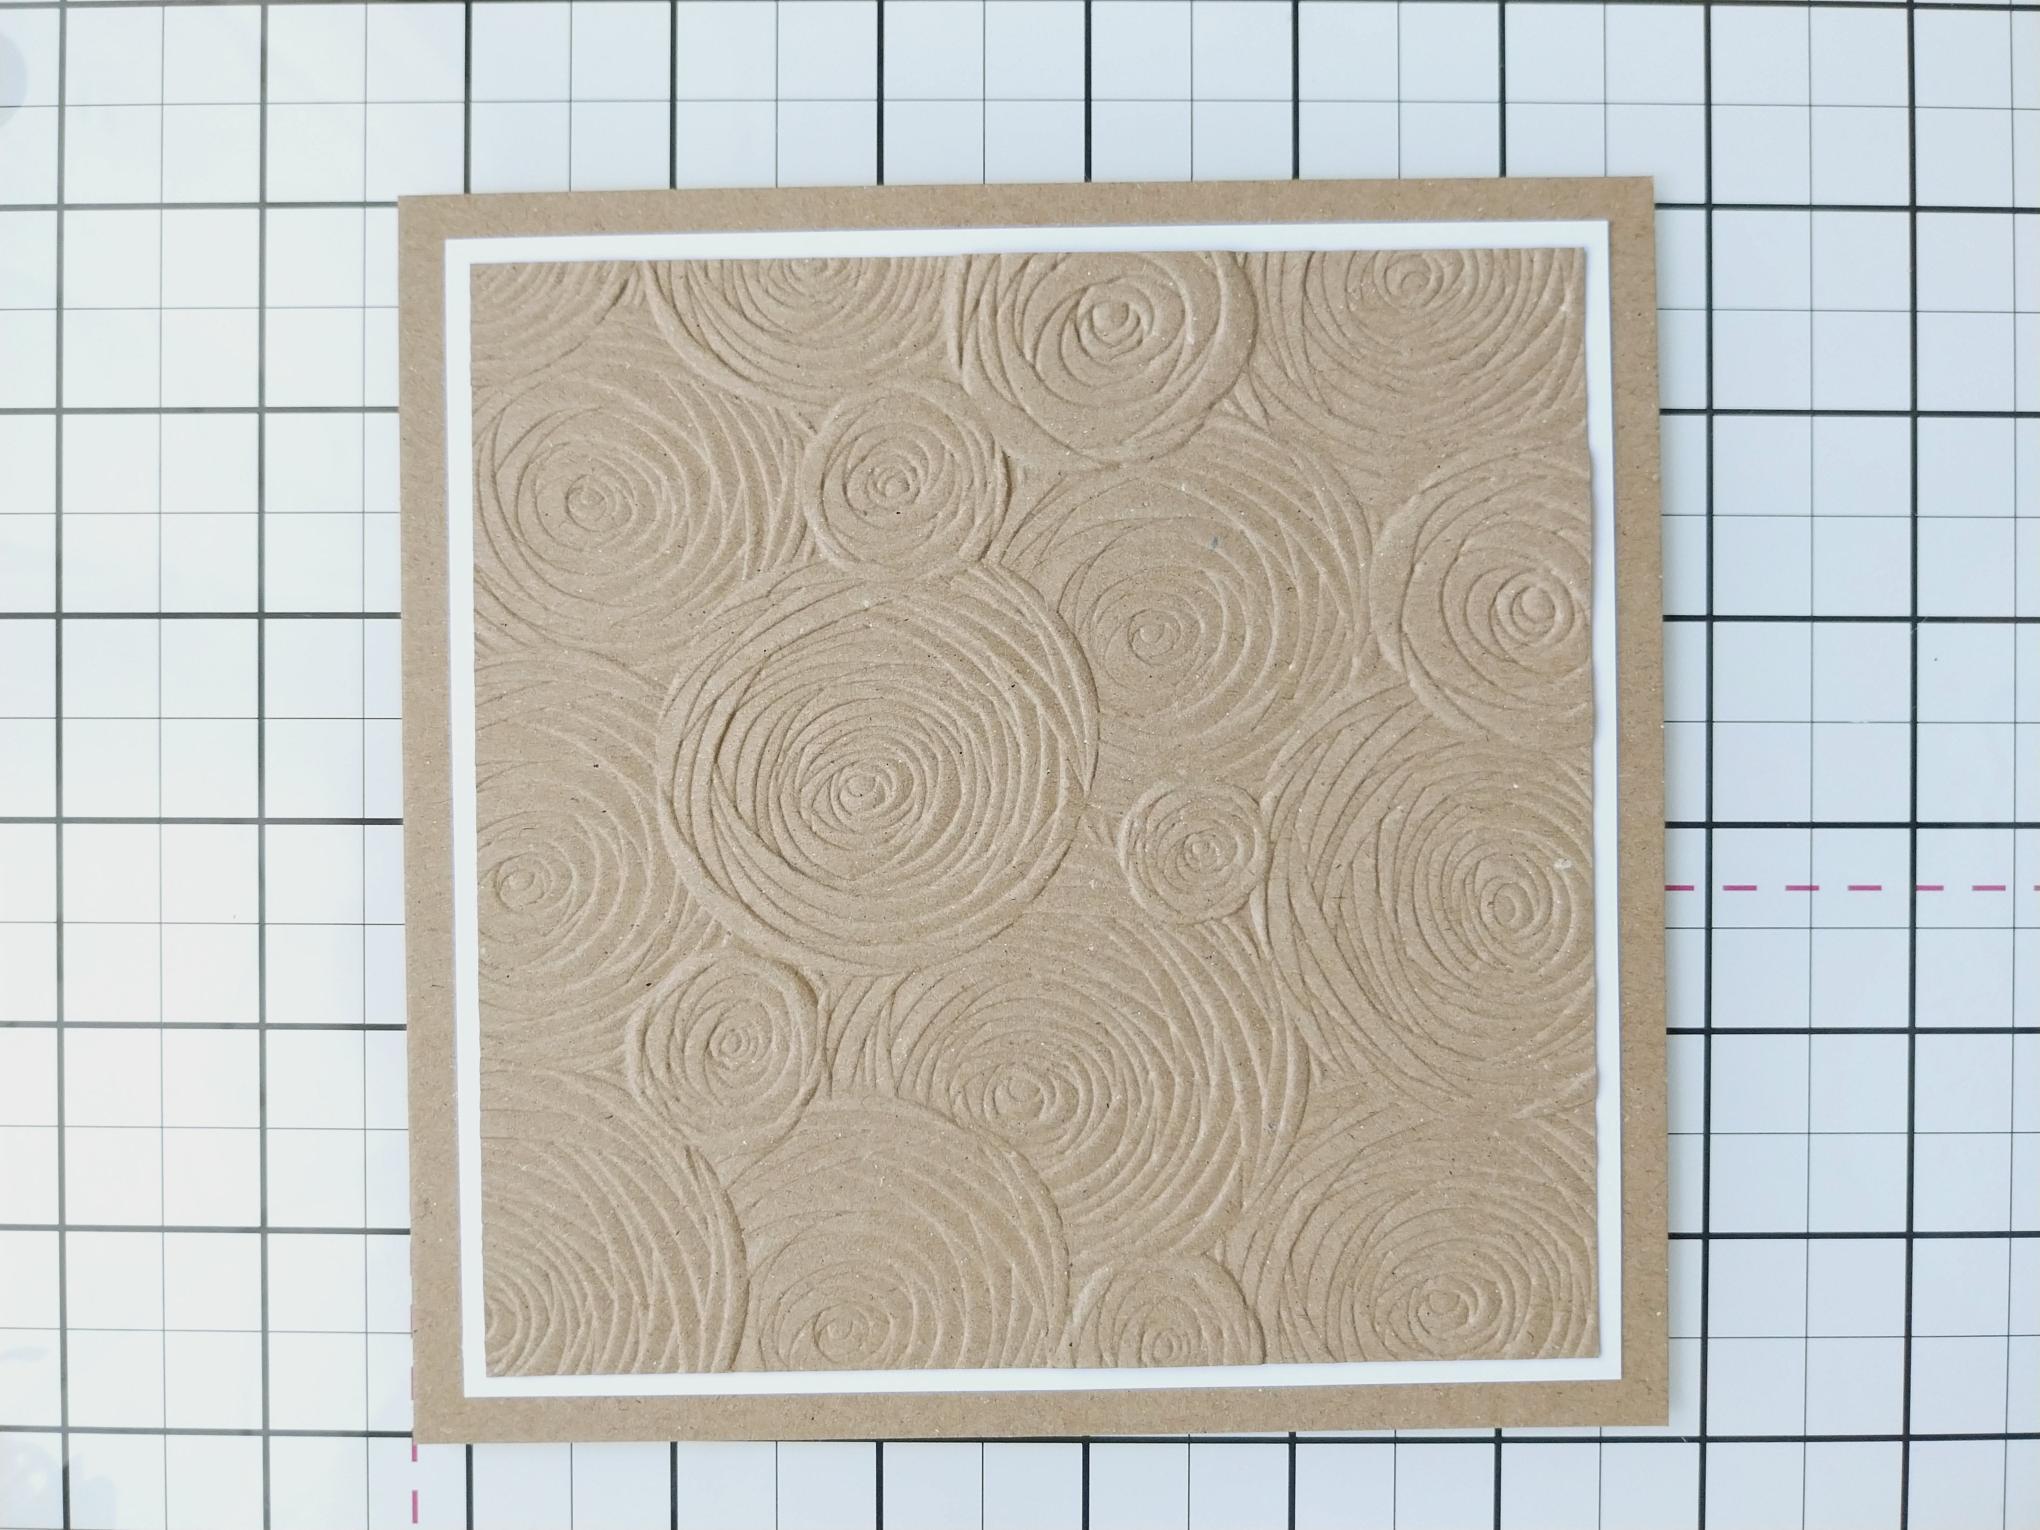
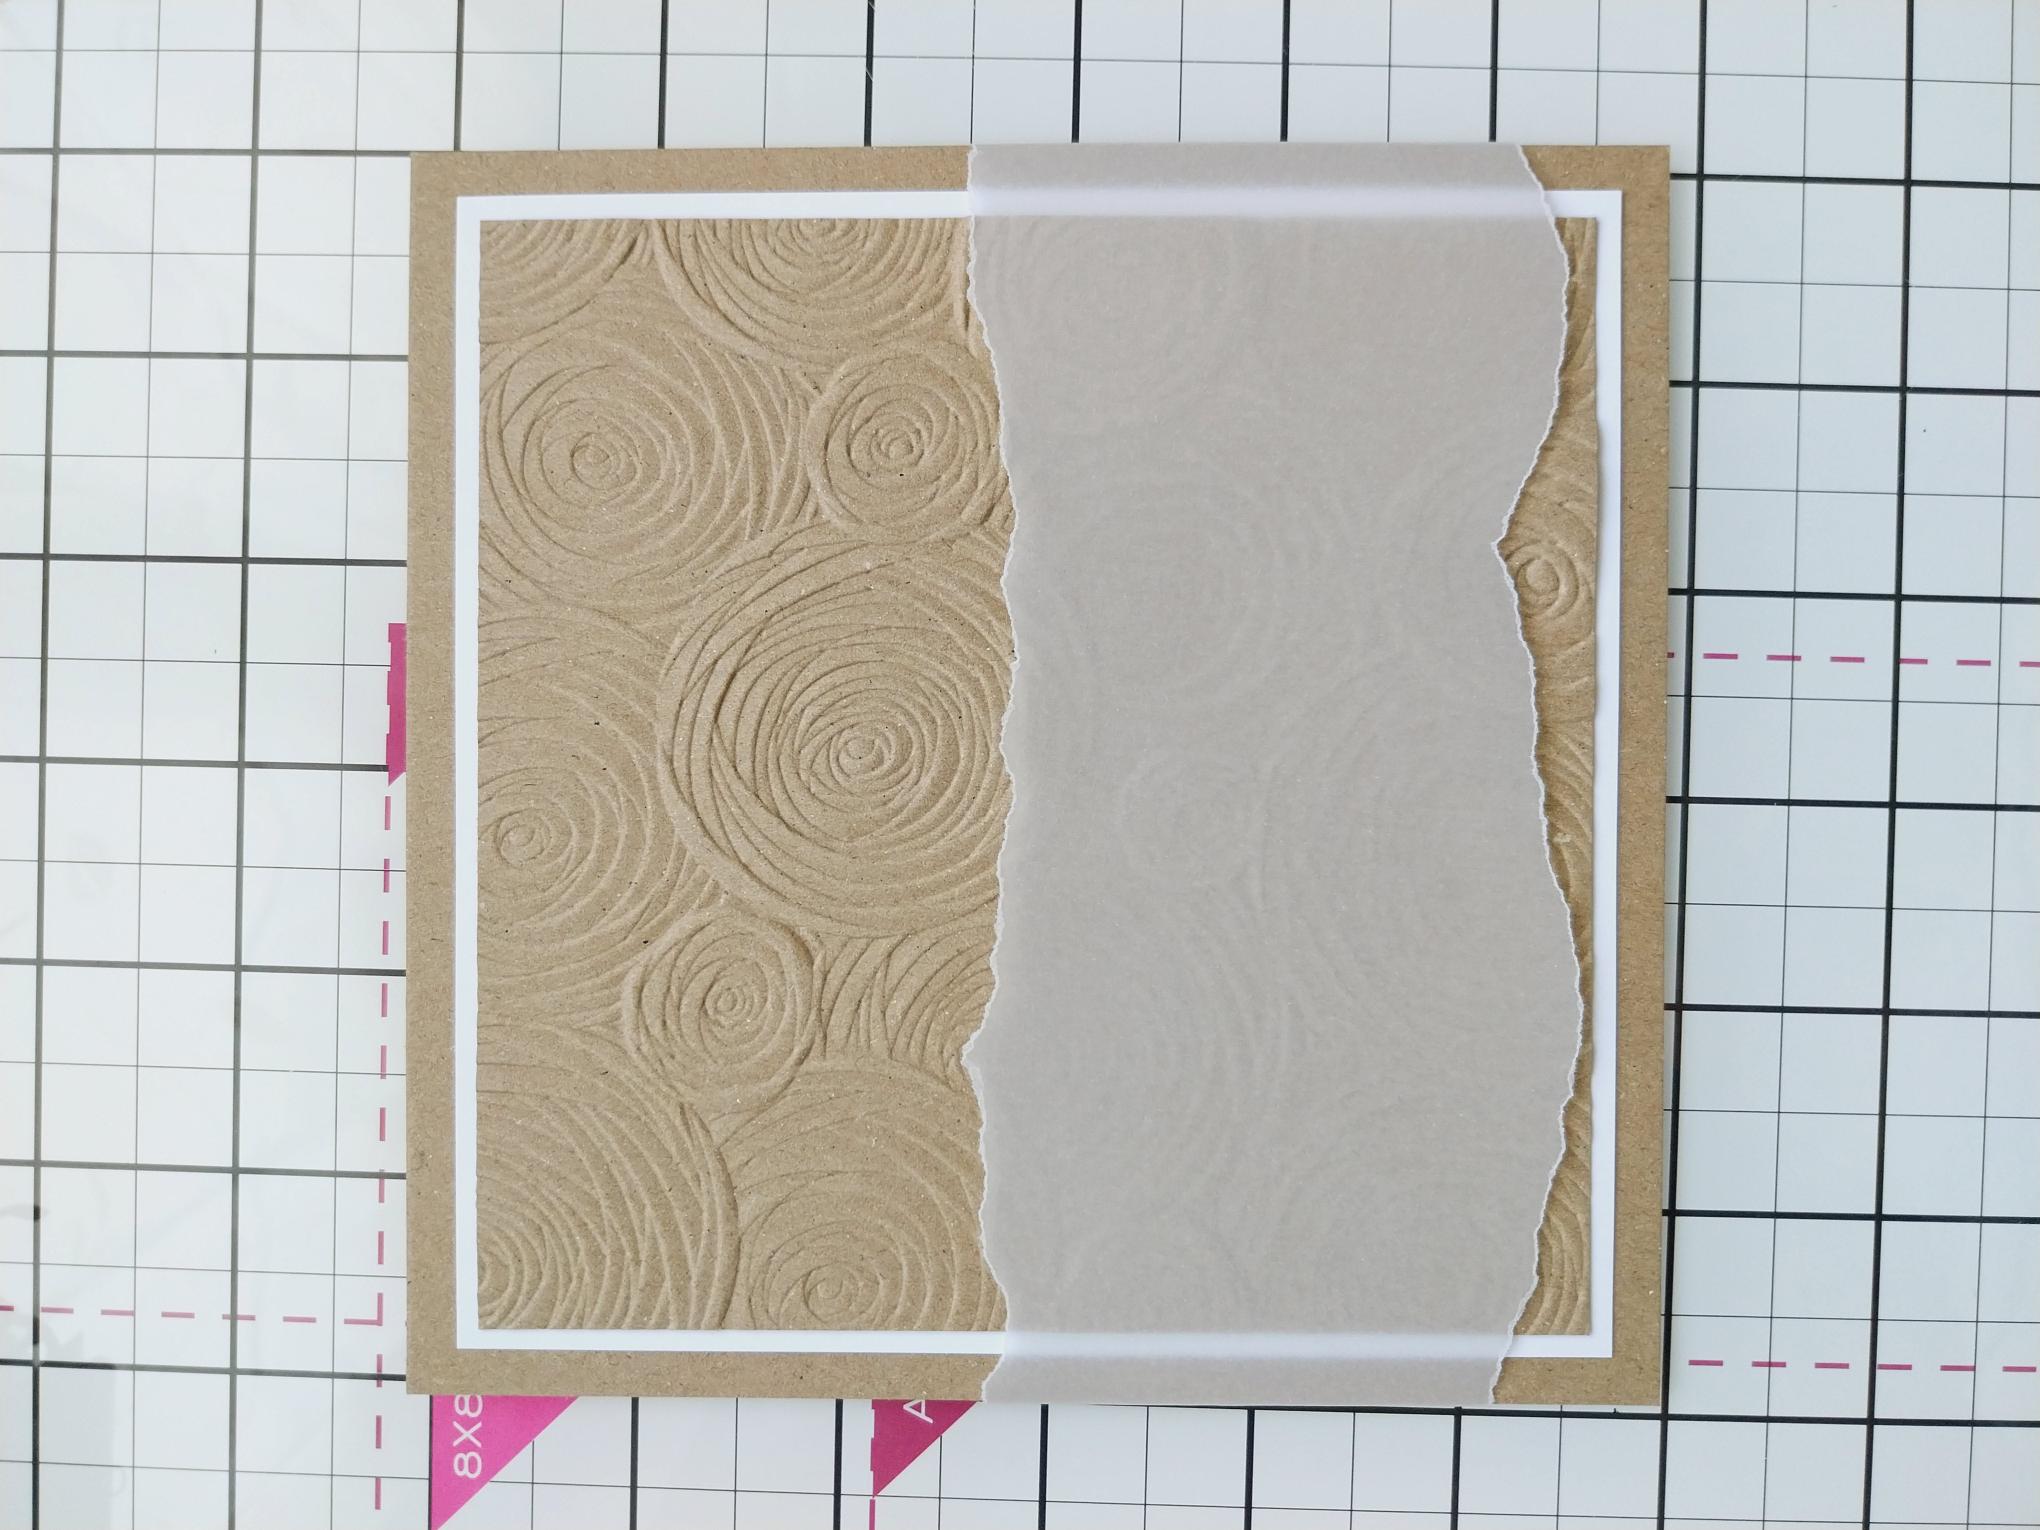
Mat on to white card trimmed to 5 1/2" square and then on to kraft card cut to 6" square. |
|
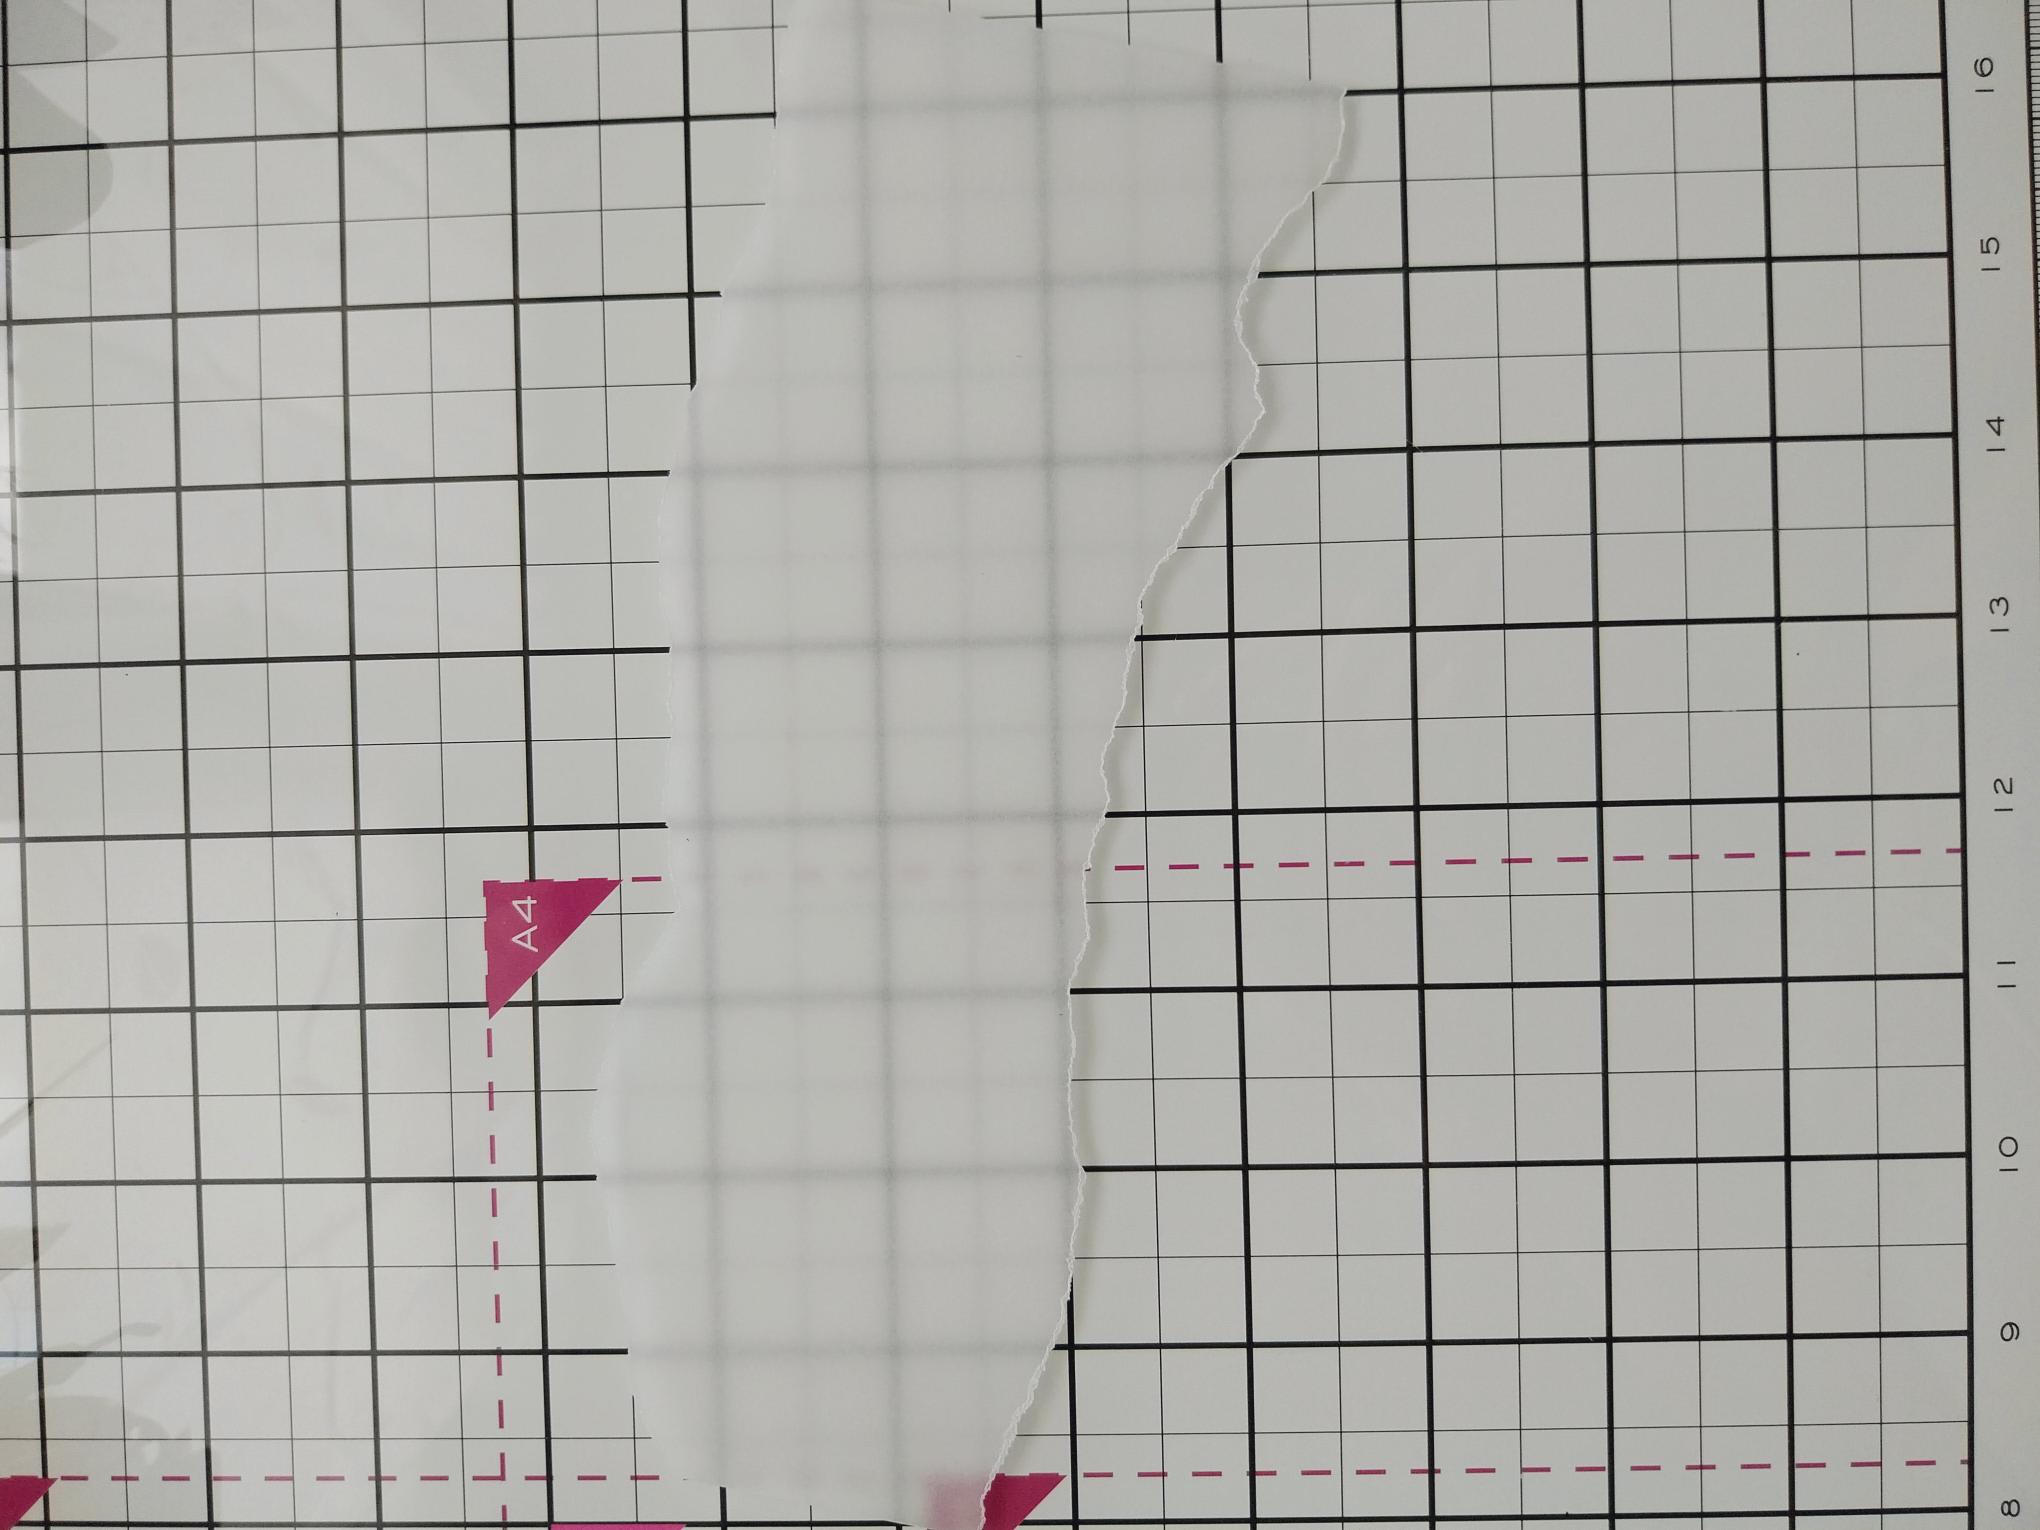
Tear a strip of vellum approx 7 x 3". |
|
Place across the bottom half of the card, fold over the edges and secure on the reverse with double-sided tape. |
|
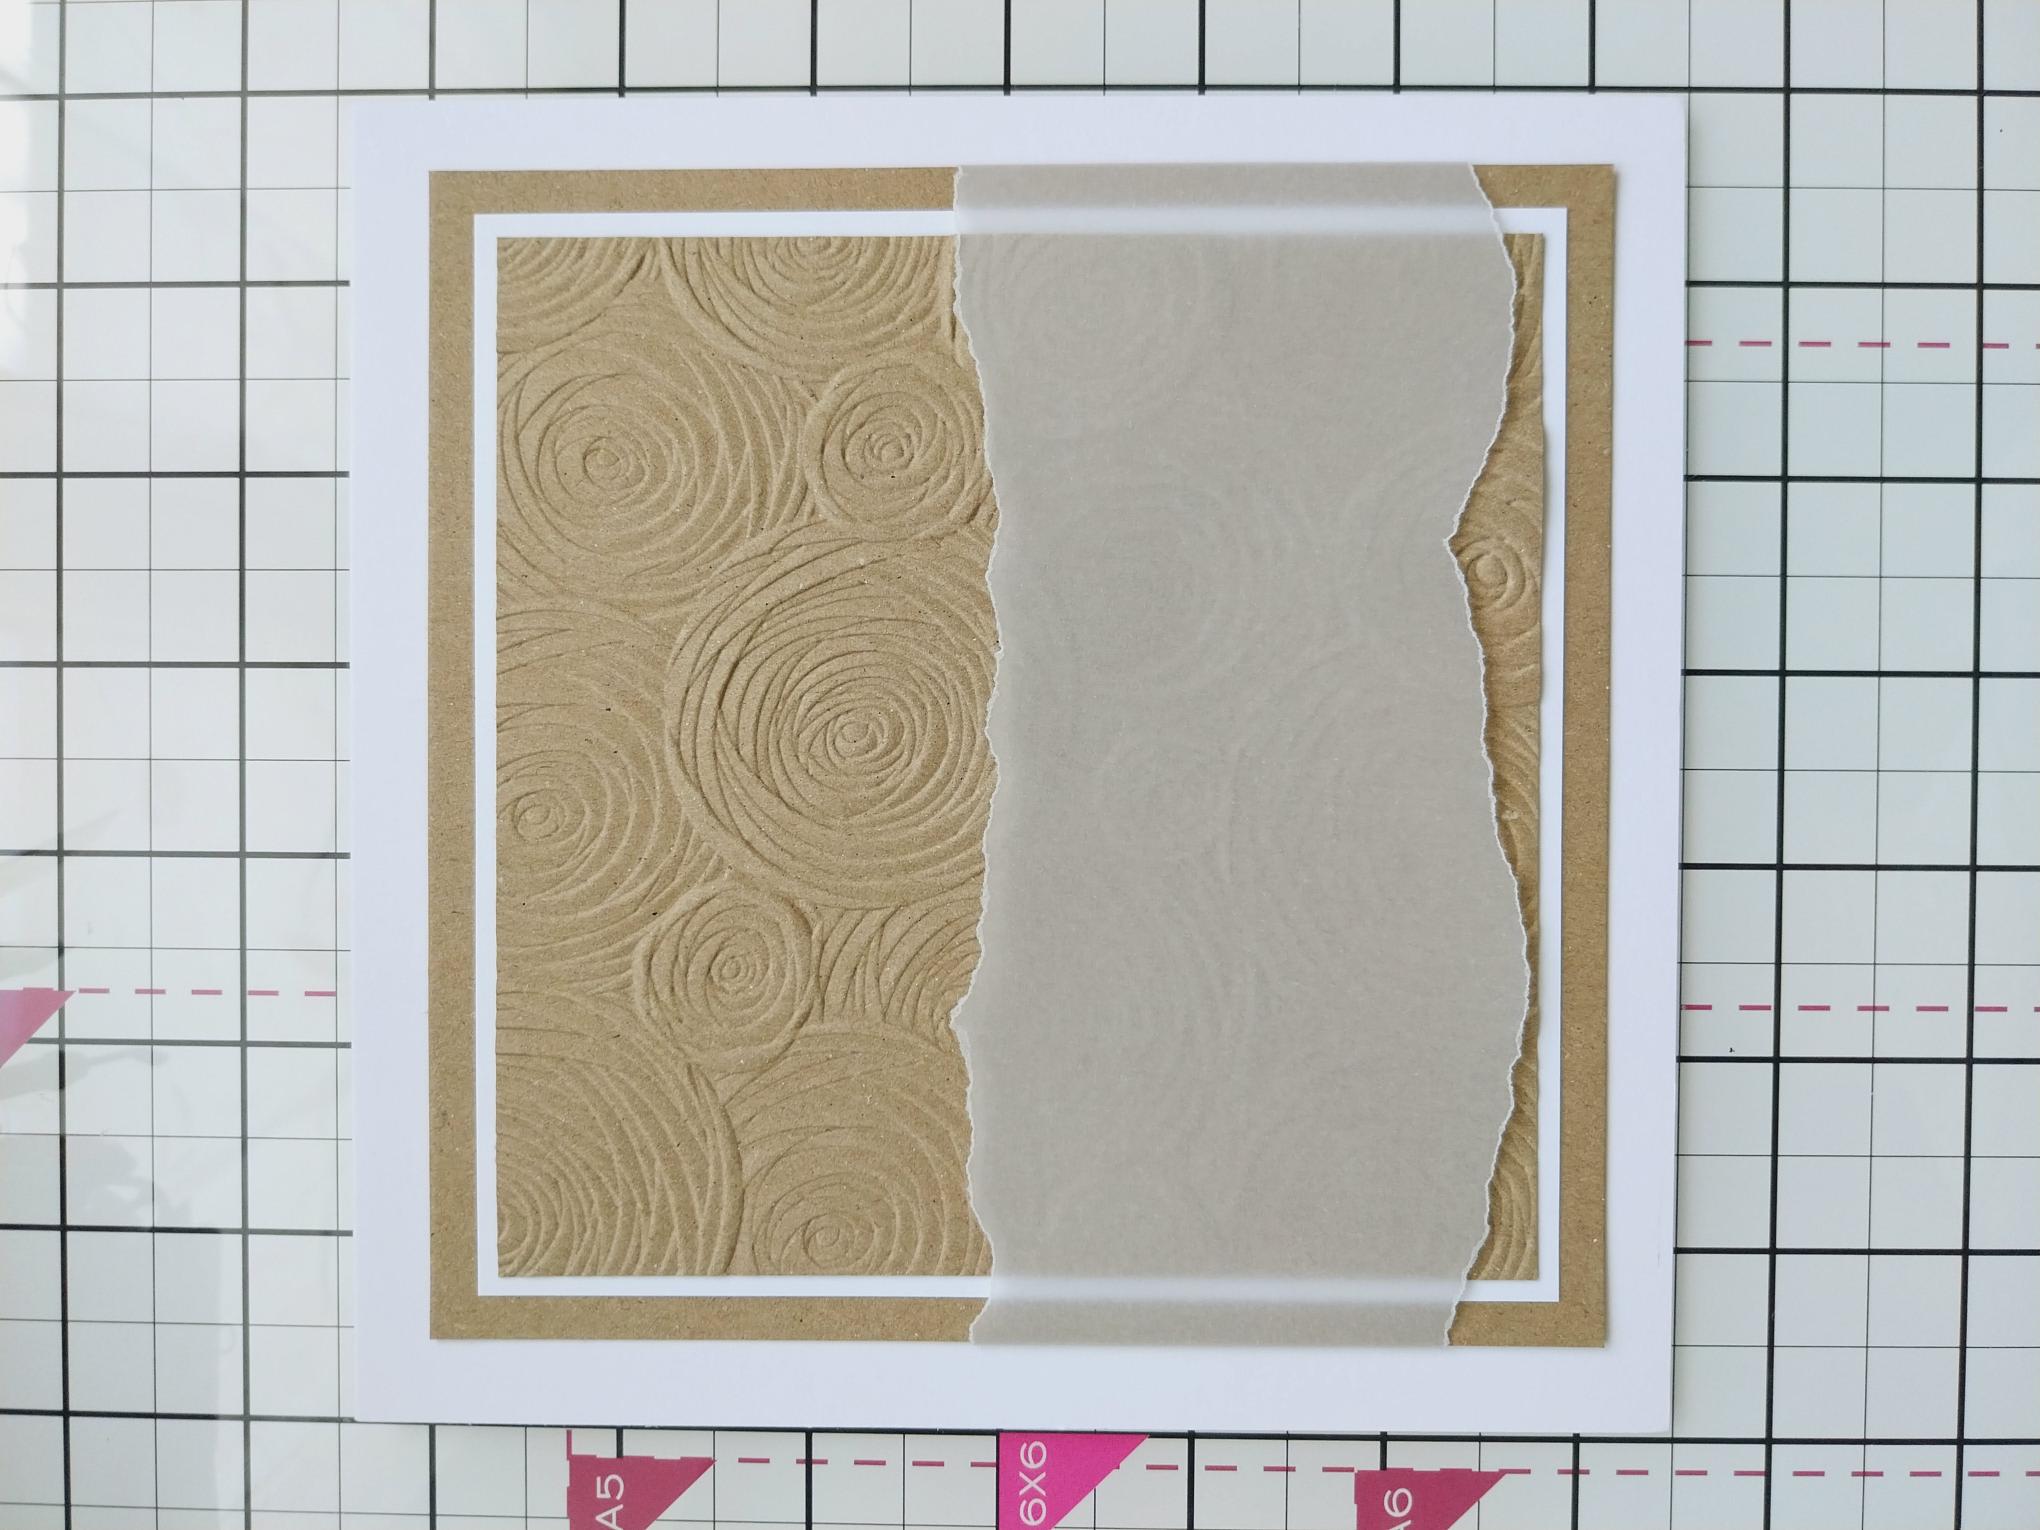
Adhere to your 7" square, white card blank. |
|
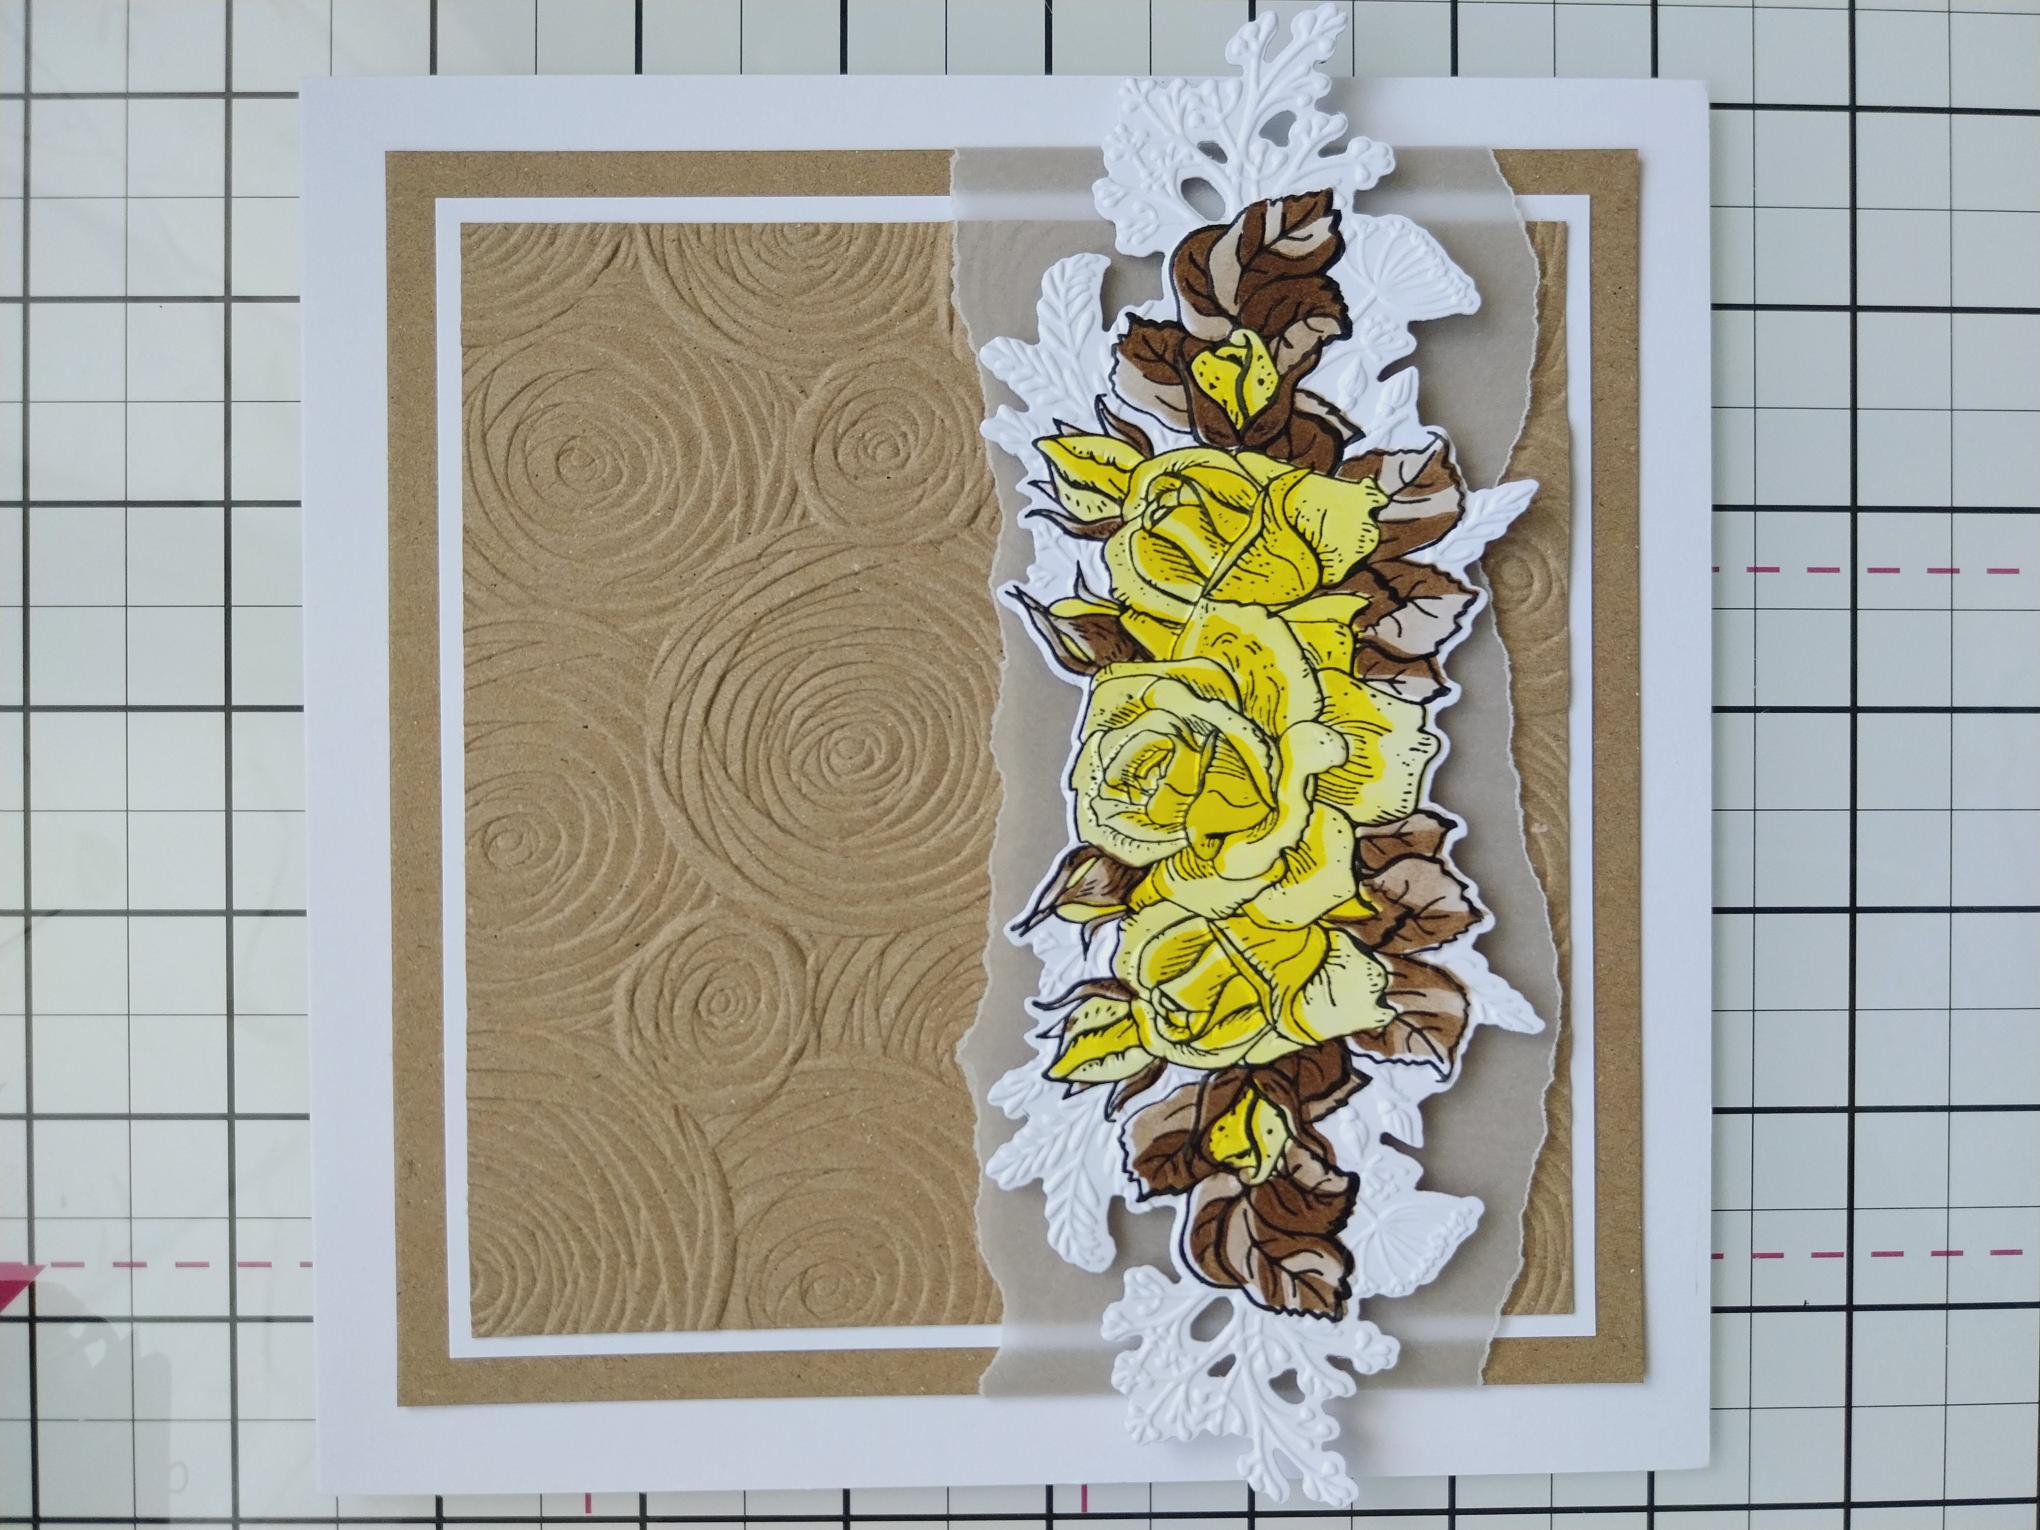
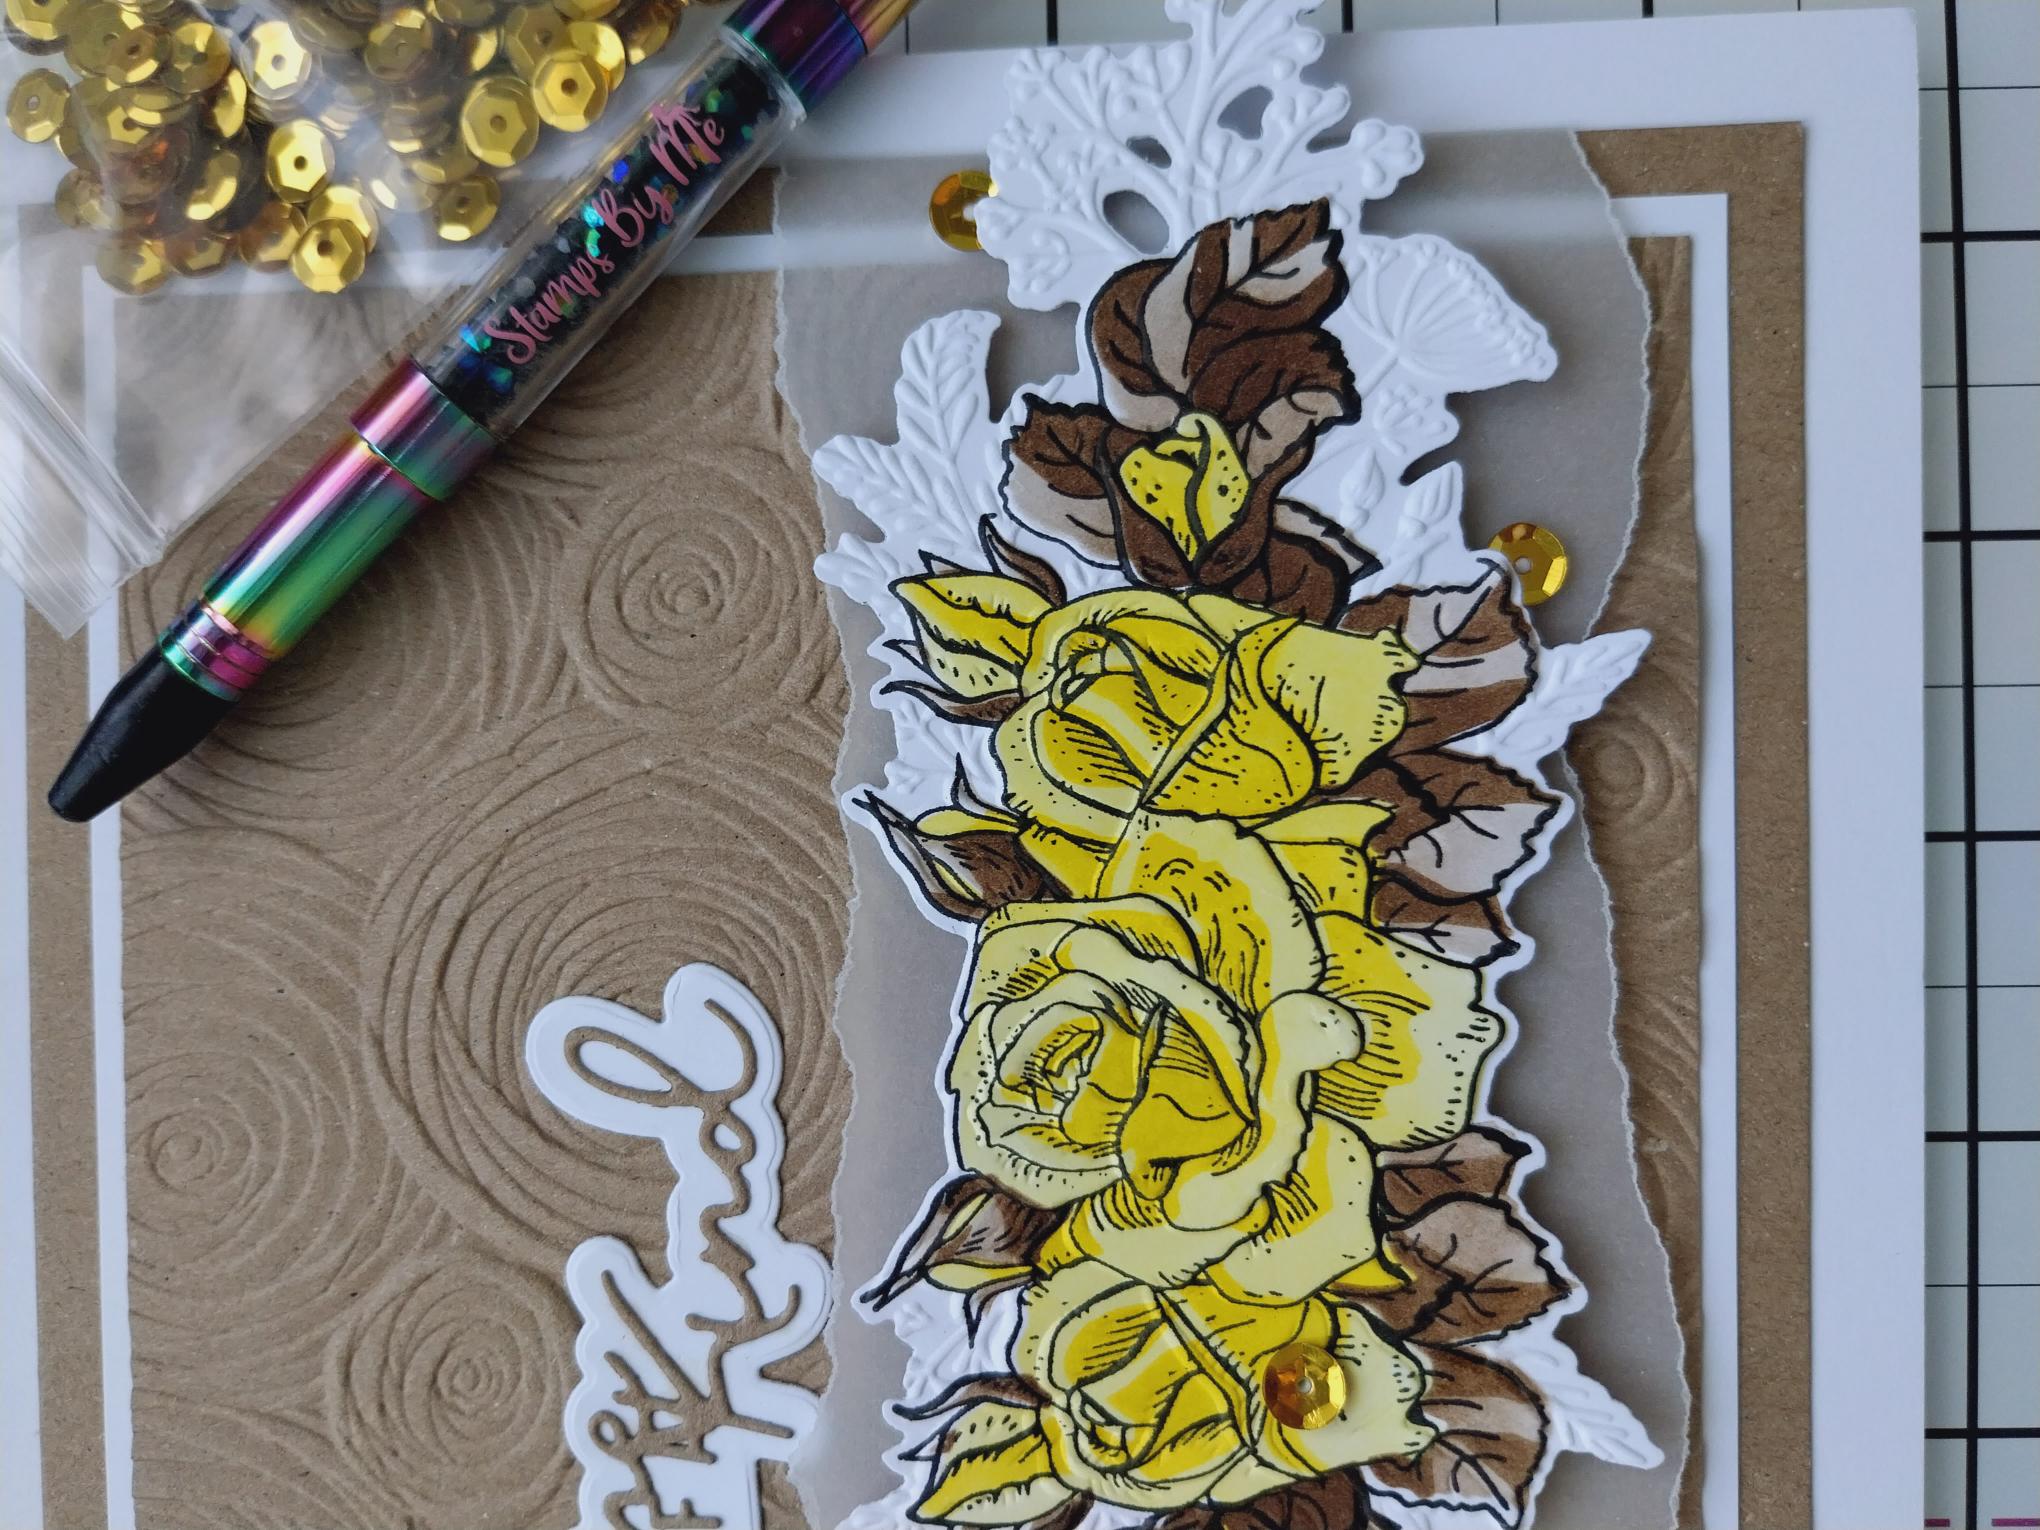
Adhere your beautiful 3D floral element, with foam pads, along the vellum panel. |
|
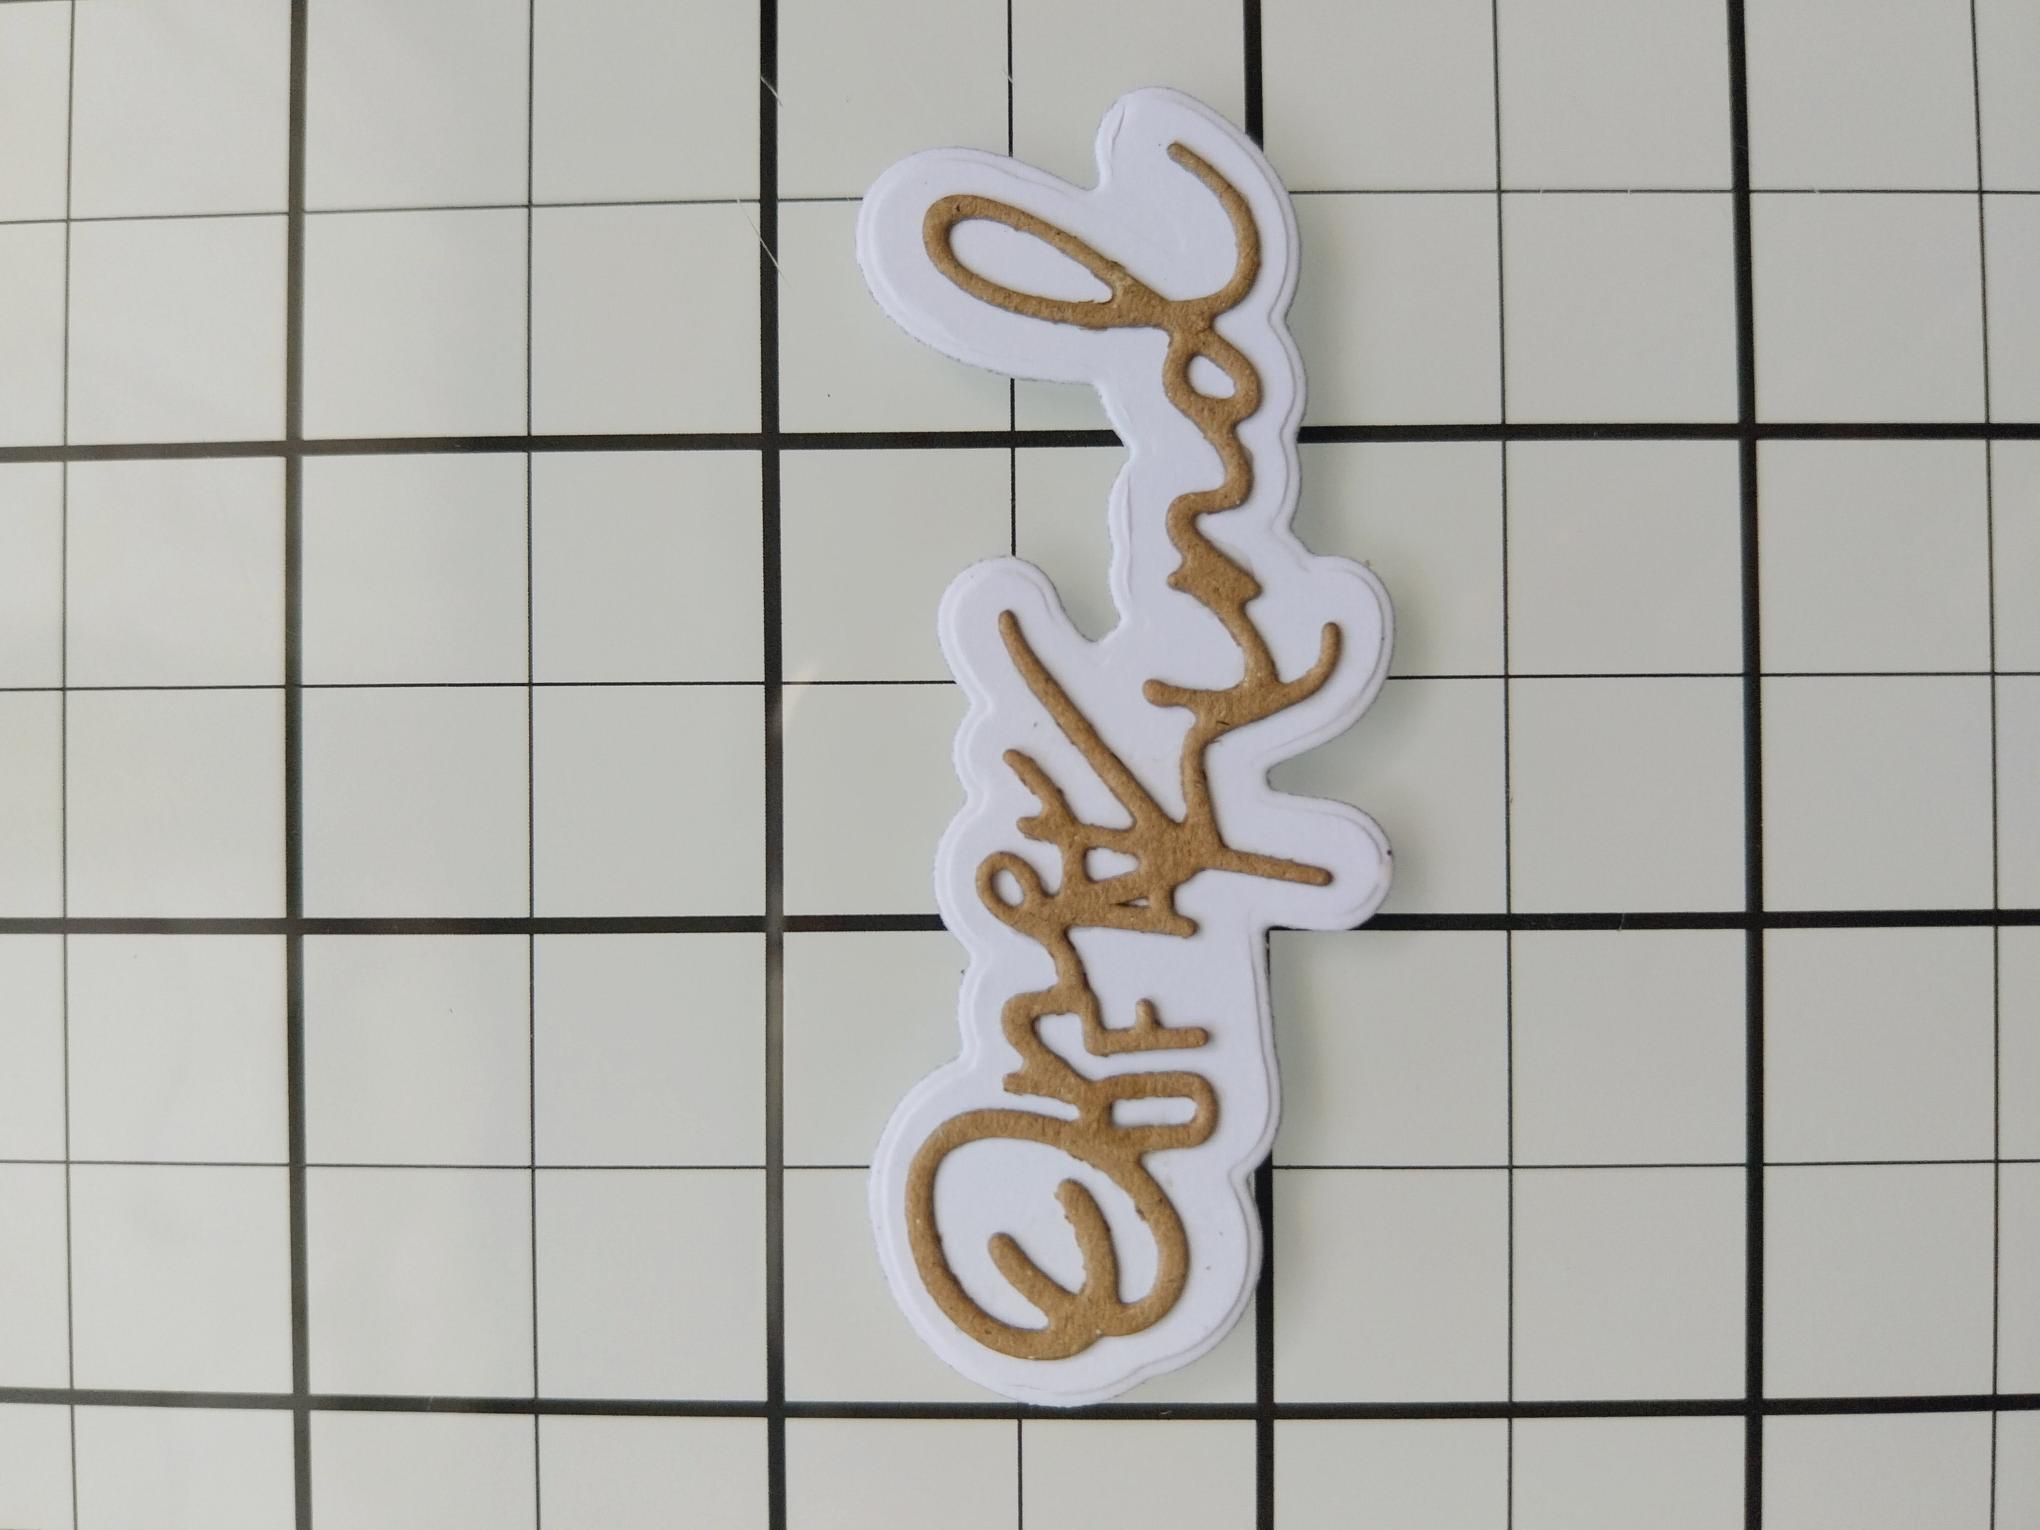
Place the detailed "One OF A Kind" die on to a piece of kraft card and the outline die on to white card and run them through your die cutting machine. Adhere the detailed sentiment on top of the white "mat". |
|
Adhere to your card where required, before adding a few sequins on, around and tucked just under your 3D floral element. |