Offrez à vos amis 10 € de réduction sur leur première commande !
Parrainez un AMI









CE DONT VOUS AUREZ BESOIN :
Carte vierge noire 8 1/4 x 5 3/4"
Papier cartonné blanc
Papier calque (vellum)
Set de tampons A5 Imala Time To Grow
Bloc de papier Foundation Ruby Blooms 8 x 8"
Encreur hybride SBM : Midnight
Feutres à alcool Gossip
Encreur à embosser WOW
Poudre blanche WOW
Poudre à embosser blanche WOW
Sachet antistatique
Tablette aquarelle Eureka 101
Tapis en verre magnétique A3 SBM
Massicot
Colle
[cliquez sur l'image pour l'agrandir] 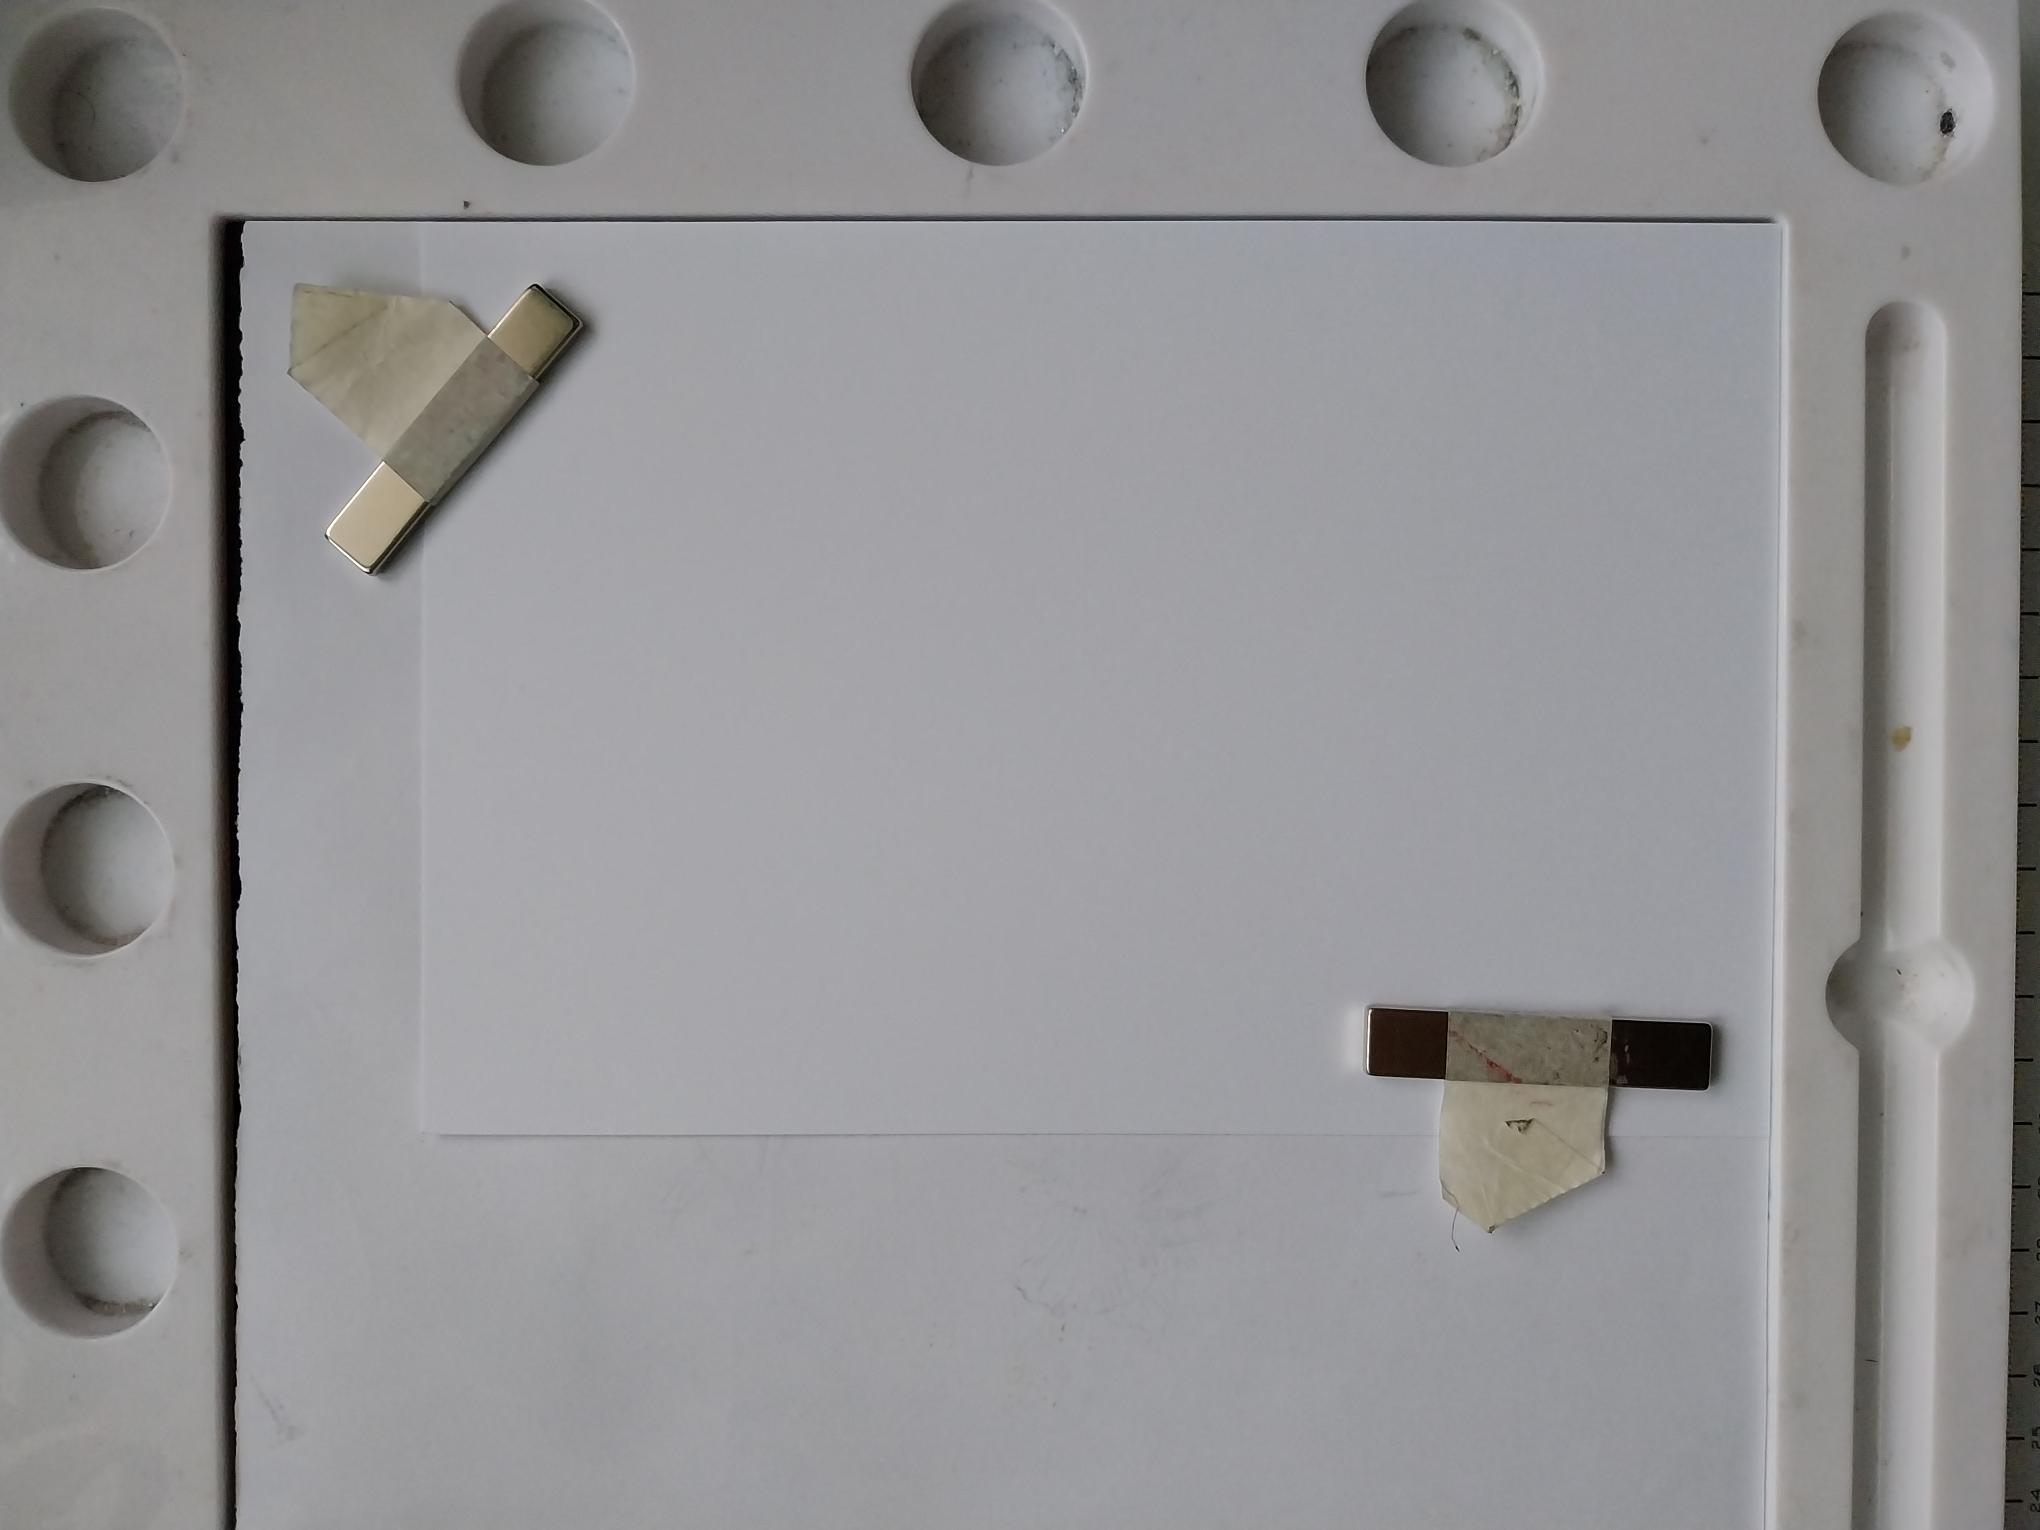
|
Trim a piece of white card to 8 x 5 1/2" and secure in your Eureka, placing a sheet of copy paper underneath the card. |
|
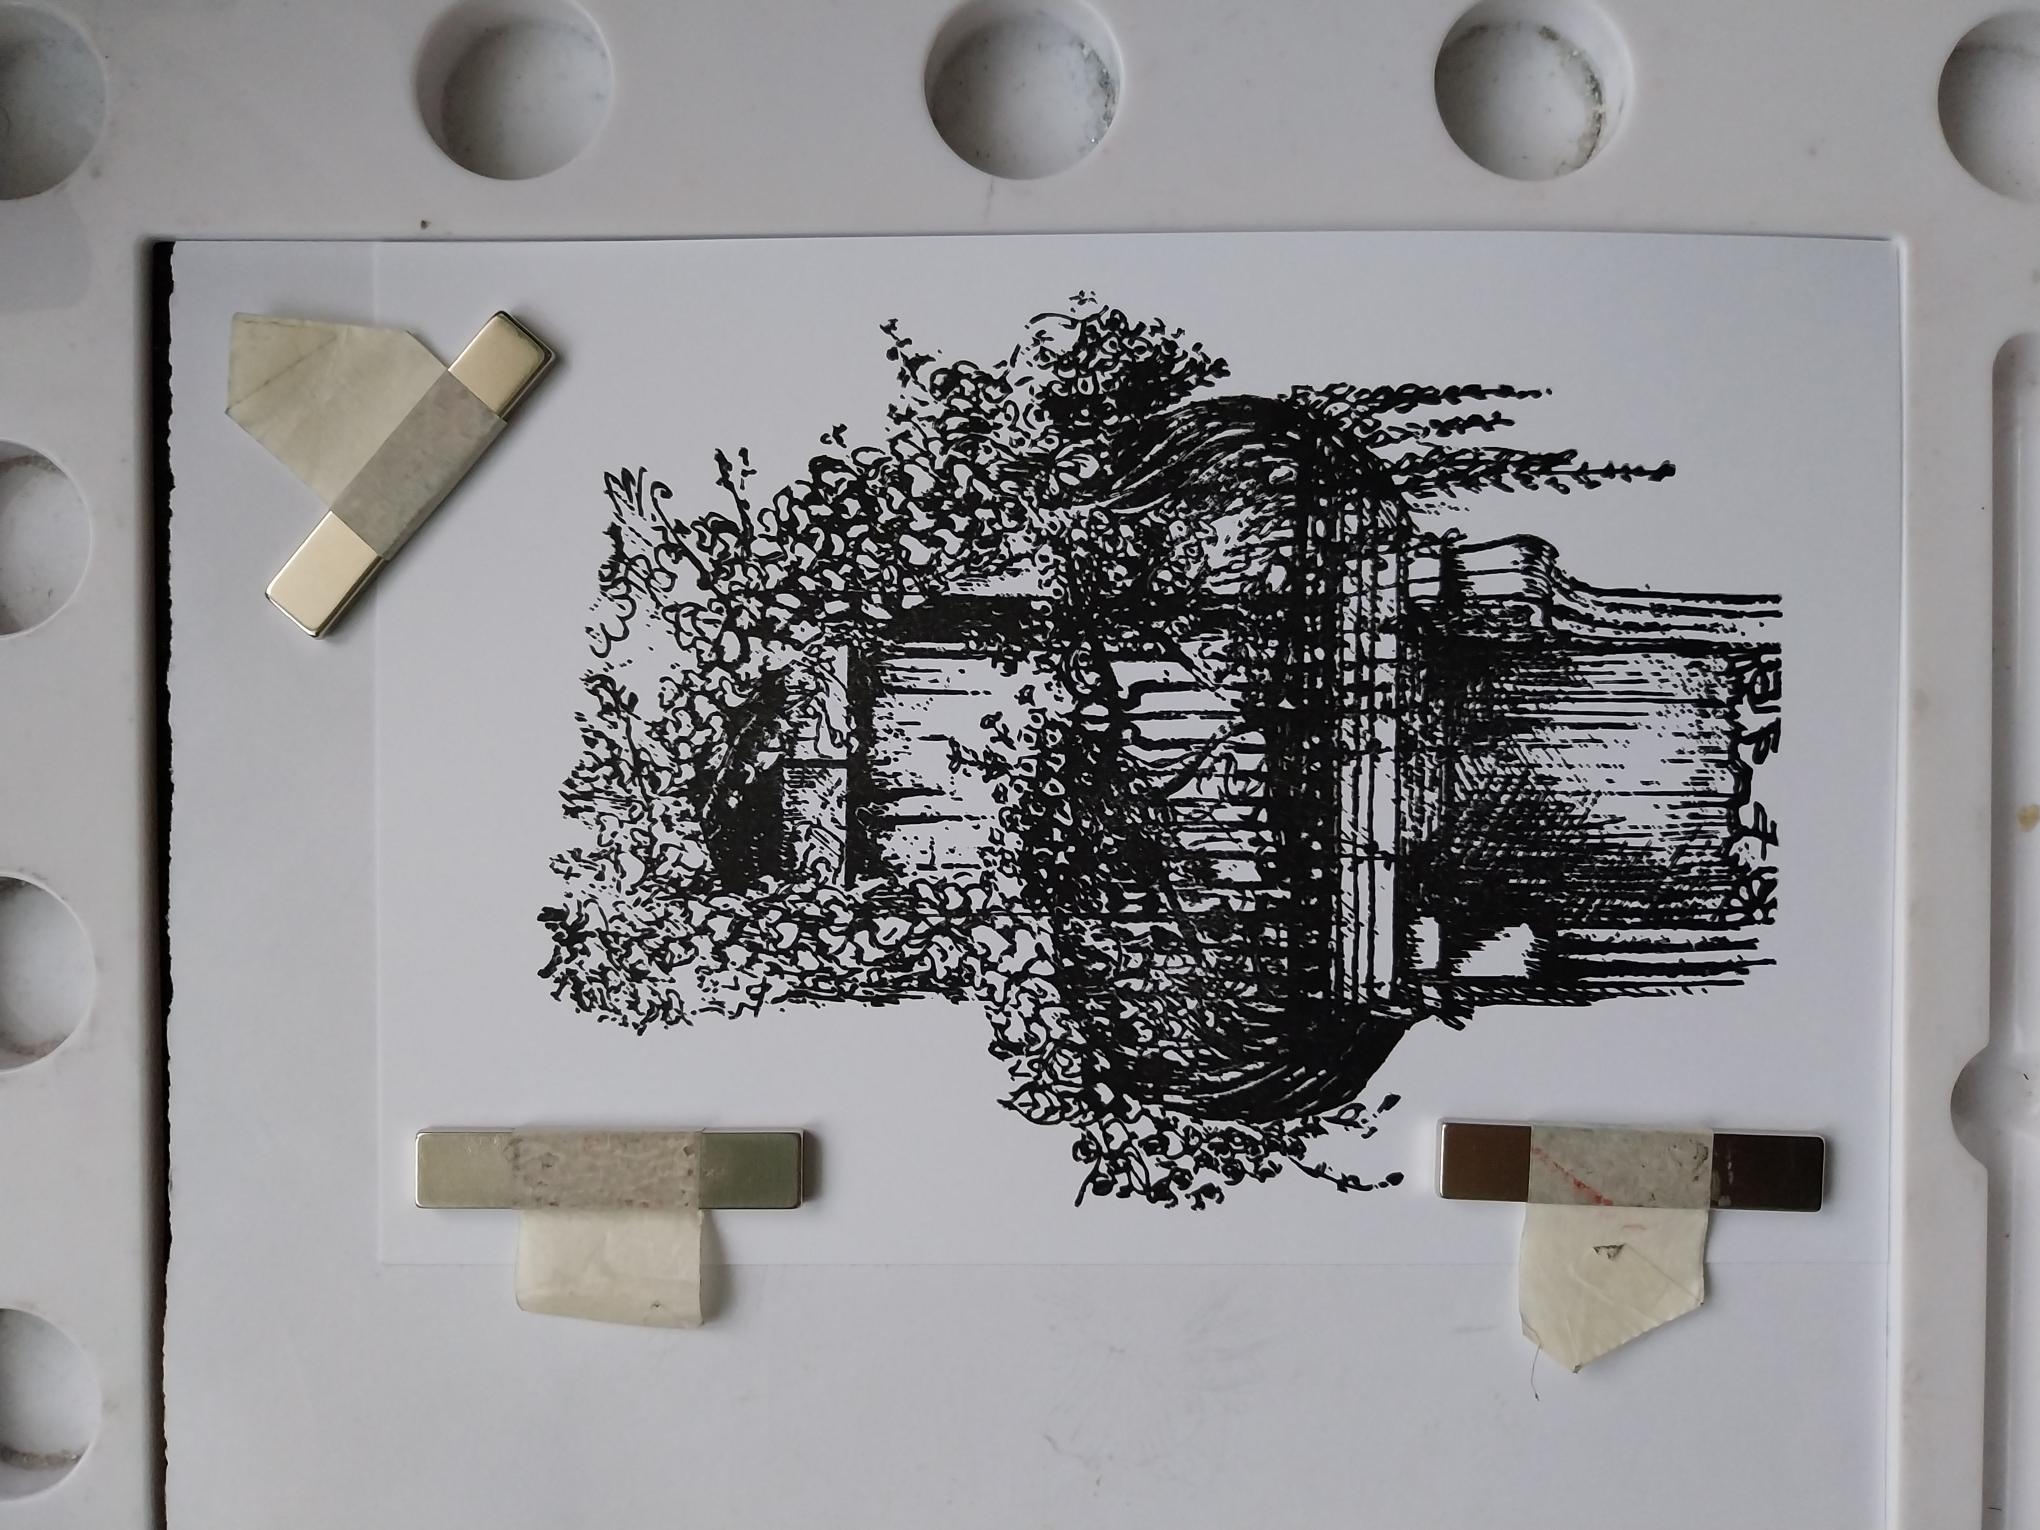
Stamp this beautiful image in Midnight, in the centre of the card. Pop to one side.
|
|
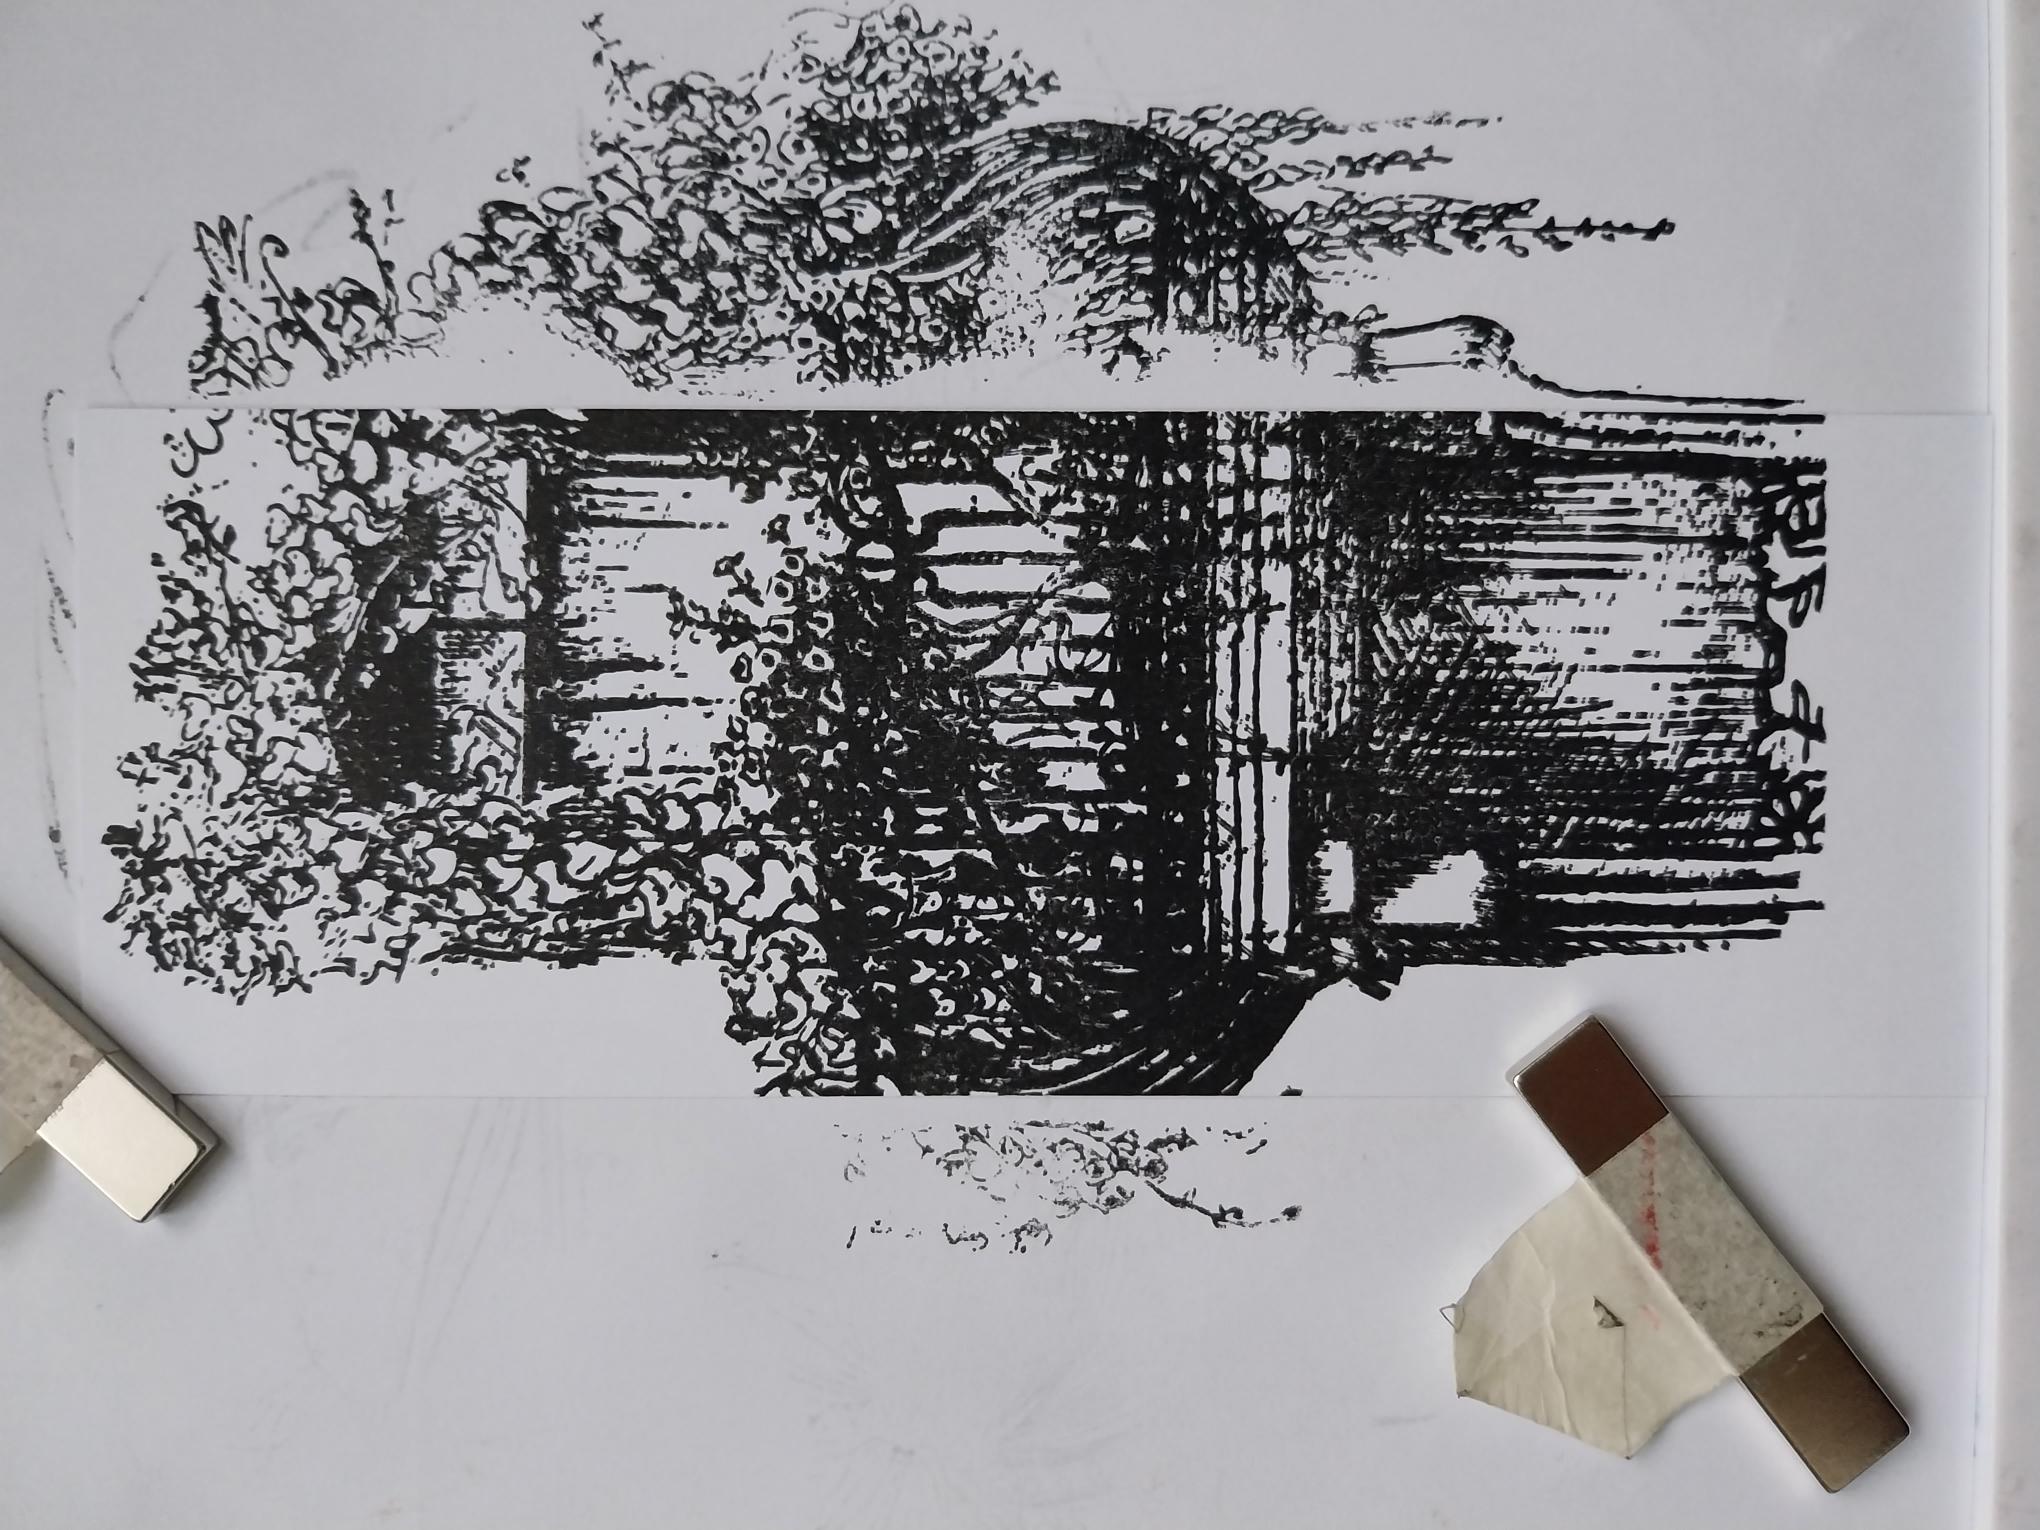
Cut another piece of white card to 7 x 2 3/4". Ink up the stamp and stamp the central area of the design, incorporating the balcony element, on to the card panel. Set aside. |
|
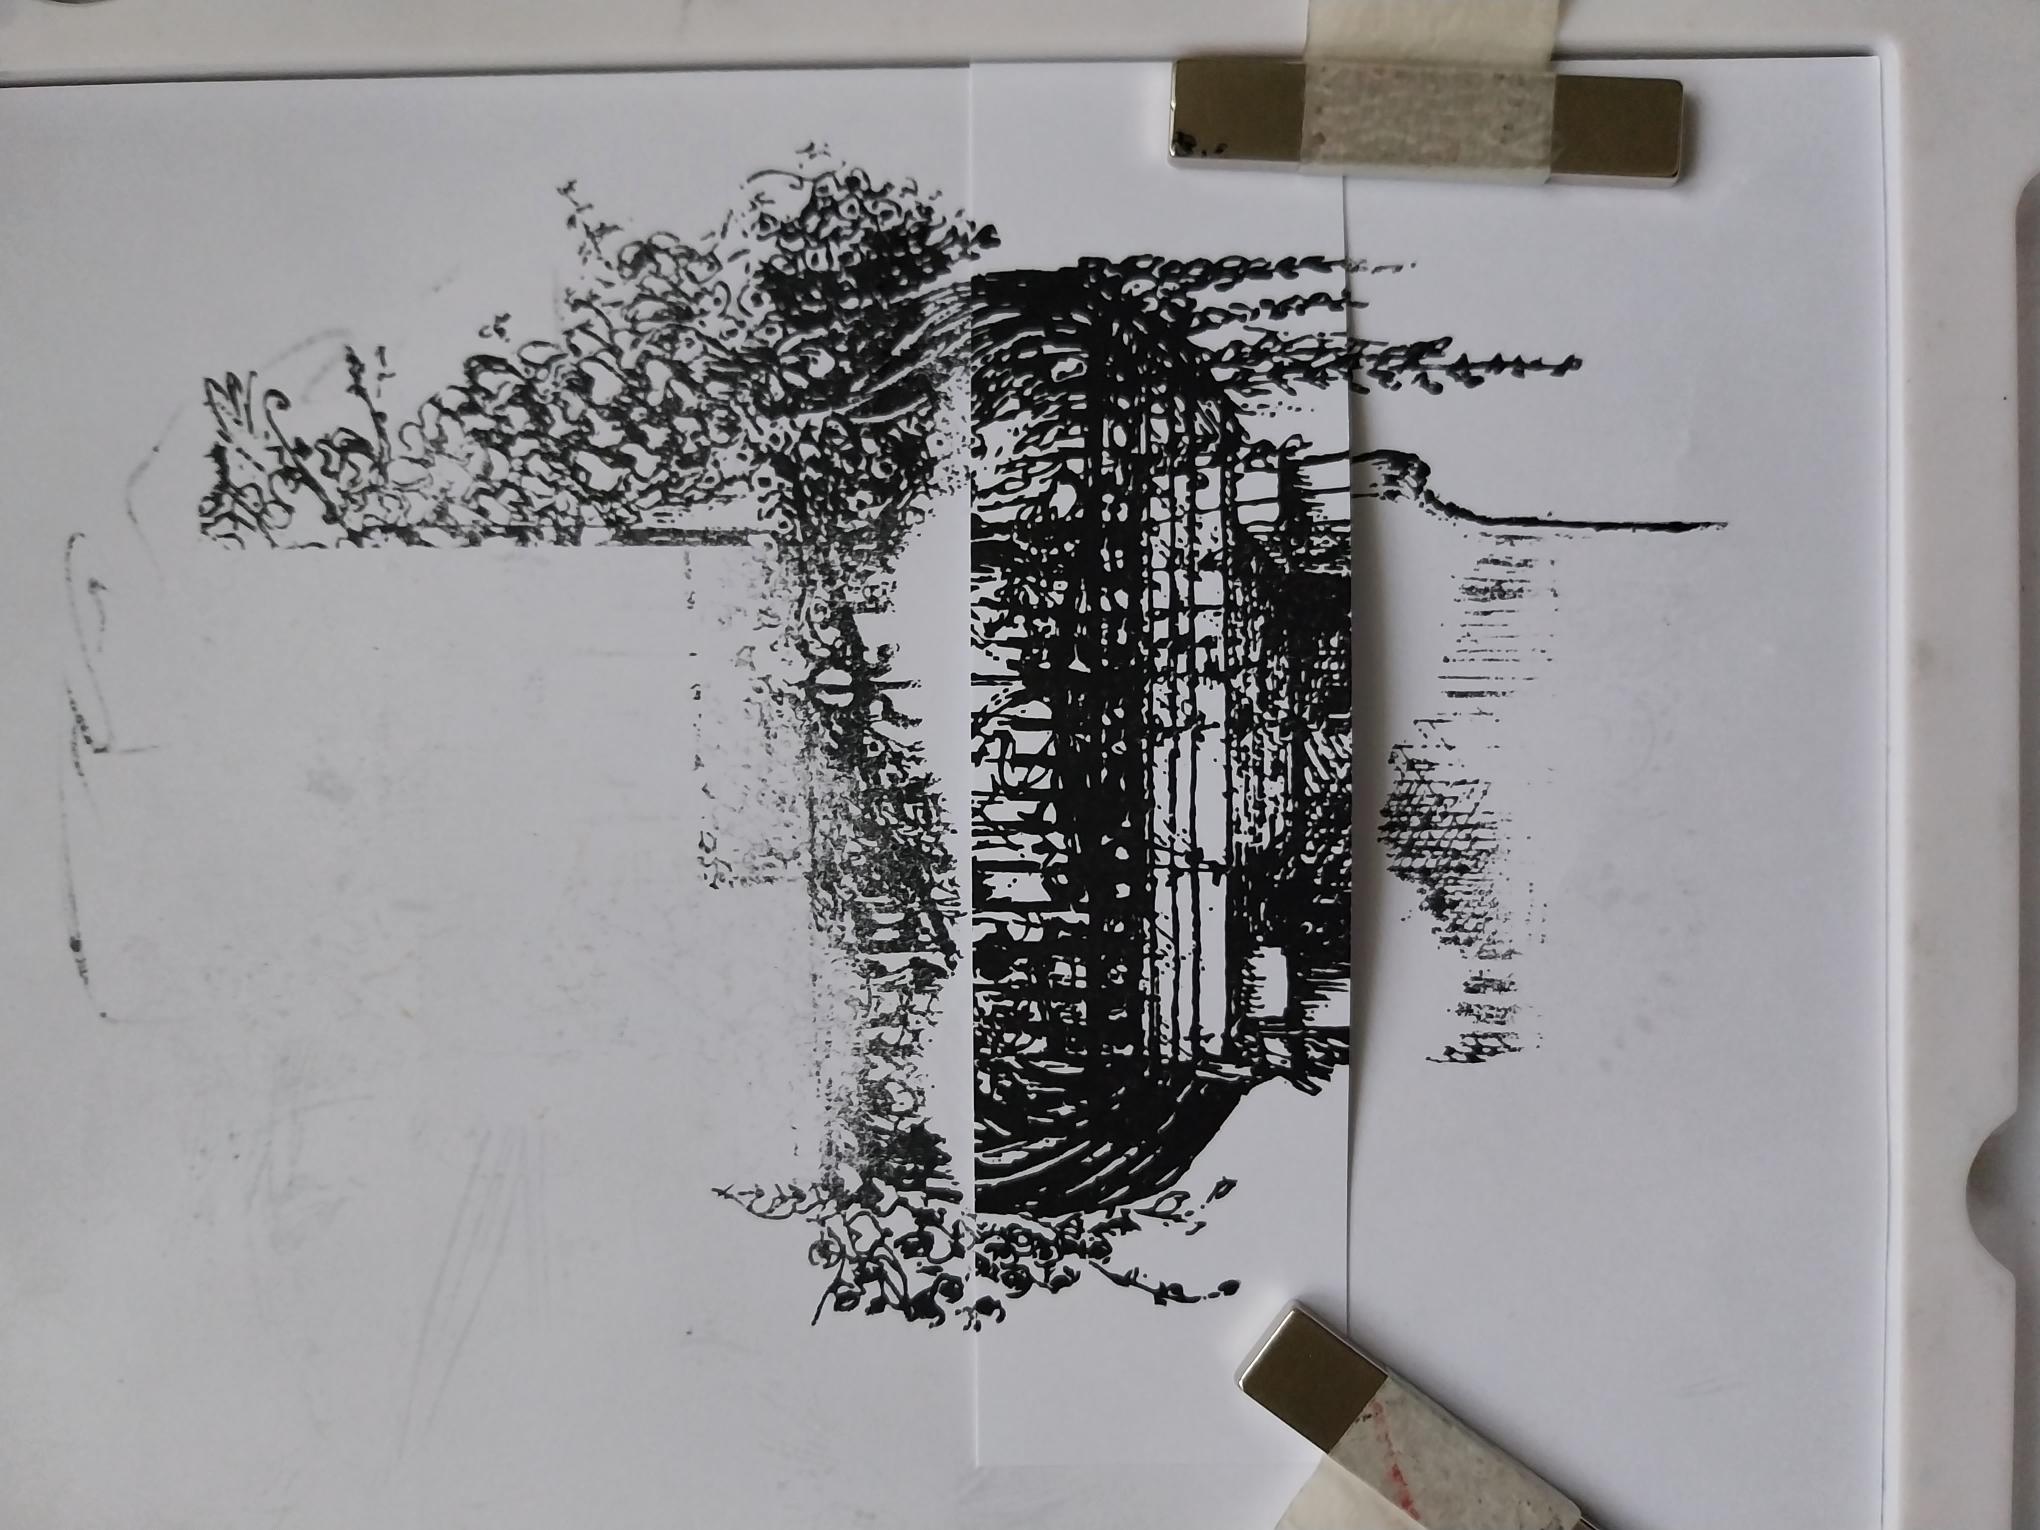
Cut another white card panel to 5 1/2 x 1 3/4". Place in the Eureka in landscape view, then stamp the horizontal balcony element of the design on to the card. |
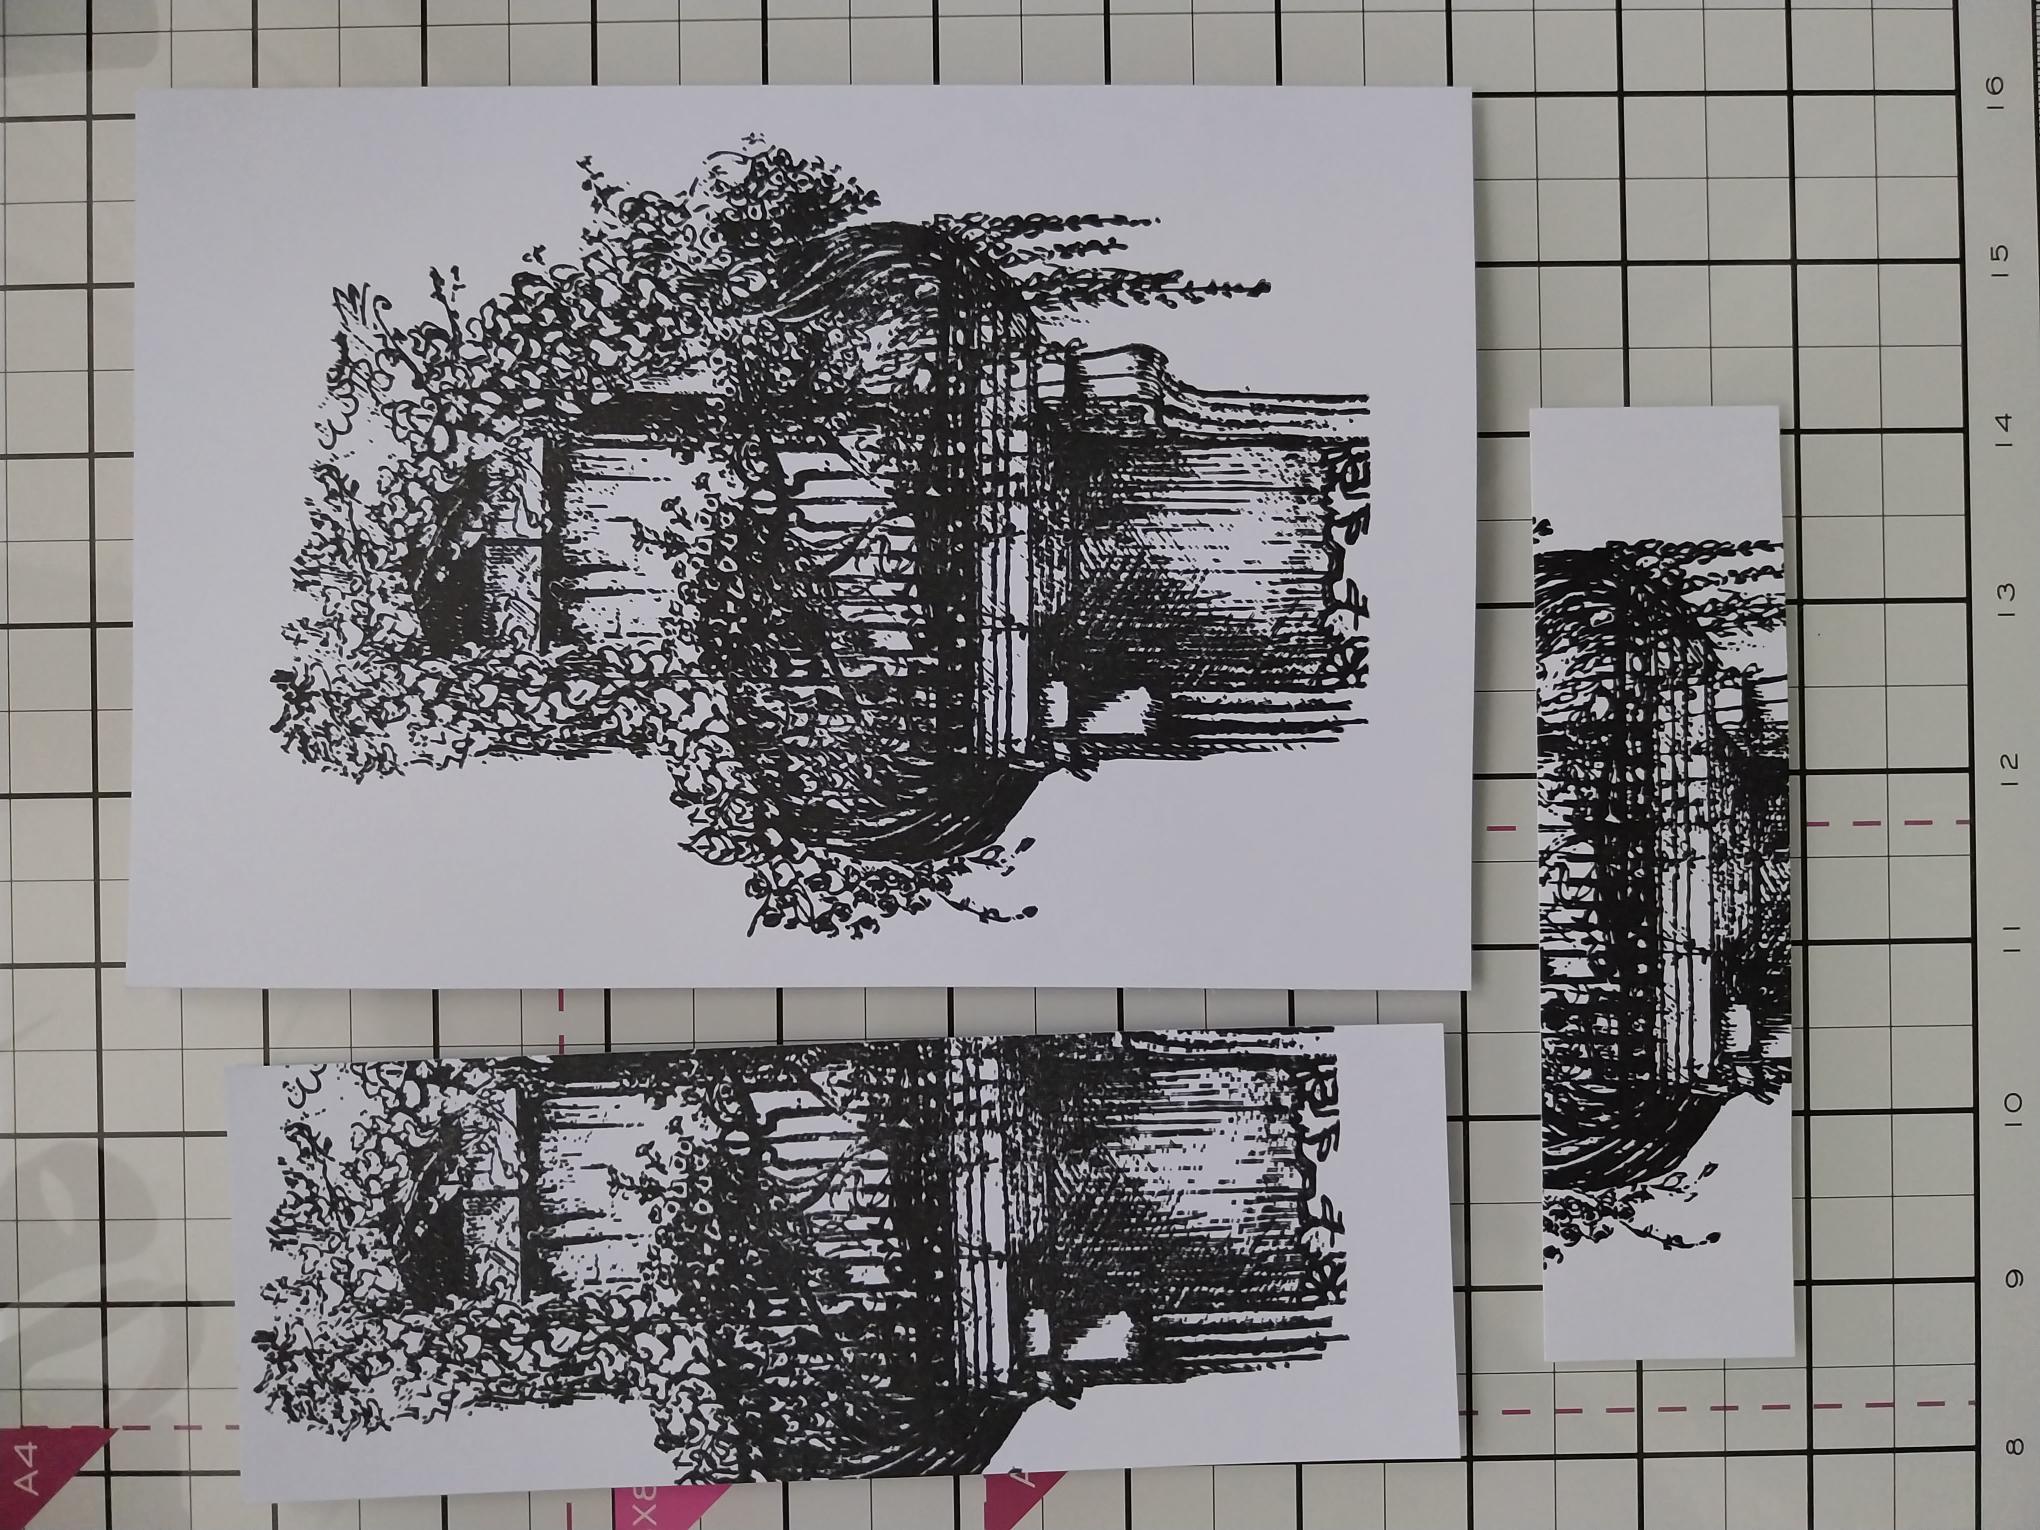
|
You should now have 3 stamped panels that look like this. |
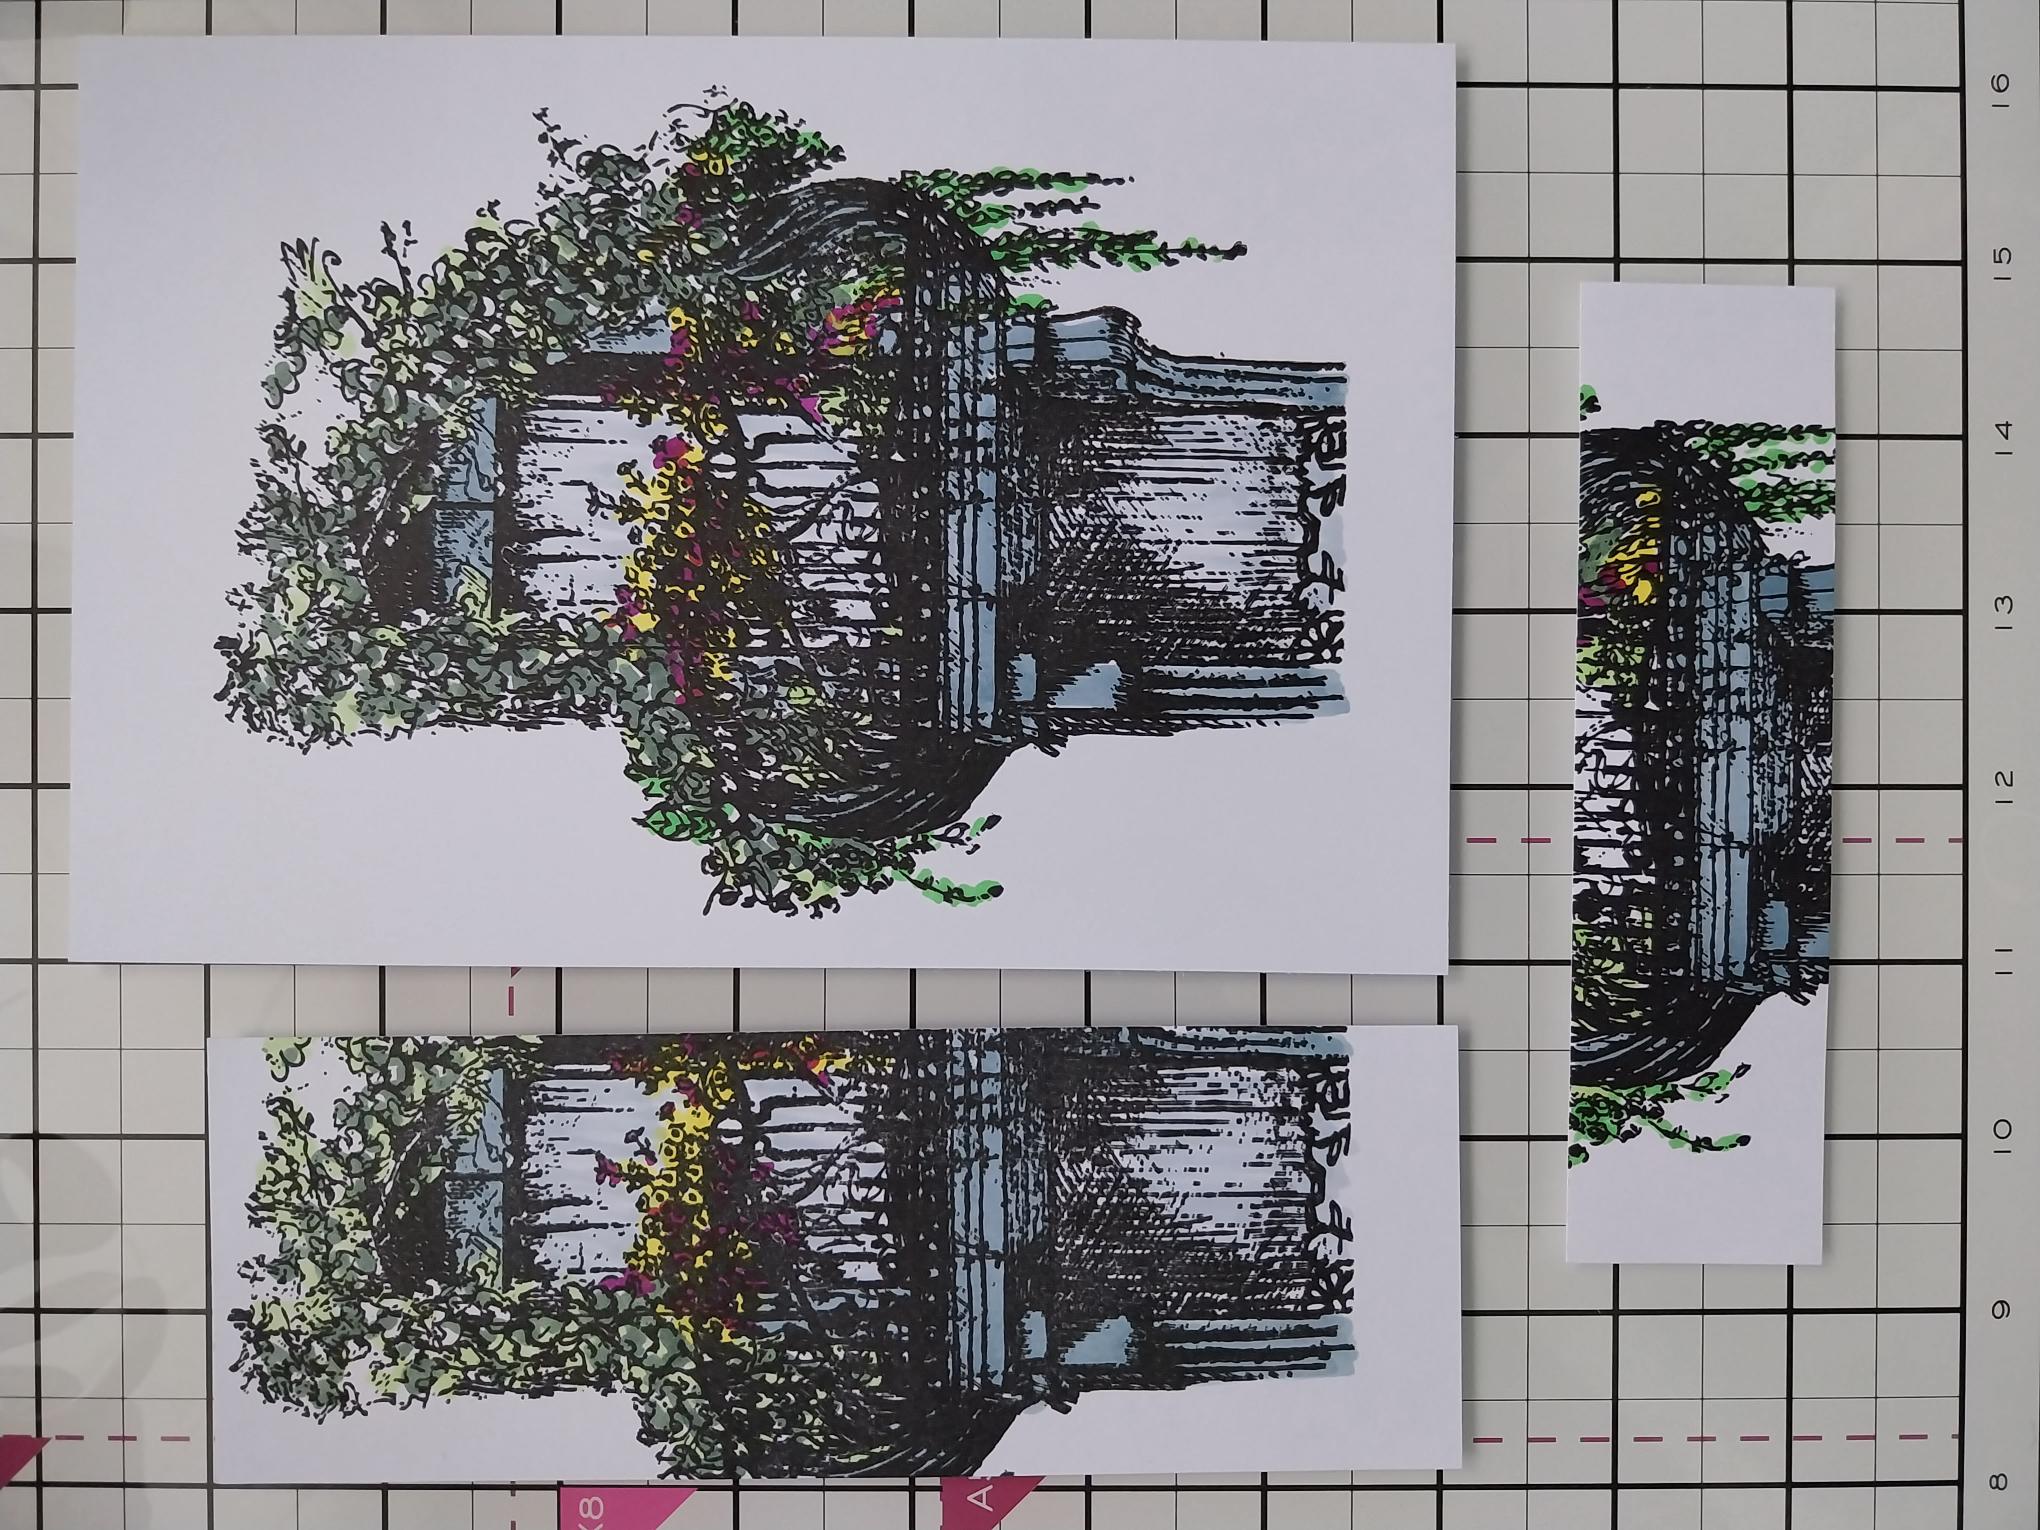
|
Use your alcohol pens to colour them in, each as identical as possible. |
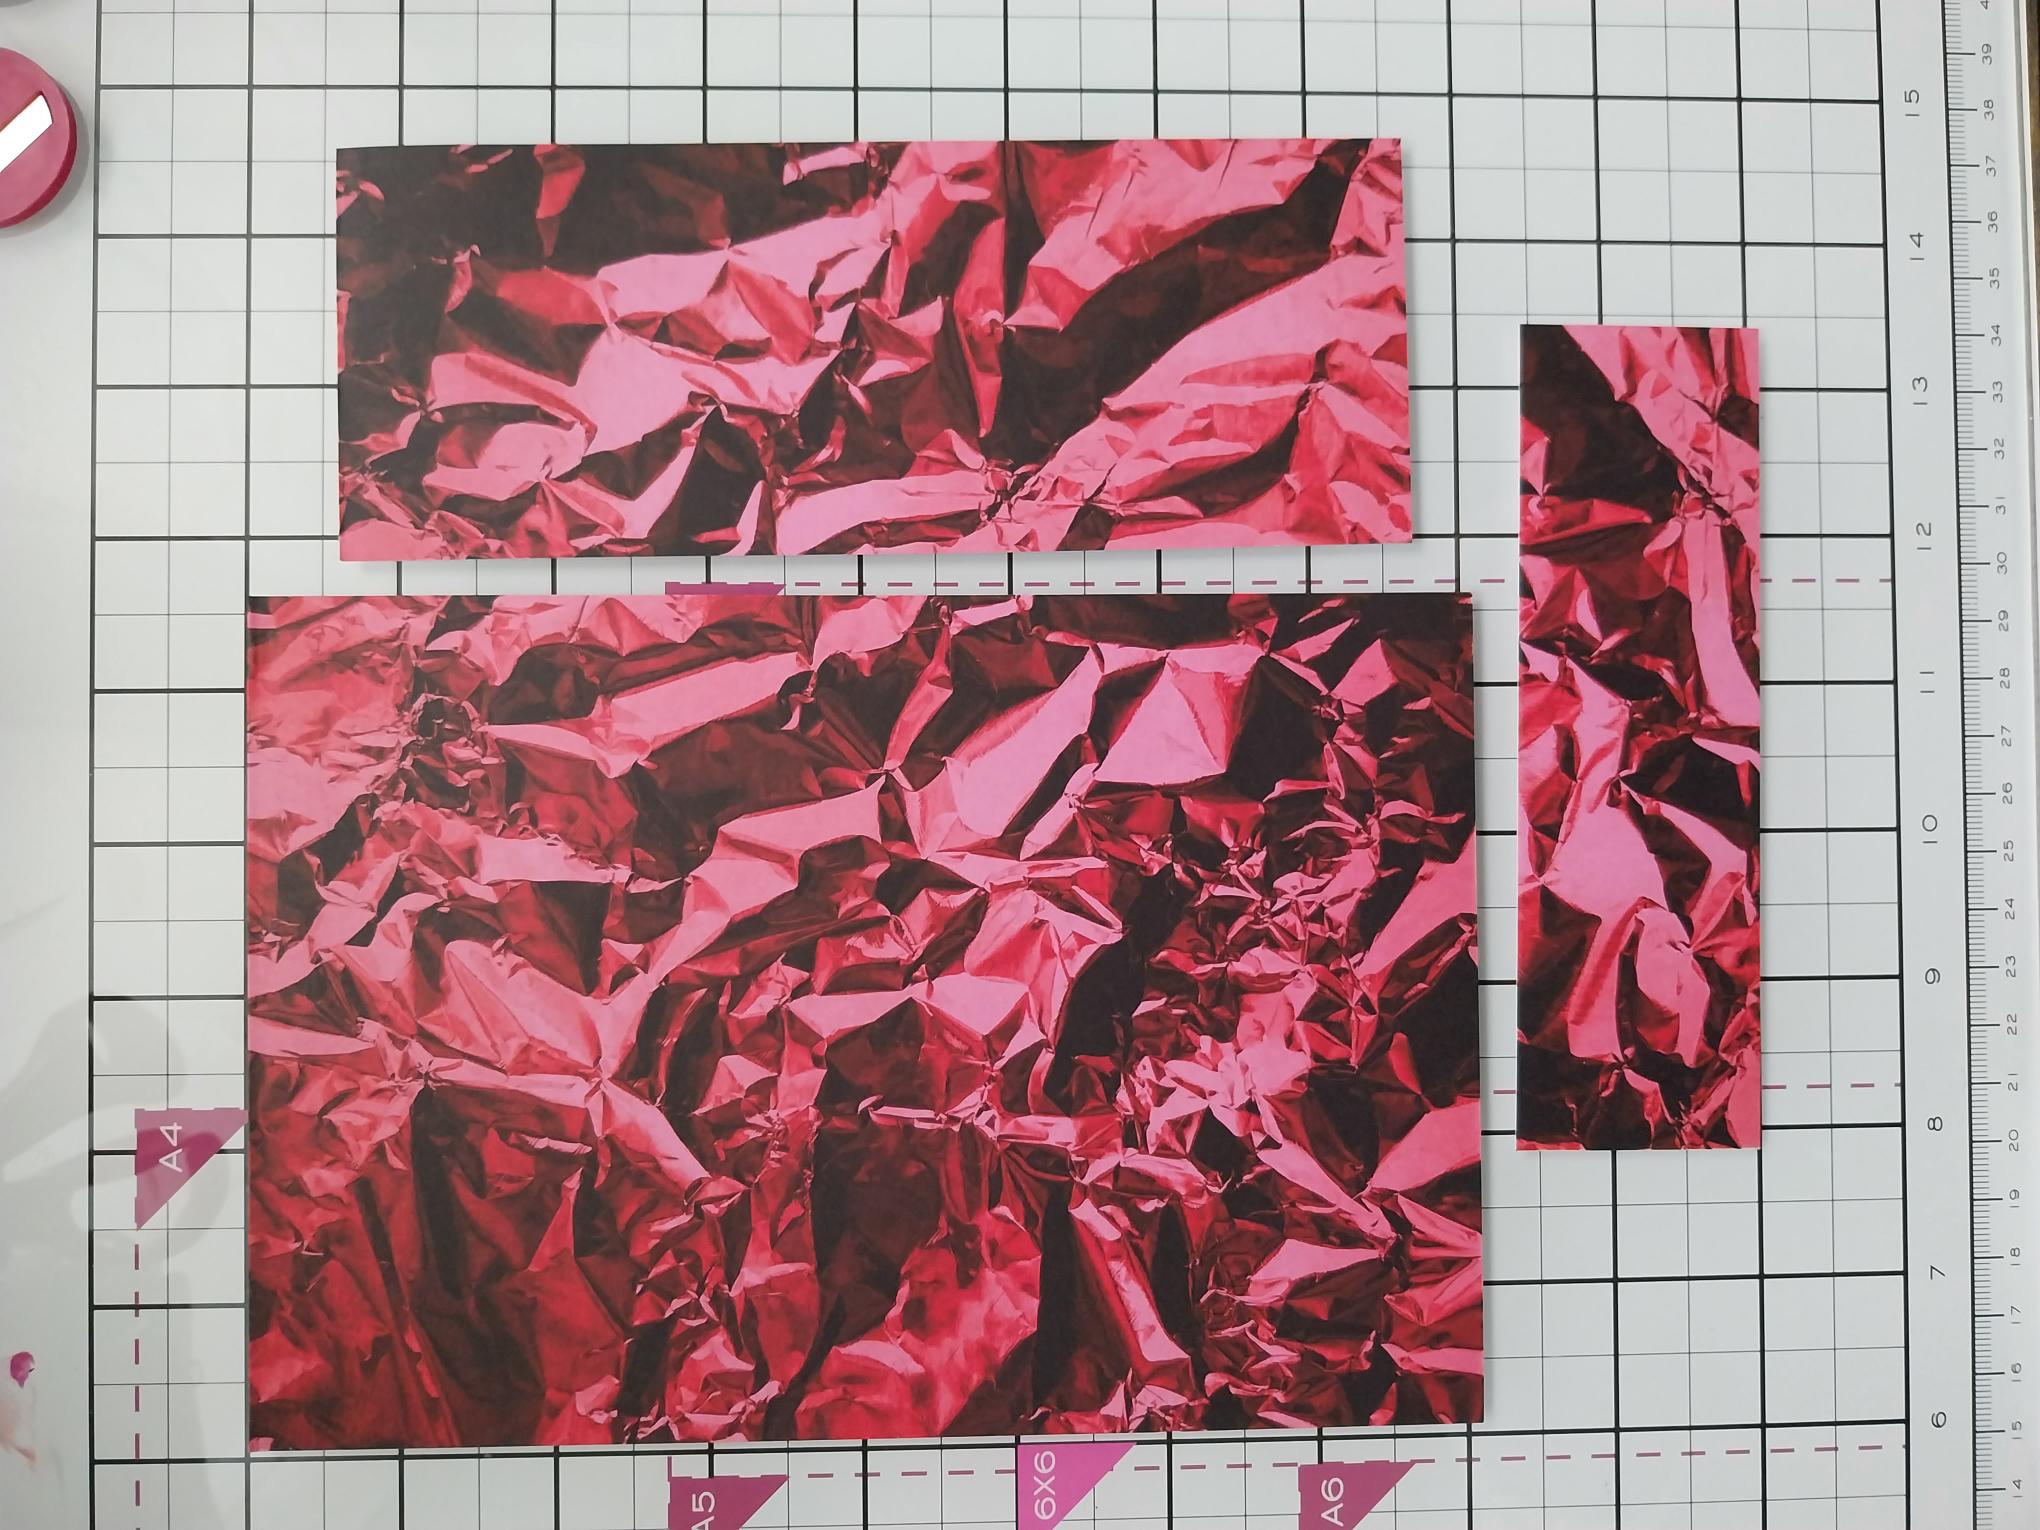
|
From the All Surfaces paper pack, cut 3 panels ... 7 3/4 x 5 1/4", 6 3/4 x 2 1/2" and 5 1/2 x 1 1/2". |
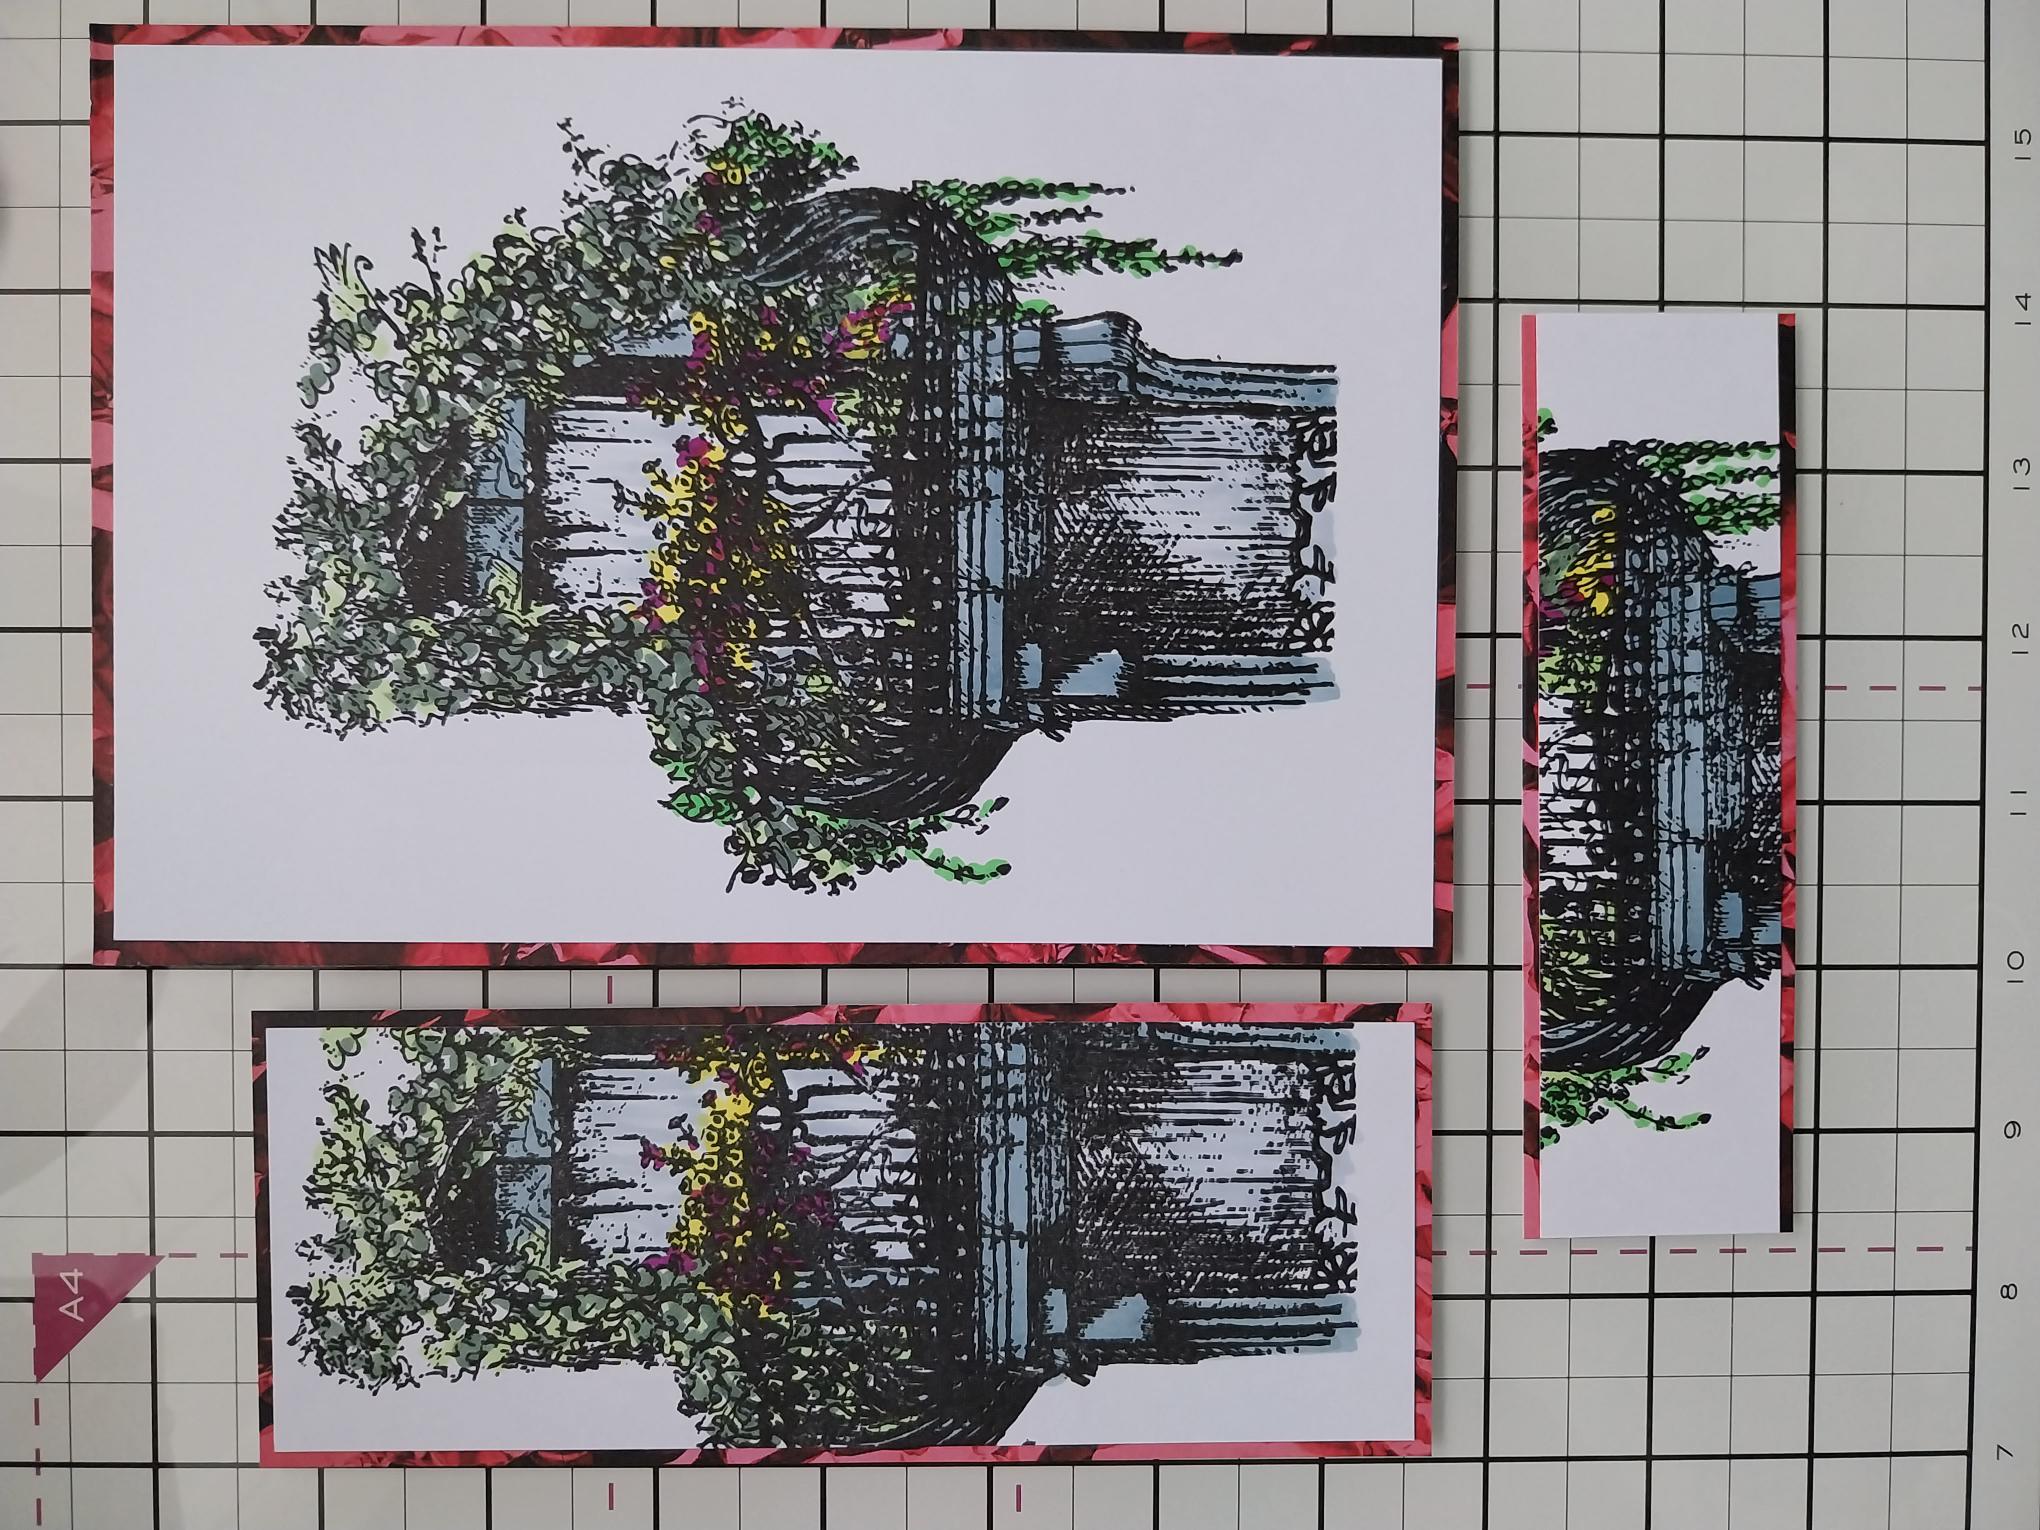
|
Adhere each stamped panel on to their paper mats. |
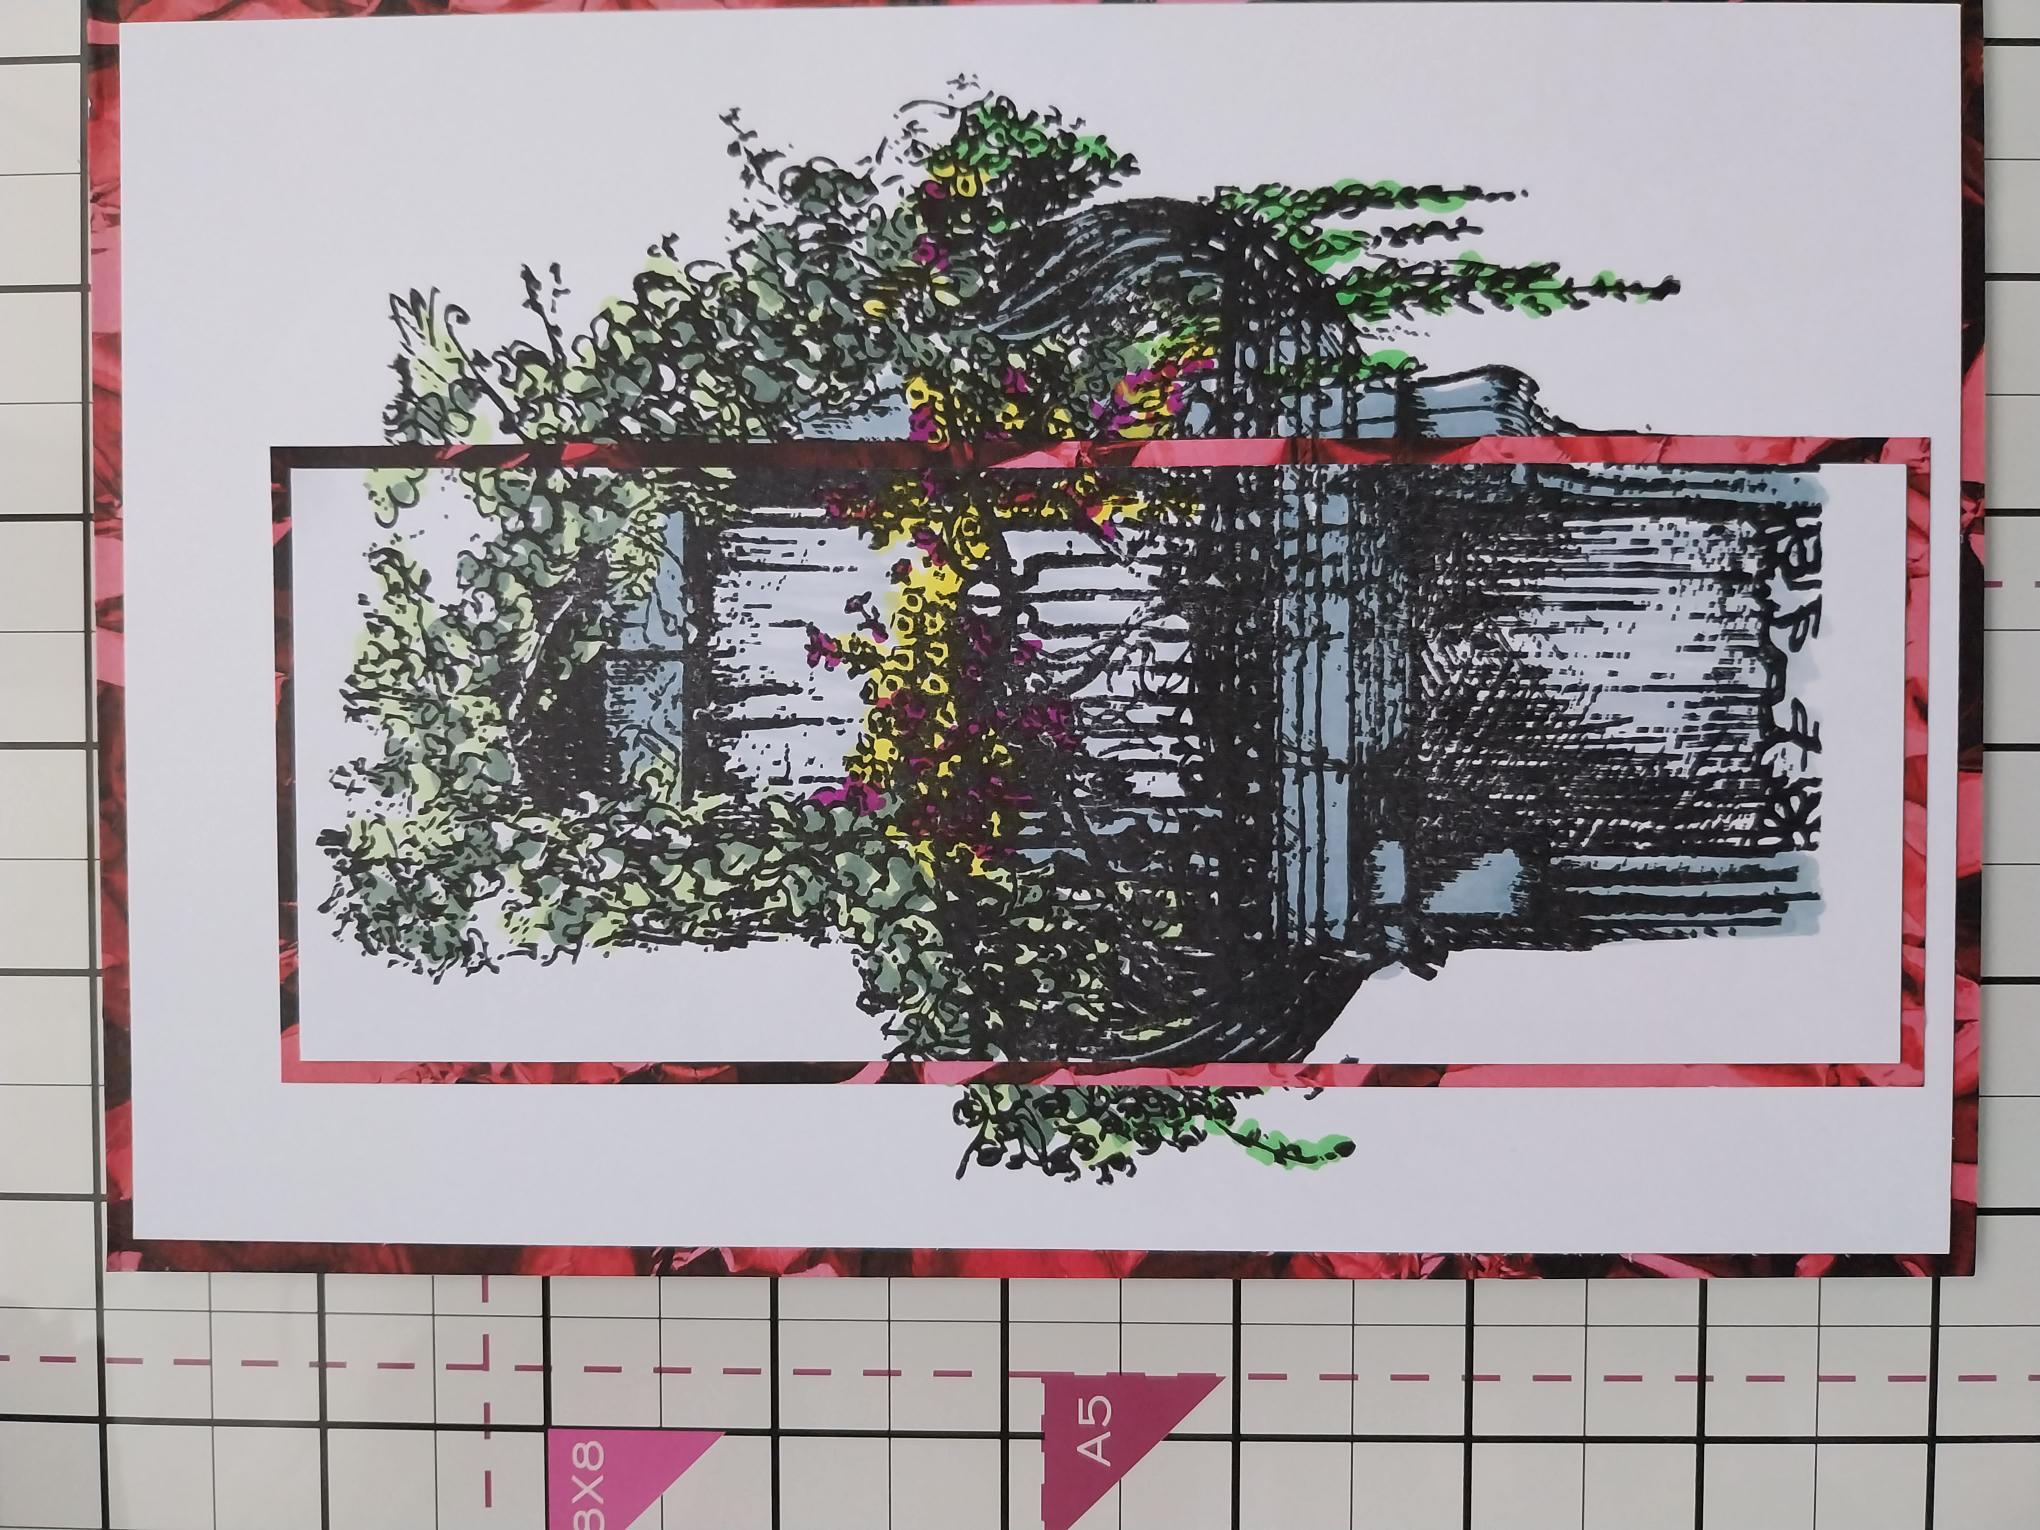
|
Line up the image and adhere the larger panel on to the full stamped design. |
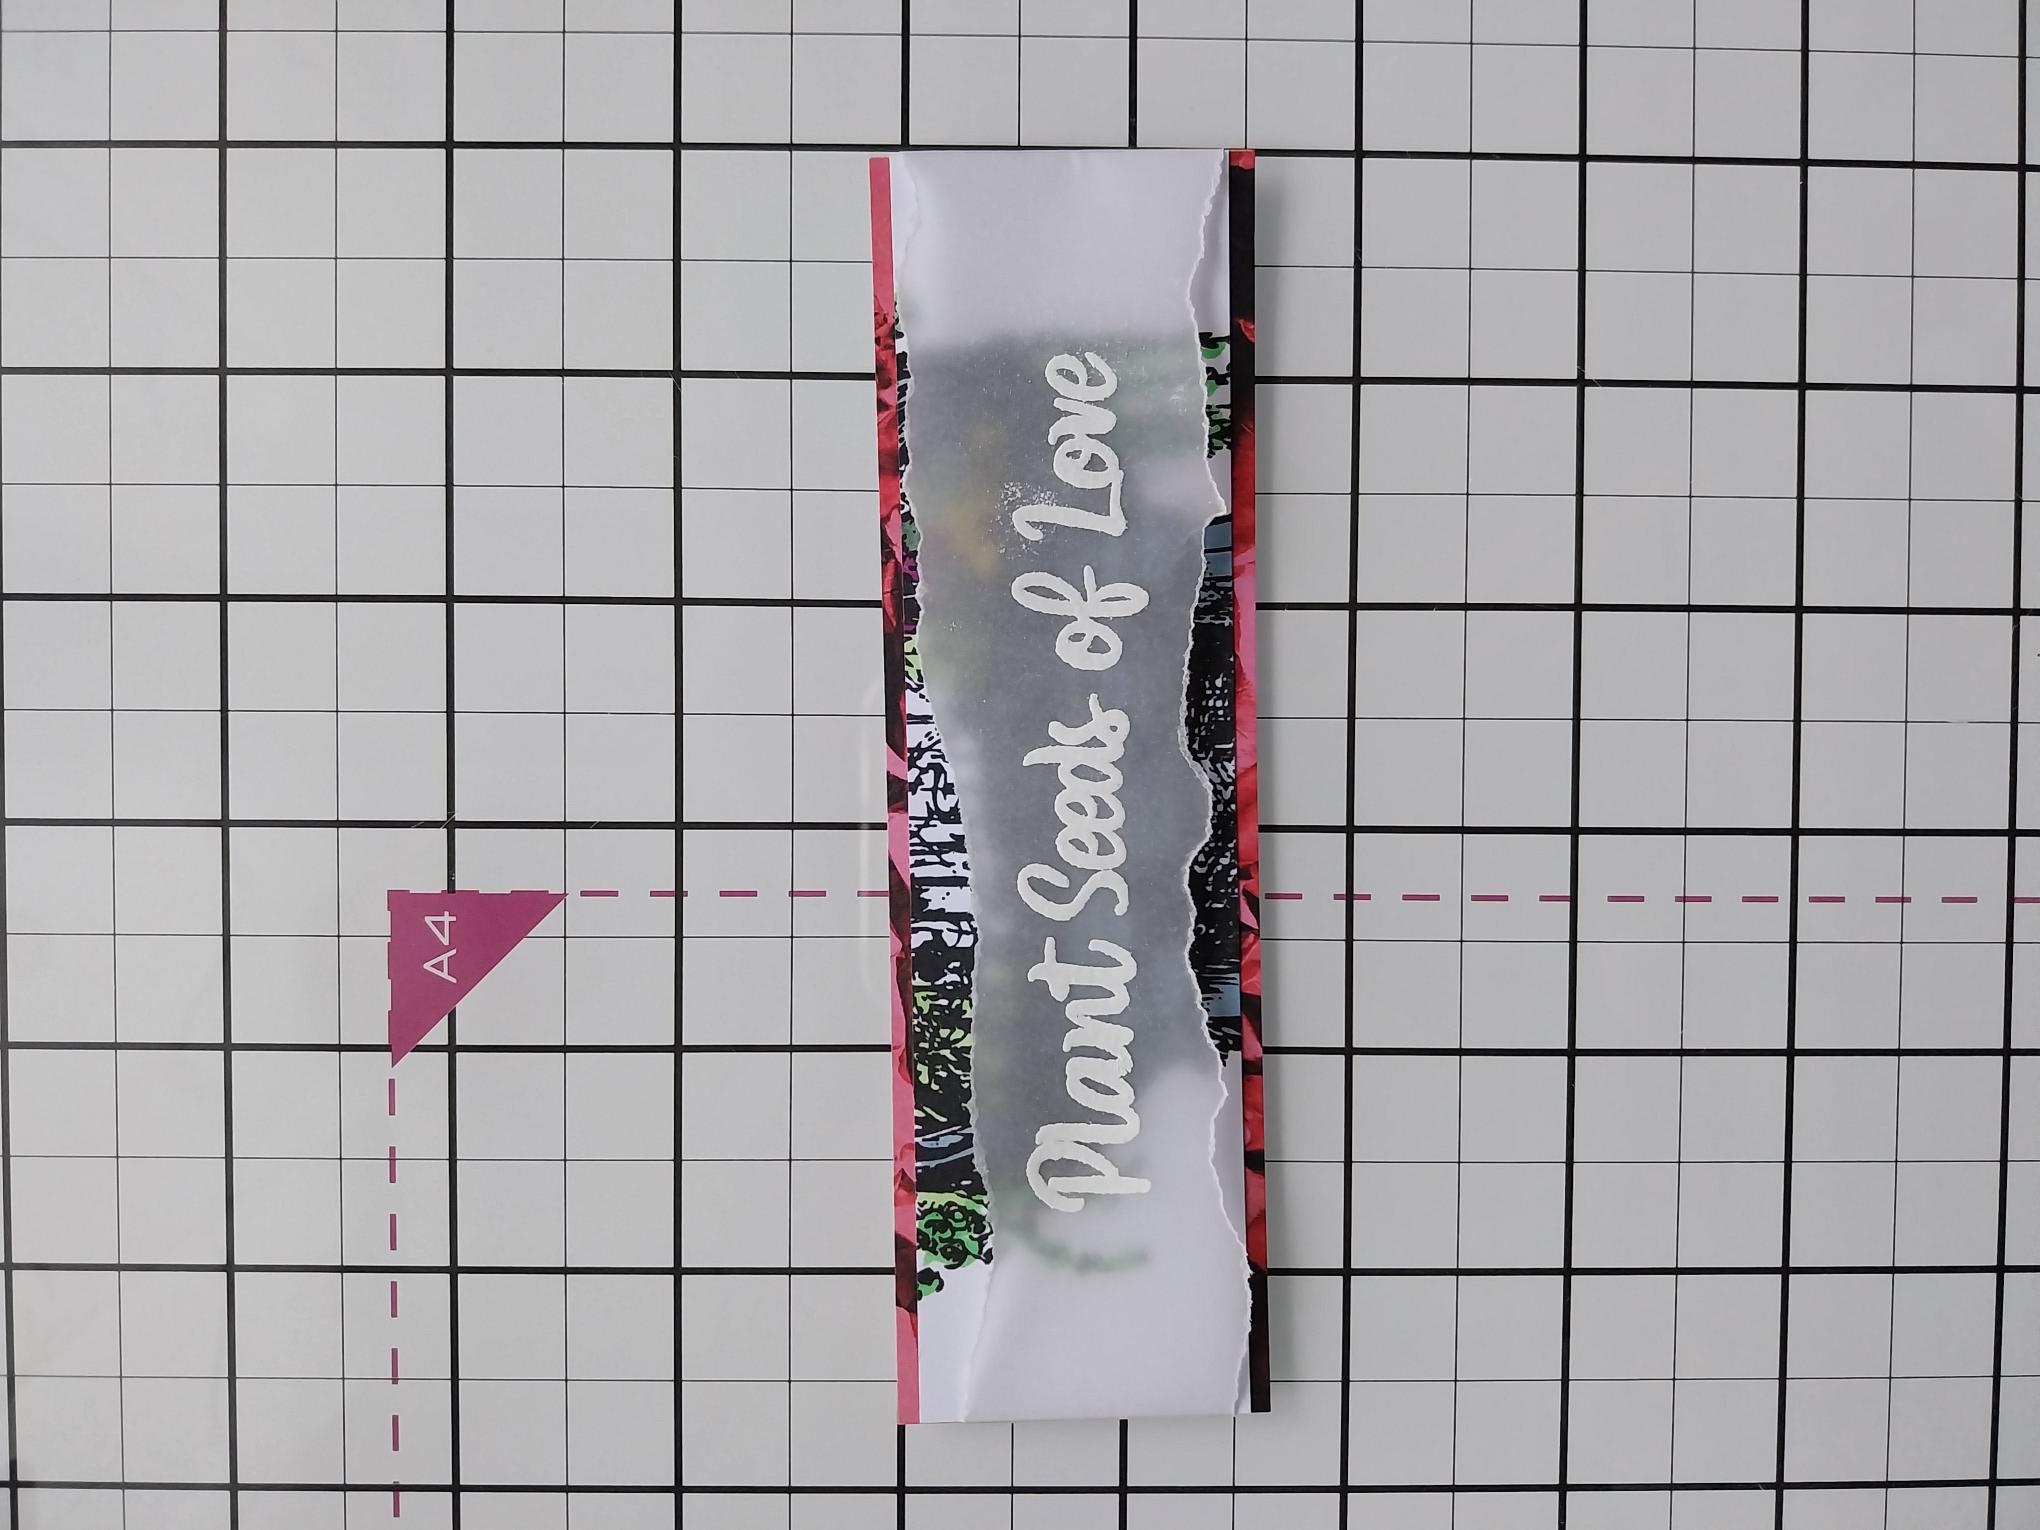
|
Tear a piece of vellum slightly longer than the smaller stamped panel. Wipe over with an anti-static bag, ink up the sentiment stamp with the WOW embossing ink and stamp in the centre of the vellum. Cover with the white embossing powder, get your heat tool good and hot, then heat set the powder. Place across the stamped panel and secure on the reverse. |
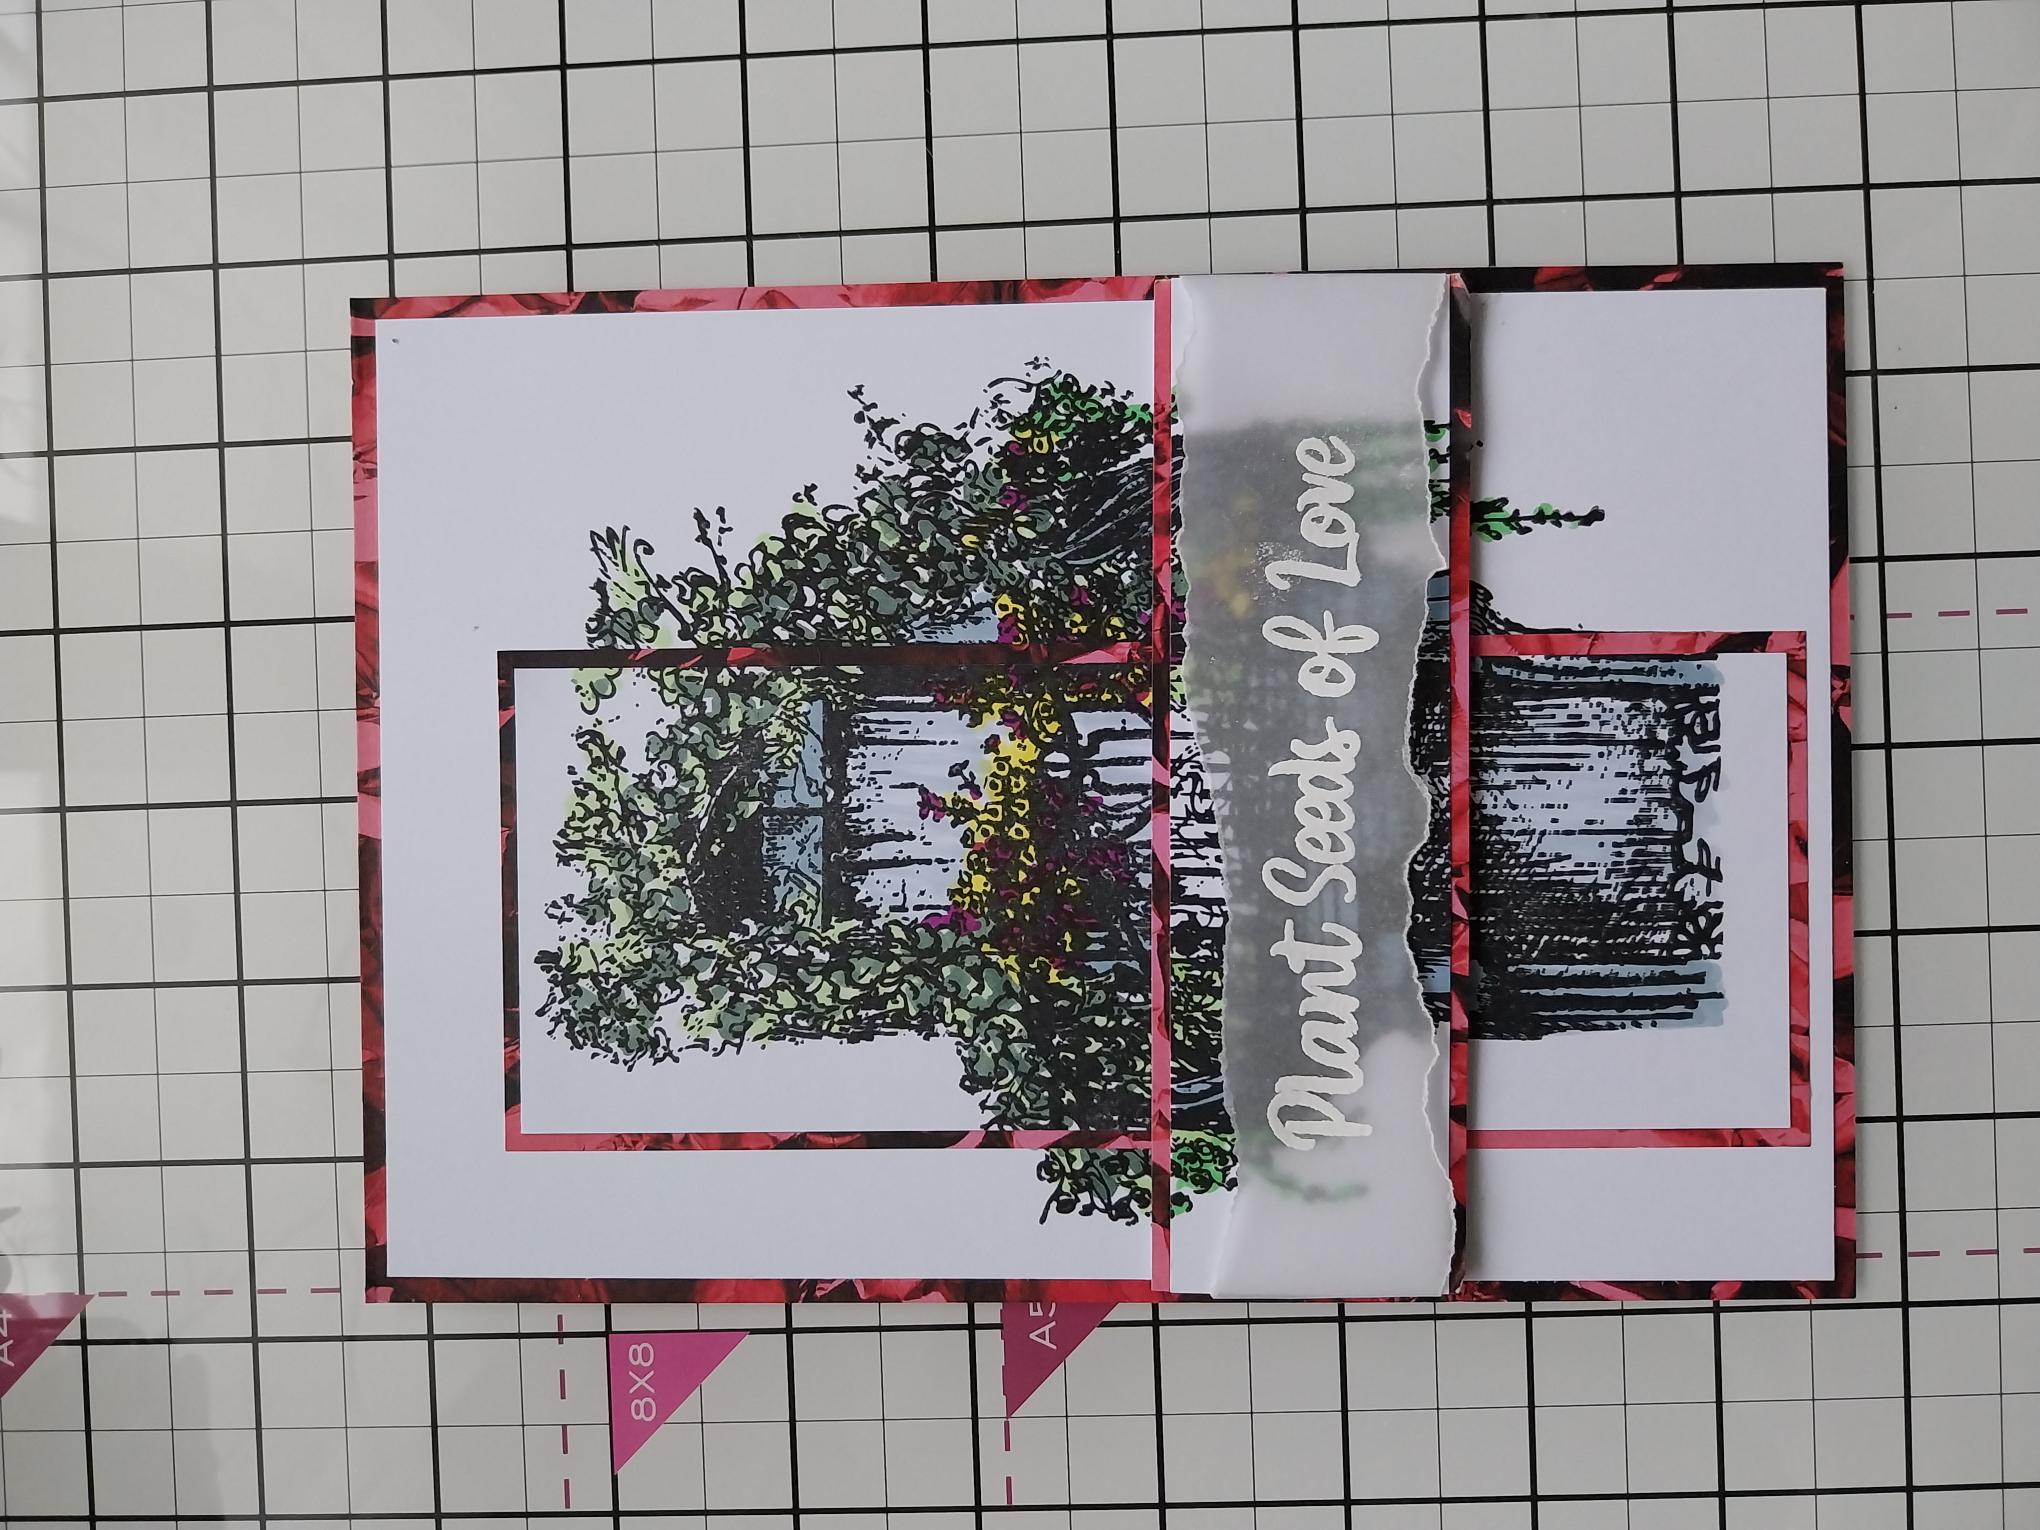
|
Line up and adhere the panel on top of the other two, as shown here. This is known as the "spotlight" technique. |
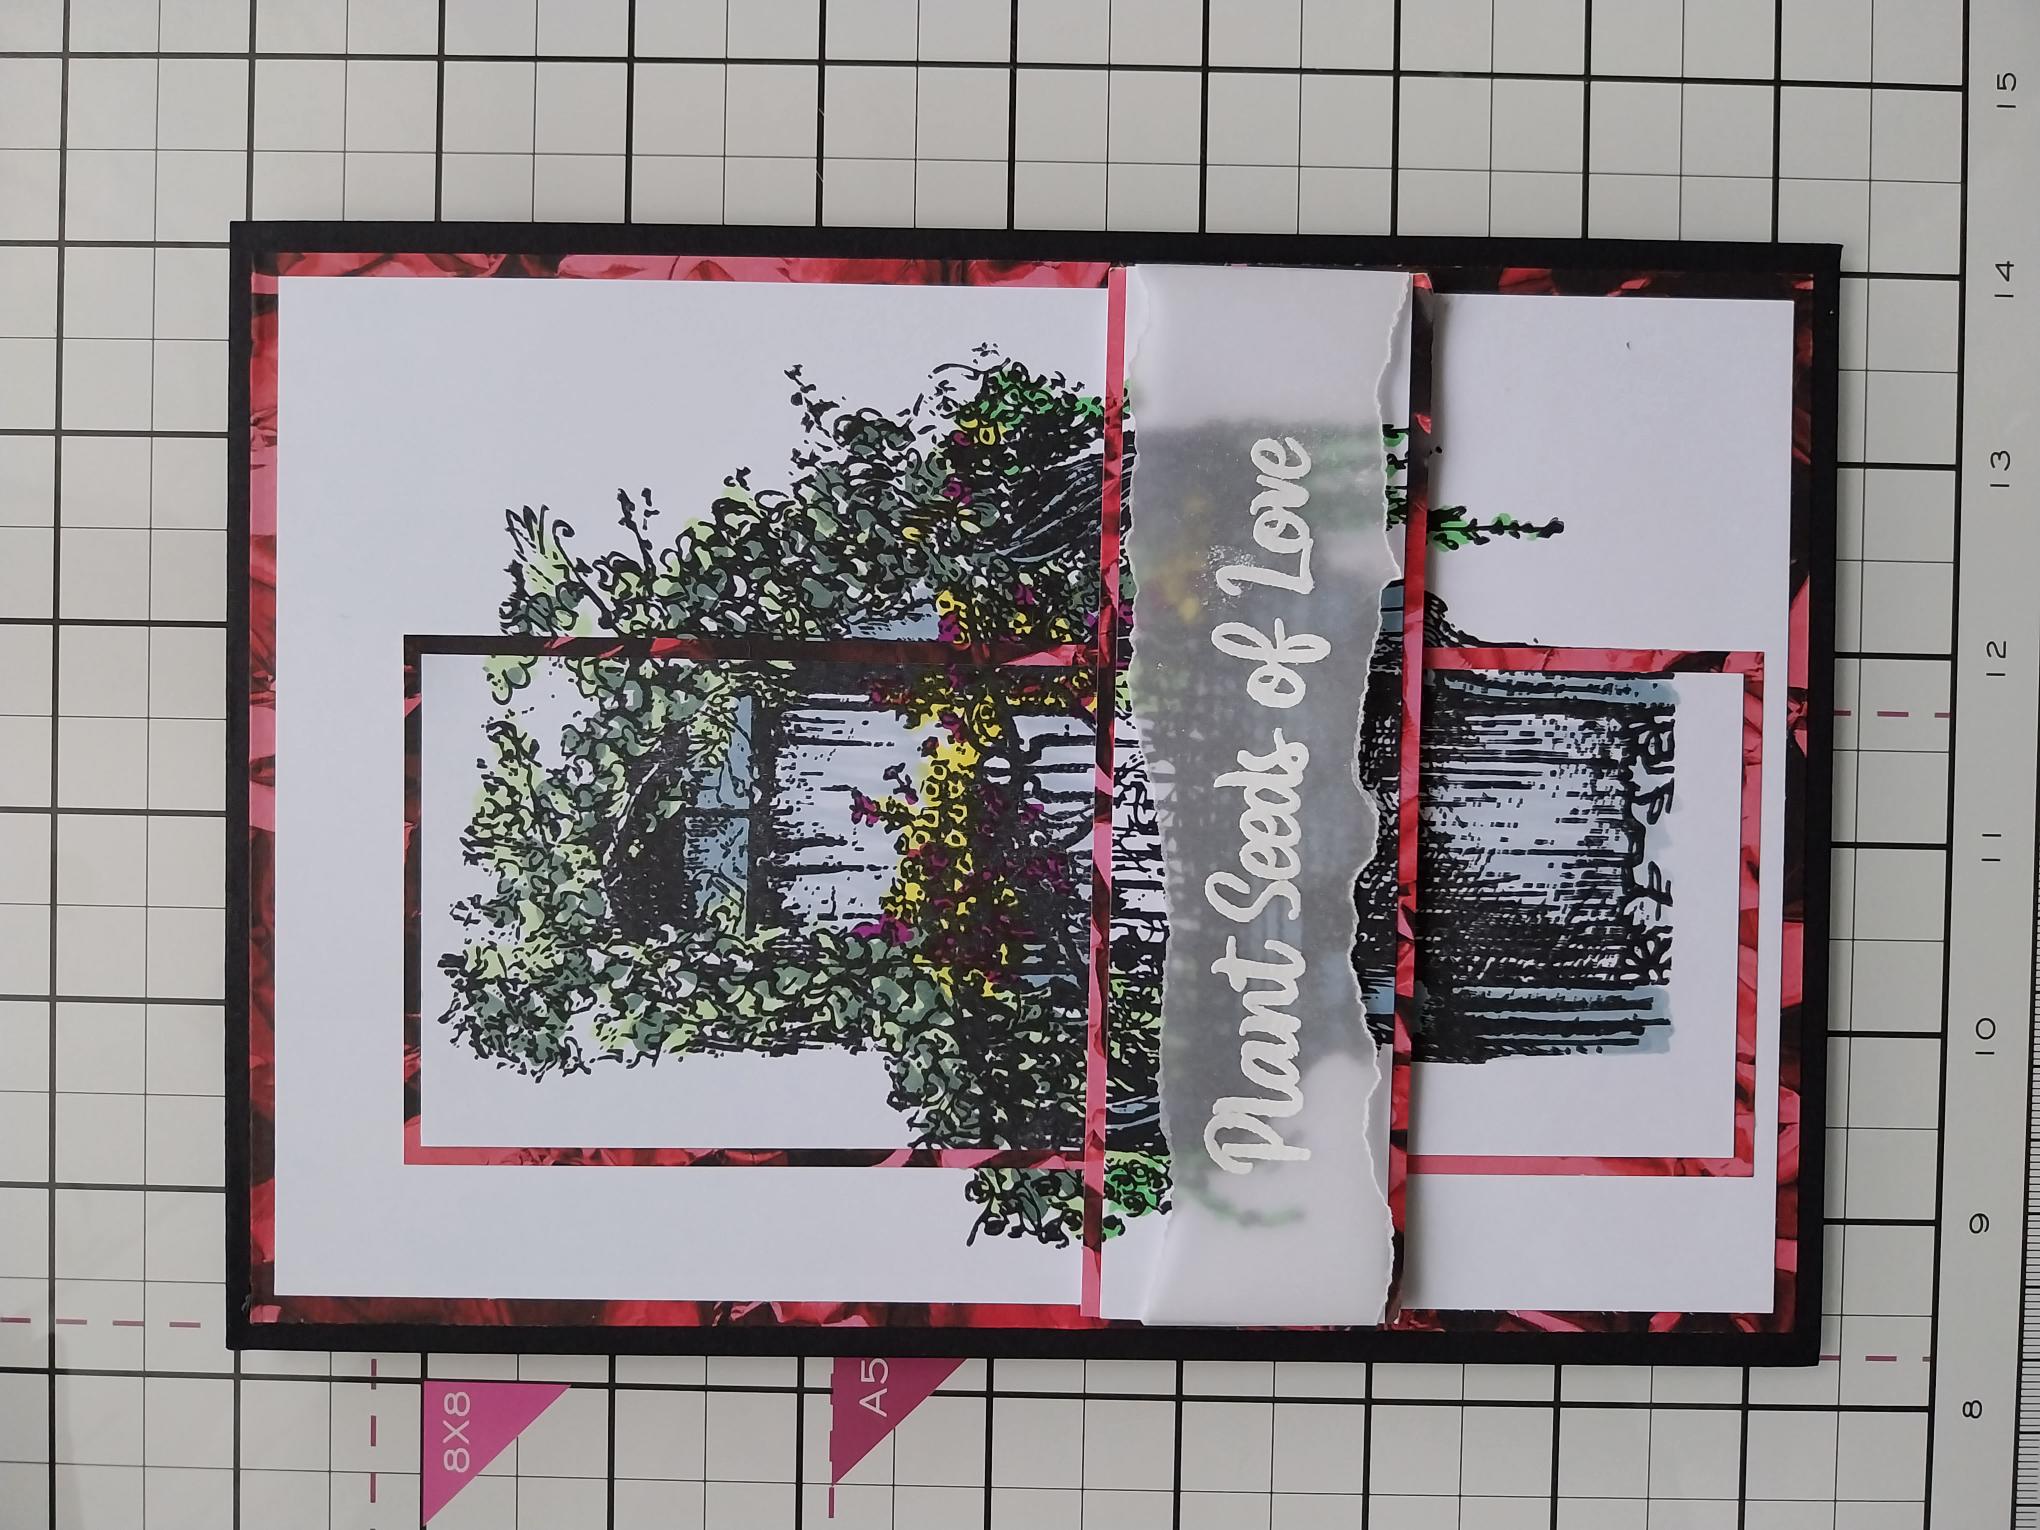
|
Adhere to the front of your black card blank and voila!!!! |