Offrez à vos amis 10 € de réduction sur leur première commande !
Parrainez un AMI








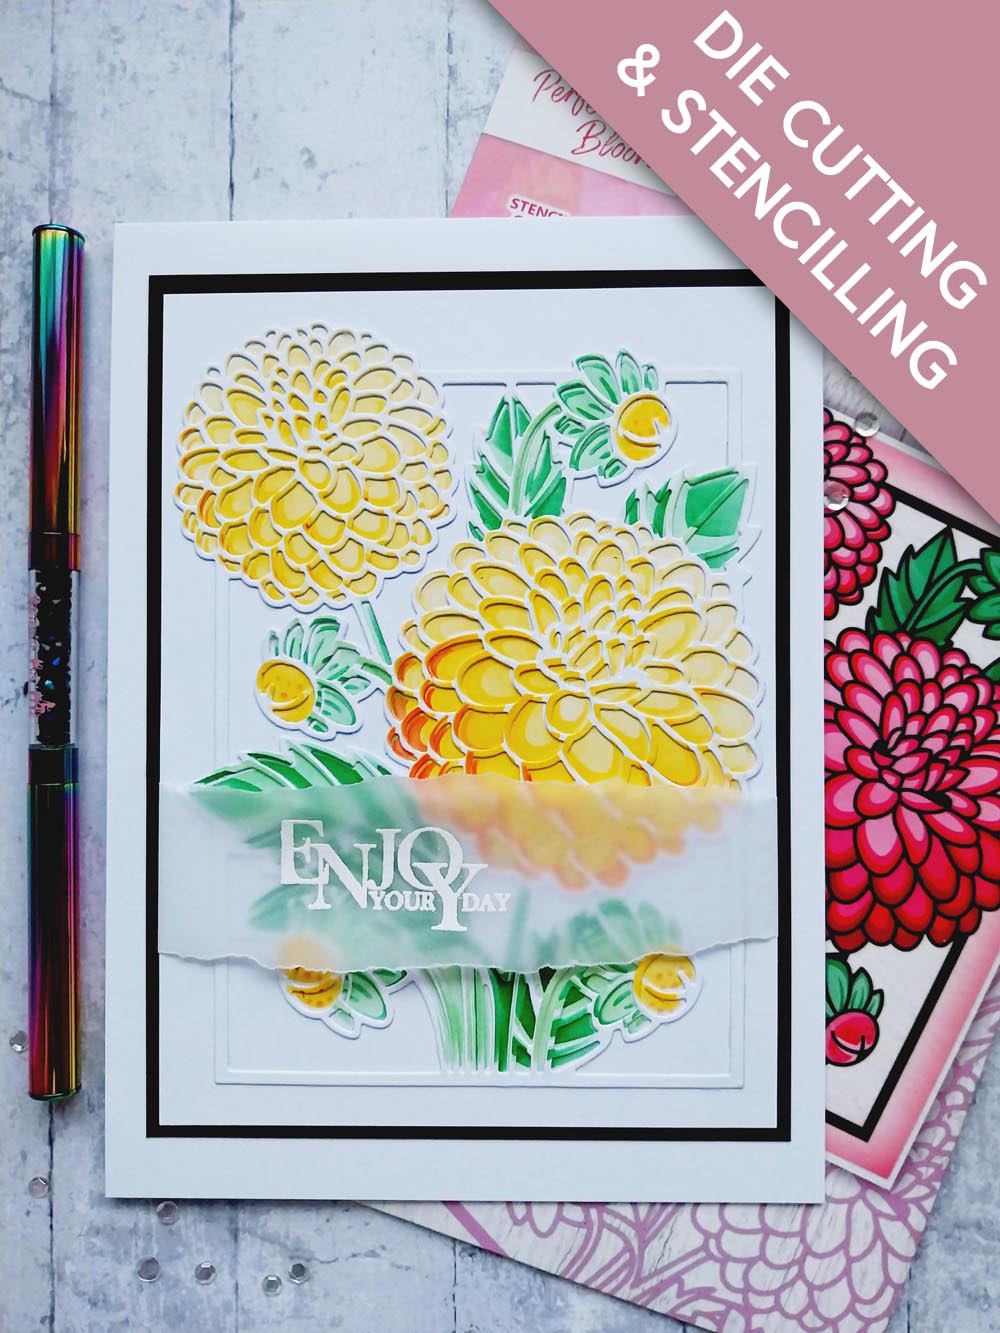
MATÉRIEL NÉCESSAIRE :
Carte vierge blanche 8 x 5 3/4"
Papier cartonné noir/blanc
Papier calque
Encreurs SBM Premium Dye : Sherbet, Bittersweet, Hedgerow, Limeade
Pinceau d'estompage
Encreur à embosser WOW
Poudre à embosser blanche WOW
Pistolet chauffant WOW
Sachet antistatique
Tablette aquarelle Eureka 101
Tapis en verre magnétique A3 SBM
Massicot
Colle
Ruban adhésif double face
Machine de découpe
[cliquez sur l'image pour l'agrandir] 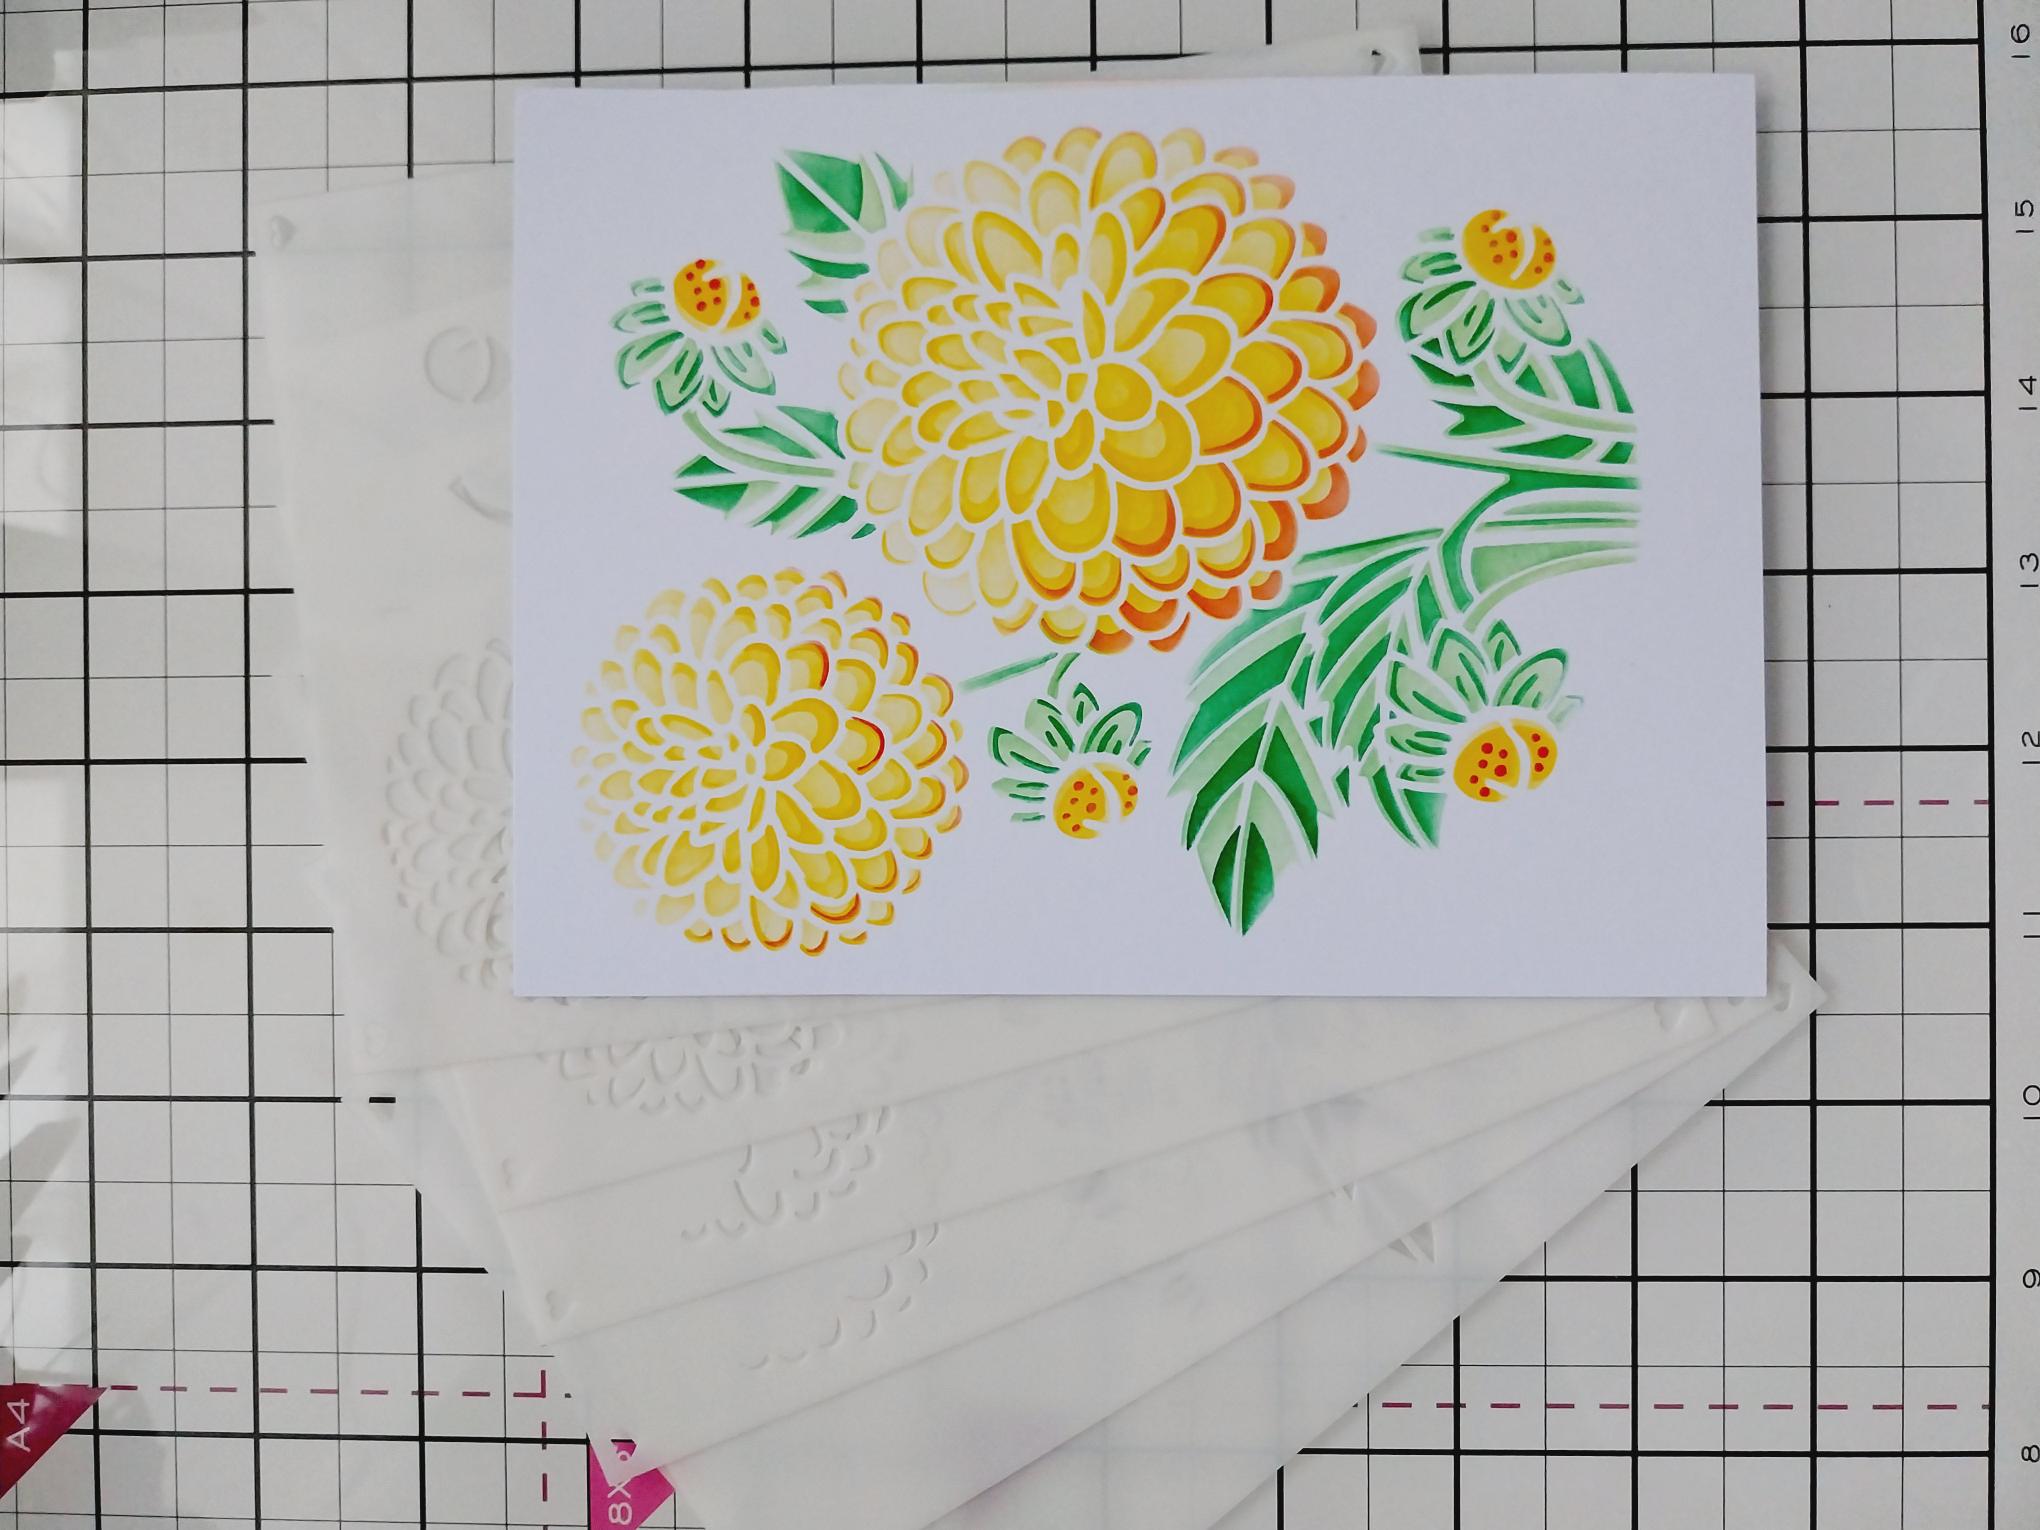
|
Cut TWO pieces of white card 5 x 6 3/4". Each layering stencil is numbered so lining up each one in numerical order, blend as follows, on BOTH pieces of card. Stencil 1 Sherbet for floral areas, Limeade for foliage Stencil 2 Repeat as per step 1 but with more colour and intensity Stencil 3 Sherbet Stencil 4 Bittersweet Stencil 5 Limeade Stencil 6 Hedgerow |
|
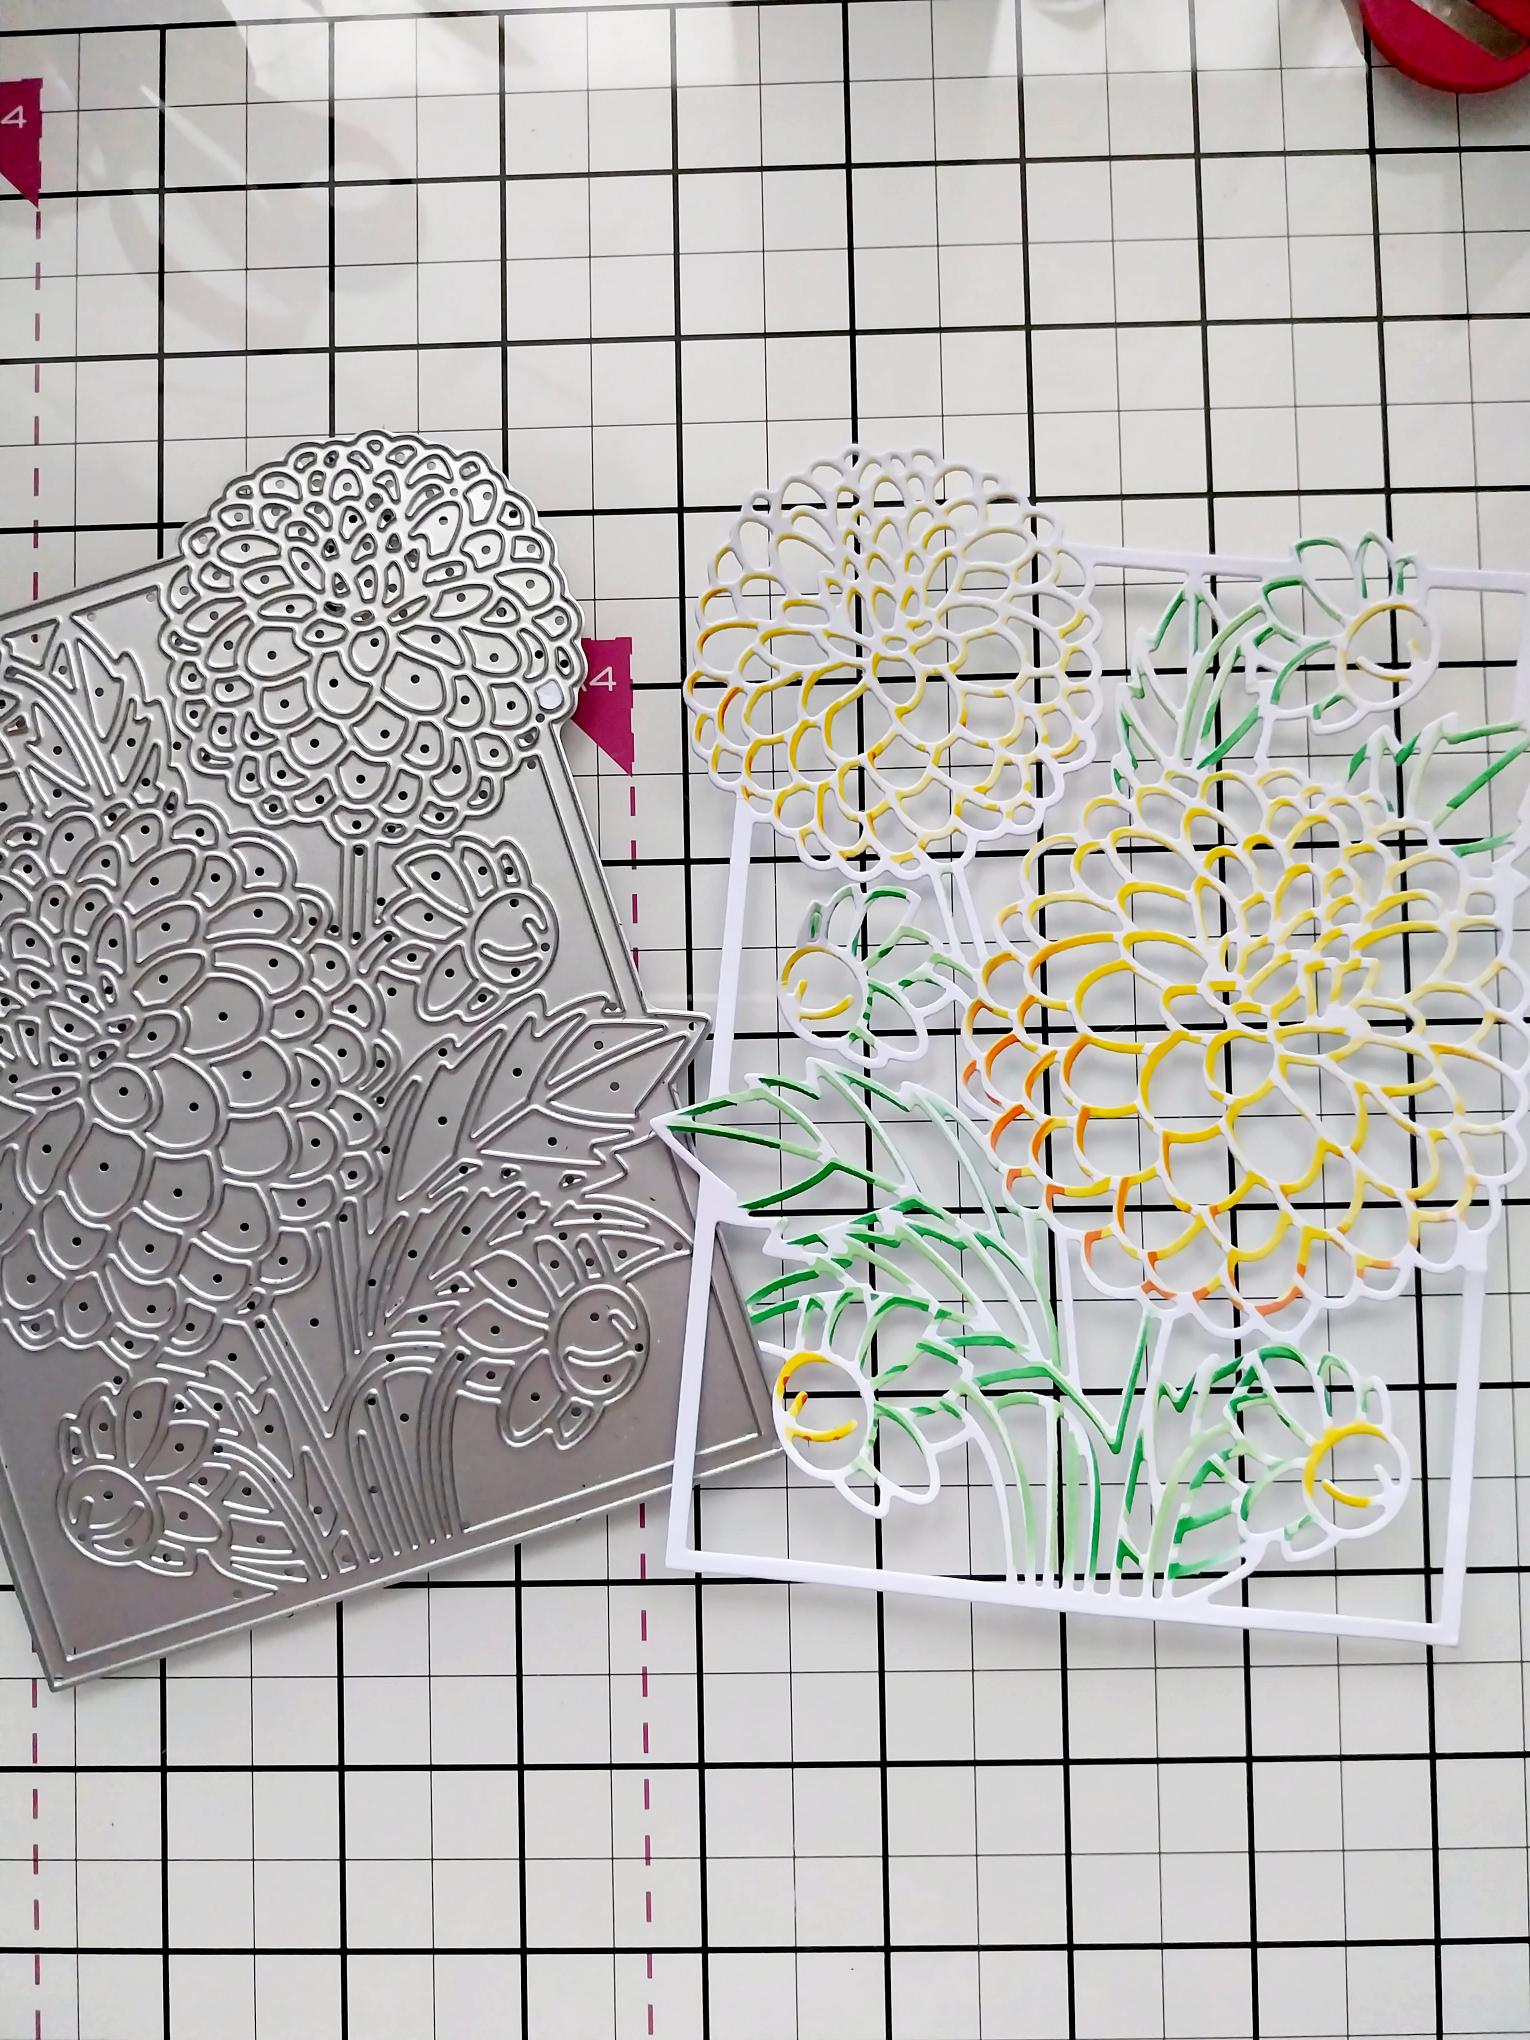
Use the coordinating die, die cut ONE of the stencilled images. |
|
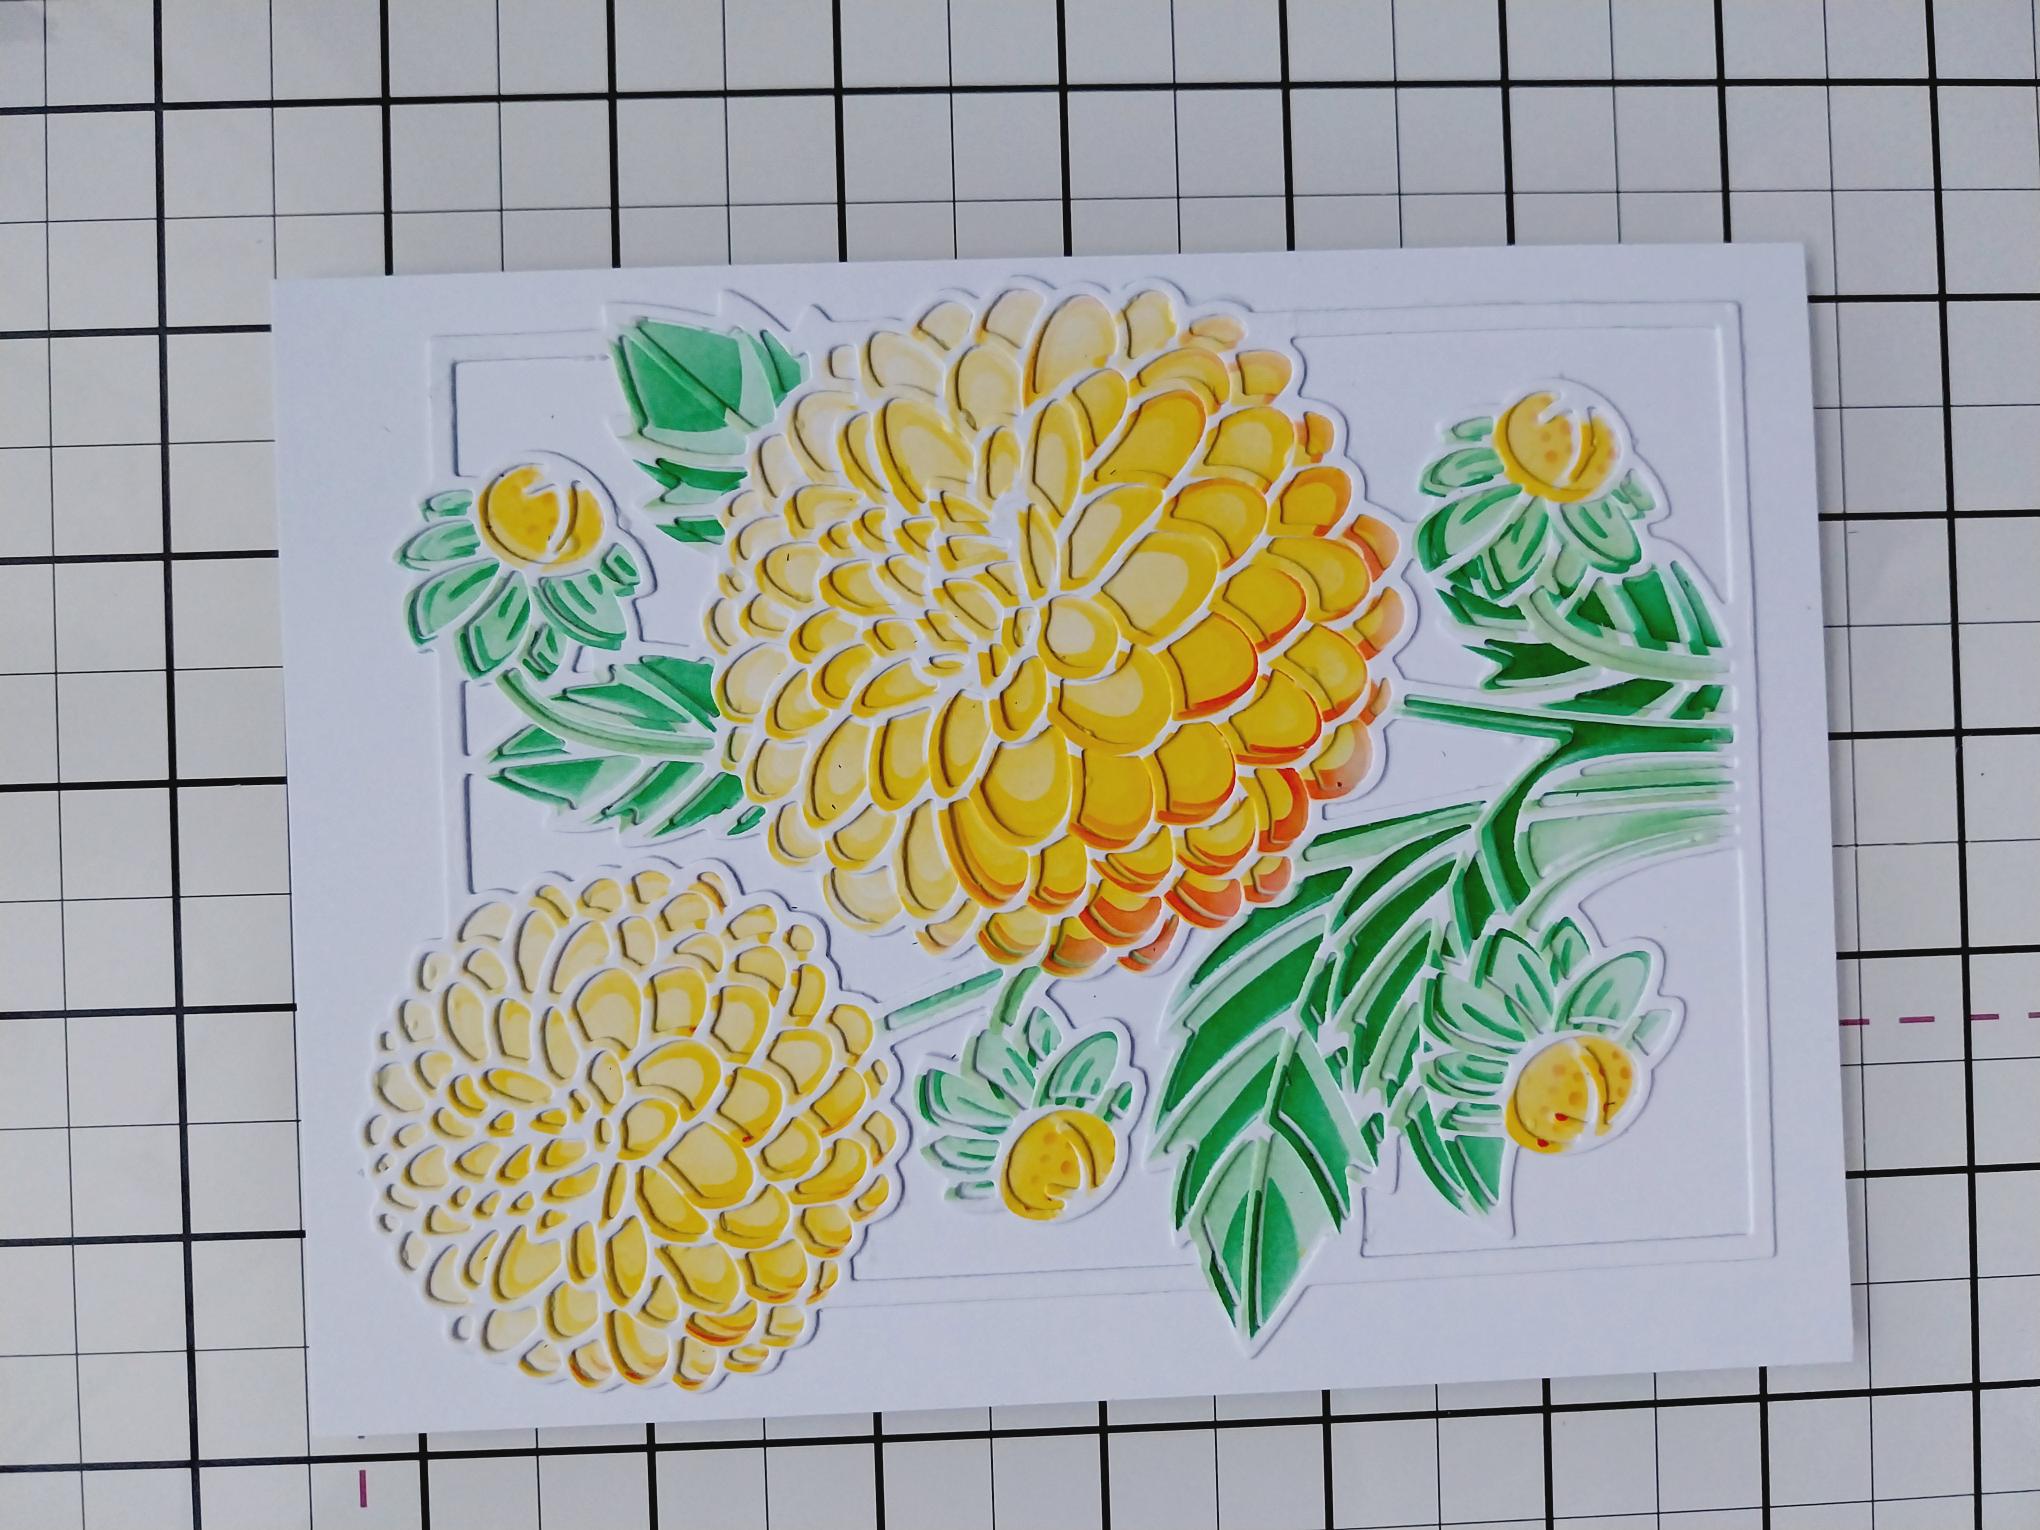
Adhere the die cut frame over the second stencilled image. |
|
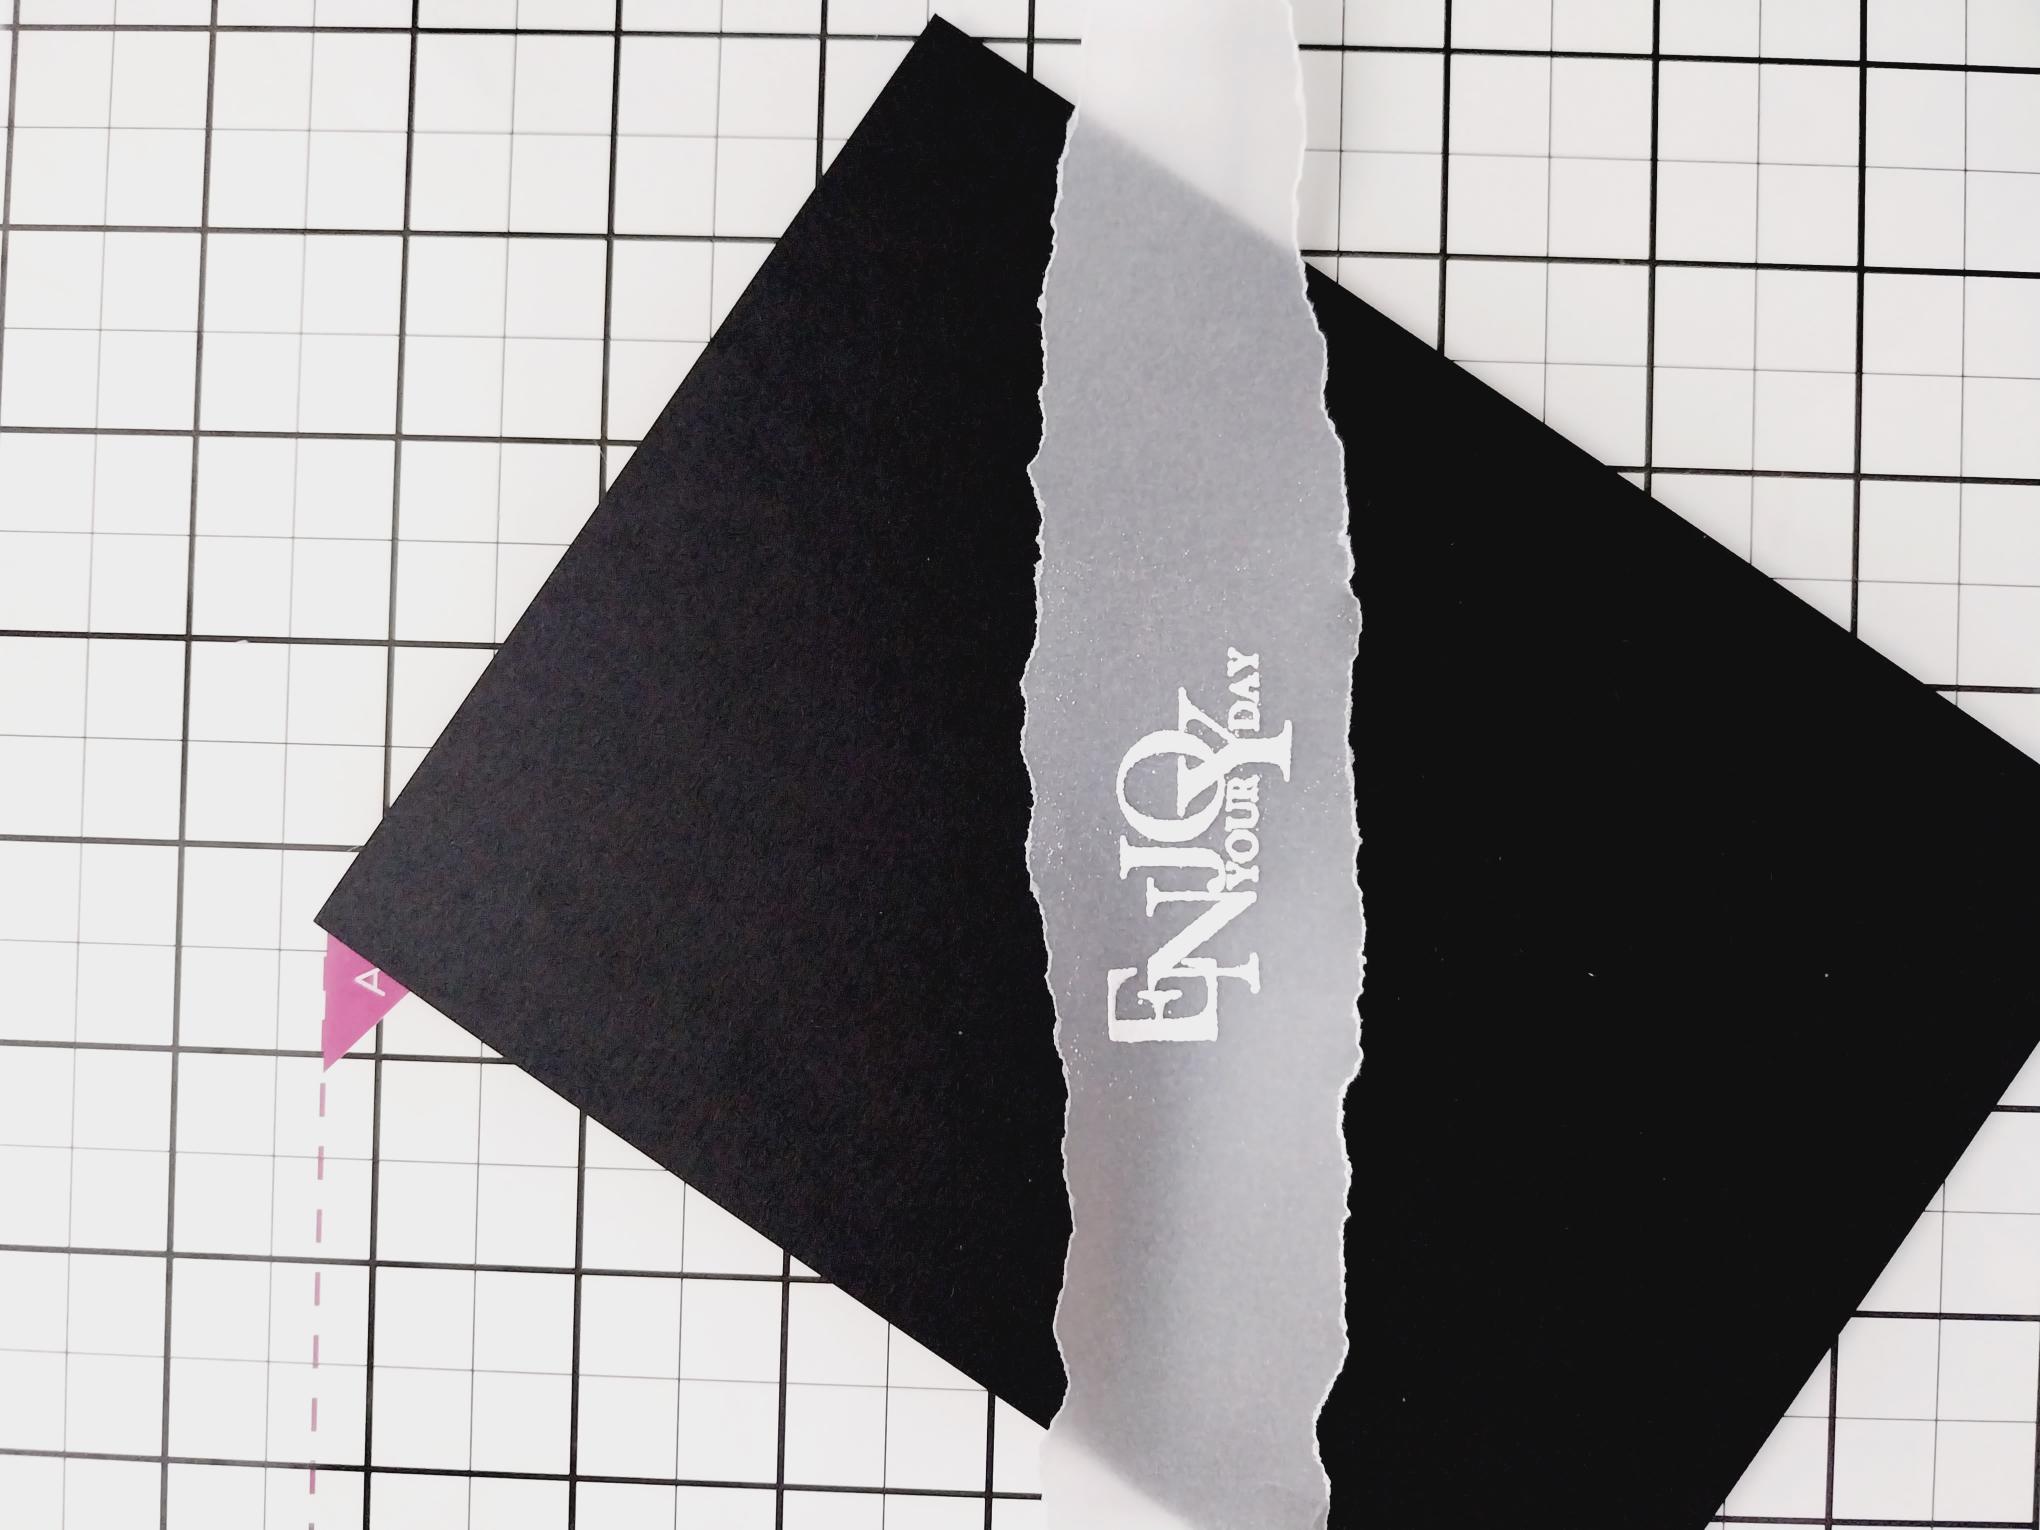
Tear a panel of vellum slightly wider than the frame and deep enough for the sentiment to fit. Wipe over the panel with your anti-static bag before stamping the sentiment in the WOW embossing ink. Sprinkle the white embossing powder over the sentiment, decanting the excess powder back in the pot. Once your heat tool is hot, heat set the powder, moving your gun as soon as it starts to turn. |
|
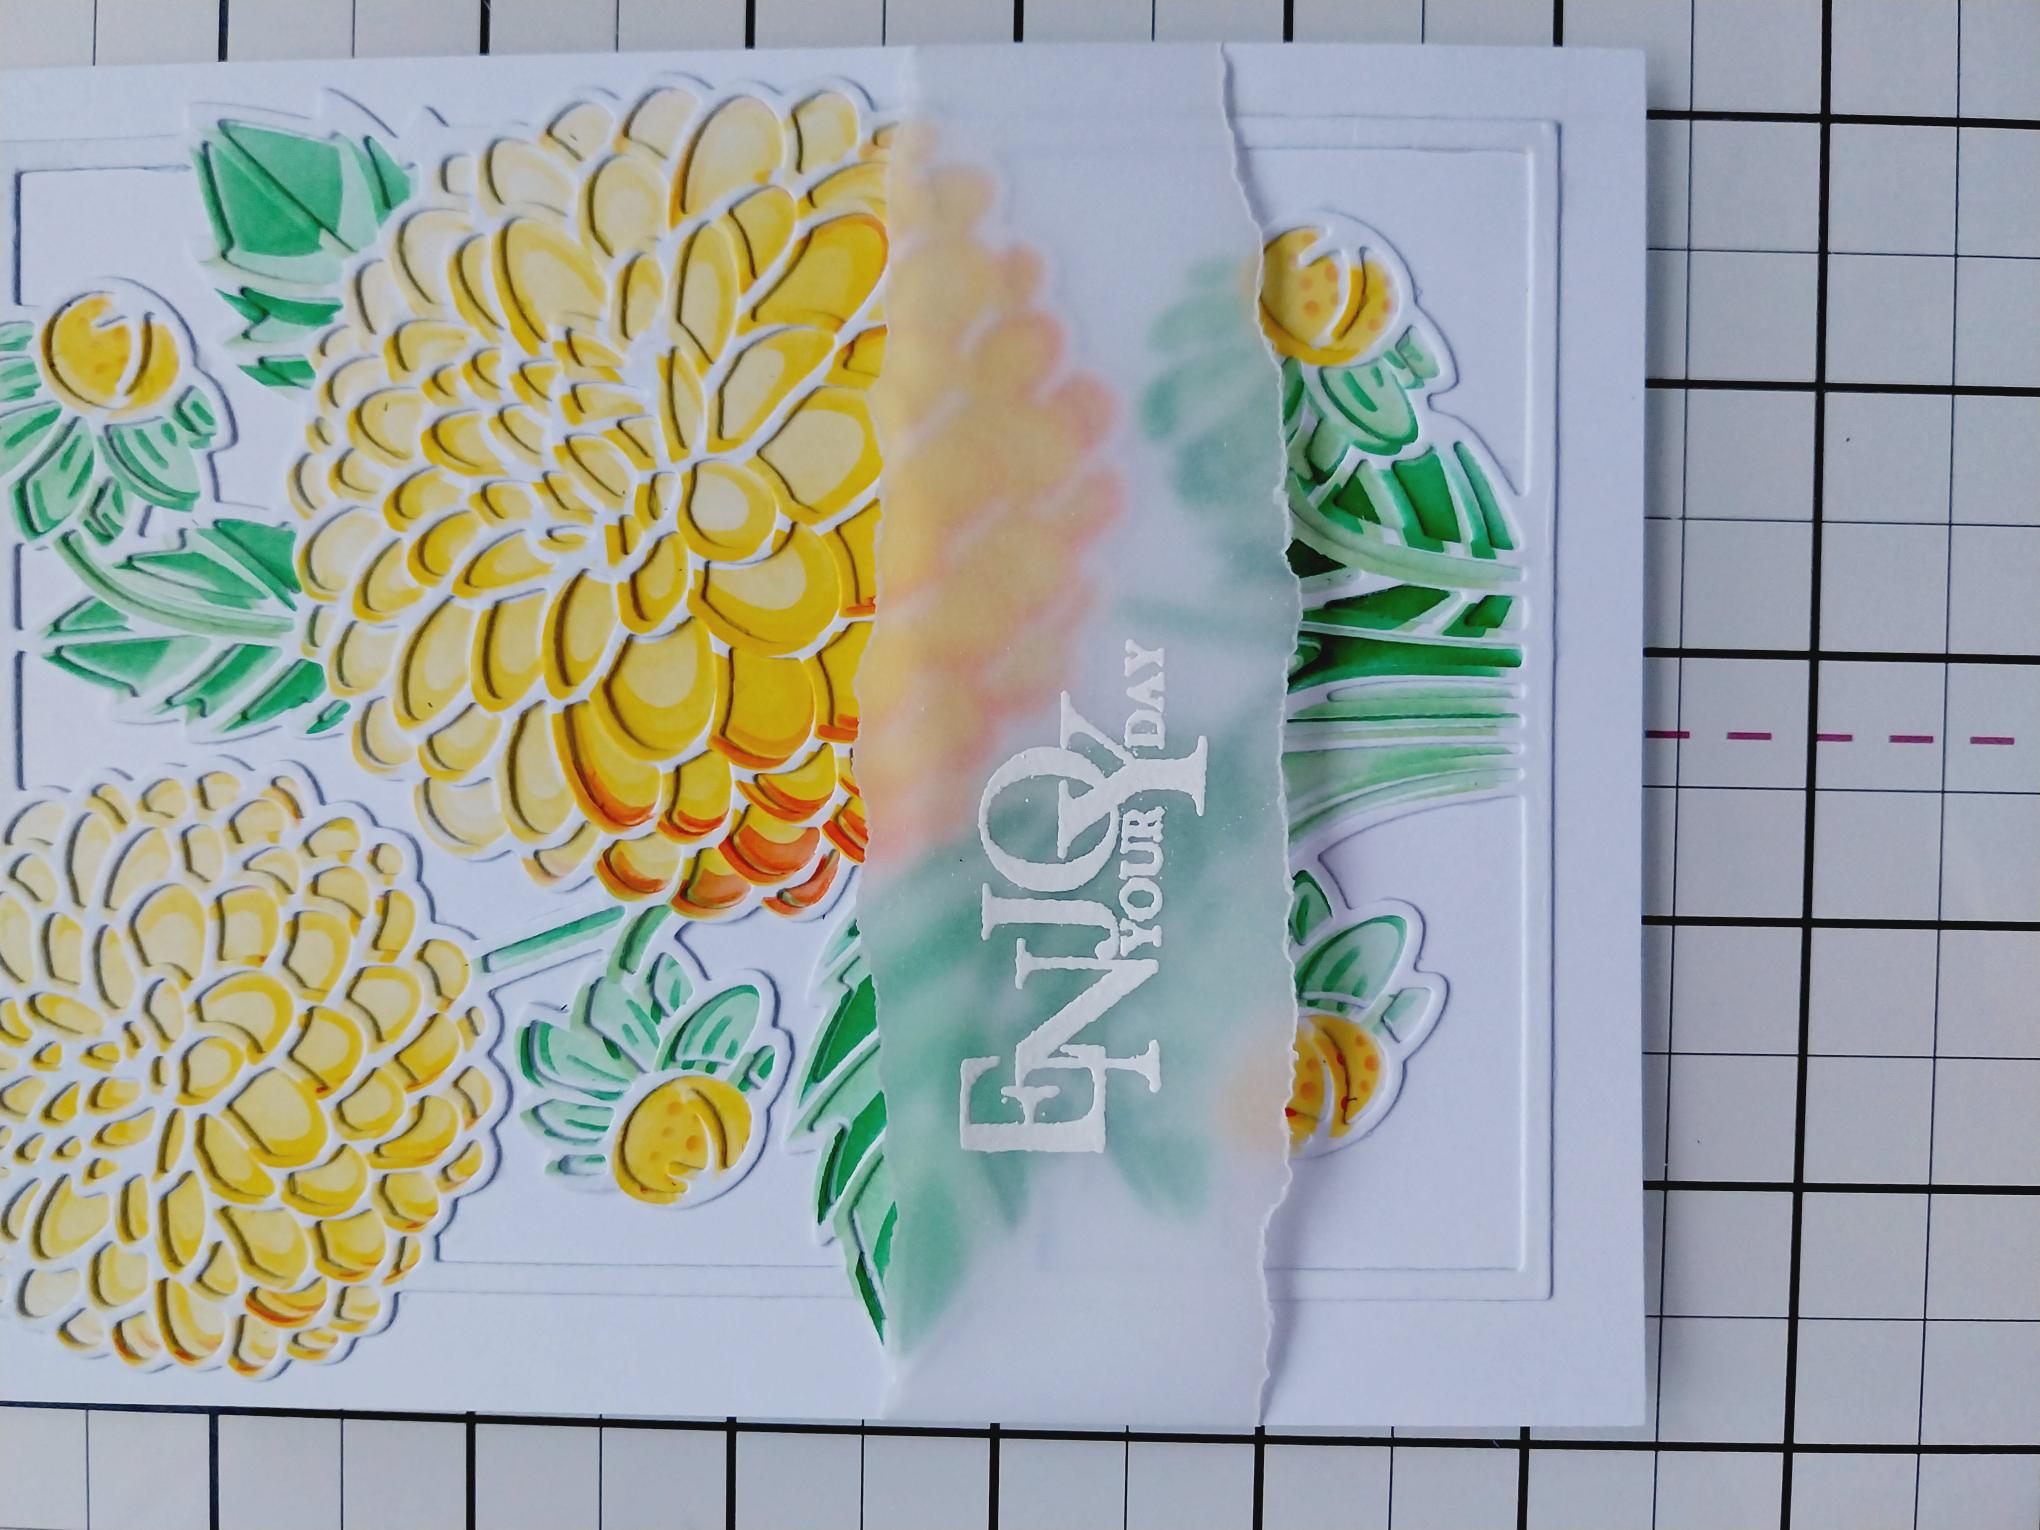
Place the embossed vellum across the bottom half of the artwork, tuck the edges over and secure on the reverse of the card with your double-sided tape. |
|
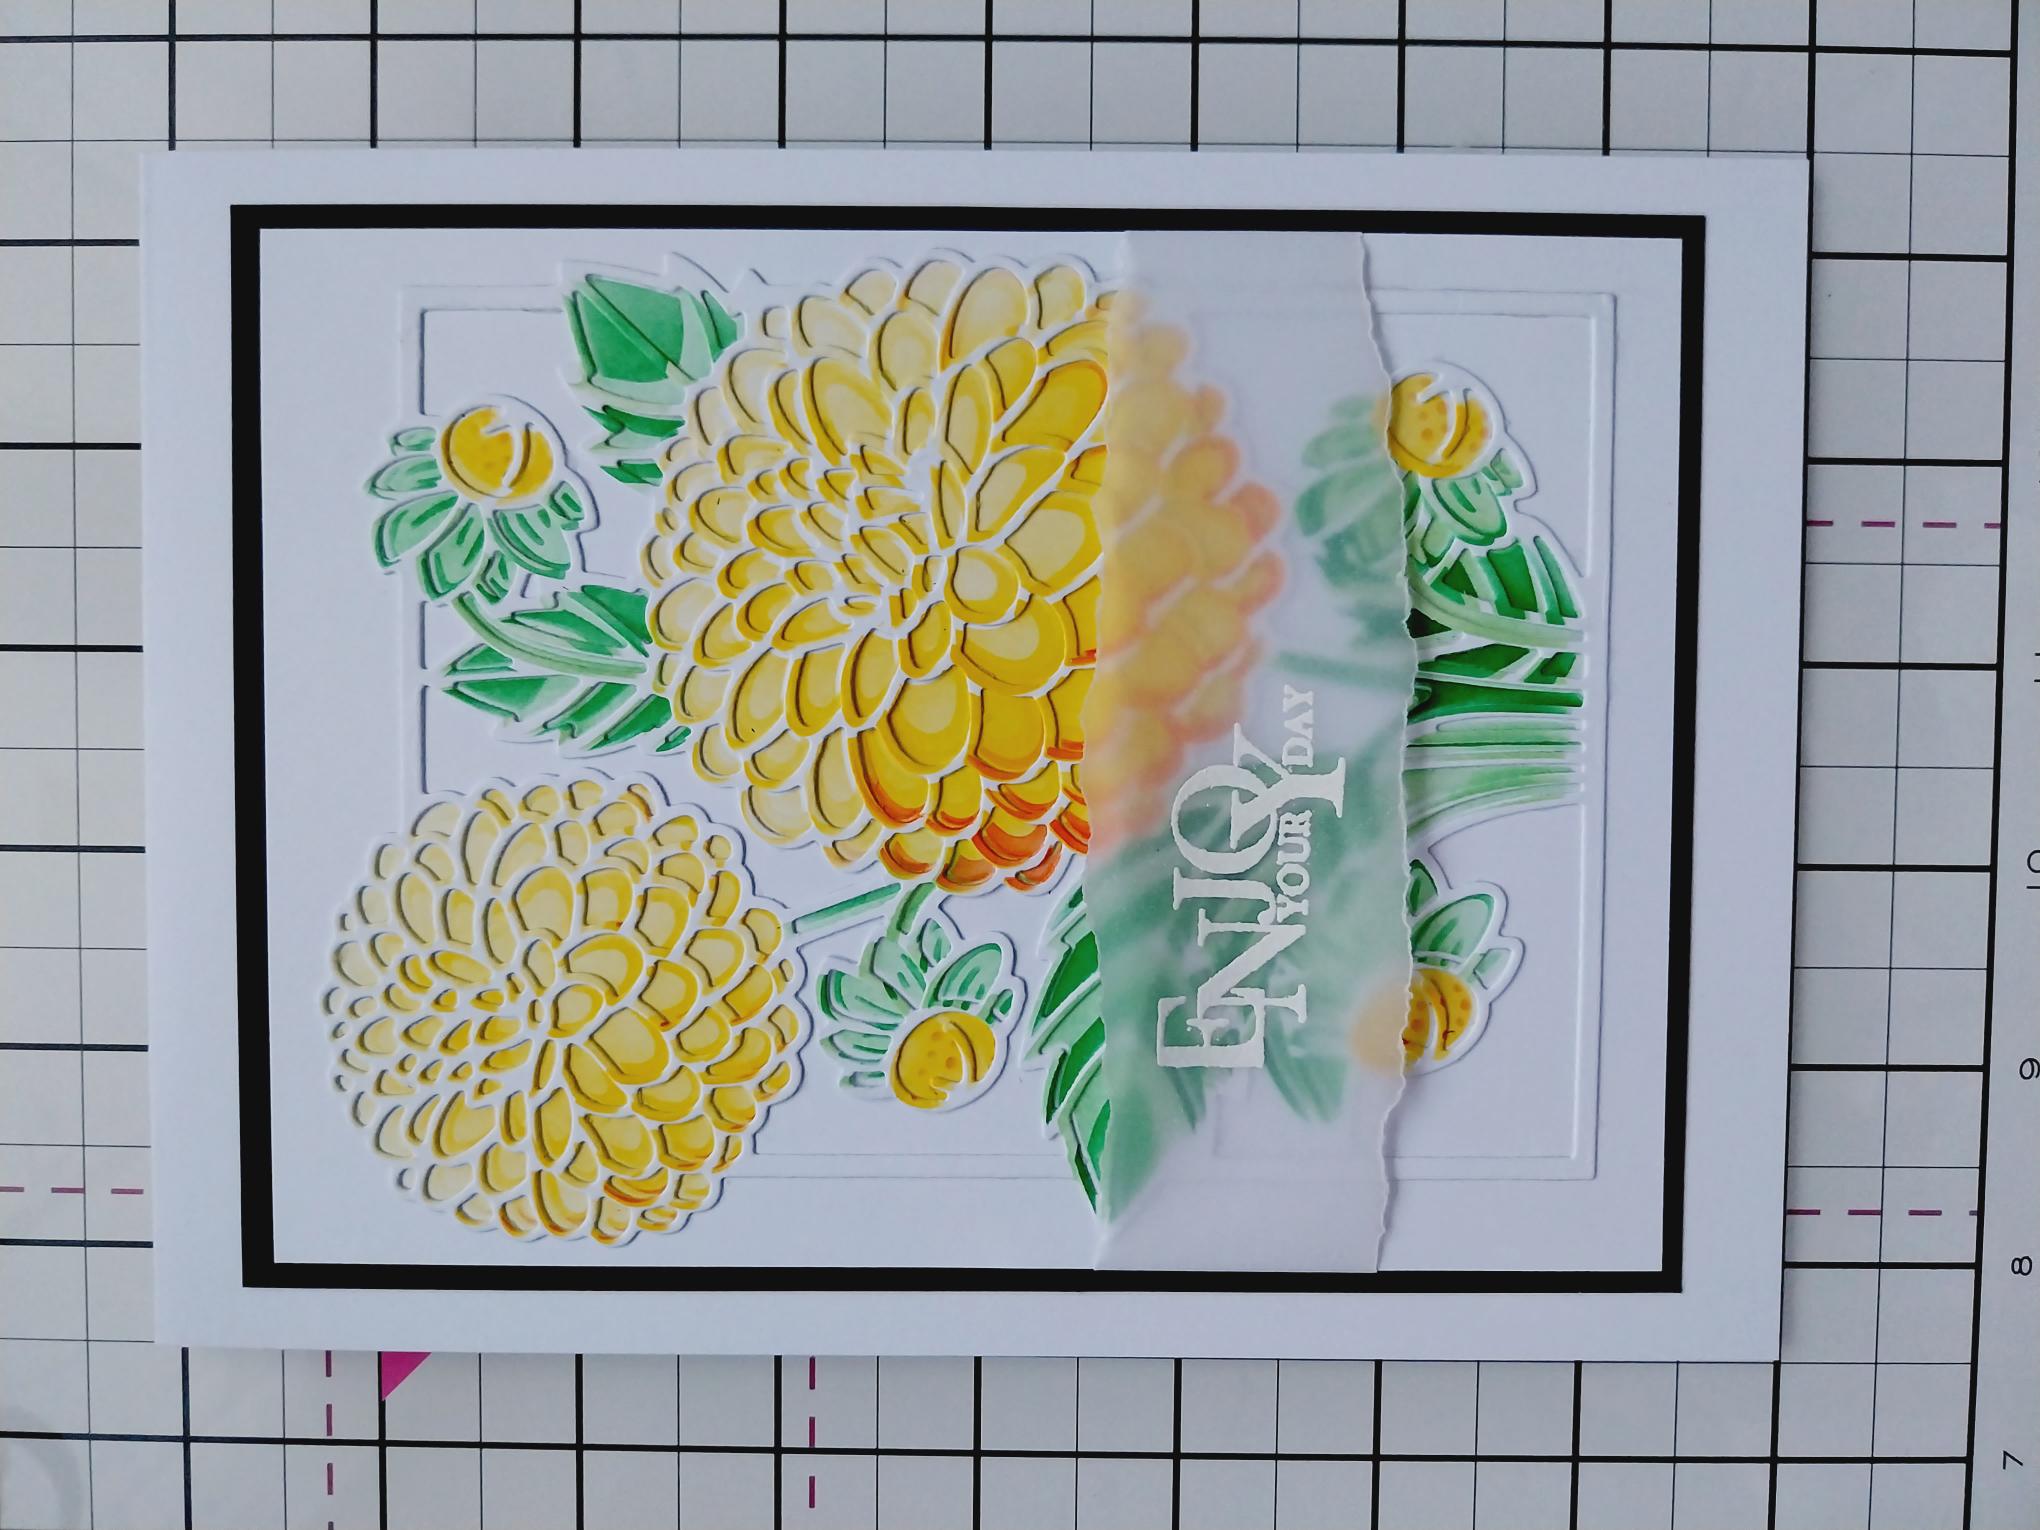
Adhere your artwork on to black card, trimmed to 7 x 5 1/4" and then to the front of your white card blank. |