Offrez à vos amis 10 € de réduction sur leur première commande !
Parrainez un AMI









CE DONT VOUS AUREZ BESOIN :
Carte vierge blanche 7 1/2" x 7 1/2"
Papier cartonné noir/blanc
Tampon IMALA Still Fabulous A5
Tampon IMALA Dress To Express A5
Encreur hybride SBM : Midnight
Encreur à encre colorante SBM : Surfboard
Feuille de masquage
Pinceau
Peintures aquarelle
Outil de blending
Eureka 101 Watercolour Tablet
Tapis en verre magnétique SBM A3
Massicot
Colle
[cliquez sur l'image pour l'agrandir] 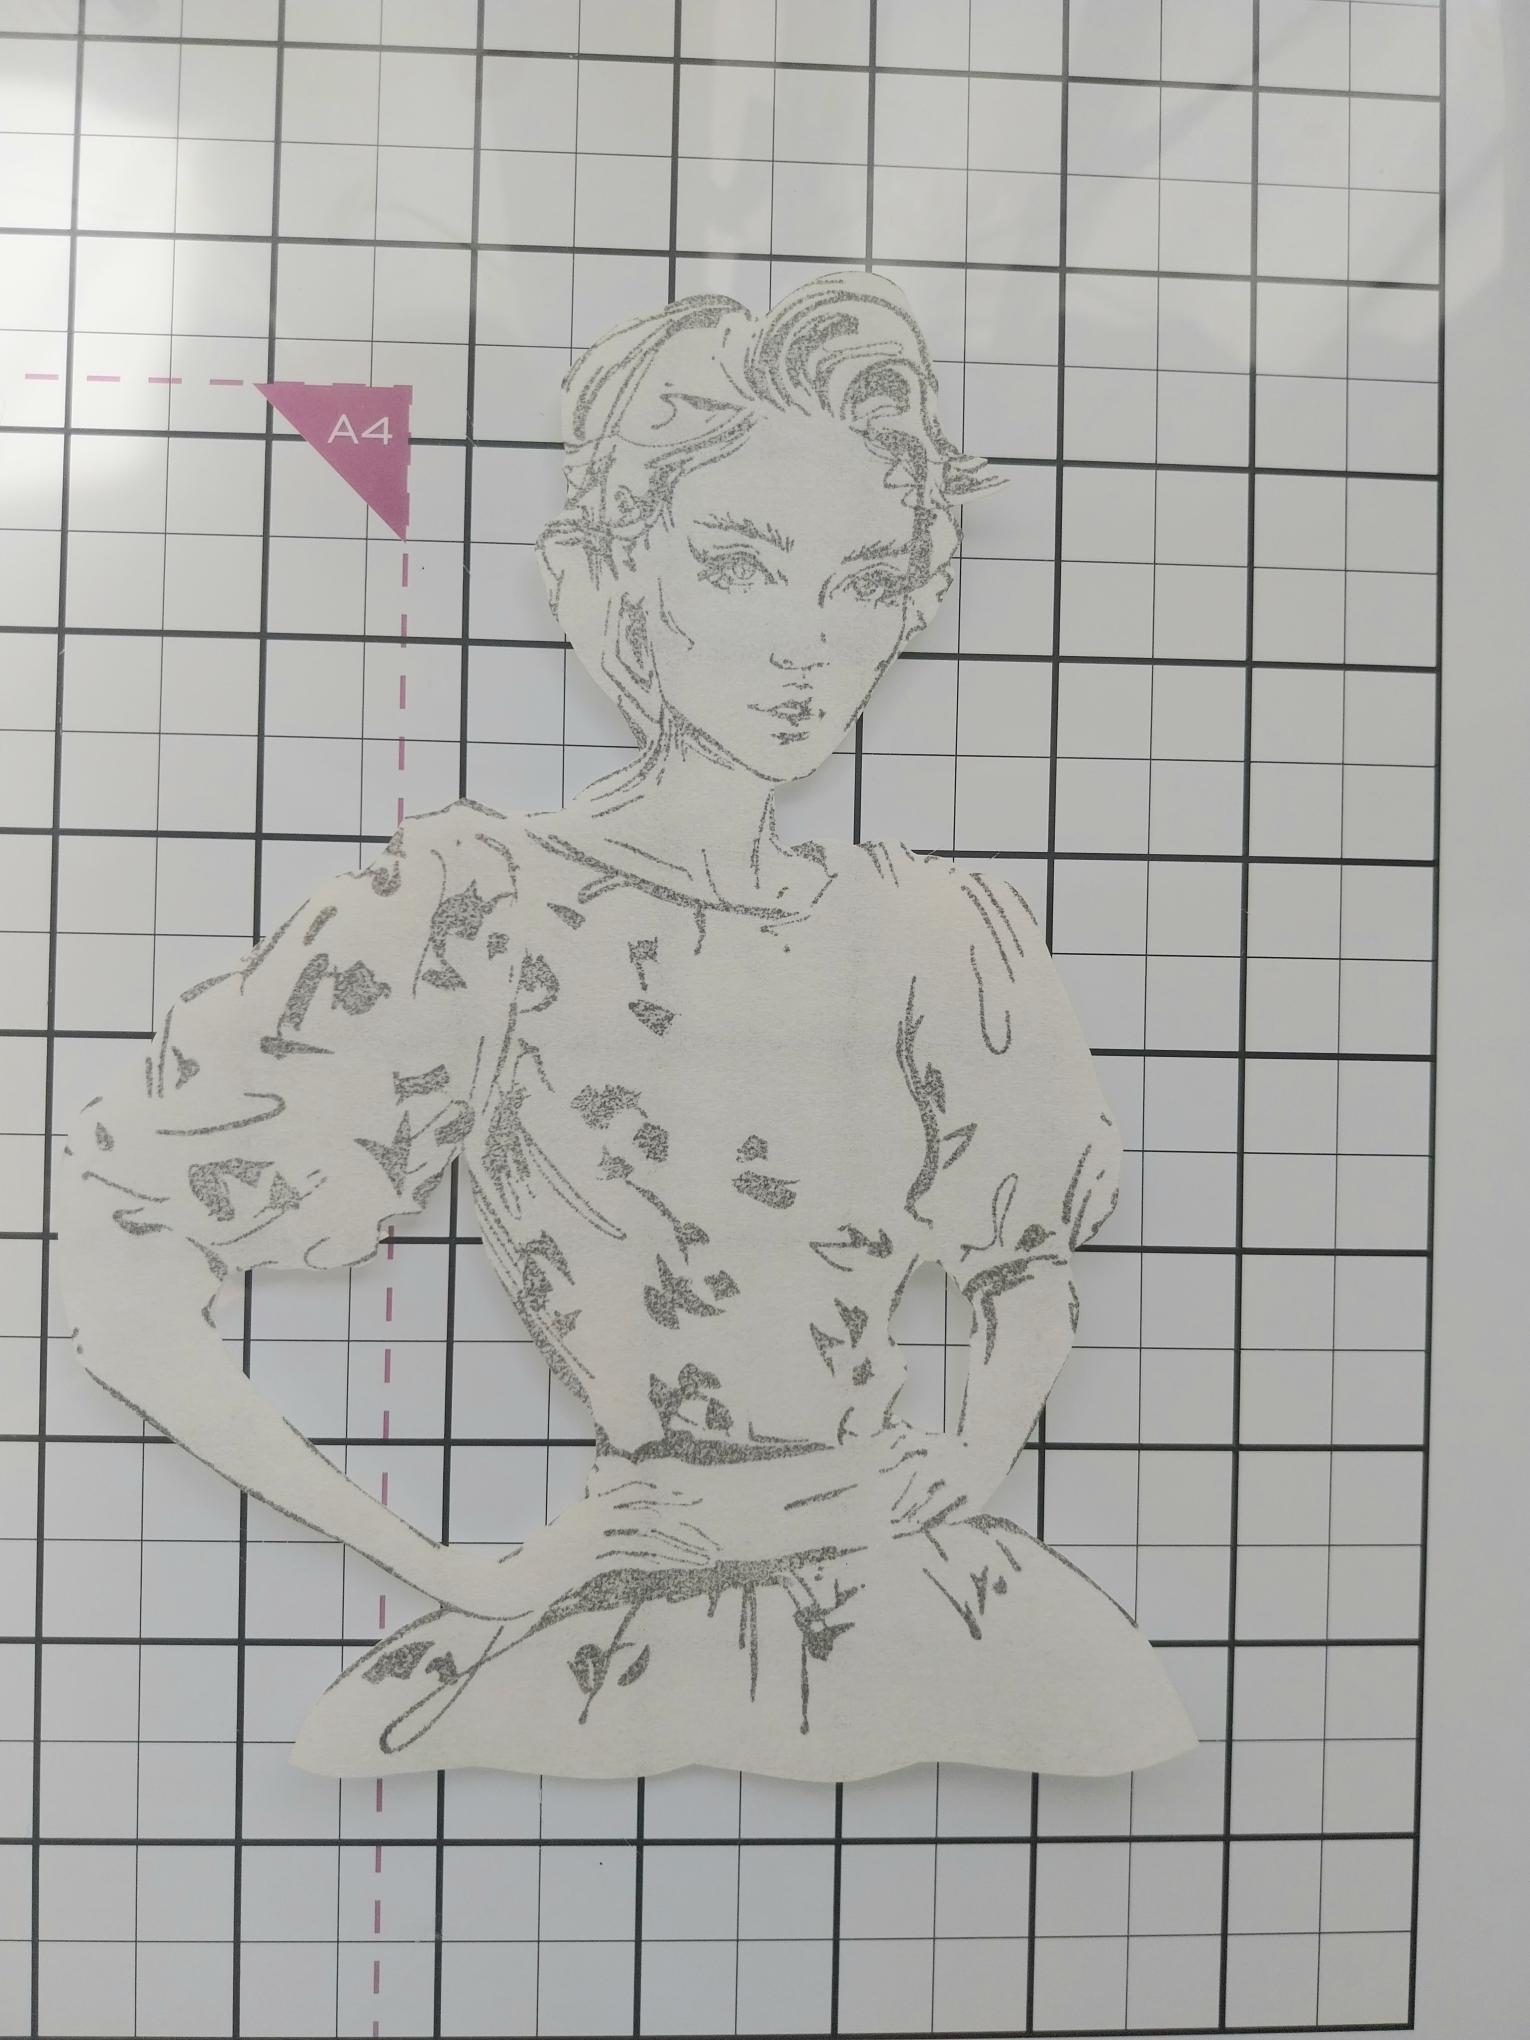
|
Stamp our lovely lady on to a masking sheet, copy paper, post-it-note and fussy cut to create a "mask". |
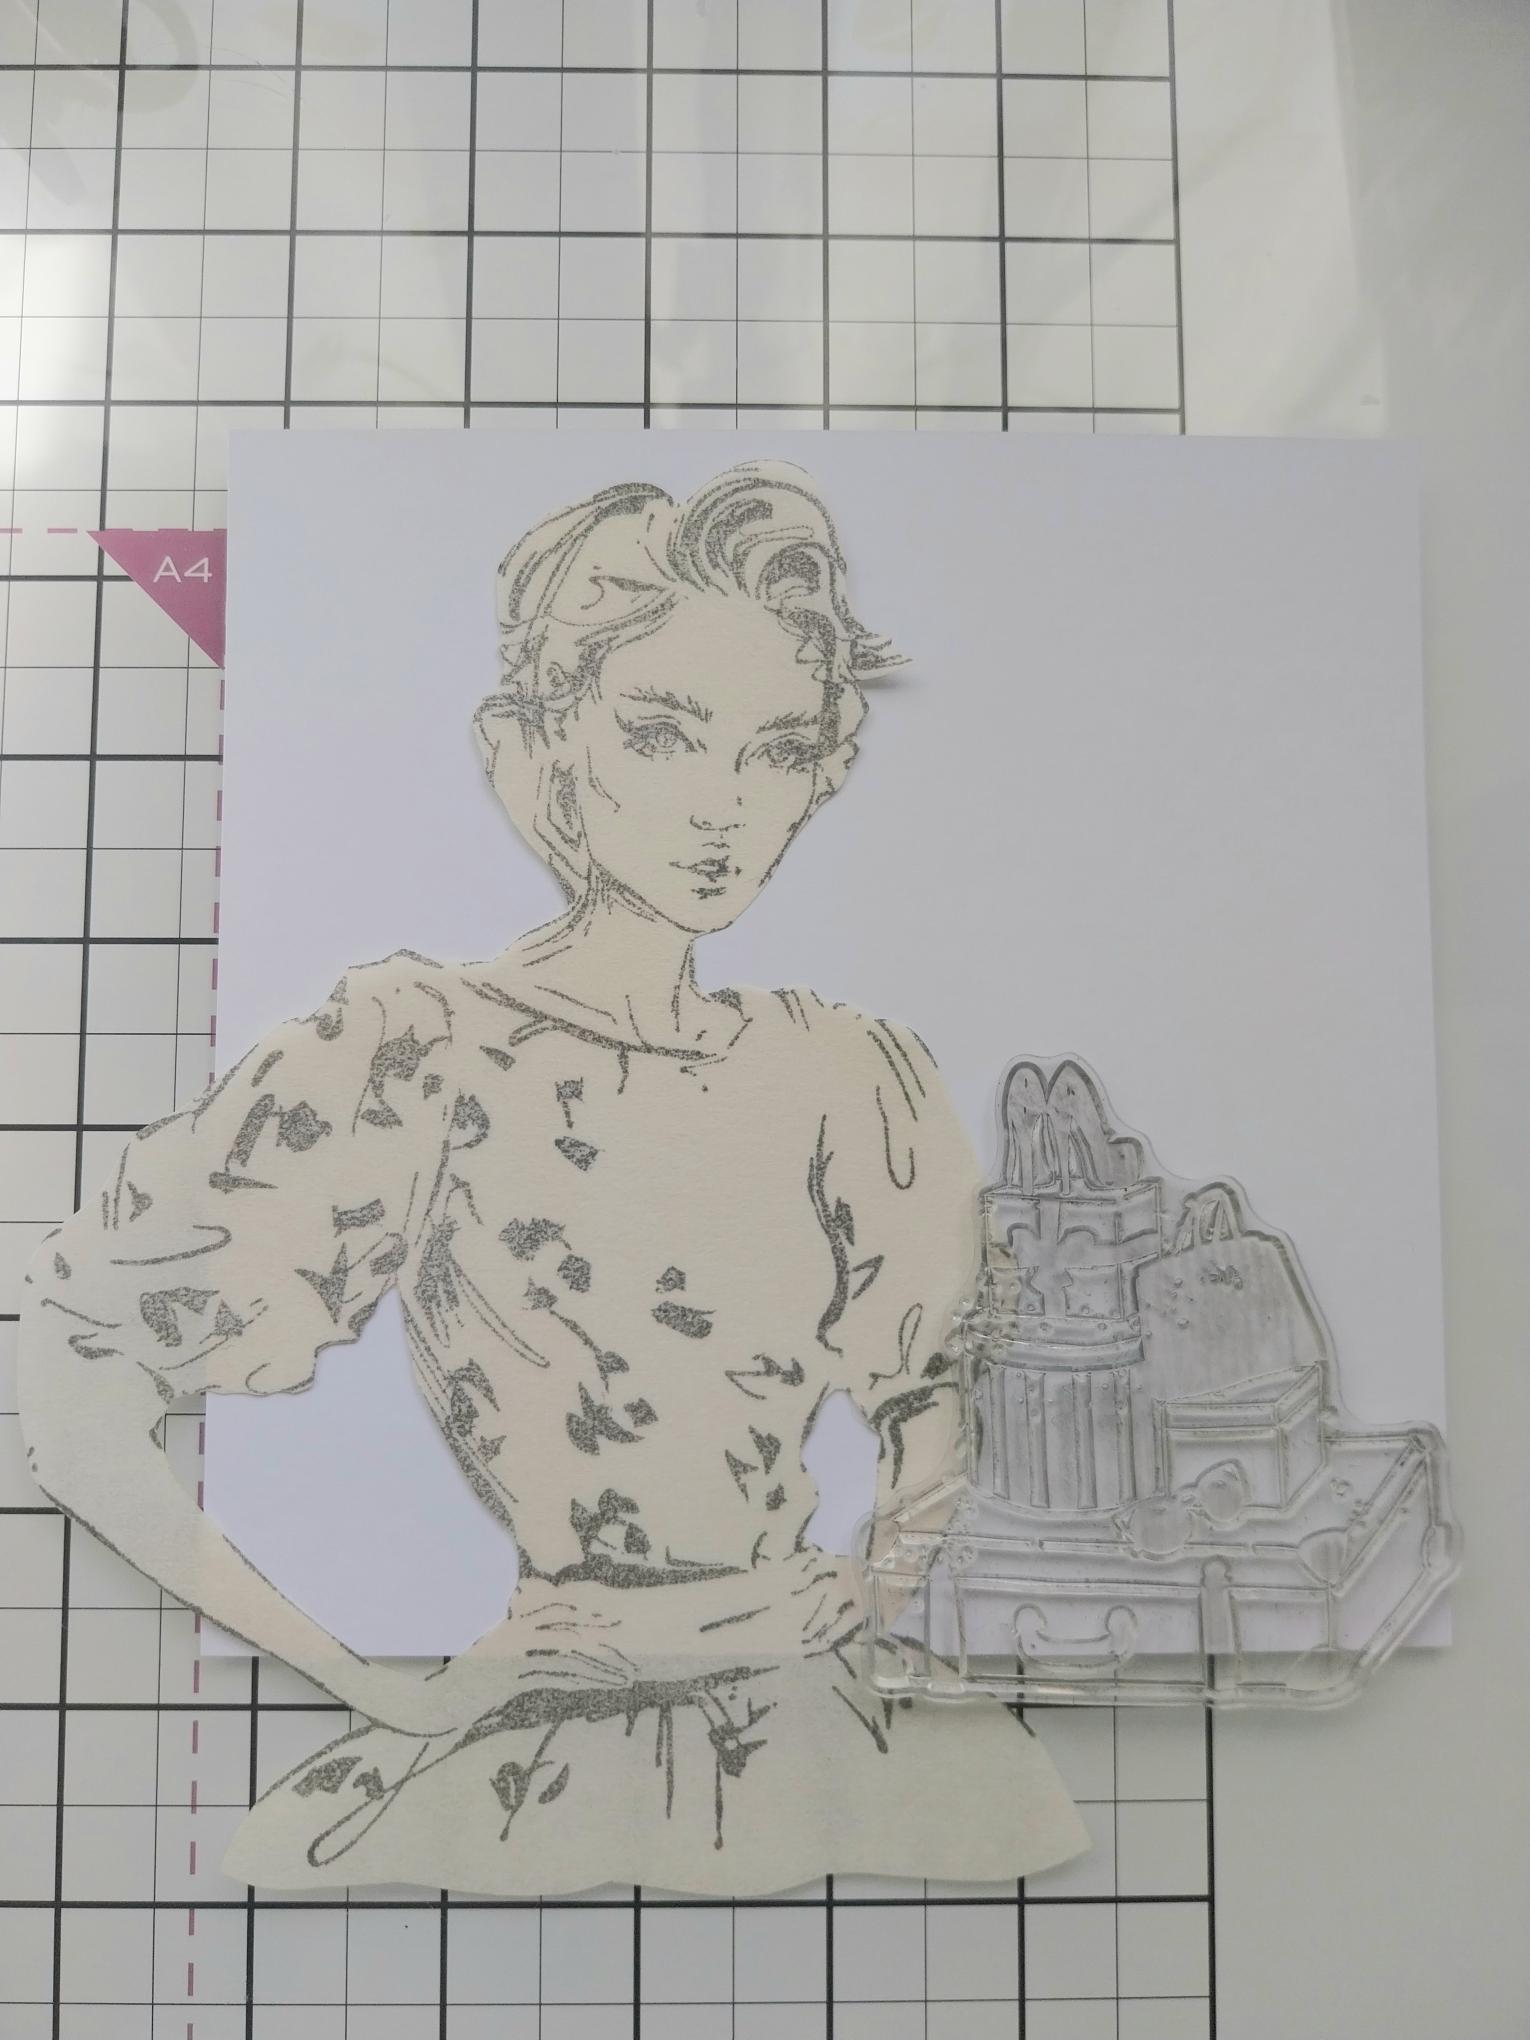
|
Cut a piece of white card to 6 1/2" square and place landscape on your glass mat. Using the presents stamp from Dress to Express, as a positional guide, secure your "mask" where you want her to be. |
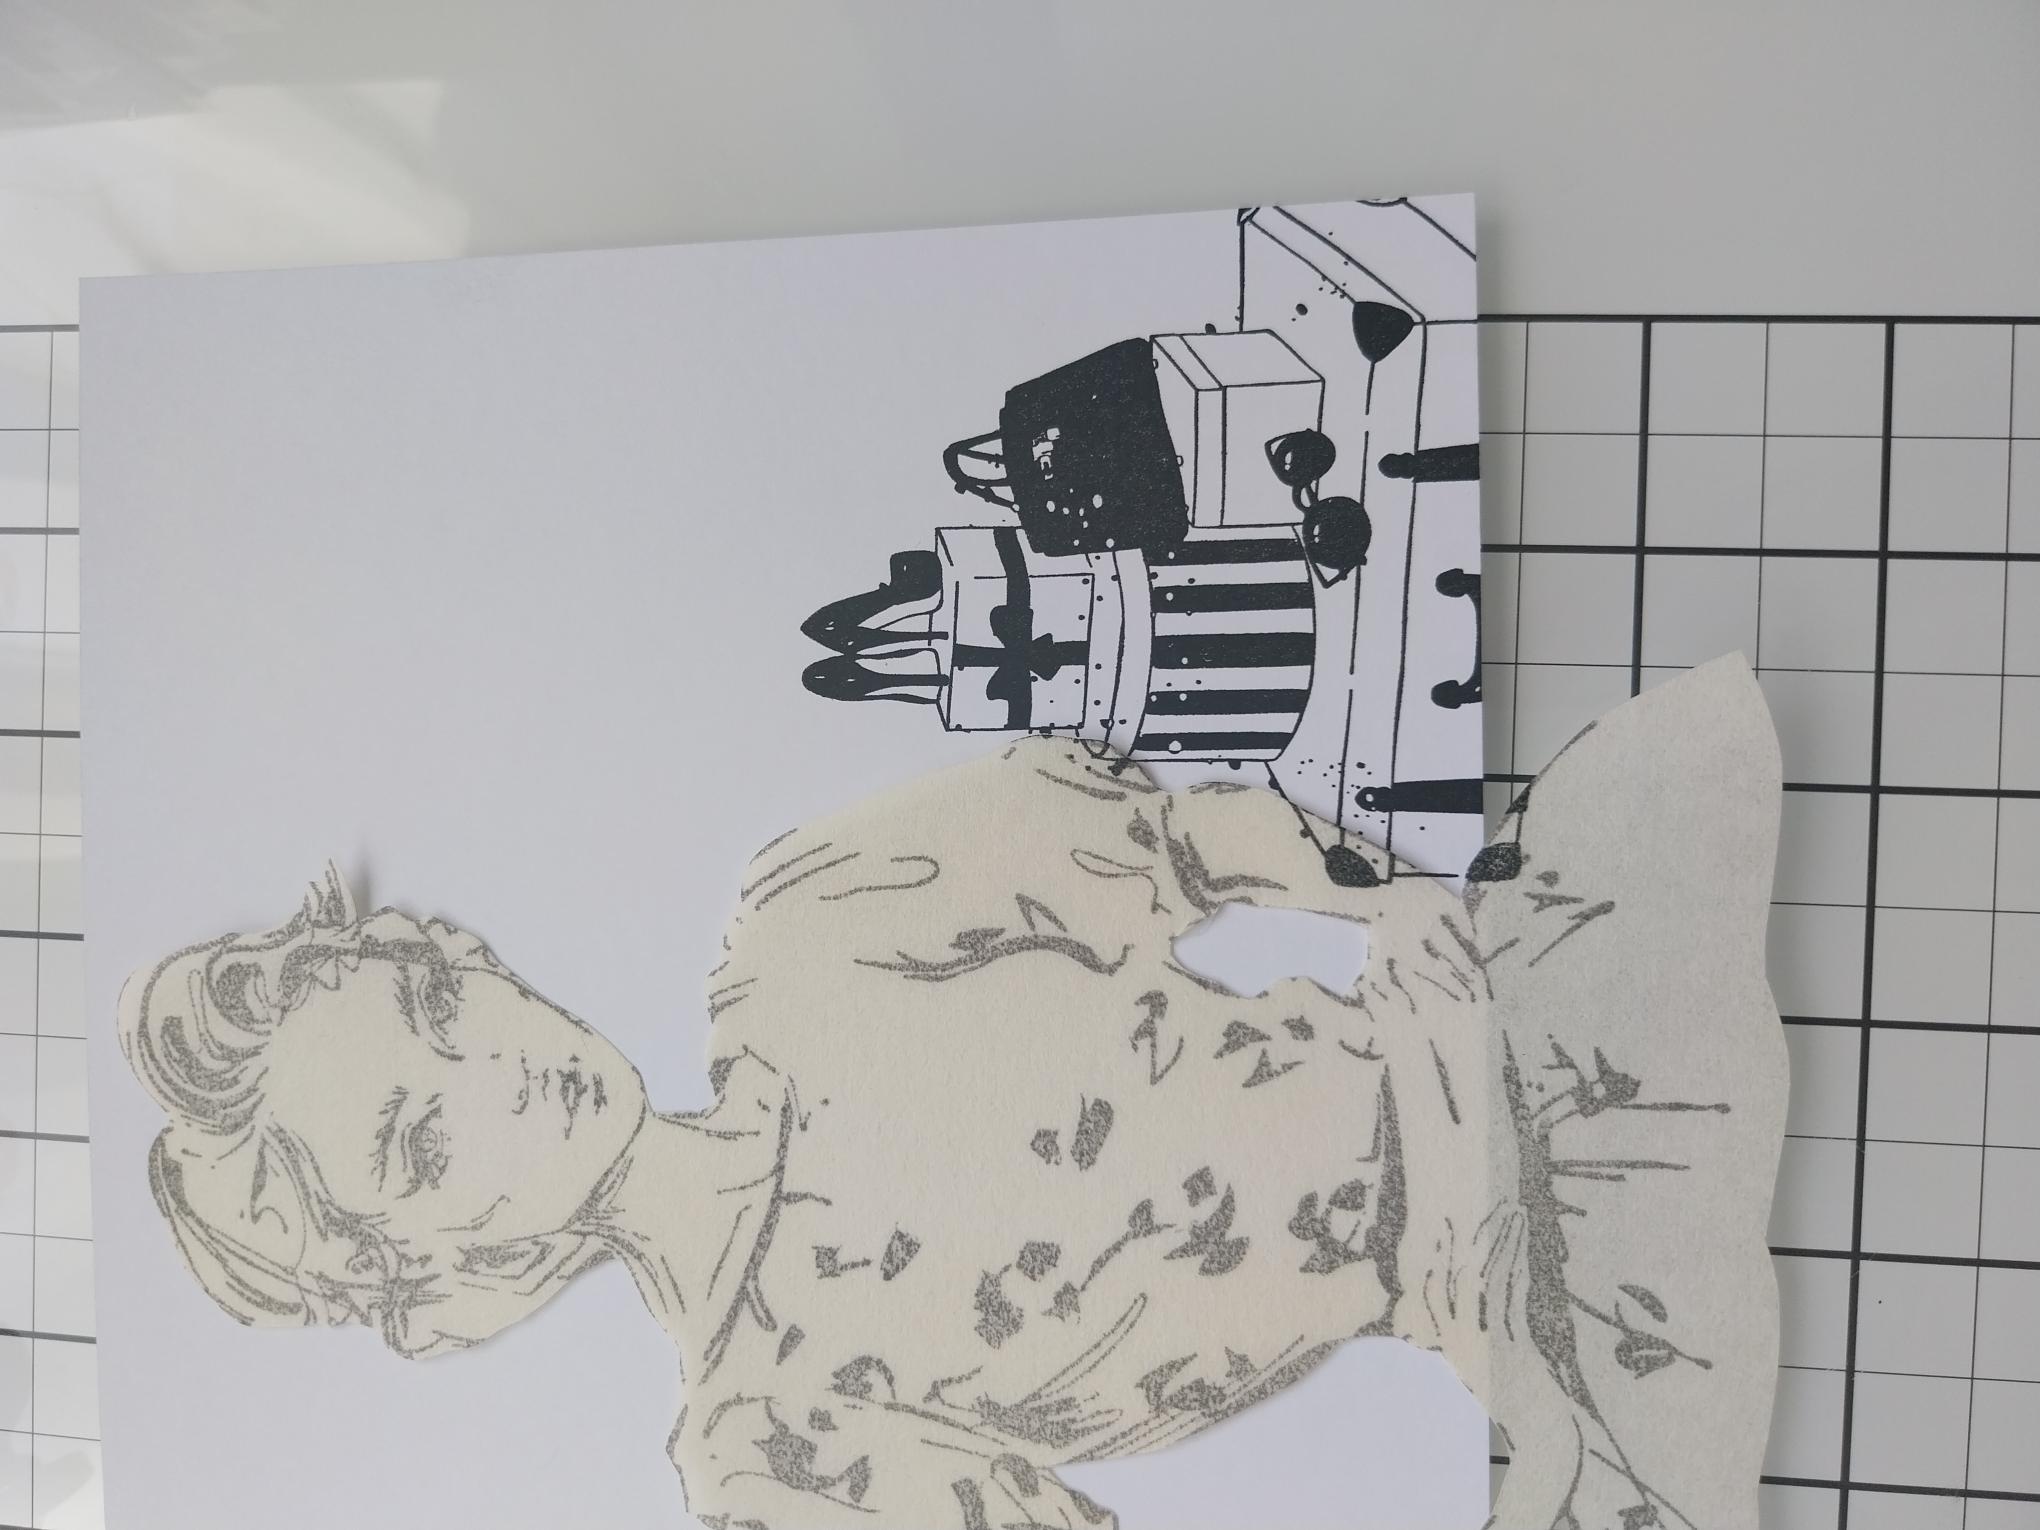
|
Stamp the presents in Midnight, so they sit to the right of the "mask" |
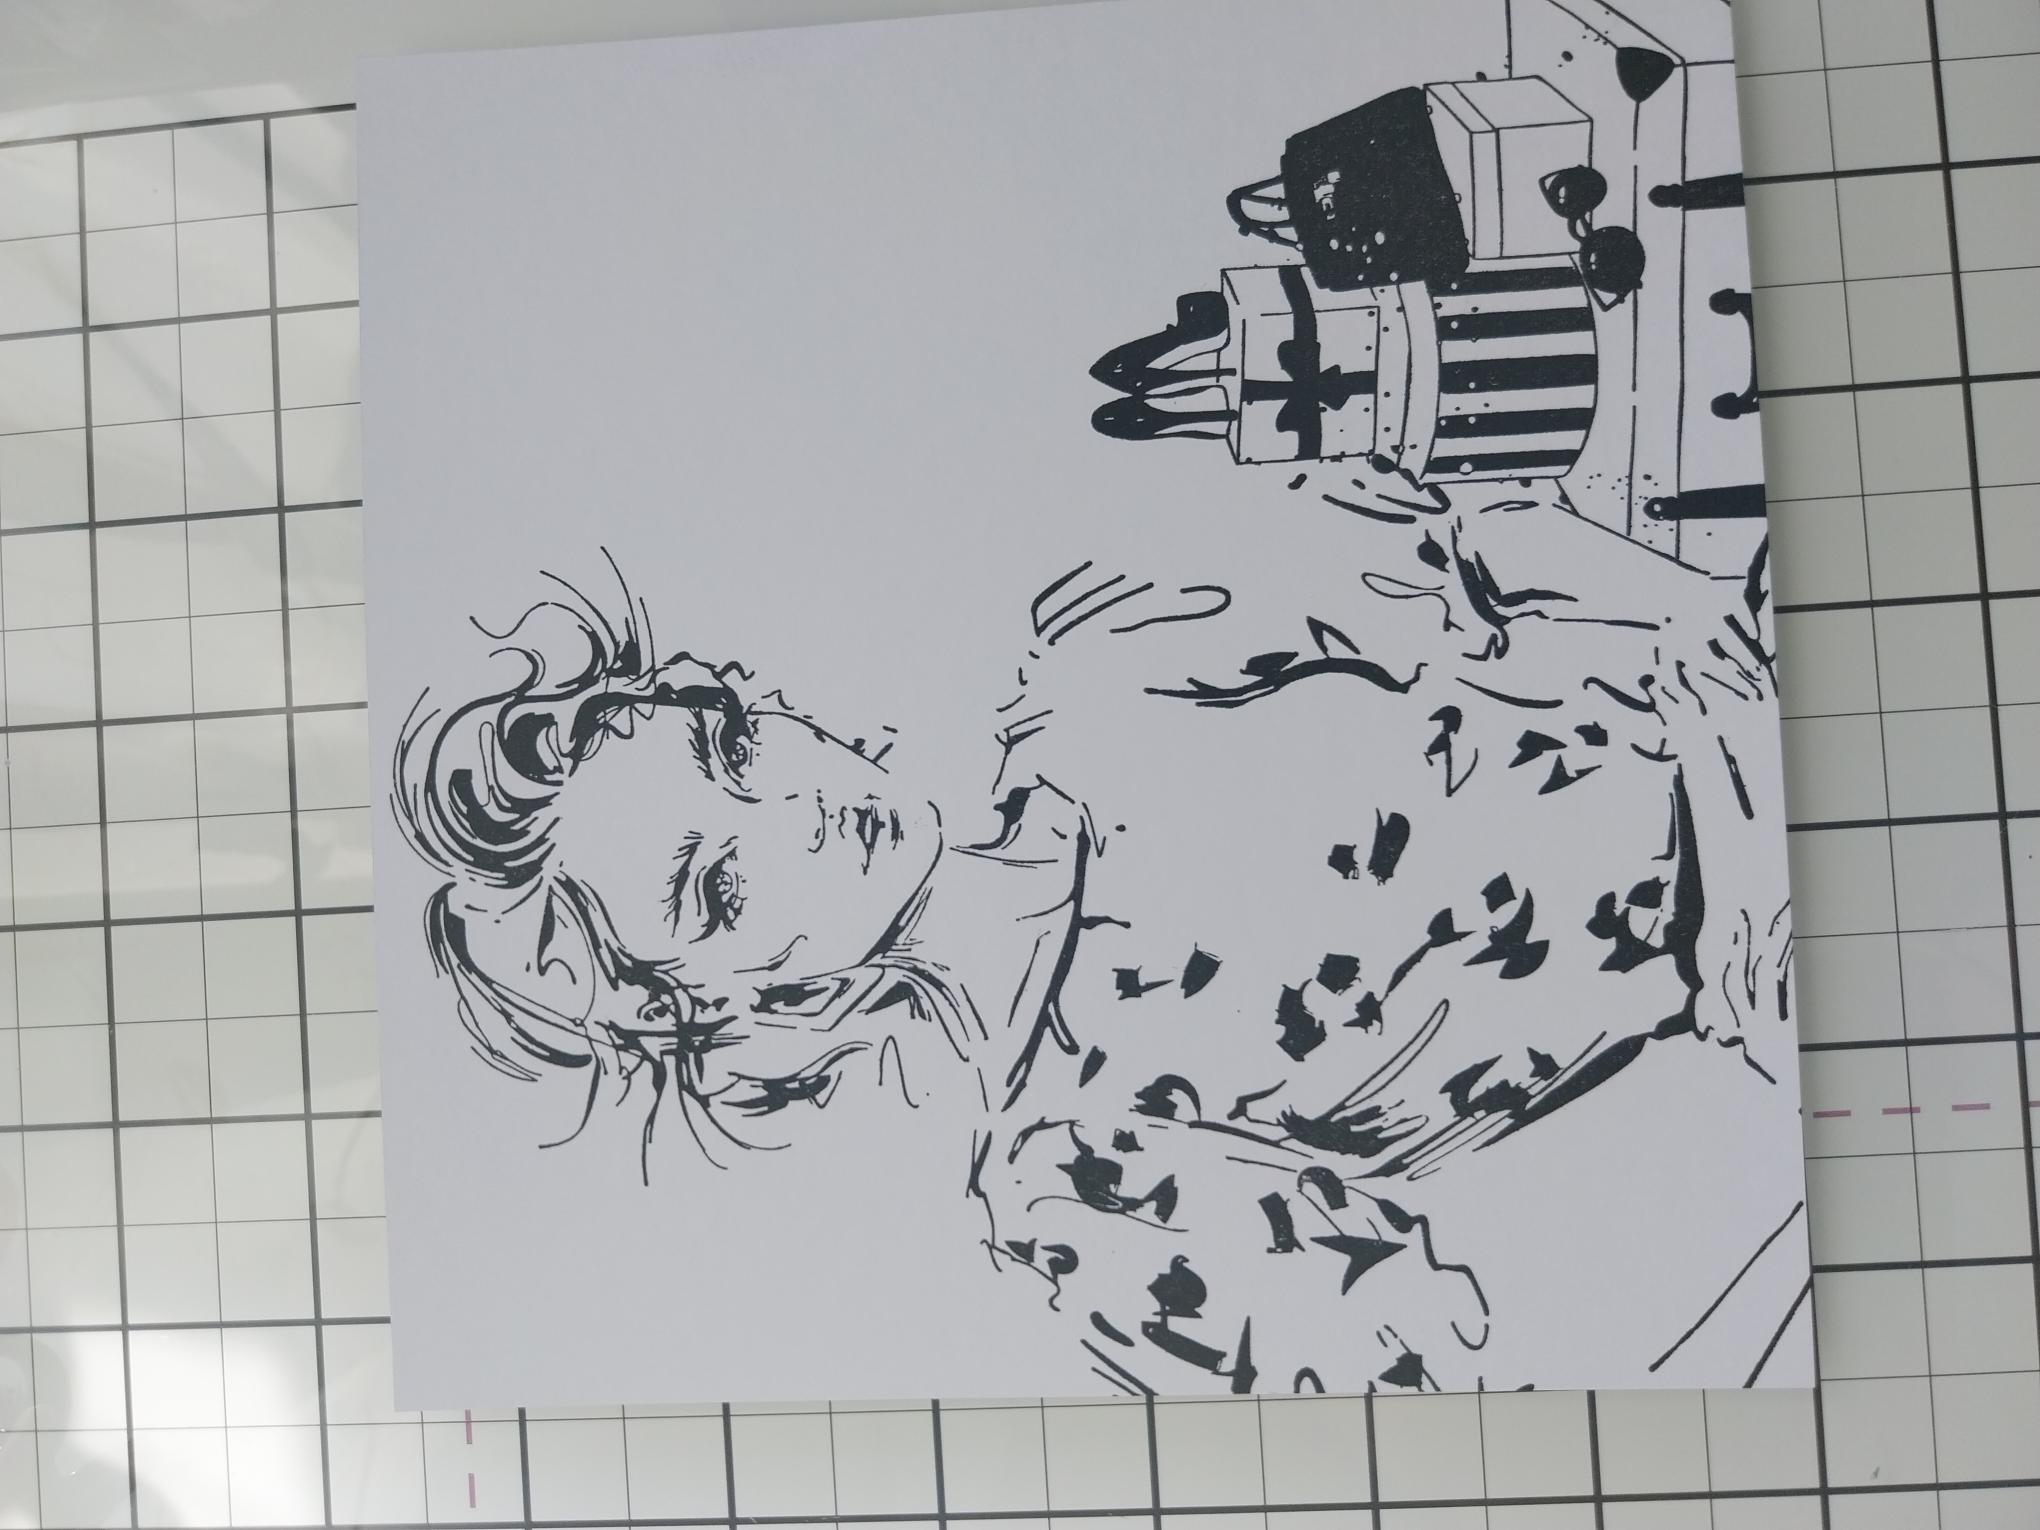
|
Now remove the mask and stamp your lady in place. |
|
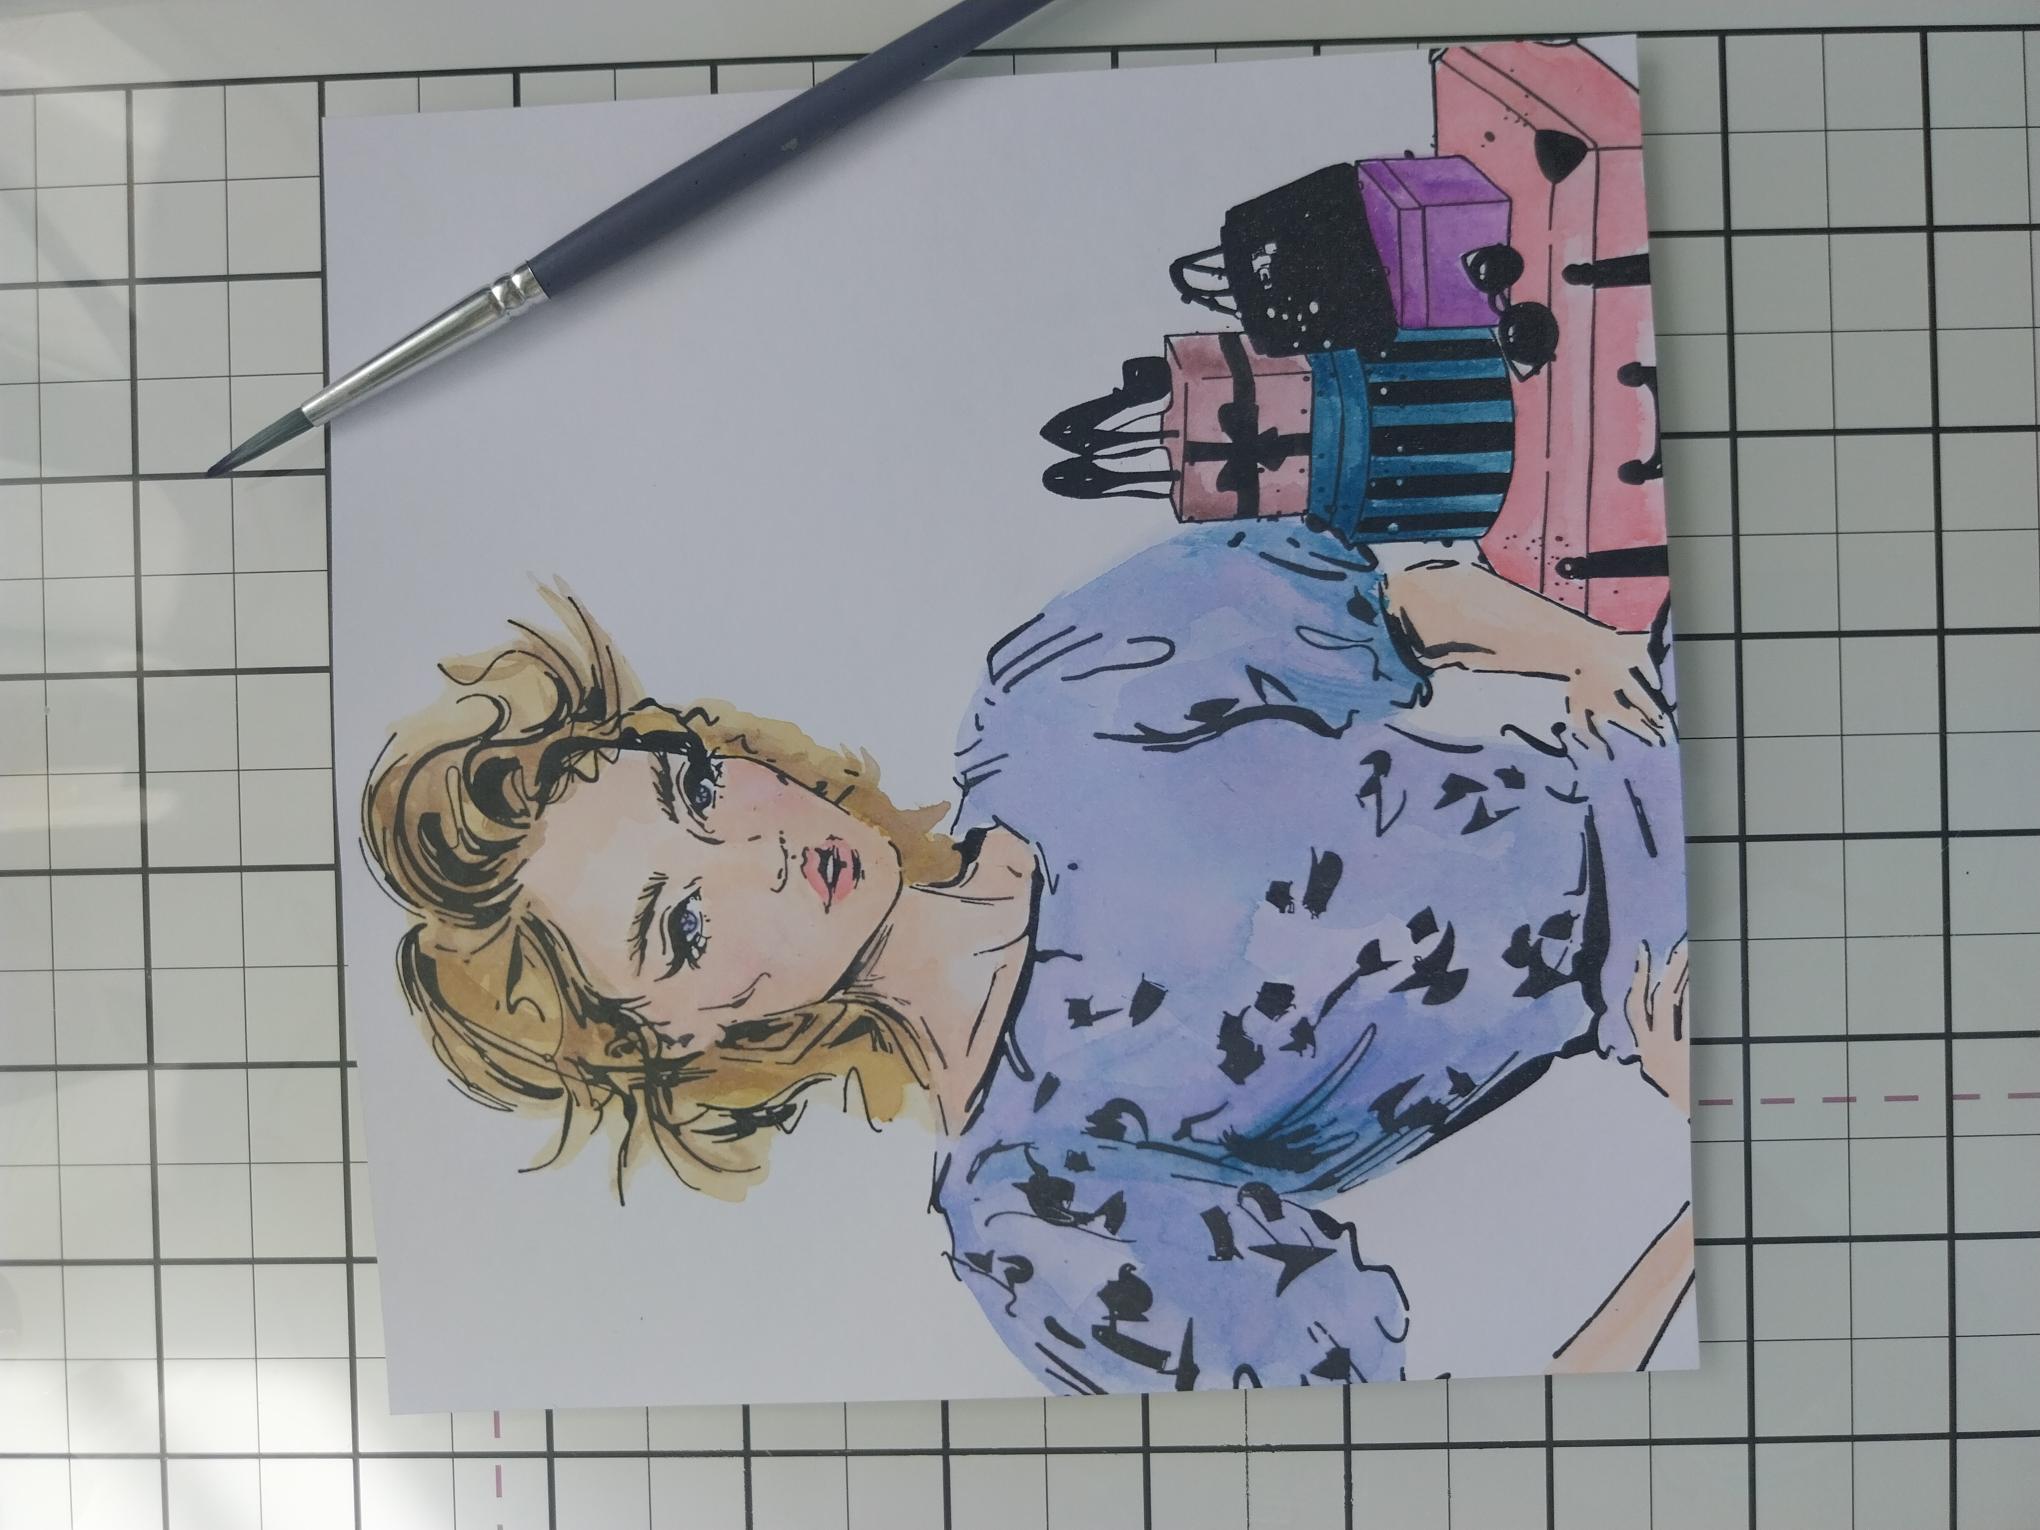
Use your watercolour paints to colour in your stamped images. |
|
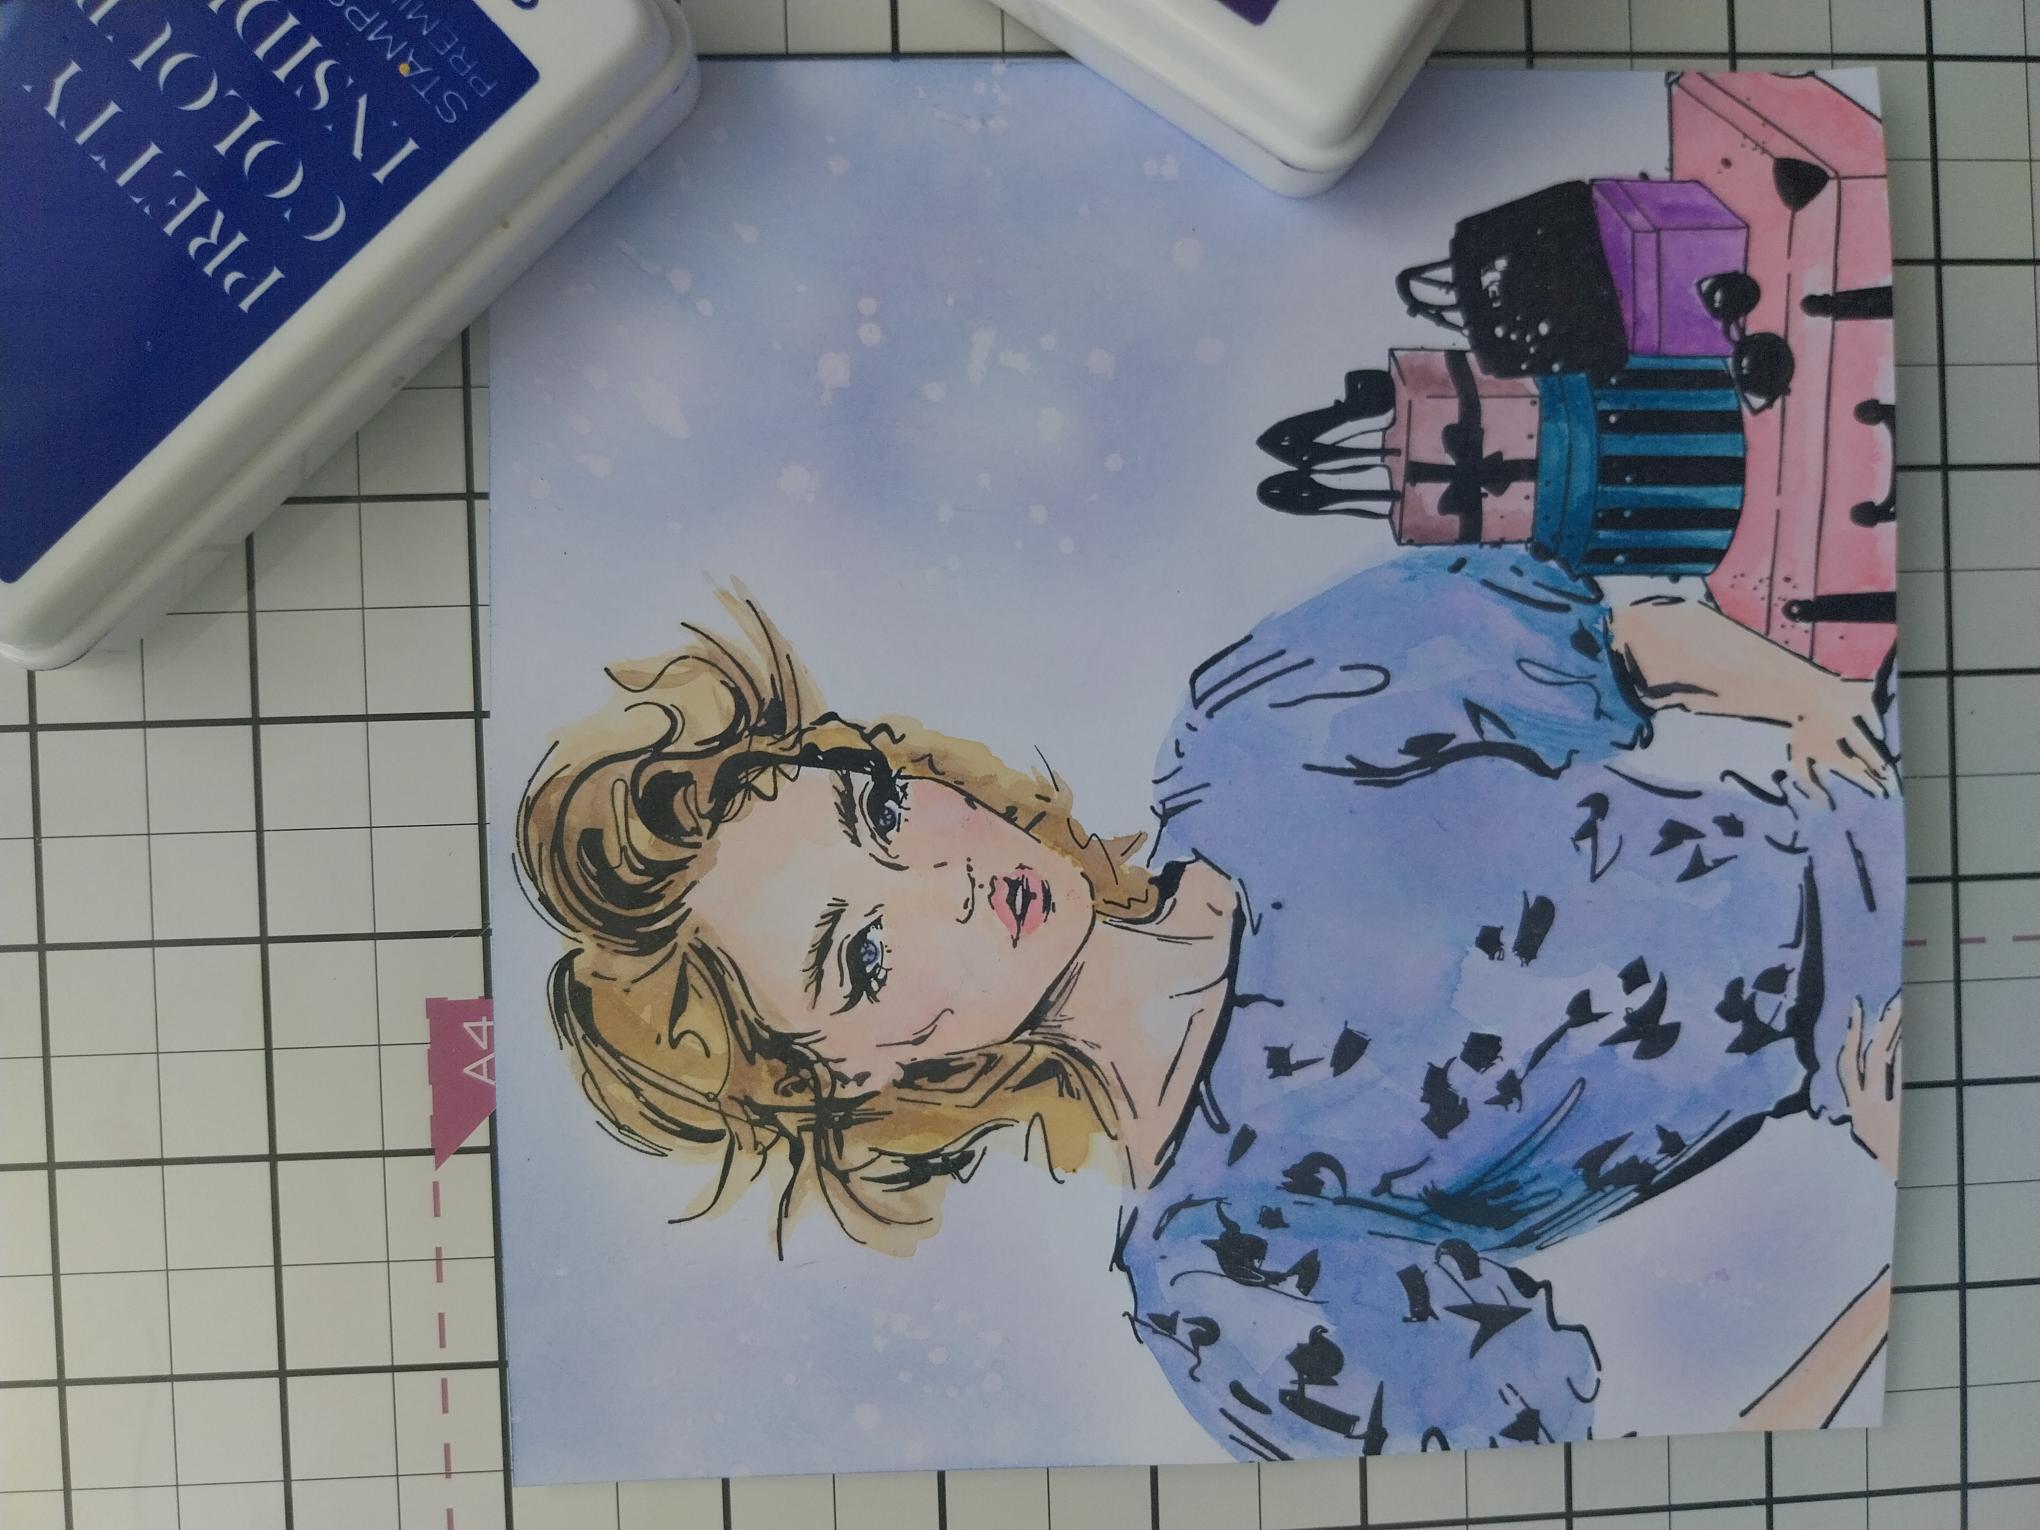
Using a blending tool, lightly blend the Surfboard in the background. Splatter drops of water over the inked background, mopping the drops up with a paper towel. |
|
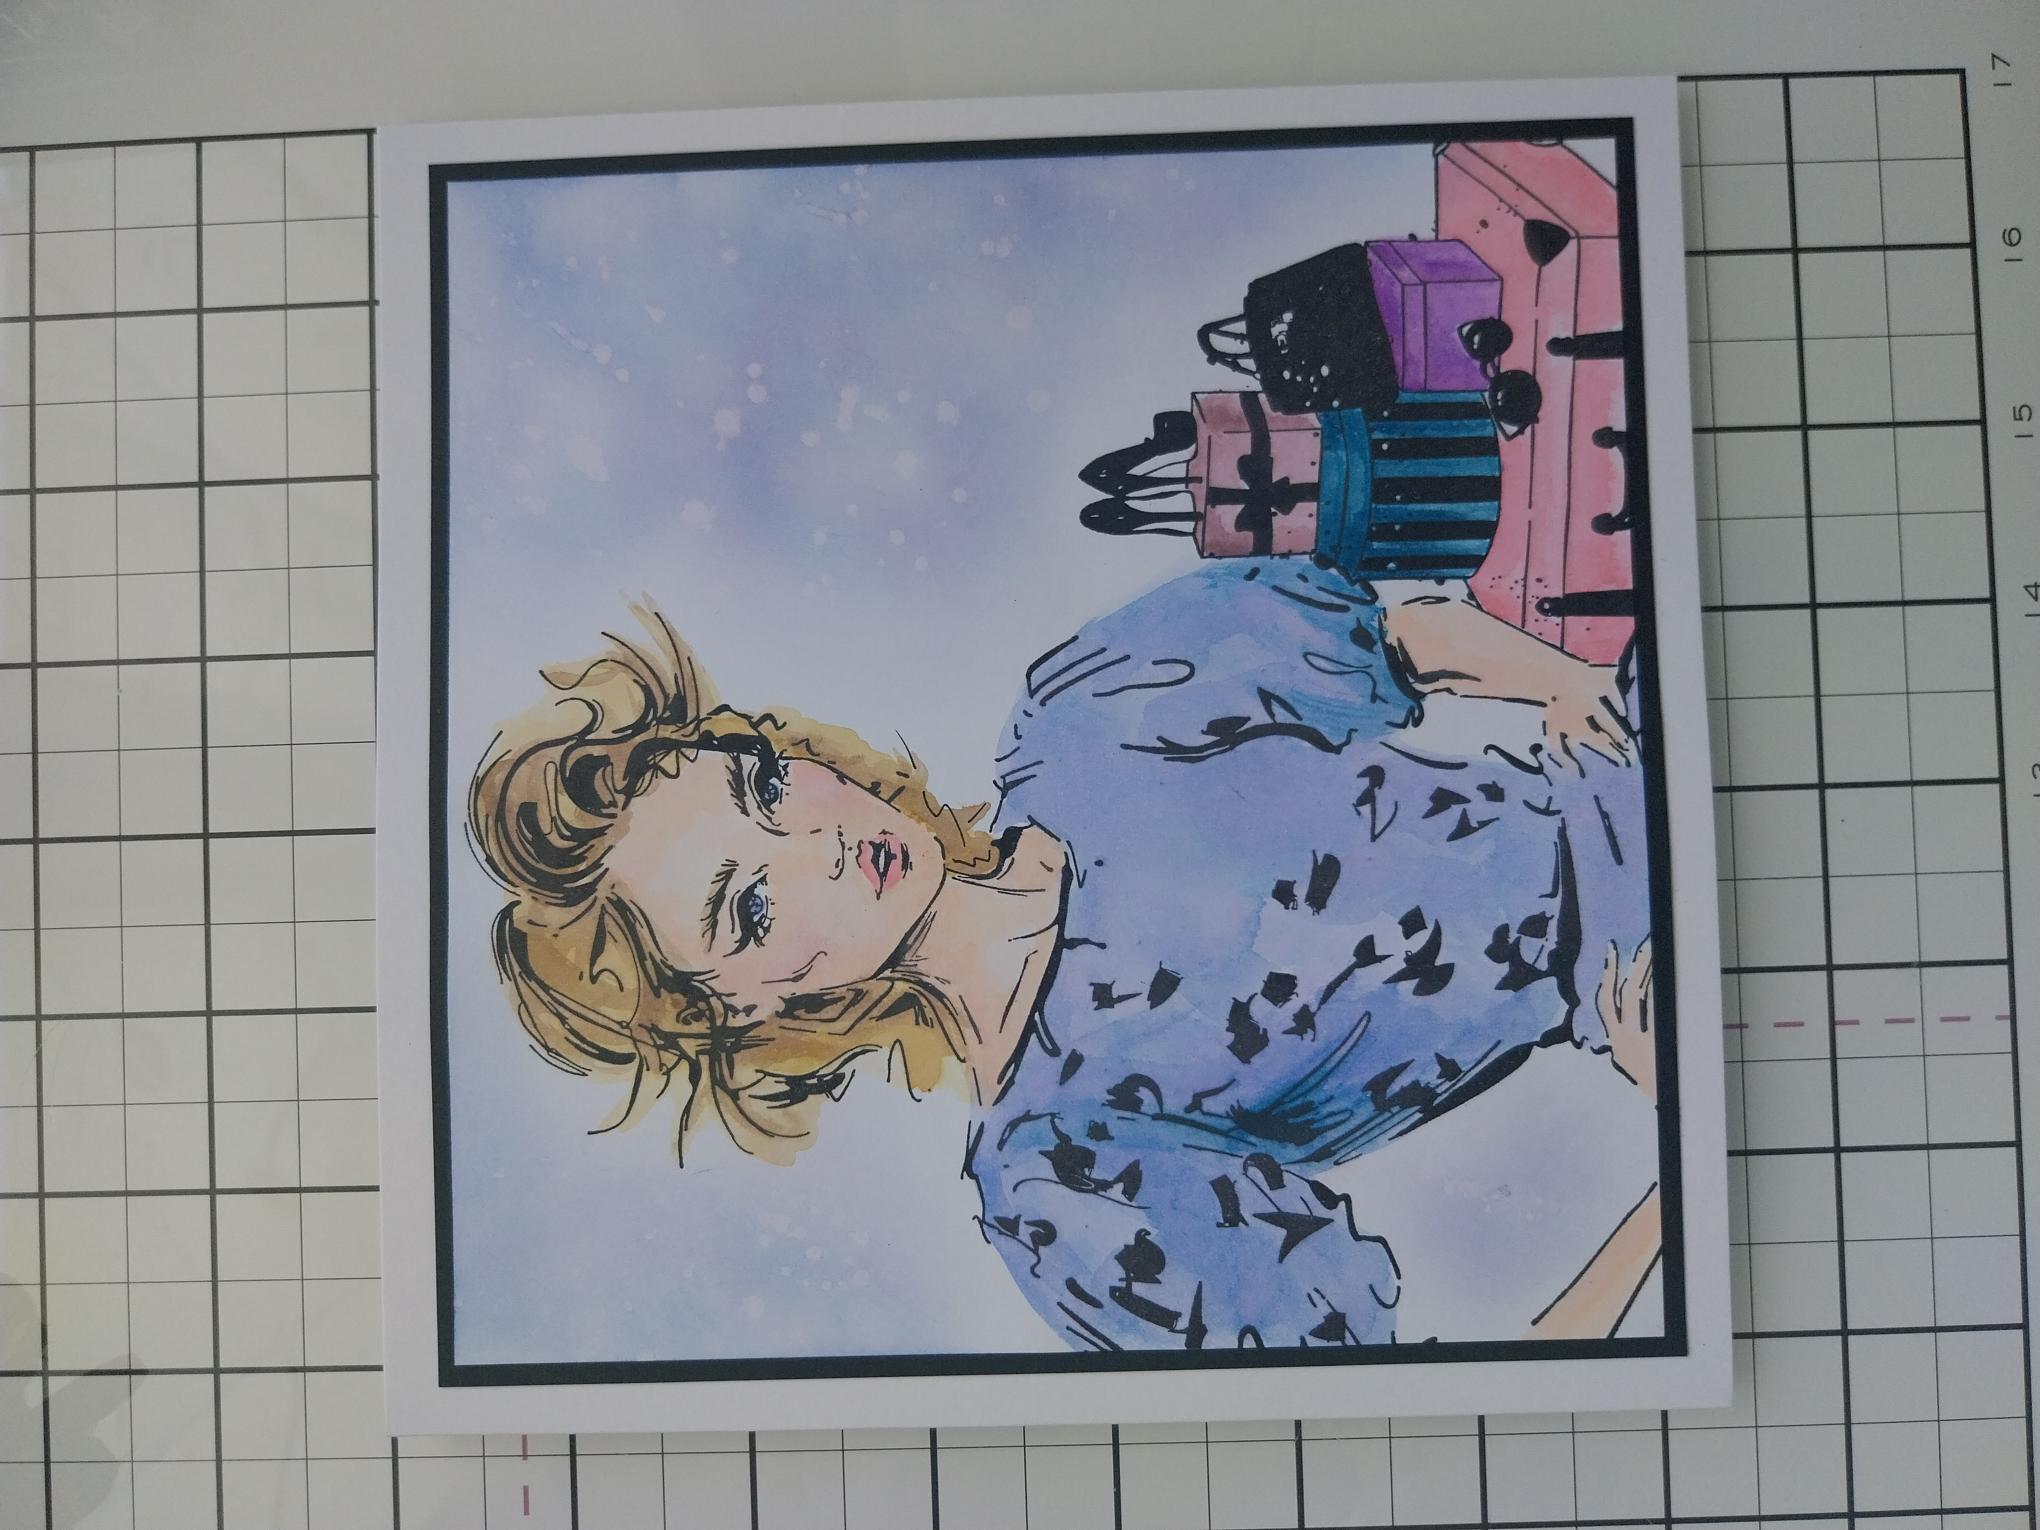
Mat your artwork on to black card trimmed to 6 3/4" square and then on to your card blank. |
|
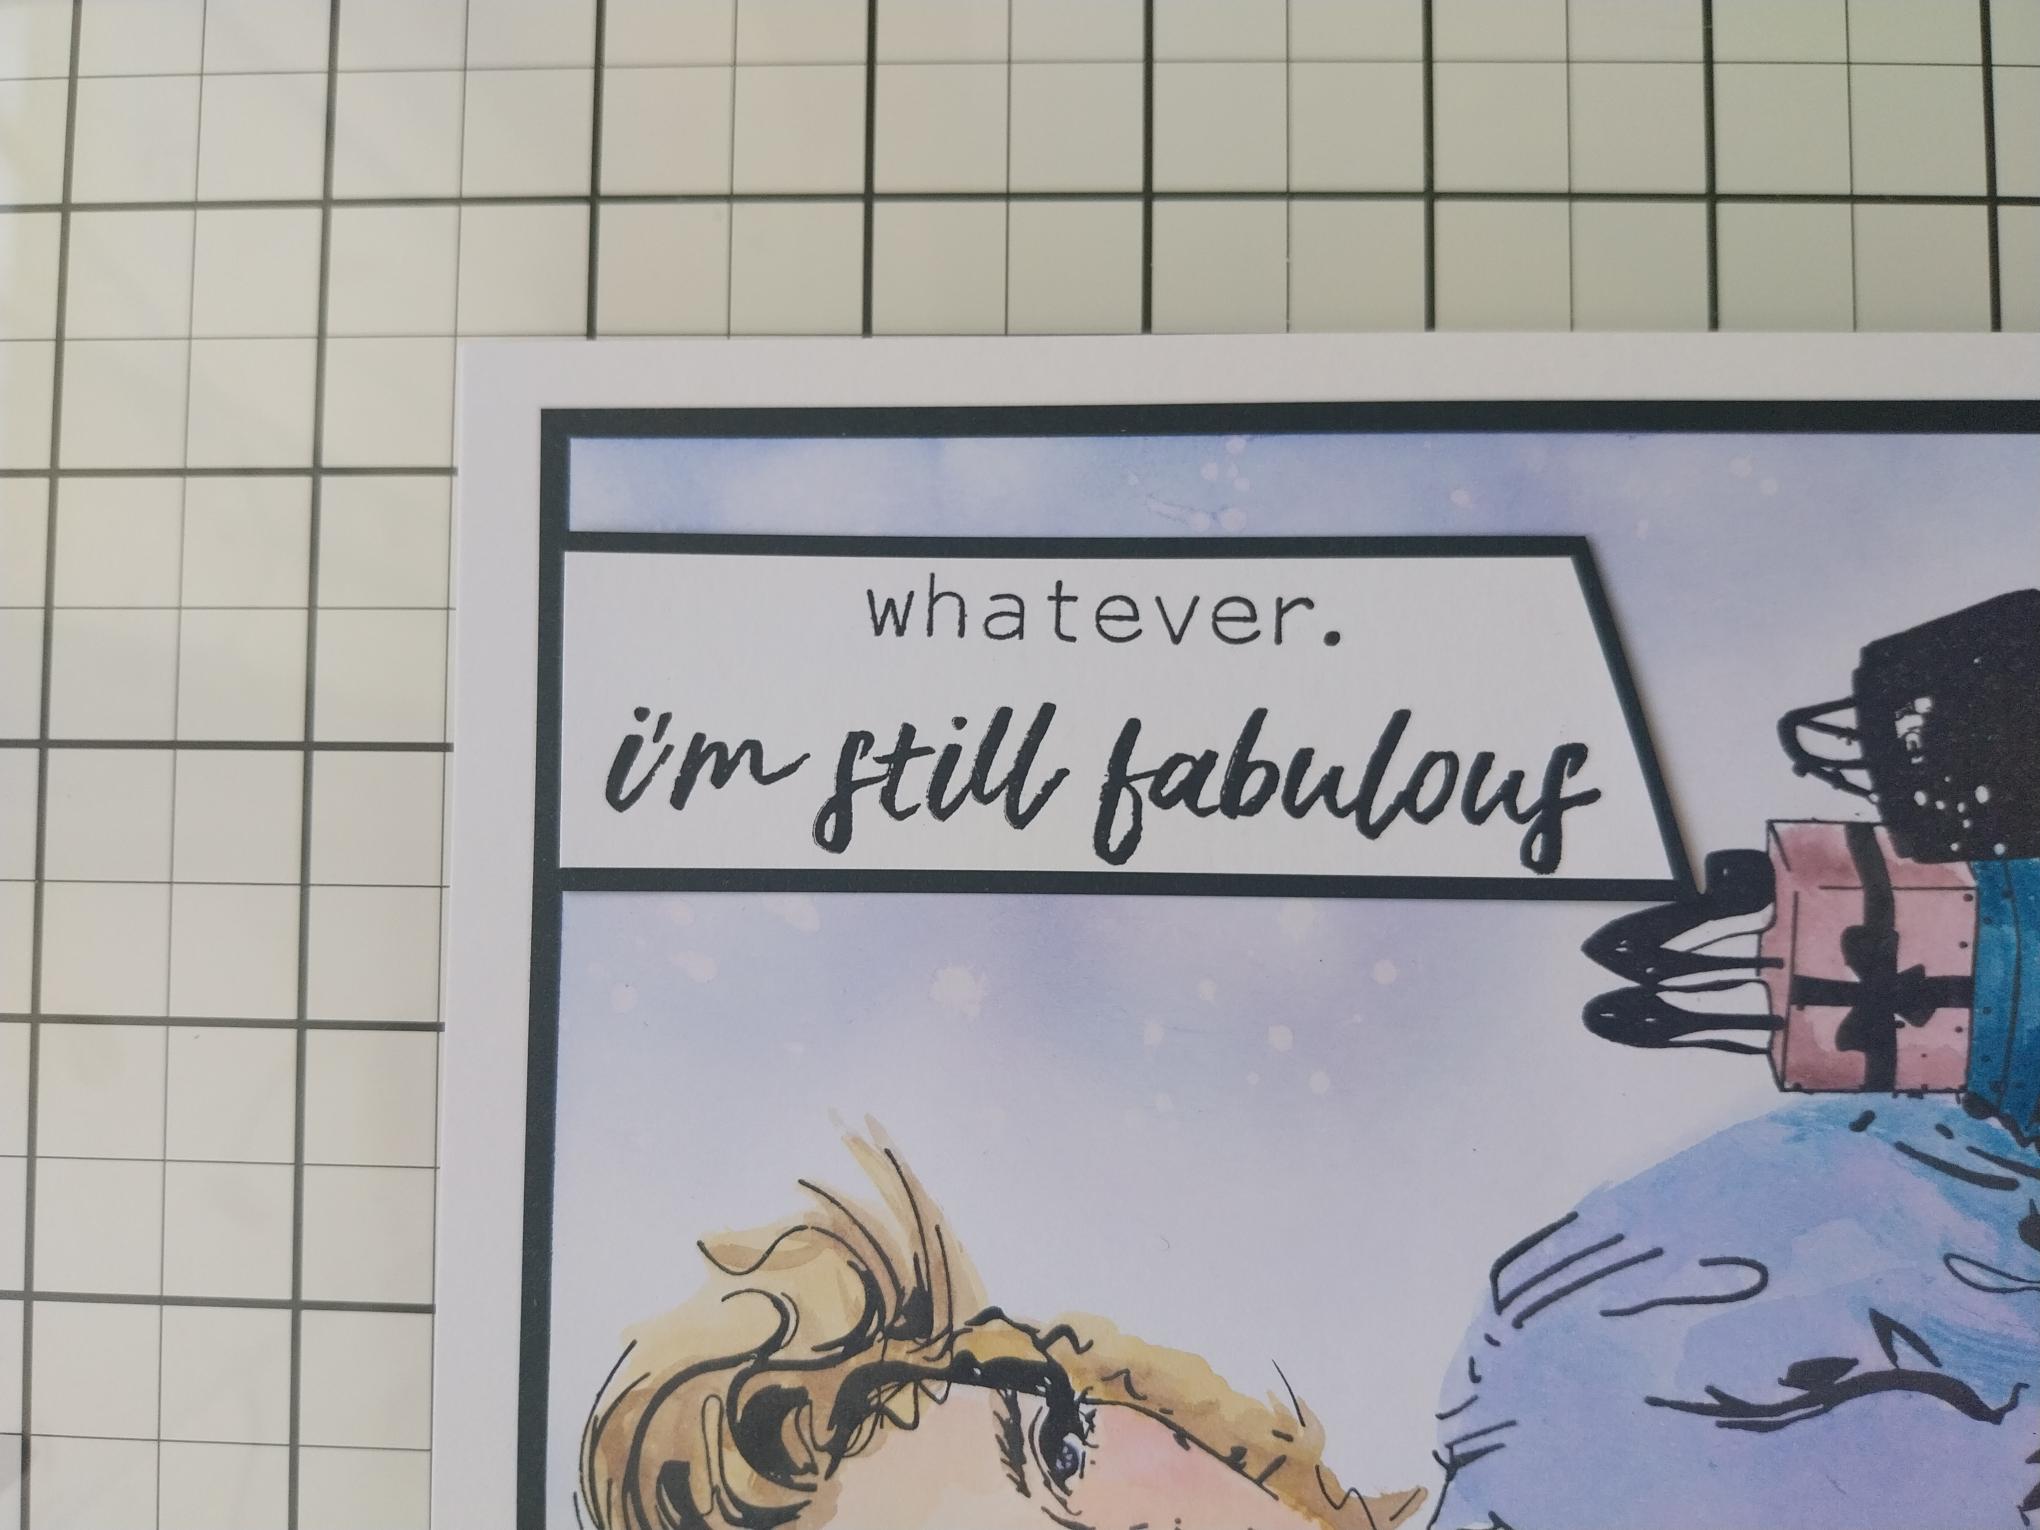
Stamp the sentiment in Midnight, on to white card and trim to shape. Mat on to black card and trim to shape before adhering down the right side of your finished card. |