Offrez à vos amis 10 € de réduction sur leur première commande !
Parrainez un AMI








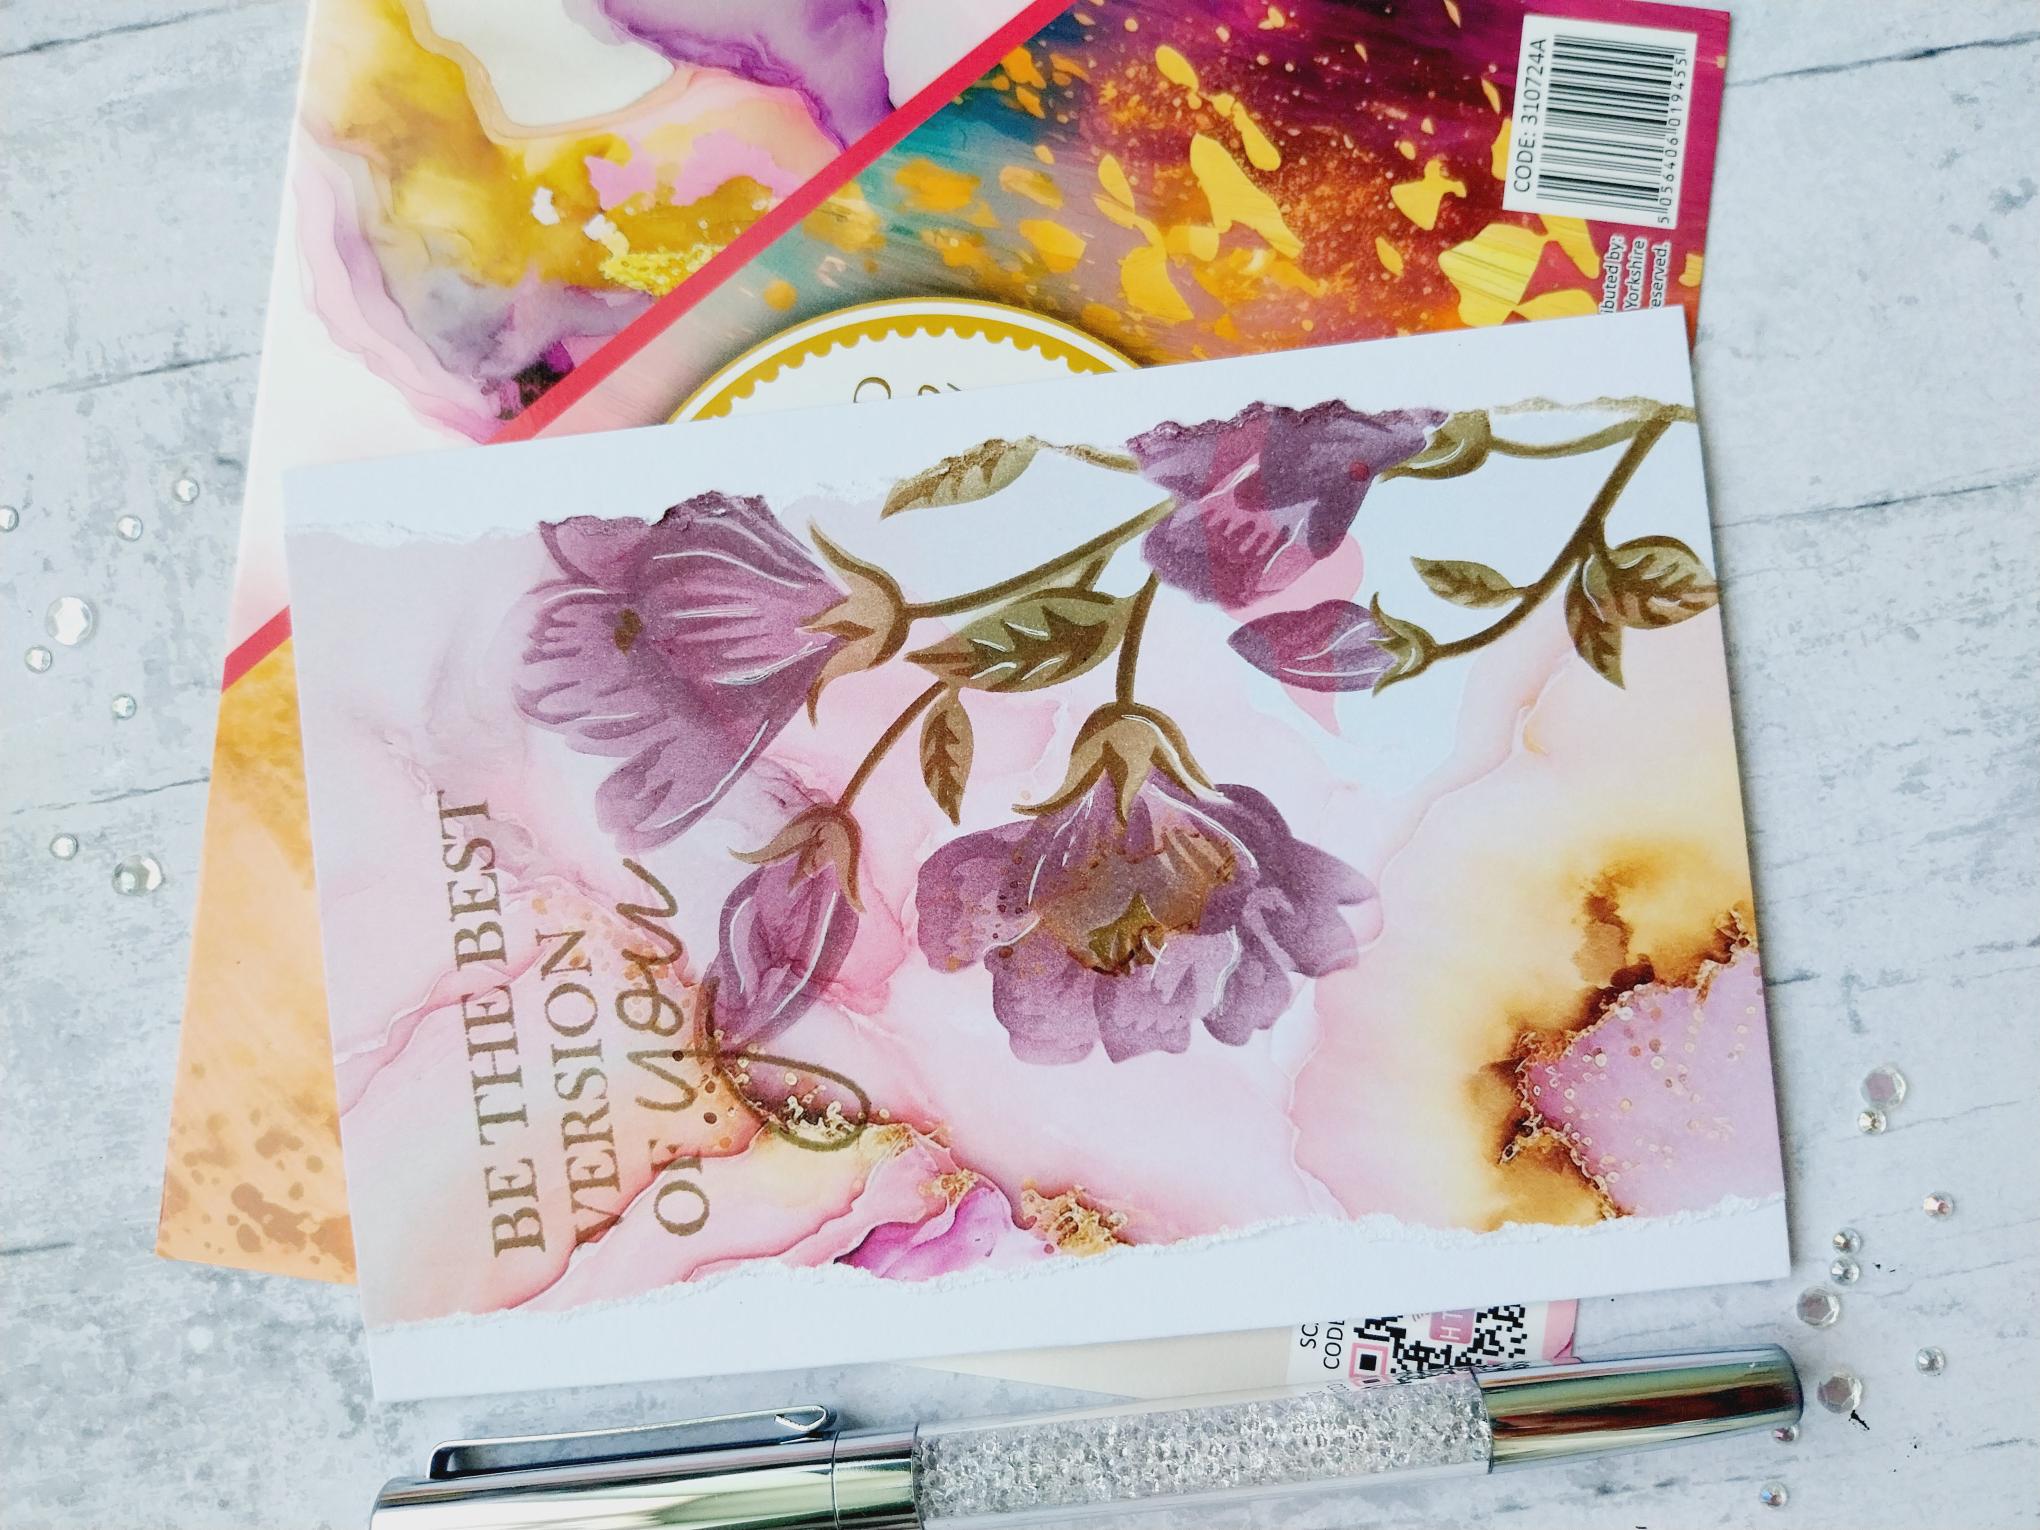
MATÉRIEL NÉCESSAIRE :
Carte vierge blanche 4 x 6"
Bloc de papier Marbled Elegance
Collection de pochoirs et matrices de découpe Carnations
Encreur à colorant SBM : Heather
Encreurs Distress Ink/Oxide : Frayed Burlap, Walnut Stain
Outil d'estompage
Stylo gel blanc IMALA
Palette d'aquarelle Eureka 101
Tapis en verre magnétique A3 SBM
Colle
[cliquez sur l'image pour l'agrandir] 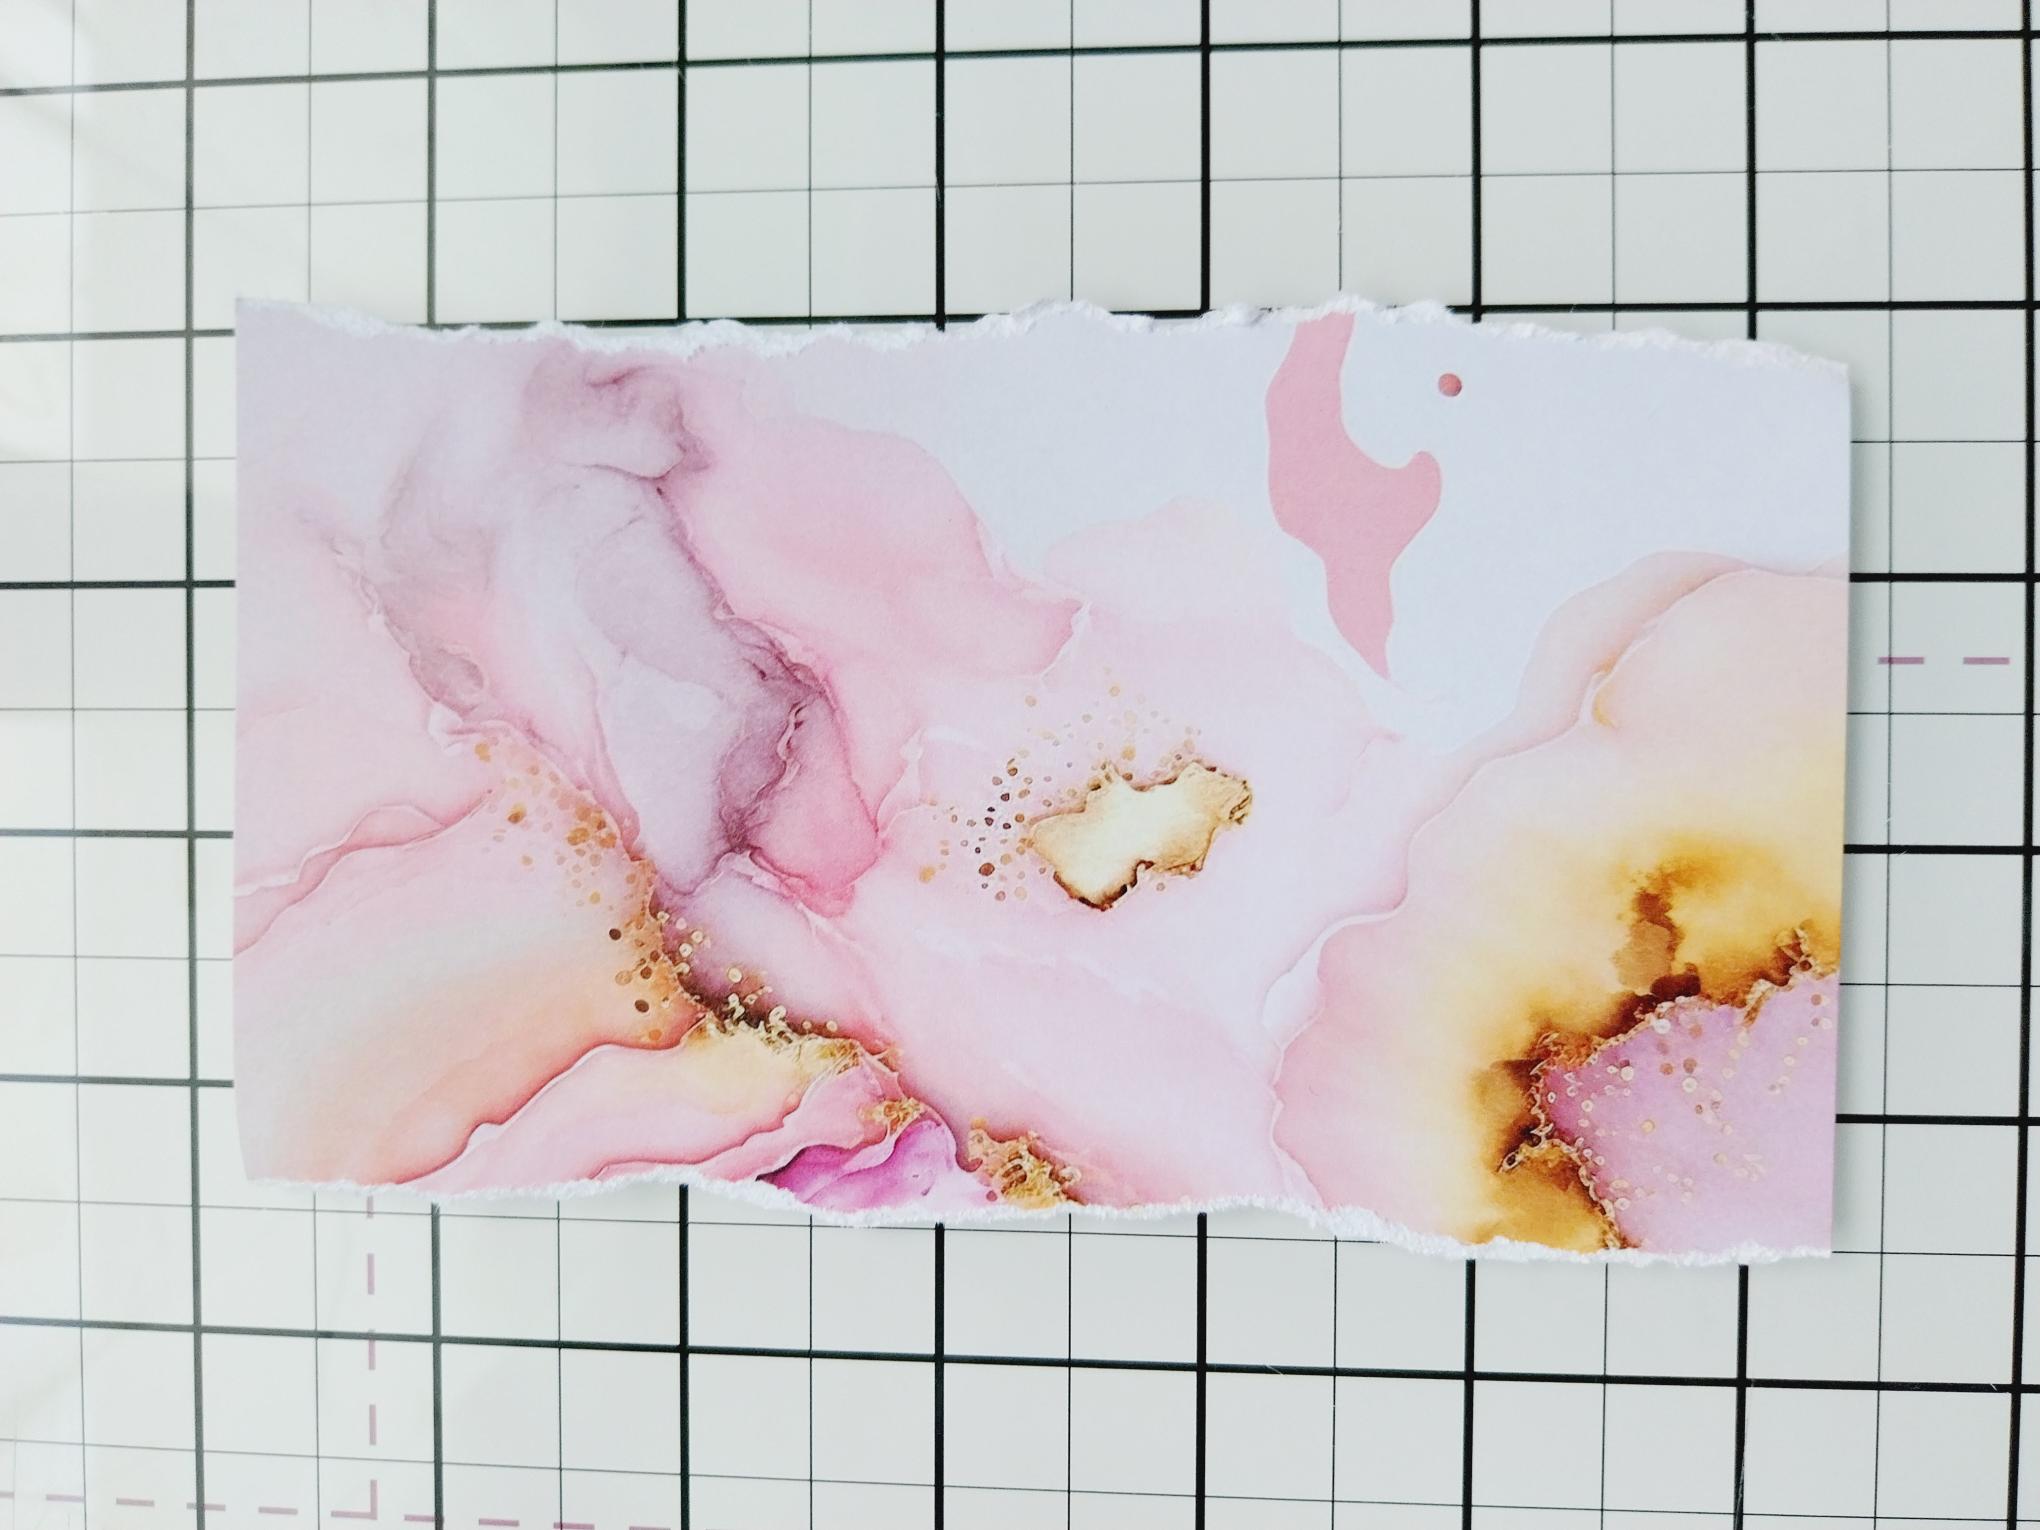
|
Choose your paper from the Marbled Elegance paper pad and tear down 2 sides to create a panel that will fit on front of your card blank. |
|
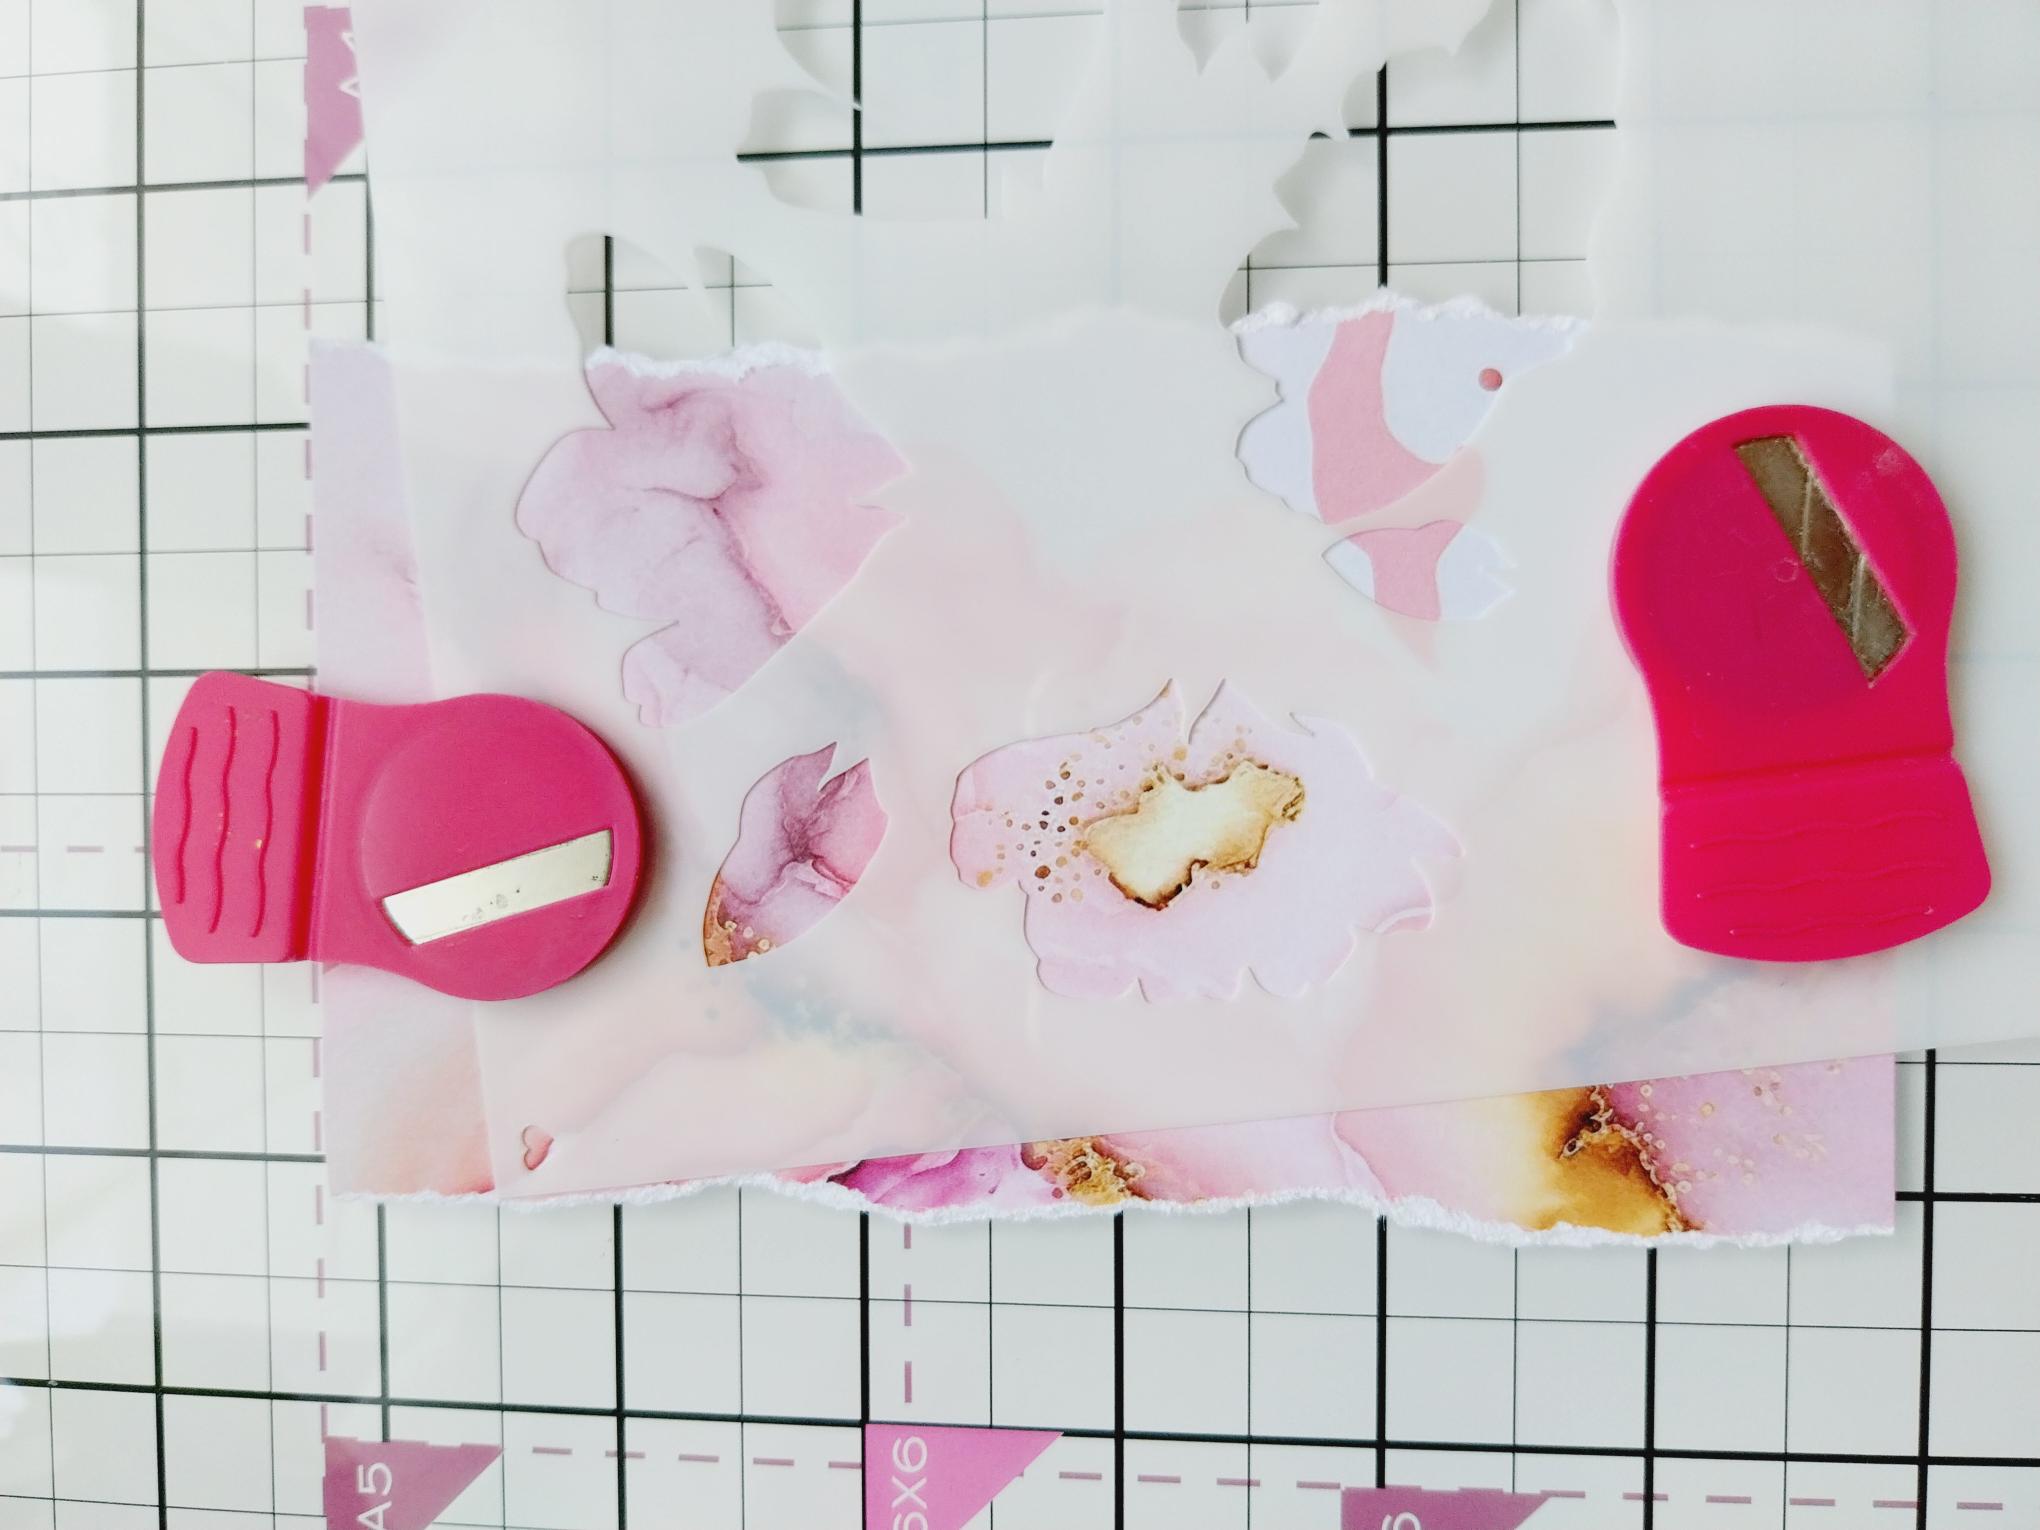
Secure stencil 1 coming onto the right side of the torn paper. |

|
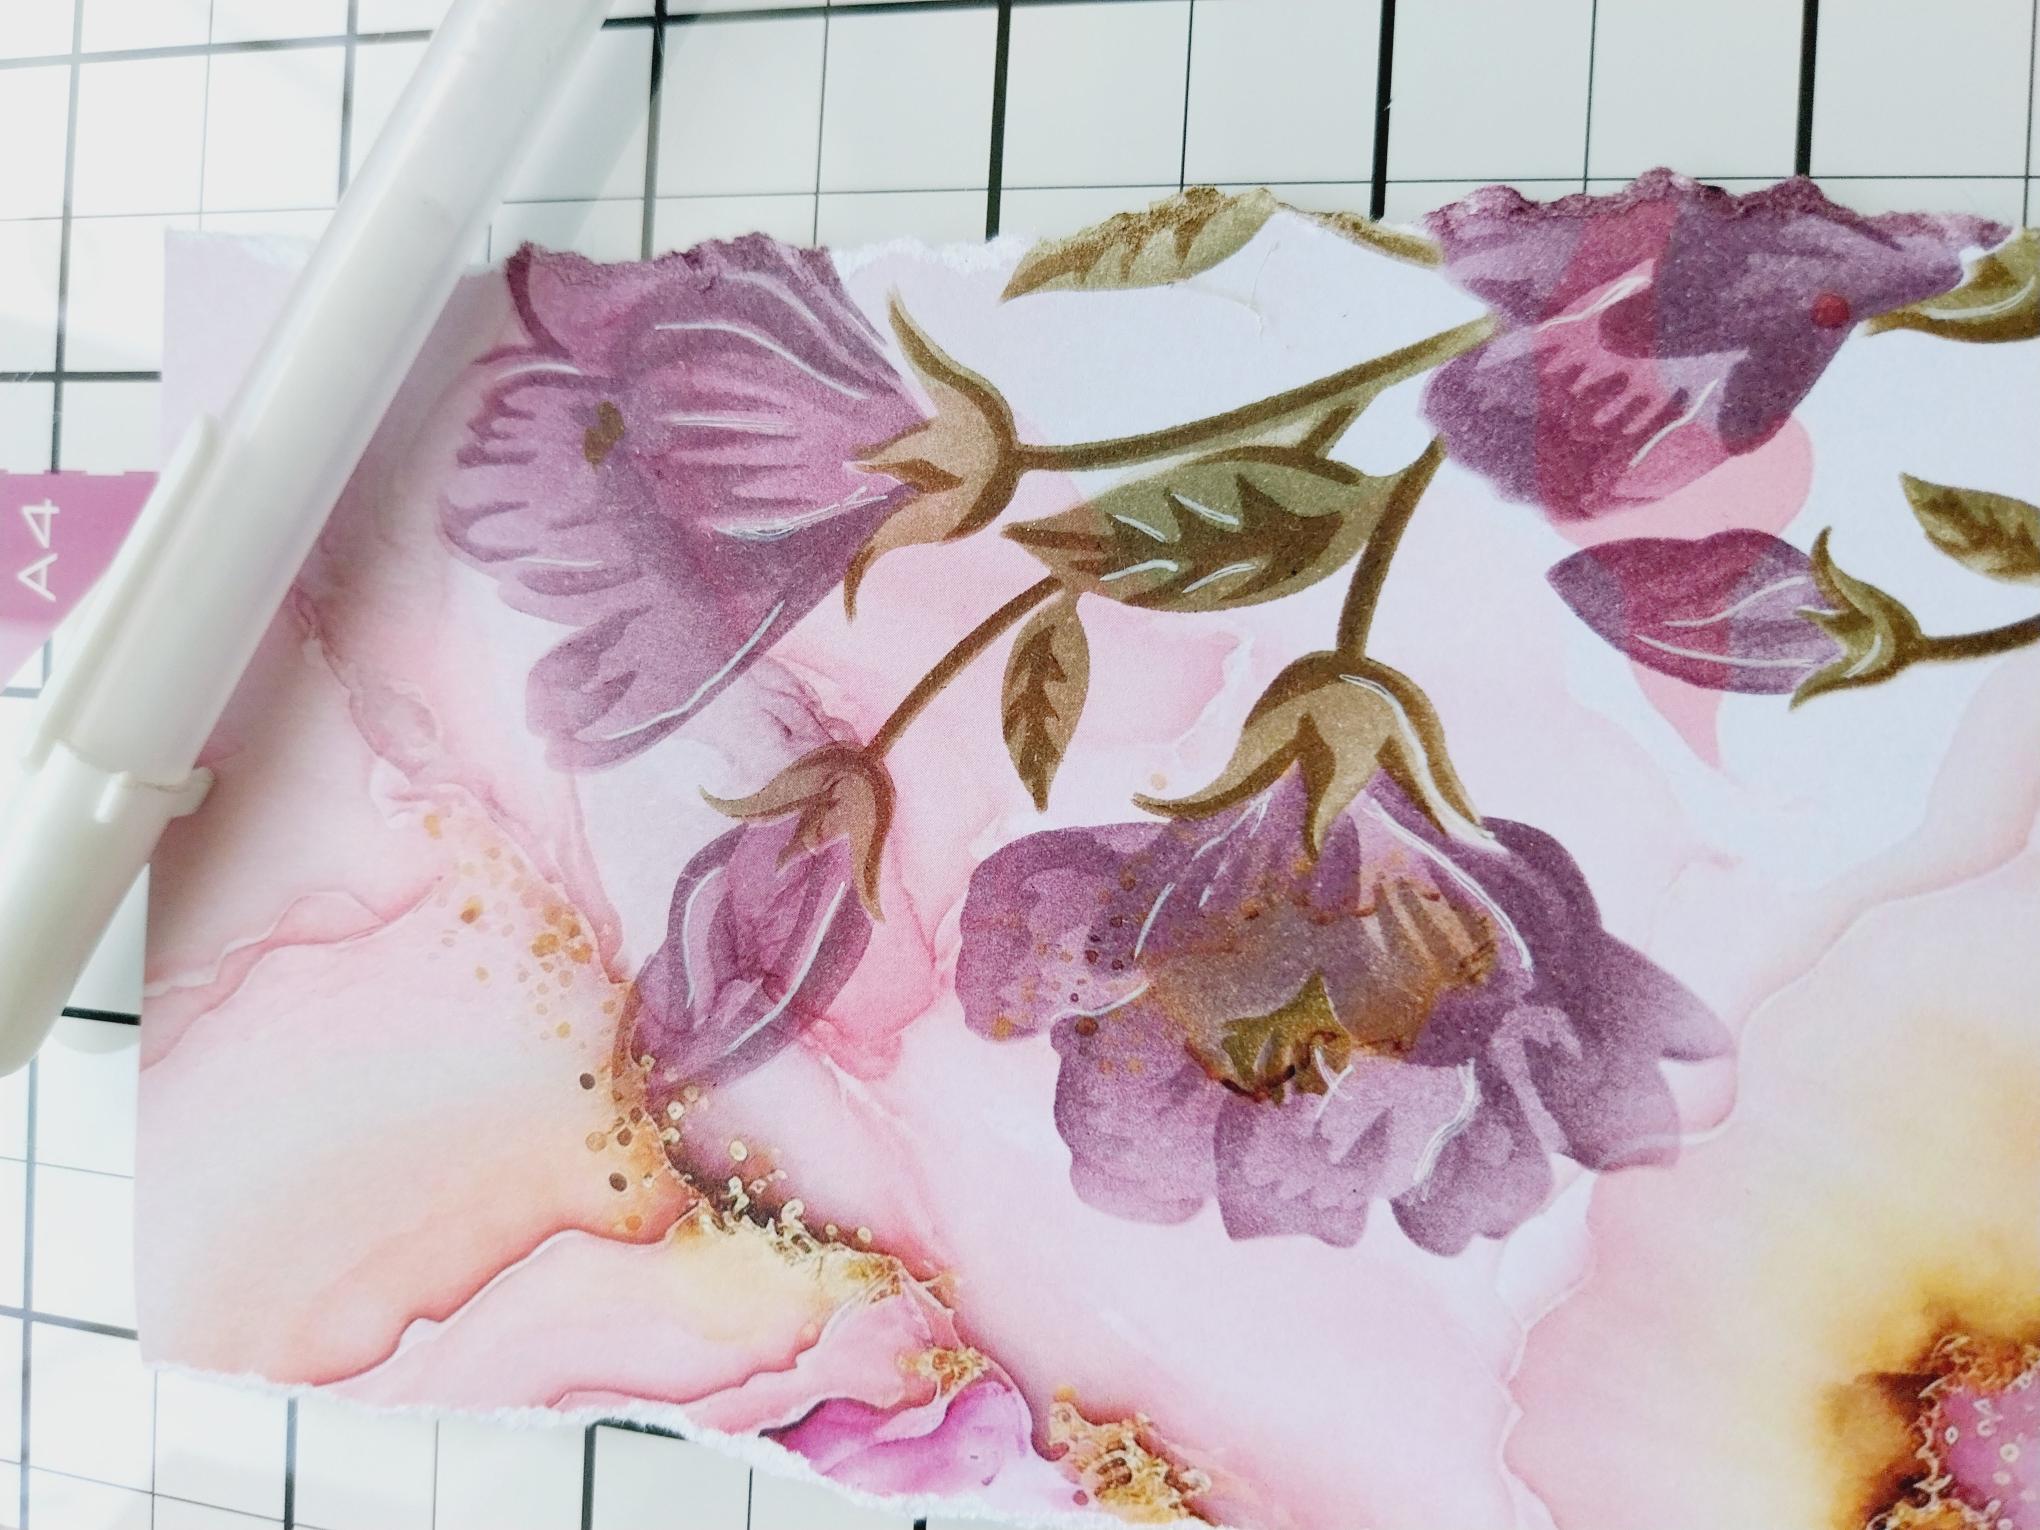
Blend Heather lightly through stencil 1. Line up stencil 2 and blend with the Heather again. Line up stencil 3 and apply Heather with more intensity. Line up stencil 4 and apply Frayed Burlap. Line up stencil 5 and blend with Walnut Stain. |
|
Once the ink is dry, use a white gel pen to add accents and highlights to your stencilled image. |
|
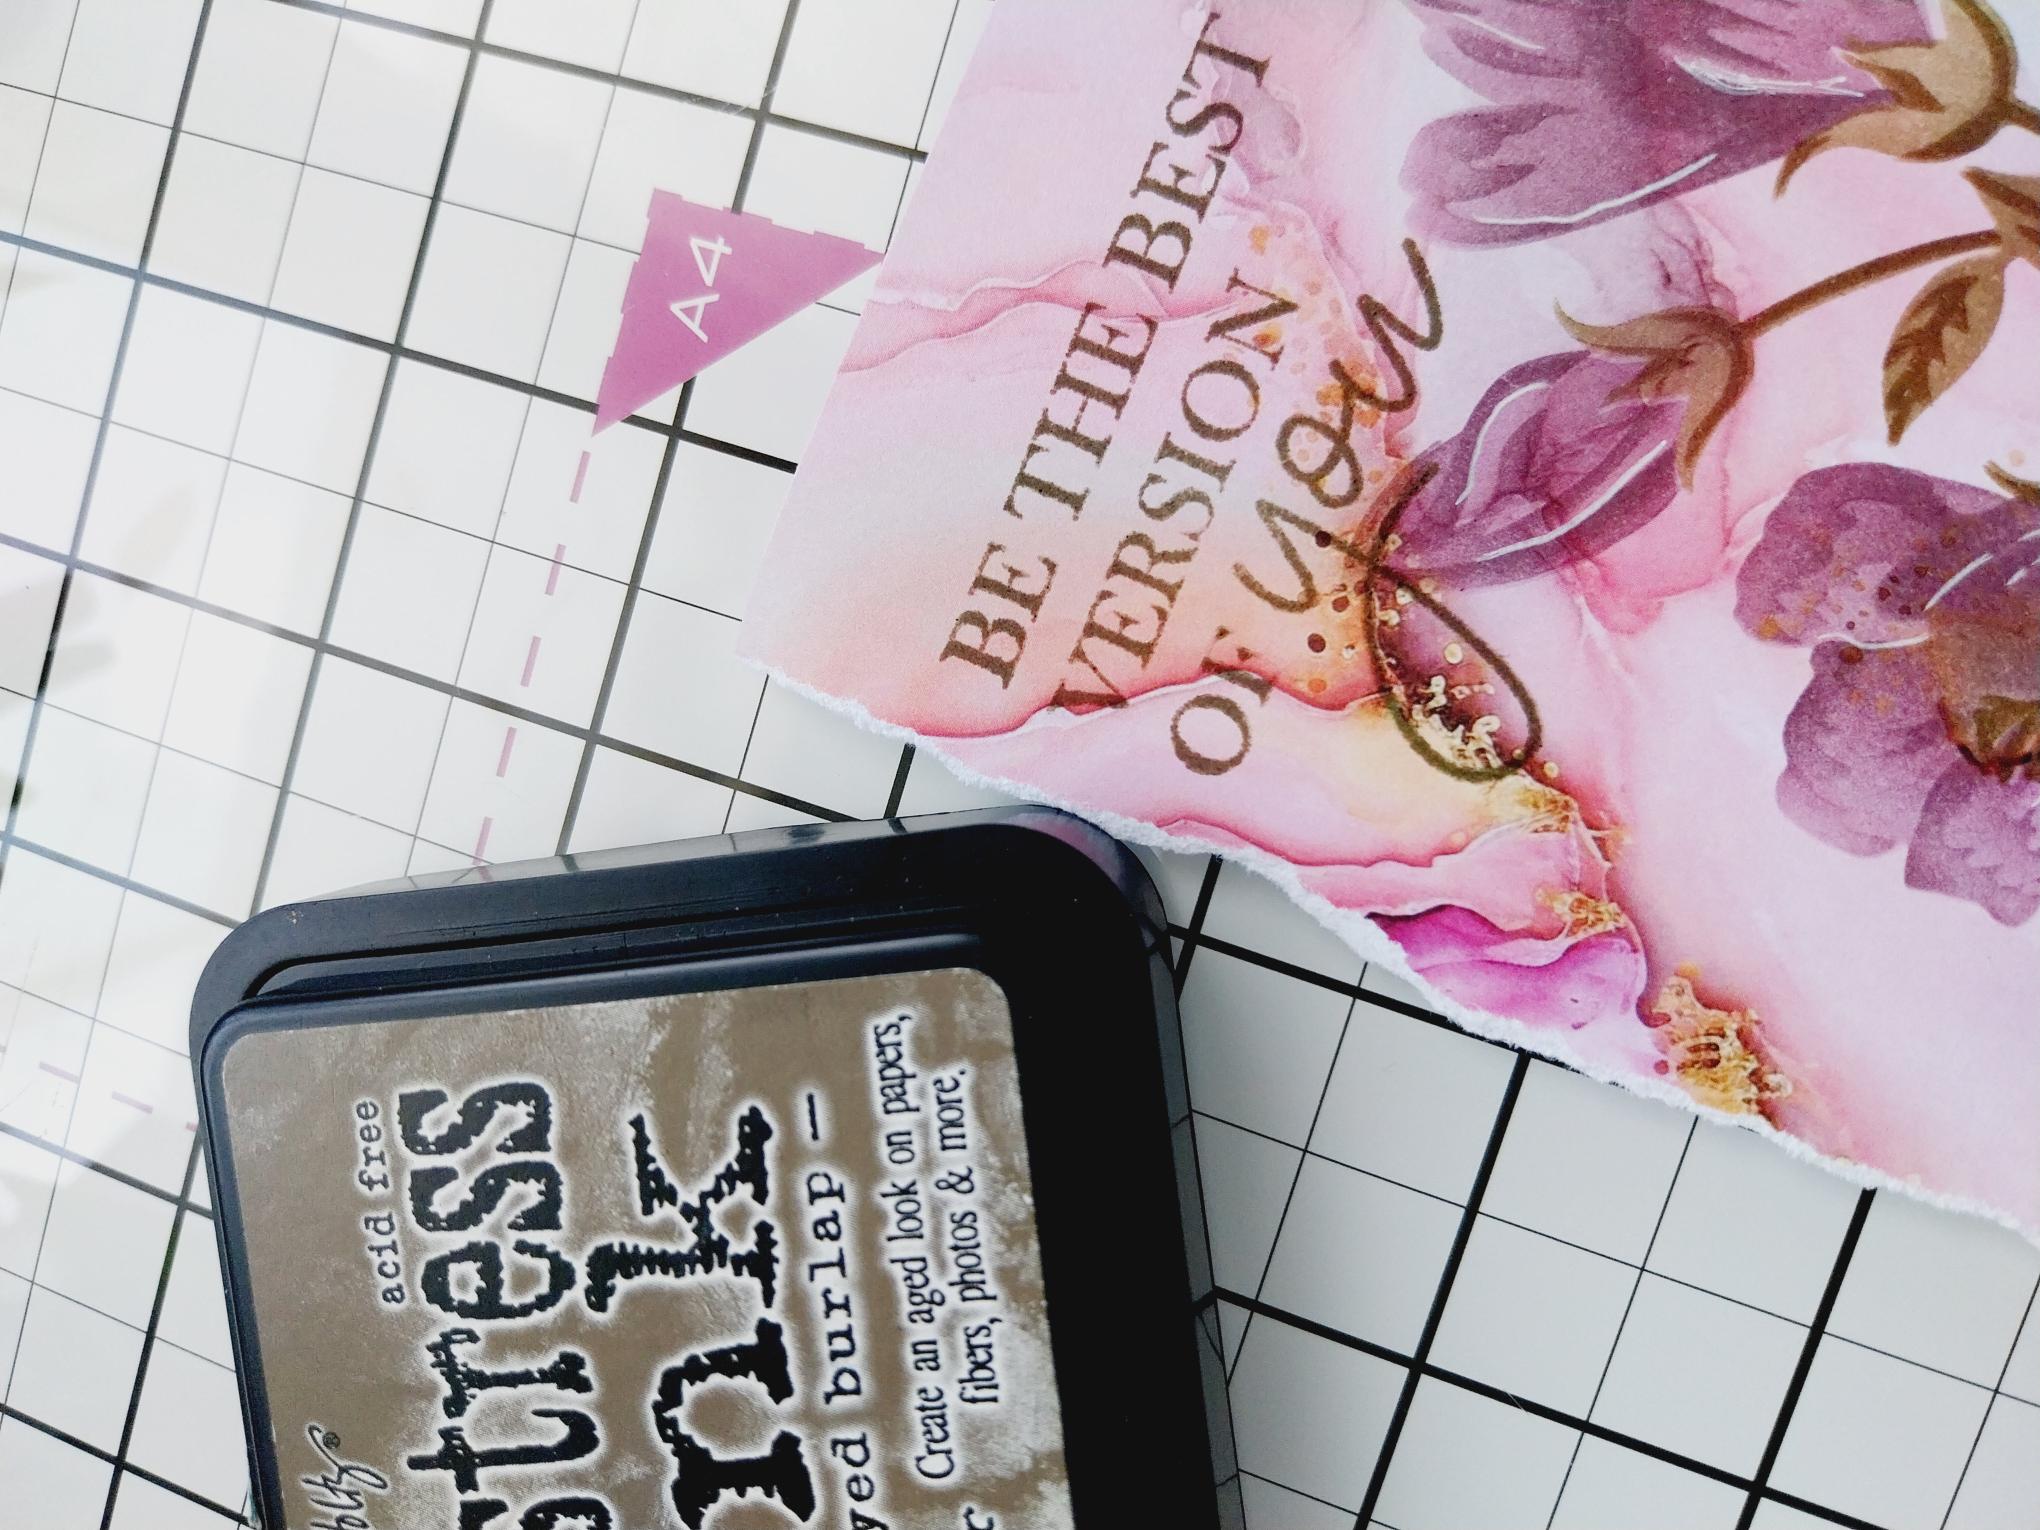
Stamp your sentiment with the Frayed Burlap. Tip: Prime the stamp with sticky embossing ink before inking with Distress inks, to get a crisper stamped image. |
|
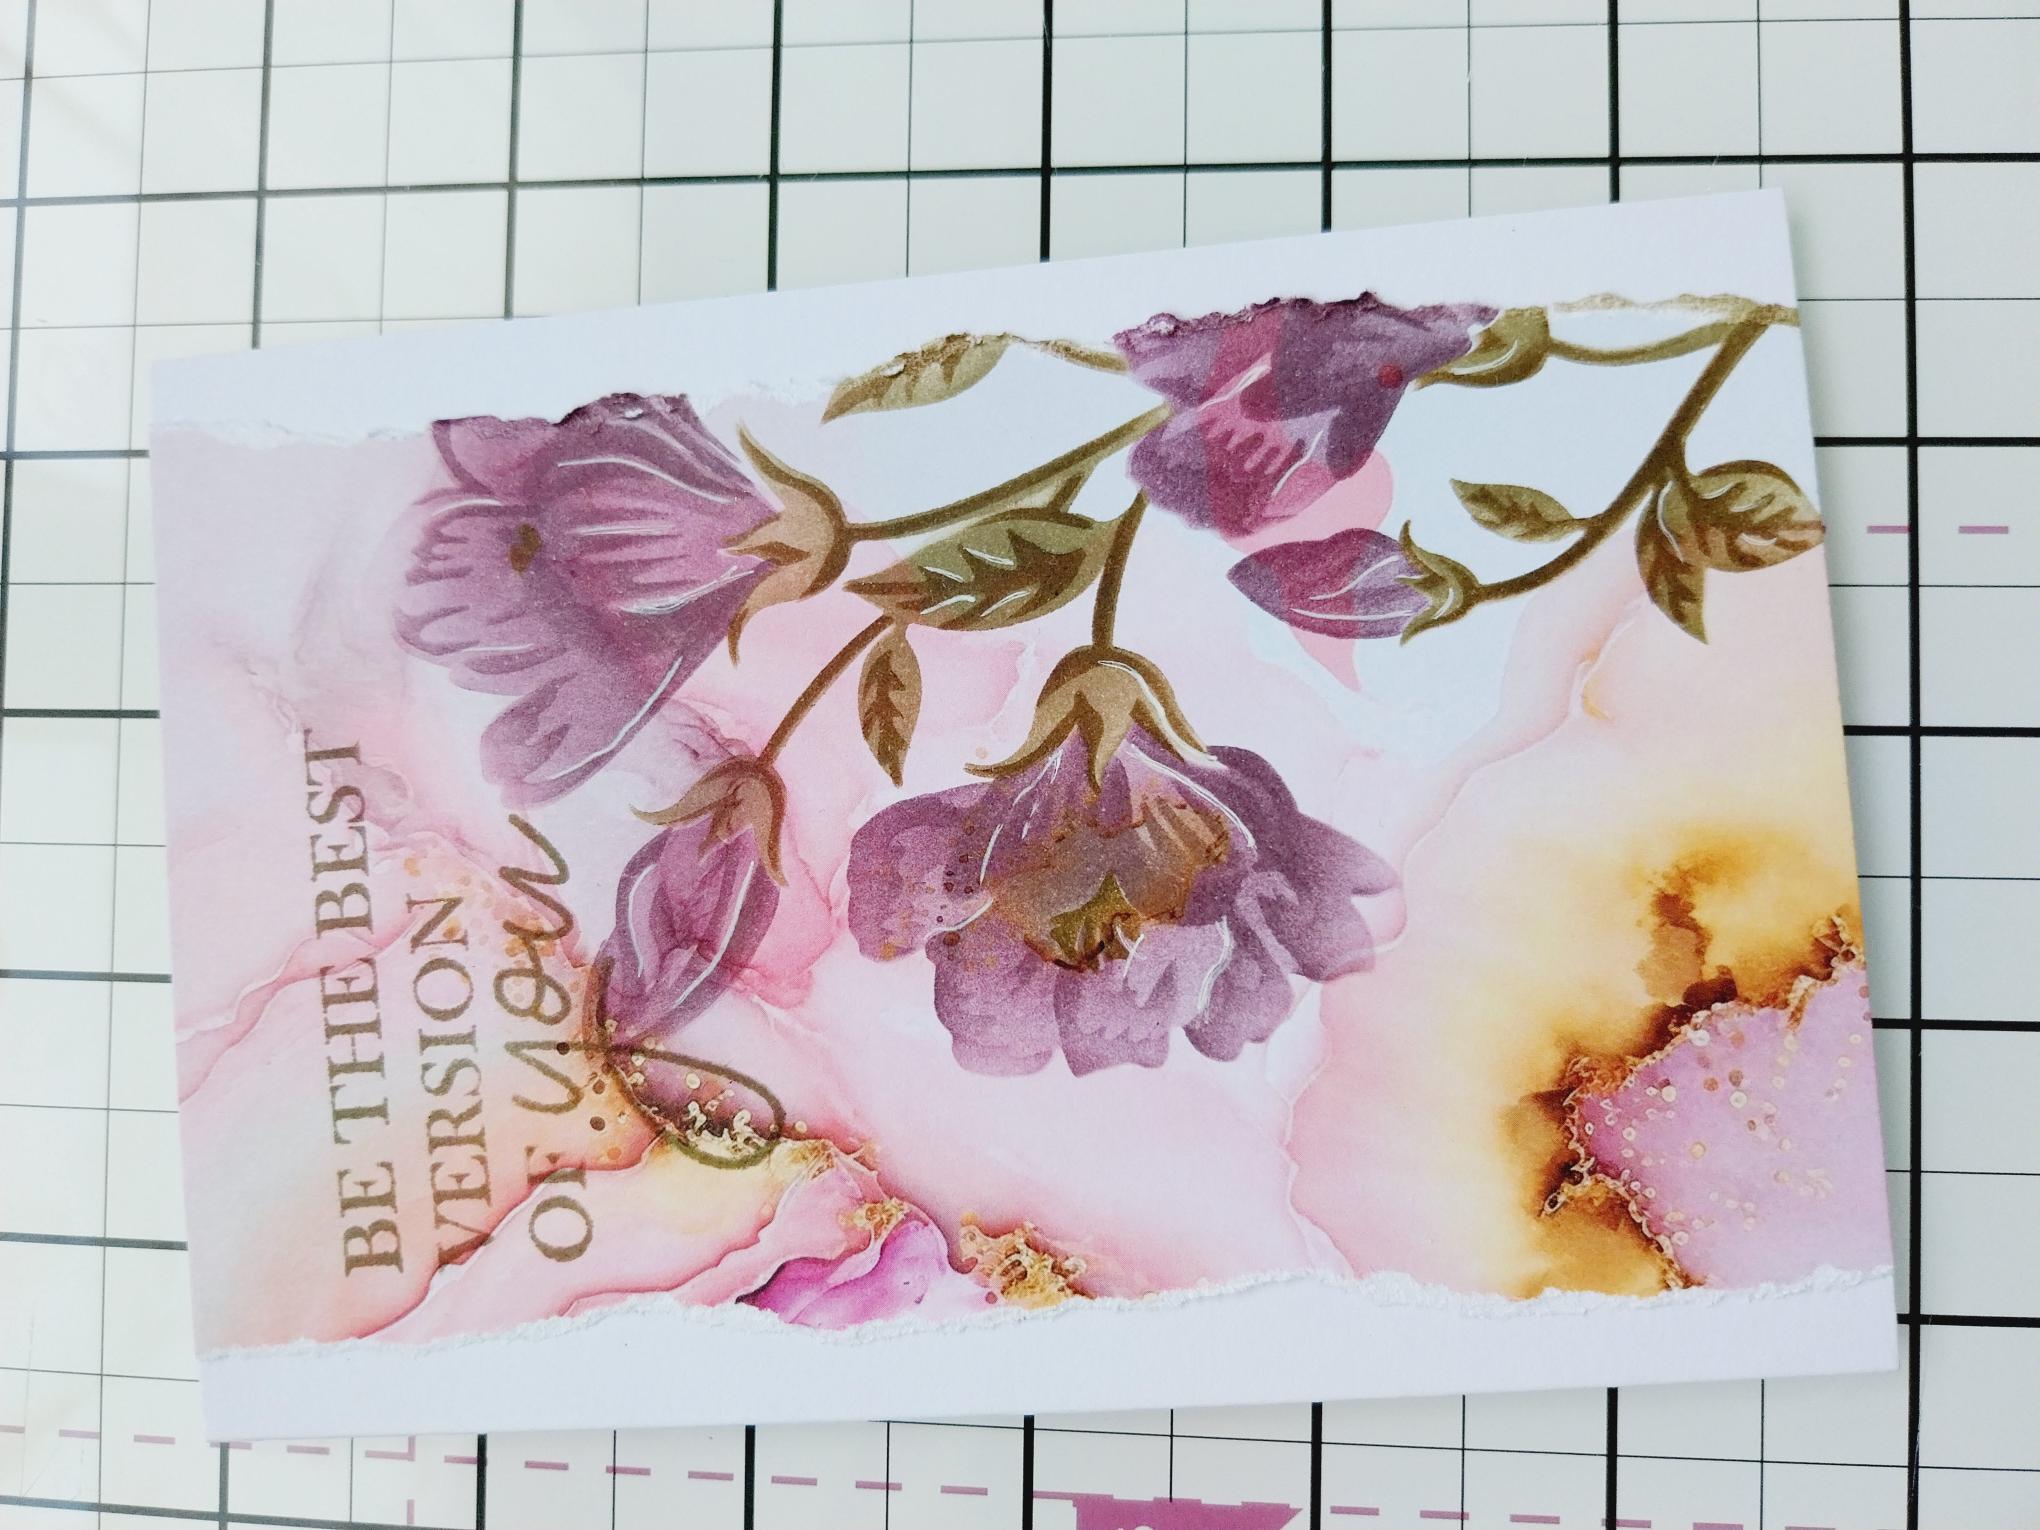
Adhere your torn panel onto the front of your card blank, to finish. |