Offrez à vos amis 10 € de réduction sur leur première commande !
Parrainez un AMI








CE DONT VOUS AUREZ BESOIN :
Carte vierge rose à pli supérieur
Papier cartonné noir/blanc
Tampon Adventure Awaits Reflection
Tampon Ray Of Sunshine Reflection
Pochoir Stylized Star
Encreur hybride SBM : Midnight
Encreurs à encre colorante SBM : Sherbet, Magenta, Indigo
Brosse d'estompage
Pinceau
Palette d'aquarelle Eureka 101
Tapis en verre magnétique SBM A3
Massicot
Colle
[cliquez sur l'image pour l'agrandir] 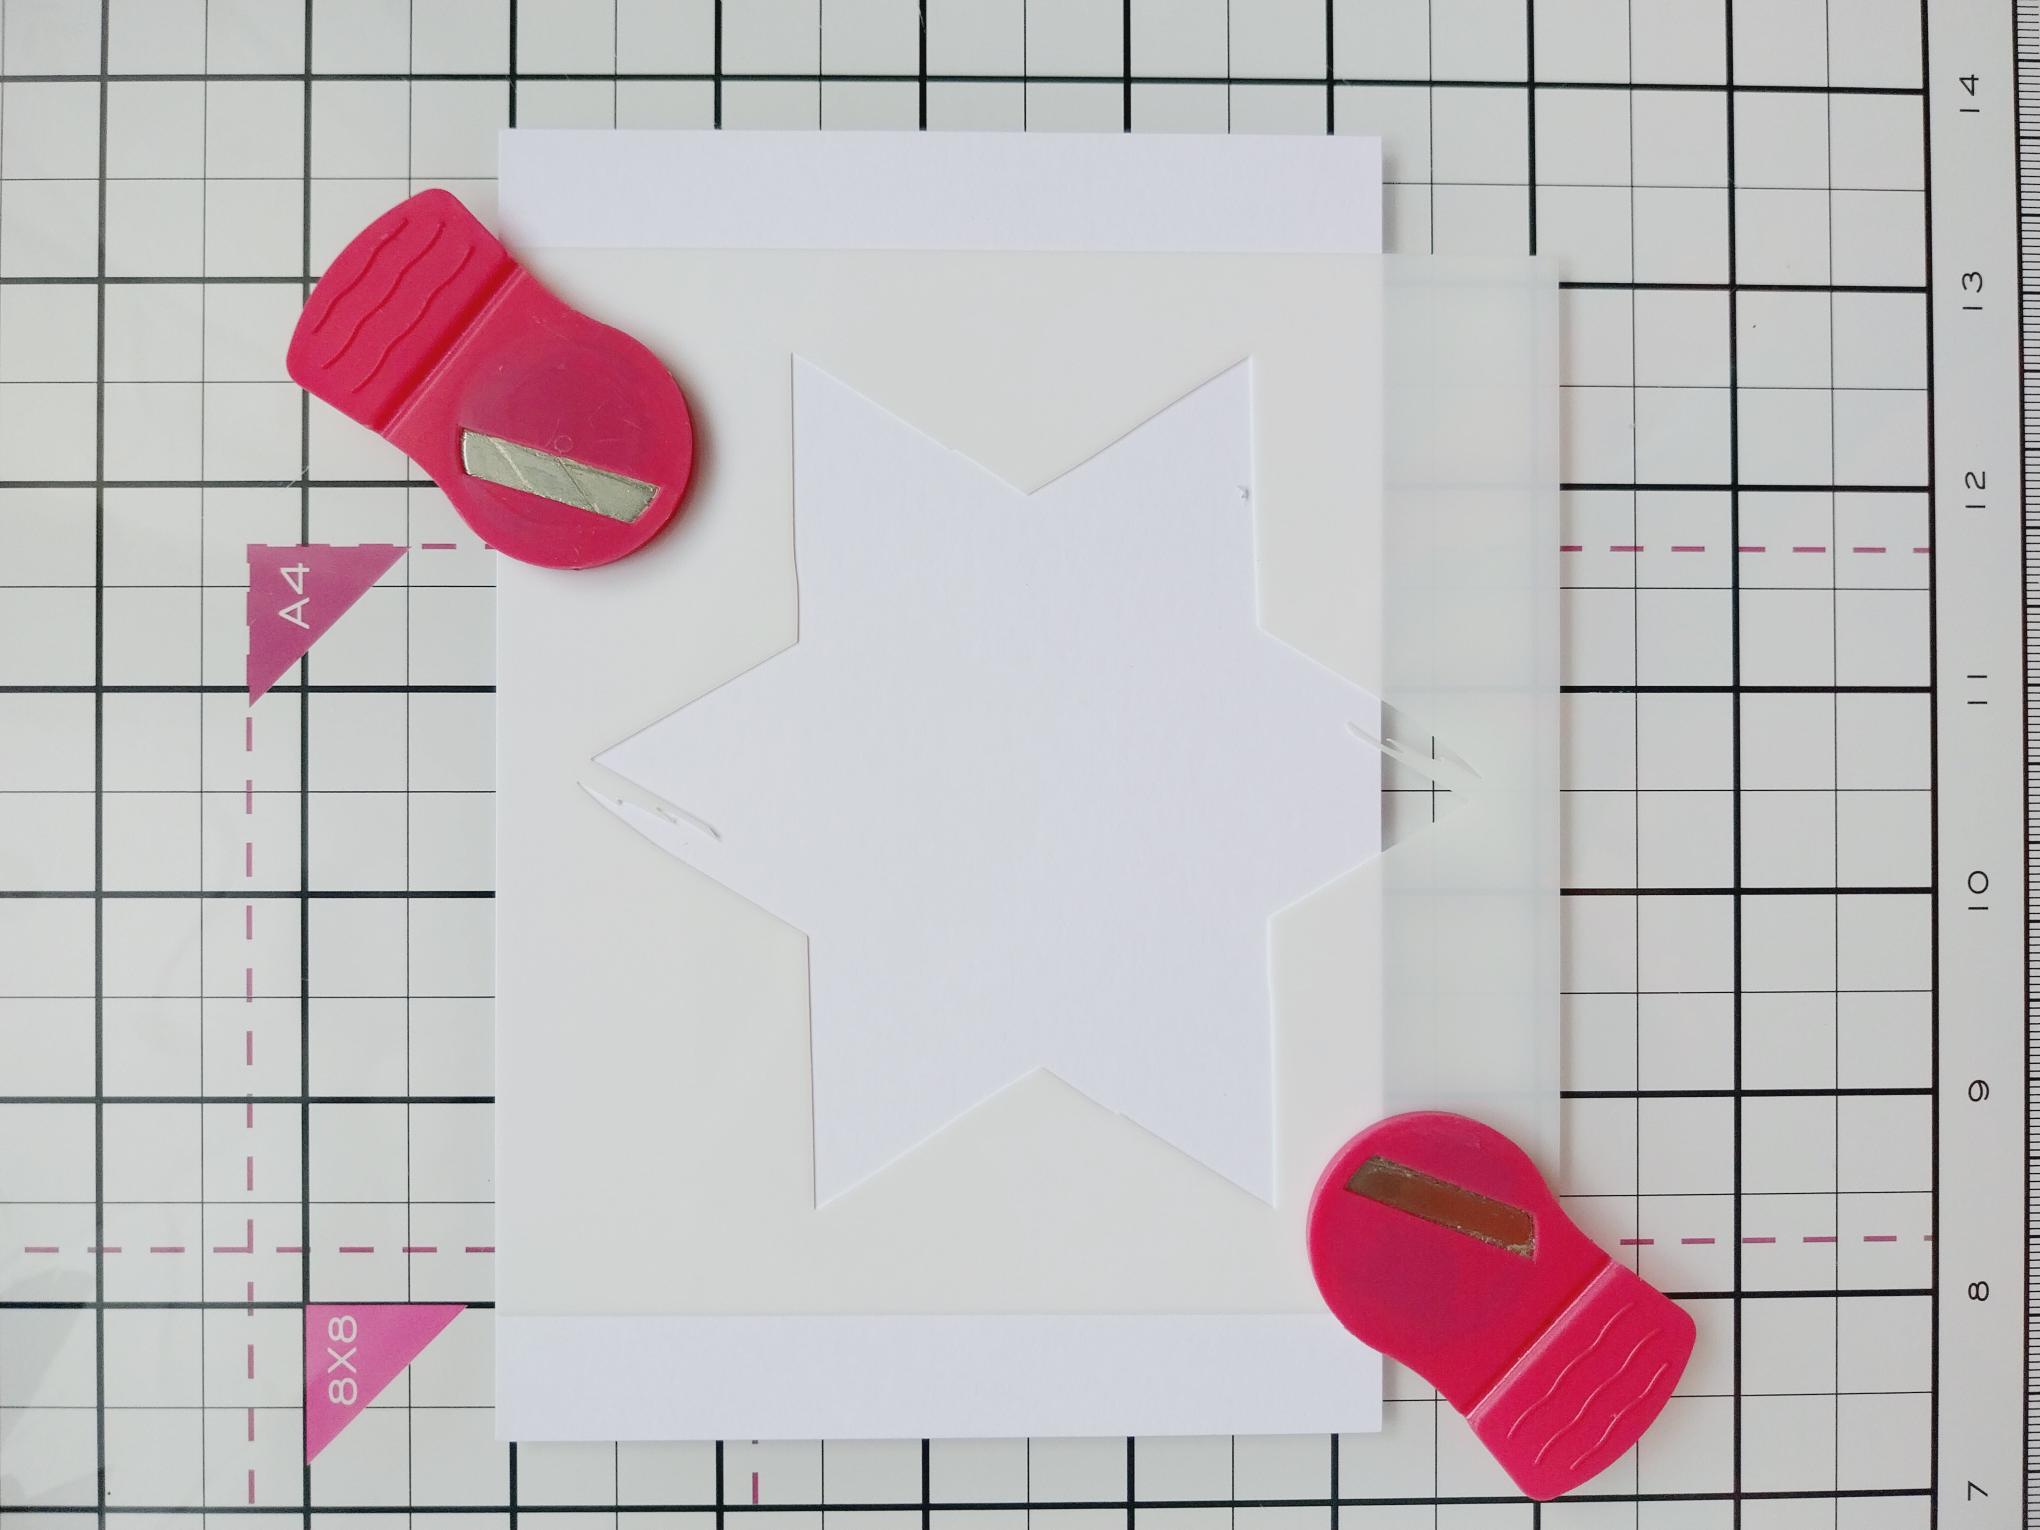
|
Trim a piece of white card to 4 1/4 x 6 1/4" and place on your glass mat, in landscape view. Secure the star stencil so it sits centrally, just off the bottom edge of the card. |
|
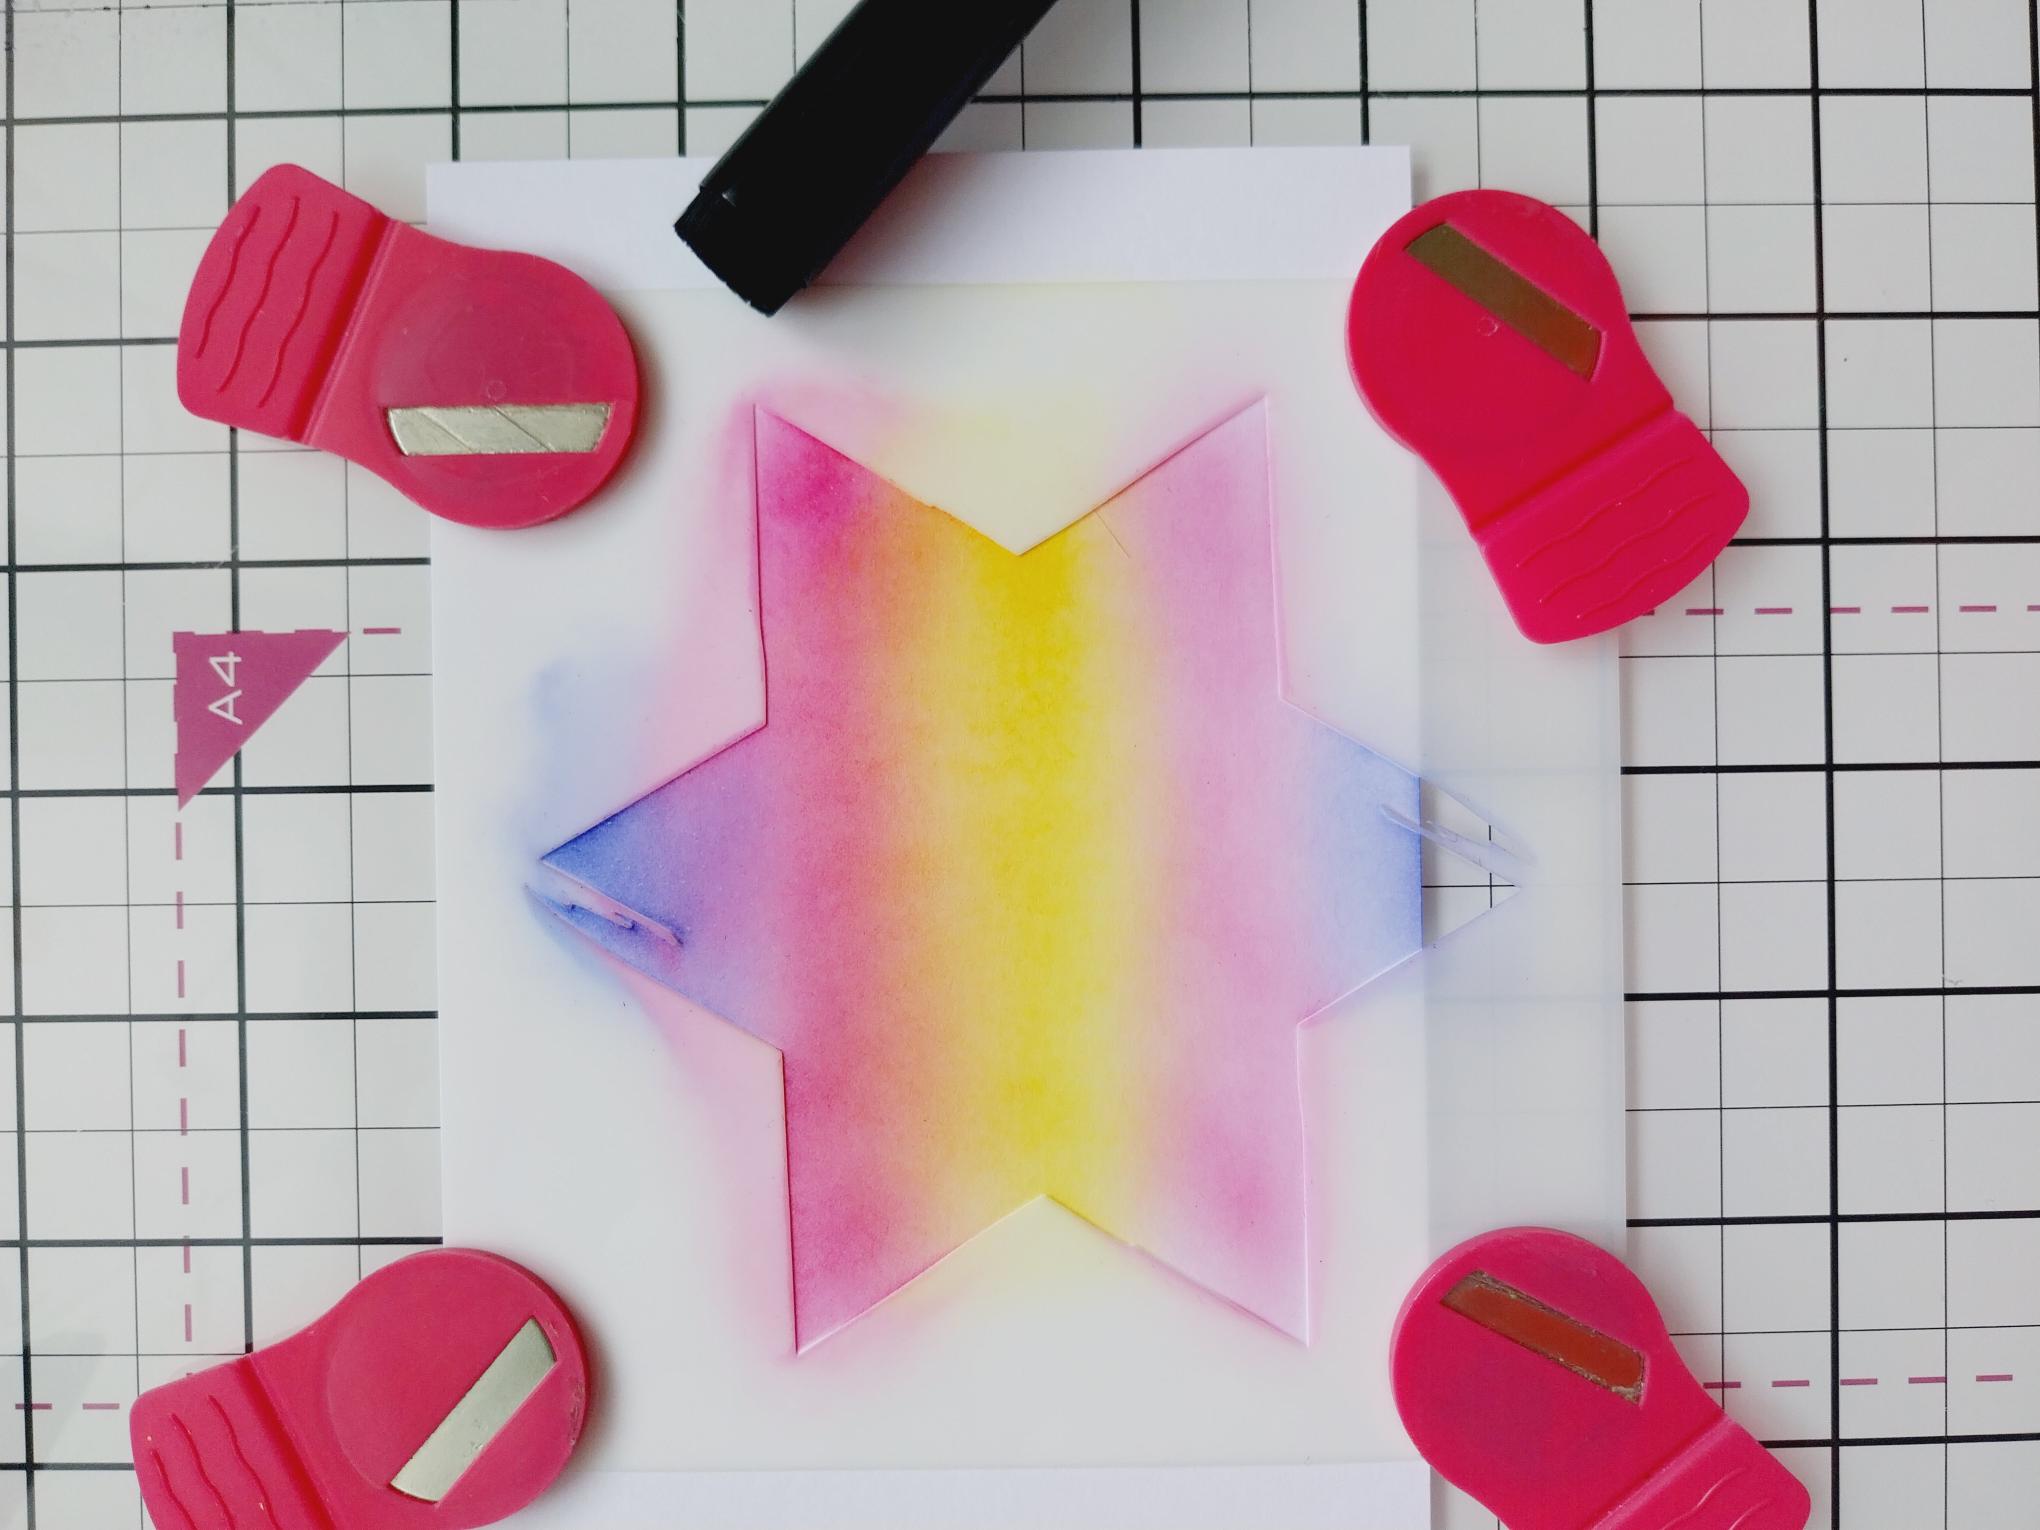
Use your inks to blend across the stencil, as shown here. |
|
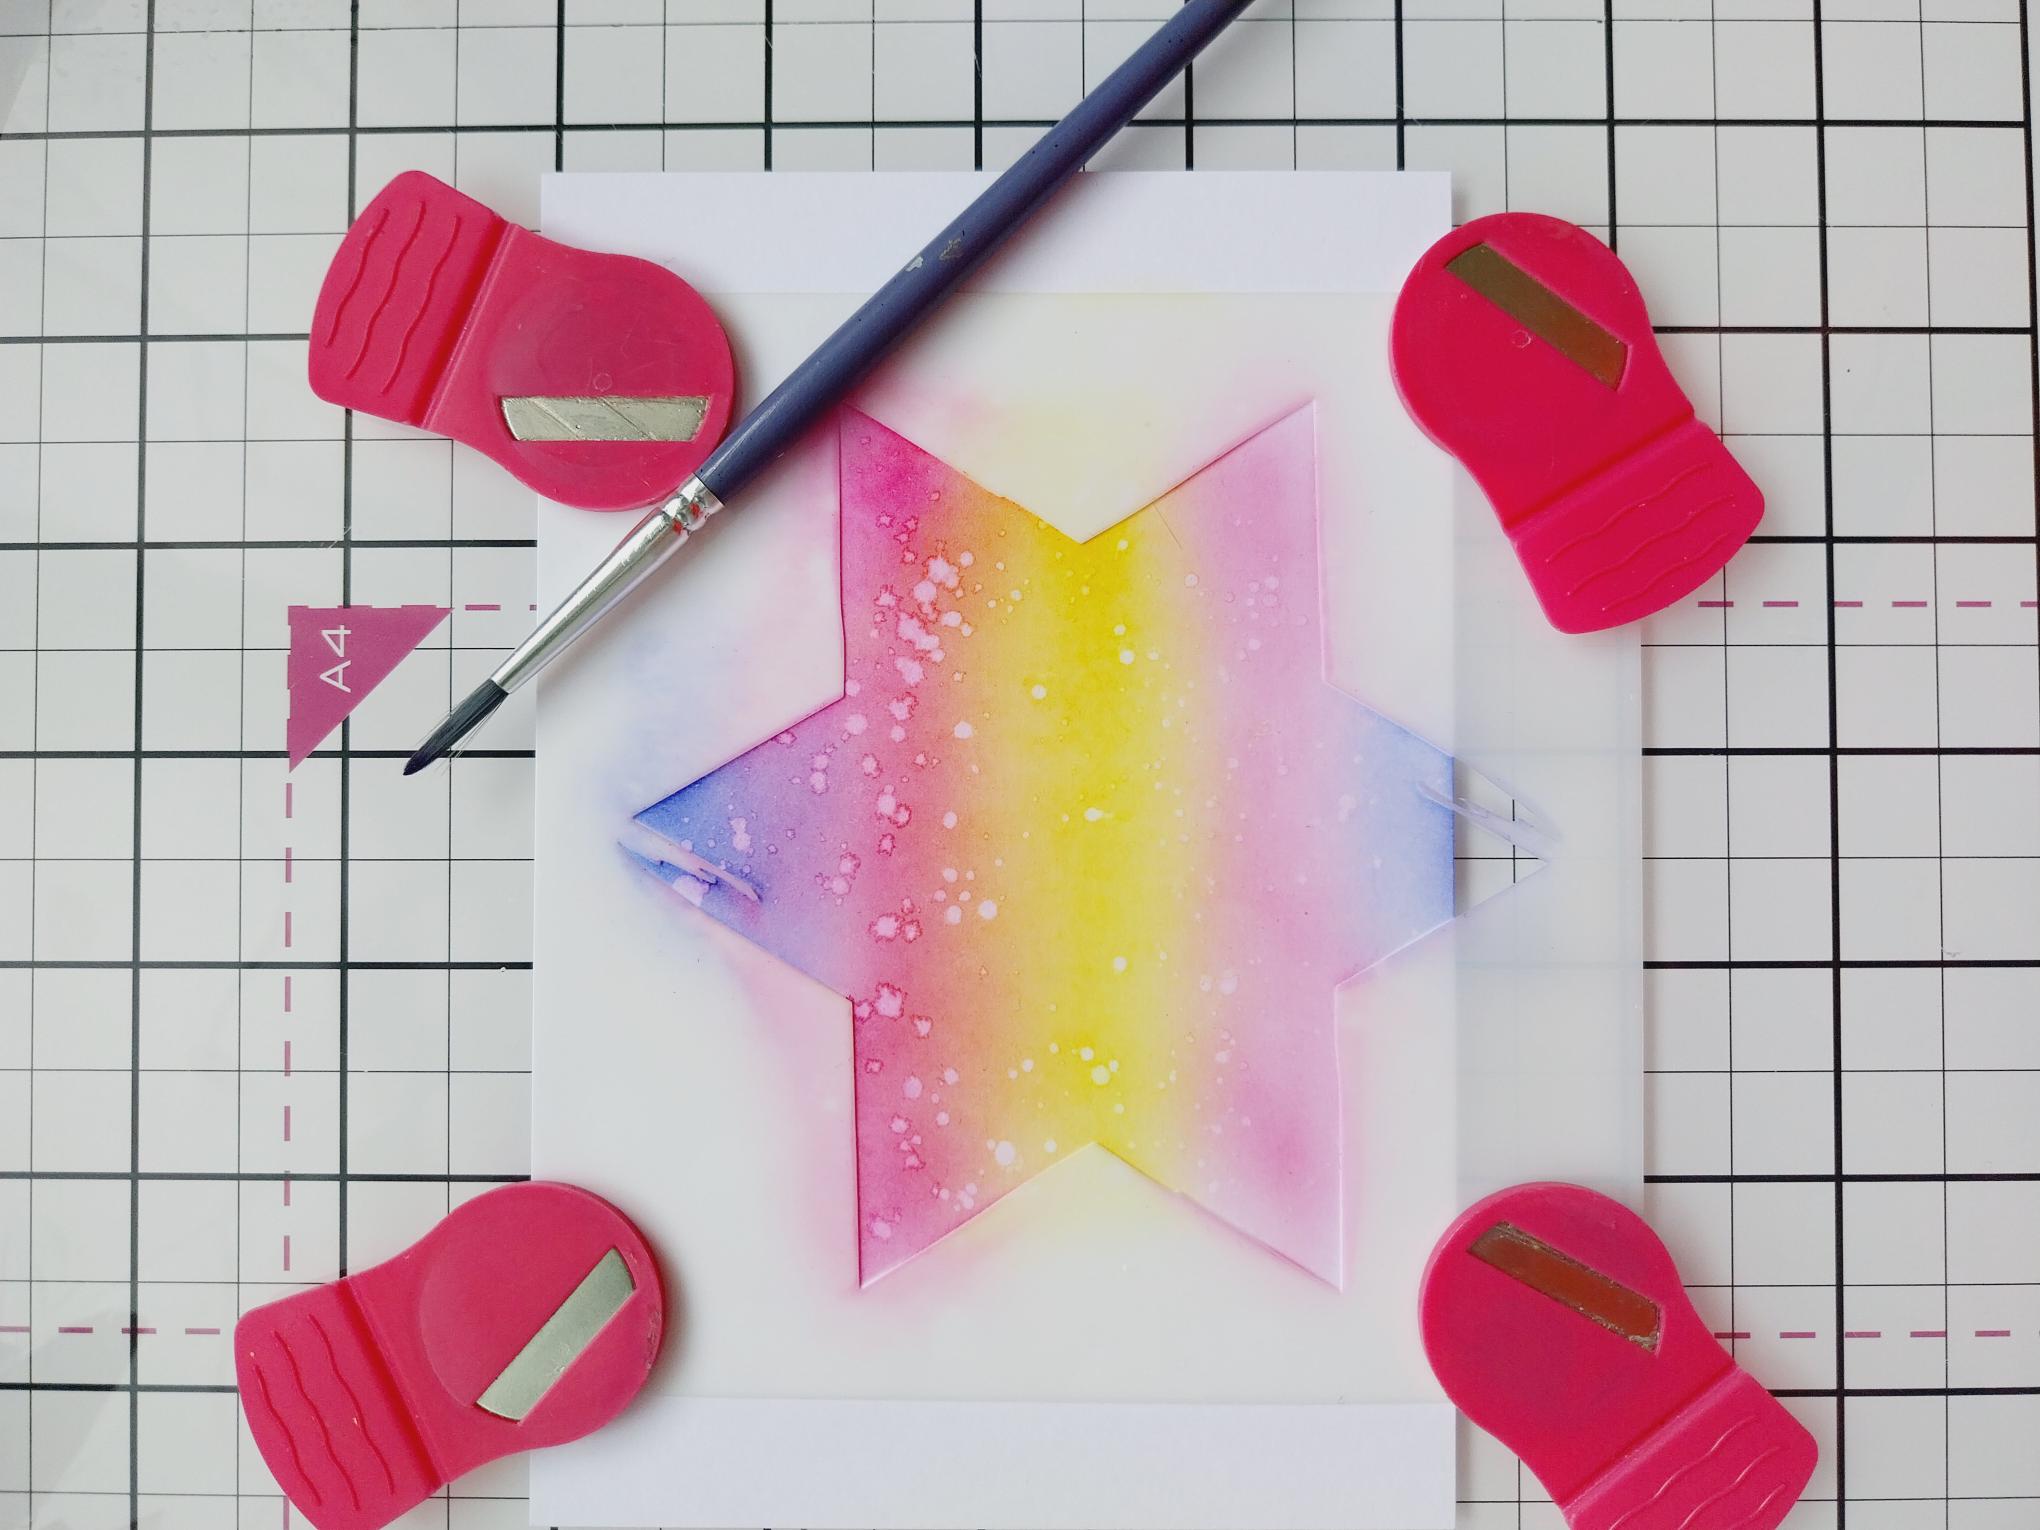
Splatter water droplets onto the ink, wait a few seconds then mop up the excess with a paper towel. Remove the stencil and dry your artwork. |
|
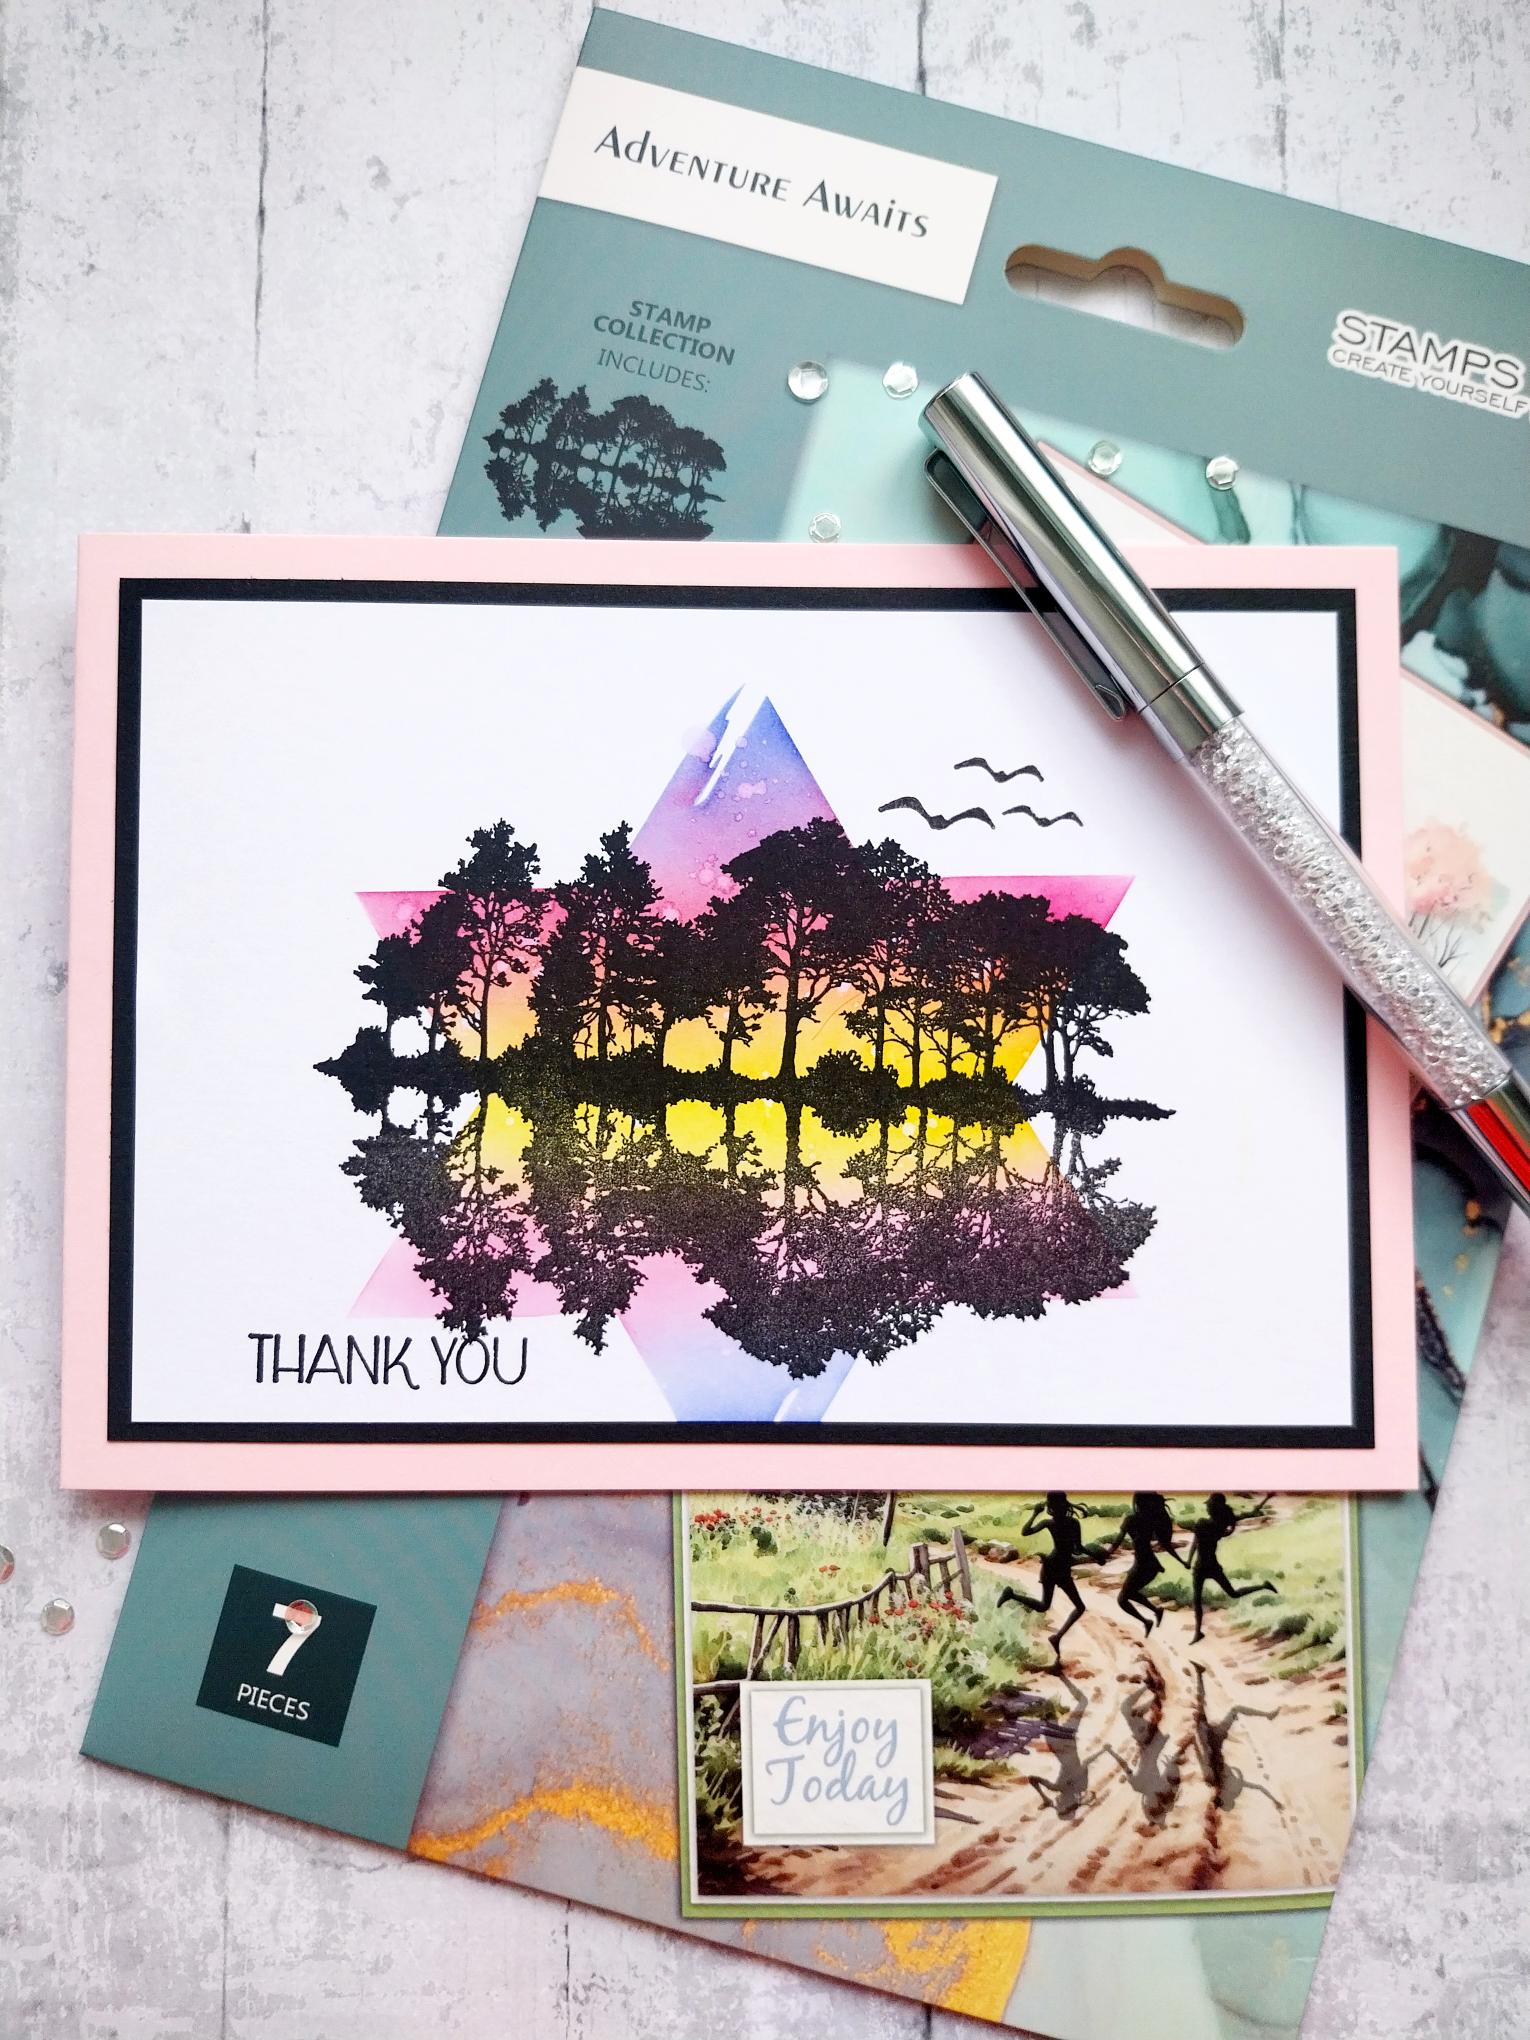
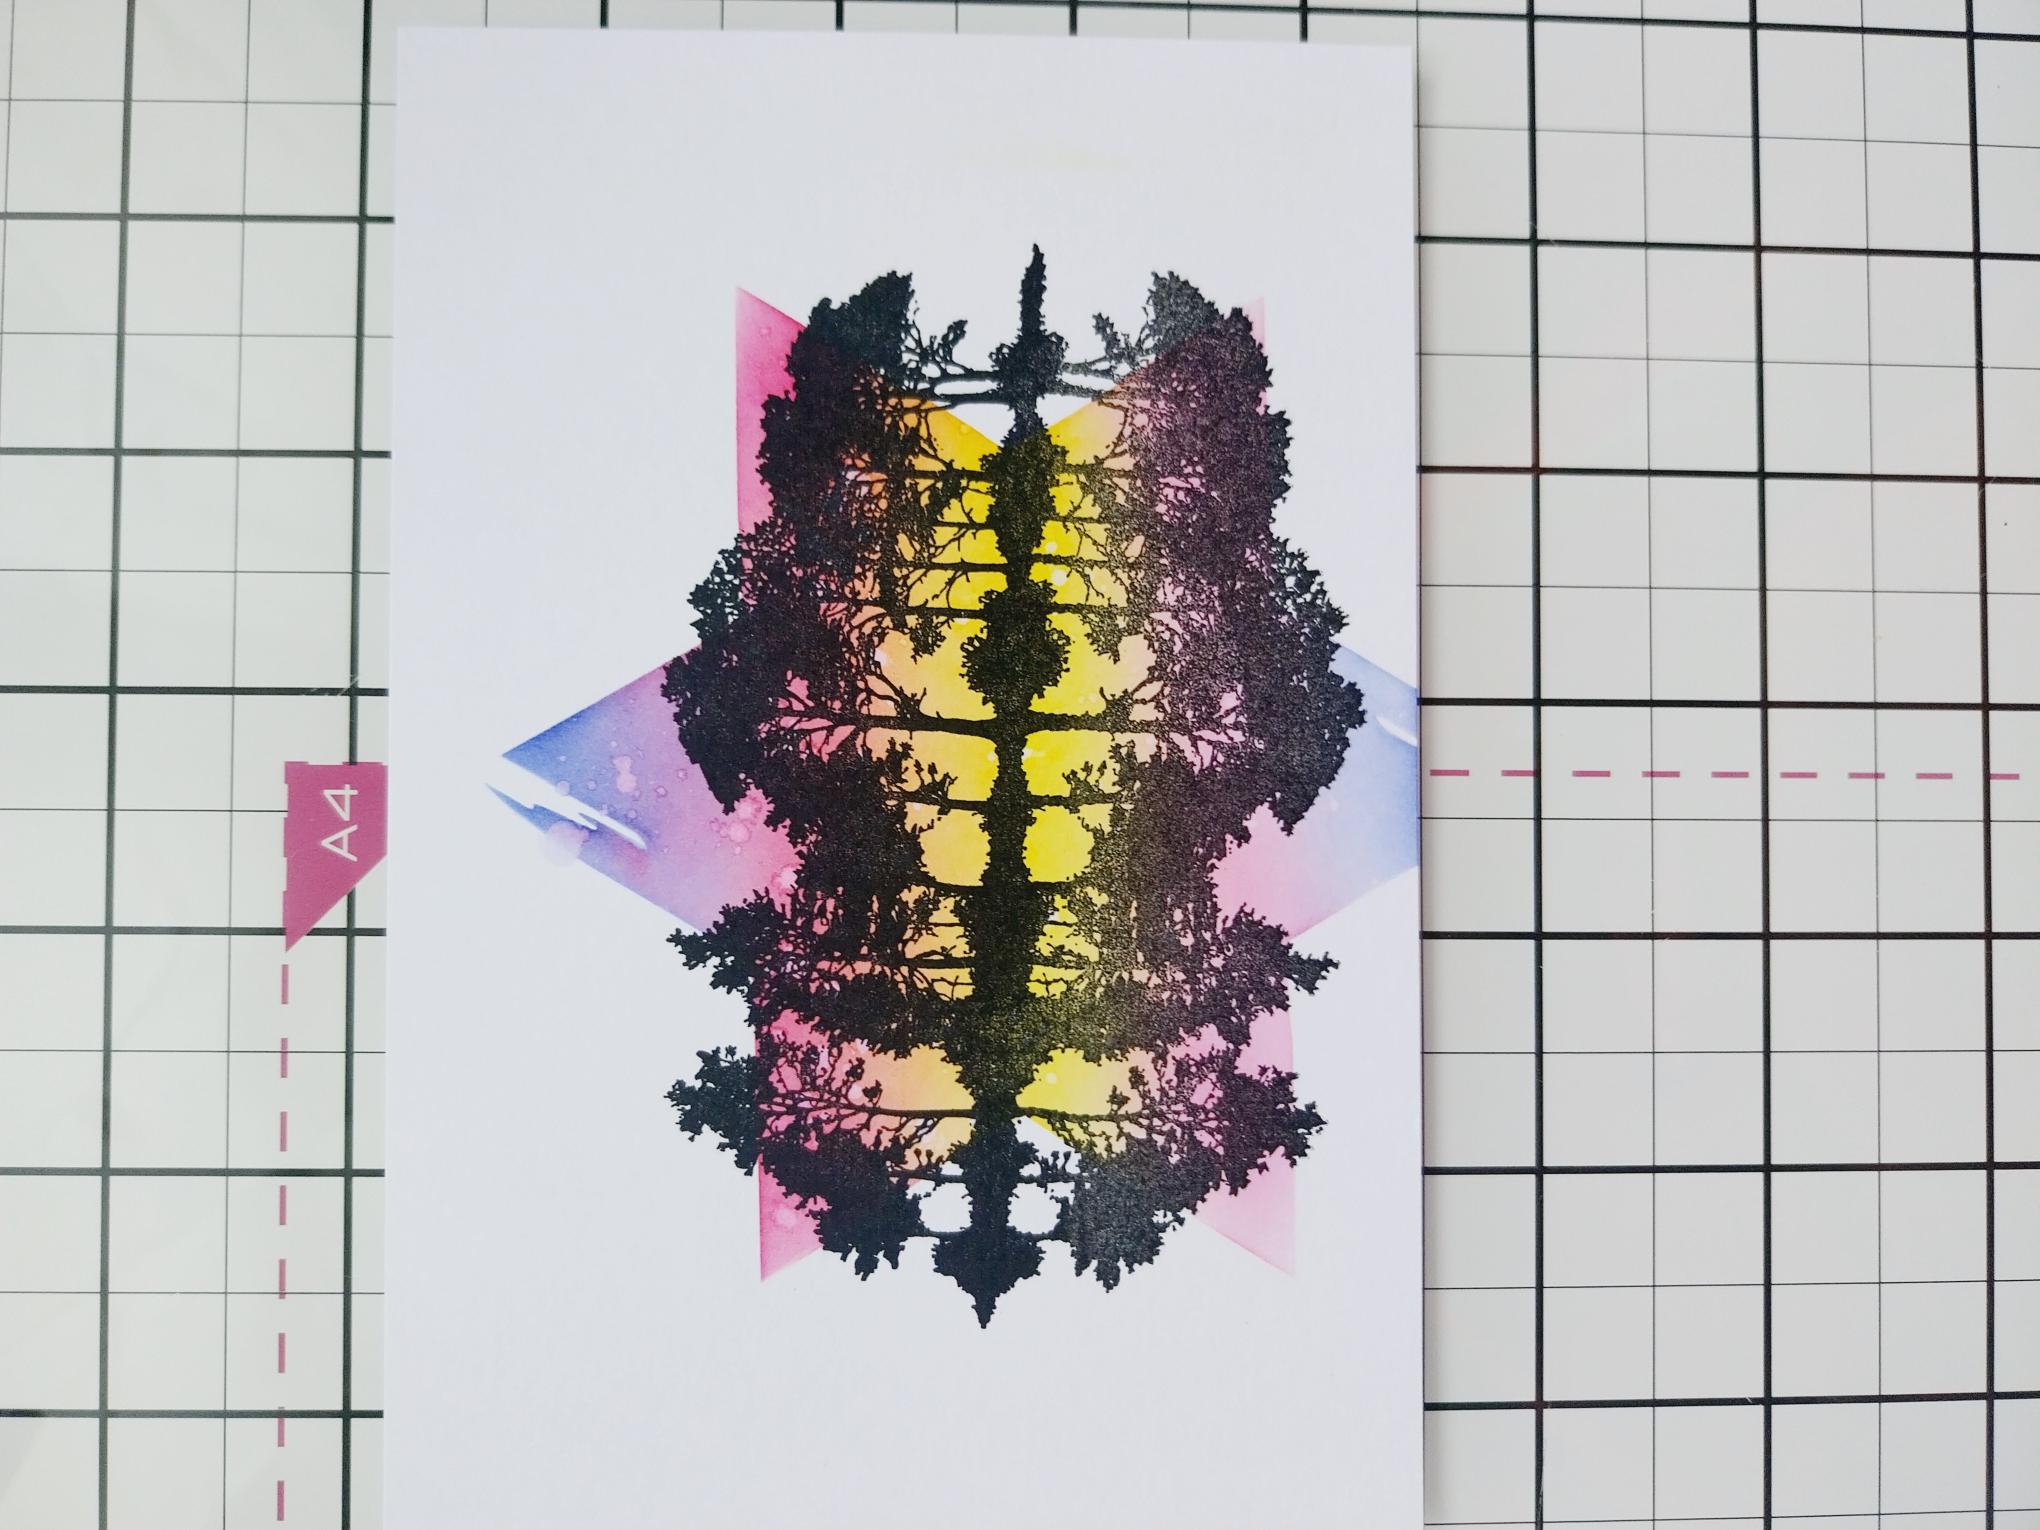
Once the ink is thoroughly dry, stamp your tree-line image in the Midnight ink, across the centre of the stencilled star. Re-ink and stamp the top half of the image again so the "reflective" element is slightly lighter. |
|
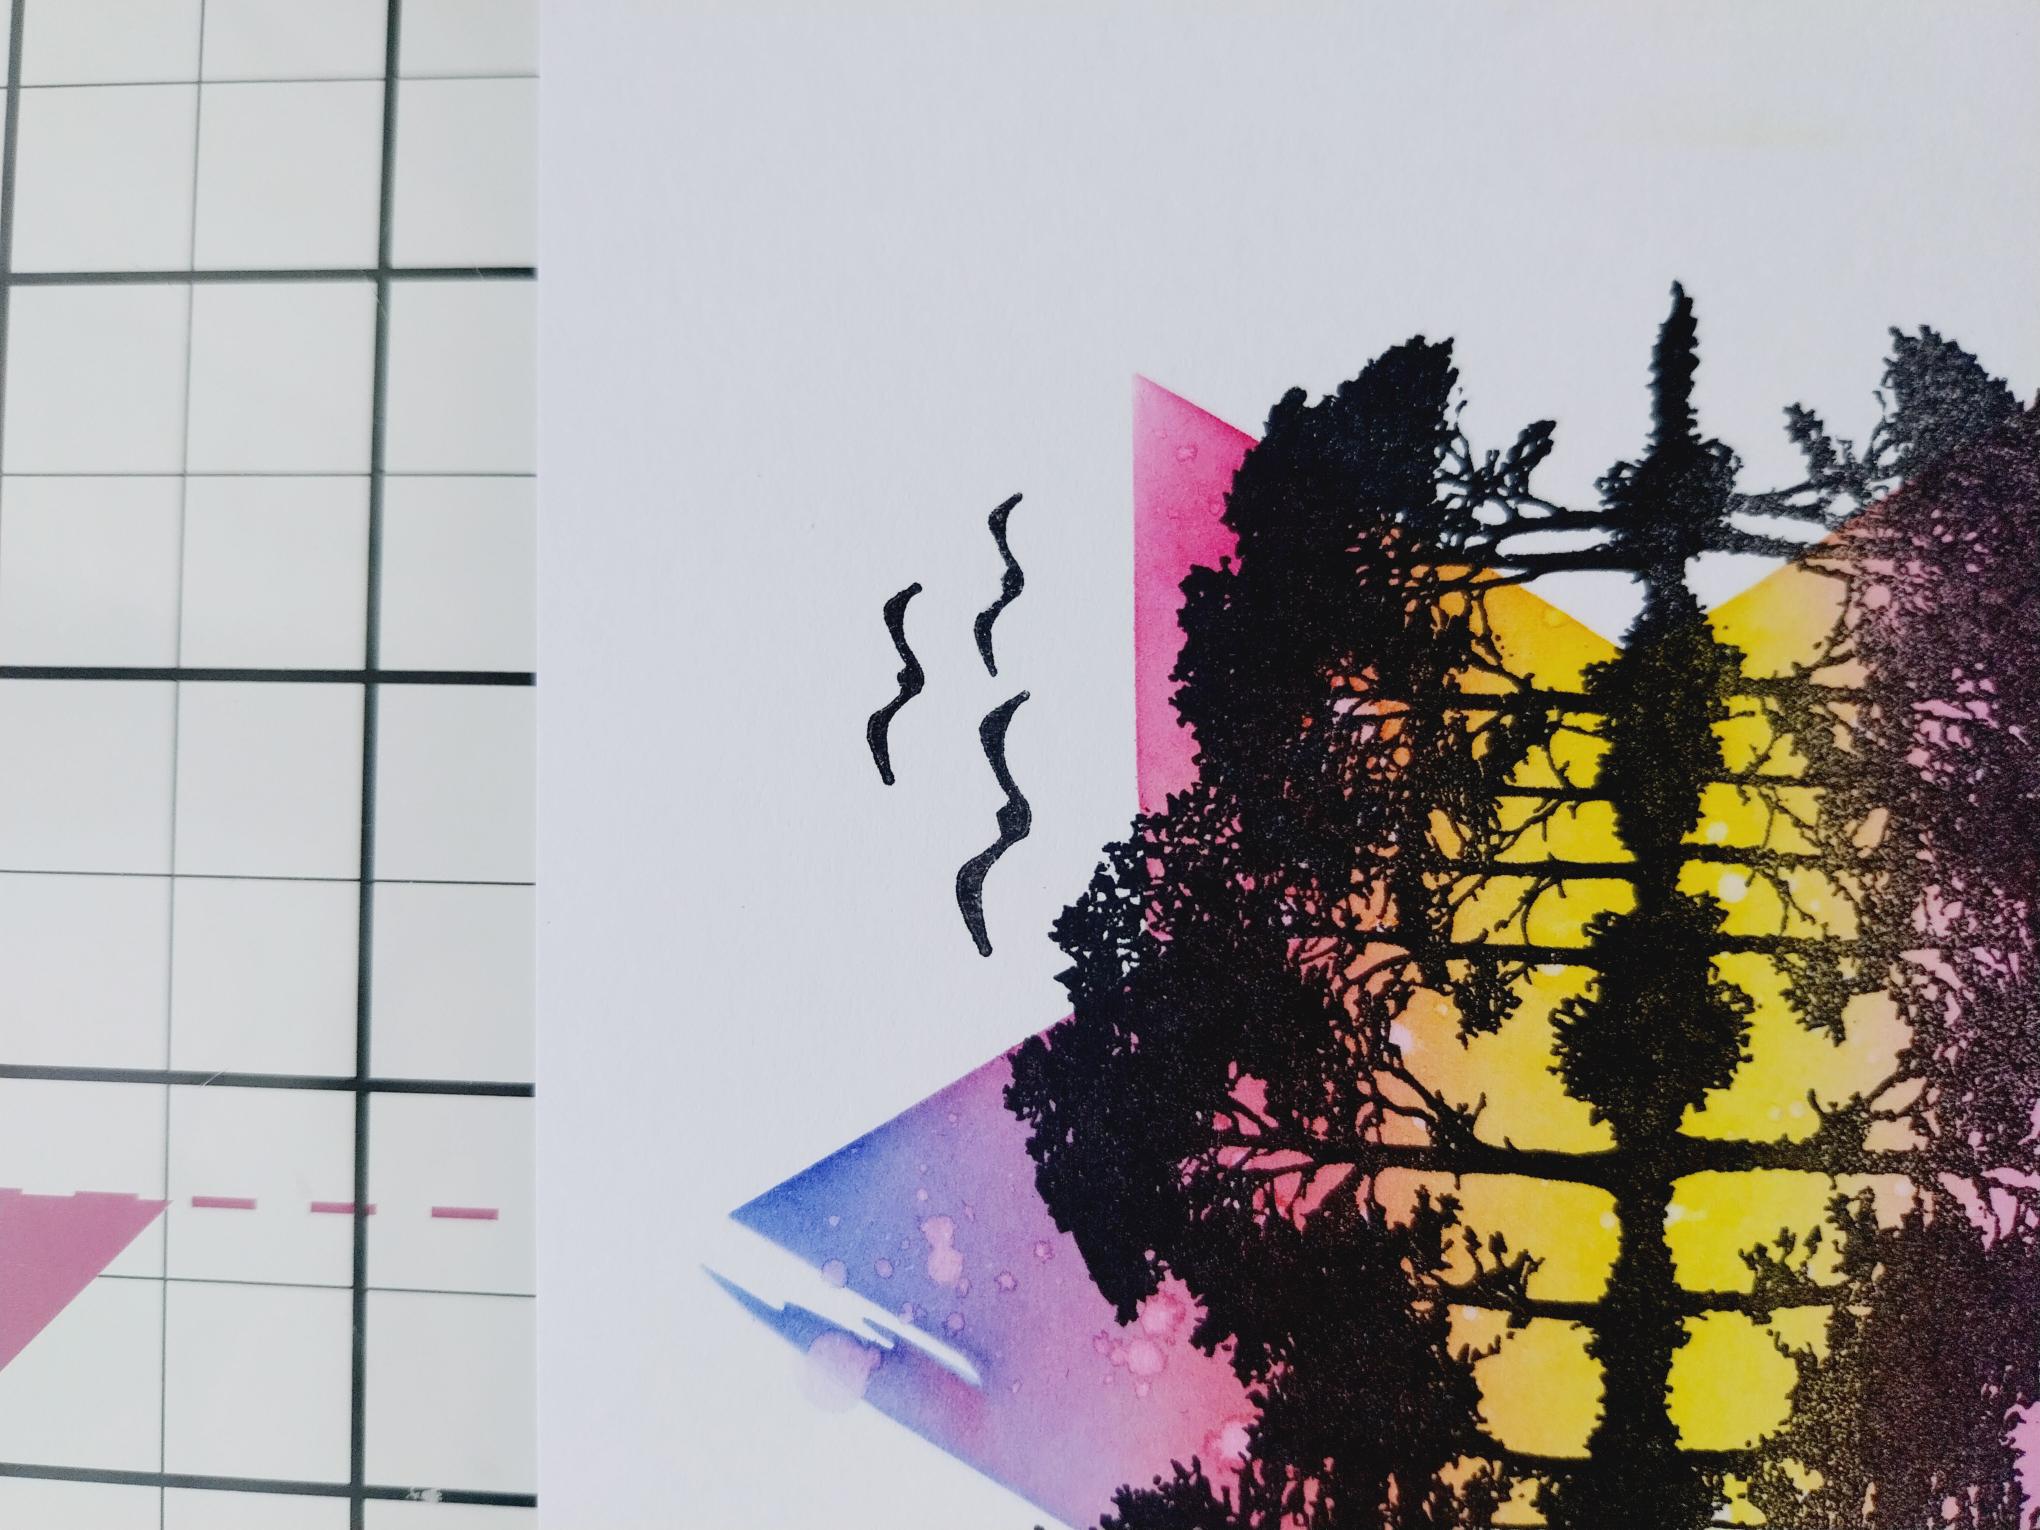
Stamp a few birds from the Ray Of Sunshine set, flying above your artwork. |
|
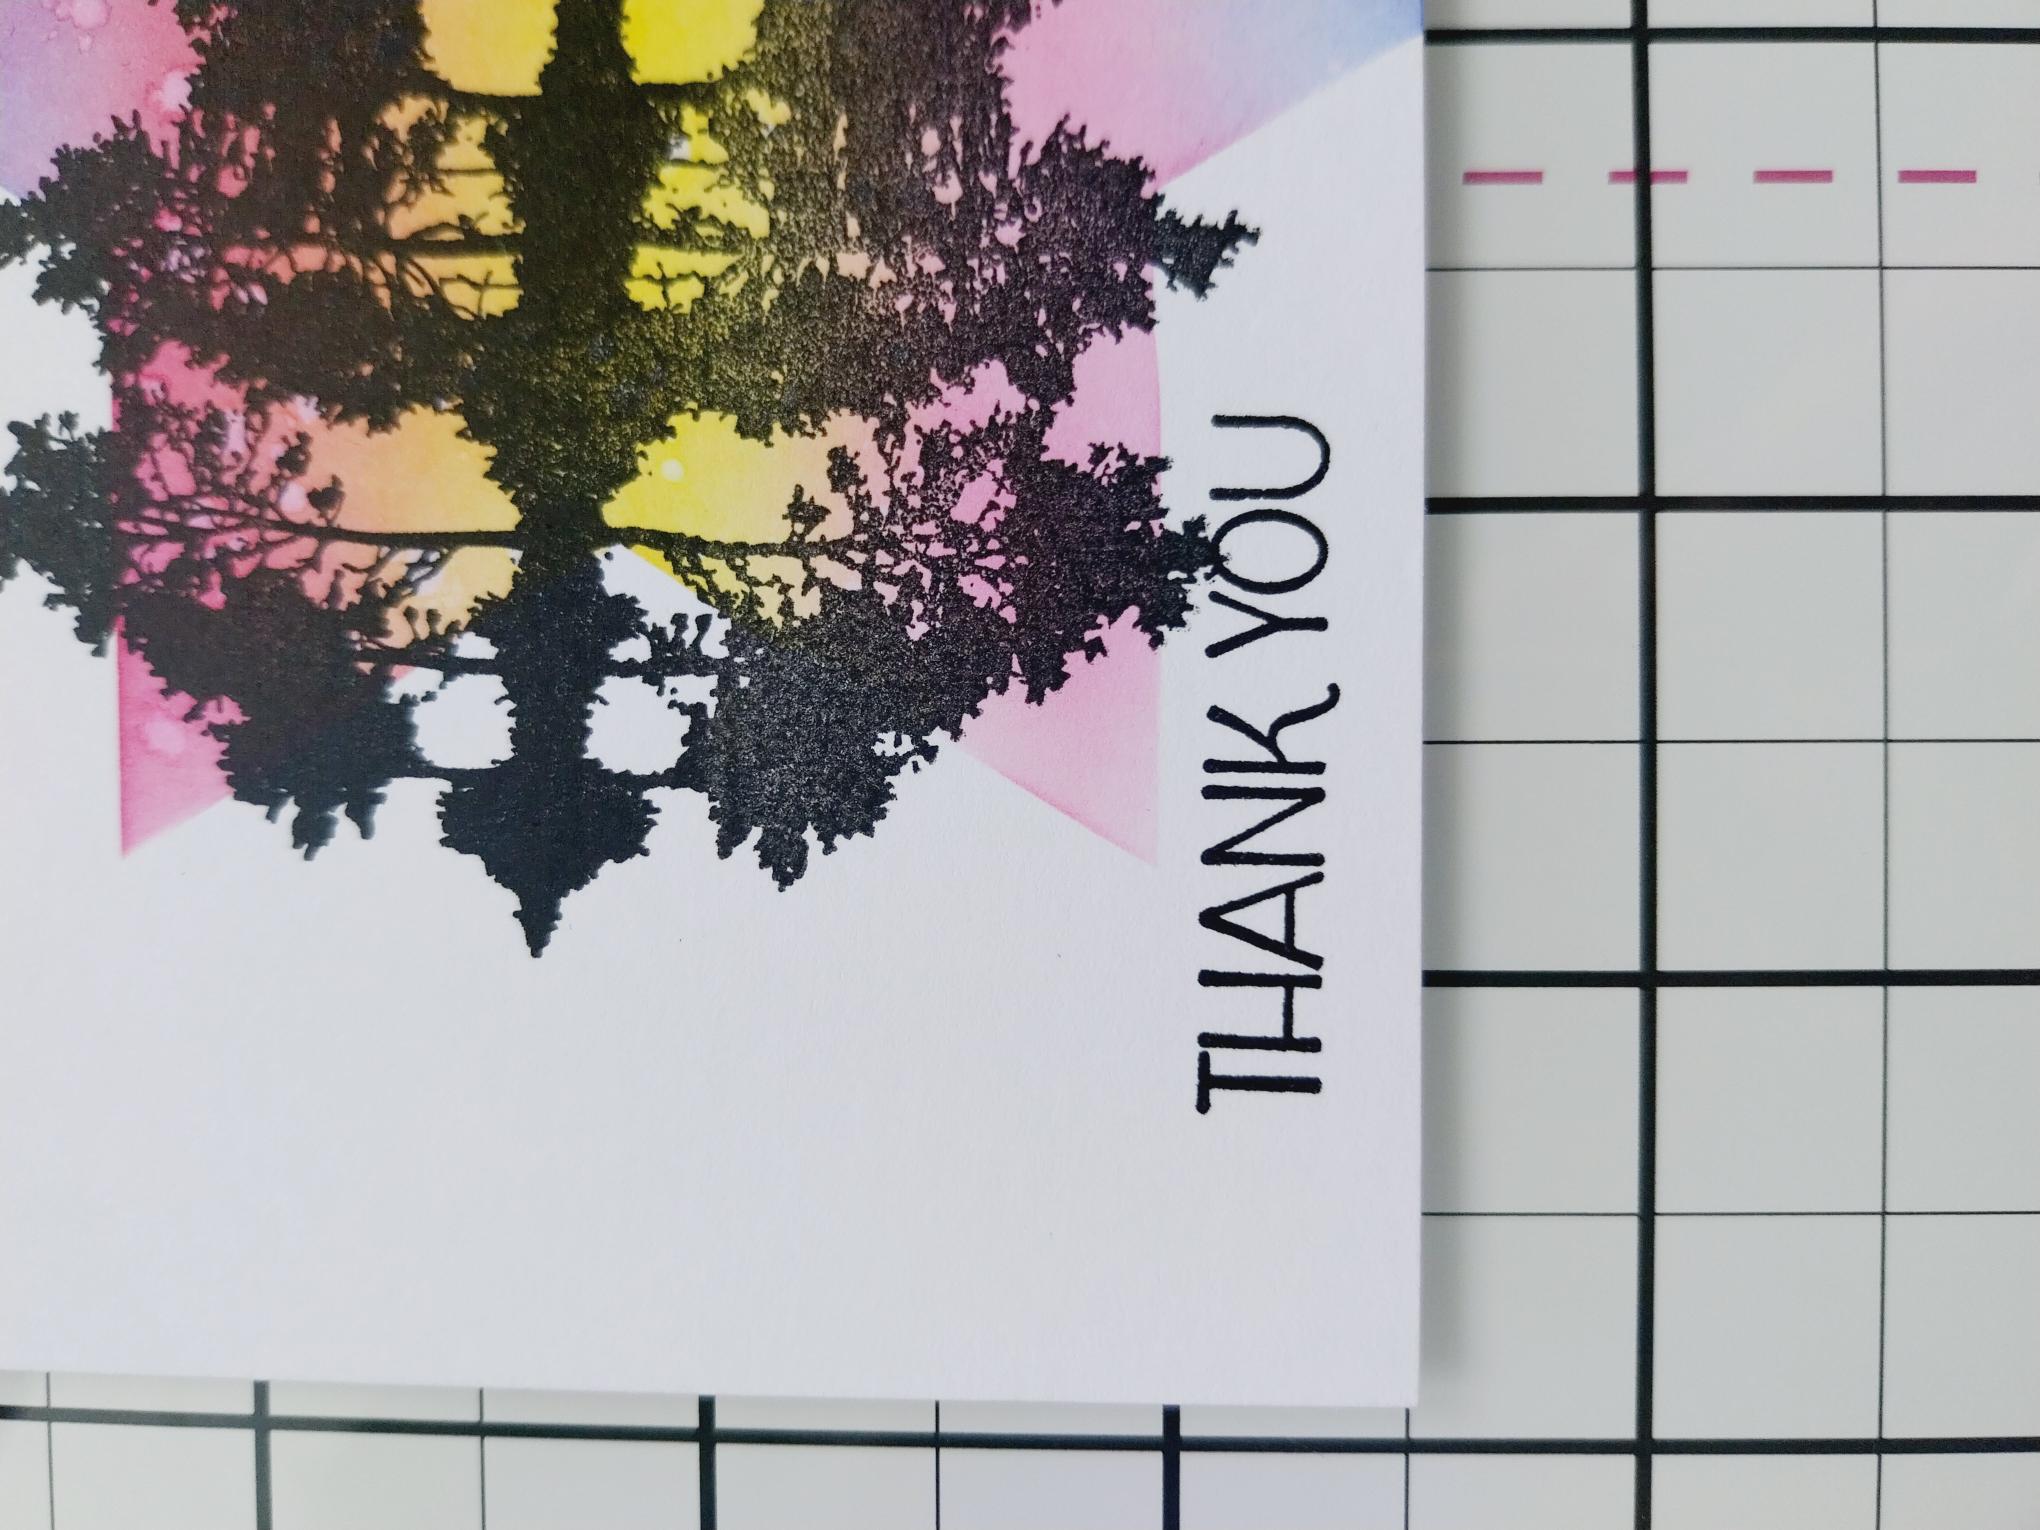
Stamp your sentiment to the bottom left of your artwork. |
|
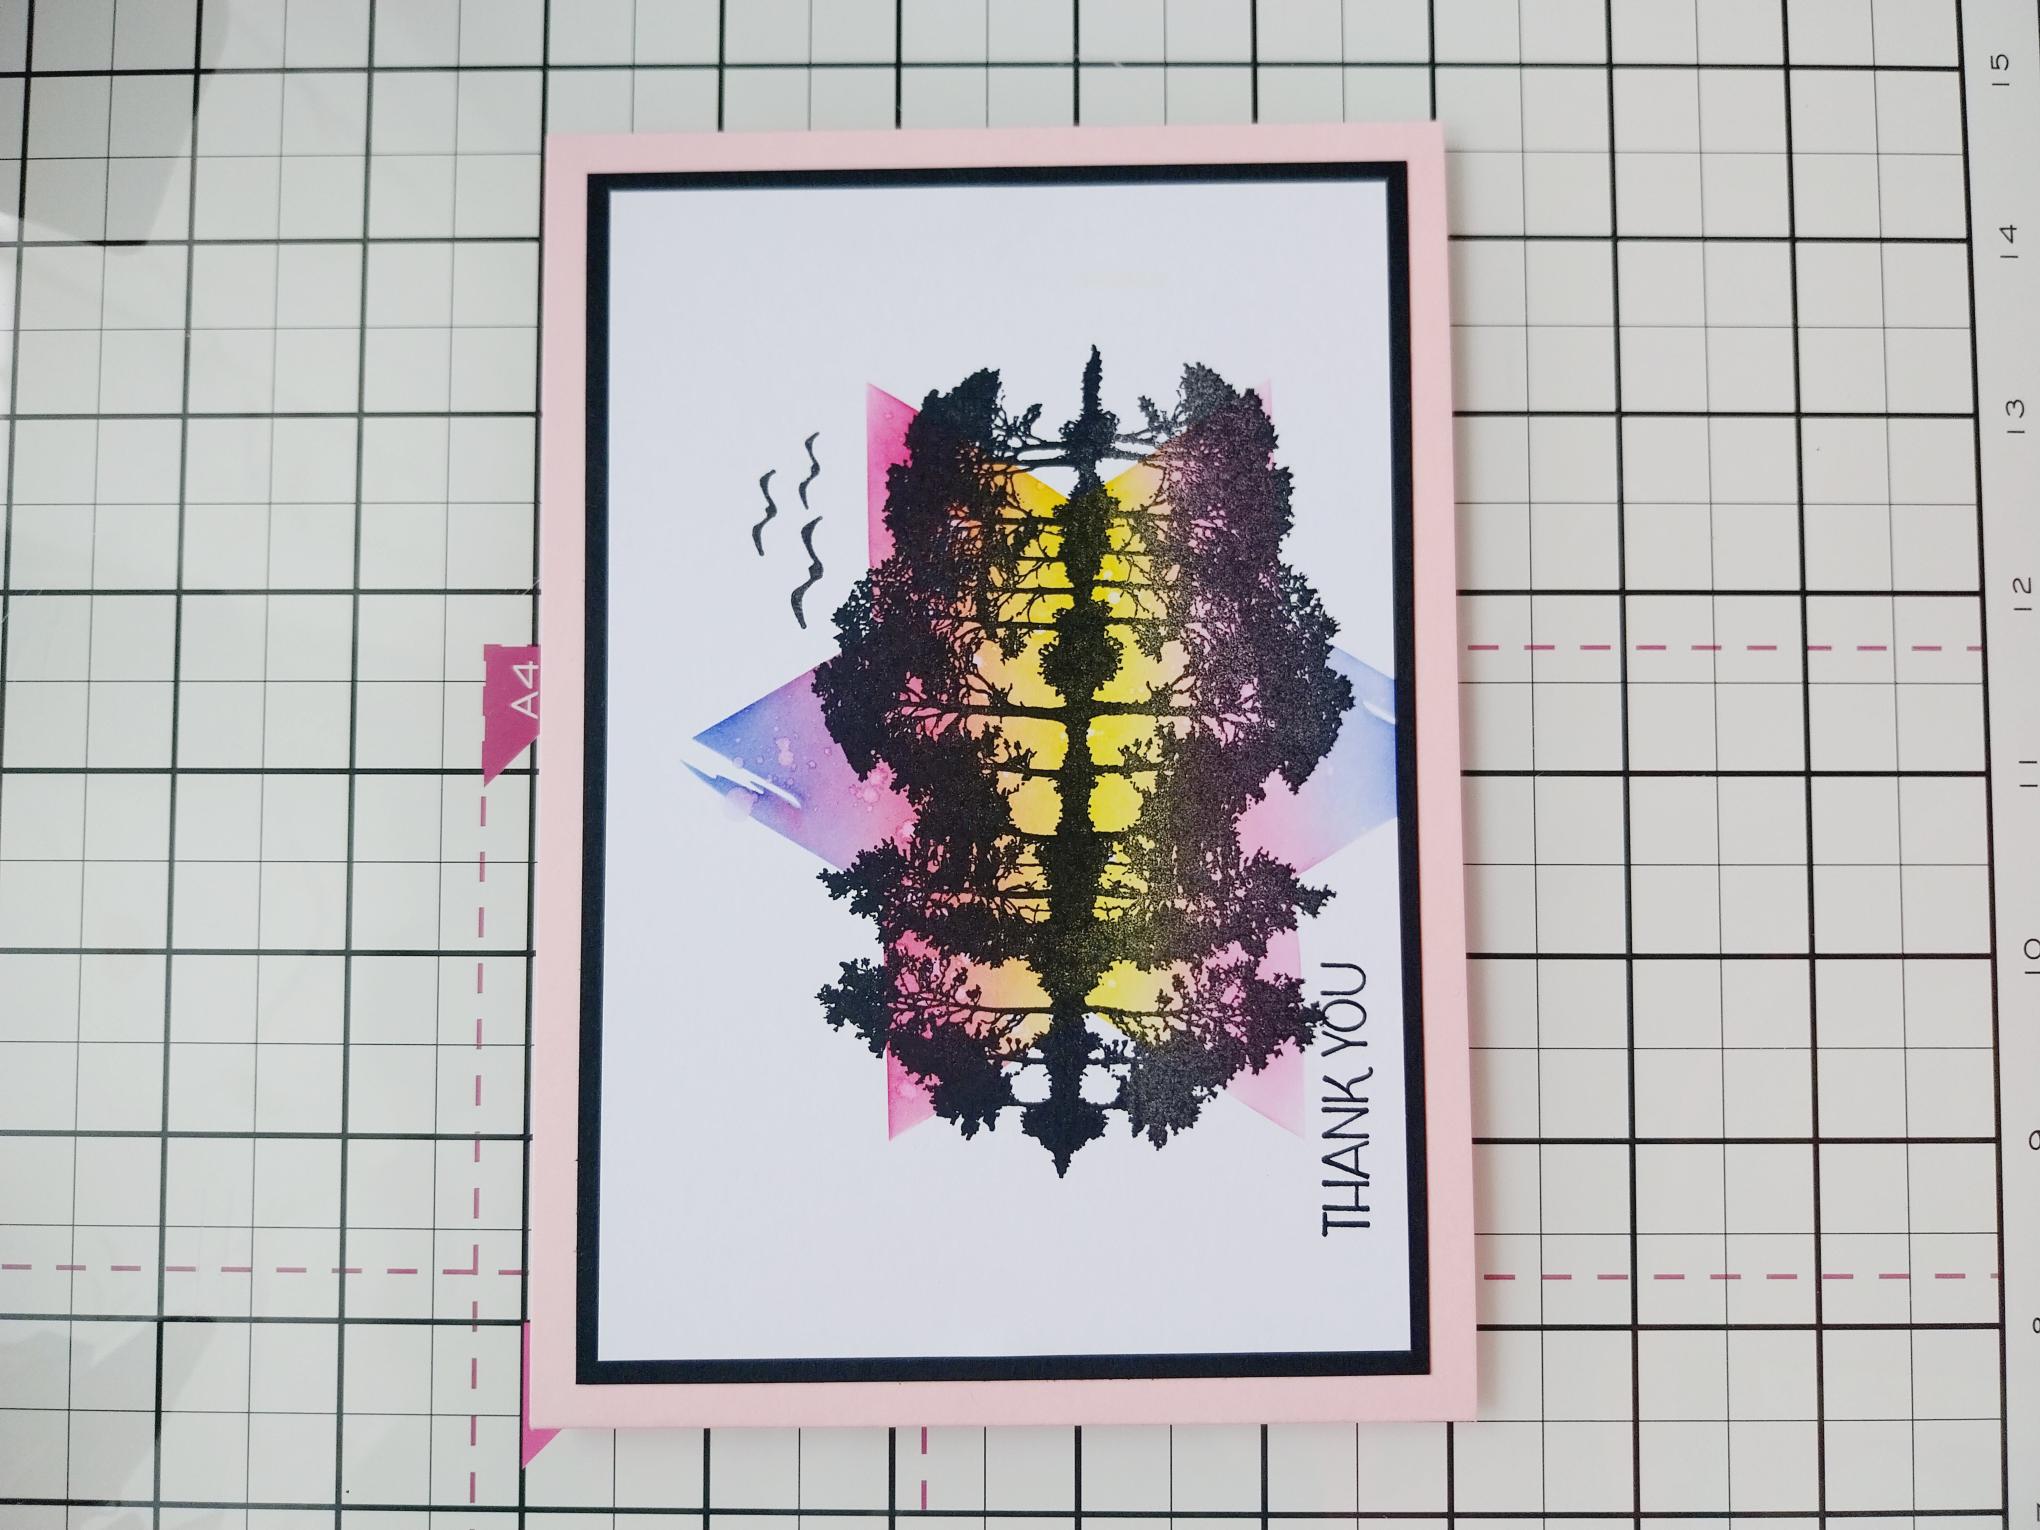
To finish, mat onto black card trimmed to 4 1/2 x 6 1/2" and then onto your pink card blank. |