Offrez à vos amis 10 € de réduction sur leur première commande !
Parrainez un AMI








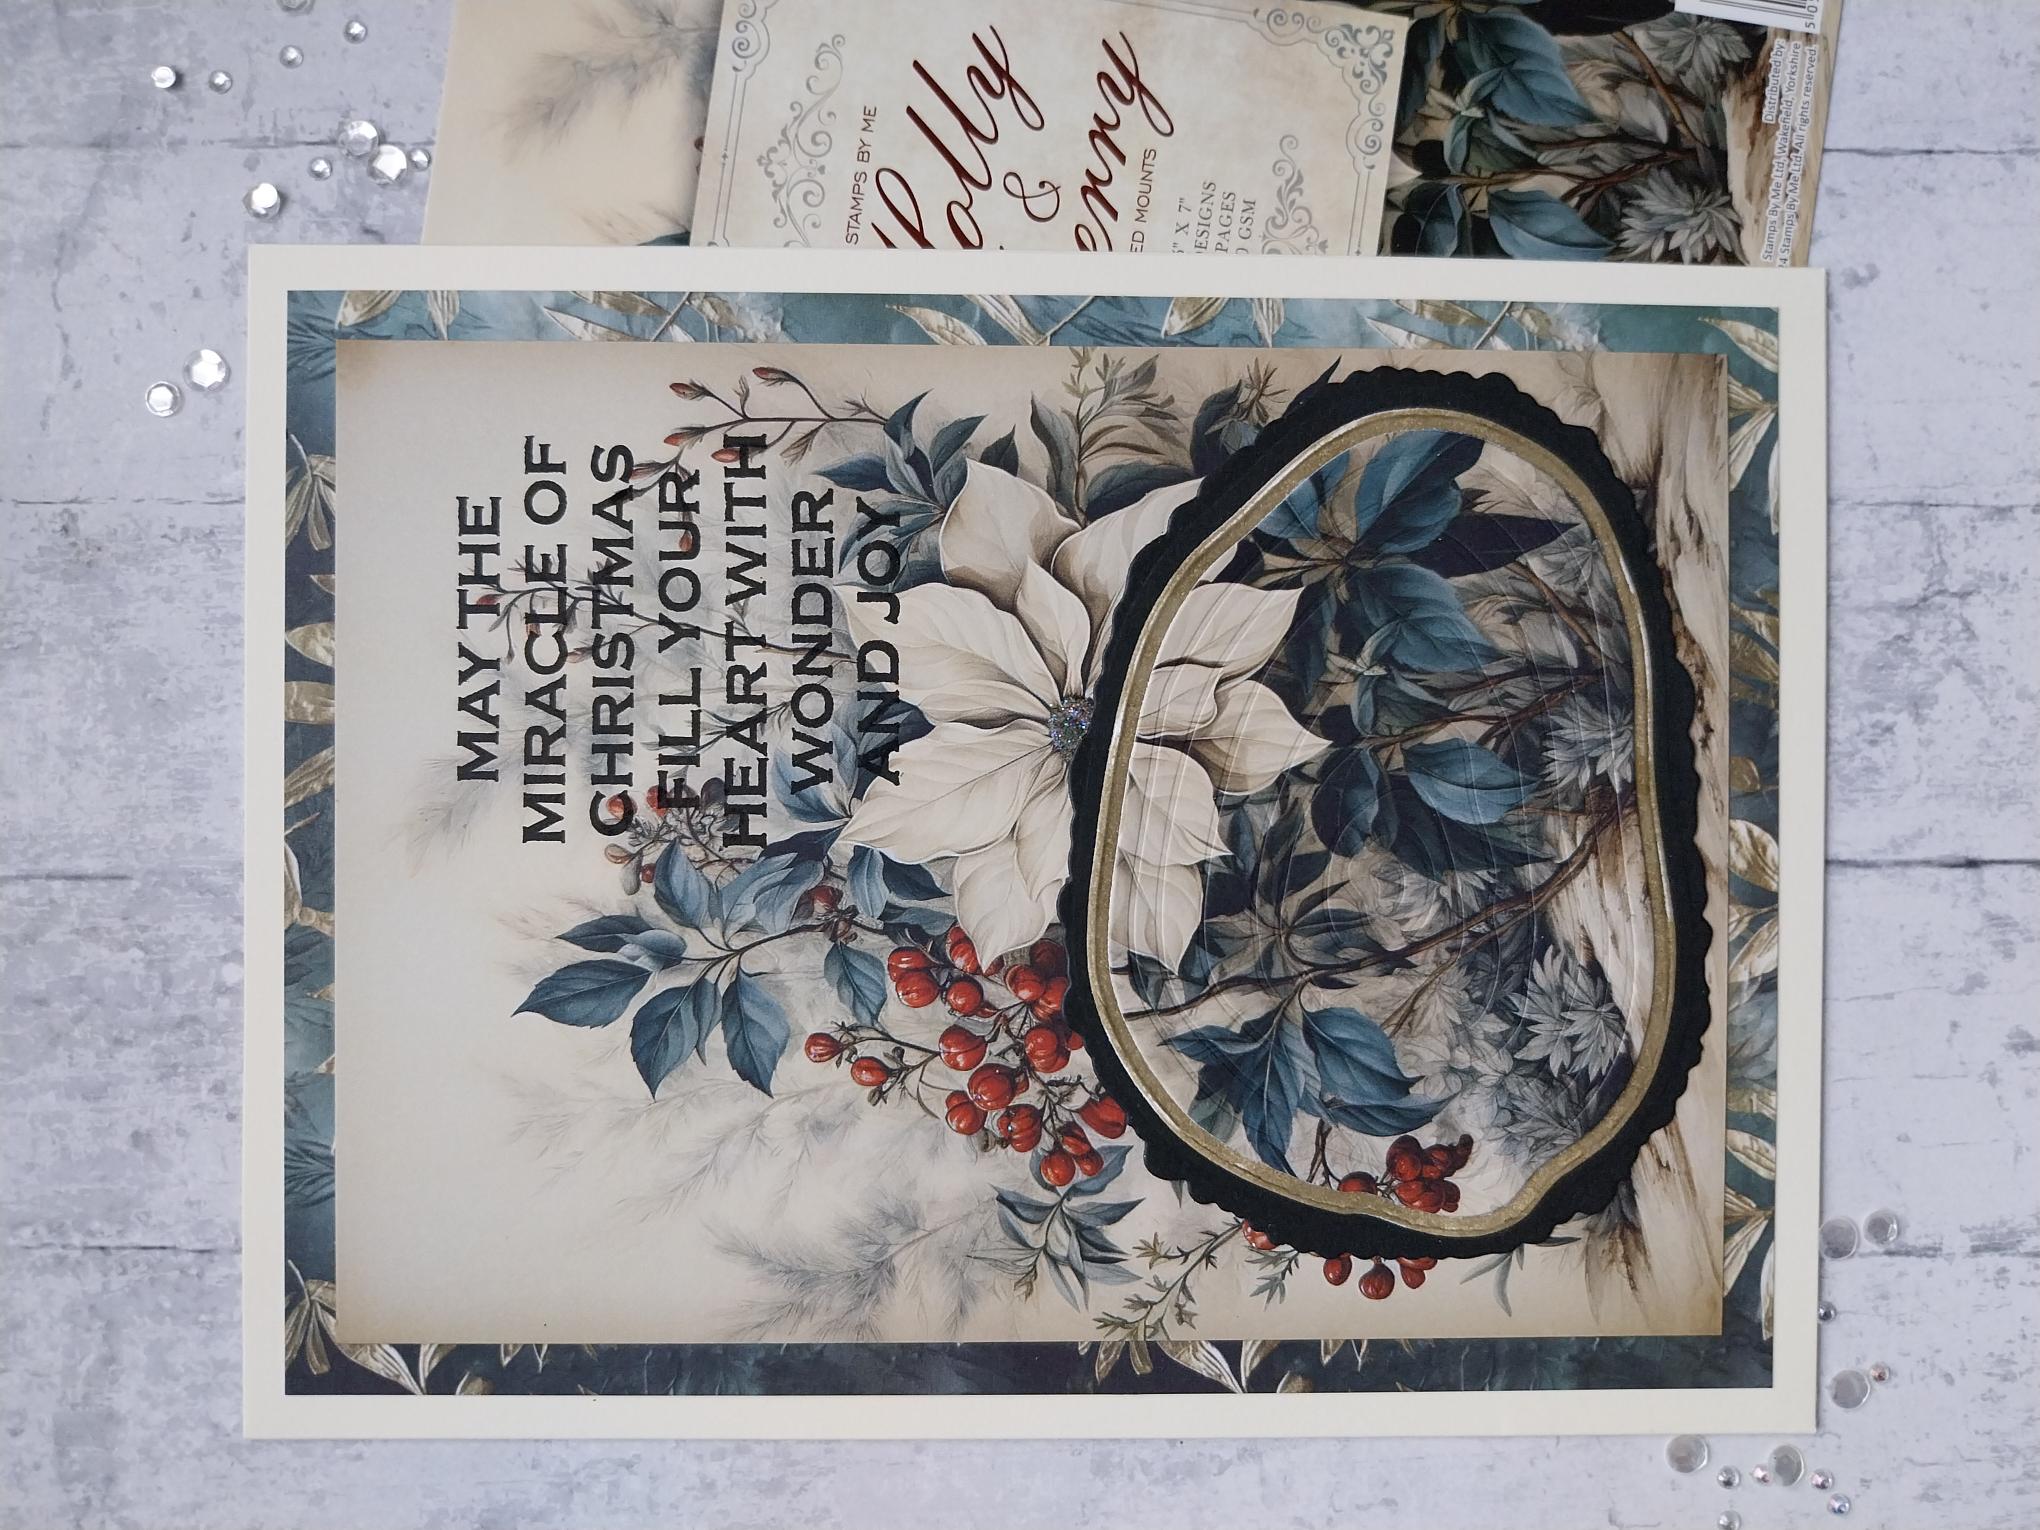
CE DONT VOUS AUREZ BESOIN :
Carte vierge crème 6 x 8"
Papier cartonné noir/blanc
Supports peints Holly & Berry Painted Mounts
Bloc de papier All Surfaces Evergreen 8 x 8
Matrices de découpe Oak Slices Die Collection
Tampons et matrices Special Wishes Stamp & Die Collection
Encreur SBM Hybrid : Midnight
Encreur Distress Ink/Oxide : Frayed Burlap
Brosse d'estompage
Stickles/paillettes
Eureka 101 Watercolour Tablet
Tapis en verre magnétique SBM A3
Massicot
Colle
Machine de découpe
[cliquez sur l'image pour l'agrandir] 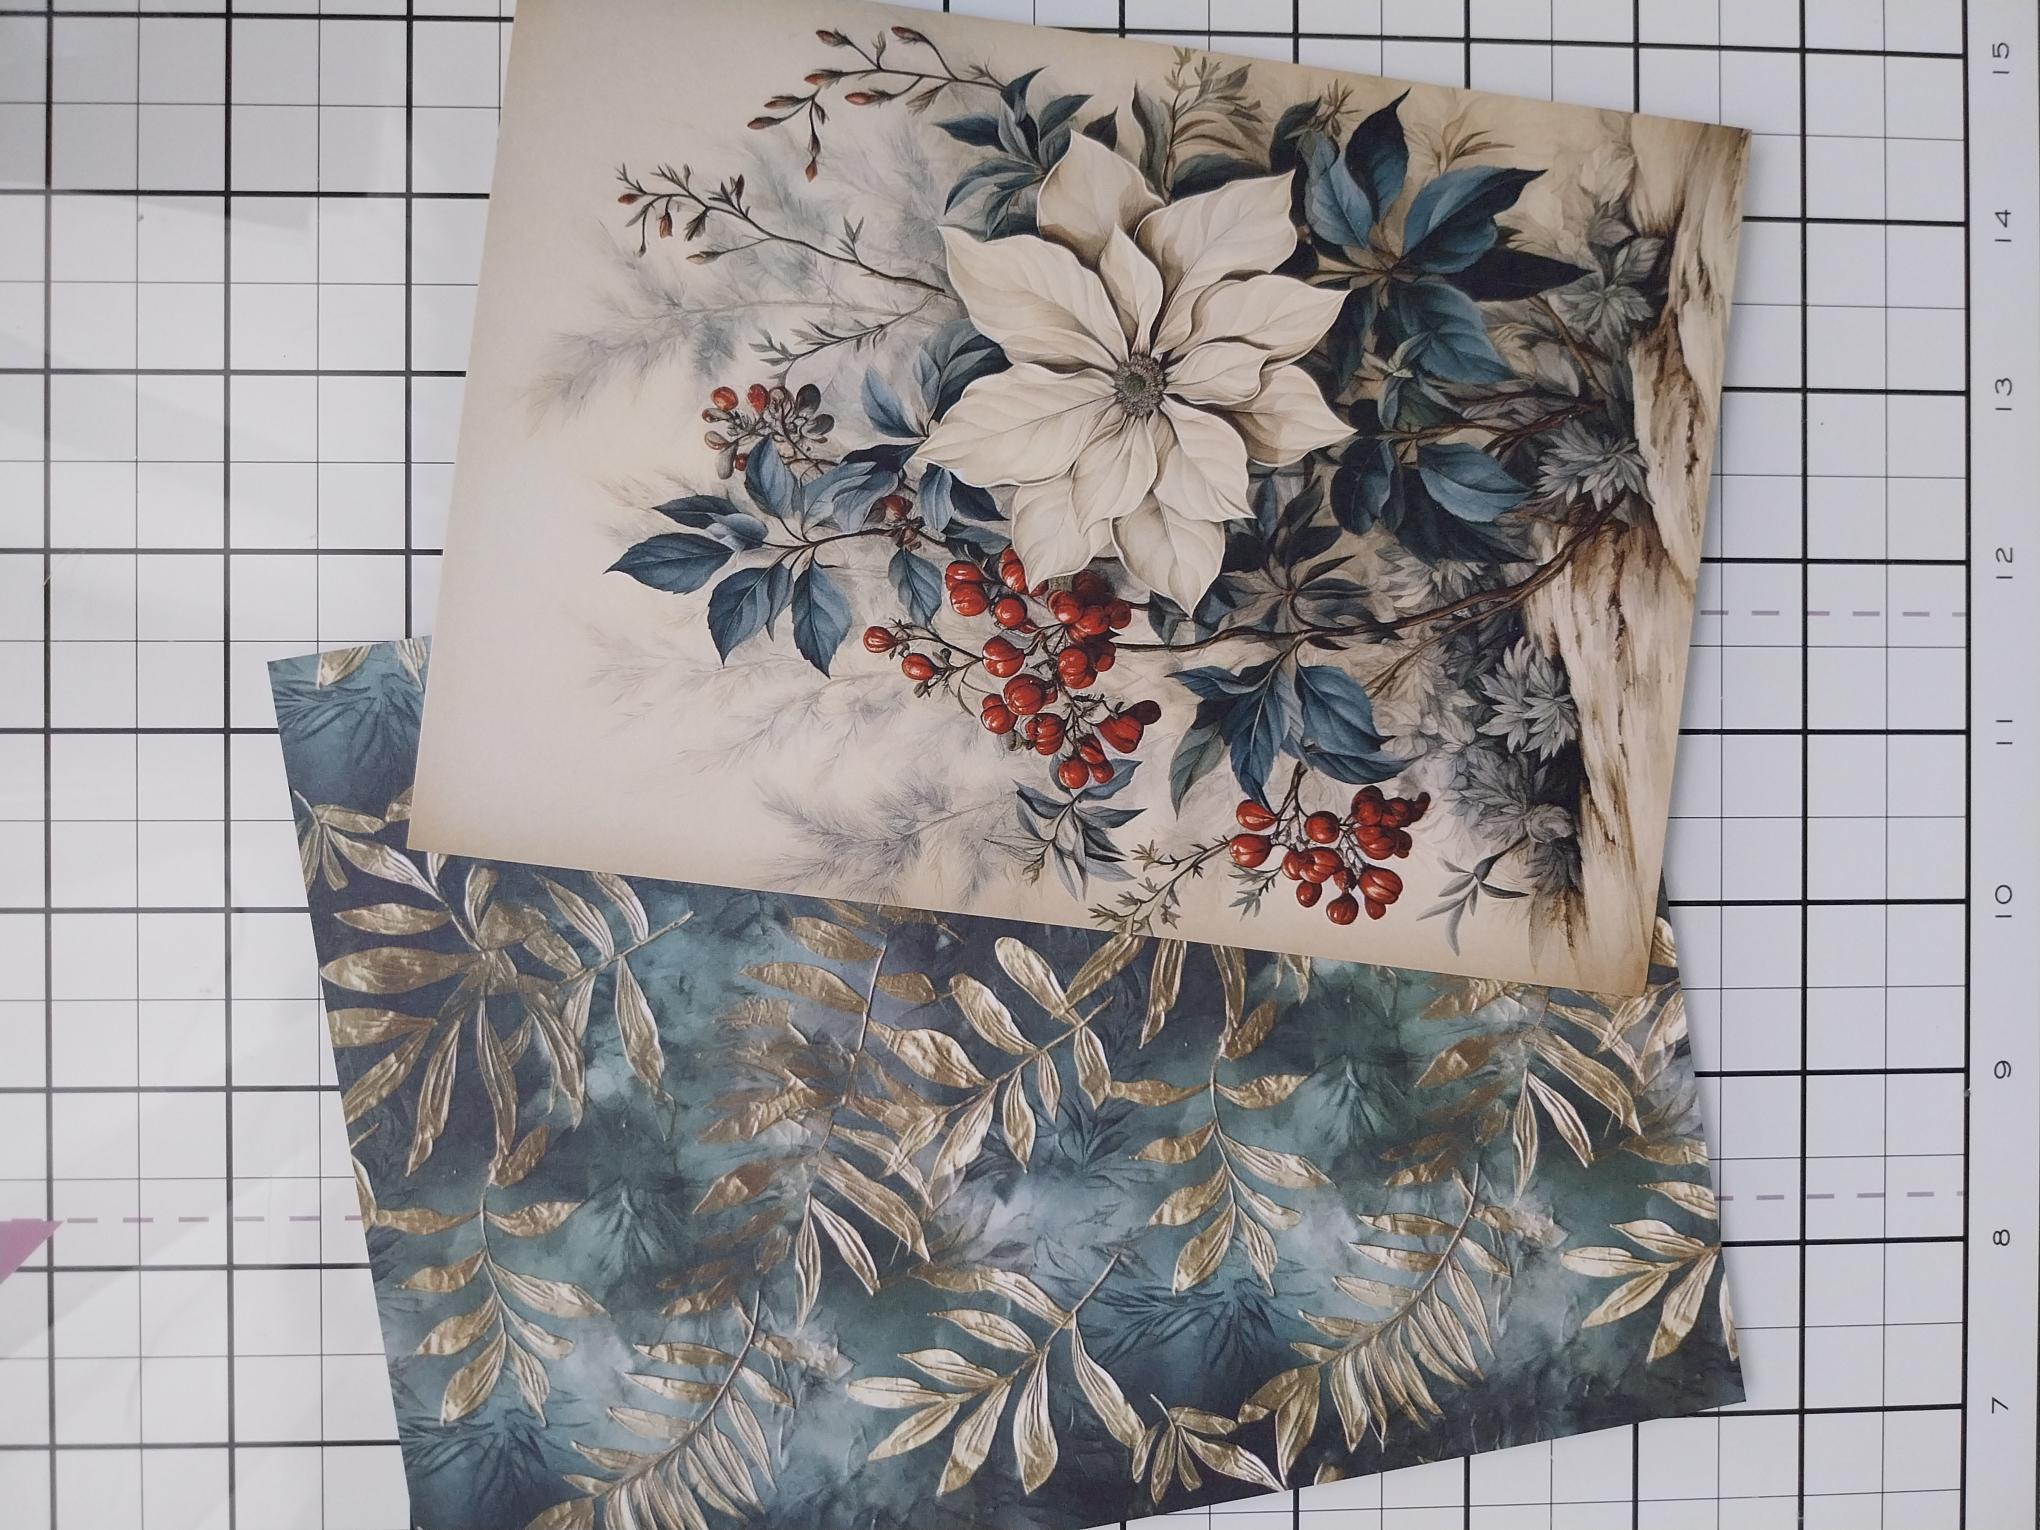
|
Choose a coordinating paper from the Evergreen pack, to go with this Holly & Berry painted mount. Trim the paper to 5 1/2 x 7 1/2". |
|
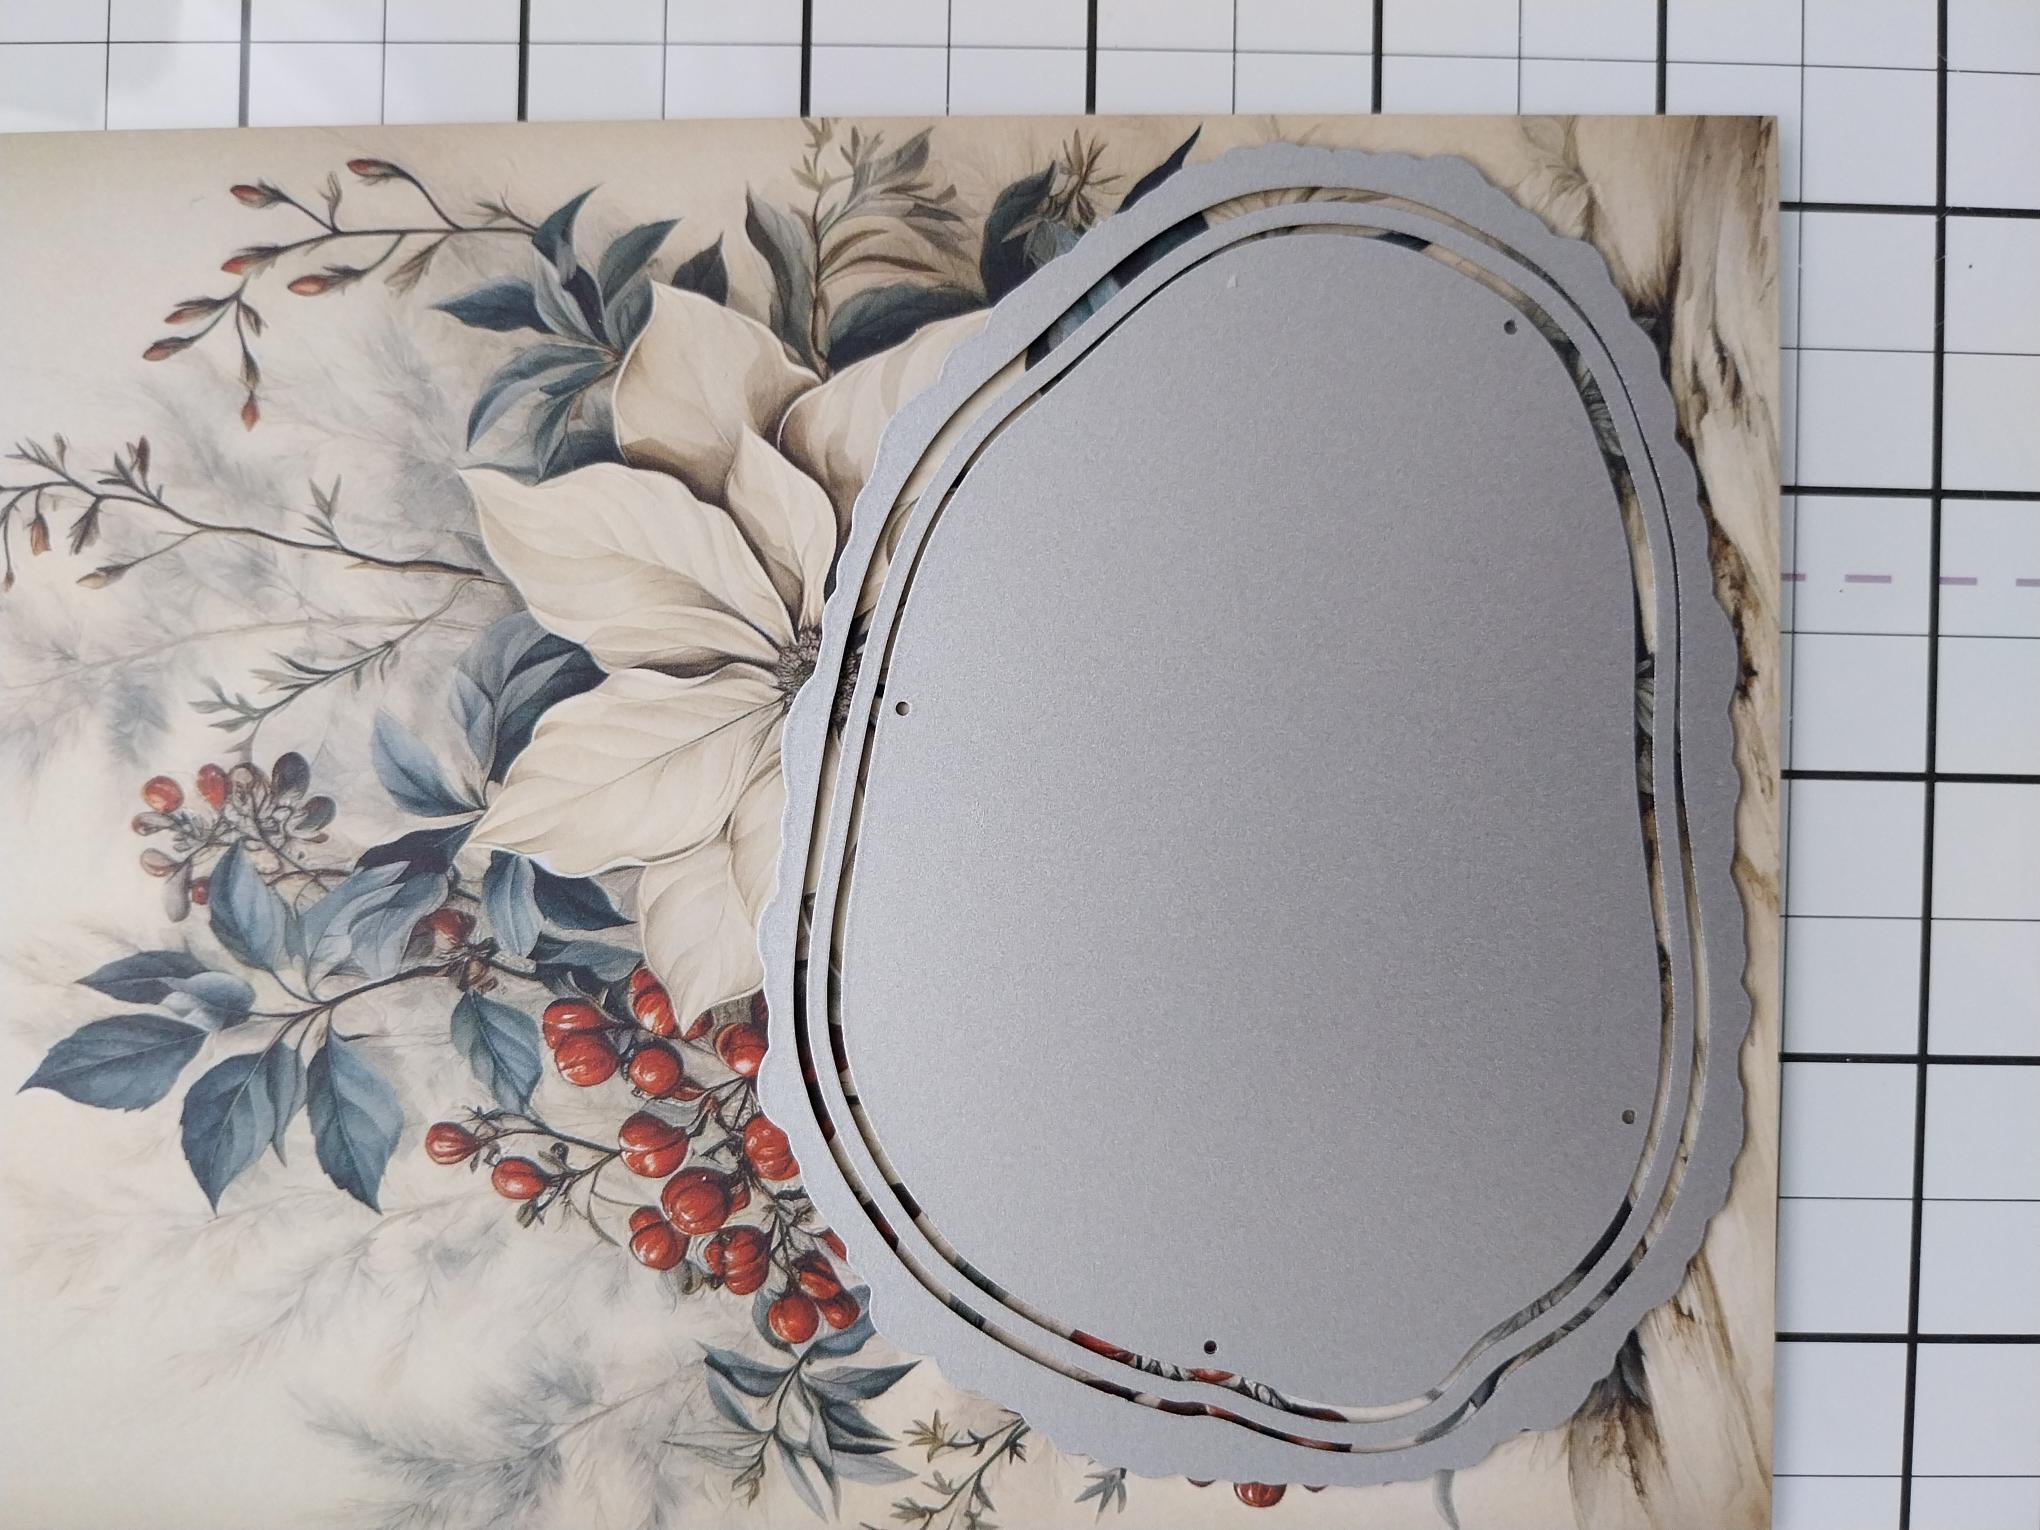
Position the 3 Oak Slices dies onto this area of the painted mount (to ensure they all fit), then carefully remove the 2 outer dies, secure the centre solid die in place and run through your die machine. |
|
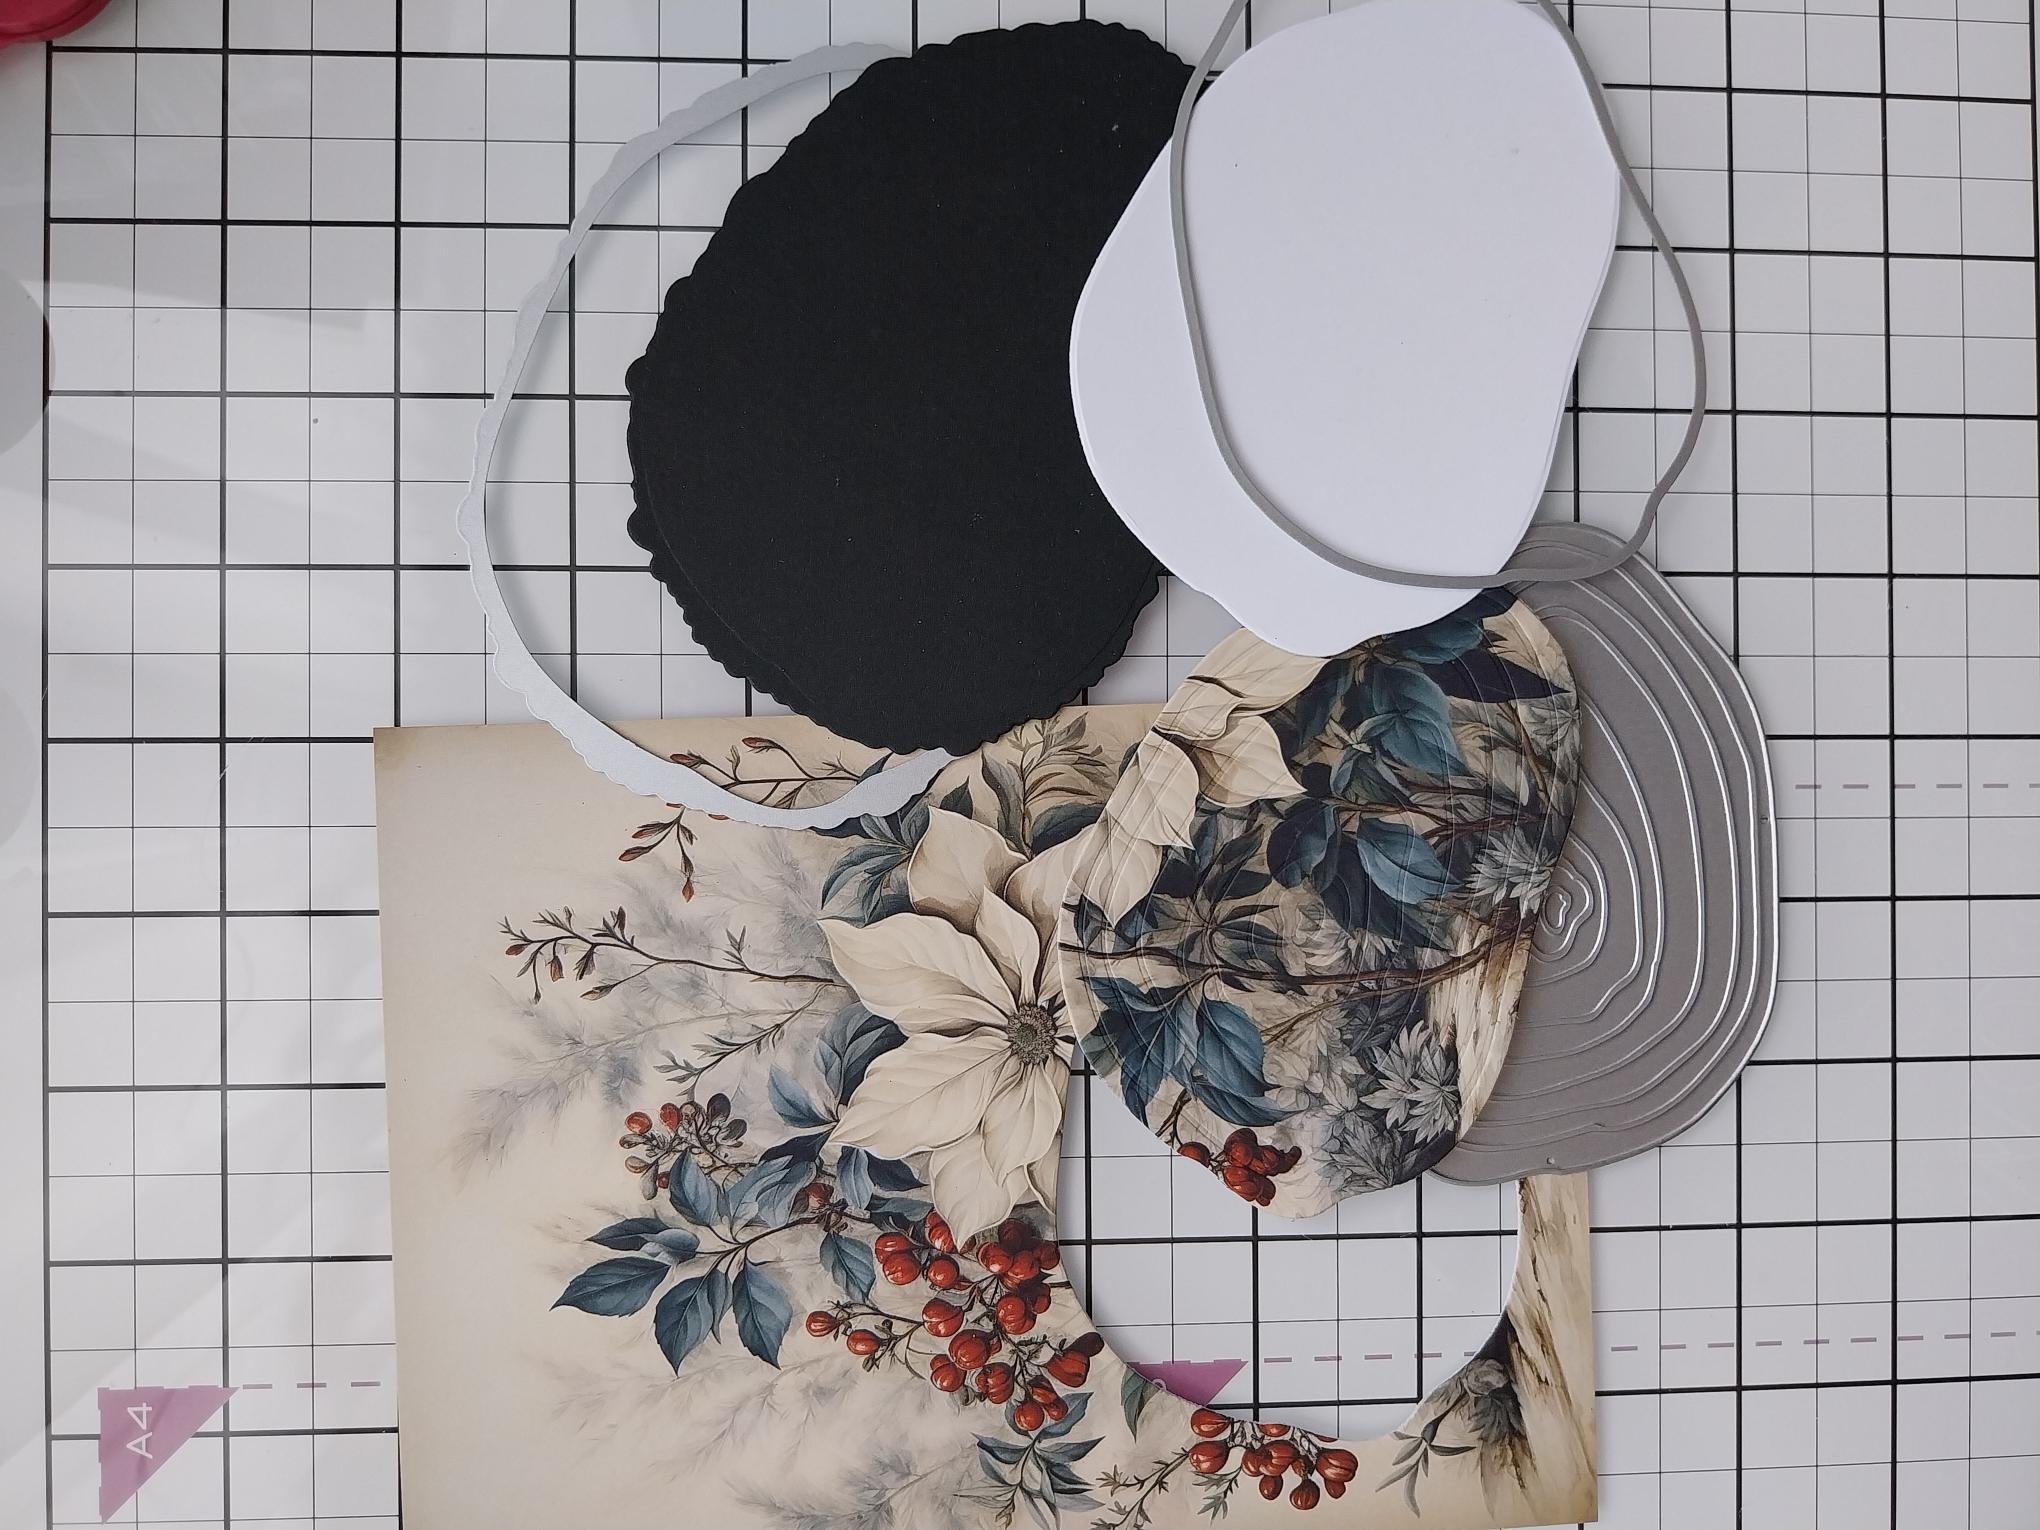
Now die cut the outer die in black cardstock and the middle die from white cardstock, as seen here. |
|
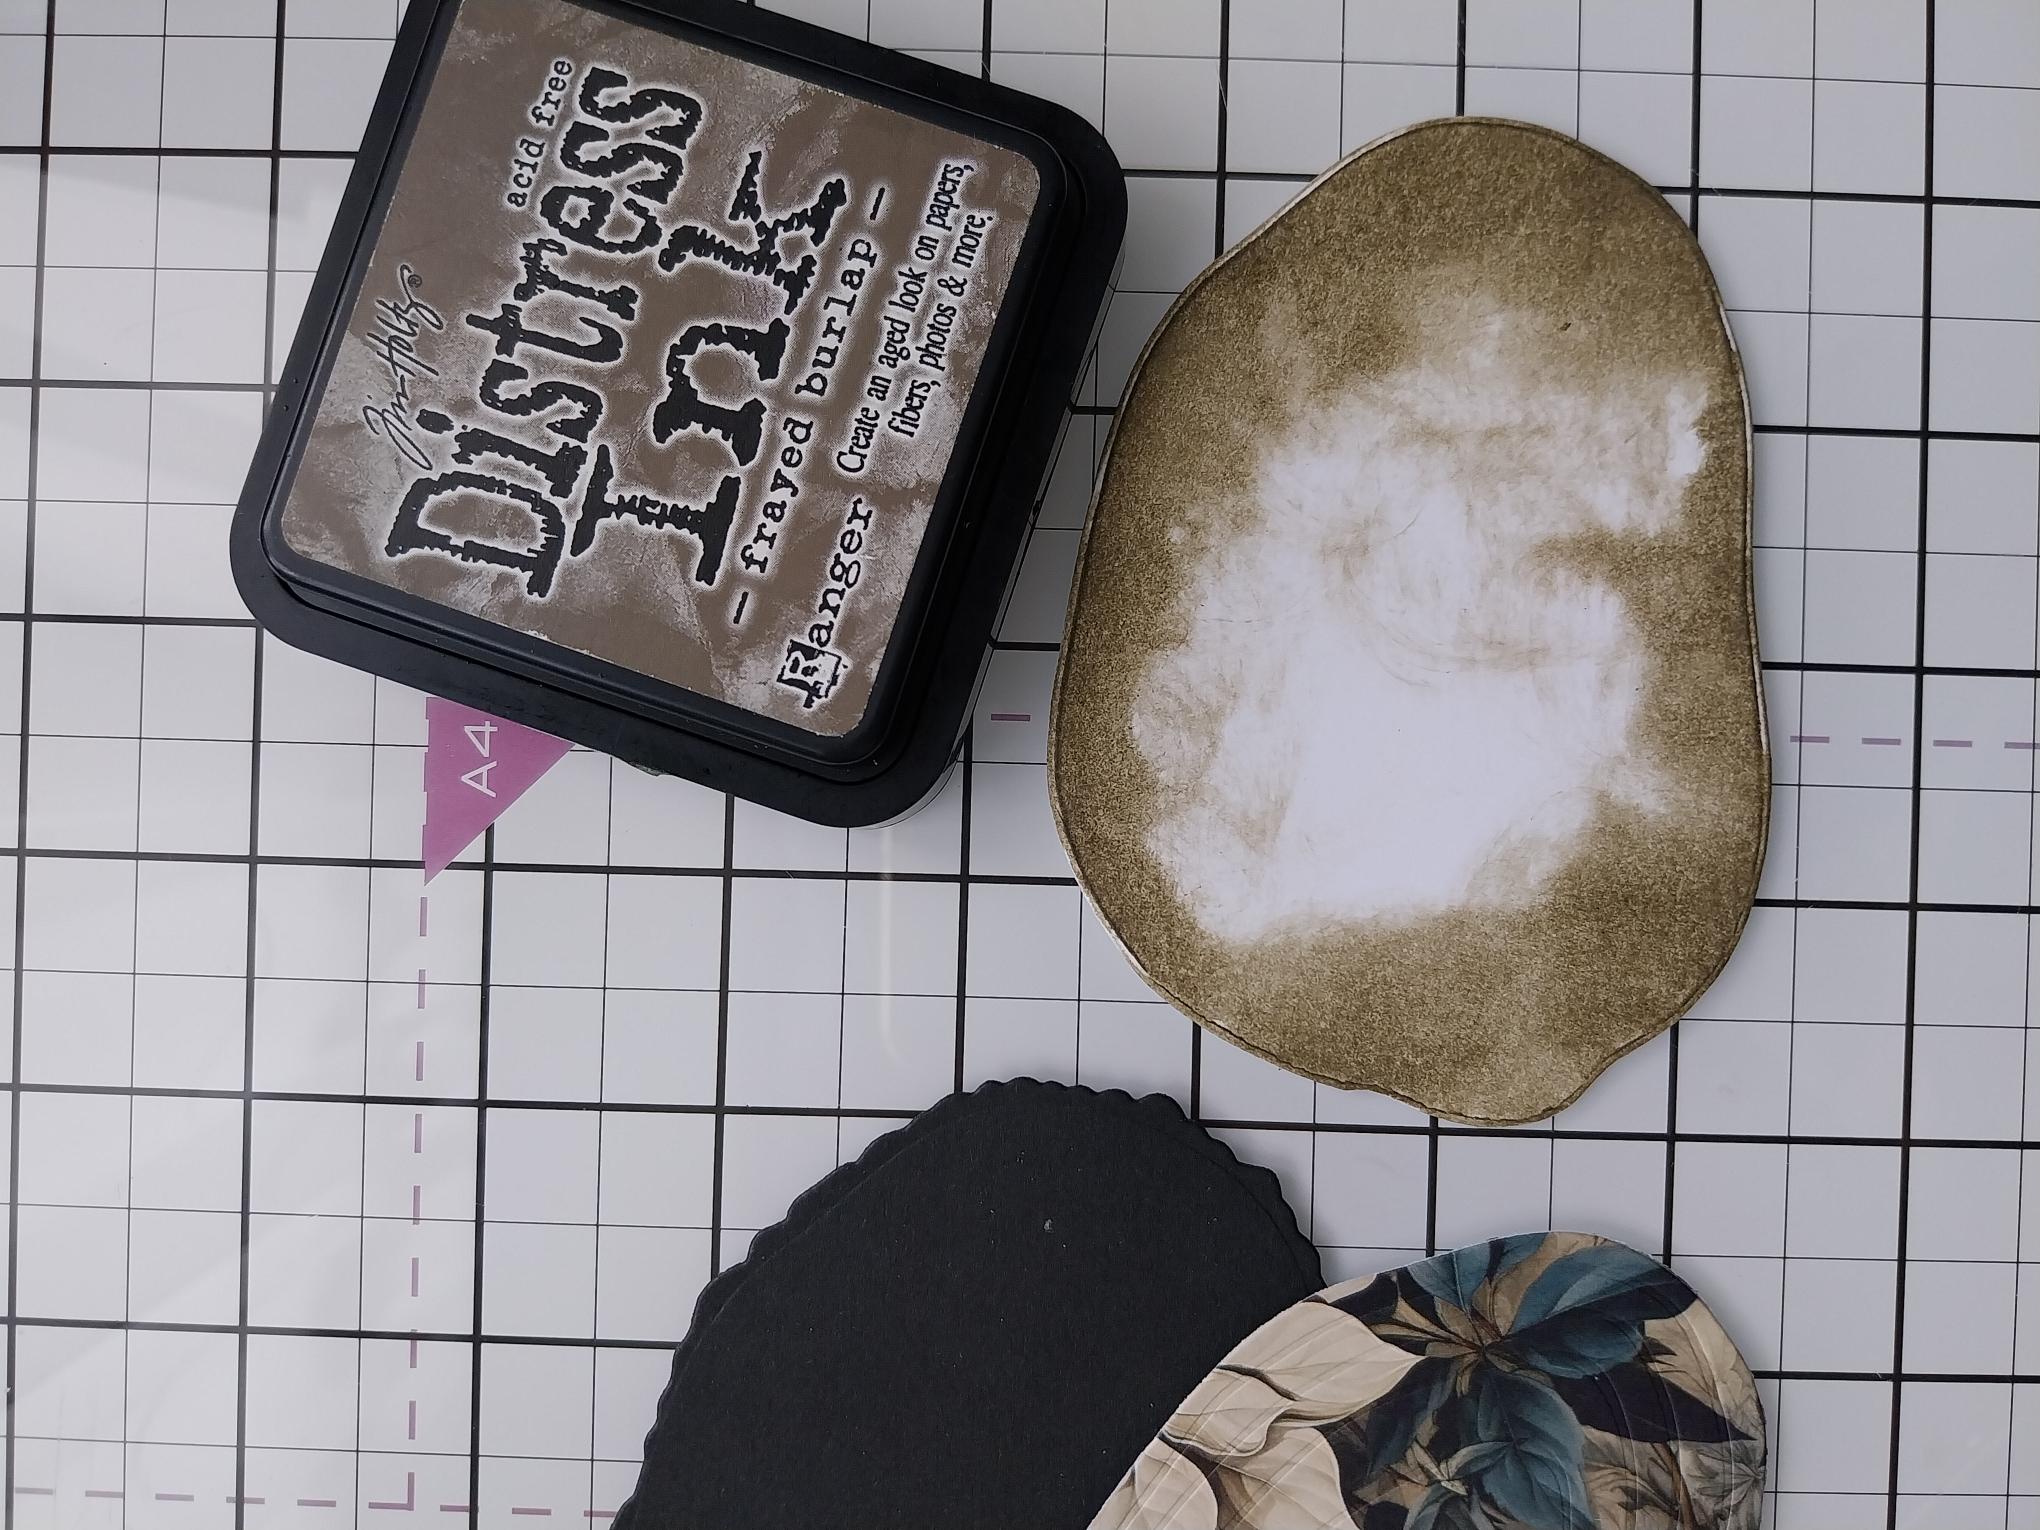
Blend the Frayed Burlap onto the white Oak slice. You don't need to cover it all as your painted mount Oak slice will cover most of it up. |
|
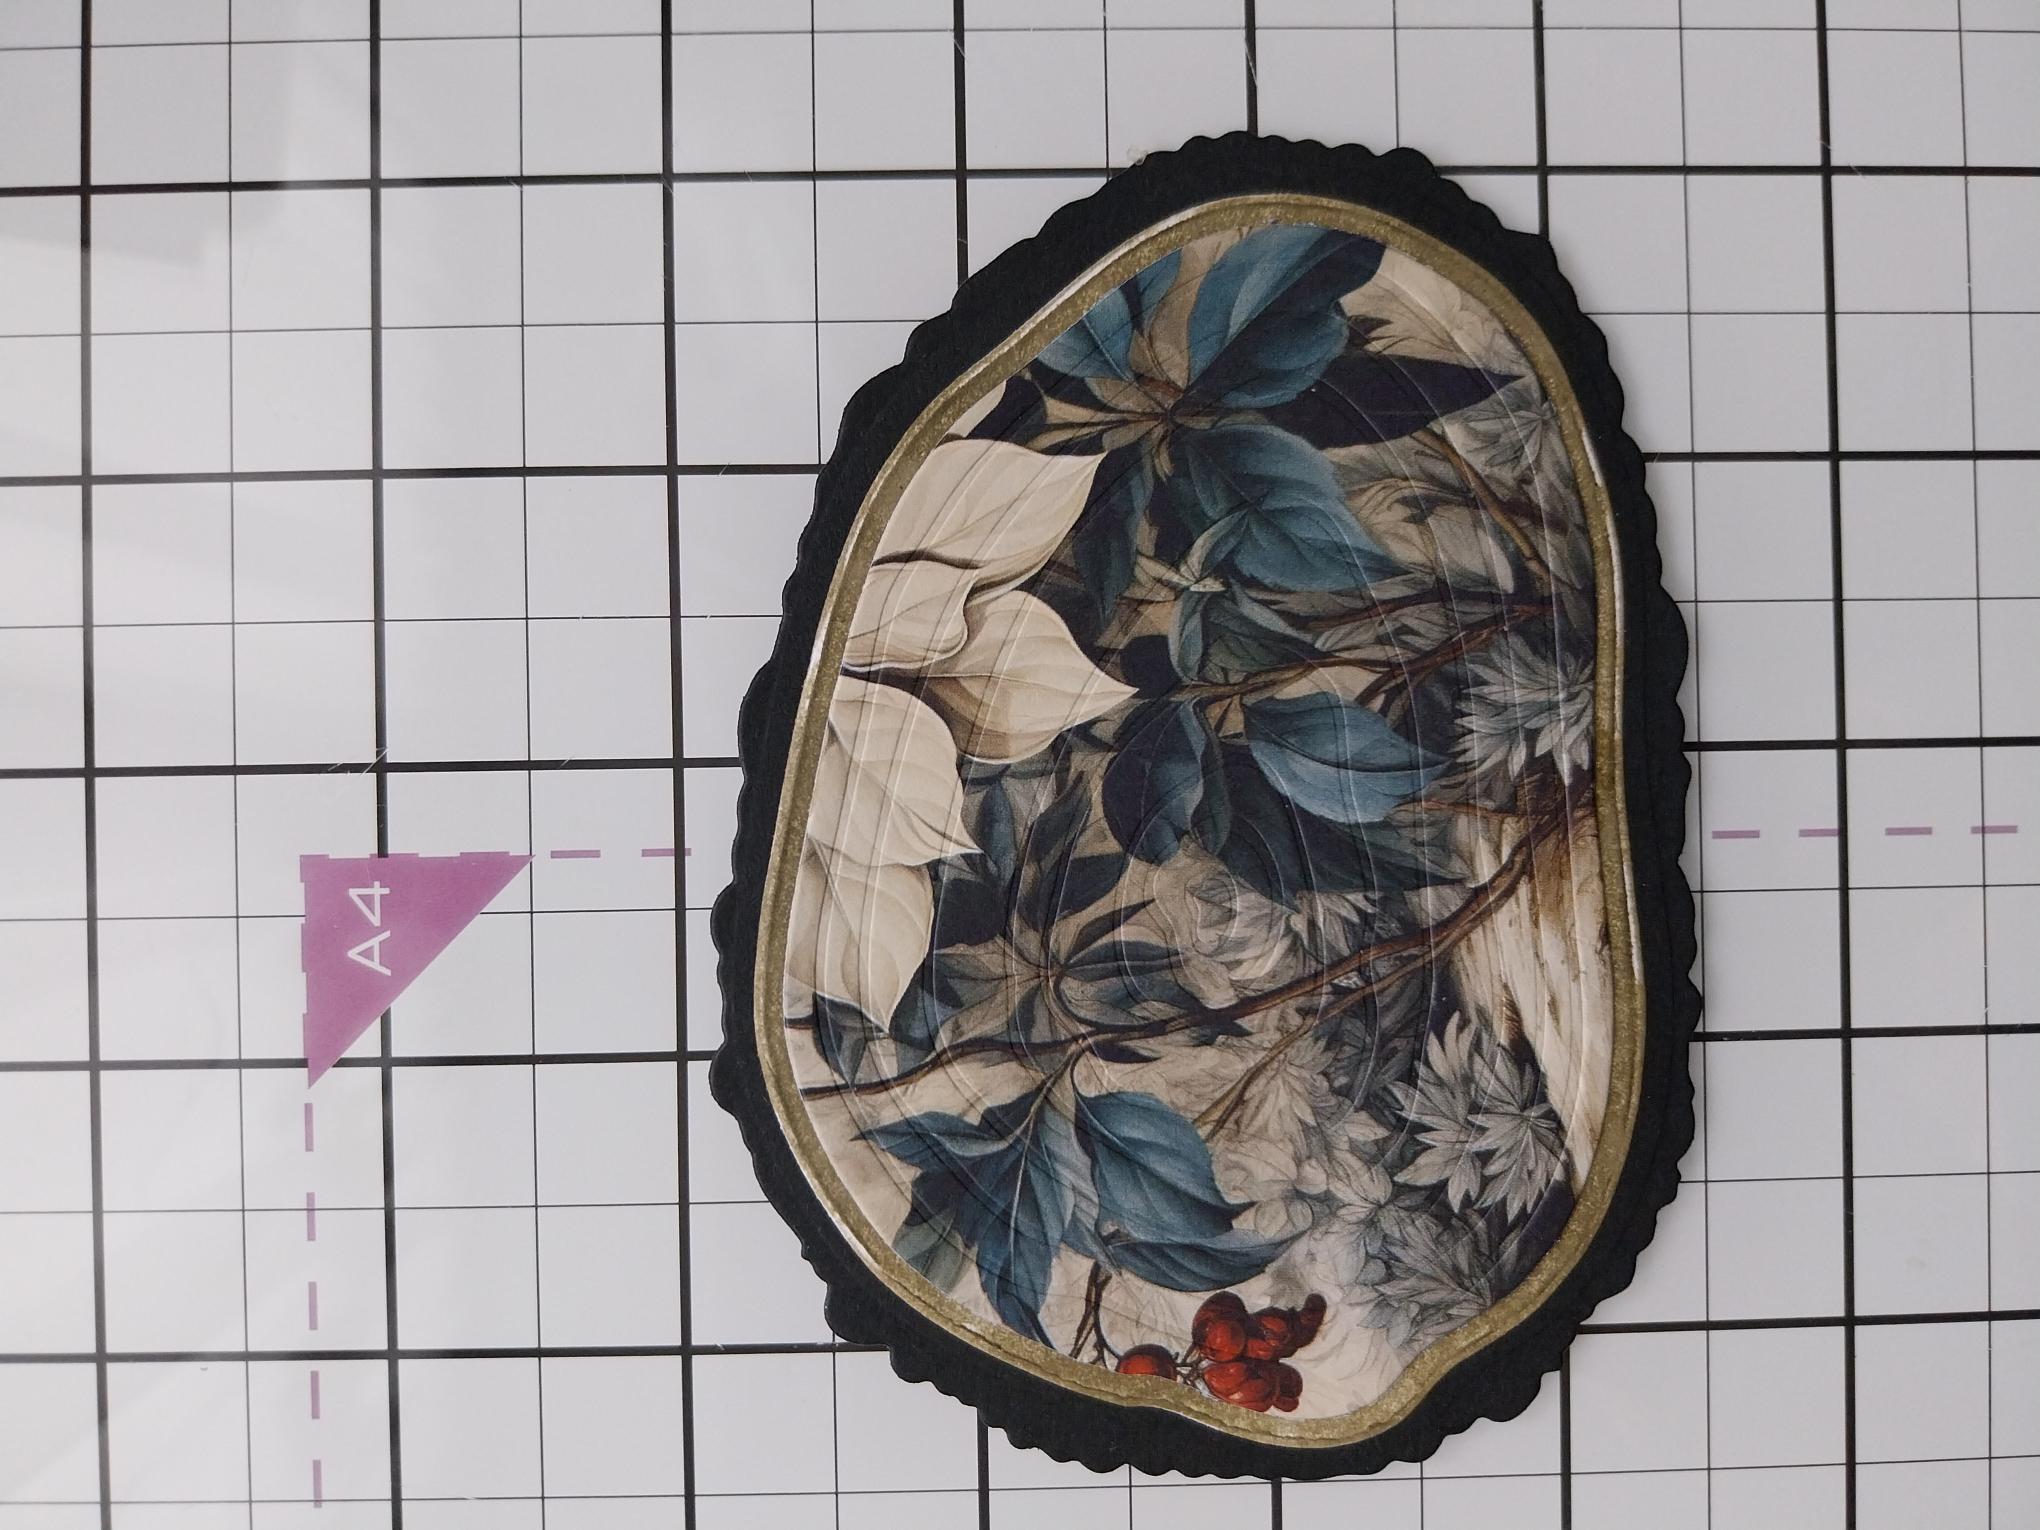
Adhere the 3 die cut Oak slices together. |
|
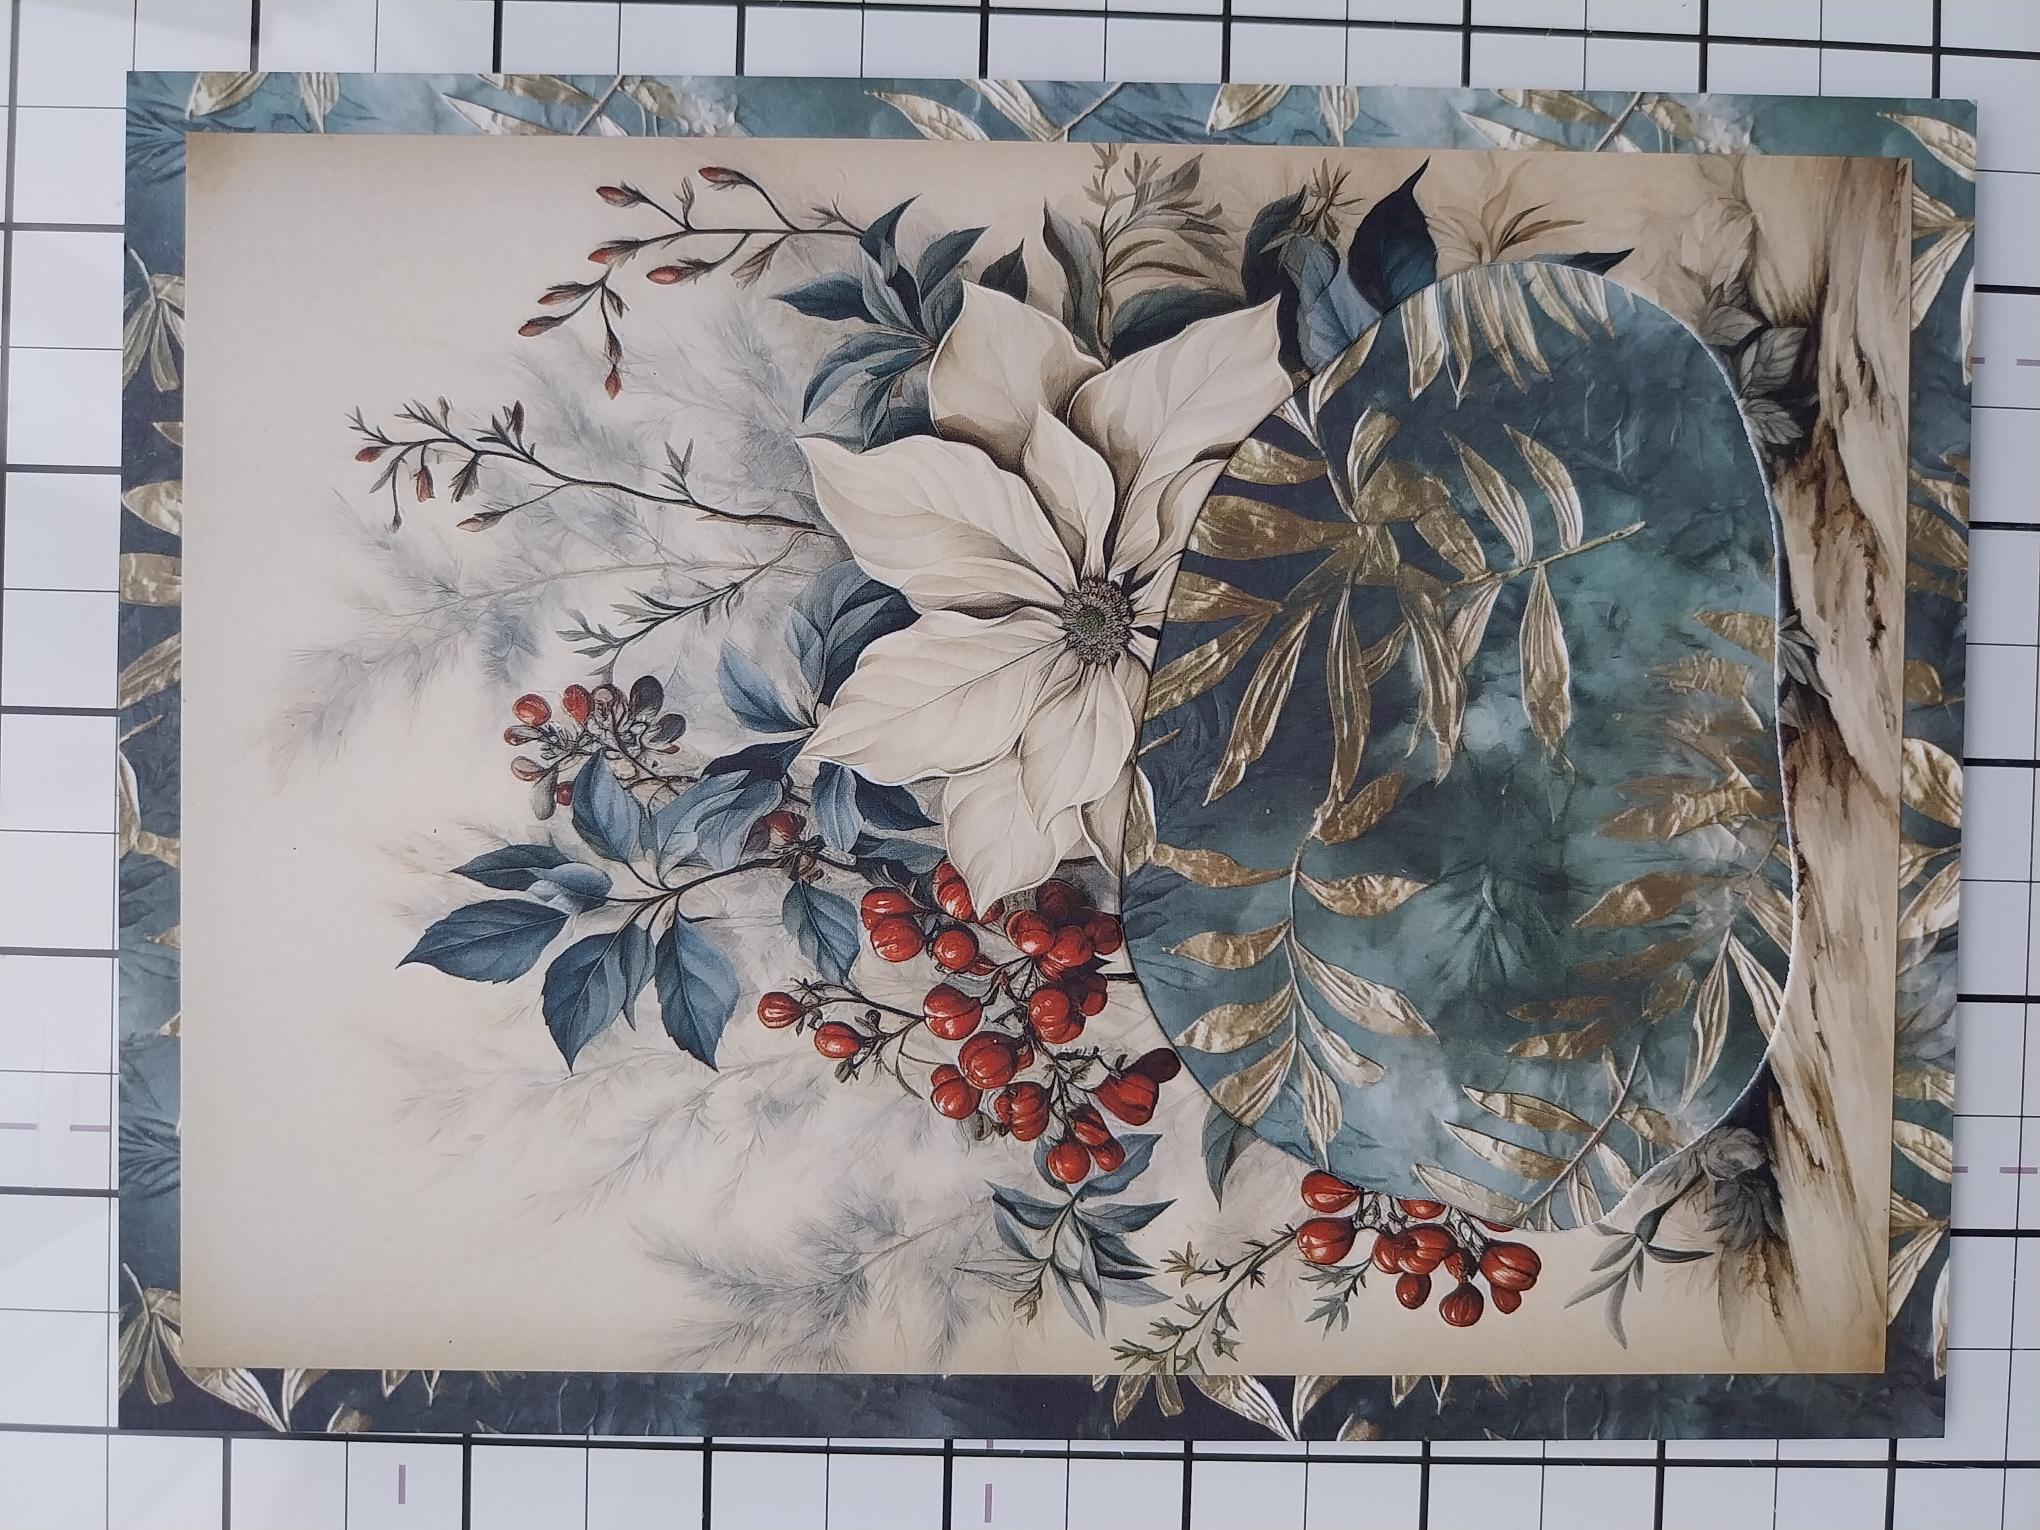
Adhere the die-cut paper onto the background paper. |
|
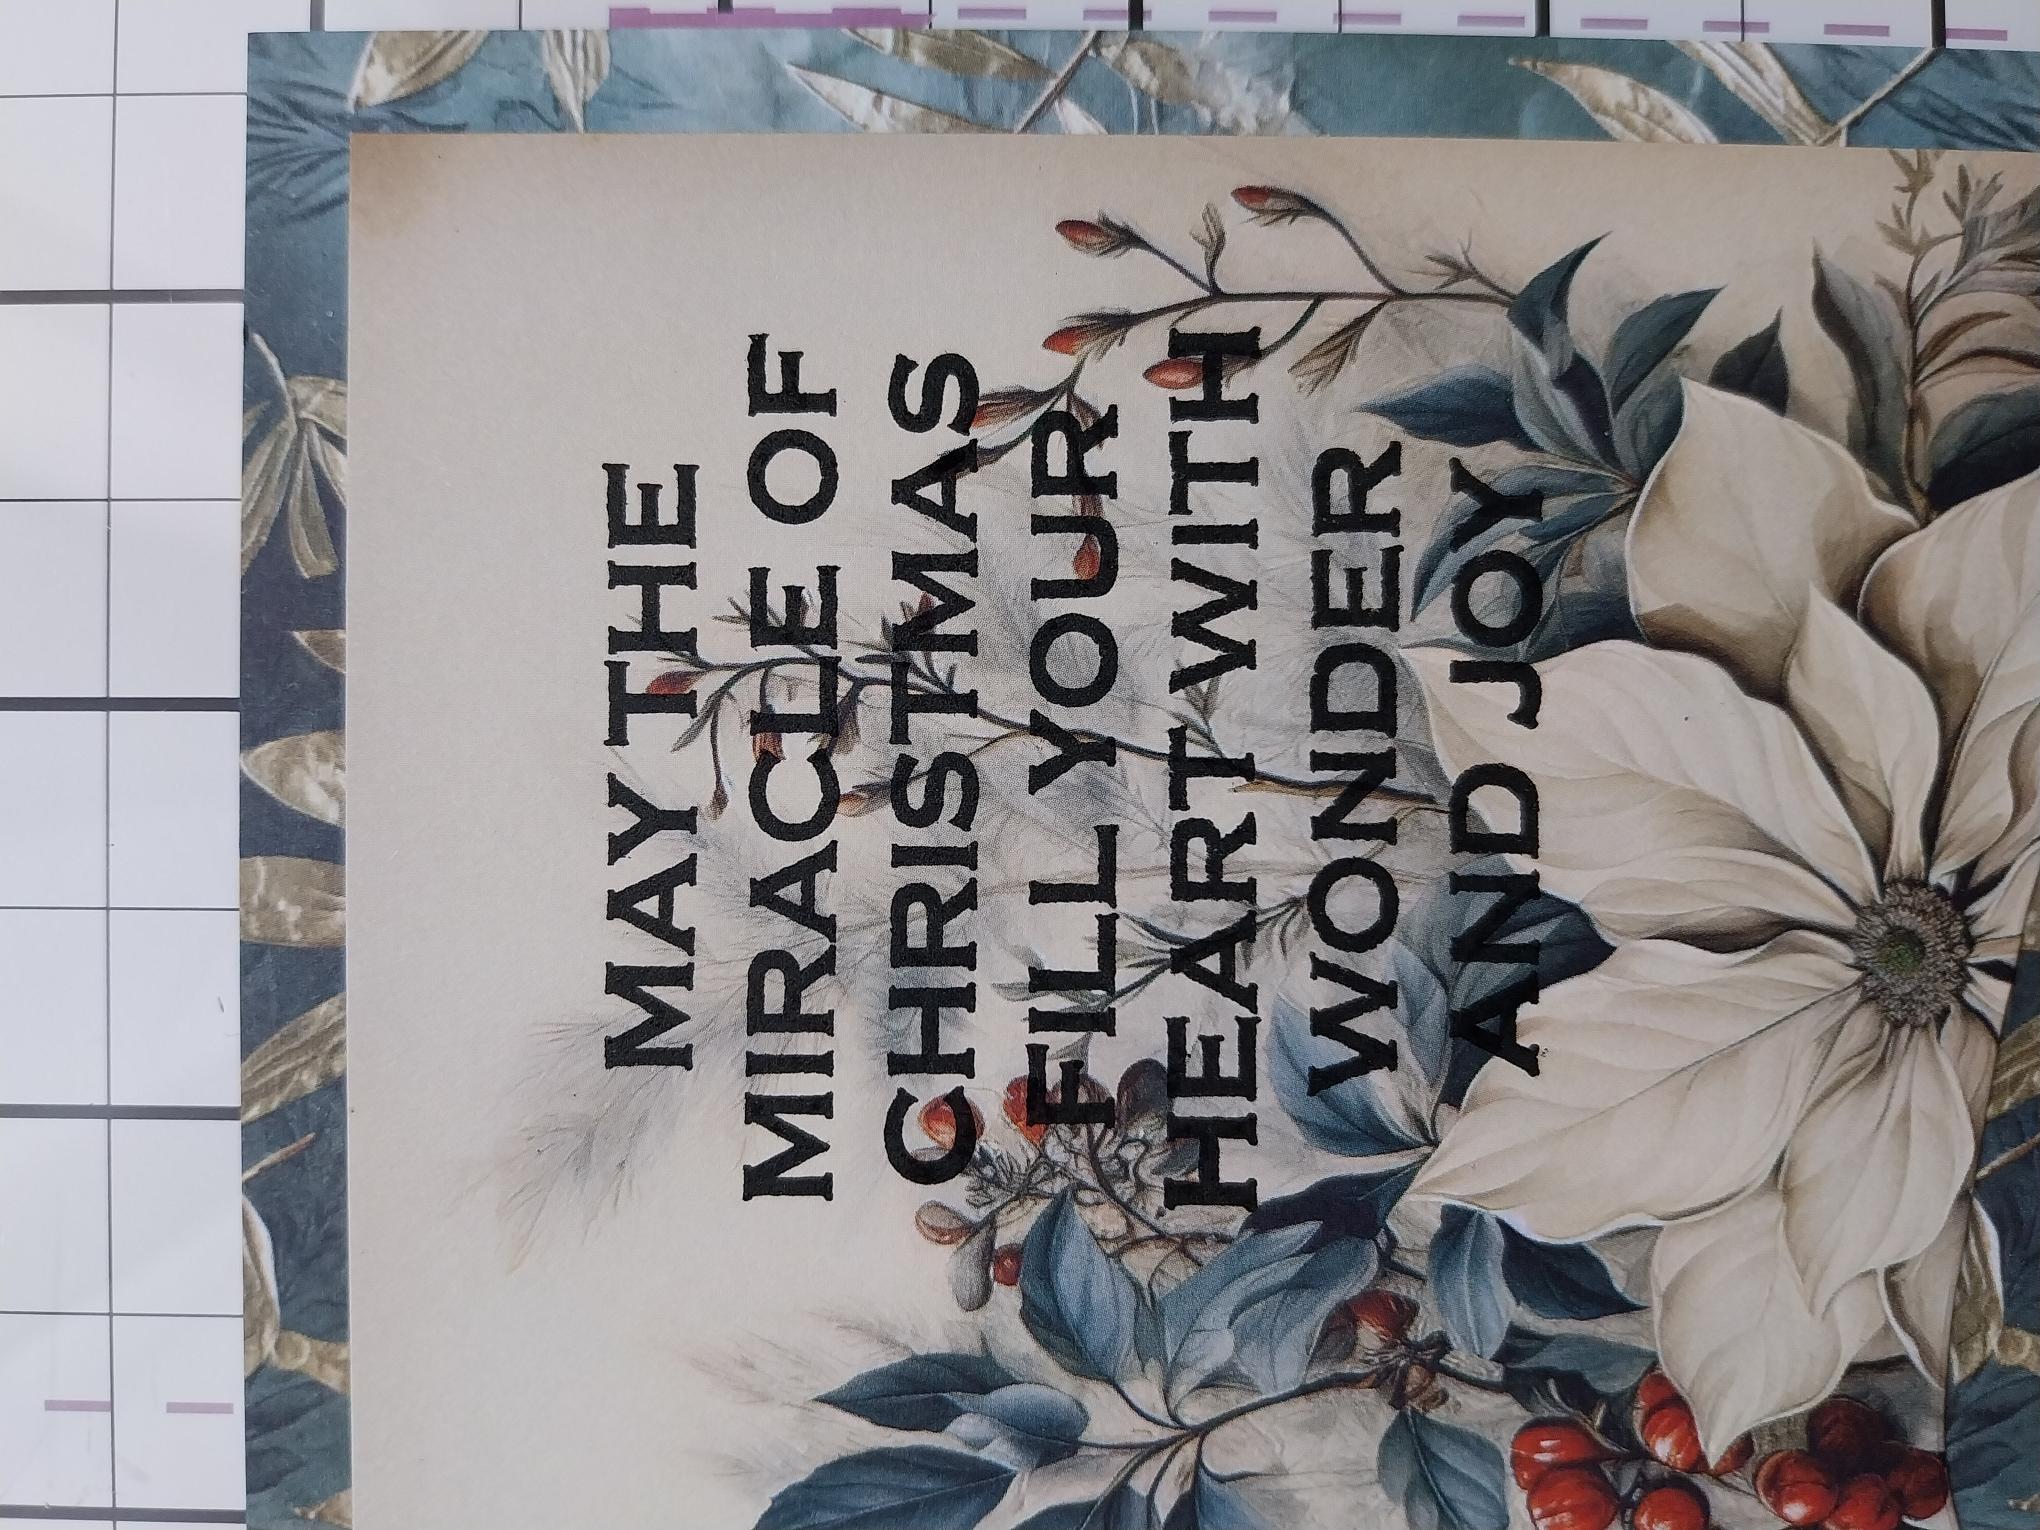
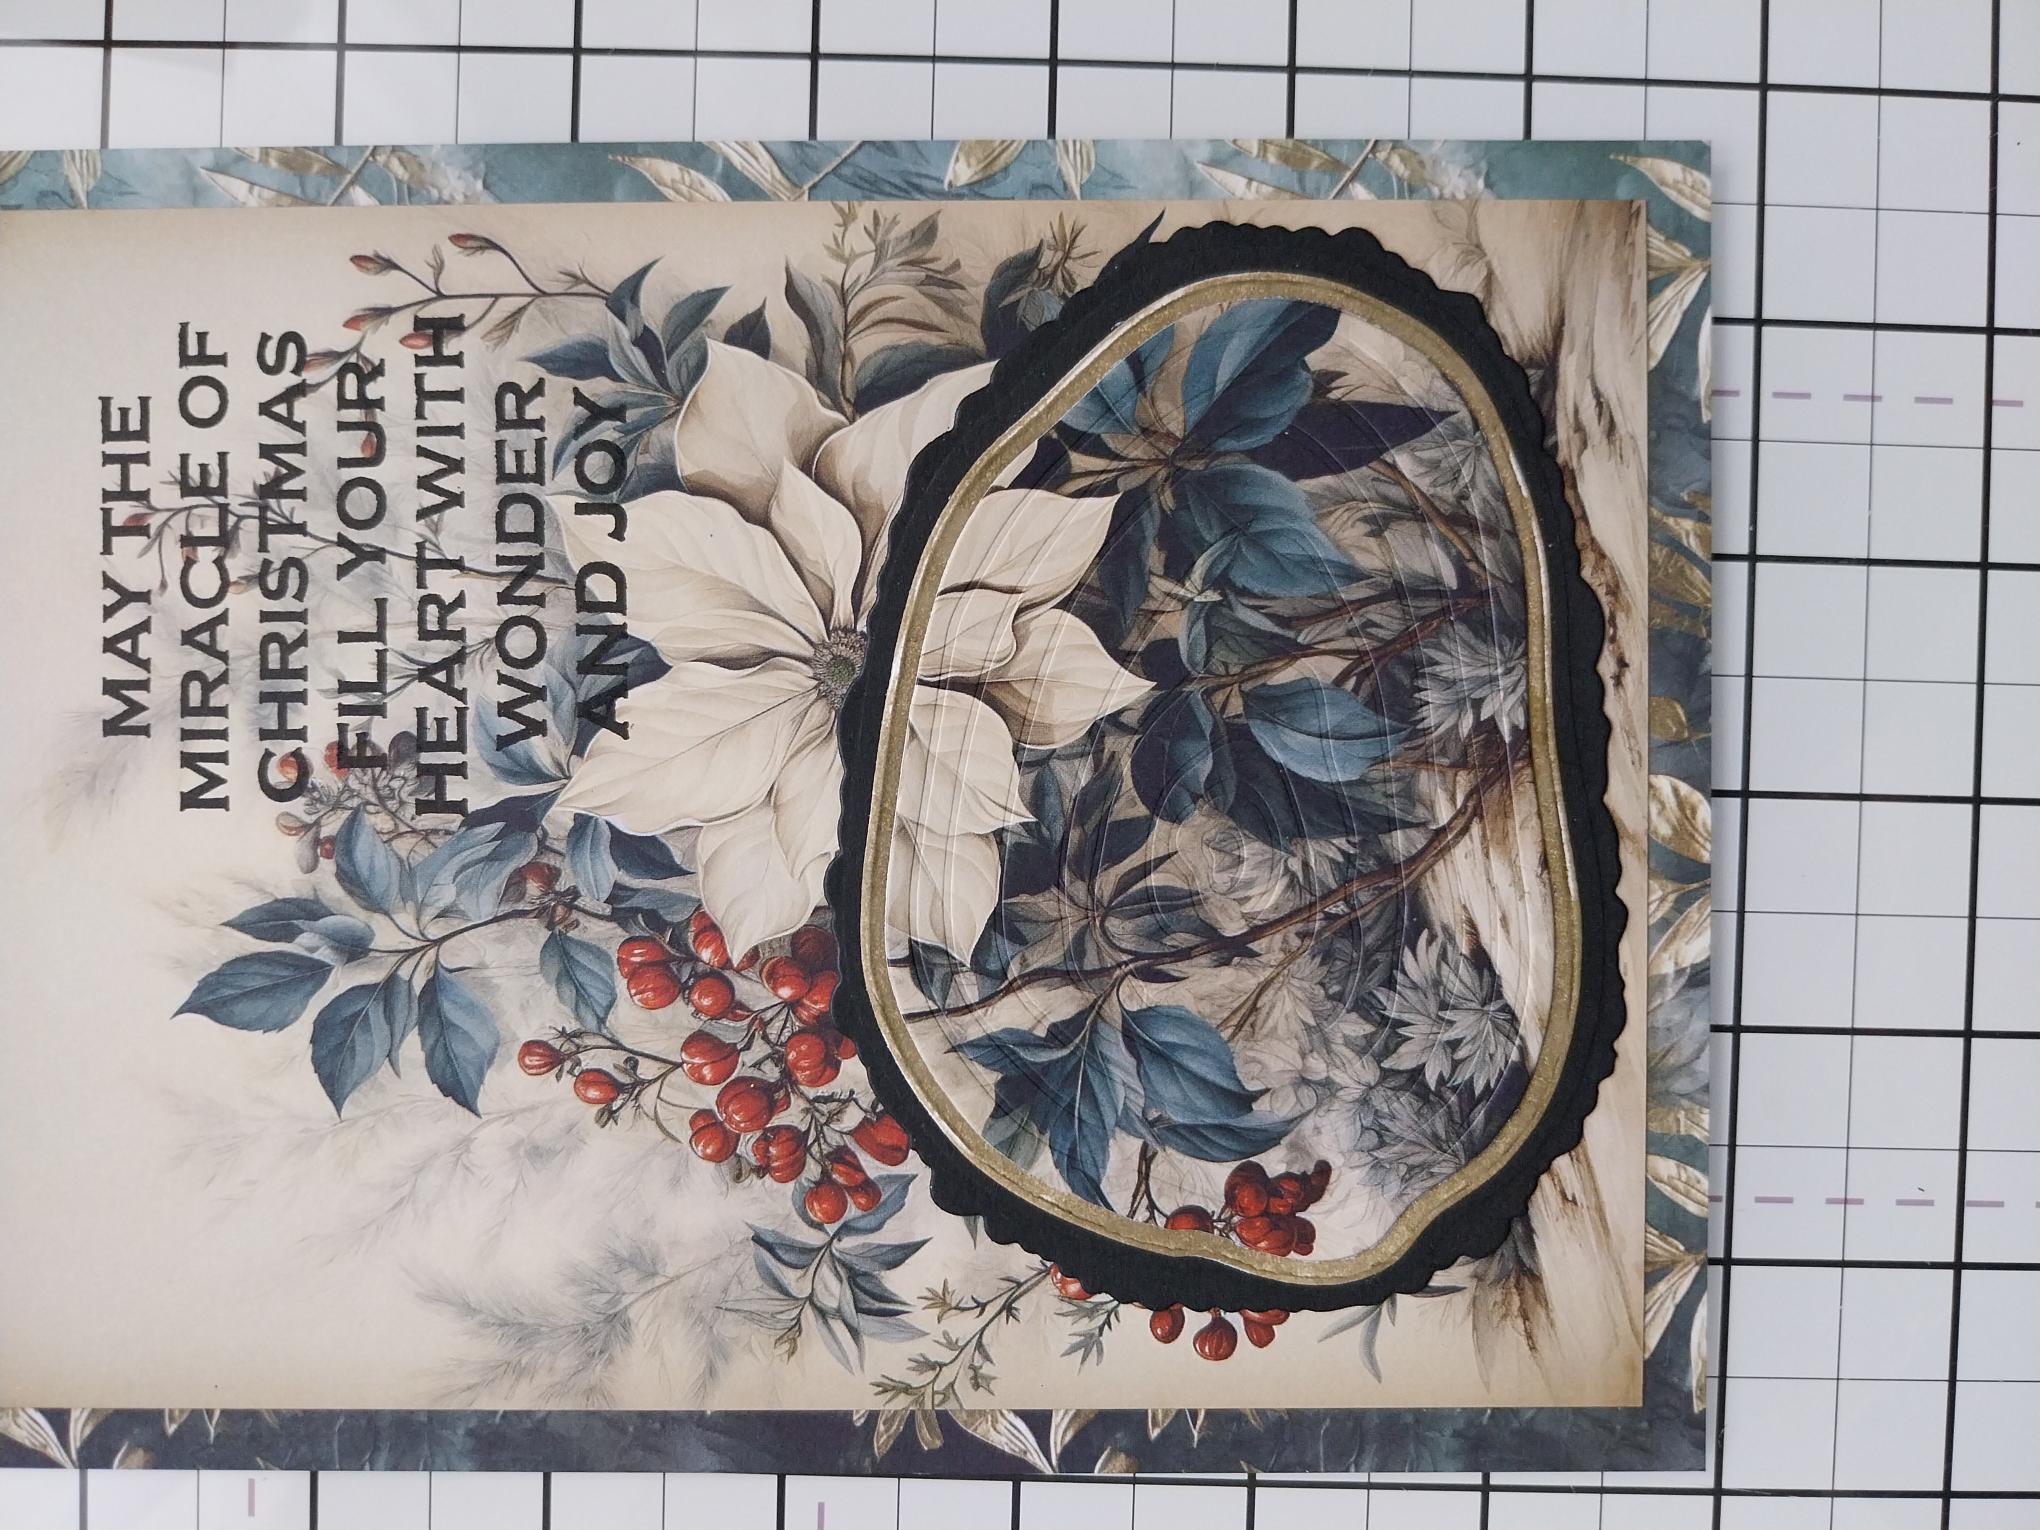
Stamp your chosen sentiment in Midnight, to the top right of the painted mount. I chose my sentiment from the Special Wishes Stamp & Die Collection. |
|
Adhere your die-cut Oak slice back in place, ensuring you match up the printed design. This technique is known as the " spotlight" or "eclipse" technique. |
|
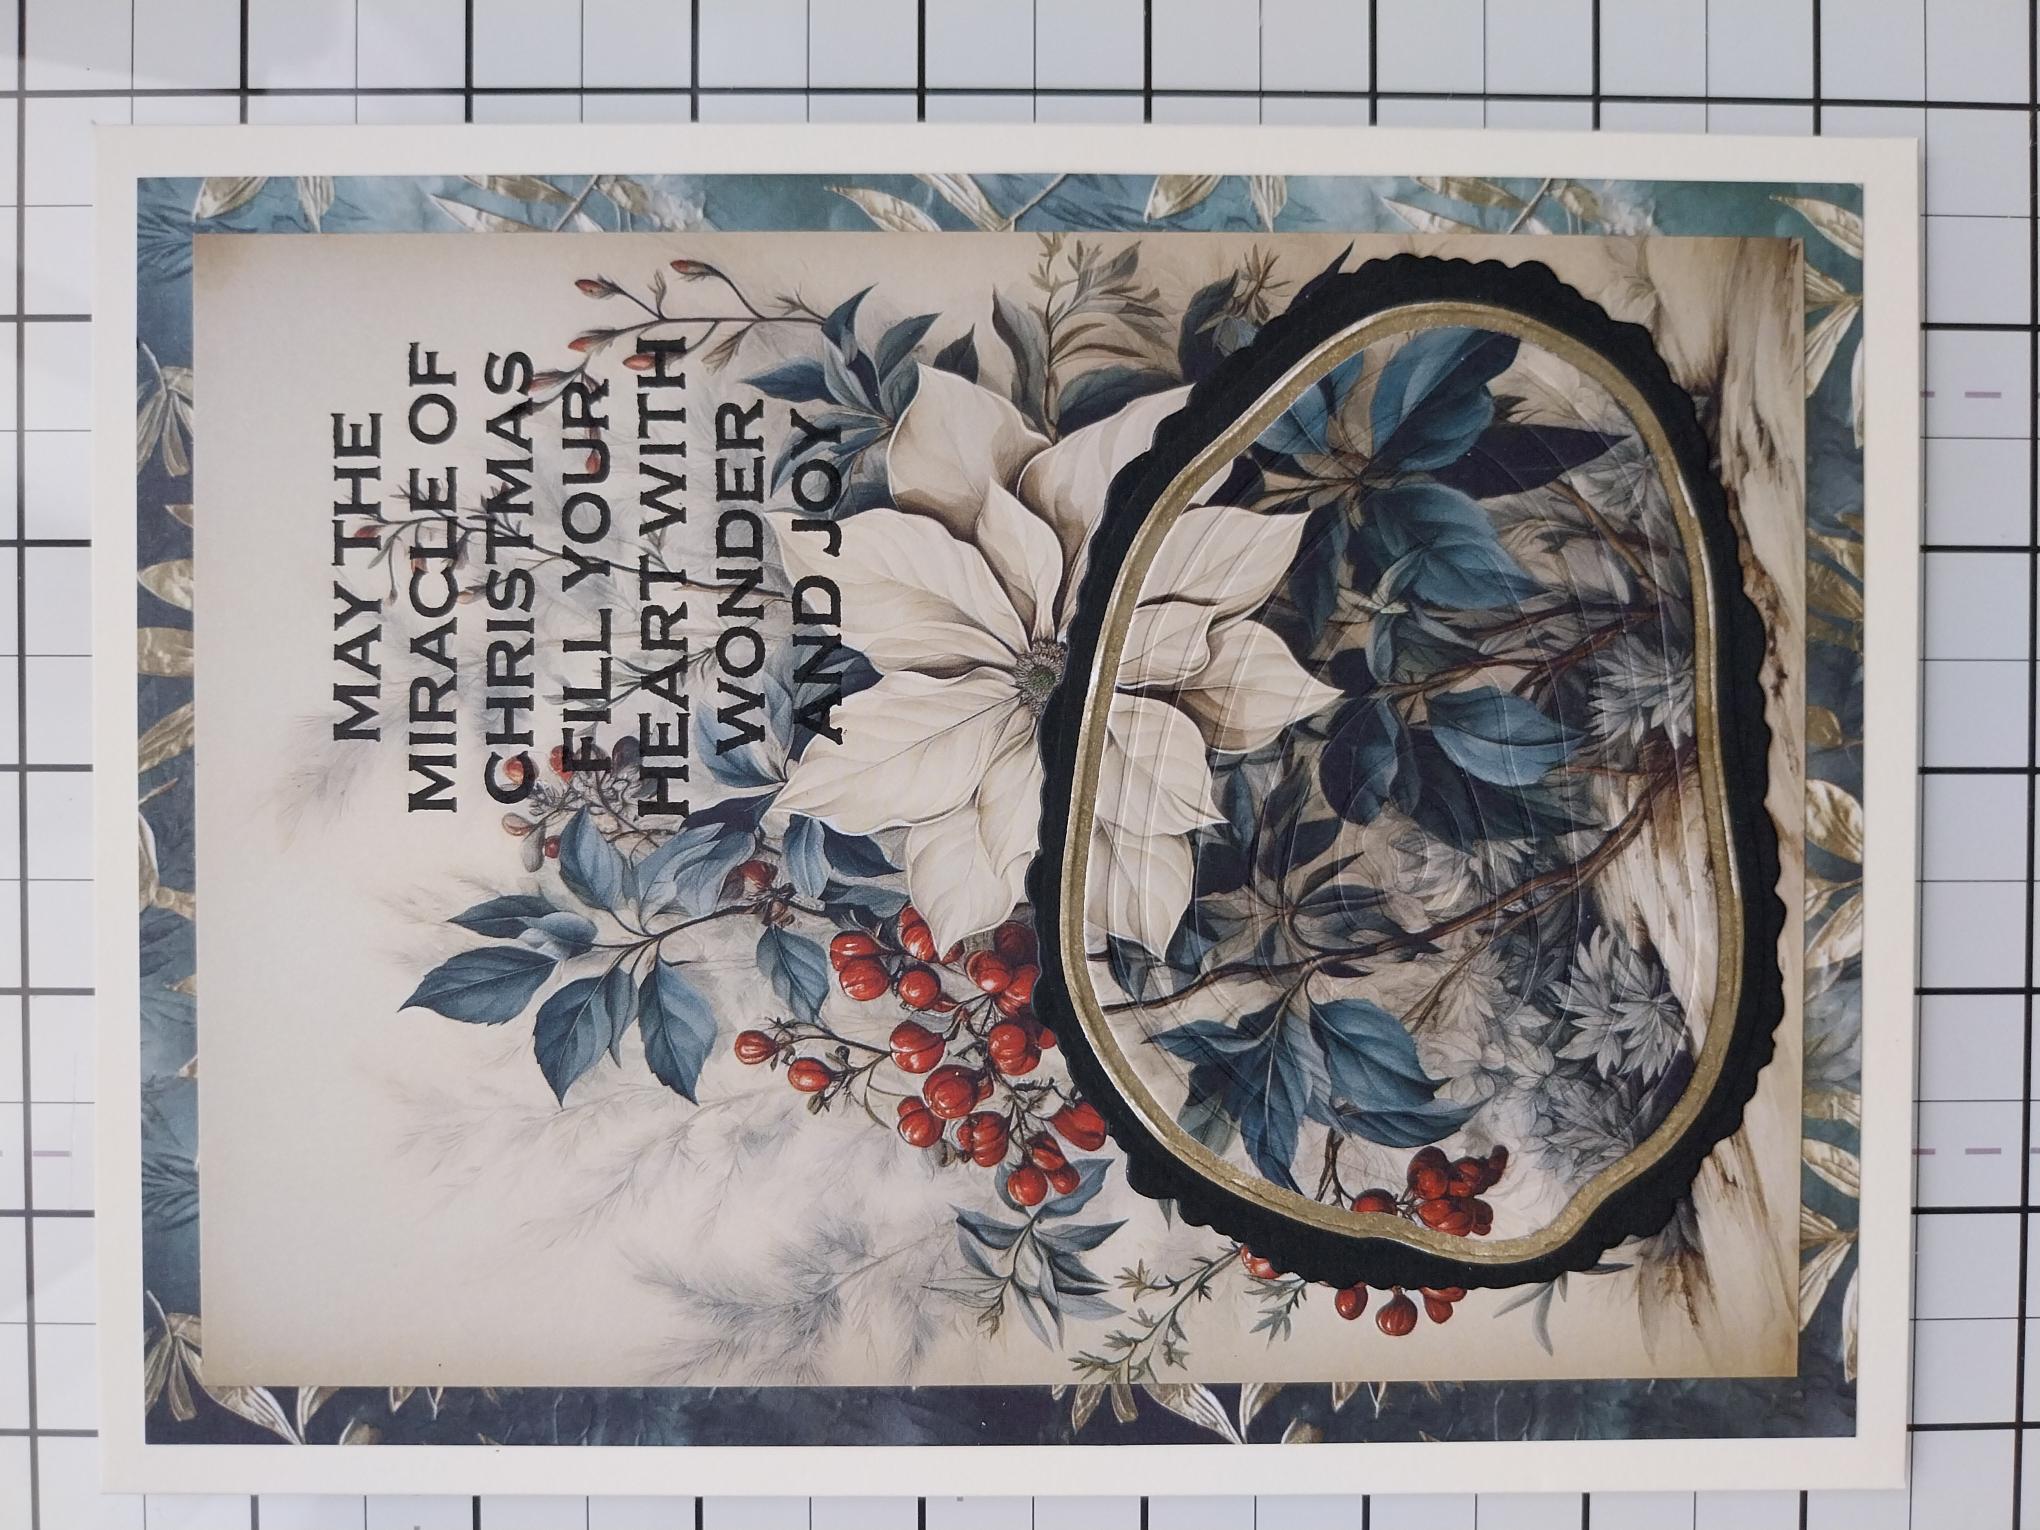
Adhere your artwork onto your card blank. |
|
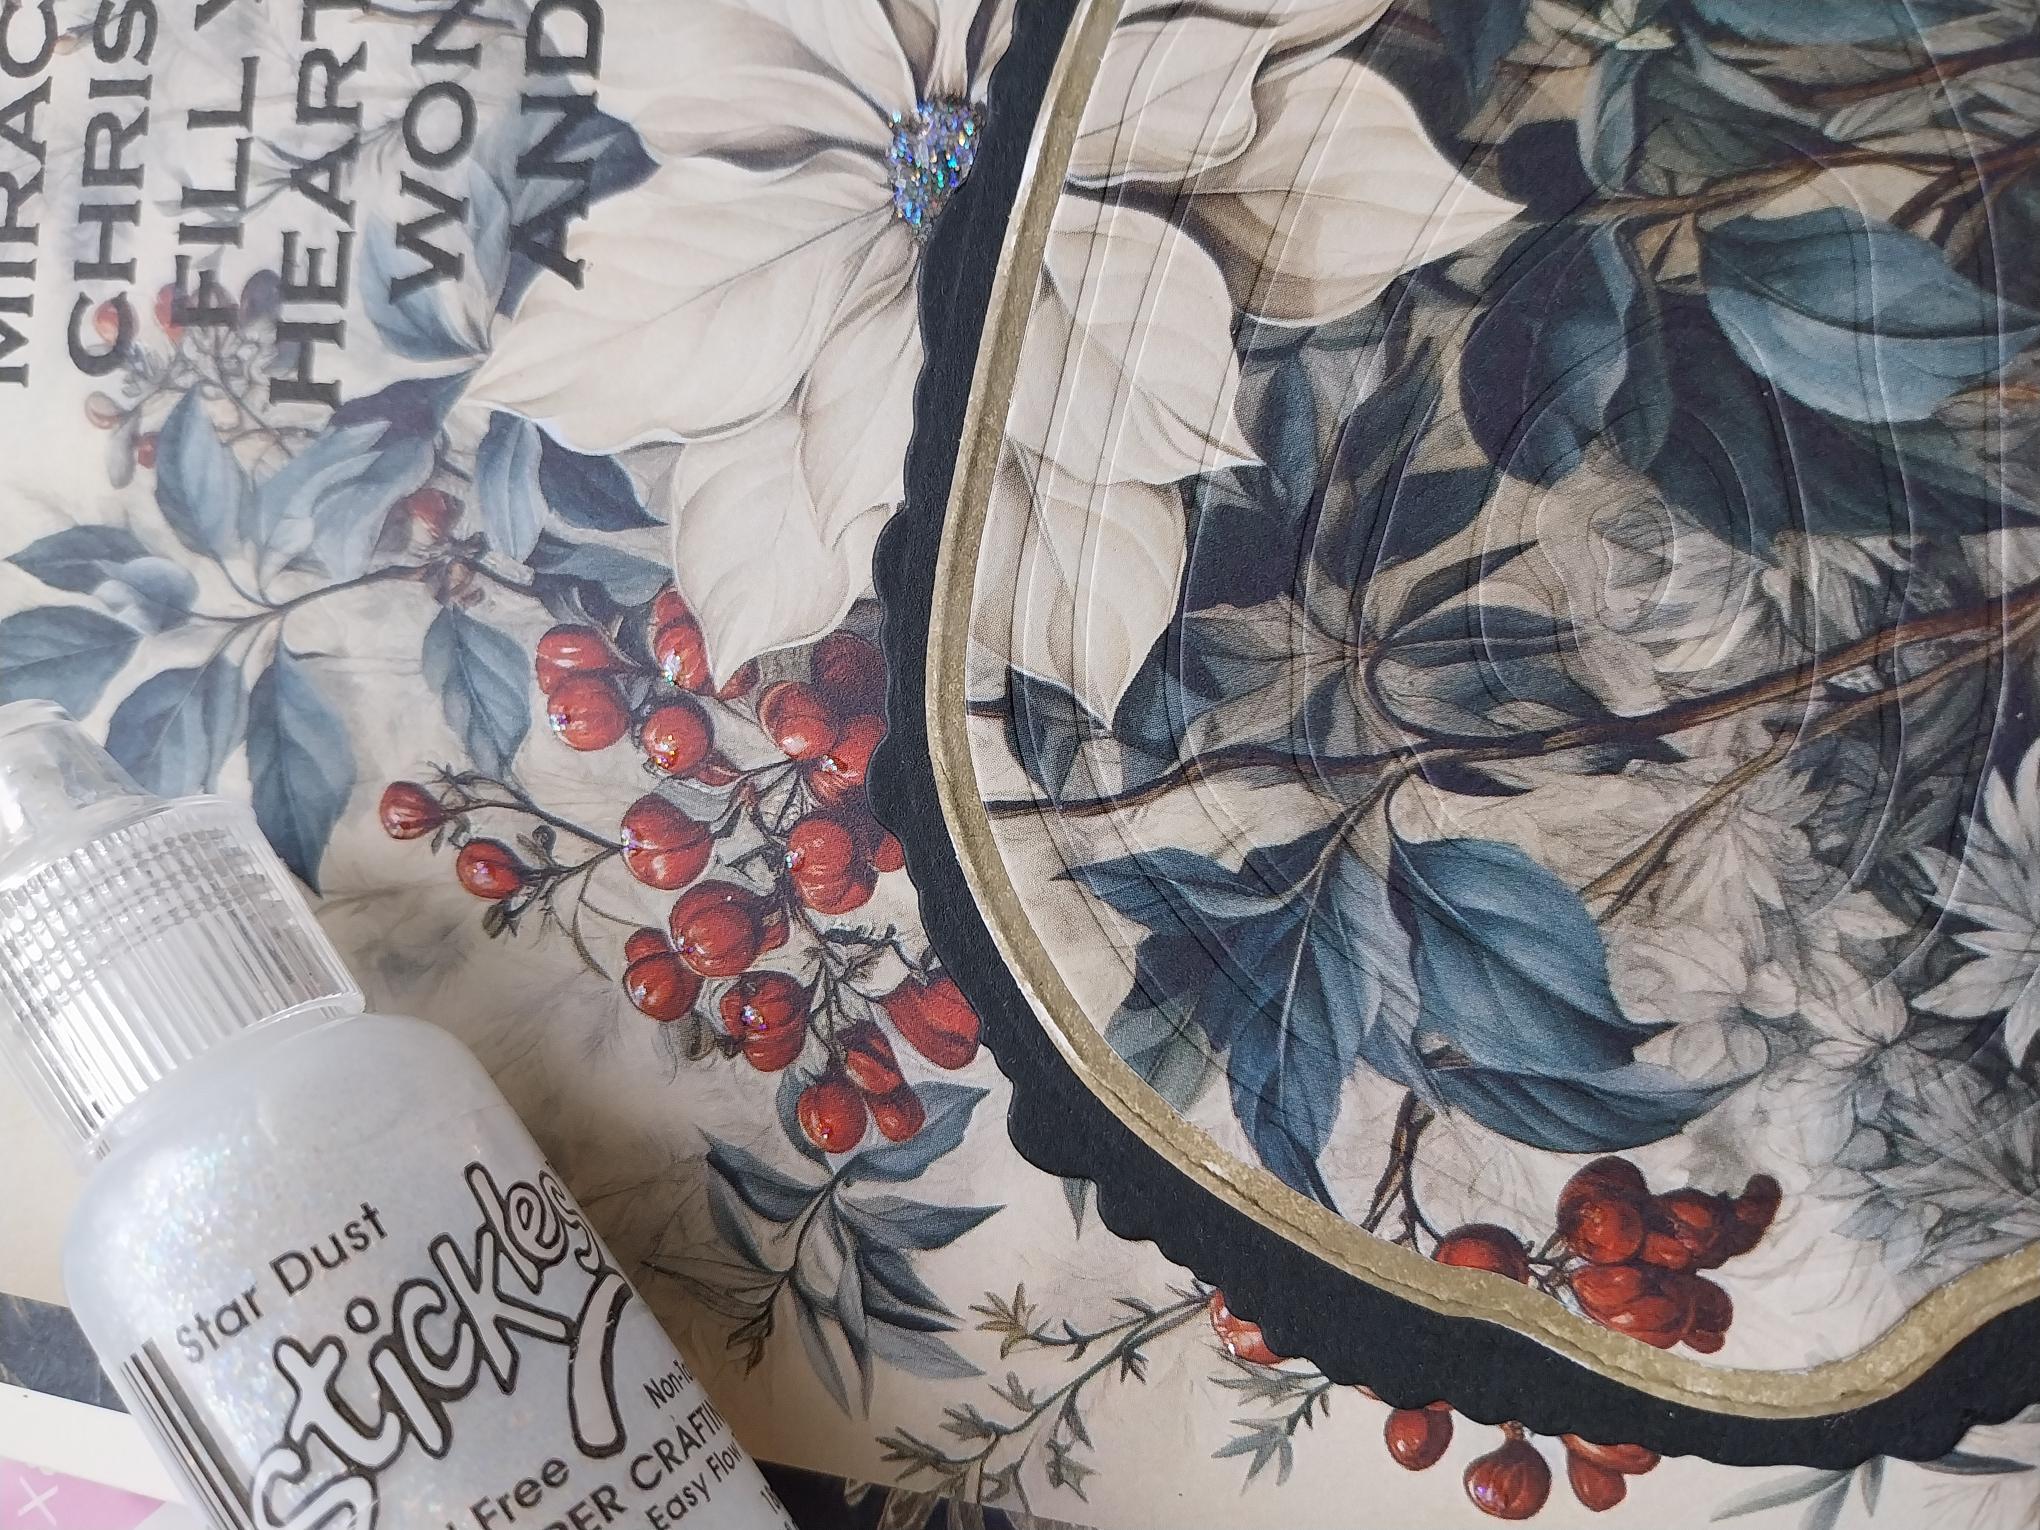
To finish, use your Stickles to add a touch of sparkle where required. |