Offrez à vos amis 10 € de réduction sur leur première commande !
Parrainez un AMI








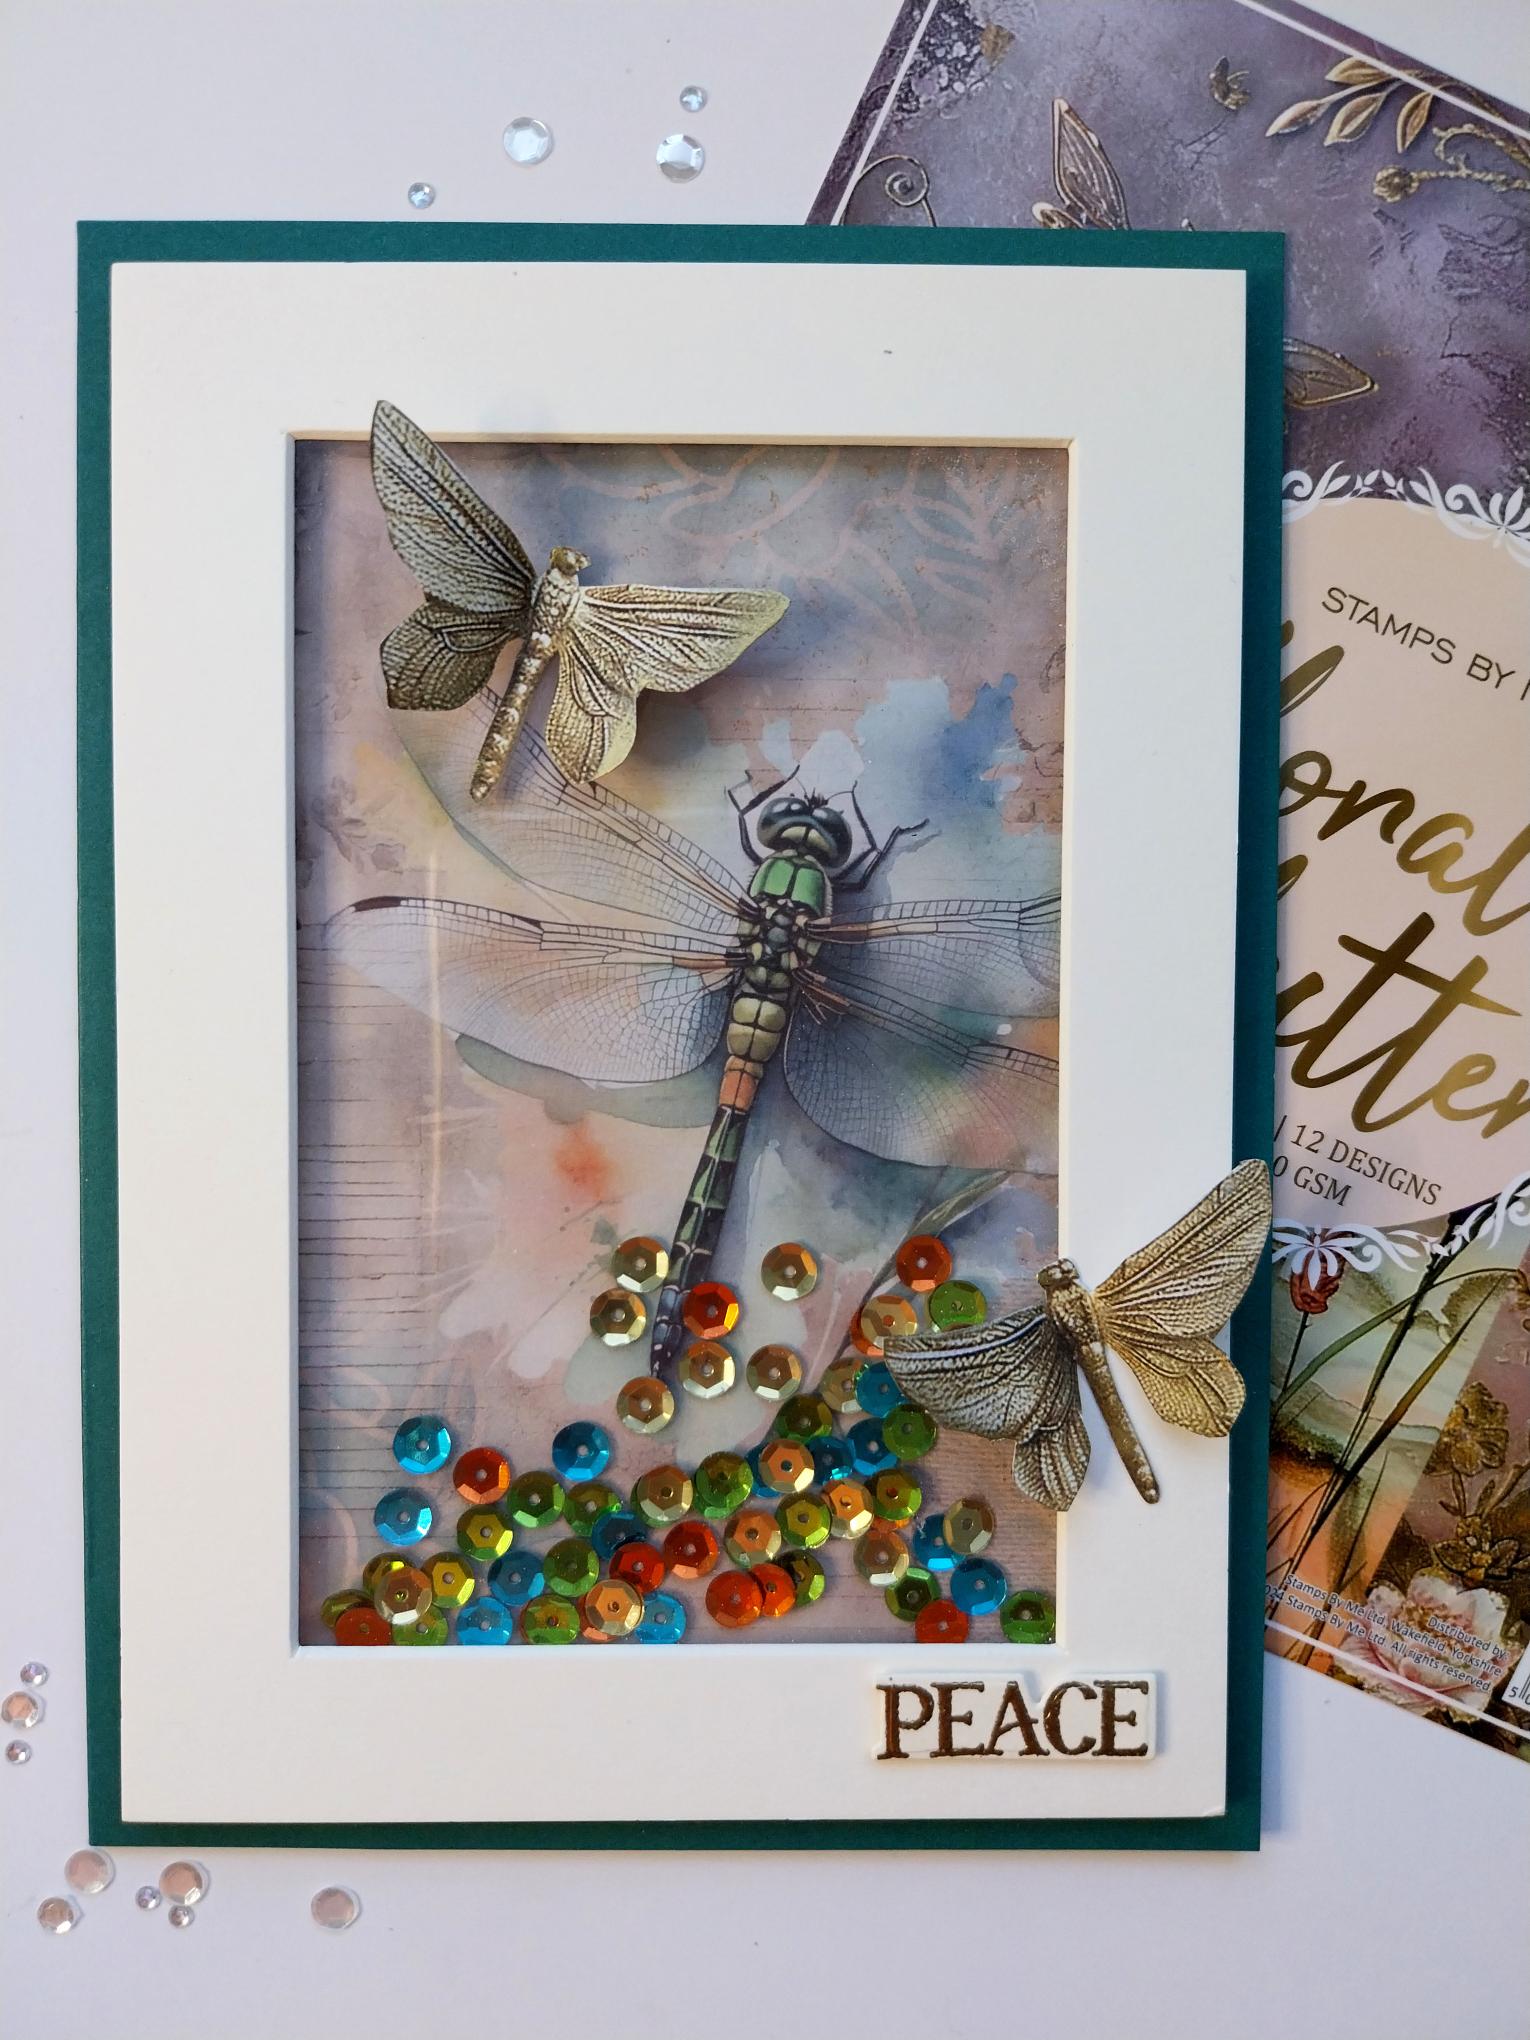
CE DONT VOUS AUREZ BESOIN :
Carte vierge Teal 6 x 8" recoupée à 5 1/2 x 7 1/2"
Cadre passe-partout crème 5 x 7" (ou réalisez le vôtre avec du papier cartonné crème et des matrices de découpe rectangulaires gigognes)
Acétate transparent
Collection complète Floral Flutter
Encreur à encre colorante SBM : Tiffany
Brosse d'estompage
Encreur collant pour embossage
Pistolet chauffant
Poudre à embosser Gold
Sachet antistatique
Cire à dorer Gold Gilding Wax
Palette d'aquarelle Eureka 101 Watercolour Tablet
Tapis en verre magnétique A3 SBM
Massicot
Colle / ruban adhésif double face rouge (red liner) / pastilles mousse 3D ou ruban mousse
Machine de découpe
[cliquez sur l'image pour l'agrandir] 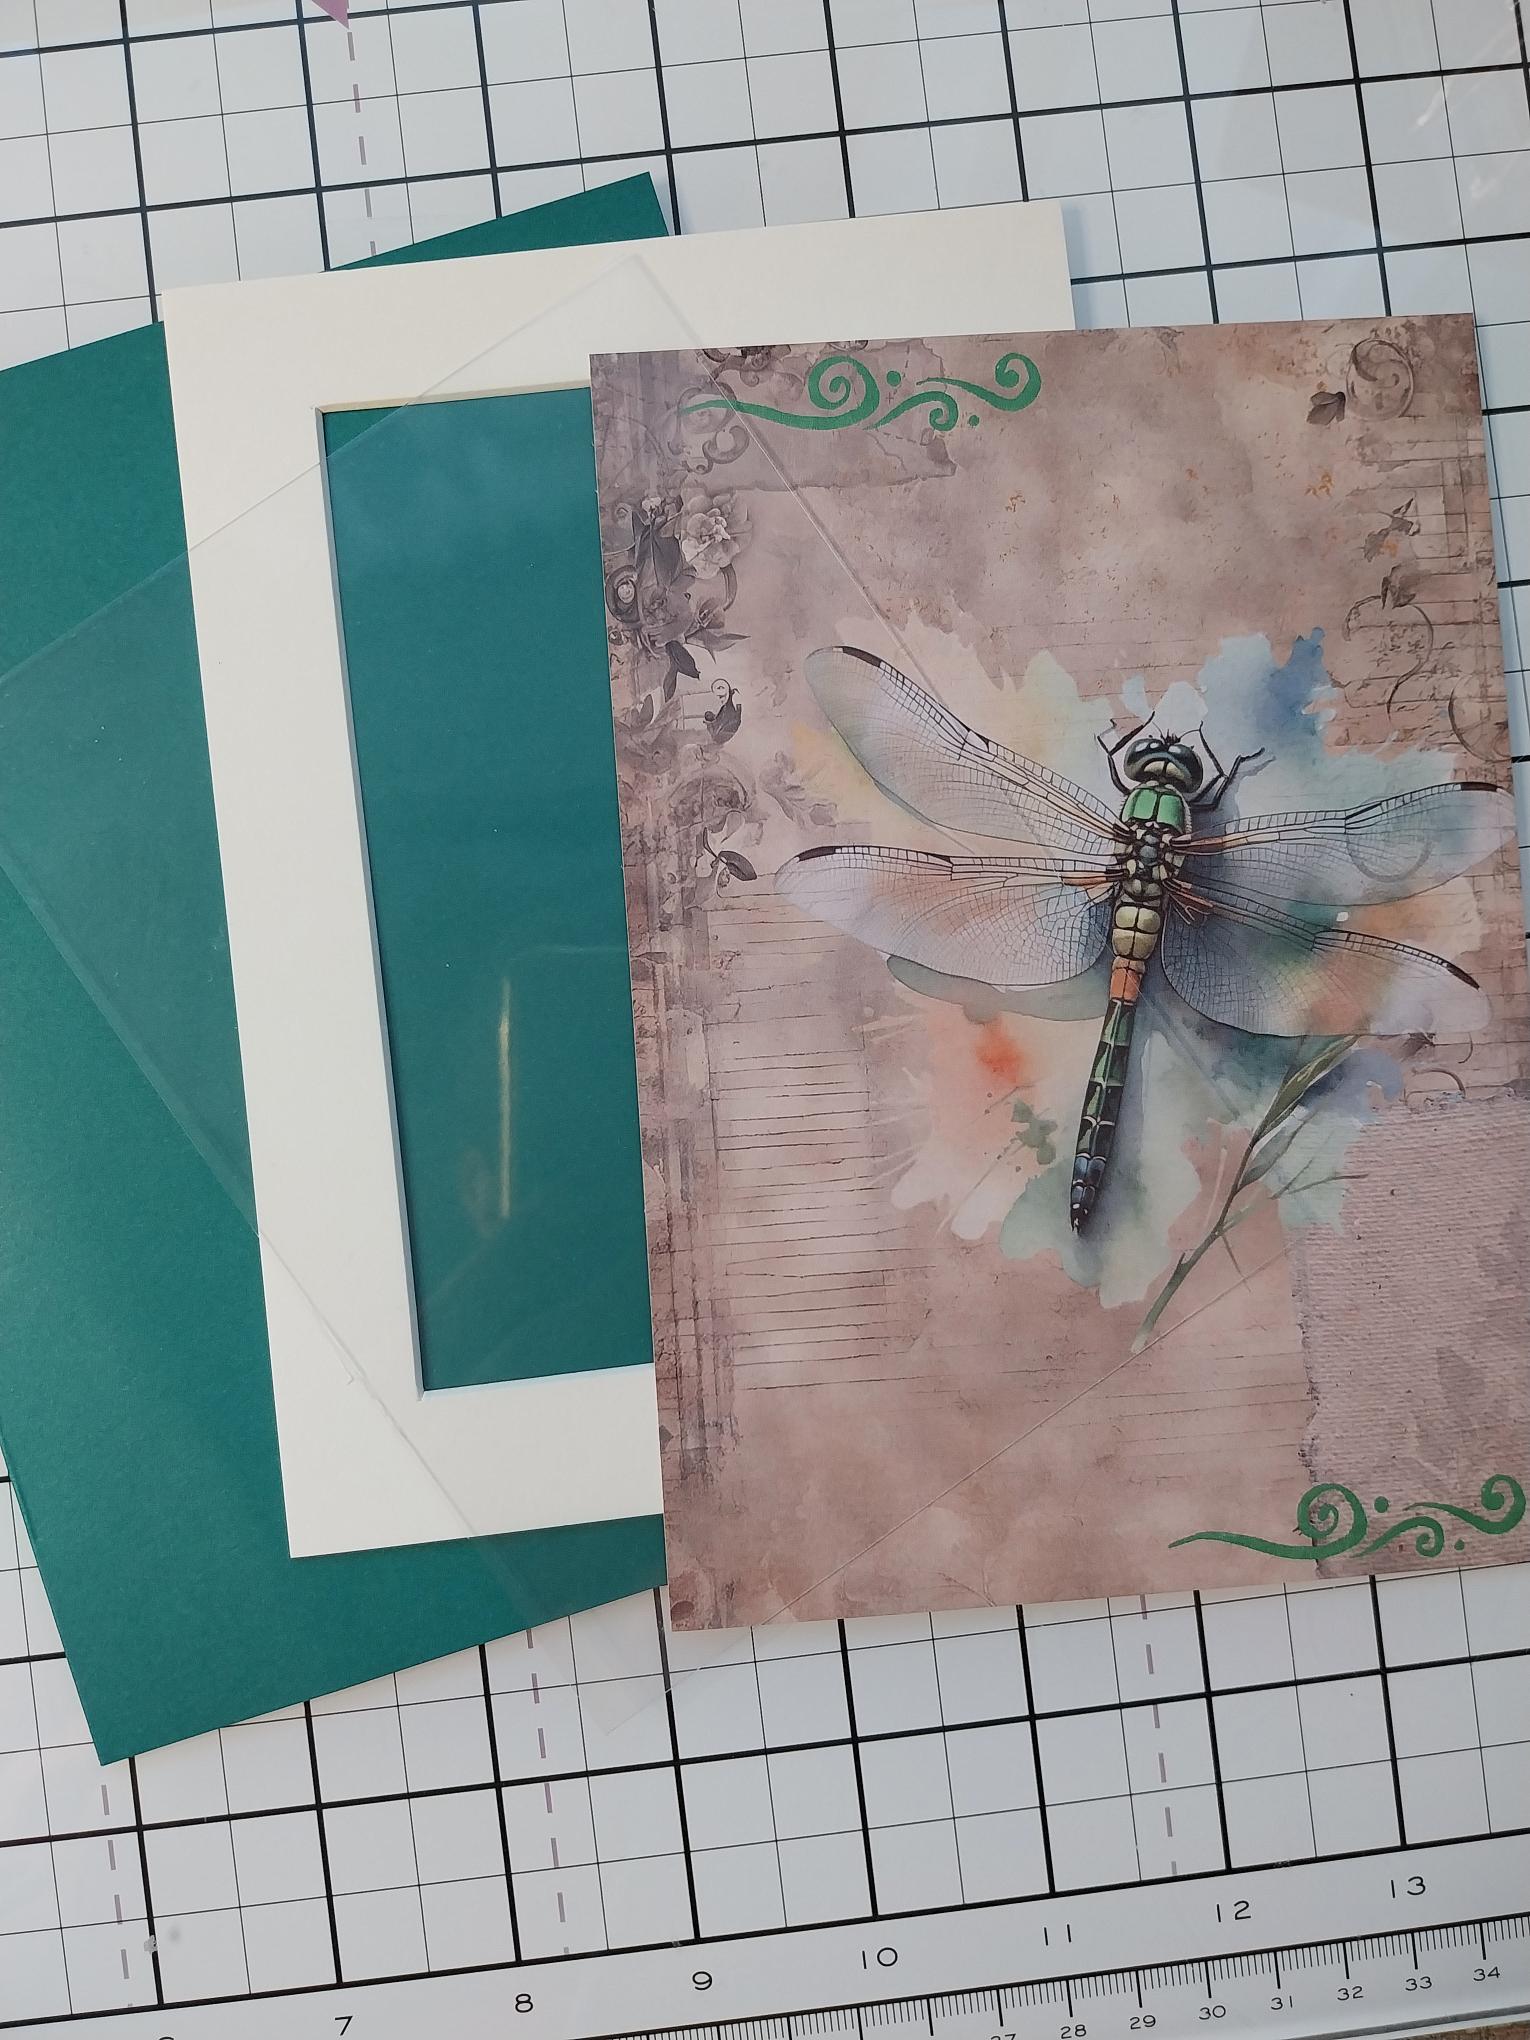
|
You will need your trimmed-down Teal card blank, a cream 5 x 7" frame mount, clear acetate trimmed to 5 x 7" and this painted mount. |
|
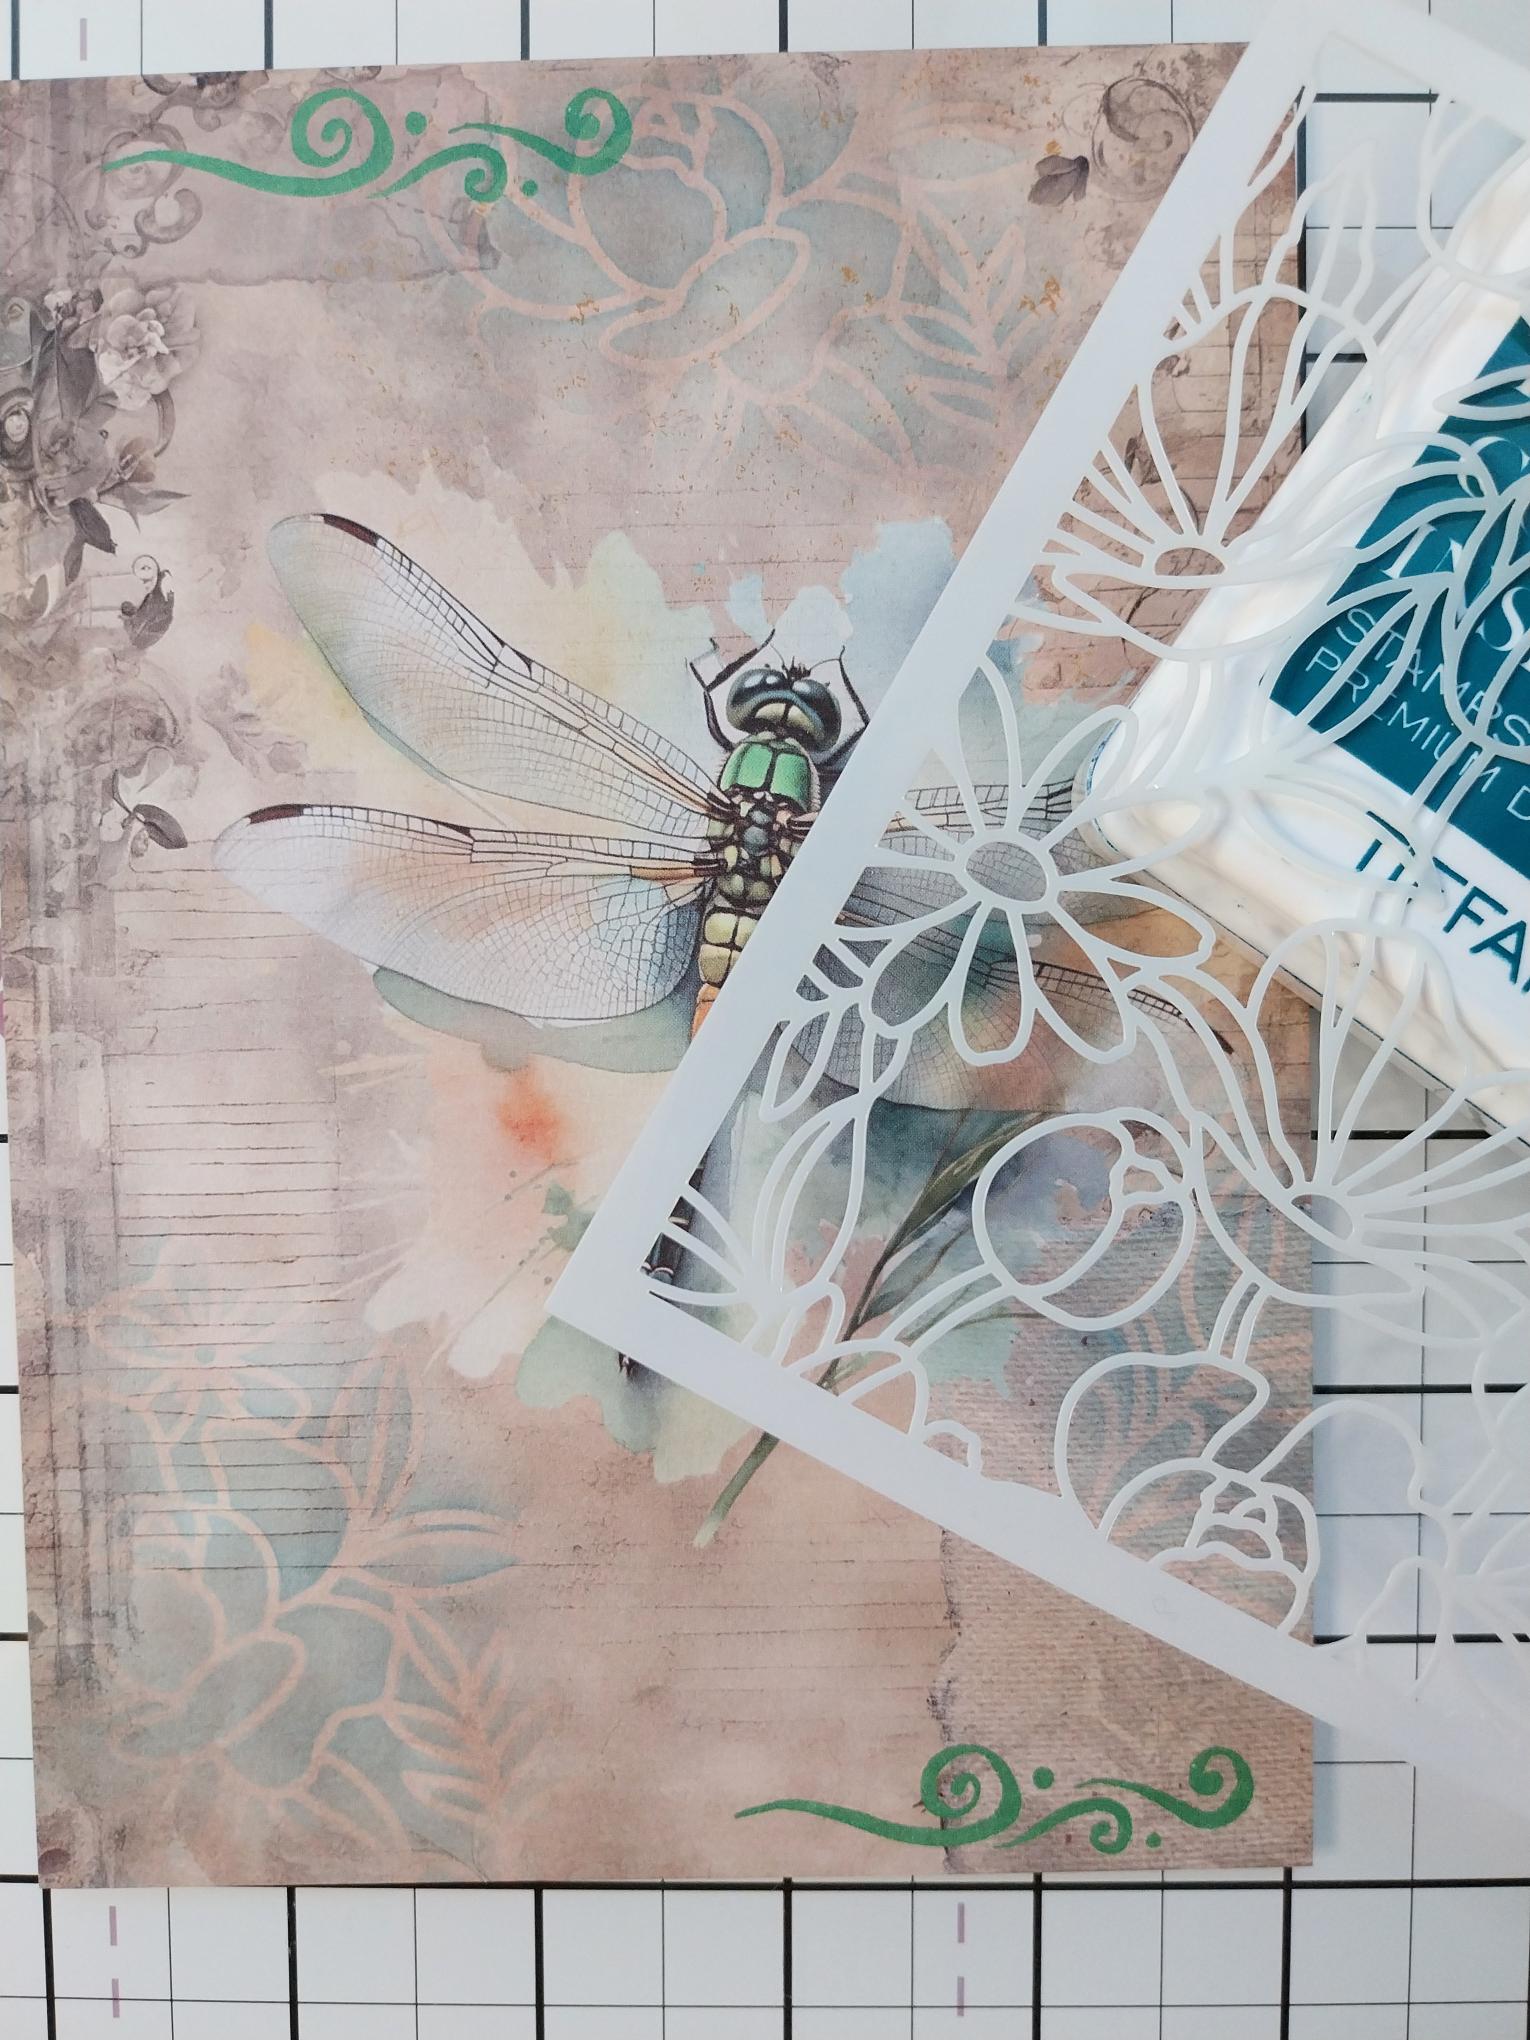
Blend the Tiffany through the coordinating stencil in the collection, over random areas of the painted mount. |
|
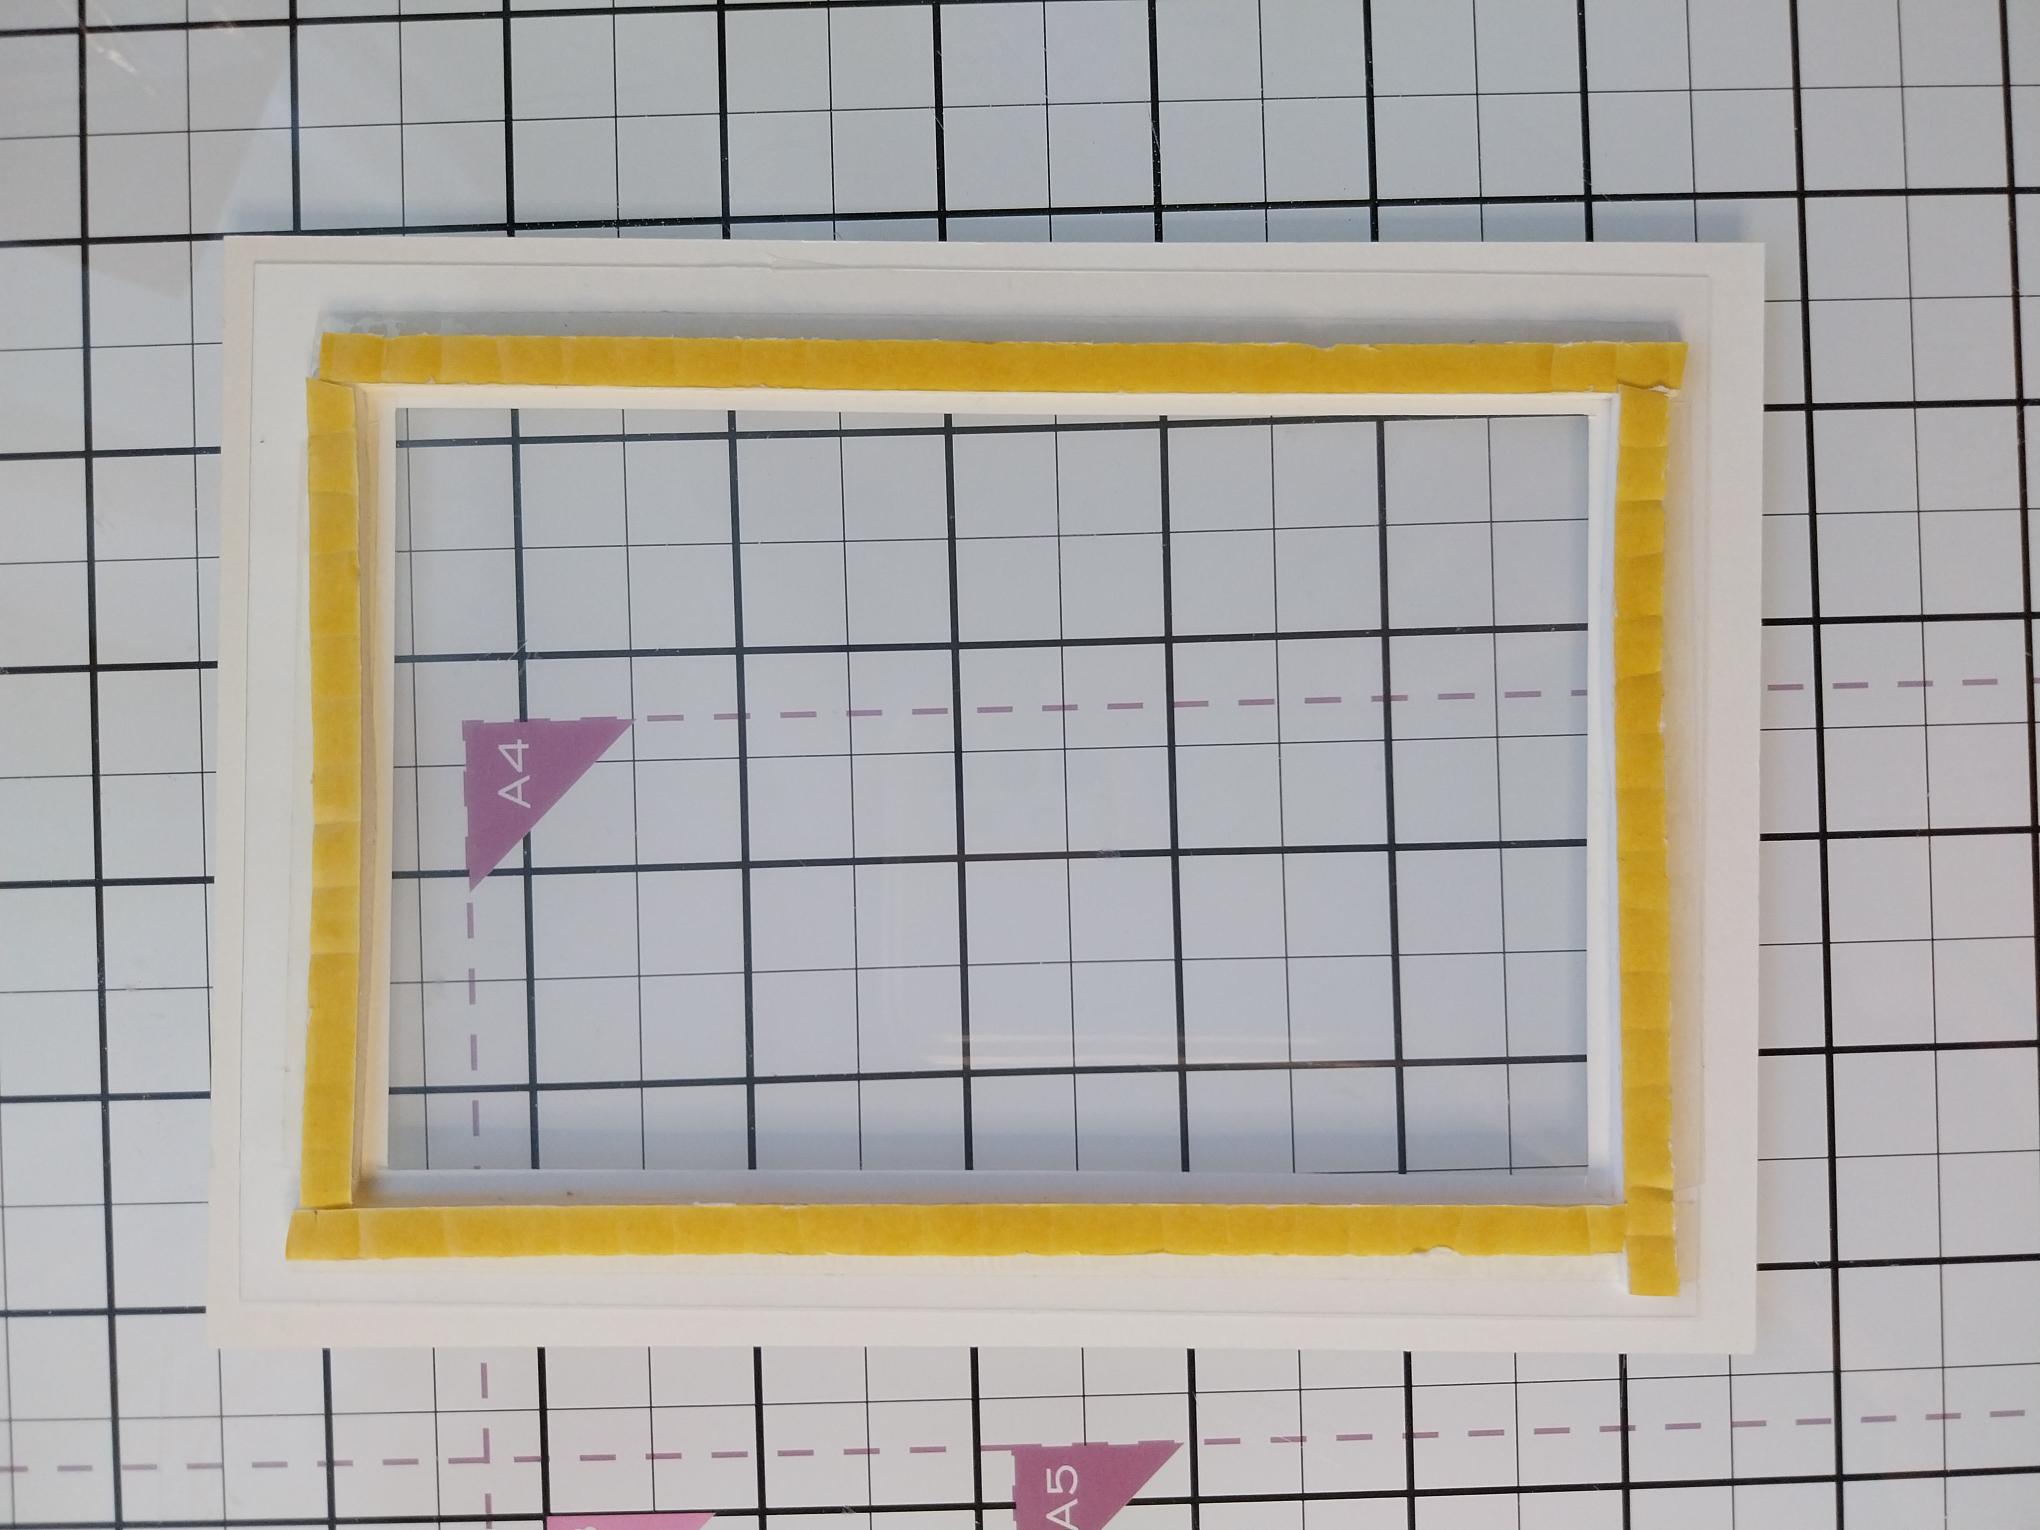
Adhere the clear acetate to the back of the cream frame, using red liner tape. Then adhere foam pads/tape around the edges of the frame, as shown here. |
|
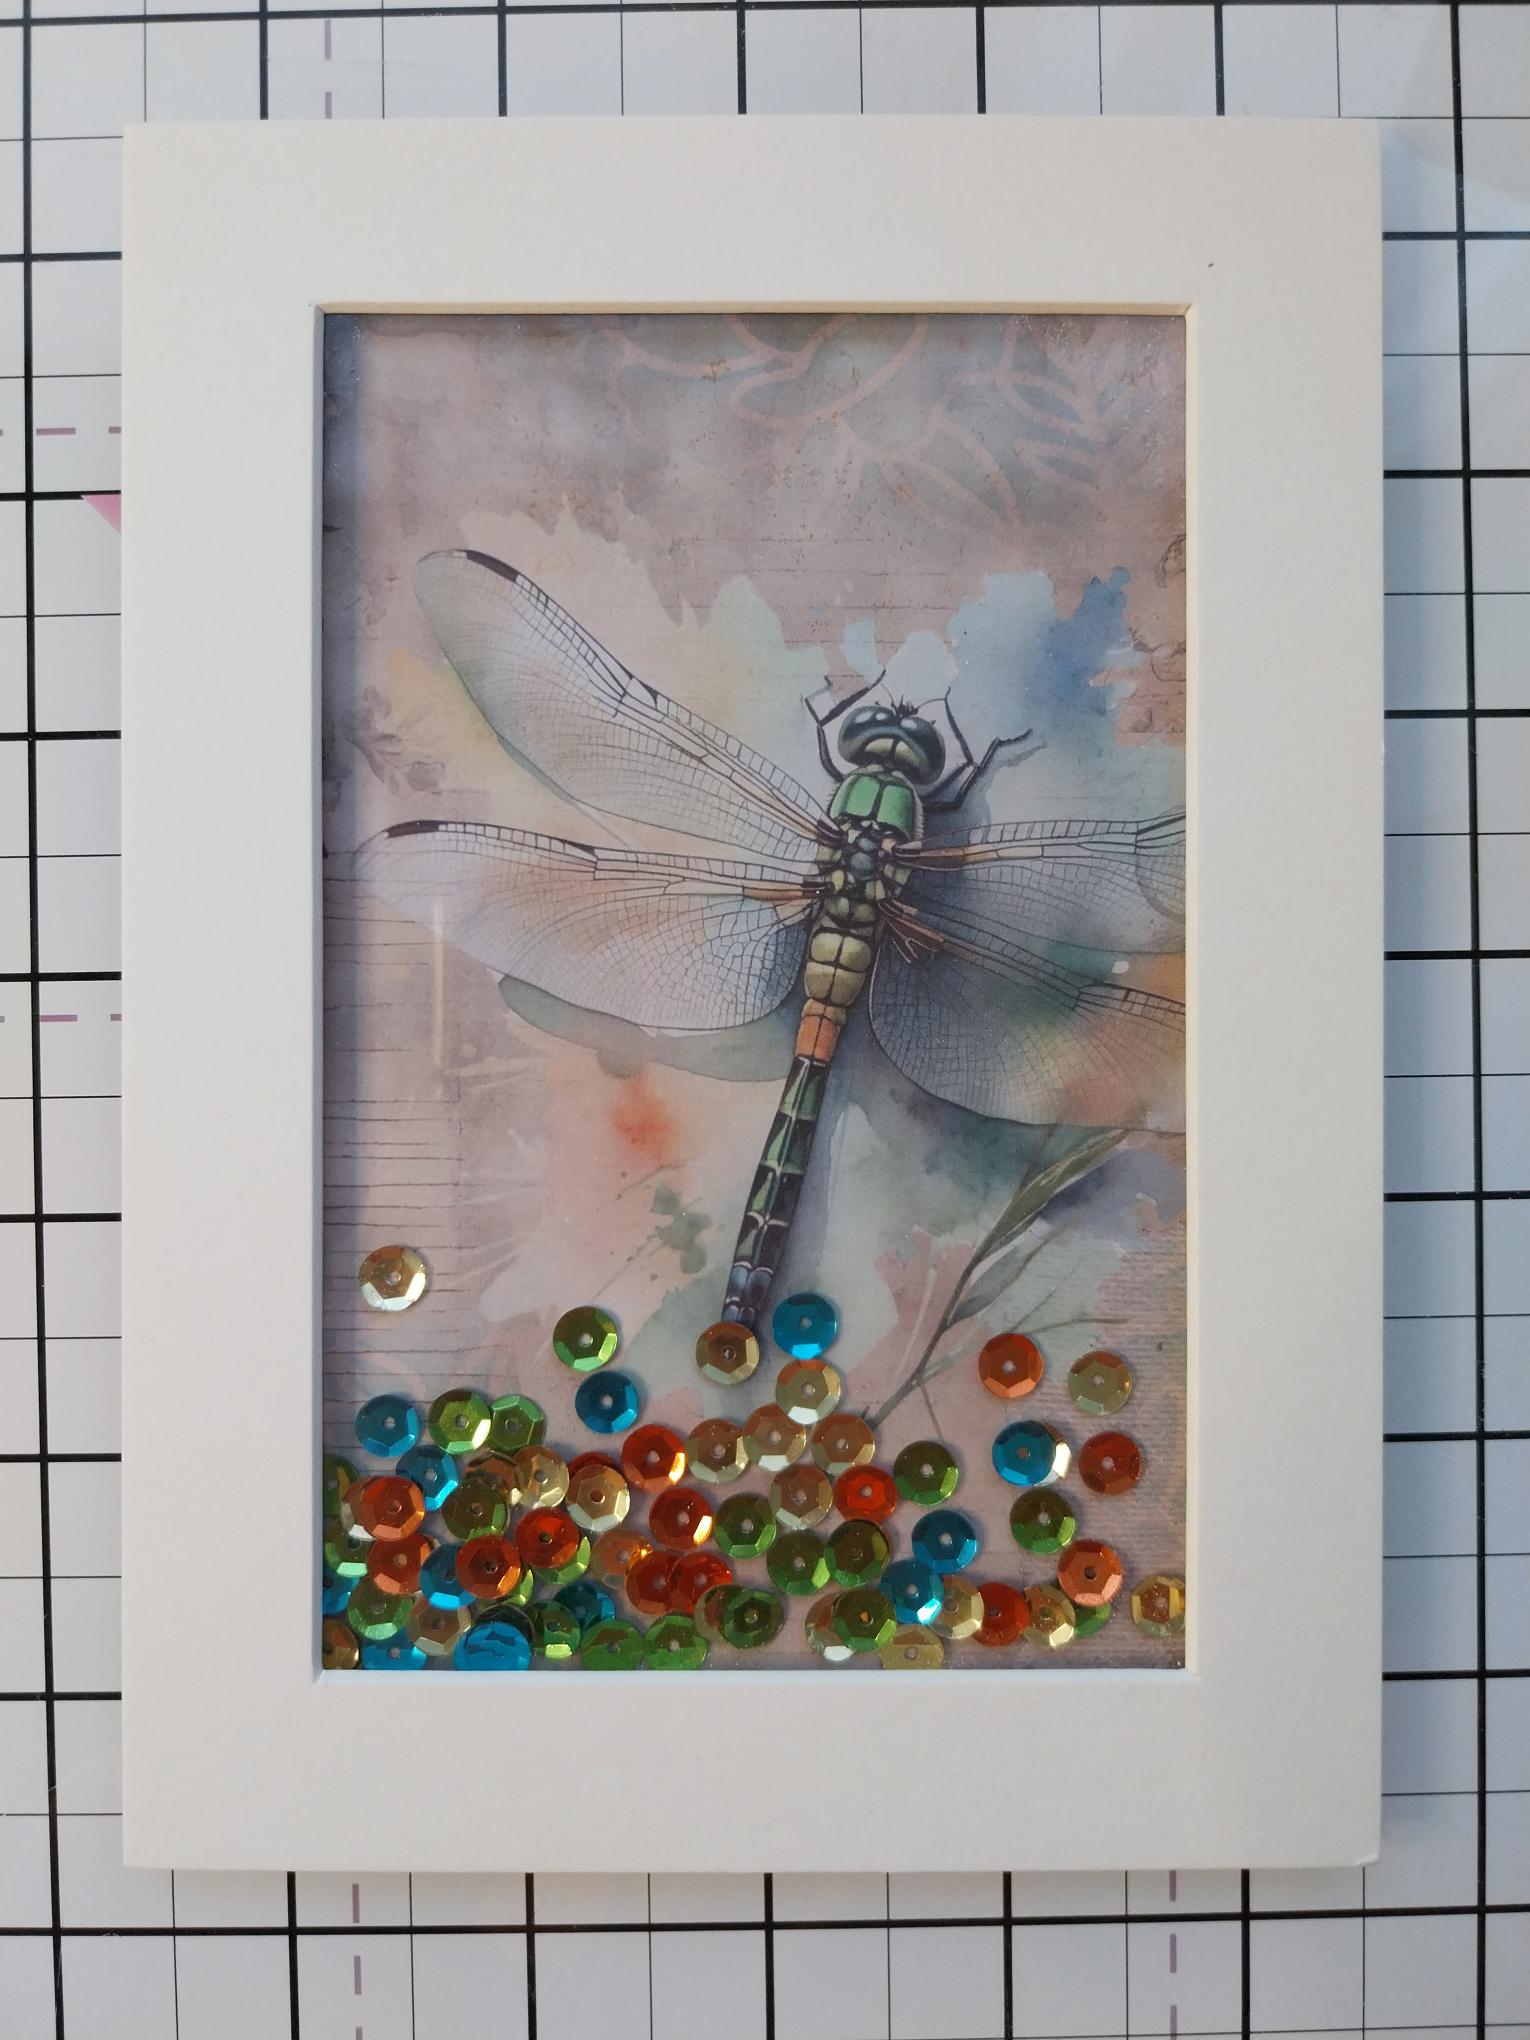
Wipe over the painted mount with your anti-static bag before putting your sequins in the middle area of the mount. Ensure they are spread out and laying flat, not bunched up together, so they will "shake" freely when you adhere the acetate frame over the top. You now have you "shaker" element! |
|
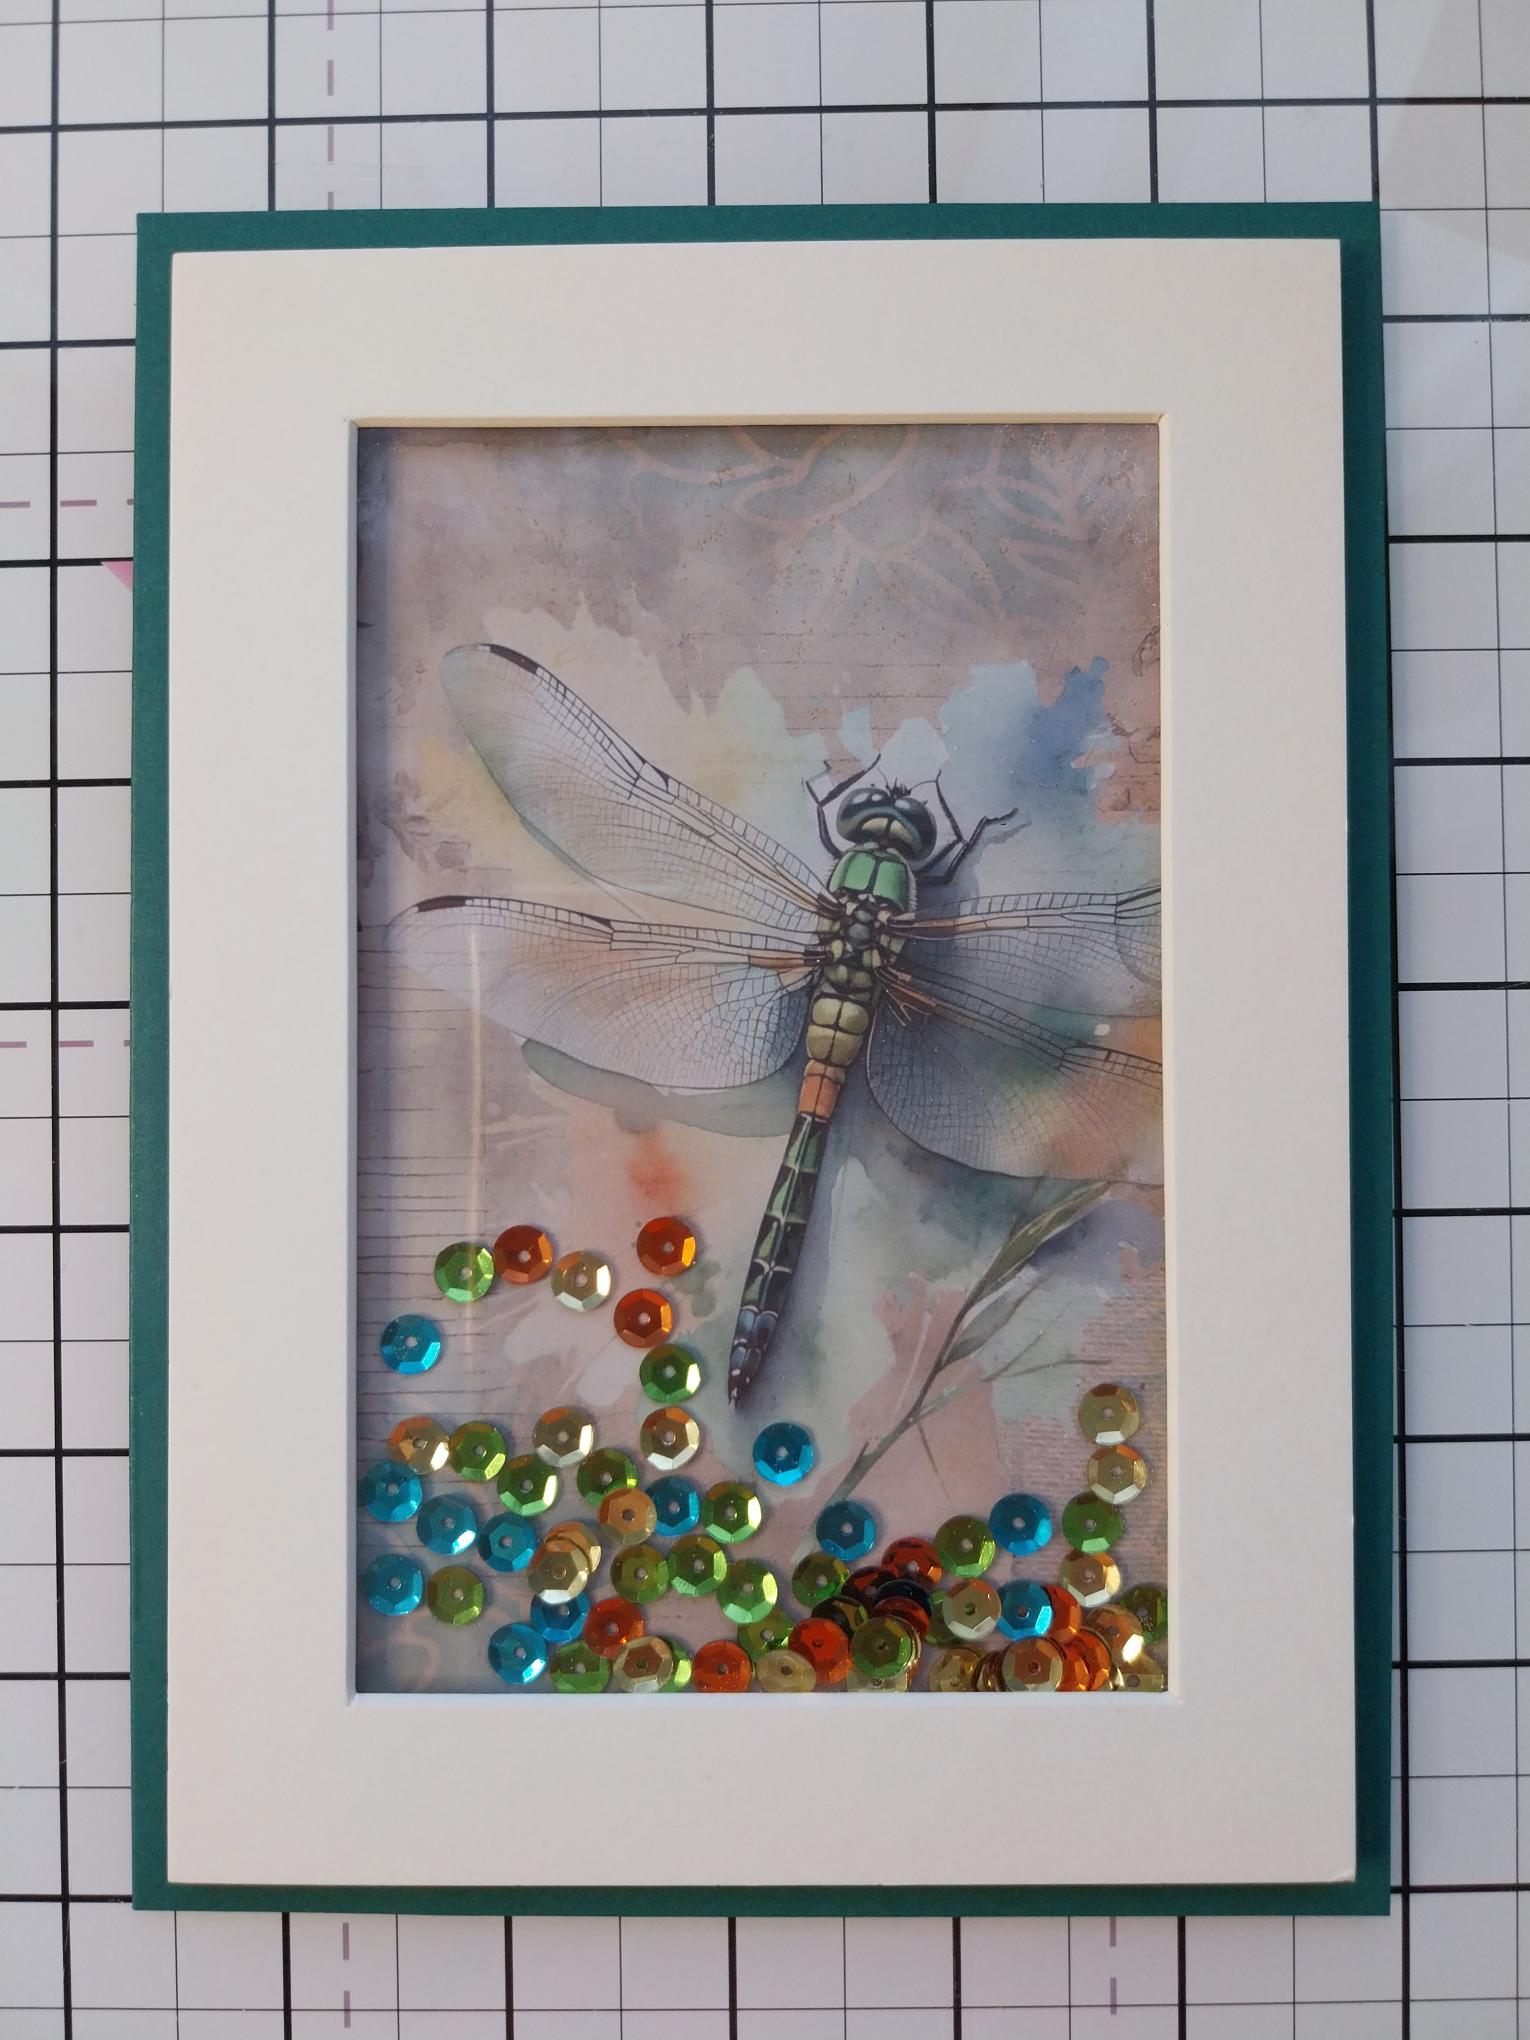
Adhere this to the front of your Teal card blank. |
|
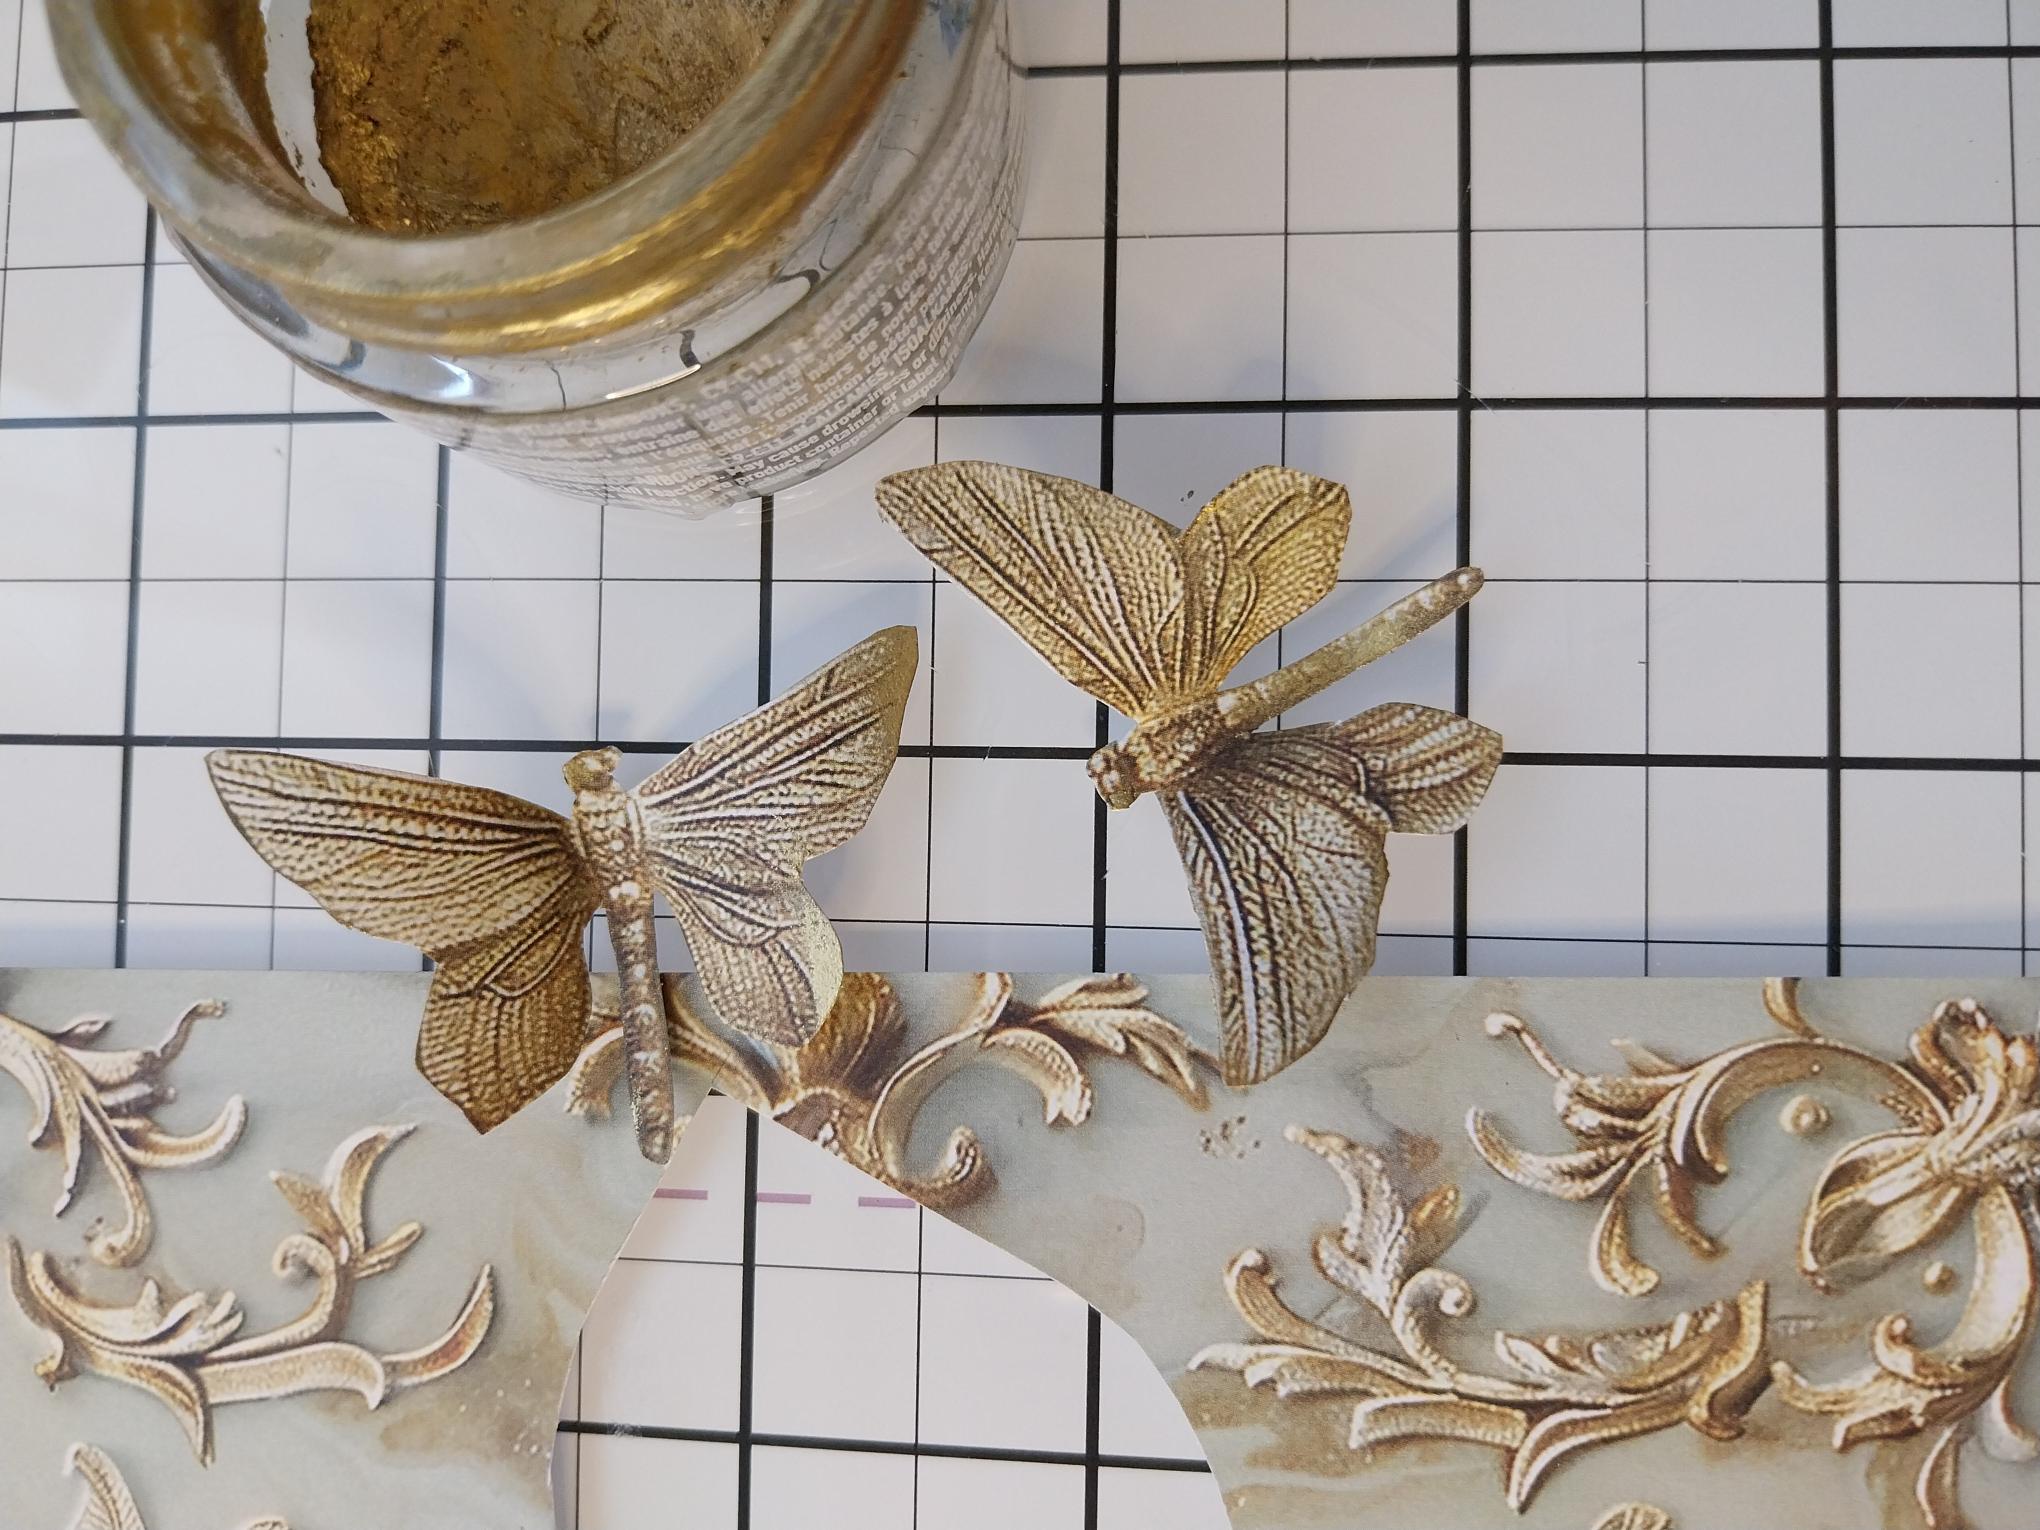
Fussy cut some of the gilded butterflies/dragonflies from the decorative papers in the collection. I accentuated their wings using a touch of Gold Gilding Wax but this is purely optional. |
|
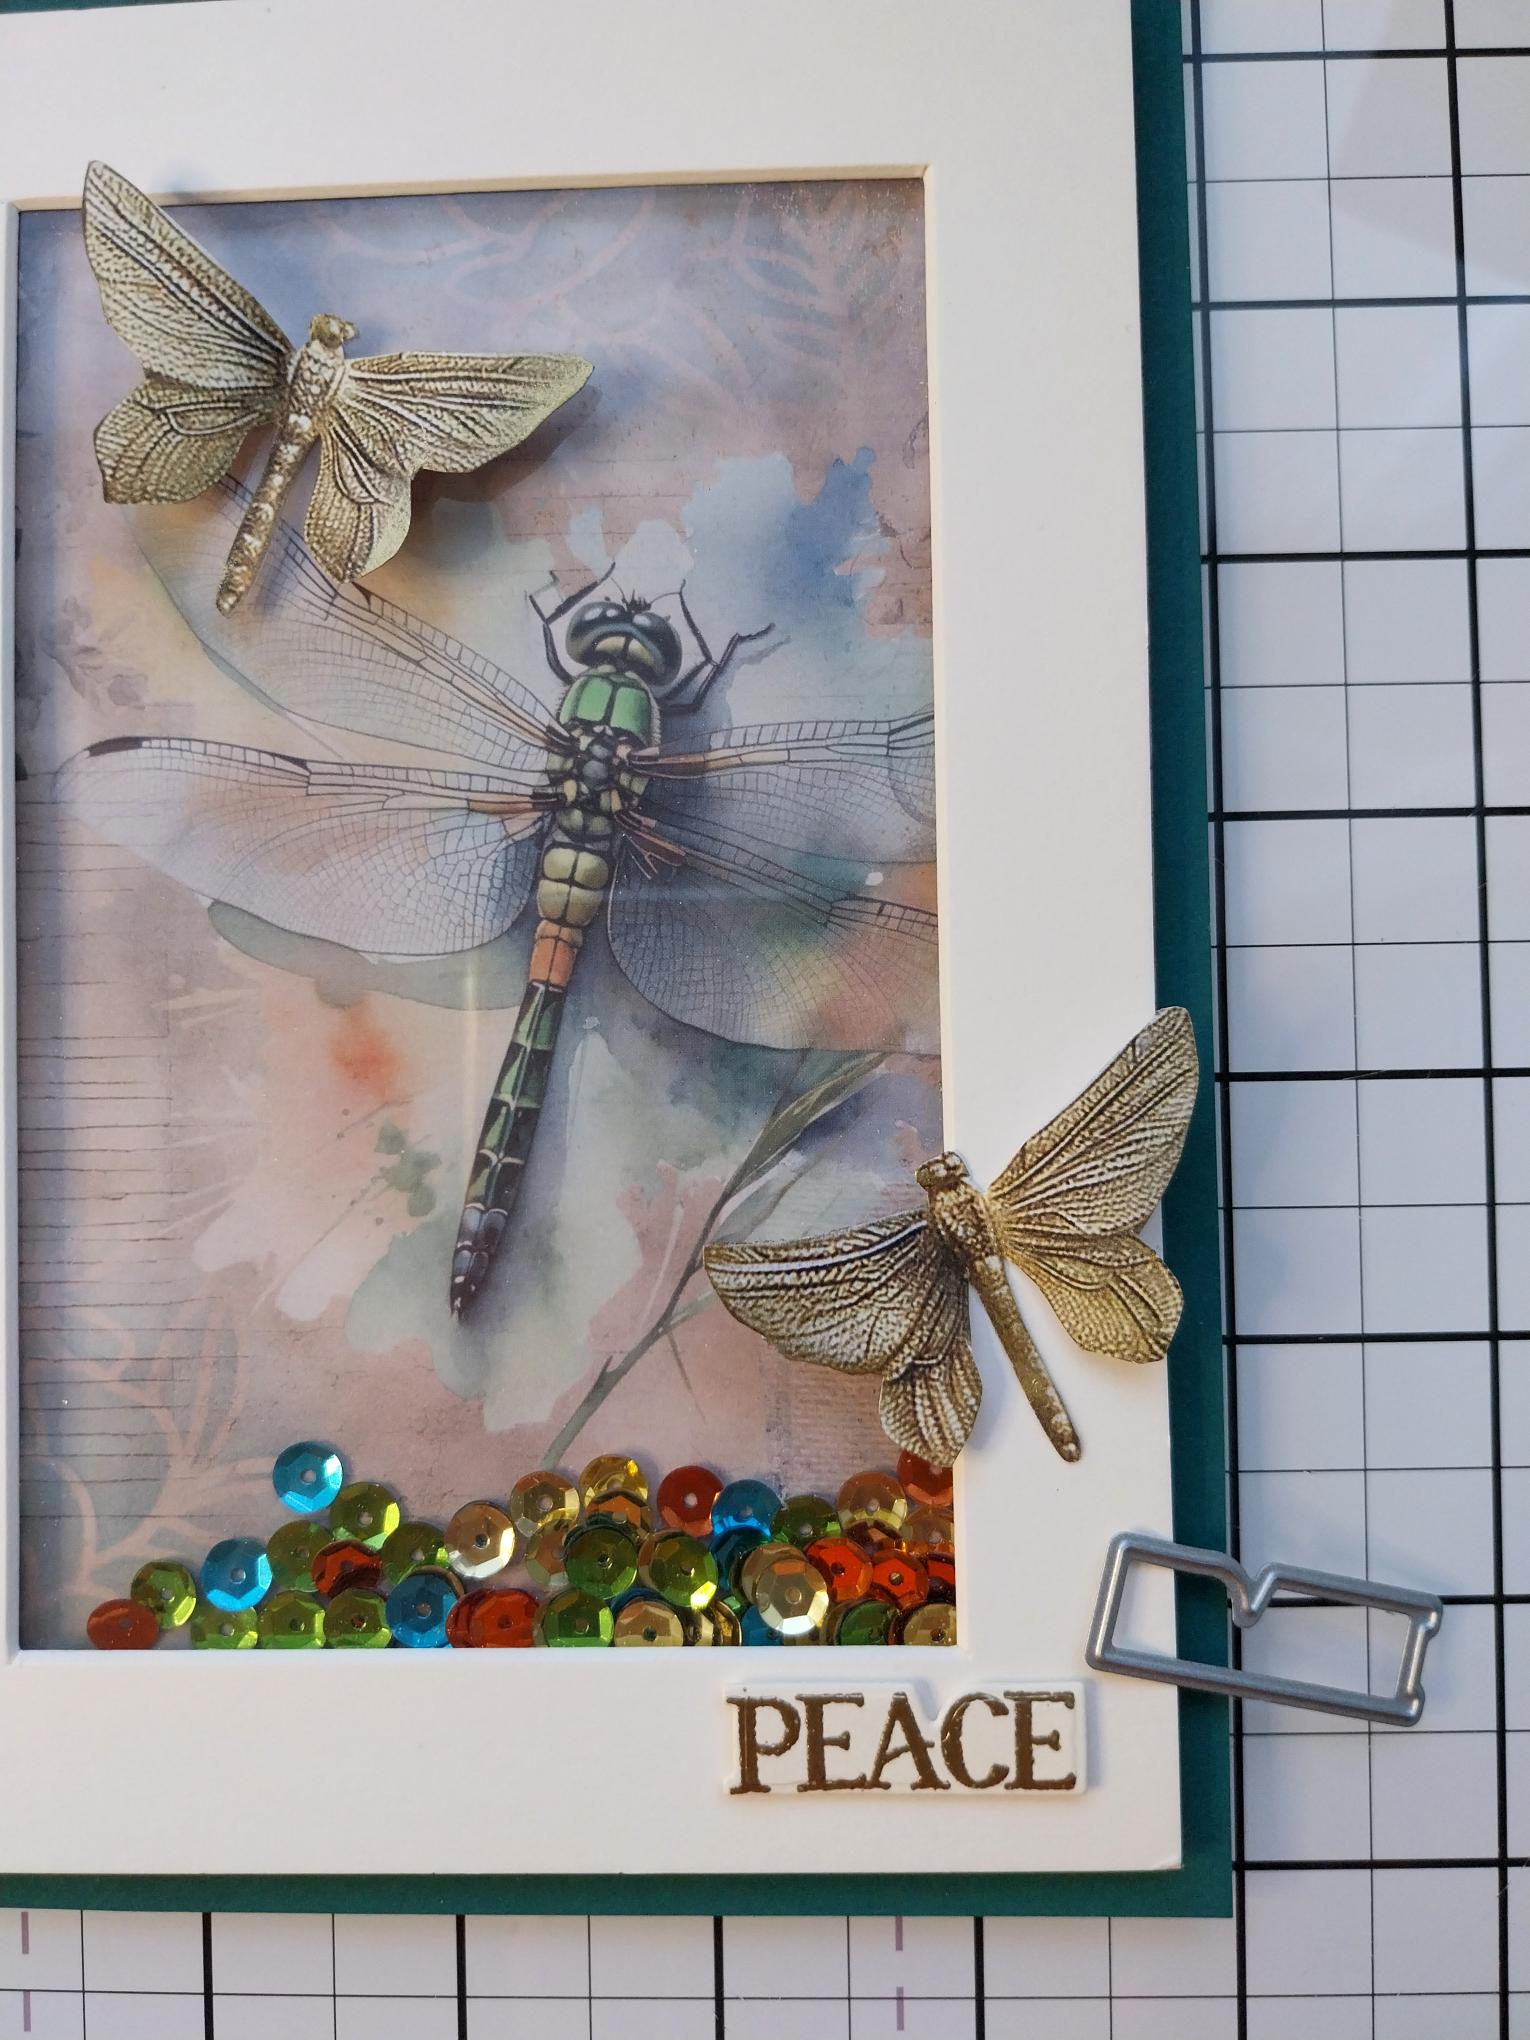
Adere the butterflies/dragonflies onto your card where required. On a scrap piece of cream card, stamp and heat emboss the sentiment with the Gold embossing powder then die-cut using the coordinating die. Adhere to the bottom right of your card to finish. |