Offrez à vos amis 10 € de réduction sur leur première commande !
Parrainez un AMI








MATÉRIEL NÉCESSAIRE :
Papier cartonné kraft/crème
Clematis Floral Dimensions
Foliage Banners Die Collection
Foliage Adornments Die Collection
Stitch Circle Die Collection
Timeless 8 x 8 Paper Pack
Sepia Tabs Washi Tape and Die Collection
Papiers (pour découper les feuillages)
Tapis en verre magnétique SBM A3
Massicot/planche à rainer/plioir
Colle/adhésif rouge/gel 3D/pastilles mousse 3D
Machine de découpe
Strass/sequins
[cliquez sur l'image pour l'agrandir] 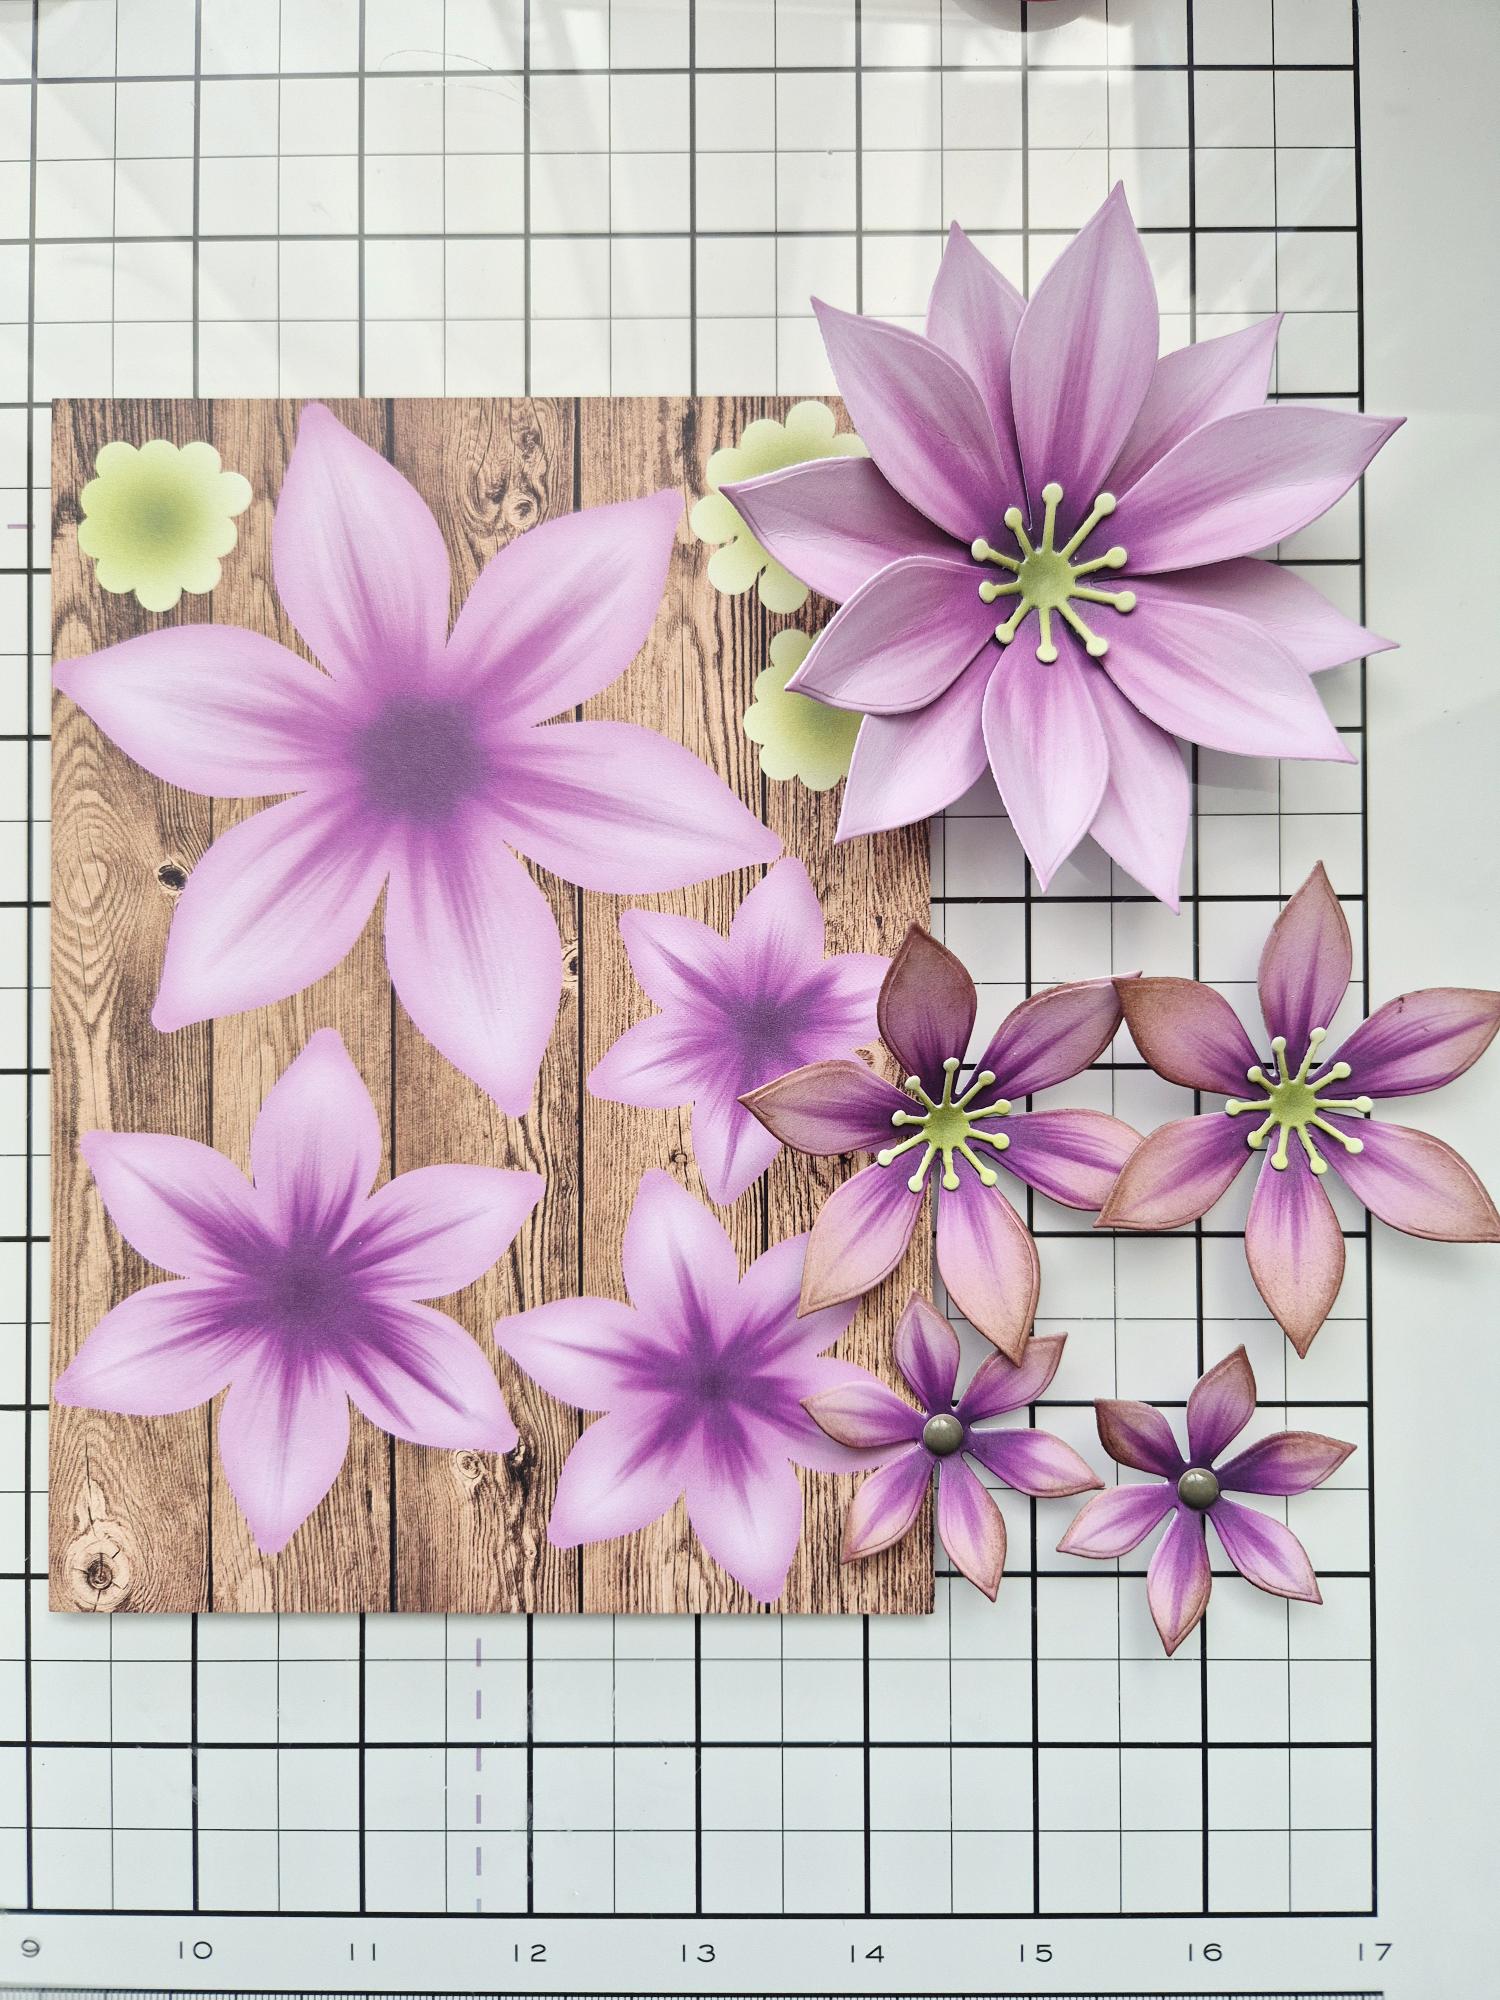
|
Die cut the flowers from your chosen Clematis sheet. |
|
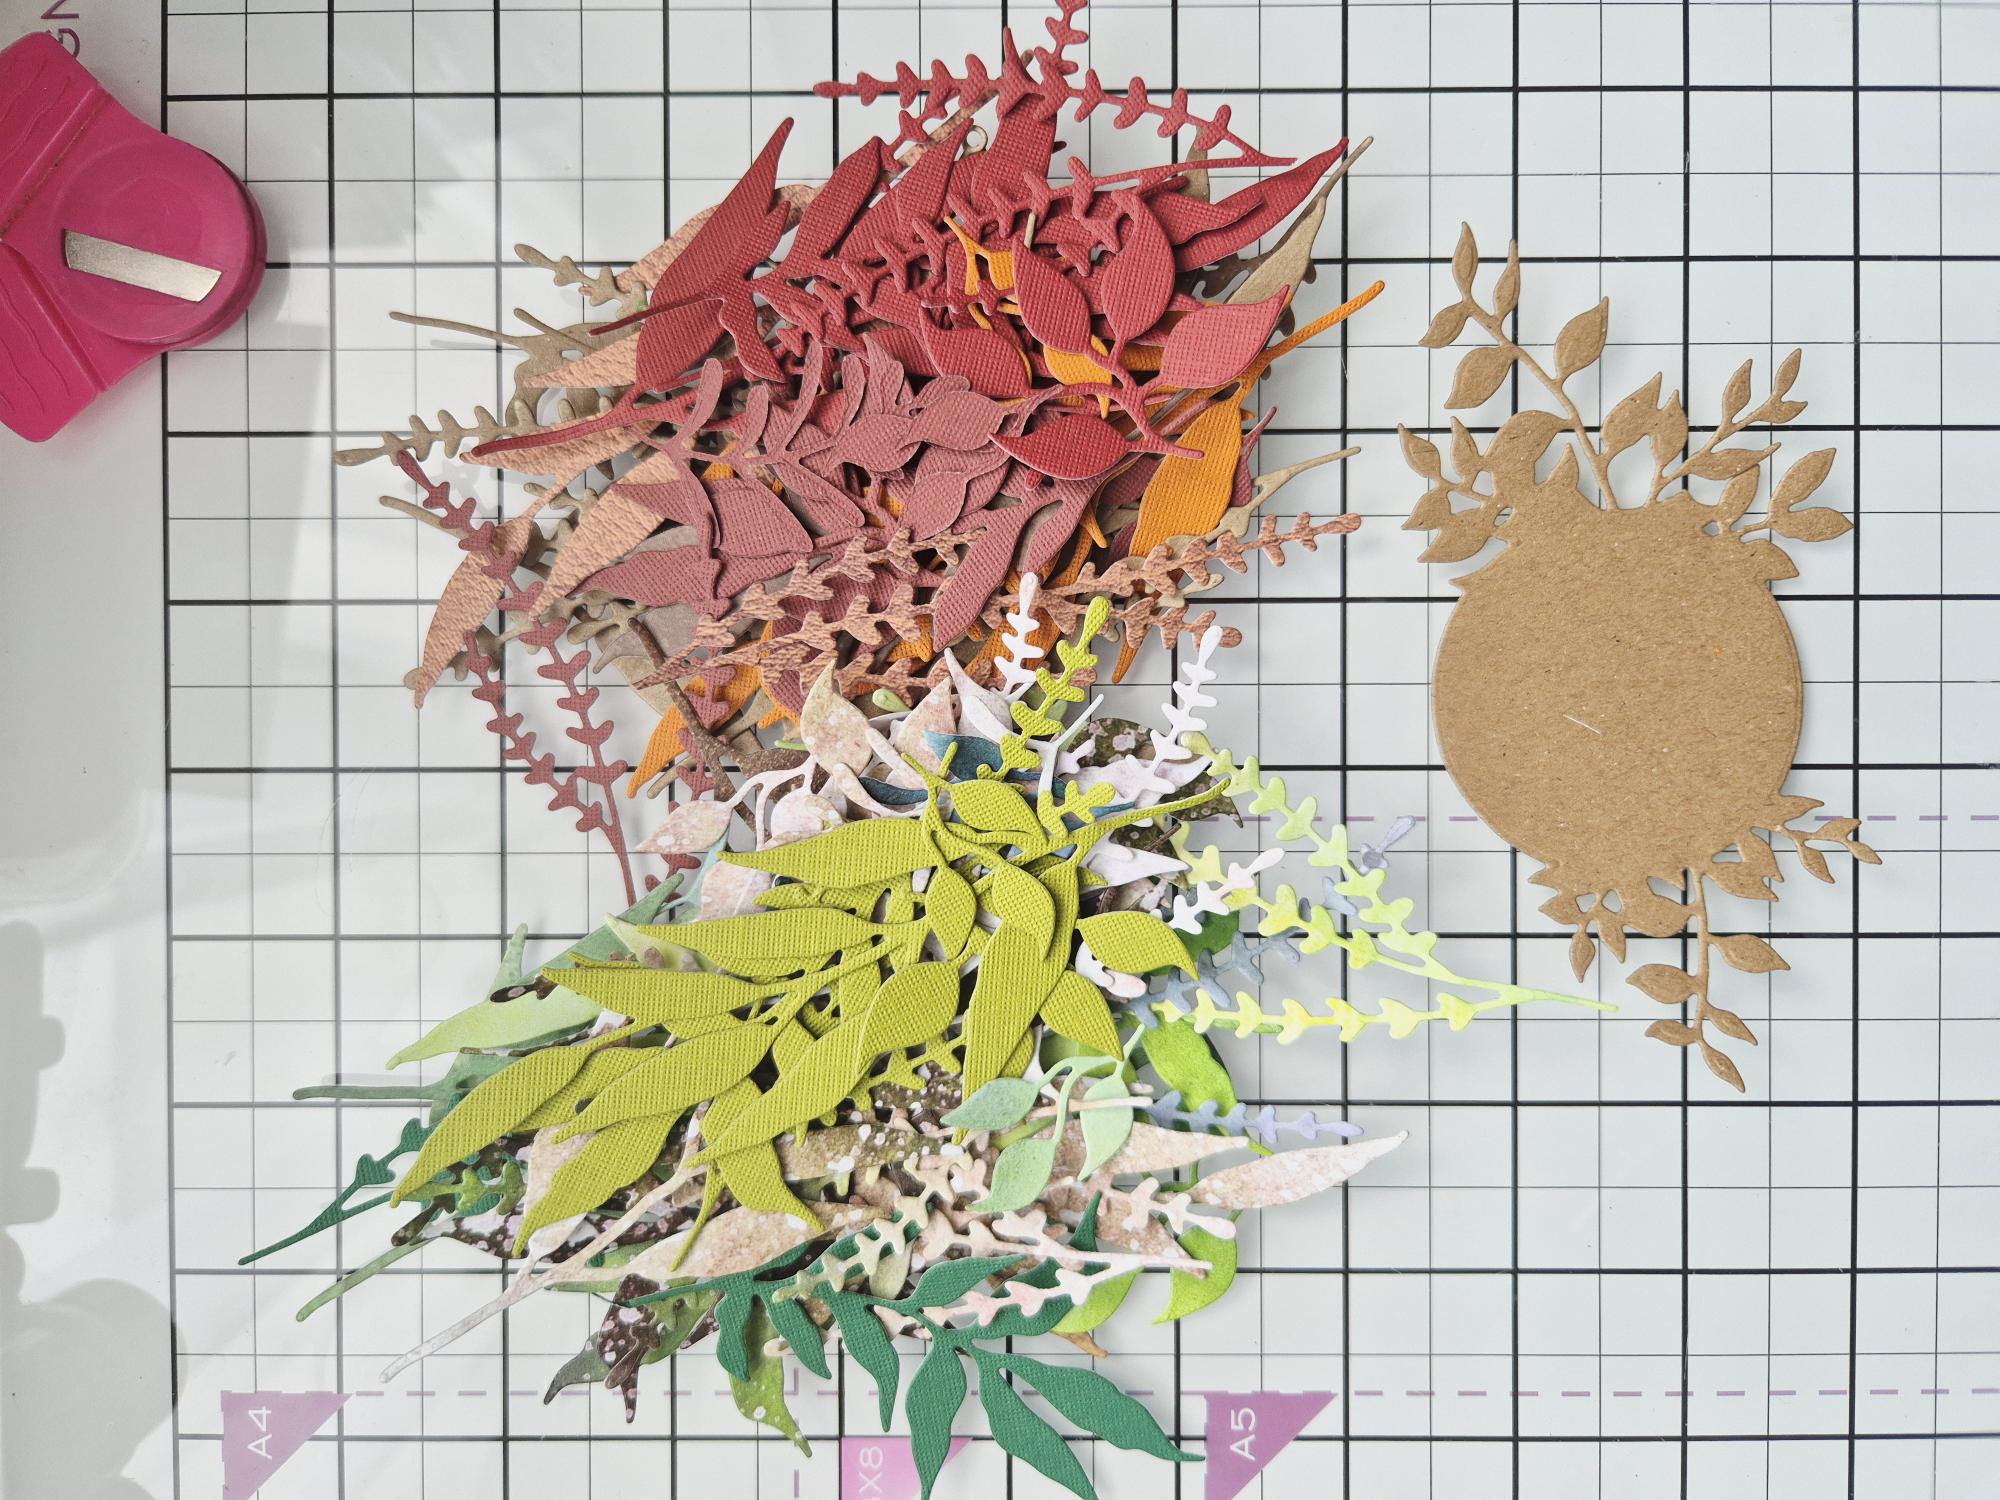
Die cut a selection of foliage using papers from your crafty stash and the Foliage Adornment dies. Tip: Die cut lots and keep them in a tub for future projects! |
|
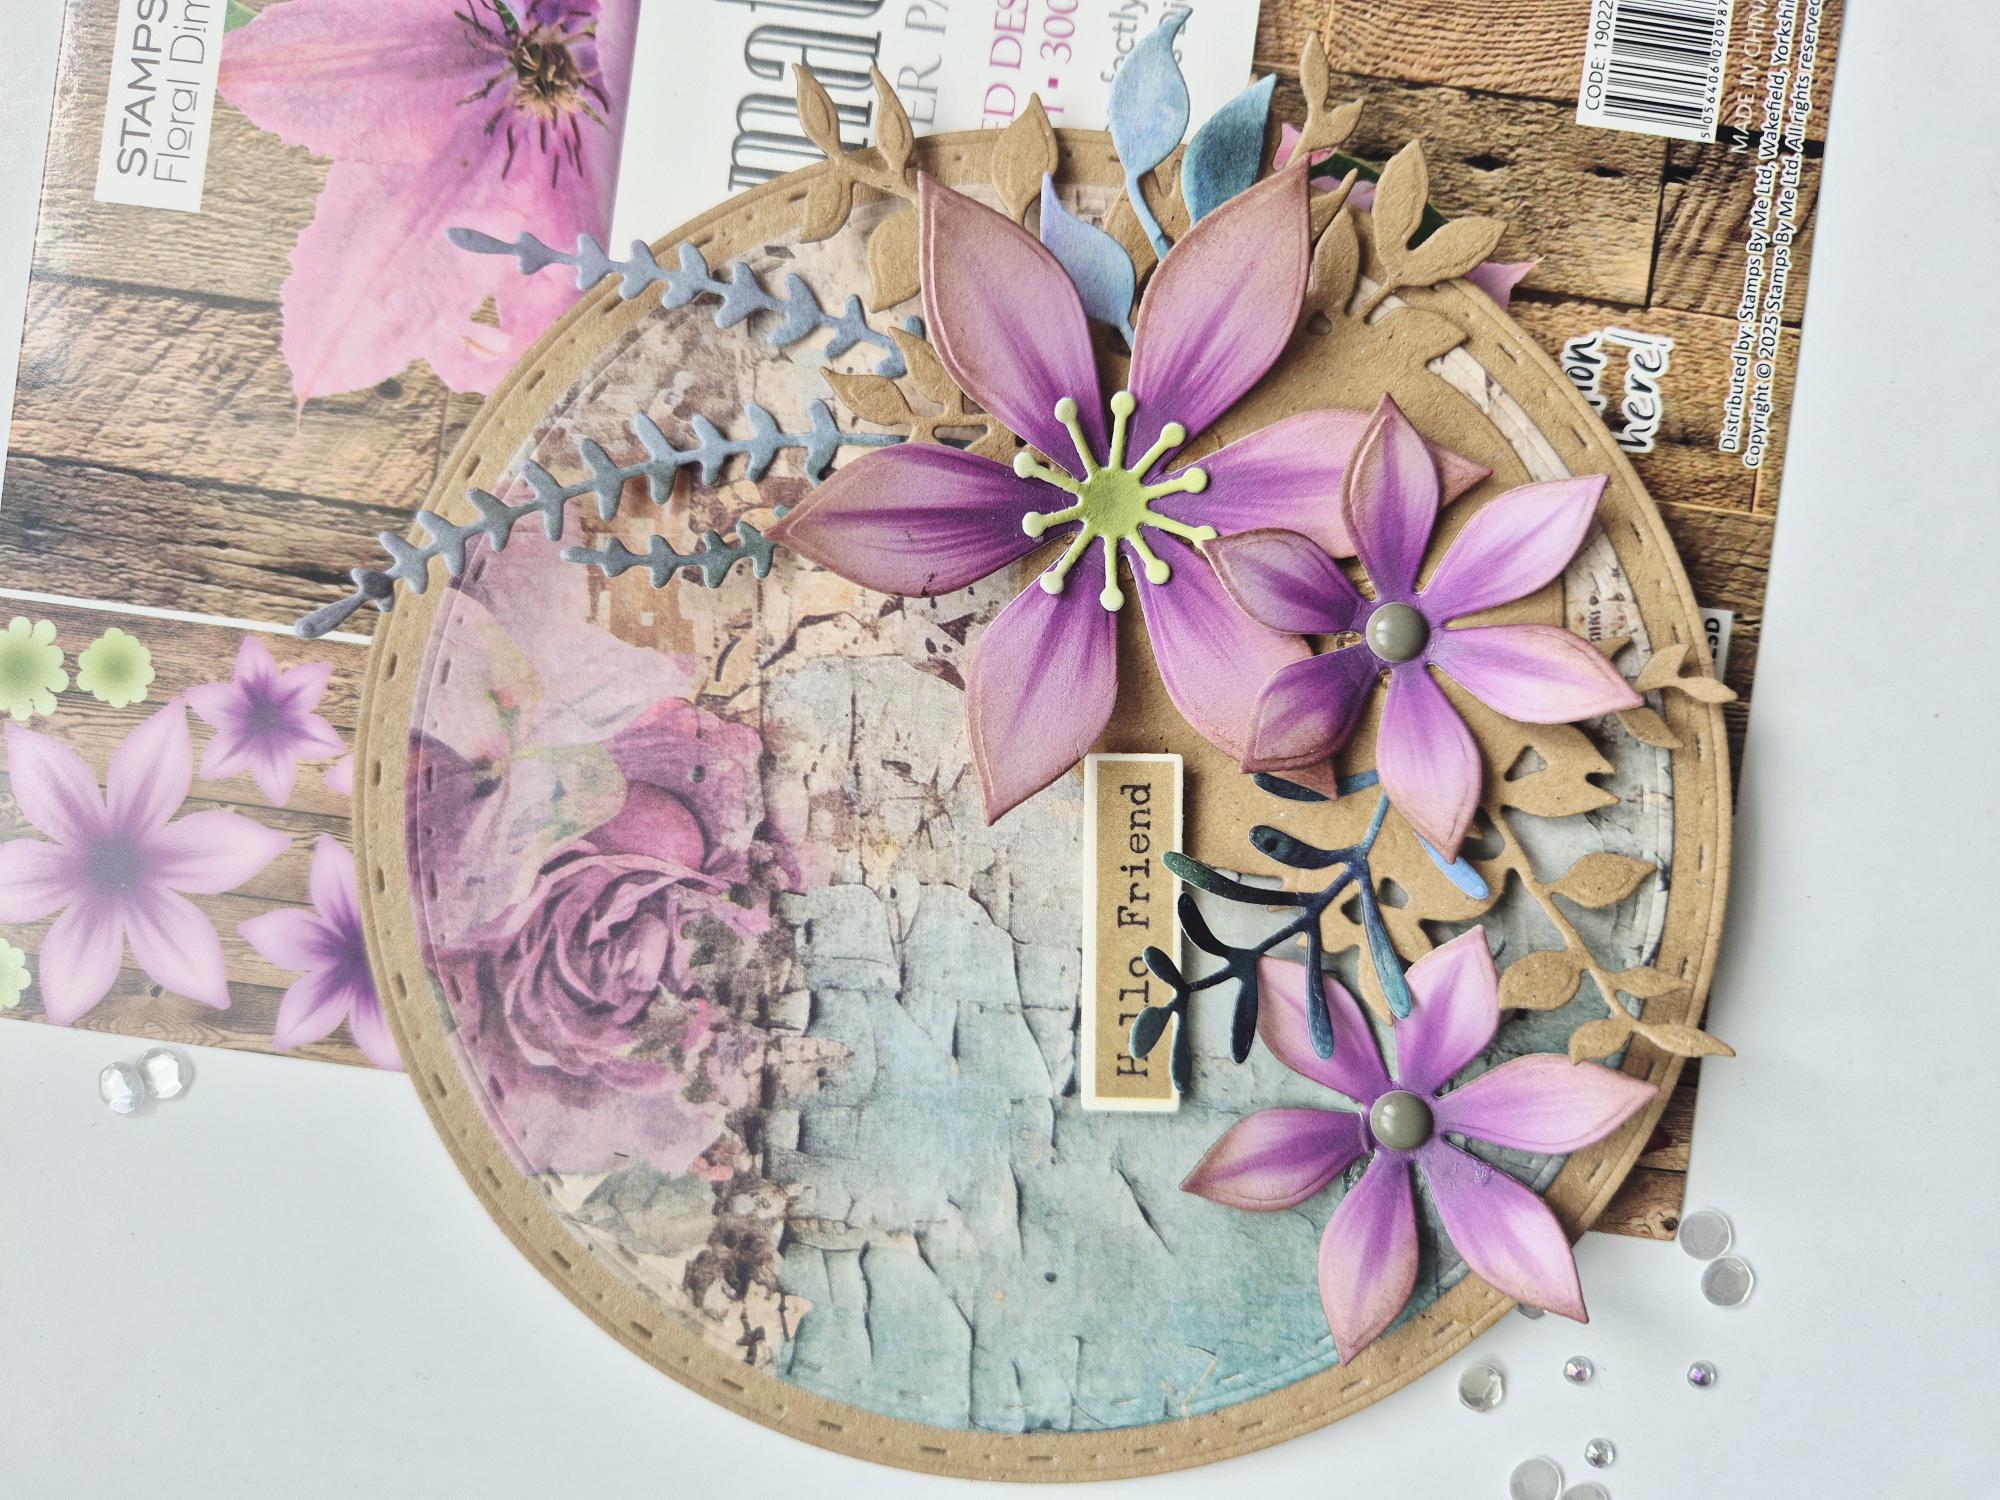
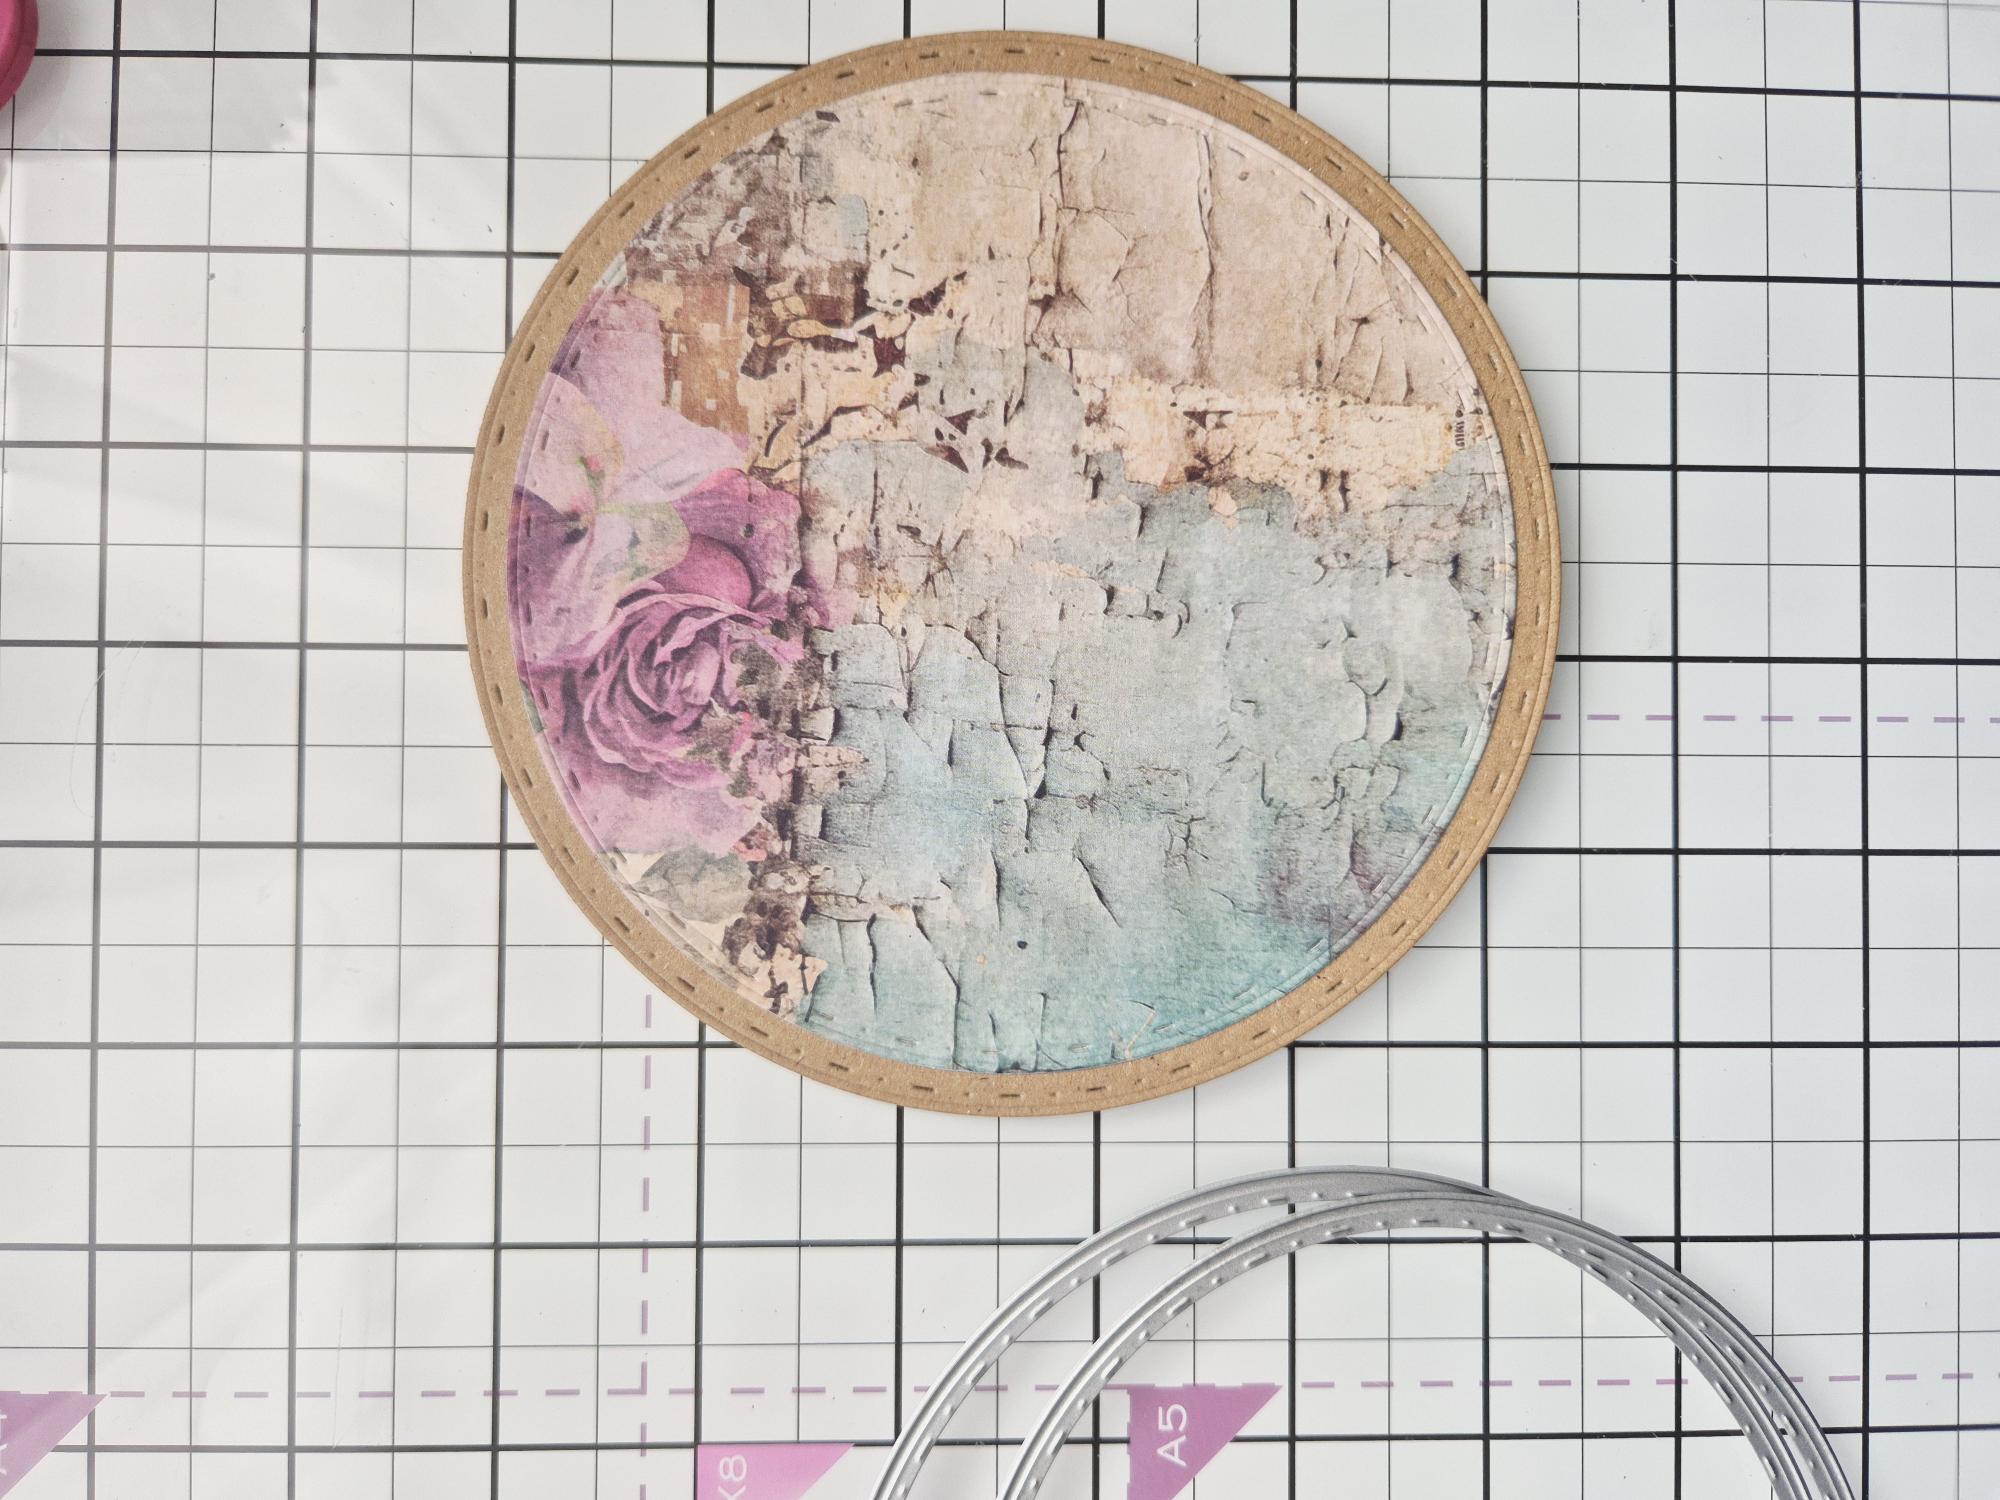
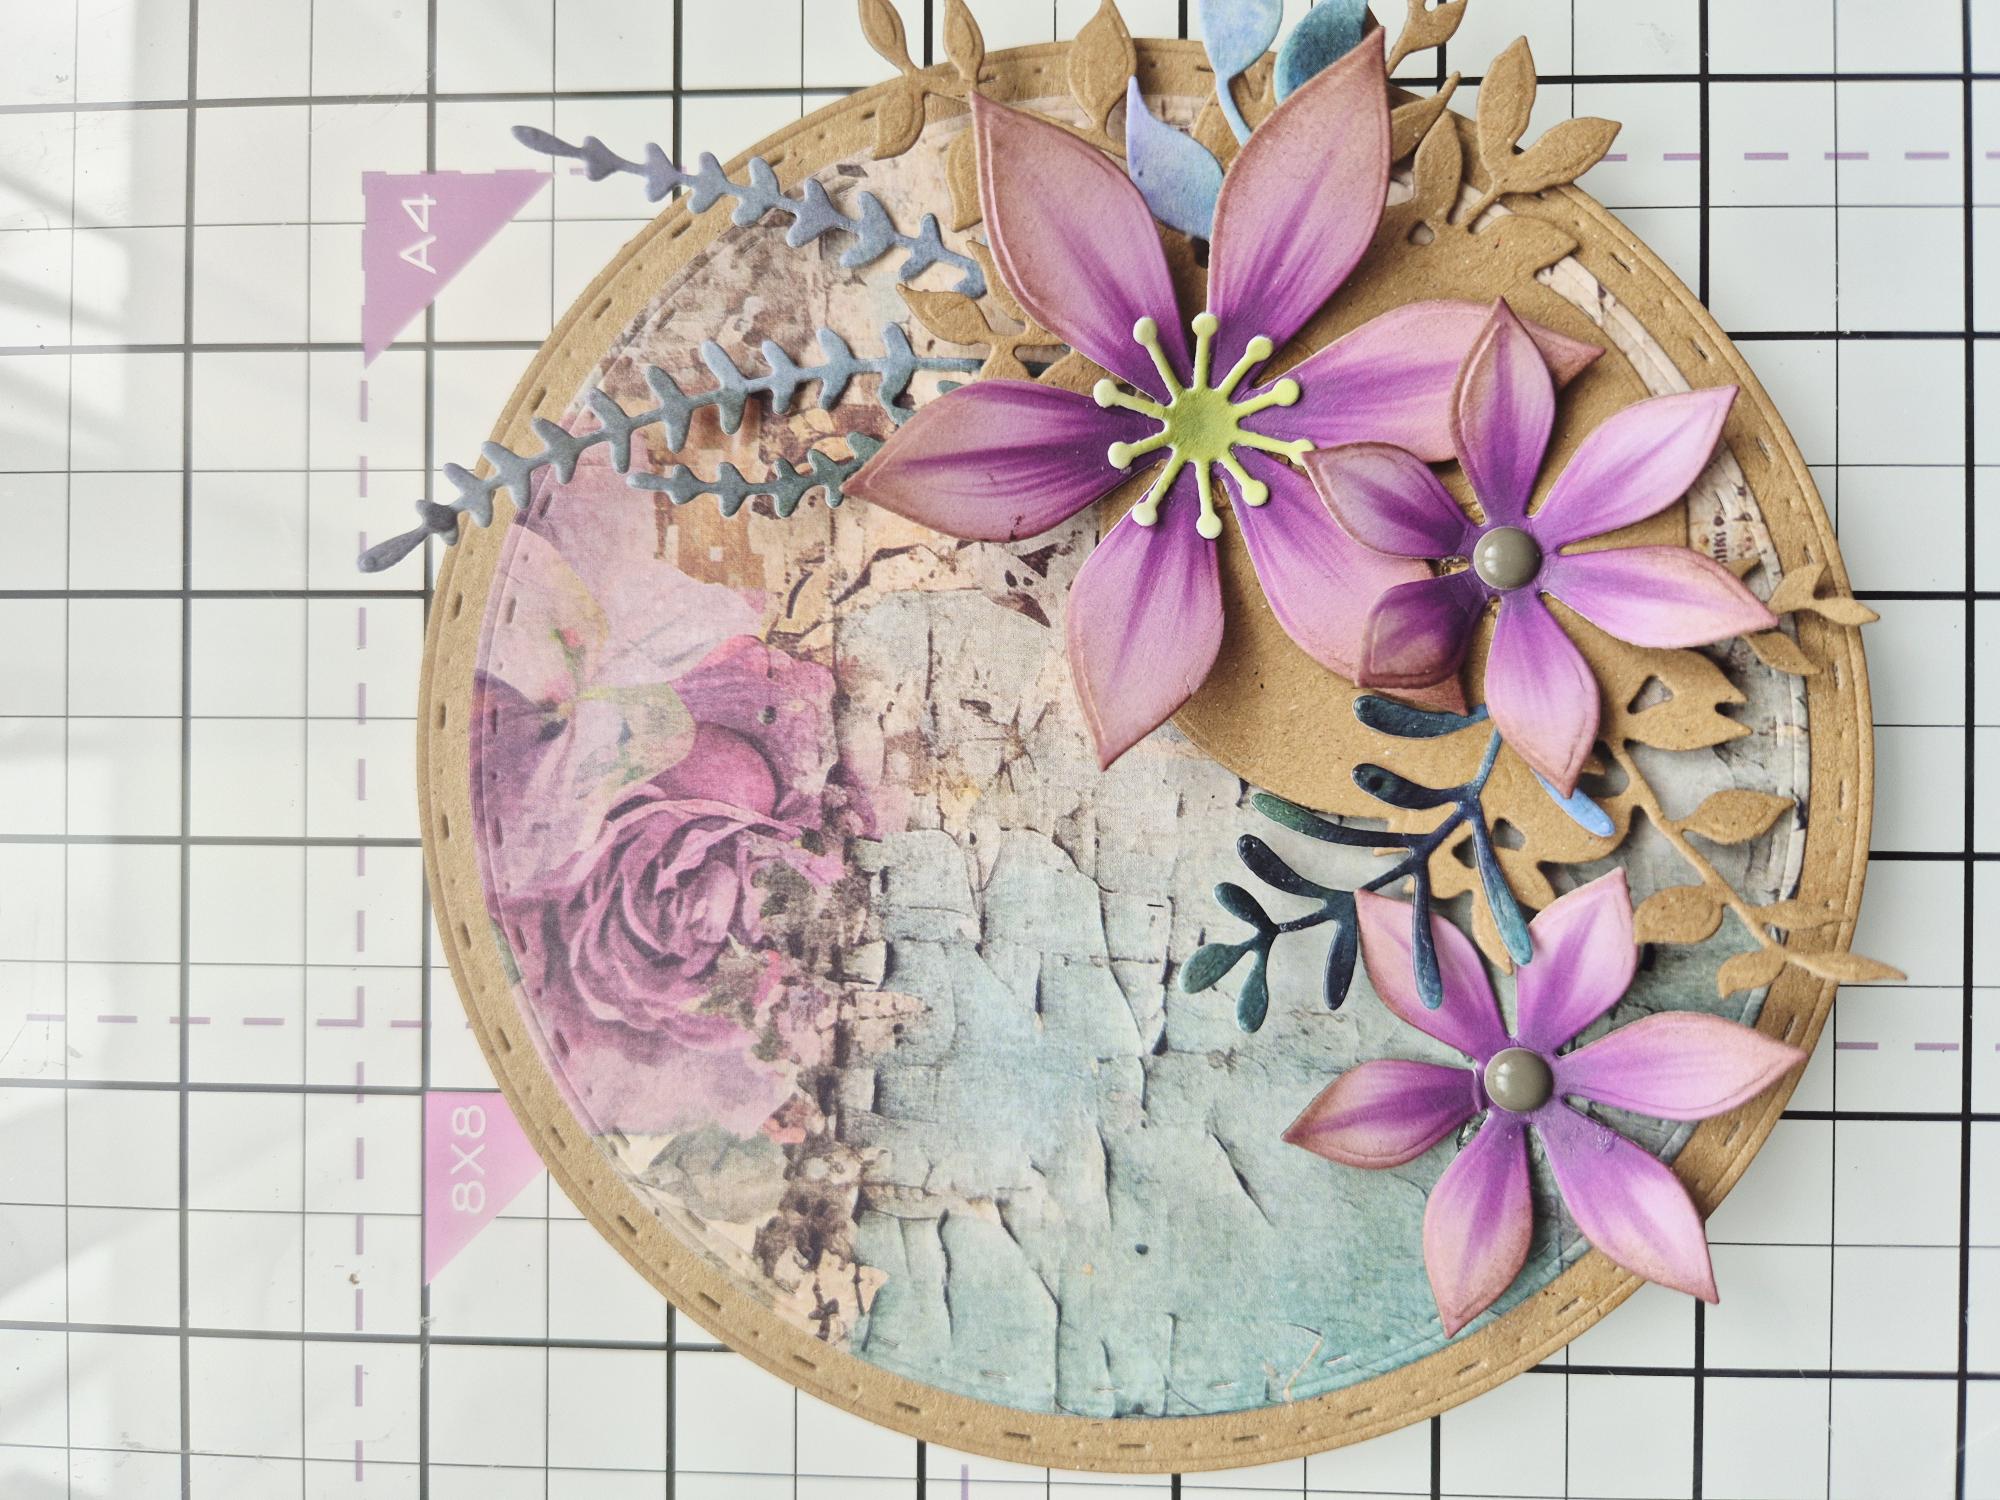
Using your circle nesting dies, cut TWO circles from Kraft cardstock. Score a line about 1cm down and secure red liner tape ABOVE the score line. Adhere both die cut circles together to create a shaped card blank. Trim a sliver off the bottom of the back page, allowing it to stand-up. Die cut a smaller circle from the Timeless papers and adhere to your card blank. |
|
Using 3D glue gel, wet glue and/or foam pads, adhere your die cut Clematis and foliage so they sit around the bottom right curve of your card. |
|
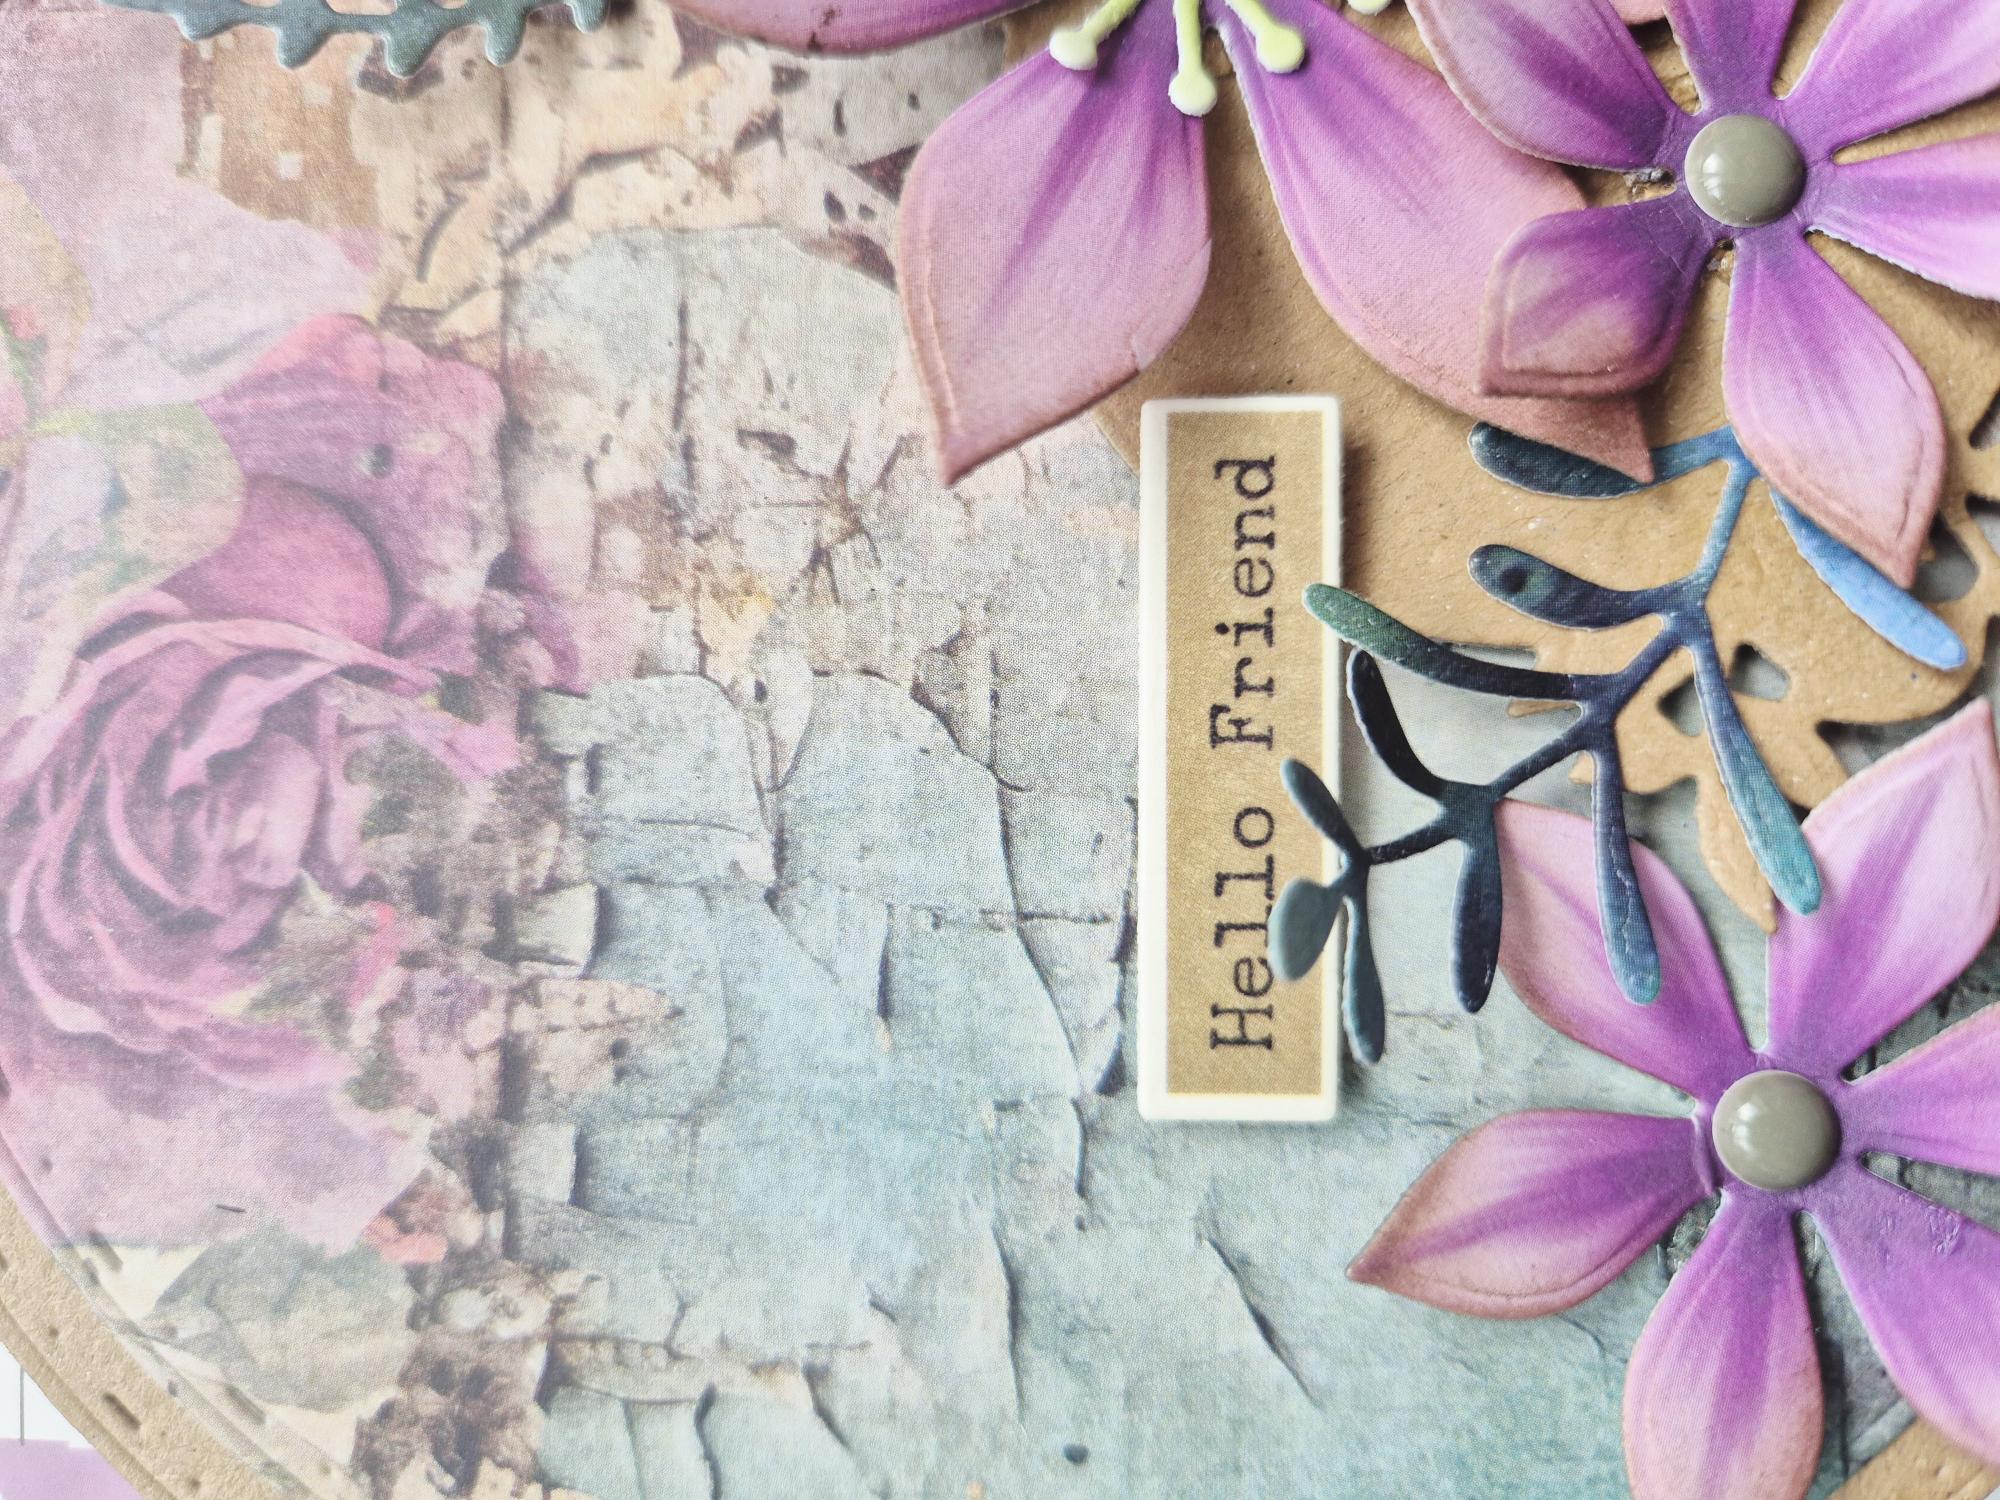
Adhere your chosen sepia sentiment tab where required, to complete your project. |