Offrez à vos amis 10 € de réduction sur leur première commande !
Parrainez un AMI








Un projet de notre émission en direct Émission HSN Craft - Rejoignez Toni pour ses nouveautés et son inspiration - émission 1 - Diffusée le 28 mars 23 · 28/03/2023 · à voir dès 10:00
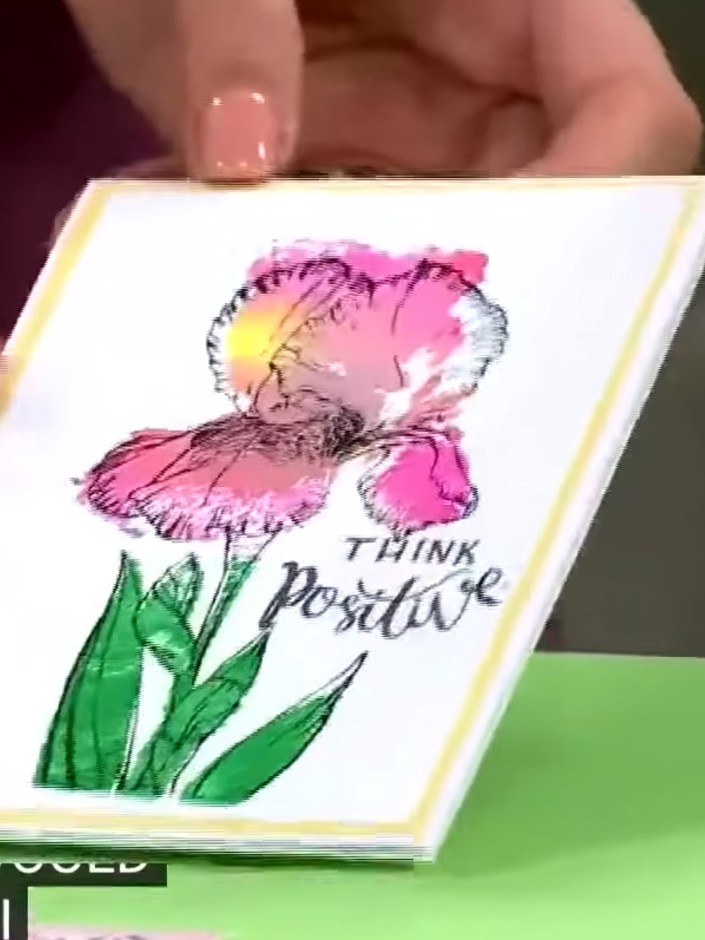
Réalisez une superbe carte florale effet aquarelle aux fleurs délicates dans de doux tons de rose, de vert et de jaune. Ce projet utilise la technique innovante des tampons à superposer en deux parties pour une finition digne d'un artiste professionnel. Appliquez la couleur sur le tampon plein, vaporisez d'eau, tamponnez, puis superposez le tampon de contour pour obtenir une belle profondeur et du relief.
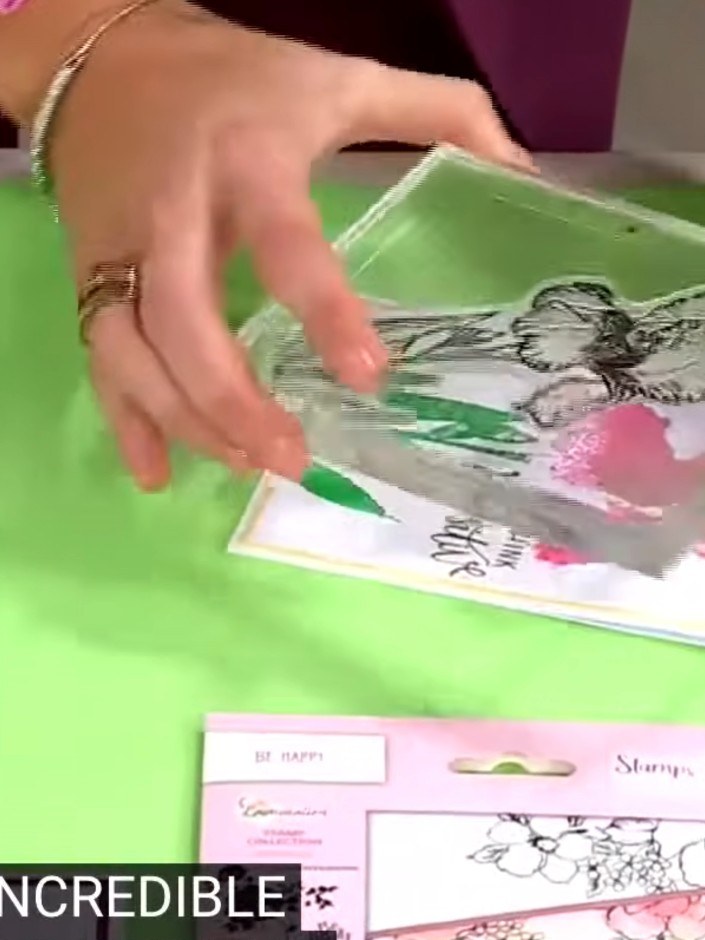
Apply ink pad colour to the solid portion of the lamination stamp. Use orange, pink, and other shades to build up the colour on the stamp base.
▶ voir cette étape (10:00)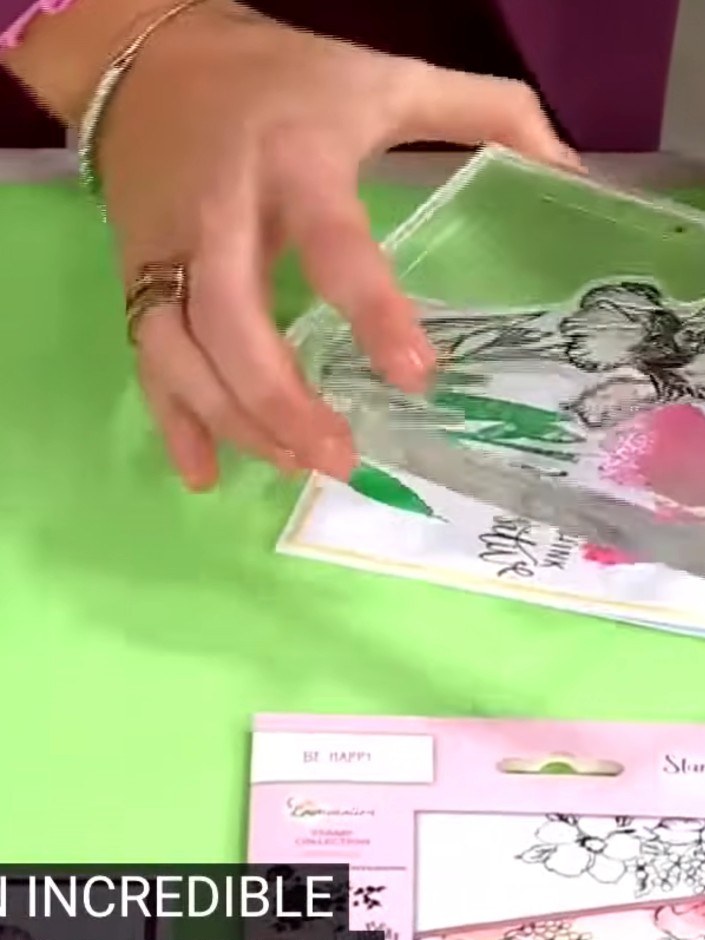
Press the wet, coloured lamination stamp firmly onto your white card stock to transfer the watercolour design. Apply even pressure across the entire stamp surface to ensure a clear impression.
▶ voir cette étape (10:45)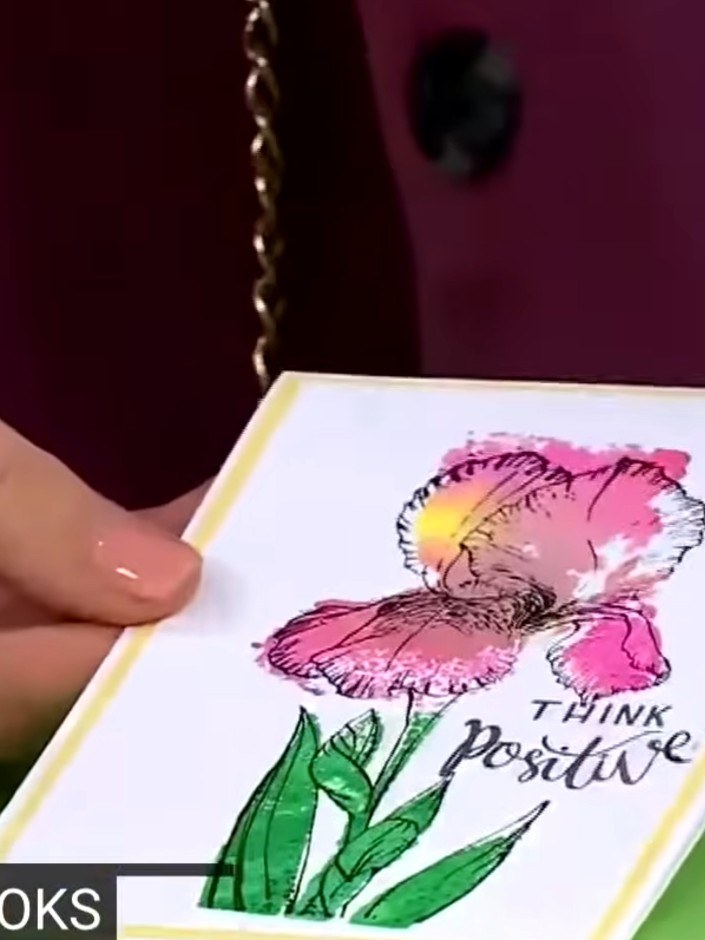
Allow the stamped and watercoloured floral image to dry completely before proceeding to the next step. The pink iris with green leaves and 'Think Positive' sentiment should be fully dry to the touch.
▶ voir cette étape (11:00)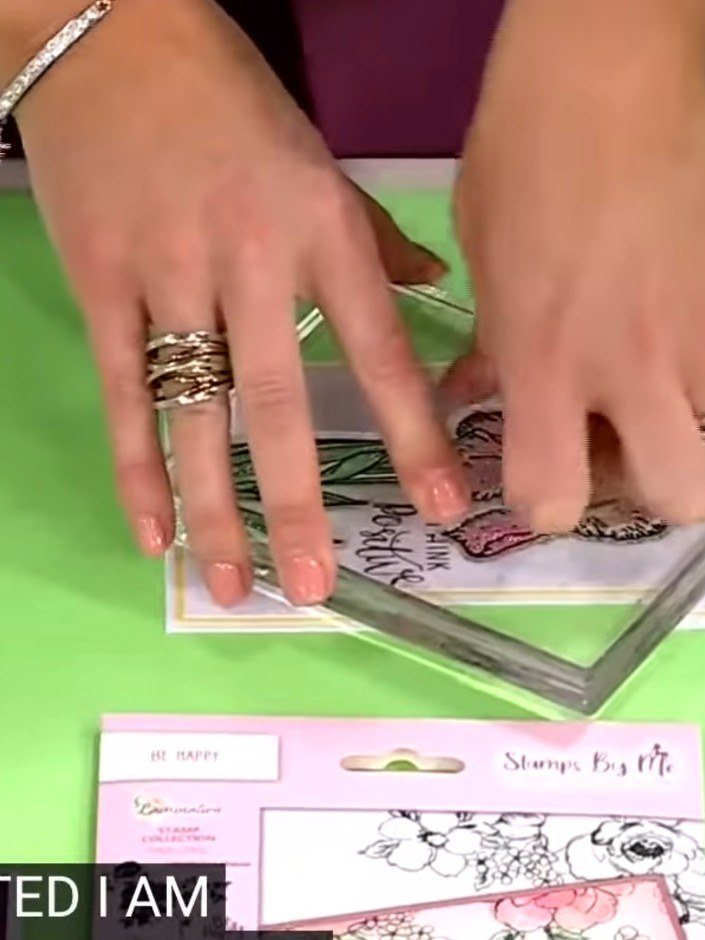
Take a dry outline stamp from the kit and carefully position it over the dried watercoloured iris impression. Press down firmly to add black definition lines and detail to the flower petals and leaves.
▶ voir cette étape (11:10)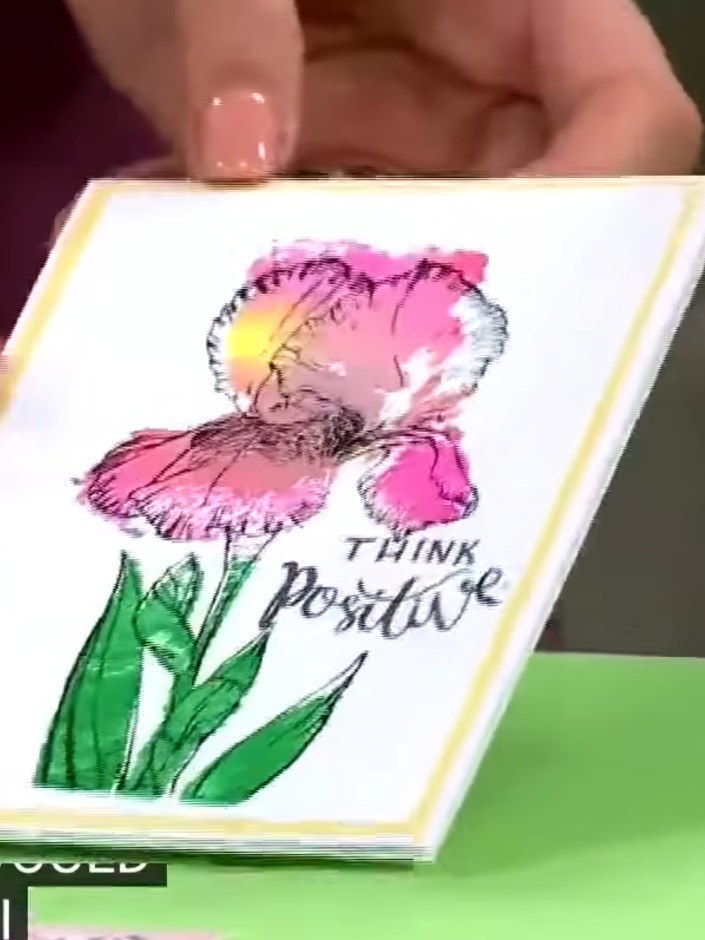
Stamp the outline layer of your chosen floral image using black ink to add the final detail and definition to your design.
▶ voir cette étape (11:15)Rédigé à partir de l'émission elle-même. Découvrez tous les guides de nos émissions · tutoriels gratuits · regarder en direct sur My Telly