Offrez à vos amis 10 € de réduction sur leur première commande !
Parrainez un AMI








Un projet de notre émission en direct ÉMISSION HSN DU 28 MARS - Rejoignez-moi pour mon AVANT-PREMIÈRE PRODUITS depuis mes propres studios · 23/03/2023 · à voir dès 18:45
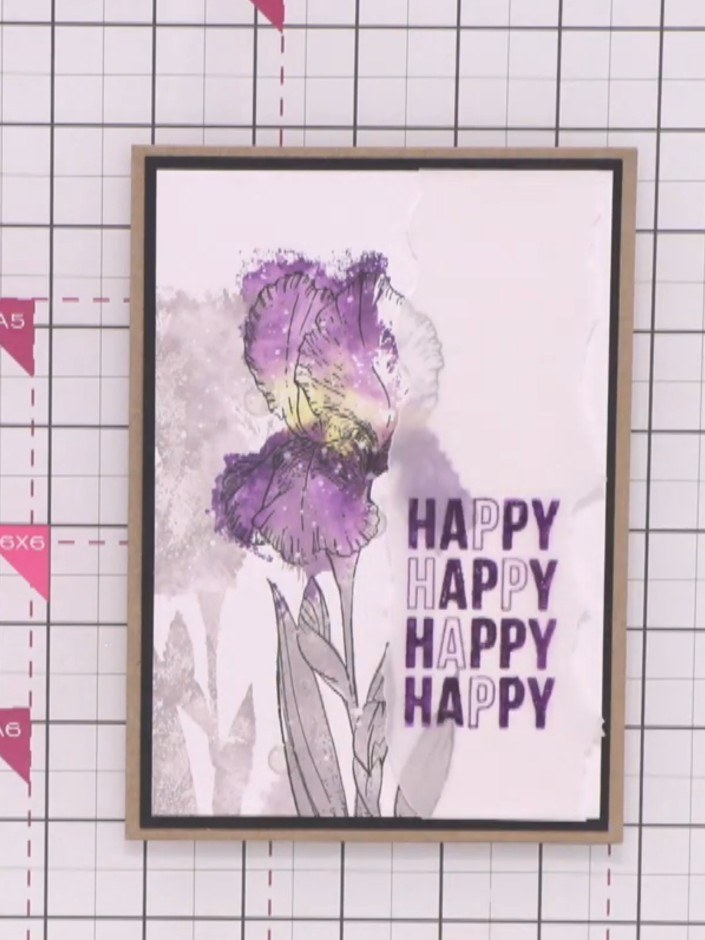
Réalisez une élégante carte de fête avec un iris haut en couleur, une bouteille de vin et un verre. La technique des tampons Lamination en deux parties donne un magnifique effet aquarelle libre dans des tons violets, roses et verts, sans aucun talent de peintre nécessaire. Terminez avec des contours noirs embossés bien nets pour un rendu raffiné et artistique.
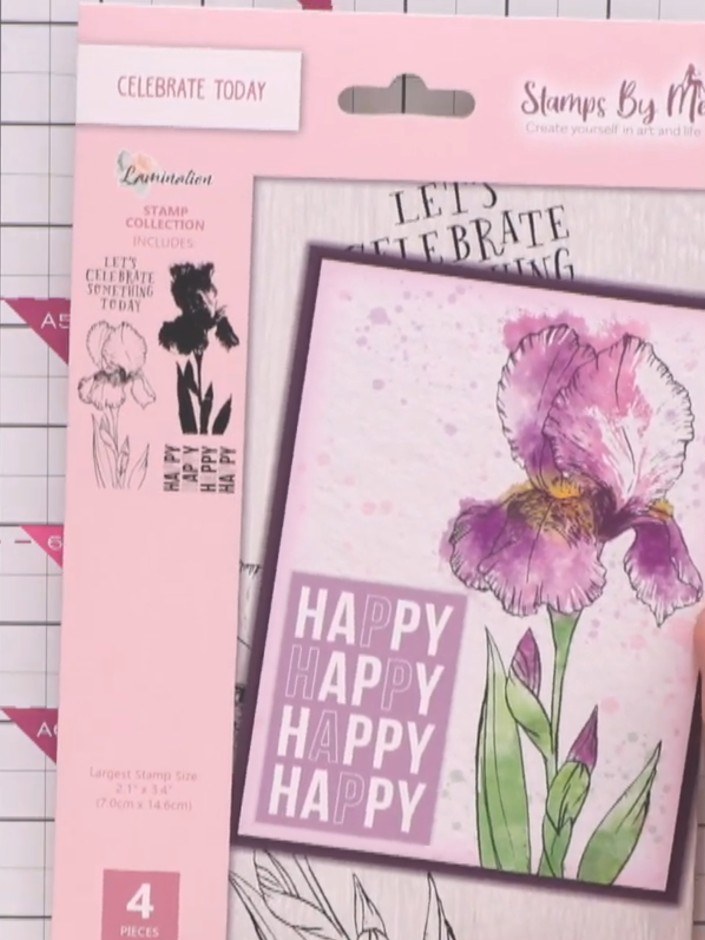
Stamp the solid colour portion of the iris from the lamination stamp set onto your card base using your chosen ink colour.
▶ voir cette étape (18:45)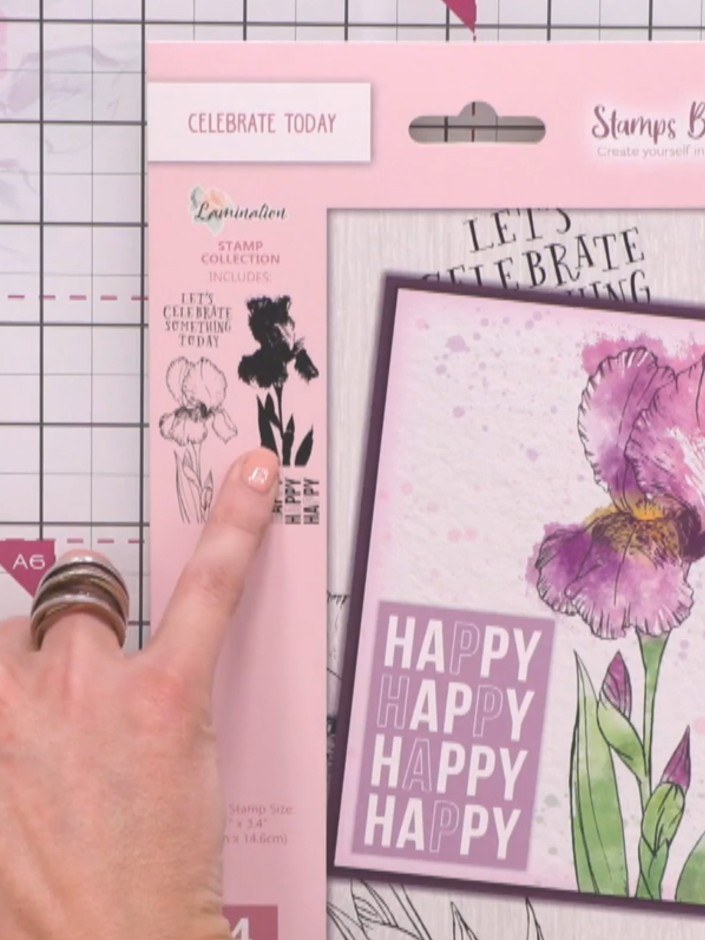
Add colour to the solid stamped iris area using your chosen medium such as spray water or watercolour. Apply the colour carefully to build up the desired depth and intensity on the flower petals and leaves.
▶ voir cette étape (19:00)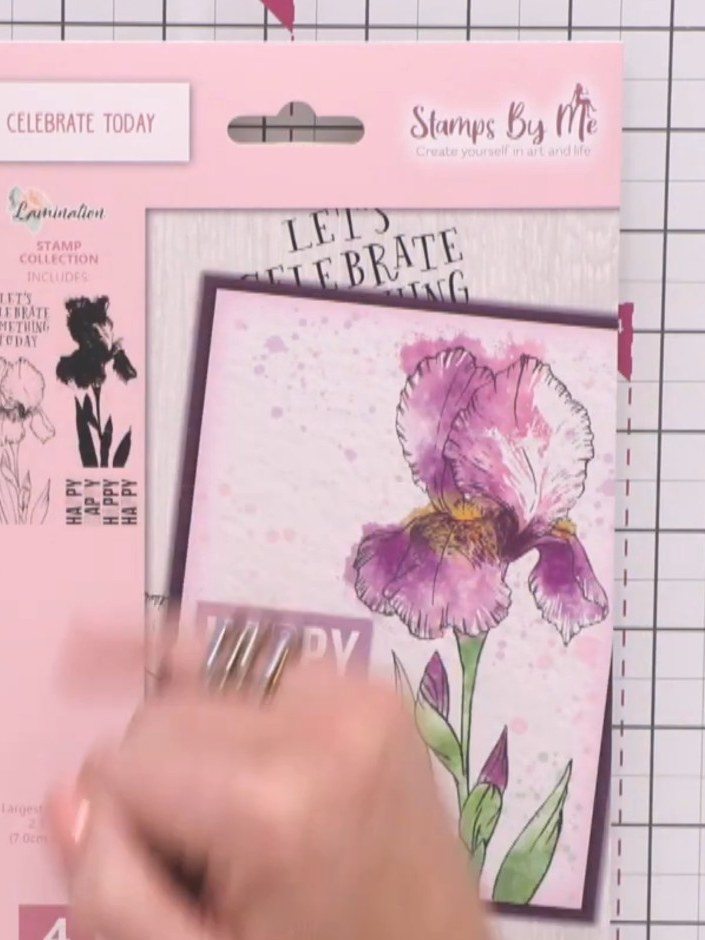
Allow the ink colours to blend naturally on the lamination film, creating a loose, artistic watercolour effect across the stamped iris design. Let the colours merge together organically without overworking them.
▶ voir cette étape (19:15)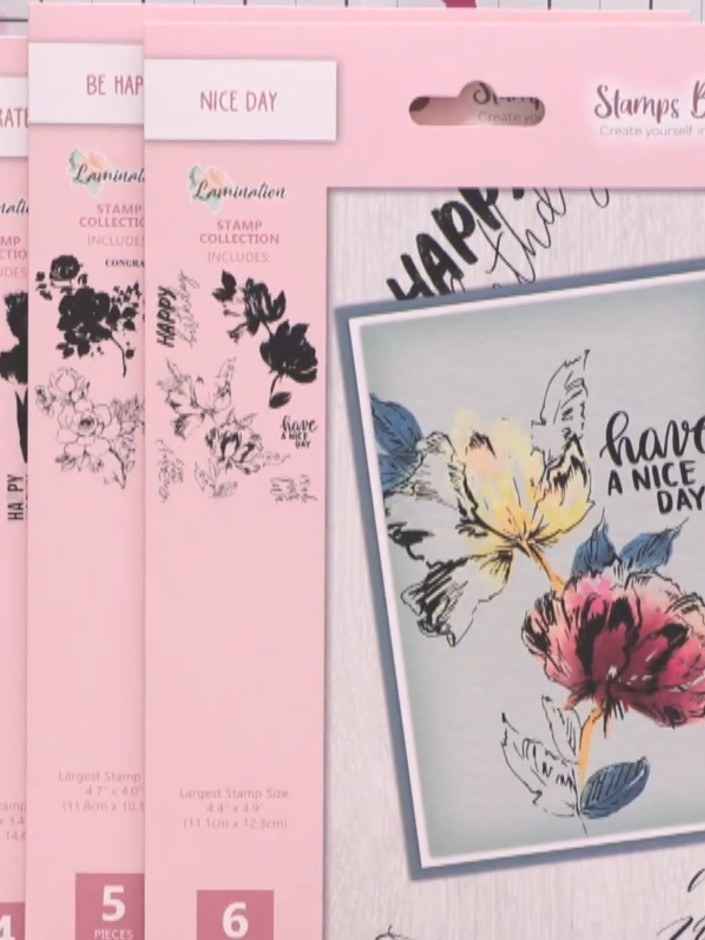
Select a sentiment from the stamp collection and stamp it onto your card. The kit includes various sentiments such as 'Happy Birthday', 'Love You Friend', 'Thinking of You', and 'You Are Amazing'.
▶ voir cette étape (19:30)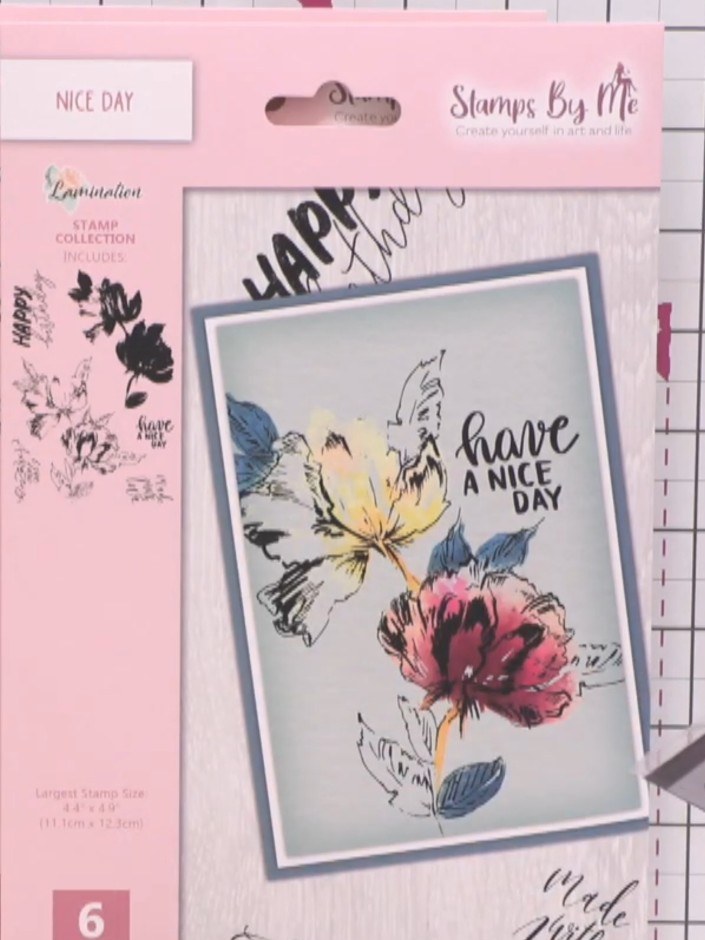
Use the sentiment stencil to add 'have a nice day' in black ink to the top right of your card. Position the stencil carefully and apply the ink evenly over the text.
▶ voir cette étape (19:45)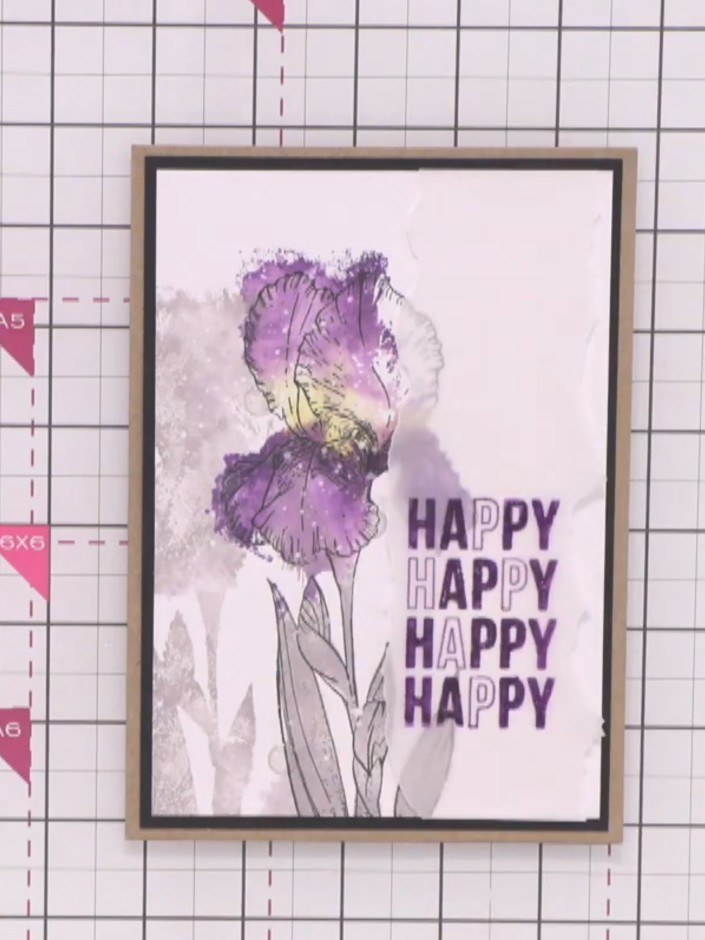
Add a celebratory sentiment from the stamp set to complete your card design. Position the 'HAPPY HAPPY HAPPY HAPPY' sentiment on the right side of the iris image and stamp it in black ink.
▶ voir cette étape (20:00)Rédigé à partir de l'émission elle-même. Découvrez tous les guides de nos émissions · tutoriels gratuits · regarder en direct sur My Telly