Offrez à vos amis 10 € de réduction sur leur première commande !
Parrainez un AMI








Un projet de notre émission en direct Émission Create and Craft du 28 FÉV 23 - Rejoignez Toni pour découvrir ses nouveautés et ses idées - émission 2 · 28/02/2023 · à voir dès 42:00
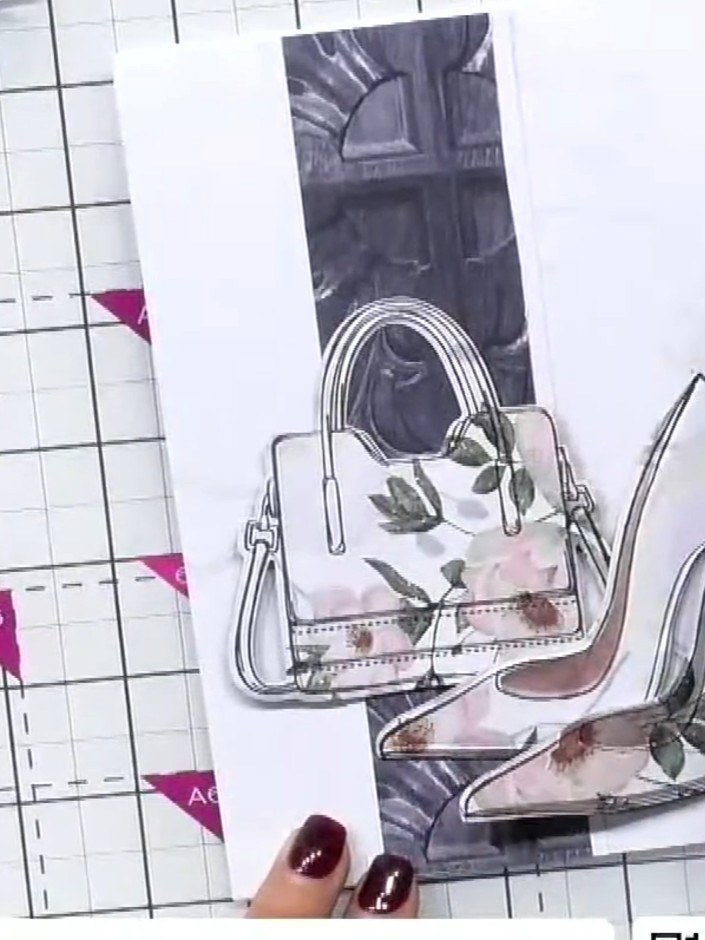
Réalisez une carte raffinée sur le thème de la mode, avec un élégant escarpin à talon haut. Ce projet associe le tampon sur papier imprimé, de légères ombres au pochoir, le gaufrage et des touches de paillettes pour une carte pleine de style, de relief et de brillance. La création finale met en valeur un escarpin glamour accompagné de sacs à main dans des tons assortis.
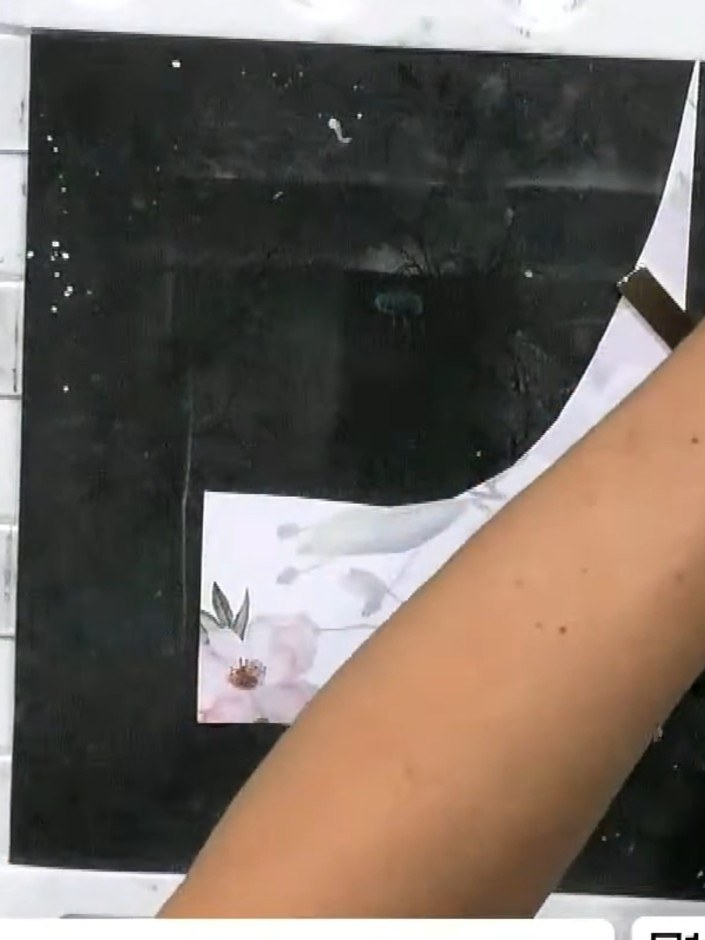
Select a scrap of patterned paper from your collection. Position your shoe stamp on the patterned paper to choose the best placement for the design.
▶ voir cette étape (43:00)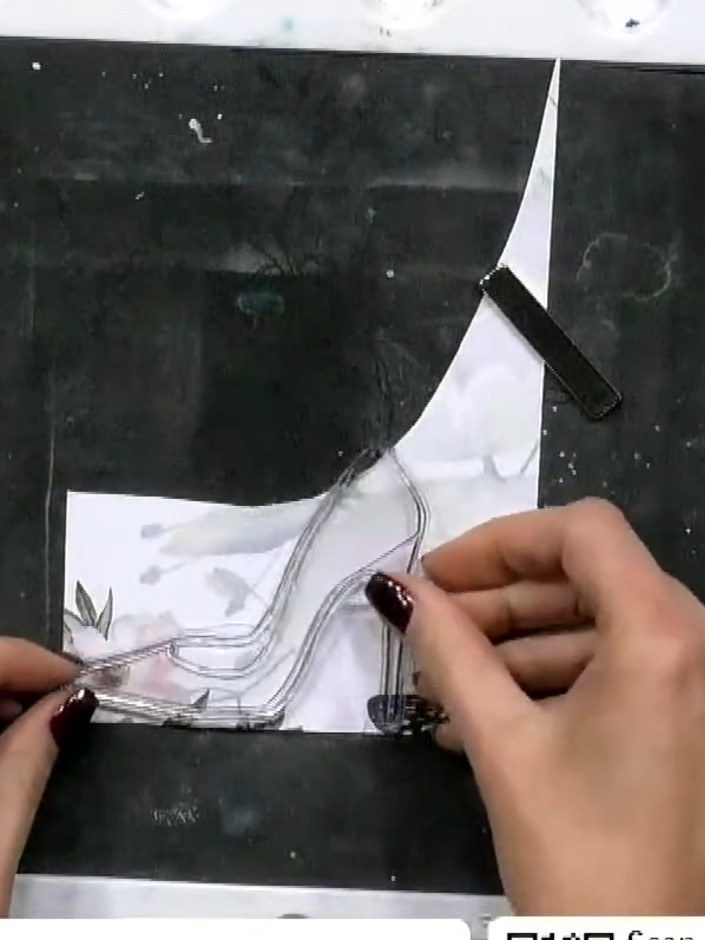
Ink up your shoe stamp with black ink and stamp the design onto the patterned paper. Use the clear stamp as a viewfinder to position the image in the best placement on the pattern.
▶ voir cette étape (43:30)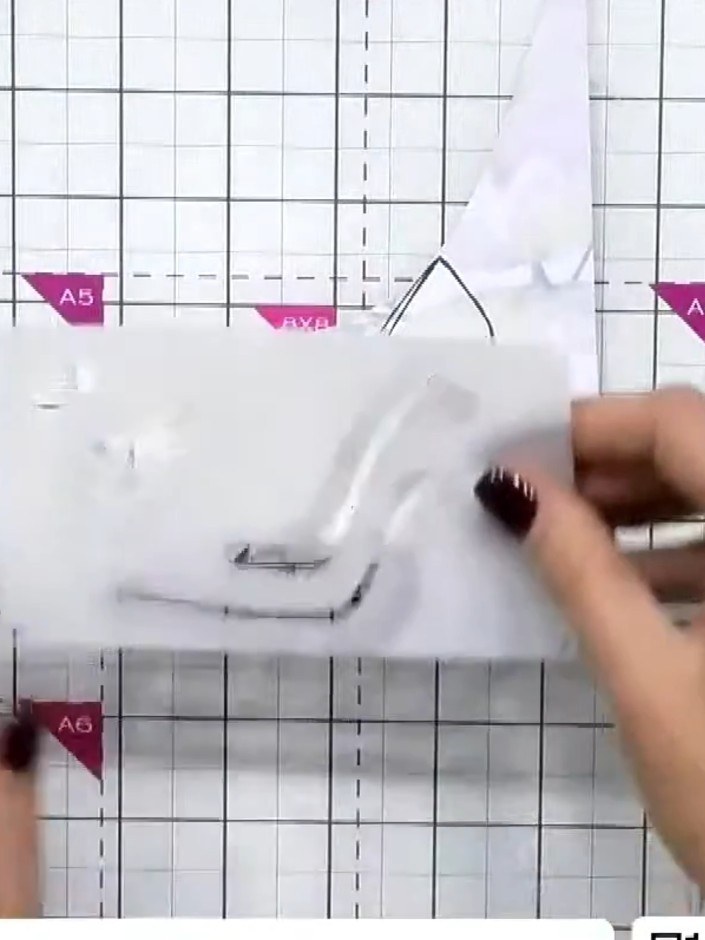
Select a stencil to add shadow detail inside the shoe opening. Apply a darker ink colour through the stencil to create dimension without covering the patterned paper.
▶ voir cette étape (44:30)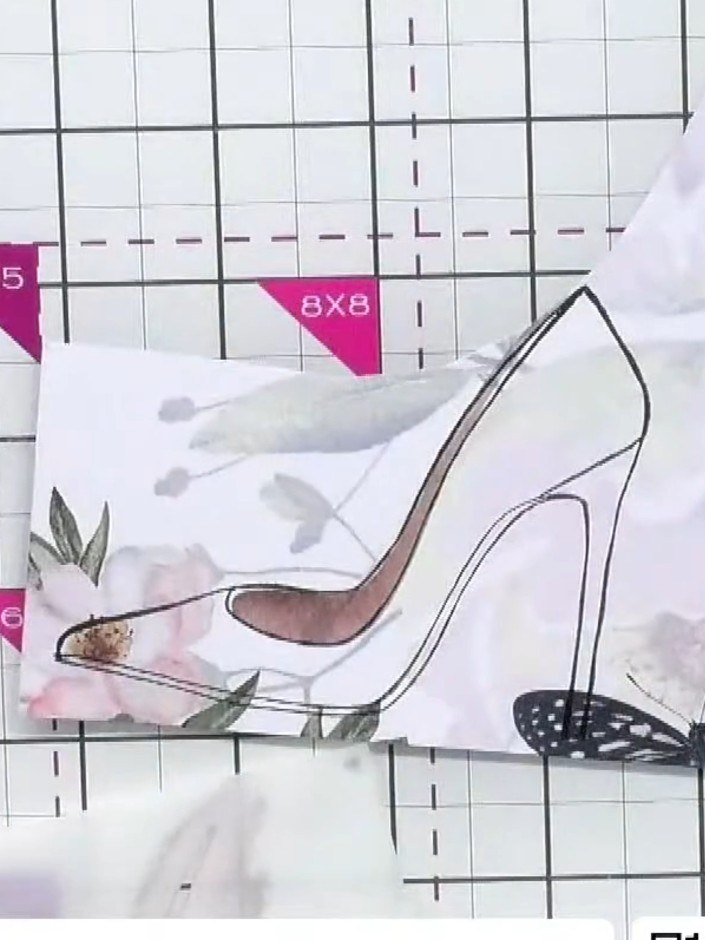
Use the coordinating outline die to cut out your stamped and shaded shoe design. Position the die over the shoe image and run through your die-cutting machine.
▶ voir cette étape (45:15)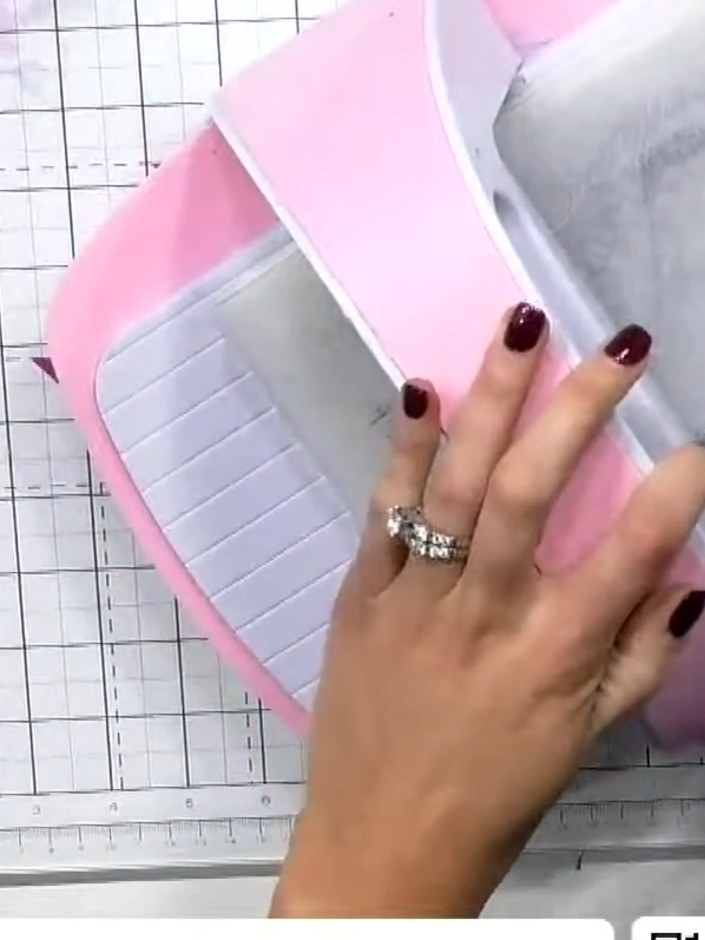
Run your die-cut shoe through the 3D embossing folder to add texture and raised detail to the surface.
▶ voir cette étape (46:30)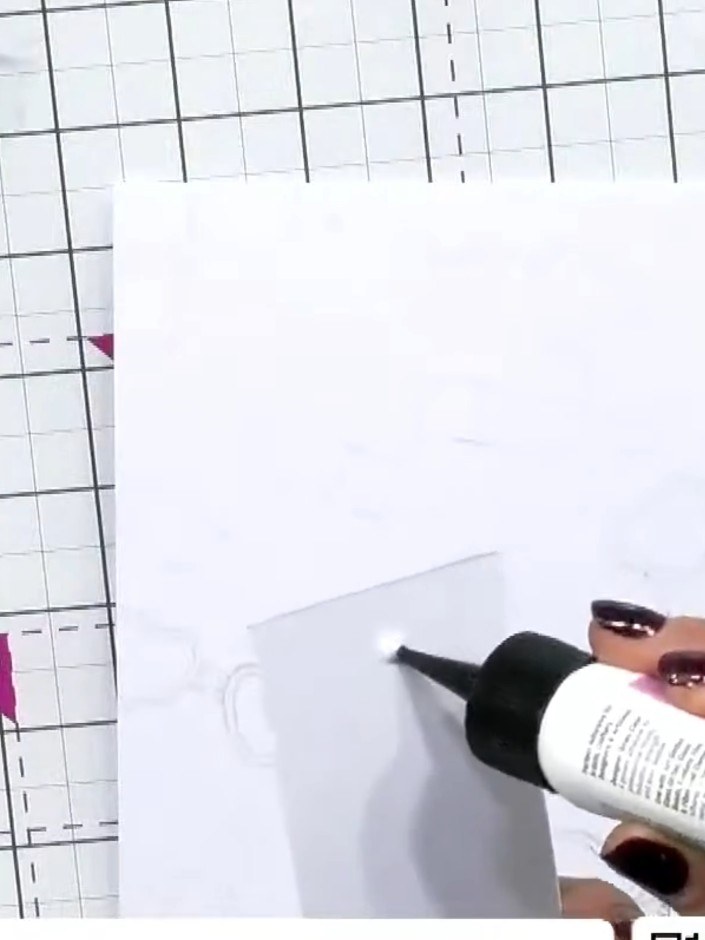
Apply watermark ink to the lipstick and glasses stamp. Press the stamp onto your white card base to create a subtle decorative halo effect background.
▶ voir cette étape (49:15)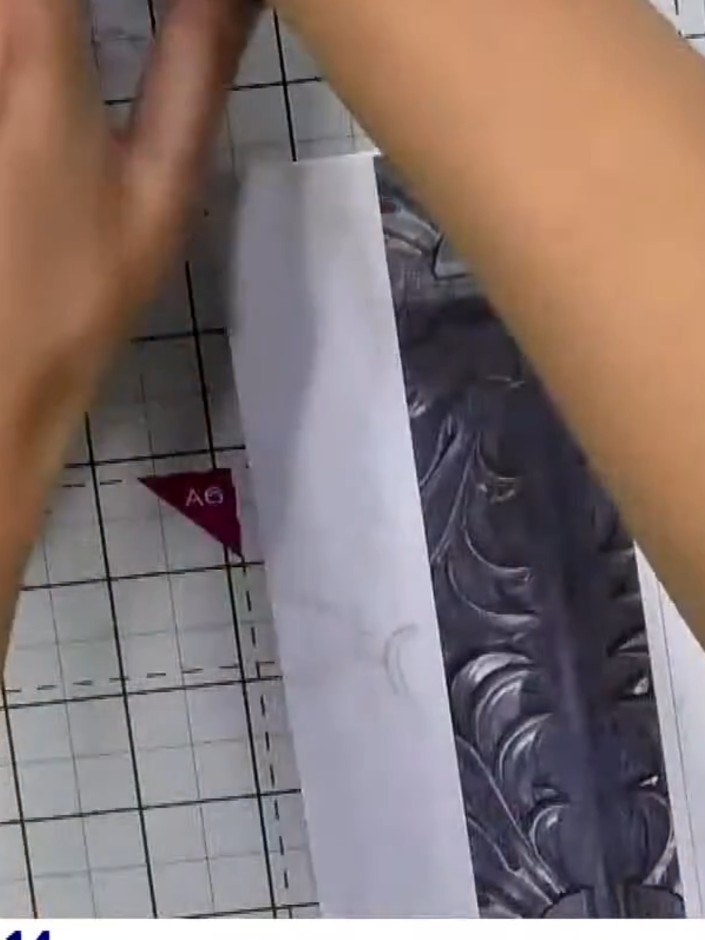
Adhere a panel of coordinating patterned paper to one side of your card base. Use the darker patterned paper to create contrast with your stamped design.
▶ voir cette étape (50:00)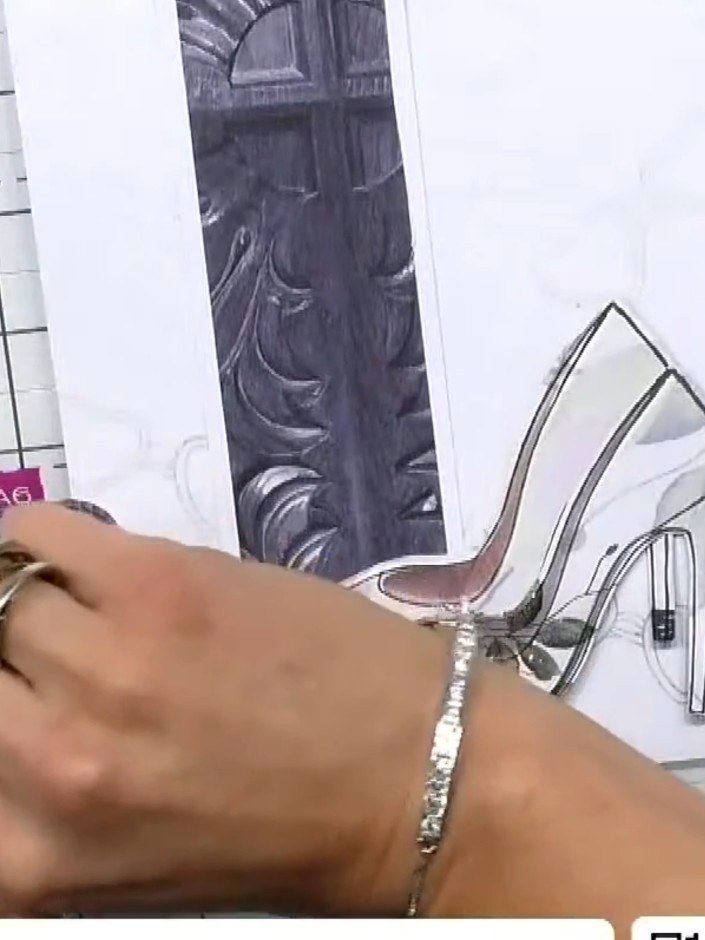
Position the embossed shoe onto the card front, using foam pads to add dimension and create a layered effect.
▶ voir cette étape (50:30)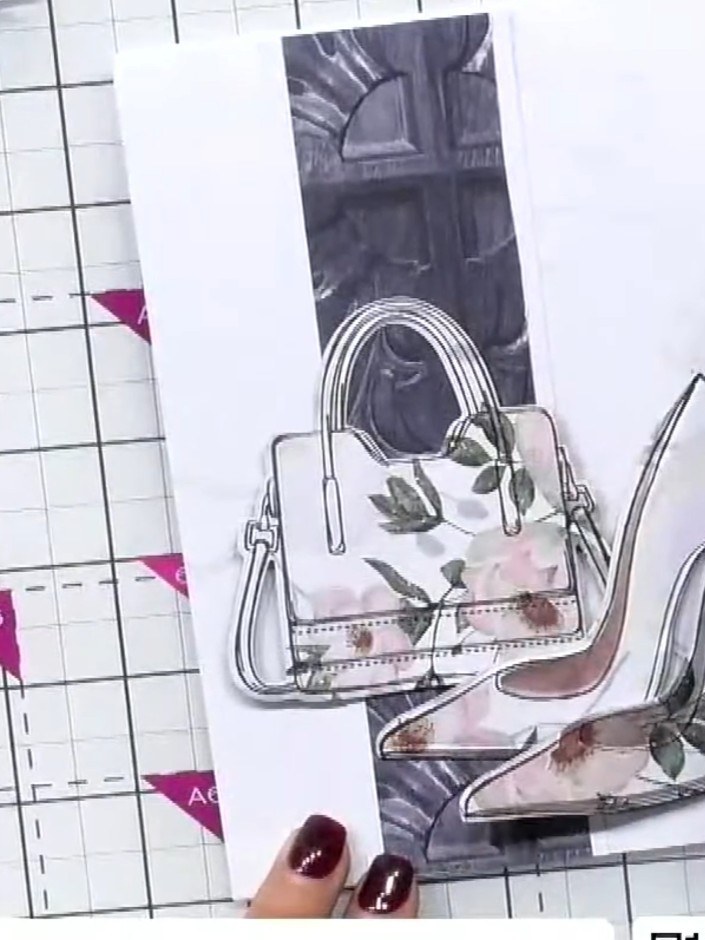
Position a second shoe design on the card and attach it with double-sided foam pads for extra dimension. Add sparkle embellishment to enhance the design.
▶ voir cette étape (51:00)Rédigé à partir de l'émission elle-même. Découvrez tous les guides de nos émissions · tutoriels gratuits · regarder en direct sur My Telly
