LIENS RAPIDES

info@howtocraftnetwork.com
Encore plus malin : achetez et regardez avec l'application SBMTÉLÉCHARGEZ L'APPLIRegardez-nous en direct sur votre smart TVVOIR COMMENTDécouvrez notre chaîne IPTV dédiée : rendez-vous sur my-telly.comREGARDERCumulez des points de fidélité à chaque commandeEN SAVOIR PLUS
Bienvenue sur How to Craft Network
 
SBM SHOP
SUIVEZ-NOUS
OFFREZ 10 € DE RÉDUCTION À VOS AMIS PARRAINEZ UN AMI › DÉCOUVRIR MY-TELLY.COM › ENCORE PLUS MALIN TÉLÉCHARGEZ L'APPLI › CHAÎNE PRIMÉE SUR VOTRE TV › REJOIGNEZ LE CLUB POUR ÉCONOMISER ›
 

Lamination Stamp Watercolour-Effect Card

Un projet de notre émission en direct CREATE AND CRAFT - TOUTE NOUVELLE COLLECTION - Retrouvez Toni pour sa dernière émission de lancement 1 - Diffusé le 29 nov. 22 · 29/11/2022 · à voir dès 50:30
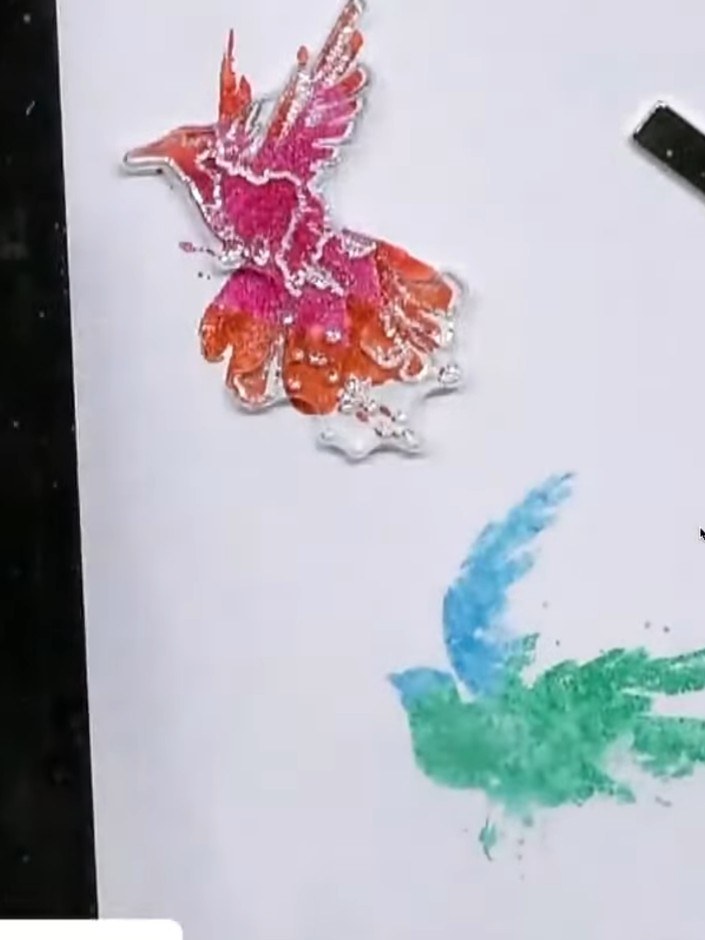
Lamination Stamp Watercolour-Effect Card - the finished project
Le projet terminé

Create a stunning watercolour-effect card featuring vibrant hummingbirds in pink, orange, turquoise and green. Using a two-part lamination stamping technique, you'll build up beautiful layered images by first creating soft, watercolour backgrounds with coloured ink and water spray, then adding crisp black outline details on top for a professional finish.
TÉLÉCHARGER CE GUIDE (PDF)

Pas à pas

  1. Step 1: Examine your Stamps by Me A5 lamination stamp set from the Beautiful Moments collection. Identify the solid po

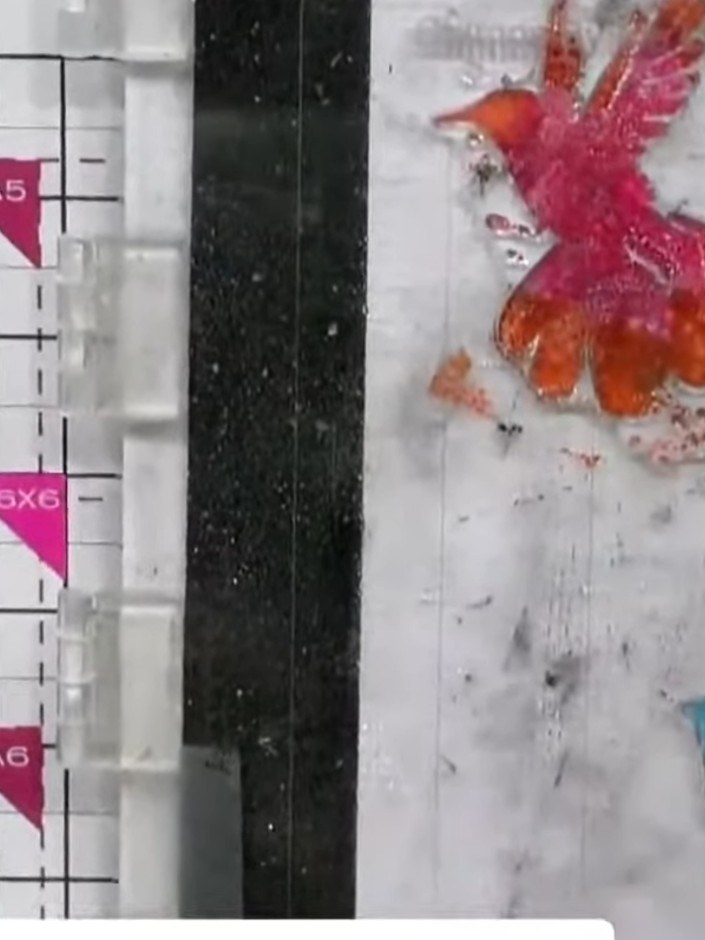
    Examine your Stamps by Me A5 lamination stamp set from the Beautiful Moments collection. Identify the solid portions of the stamps - these are the areas that will hold the IZINK dye spray colours (teal and pink shown).

    ▶ voir cette étape (50:45)
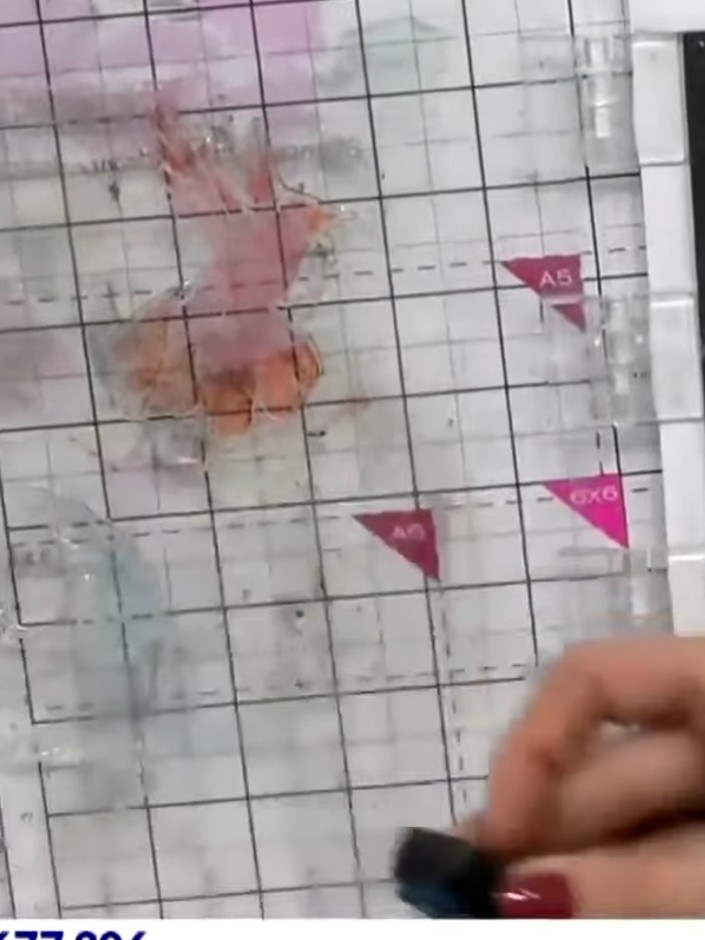
  2. Apply IZINK sprays in multiple colours to the solid portions of the hummingbird stamp. Use teal and pink for variety, creating a vibrant watercolour effect on the stamp surface. ▶ watch 51:00
  3. Lightly spray the inked stamp with water to help the colours blend and bleed naturally. The water will create a watercolour effect as it interacts with the ink. ▶ watch 51:30
  4. Step 4: Stamp the coloured solid portion firmly onto your white cardstock and lift the stamp away cleanly to reveal th

    Stamp the coloured solid portion firmly onto your white cardstock and lift the stamp away cleanly to reveal the watercolour effect.

    ▶ voir cette étape (51:45)
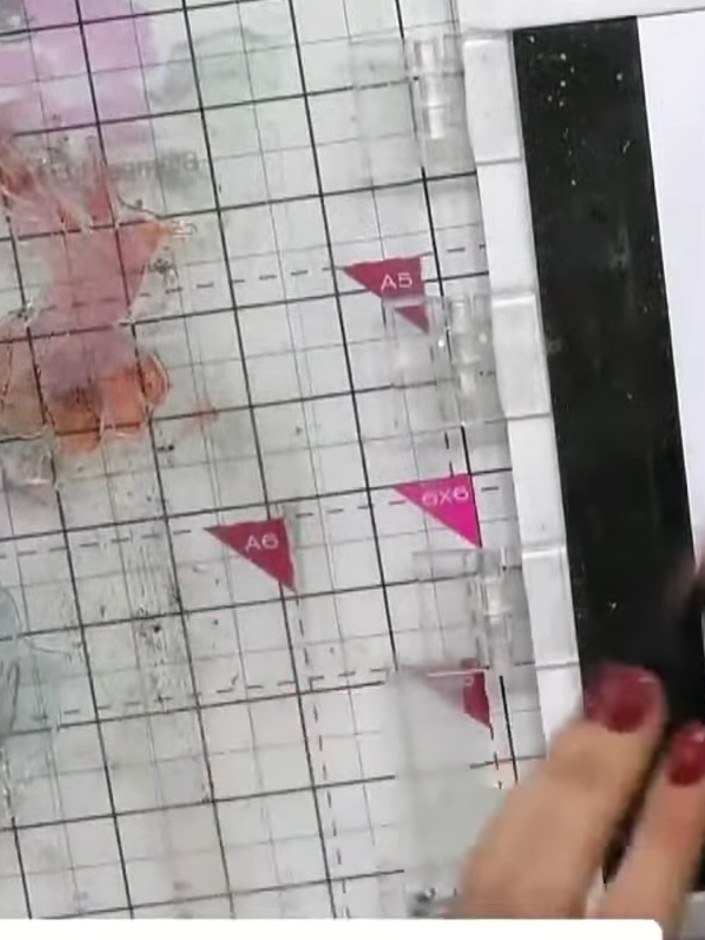
  5. Step 5: While the ink is still wet, observe the colours bleeding and blending together on the paper. The wet ink will

    While the ink is still wet, observe the colours bleeding and blending together on the paper. The wet ink will create beautiful watercolour-effect patterns as the different colours merge.

    ▶ voir cette étape (52:15)
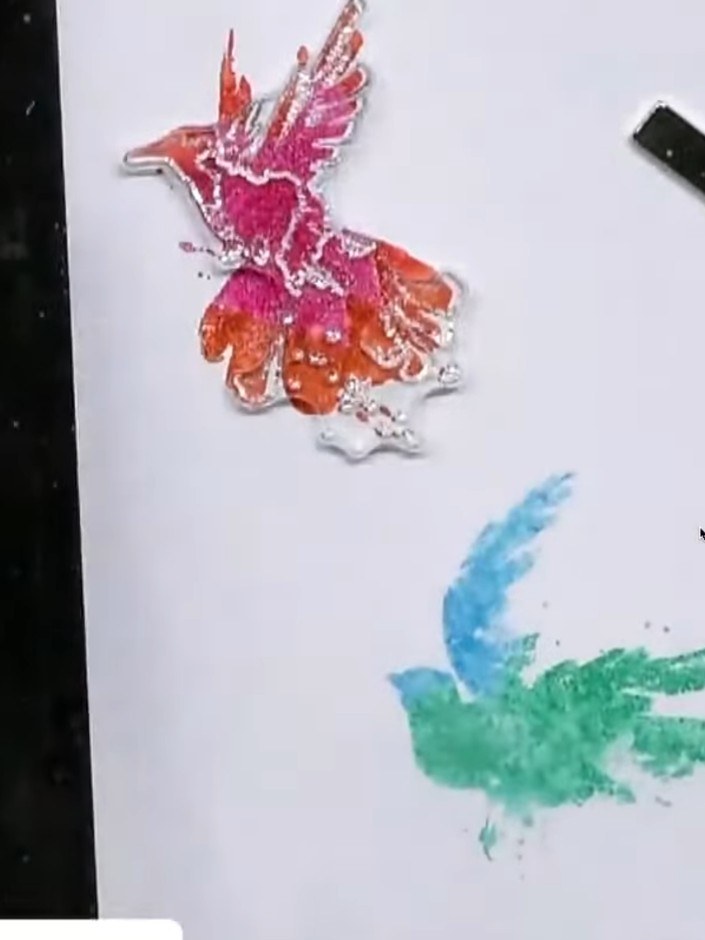
  6. Step 6: Clean the stamp thoroughly to remove all ink residue. Allow the first stamped layer on your card to dry comple

    Clean the stamp thoroughly to remove all ink residue. Allow the first stamped layer on your card to dry completely before proceeding to the next step.

    ▶ voir cette étape (52:30)
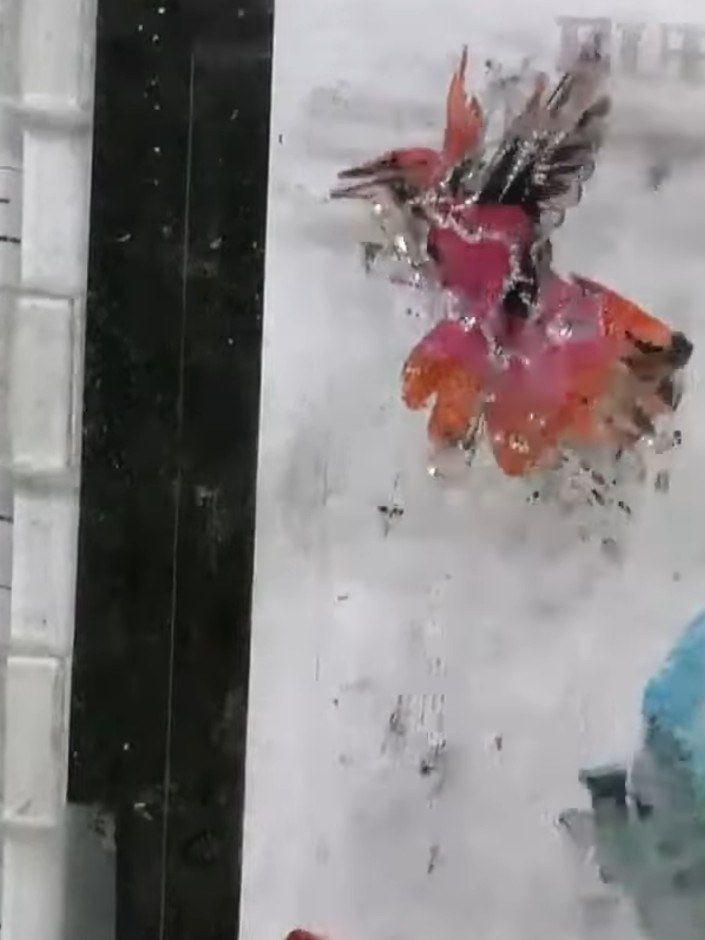
  7. Using black ink, carefully stamp the detailed outline portions of the hummingbird design over the coloured areas. Position the stamp to align with the watercolour effect beneath. ▶ watch 52:45
  8. Step 8: Carefully align and stamp the black outline bird stamp over the dried coloured background. Allow the stamp to

    Carefully align and stamp the black outline bird stamp over the dried coloured background. Allow the stamp to sit naturally over the colours, accepting slight misalignment as part of the handmade effect.

    ▶ voir cette étape (53:00)
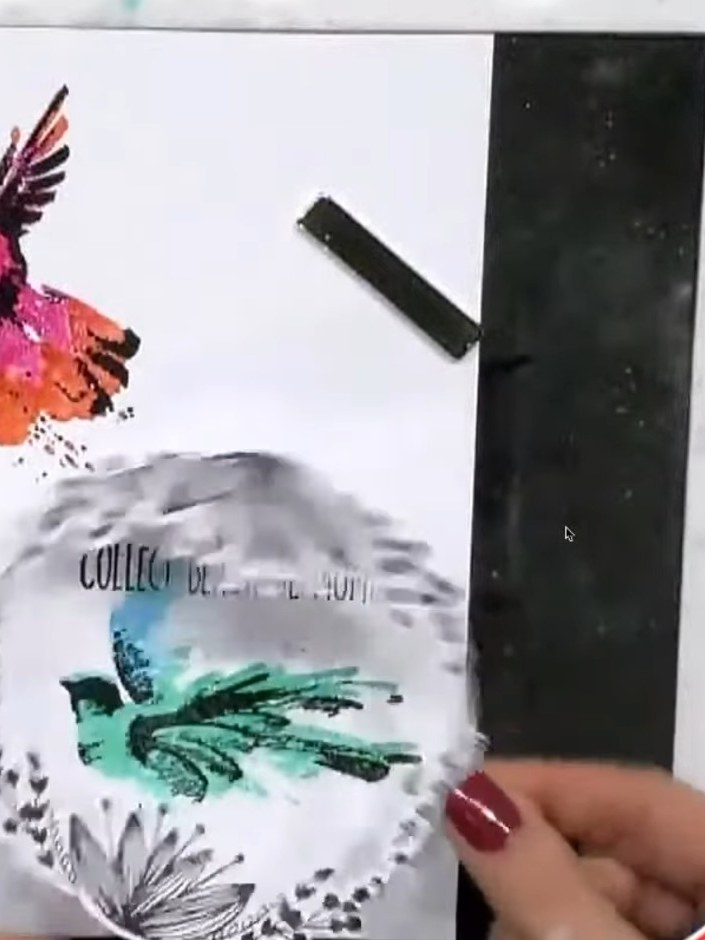
  9. Step 9: Stamp one of the coordinating sentiments in black ink onto the card to complete your design. Position the sent

    Stamp one of the coordinating sentiments in black ink onto the card to complete your design. Position the sentiment stamp where desired and press firmly to ensure a clear impression.

    ▶ voir cette étape (53:30)

Astuces de l'émission

À voir aussi dans cette émission

Rédigé à partir de l'émission elle-même. Découvrez tous les guides de nos émissions · tutoriels gratuits · regarder en direct sur My Telly







