Offrez à vos amis 10 € de réduction sur leur première commande !
Parrainez un AMI








Un projet de notre émission en direct MONDAY MADNESS - Retrouvez Simon d'AVAGO-INK et ses toutes dernières nouveautés - Diffusé le 14 nov. 22 · 14/11/2022 · à voir dès 5:45
Make a cheerful hanging calendar decorated with bright stamped gaming motifs and speech bubbles on a dark textured background. Using vibrant primary colours and simple stamping techniques, you'll create a playful design featuring retro game consoles and fun sentiments. This project combines stamping, heat embossing, and basic assembly to produce a practical and eye-catching calendar for the new year.
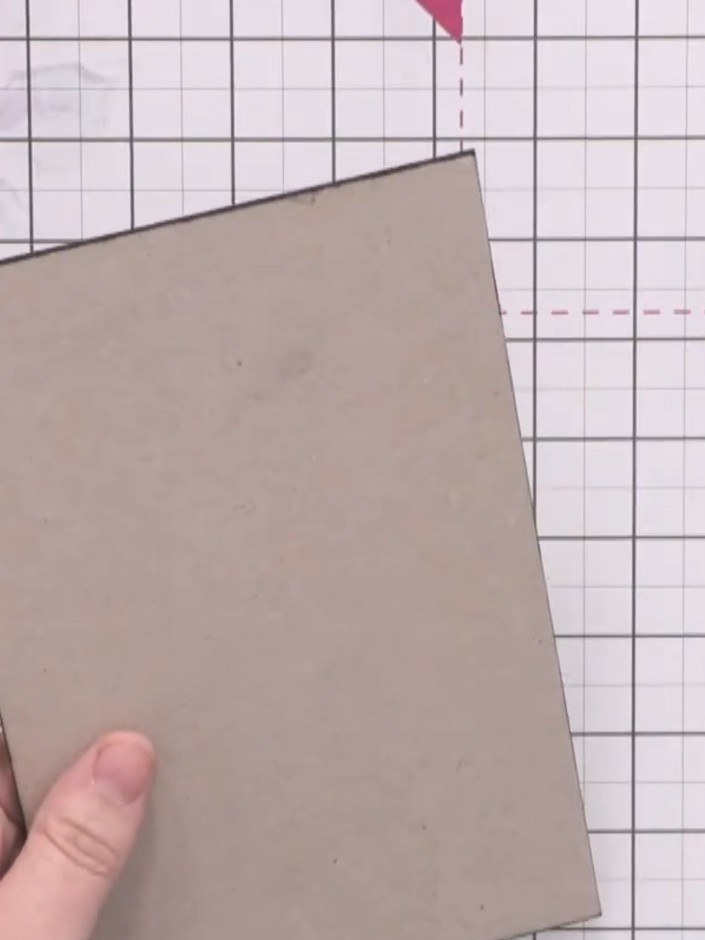
Prepare a chunky board base by layering card together to achieve the desired thickness. Edge the board with black ink to cover any grey edges and create a neat finish.
▶ voir cette étape (6:00)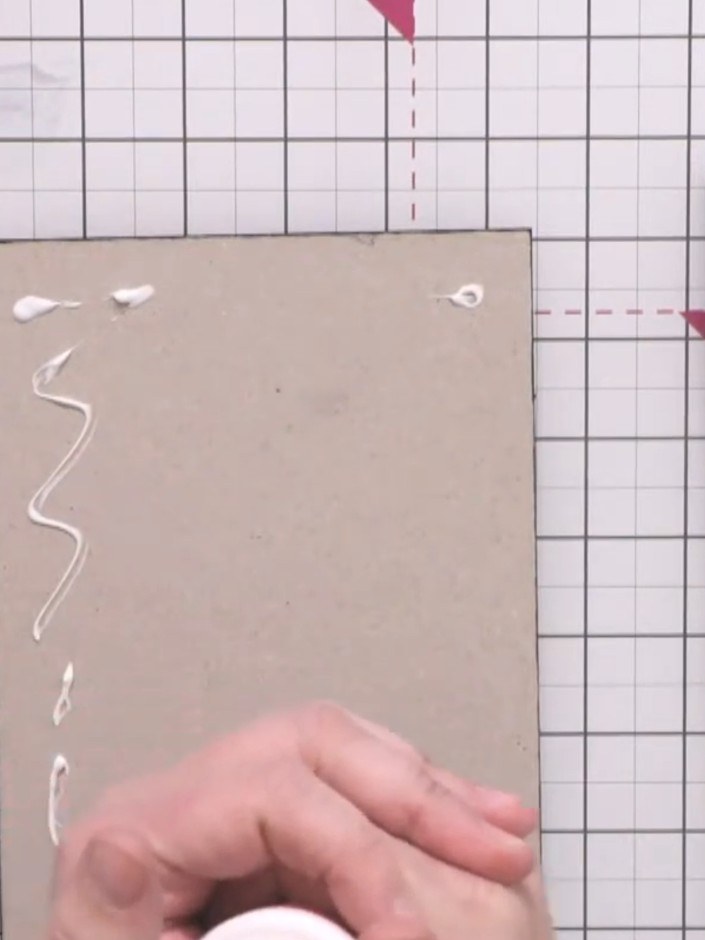
Apply glue to the kraft board using a brush, spreading it thinly and evenly to avoid creating ripples in the card when you adhere it.
▶ voir cette étape (6:30)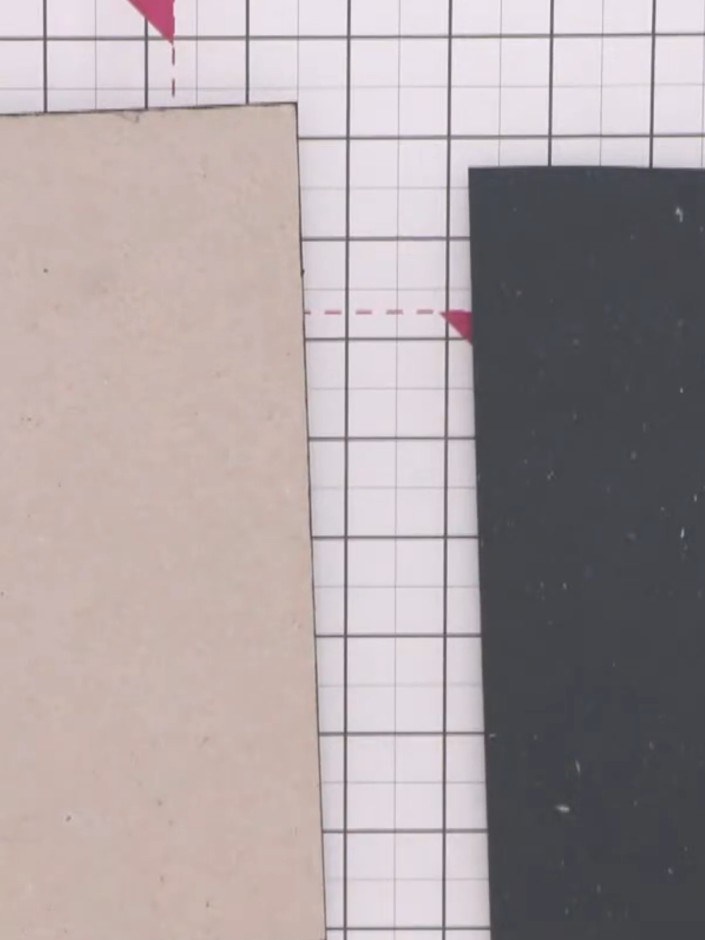
Adhere a piece of dark green textured card over the glued board, pressing down firmly to ensure it is securely attached.
▶ voir cette étape (6:45)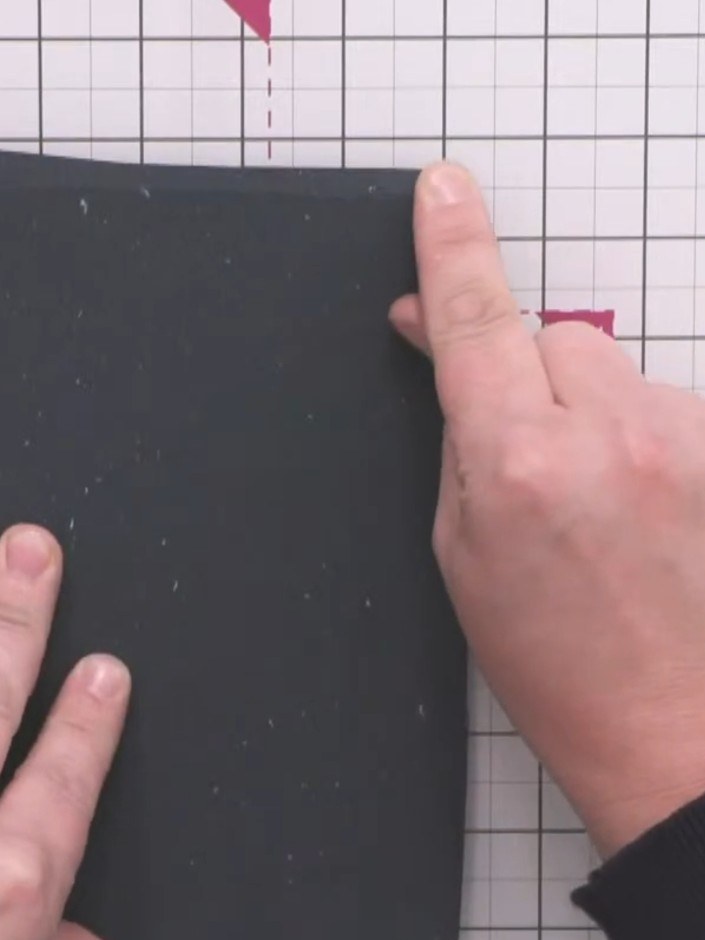
Run your finger down each edge of the black card to create a crease line showing where the card underneath sits. This will help you see where to trim.
▶ voir cette étape (7:45)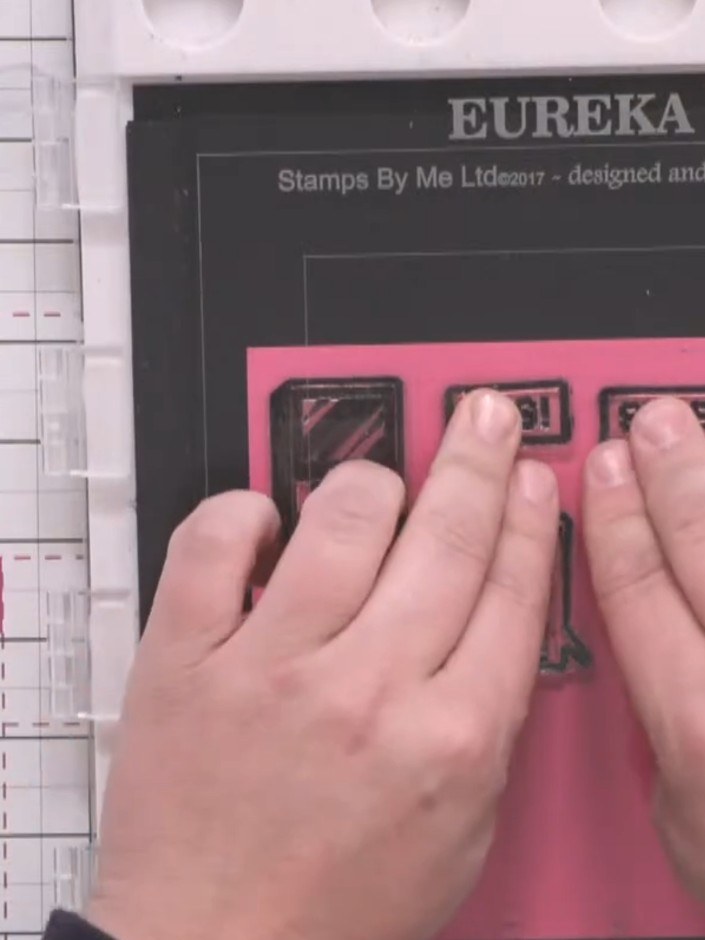
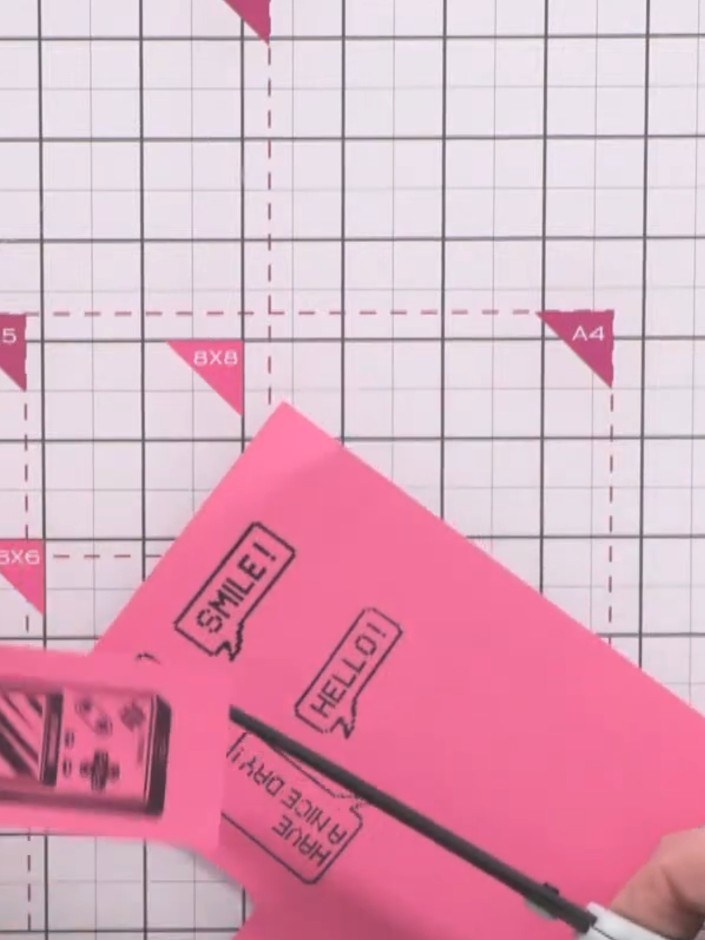
Stamp sentiment images such as 'have a nice day', 'smile', 'OMG', or 'hello' onto the bright pink paper using black ink. Use the stamp positioning tool to ensure accurate placement of each sentiment.
▶ voir cette étape (8:30)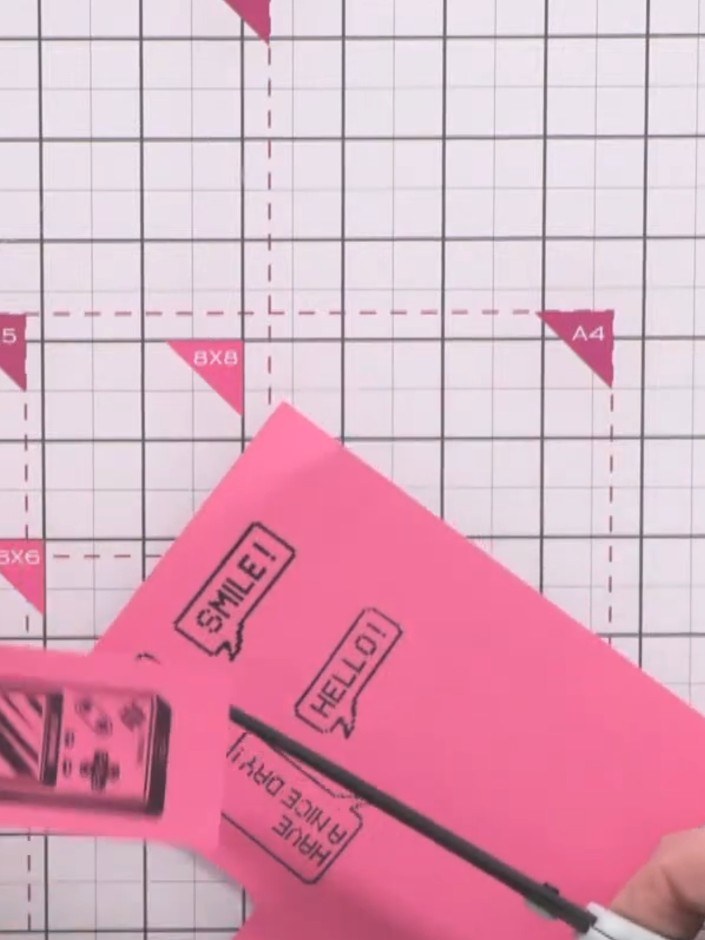
Carefully hand-cut around each stamped image on the pink card, leaving a slight pink border around each design. Don't worry about achieving perfect accuracy - a relaxed, hand-cut look works well for this project.
▶ voir cette étape (10:00)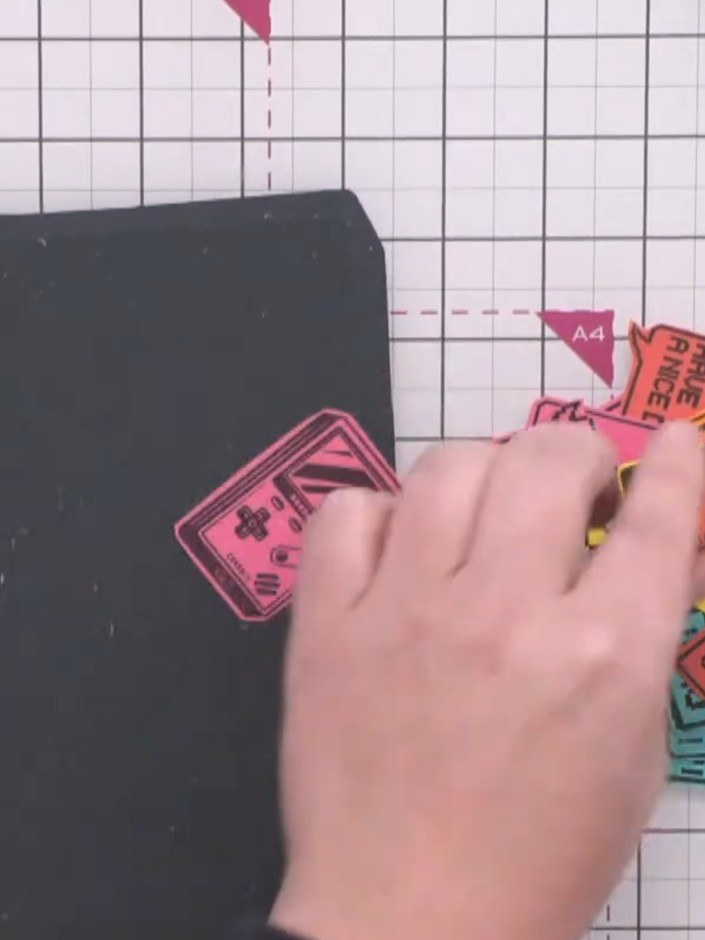
Arrange the colourful stamped ticket pieces onto the dark grey background card. Position them in a scattered, overlapping arrangement, allowing some pieces to extend beyond the edges of the card for a playful, dynamic effect.
▶ voir cette étape (12:00)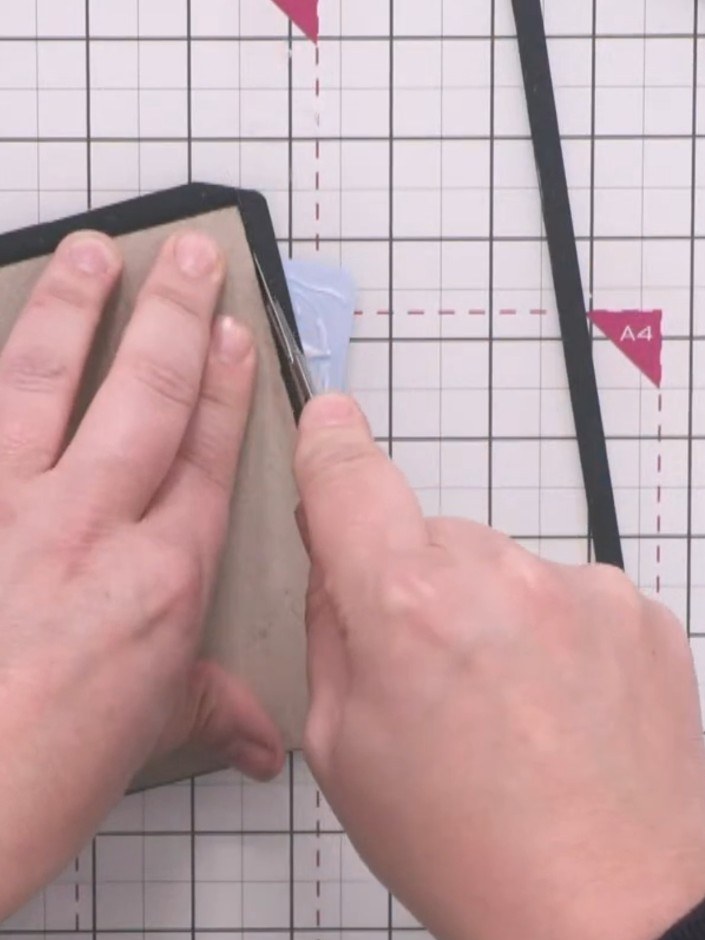
Punch two holes at the top of the finished panel and thread ribbon through from the back, tying a knot on the reverse for a neat finish.
▶ voir cette étape (16:30)Rédigé à partir de l'émission elle-même. Découvrez tous les guides de nos émissions · tutoriels gratuits · regarder en direct sur My Telly