Offrez à vos amis 10 € de réduction sur leur première commande !
Parrainez un AMI








Un projet de notre émission en direct ANYTHING GOES - Retrouvez Toni pour l'émission où c'est vous qui décidez - Diffusion du 19 OCT. 22 · 19/10/2022 · à voir dès 10:30
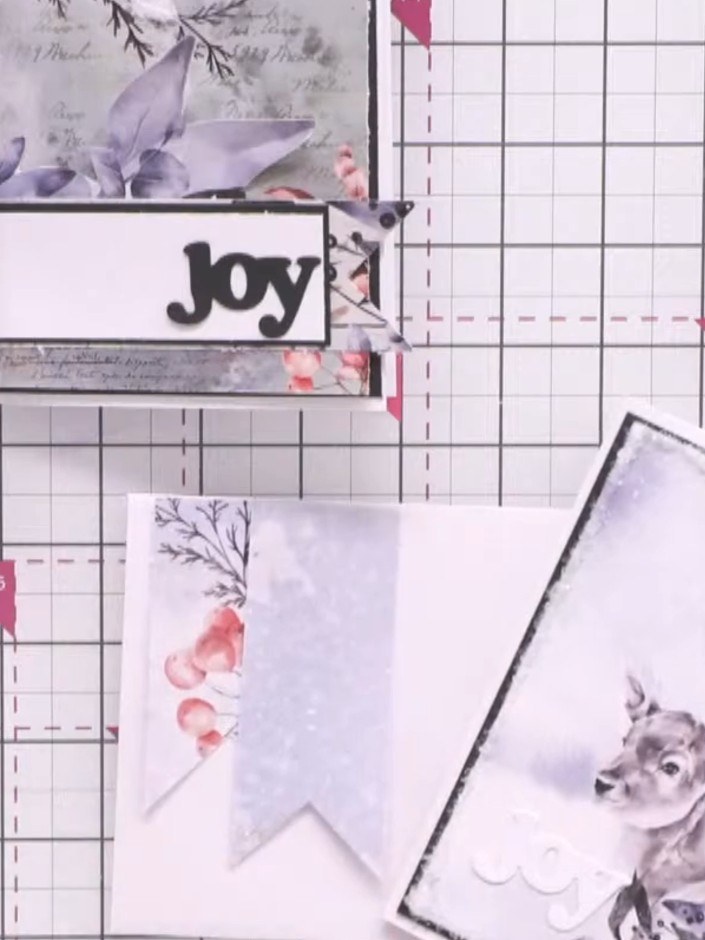
Create a set of four beautiful note cards using patterned paper from a coordinating paper pad, each with matching decorated envelopes. The cards feature soft watercolour florals and wildlife imagery in gentle pinks, purples and greys, with various embellishments including die-cut sentiments, twine, and decorative elements. This project is perfect for batch-making greeting cards using layering techniques and mixed embellishments.
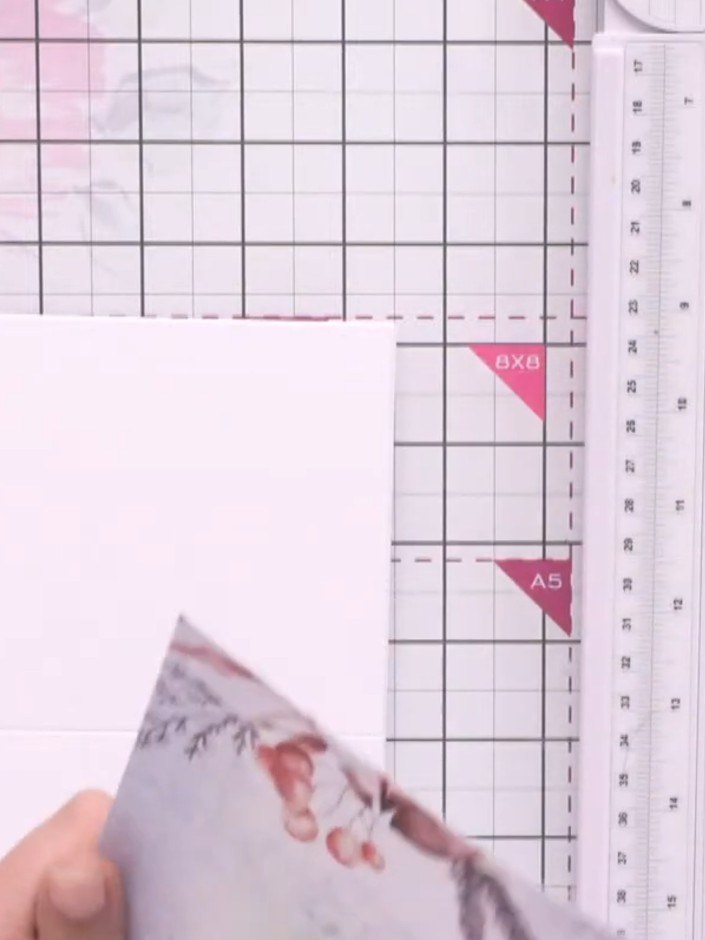
Gather your materials: select a decorative paper pad, A6 card blanks, coordinating envelopes, punches, and a small cutting machine. Have your workspace ready with a cutting mat and ruler.
▶ voir cette étape (10:30)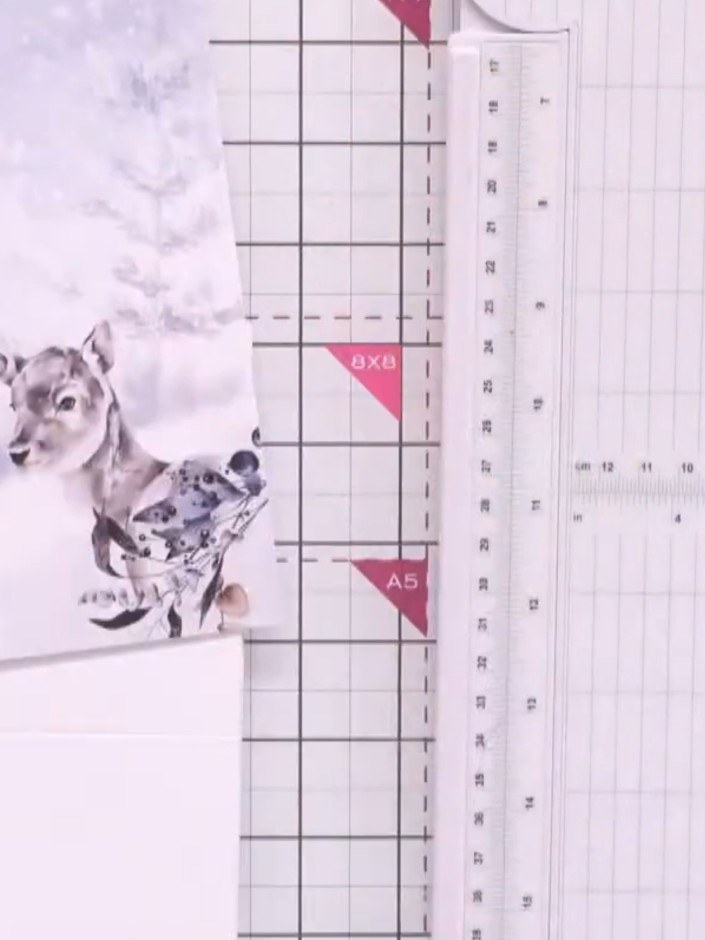
Place your chosen patterned paper on the cutting mat. Use your finger as a guide to mark where you want to trim the paper to size.
▶ voir cette étape (11:00)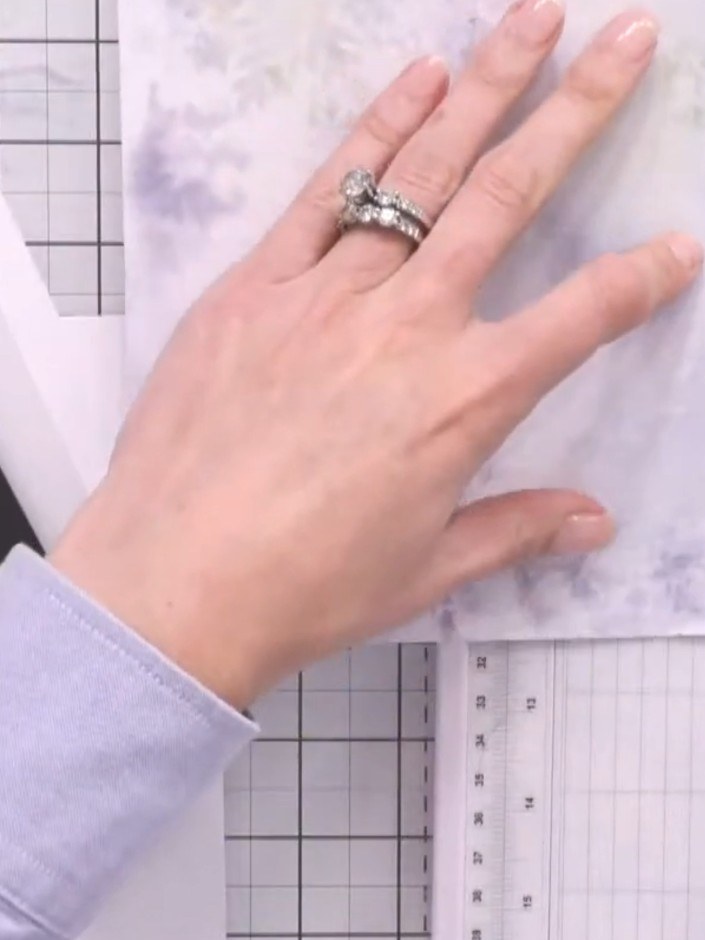
Trim the marked paper to size using your guillotine or trimmer.
▶ voir cette étape (12:00)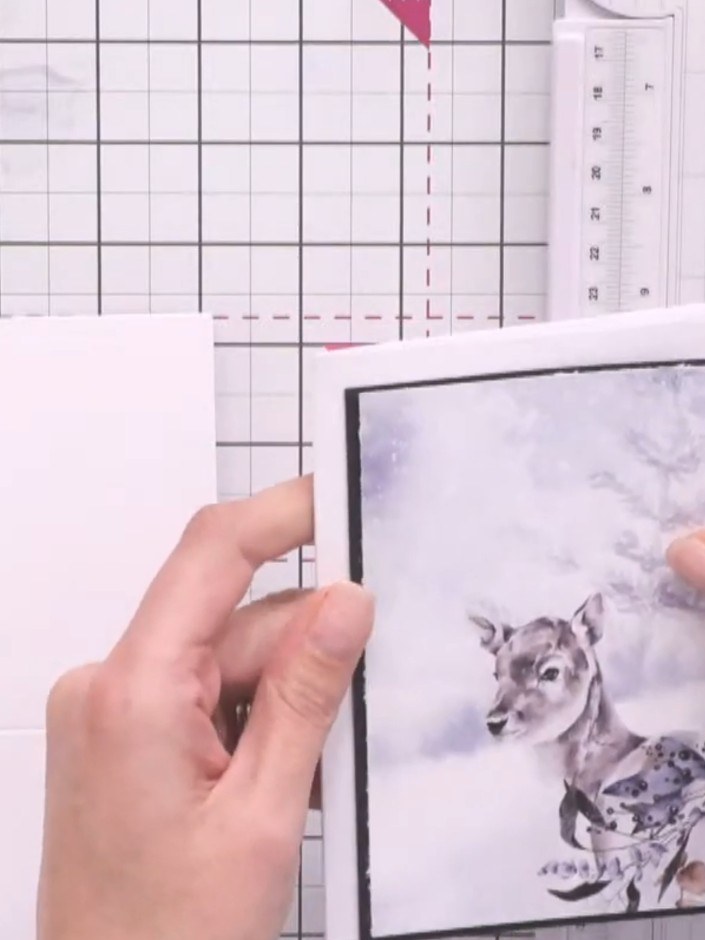
Cut a piece of black cardstock to create a mat layer. Position it behind your chosen patterned paper panel to add depth and frame the design.
▶ voir cette étape (13:30)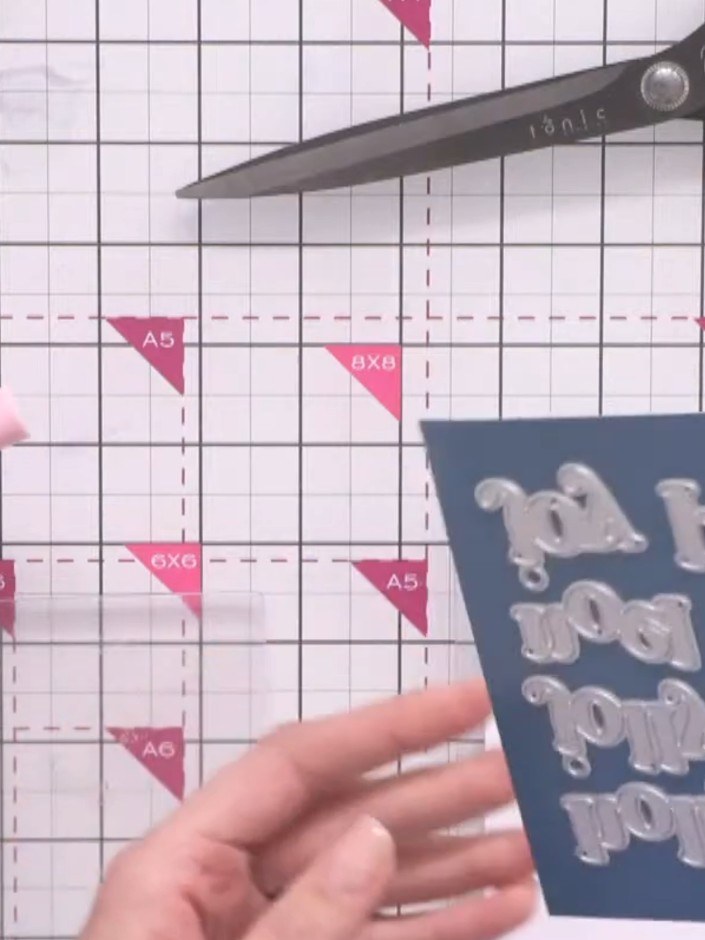
Cut your chosen sentiment words from white and black cardstock using your die-cutting machine. This will create layered text with drop shadows for your cards.
▶ voir cette étape (20:00)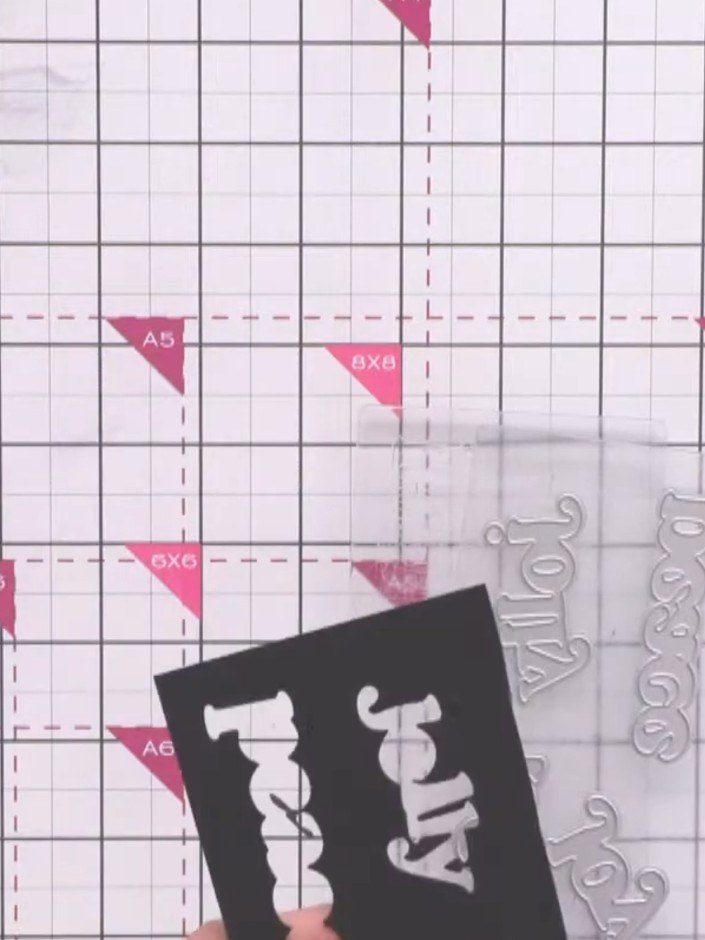
Use a pokey tool to carefully pop out the centres of your die-cut letters from the black cardstock.
▶ voir cette étape (22:30)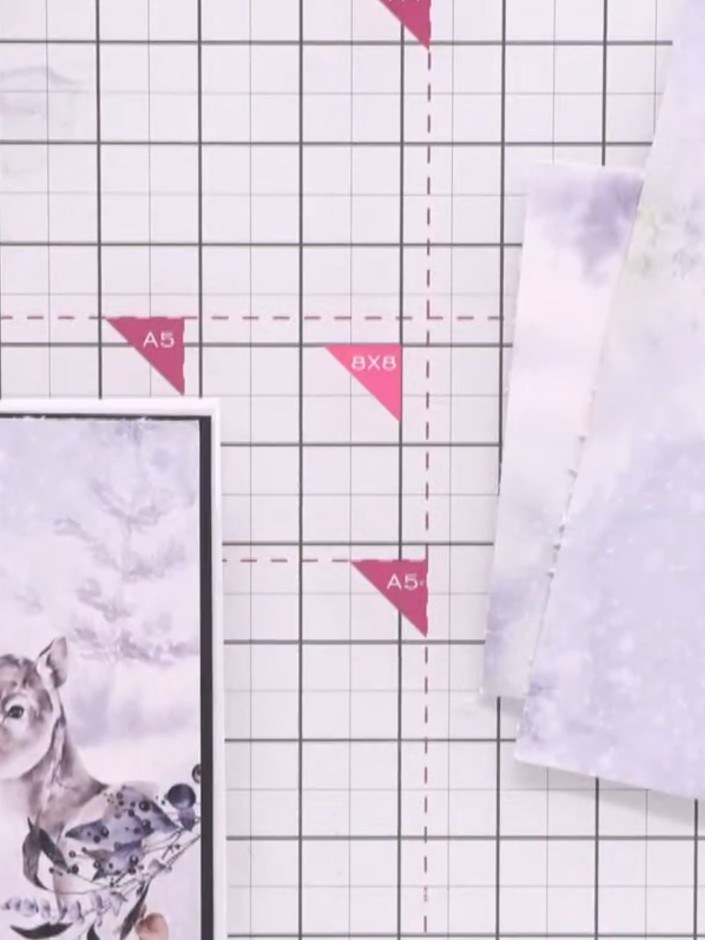
Adhere your patterned paper to the black card blank using glue, applying it around the edges. Position the stag design paper centrally on the card front.
▶ voir cette étape (25:00)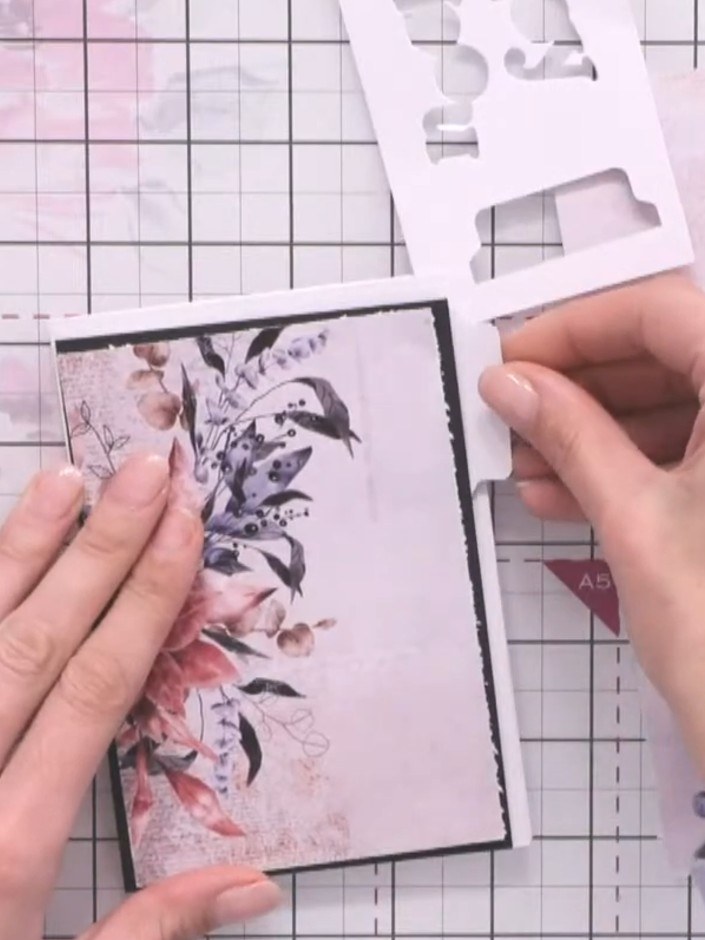
Layer the black sentiment piece onto the white sentiment piece to create dimension and contrast.
▶ voir cette étape (27:00)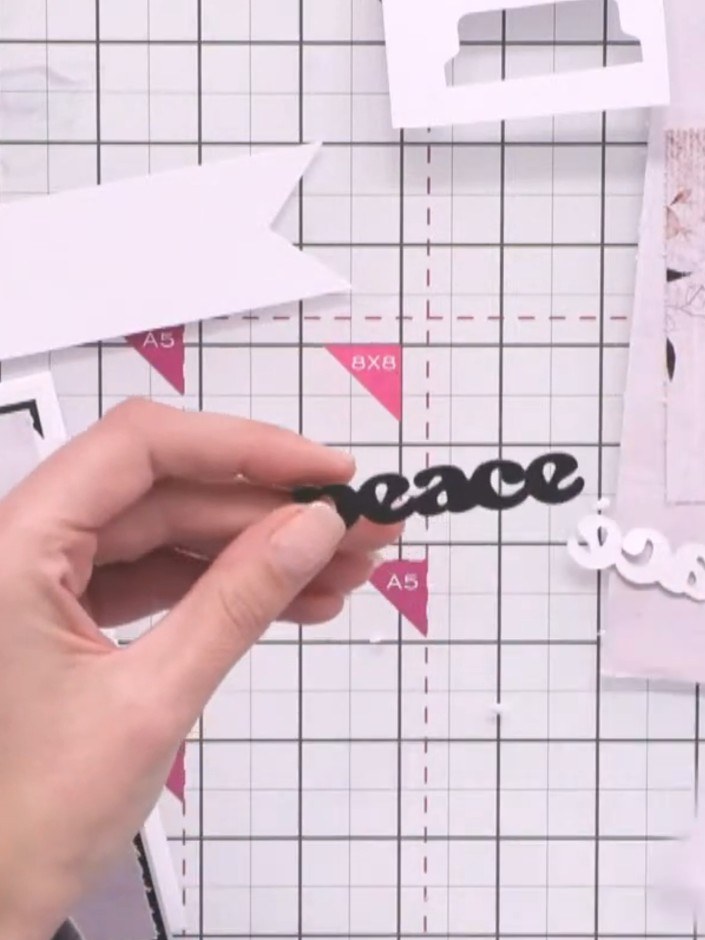
Adhere the black die-cut sentiment to your card front, positioning it centrally or as desired on the white panel.
▶ voir cette étape (31:00)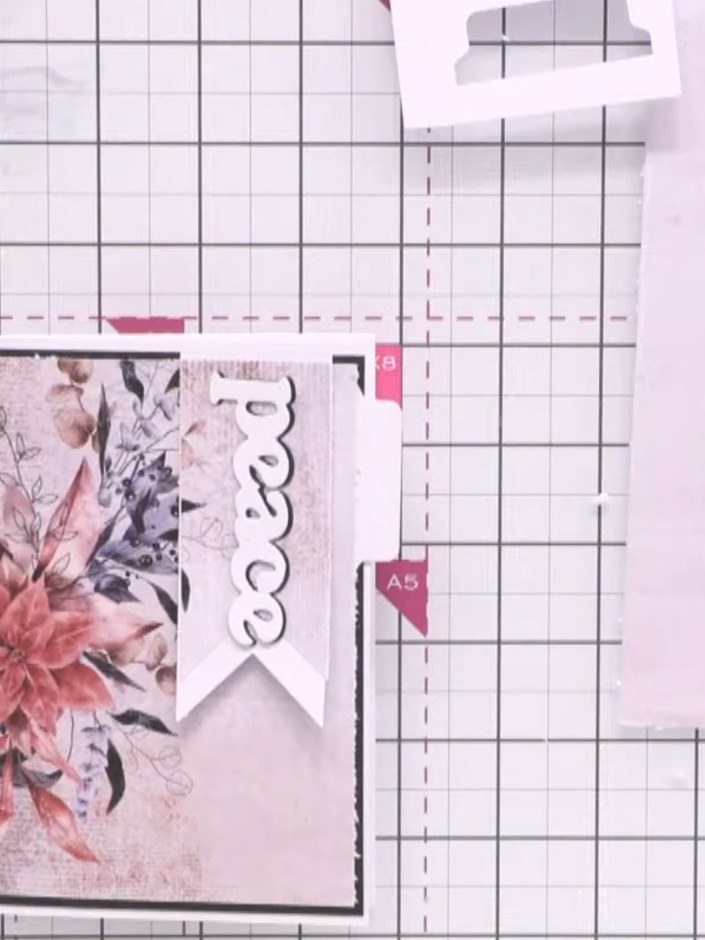
Add embellishments to enhance your card design. Use enamel dots, sparkles, or twine to add decorative touches to the finished card.
▶ regarder cette étape (35:00)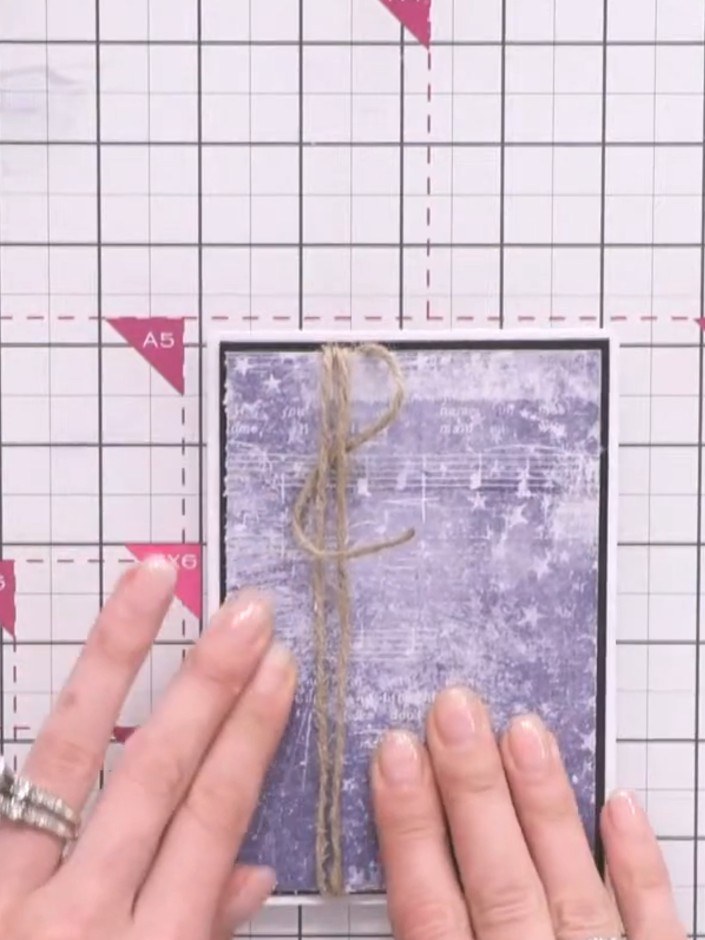
Decorate your coordinating envelope using off-cuts from your card-making. Adhere the decorative pieces to the envelope with glue, positioning them as desired to create an attractive design.
▶ regarder cette étape (38:00)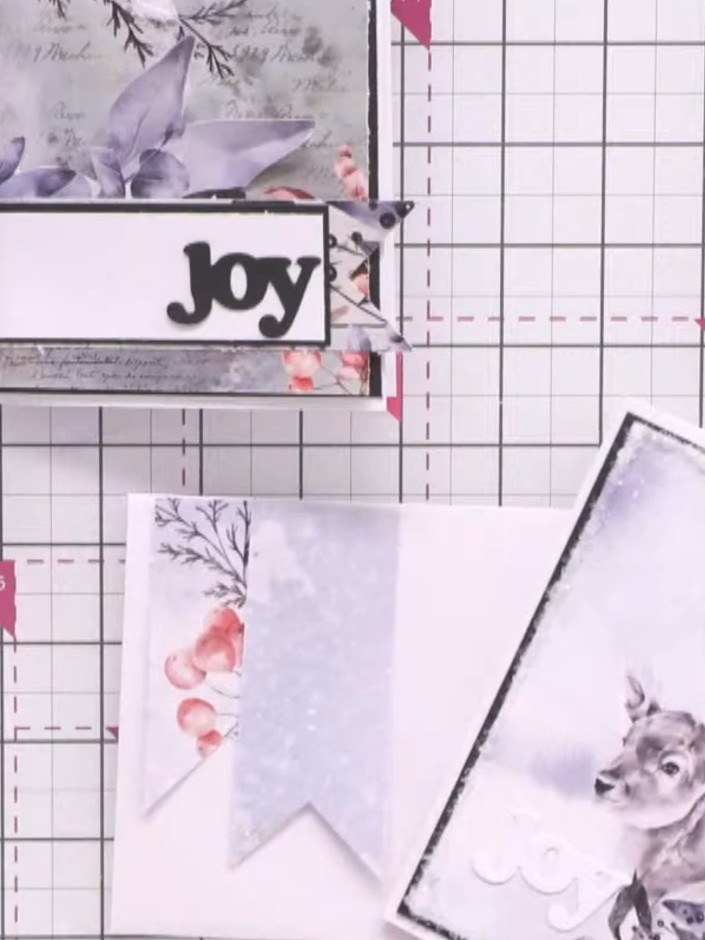
Stack your completed note cards together with their coordinating envelopes to create a finished set, ready to gift or sell.
▶ voir cette étape (54:00)Rédigé à partir de l'émission elle-même. Découvrez tous les guides de nos émissions · tutoriels gratuits · regarder en direct sur My Telly