Offrez à vos amis 10 € de réduction sur leur première commande !
Parrainez un AMI








Un projet de notre émission en direct FRIDAY LAUNCH - Retrouvez Toni pour ses dernières nouveautés et démonstrations - Diffusion du 14 OCT. 22 · 14/10/2022 · à voir dès 7:00
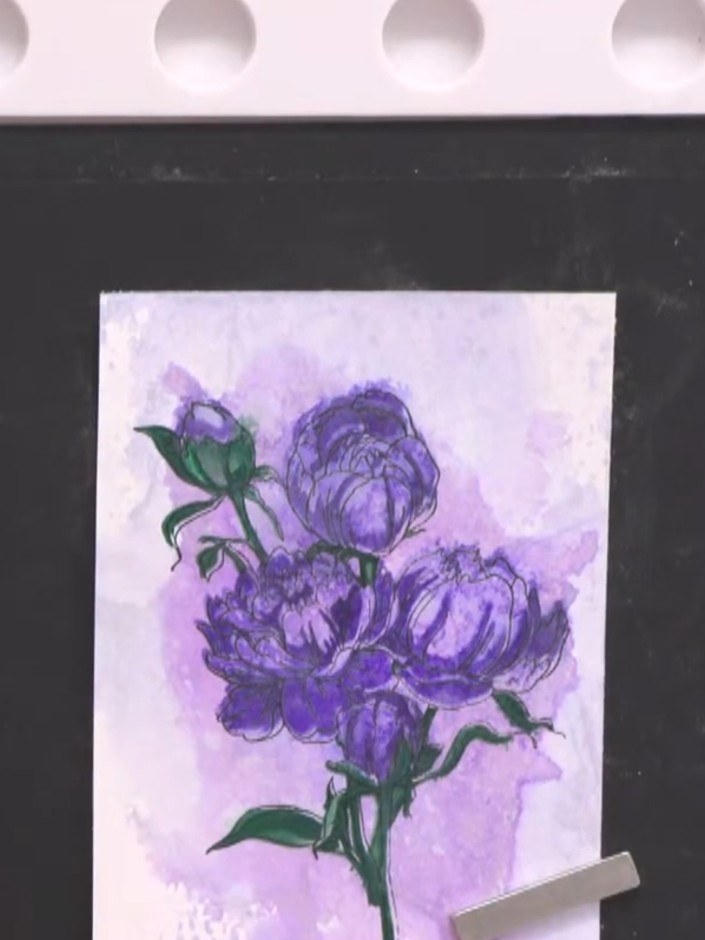
Create a stunning artistic card featuring beautiful purple flowers with a dreamy watercolour wash background. Using Quattro D stencils and stamps, you'll layer delicate floral designs with ink bleeding and water spray effects to achieve a contemporary, sparkly finish. The combination of stencilled backgrounds and stamped outline details creates an abstract, artistic look perfect for special occasions.
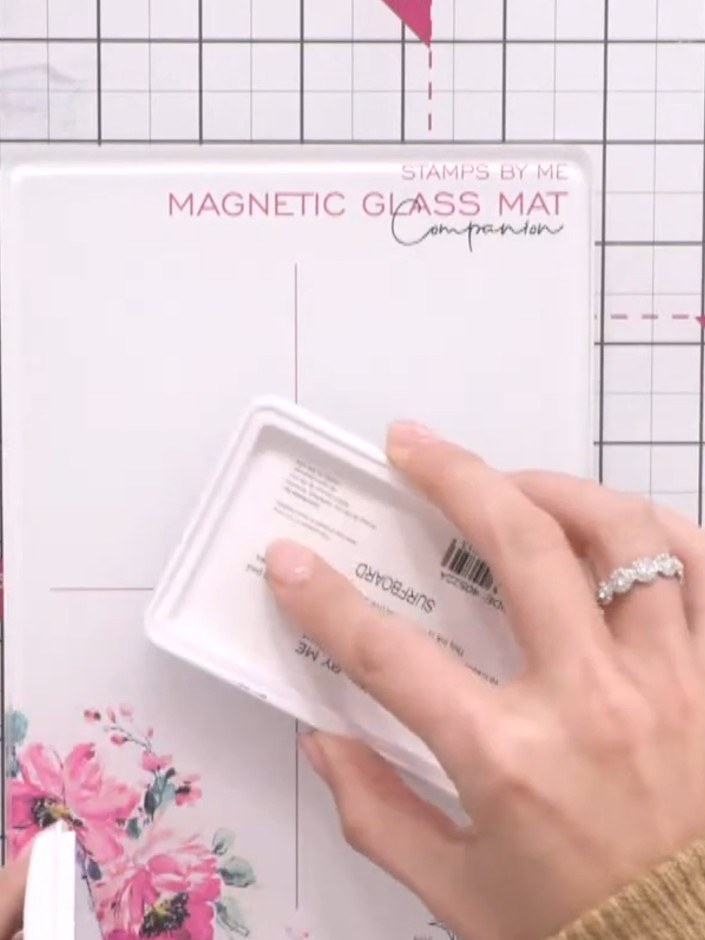
Place your mini magnetic glass mat companion on your work surface to use as your inking station.
▶ voir cette étape (7:00)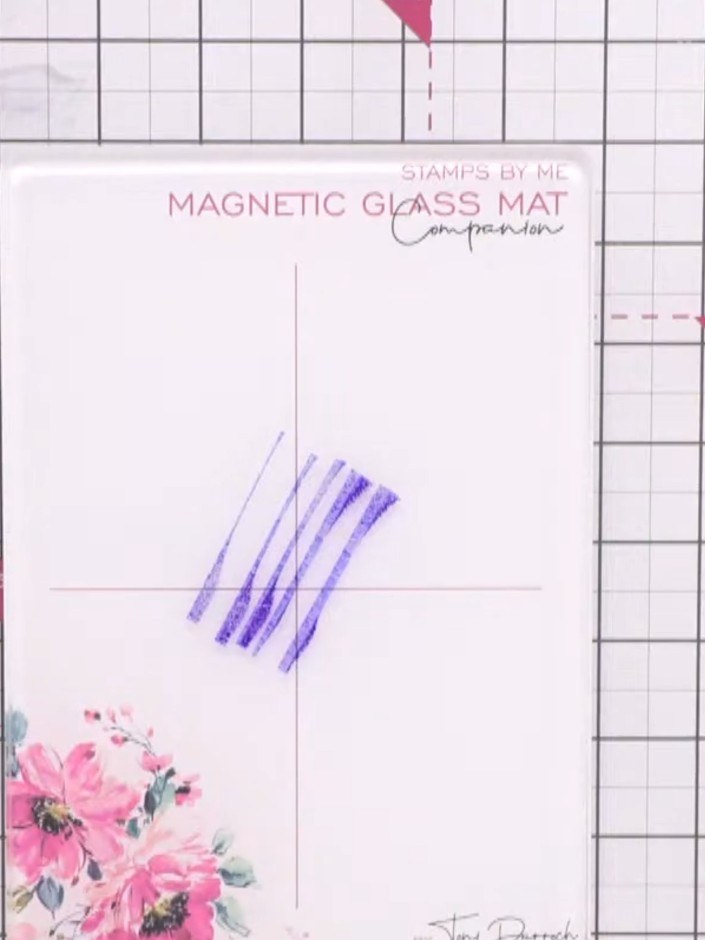
Apply Indigo ink from the ink pad directly onto the magnetic glass mat in diagonal strokes. Keep the purple ink separate from where you'll add the second colour.
▶ voir cette étape (7:15)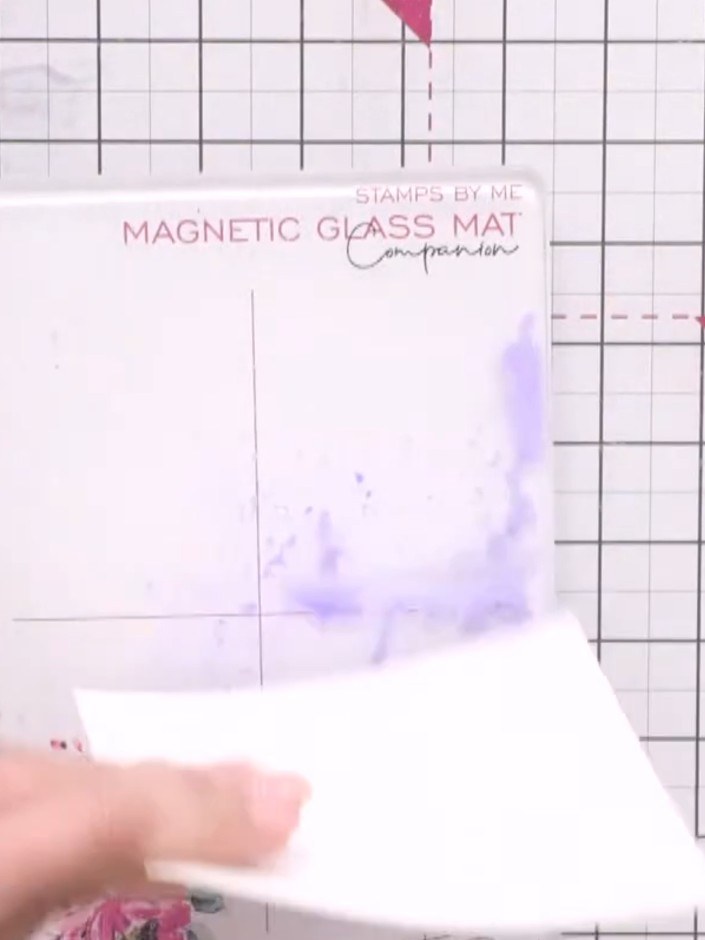
Spritz the inked magnetic glass mat with pearly spray water to create a wet, blended effect. Gently move the colours around on the mat to blend them together.
▶ voir cette étape (7:30)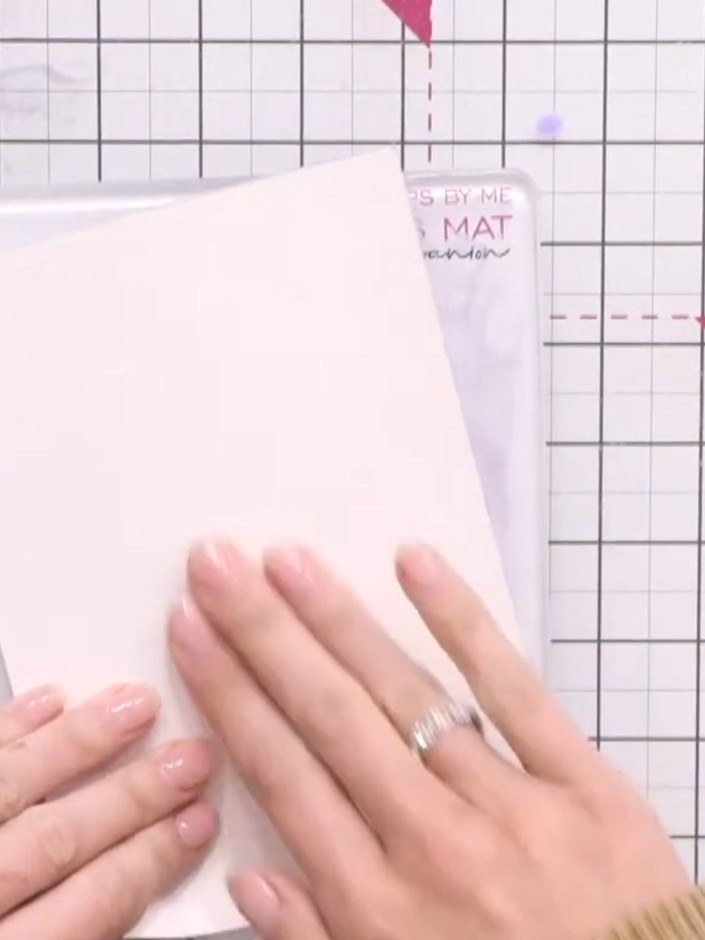
Press the watercolour cardstock face down onto the wet blended ink on the glass mat to pick up the colour. Ensure even contact across the entire surface to transfer the ink.
▶ voir cette étape (8:00)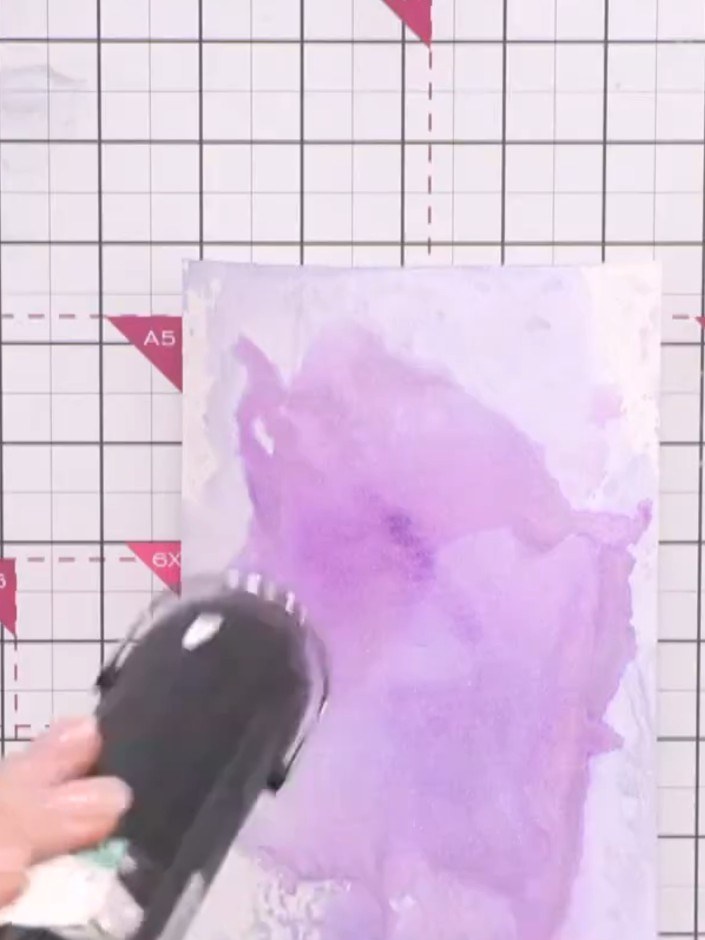
Position stencil number one in the centre of your cardstock. Hold it in place using magnets on the corners to prevent it from moving.
▶ voir cette étape (9:15)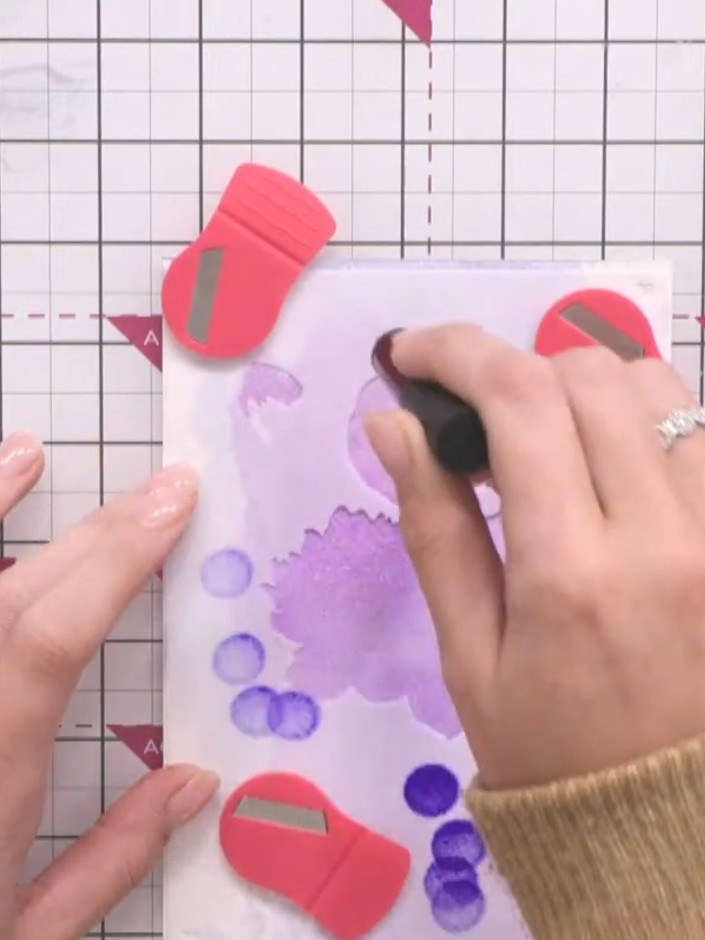
Using a mini sponge applicator, apply blue ink through the stencil openings, working the colour through to create depth and variation in the design.
▶ voir cette étape (10:45)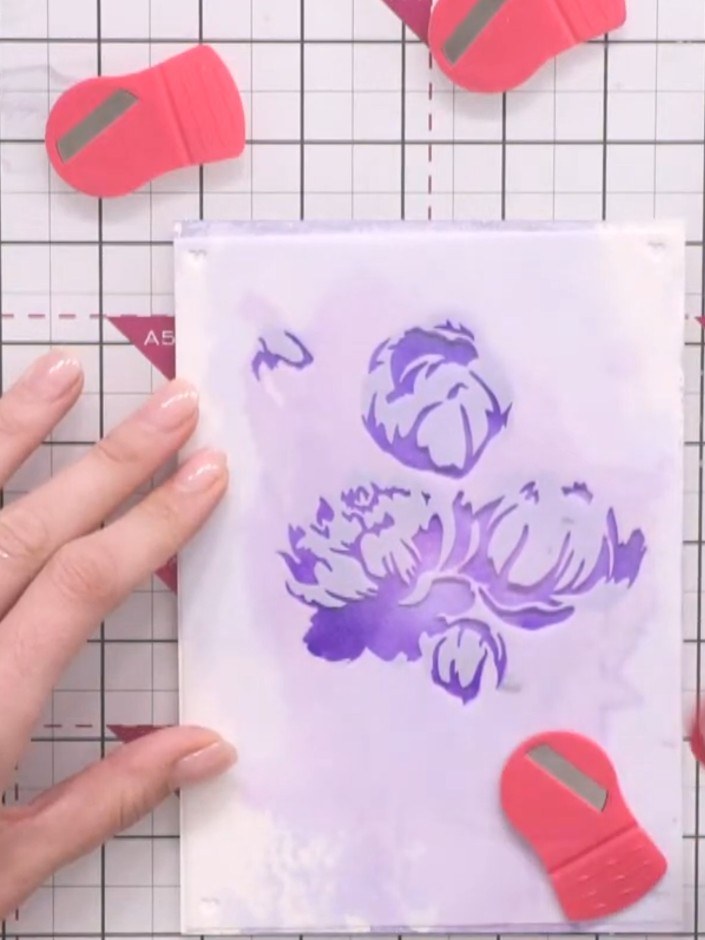
Remove the first stencil carefully. Position the second stencil on top of the card, using the numbered alignment guides to ensure it lines up correctly with the first stamped image.
▶ voir cette étape (12:30)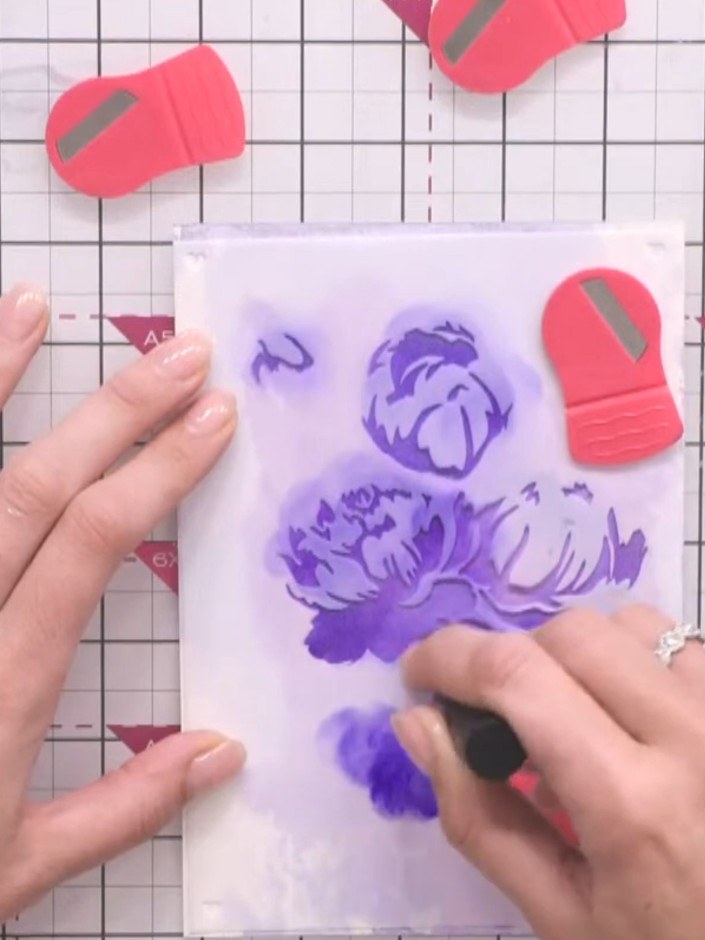
Apply the same purple ink through the second stencil, pressing firmly to build up the layered floral design on your card.
▶ voir cette étape (12:45)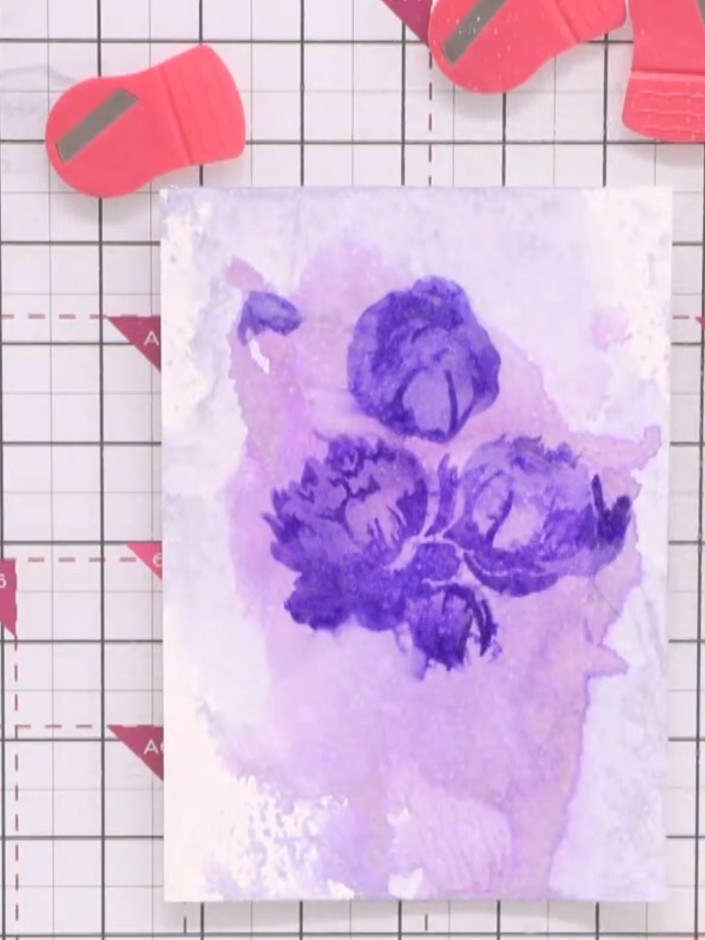
Spritz the stamped card lightly with water spray to create a watercolour bleeding effect and soften the stencilled lines.
▶ voir cette étape (13:15)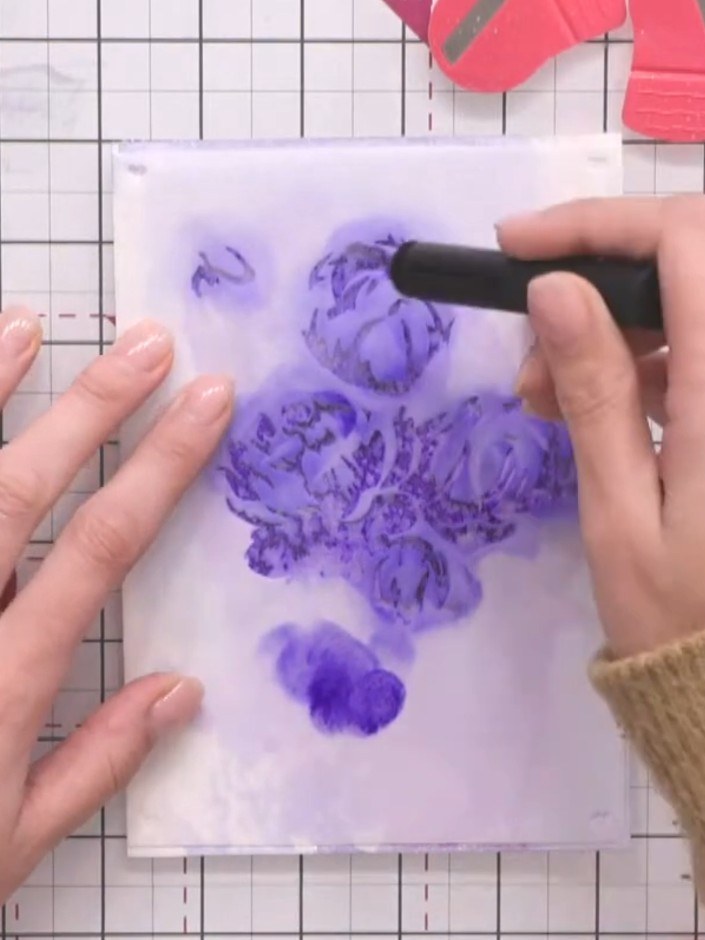
Position stencil three over your card using the numbered alignment guides. Apply green ink through the stencil using a blending tool or sponge to add the foliage details to your design.
▶ voir cette étape (15:00)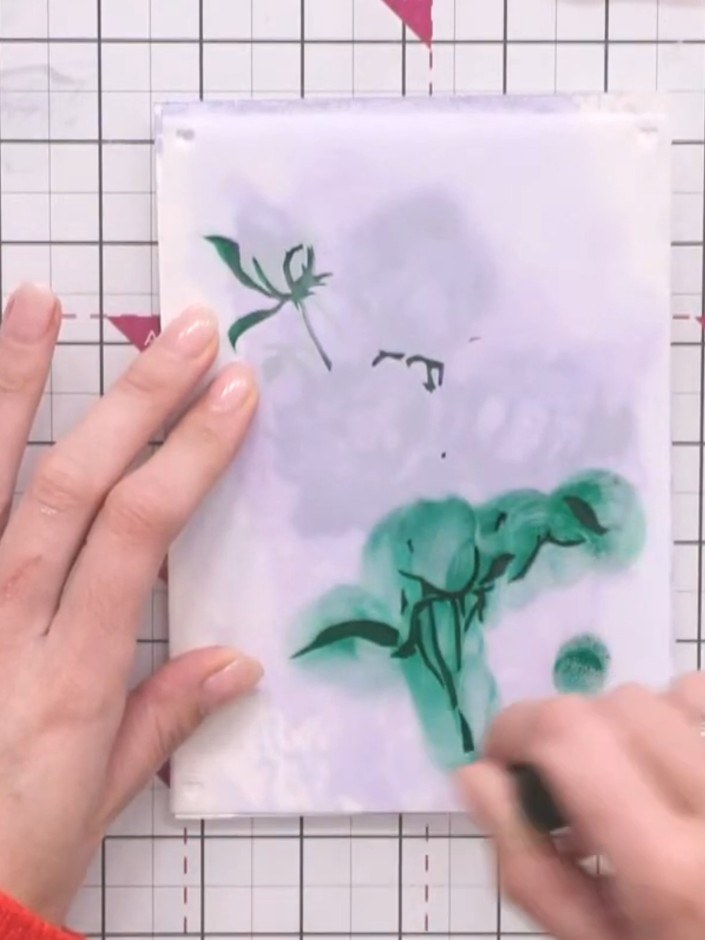
Position the fourth stencil layer and press firmly with the same green ink to complete the magnolia flower design.
▶ voir cette étape (17:45)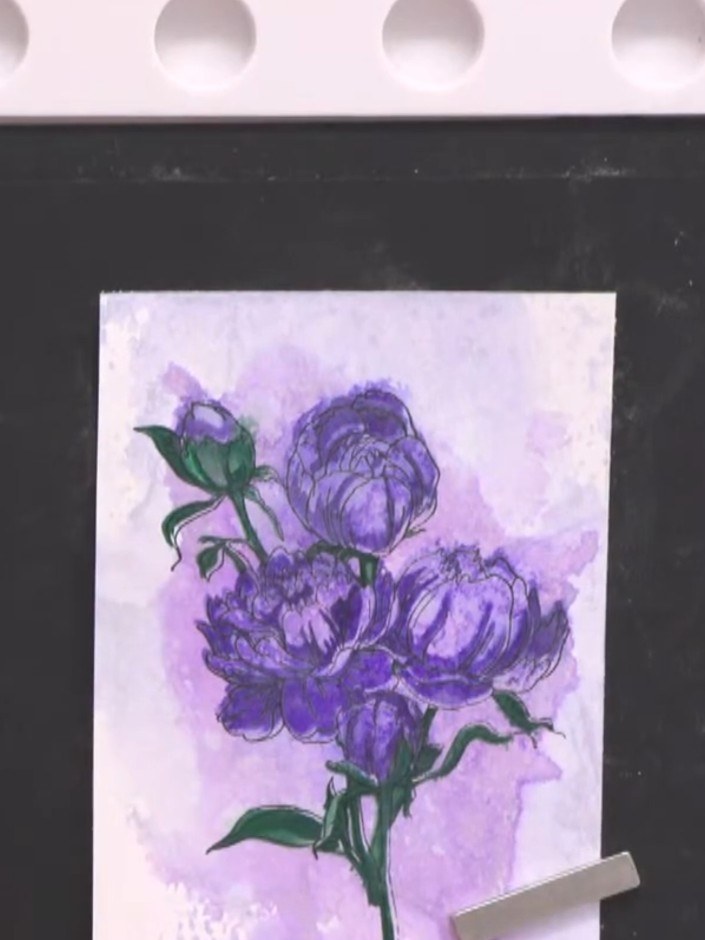
Stamp the outline detail in black waterproof ink over the entire stencilled design. Use the Magnolia stamp from the Quattro D set to add fine line details over the purple flowers.
▶ voir cette étape (20:00)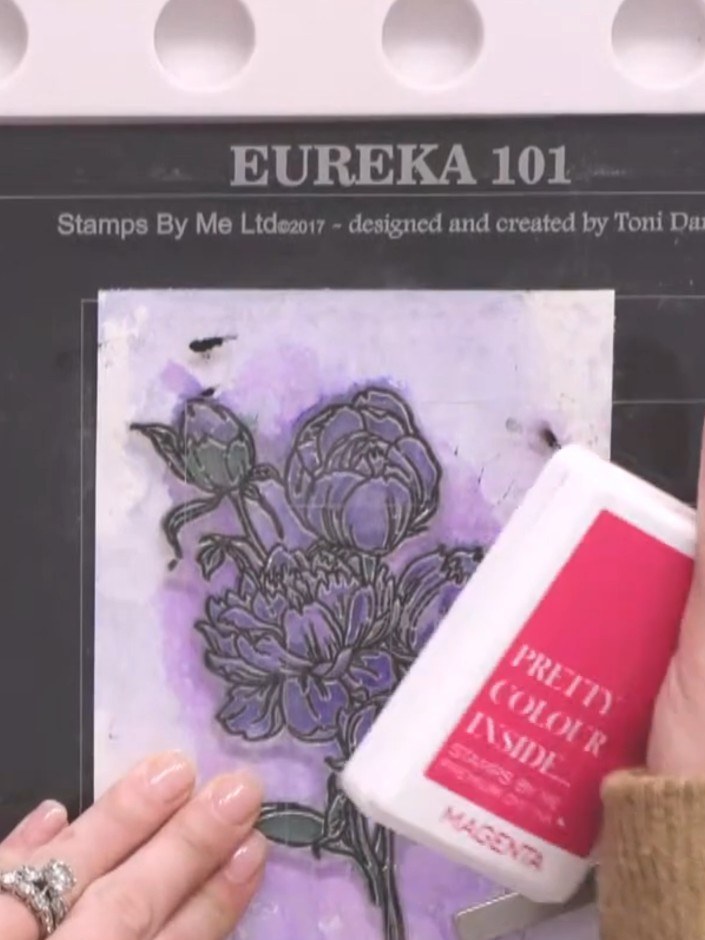
Stamp the same outline detail again on top of the black stamped image using pink dye-based ink to add colour variation. Ensure the pink stamp is aligned over the black outline for a layered effect.
▶ voir cette étape (21:30)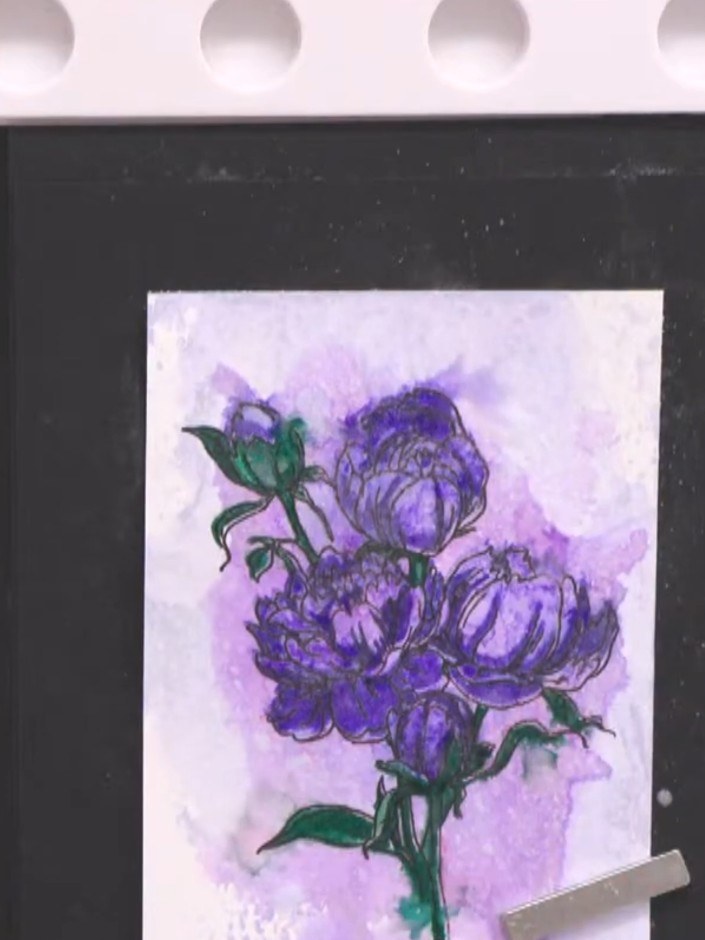
Lightly spritz the artwork with water using a spray bottle to allow the pink ink to bleed slightly into the floral design, creating a soft watercolour effect.
▶ voir cette étape (22:30)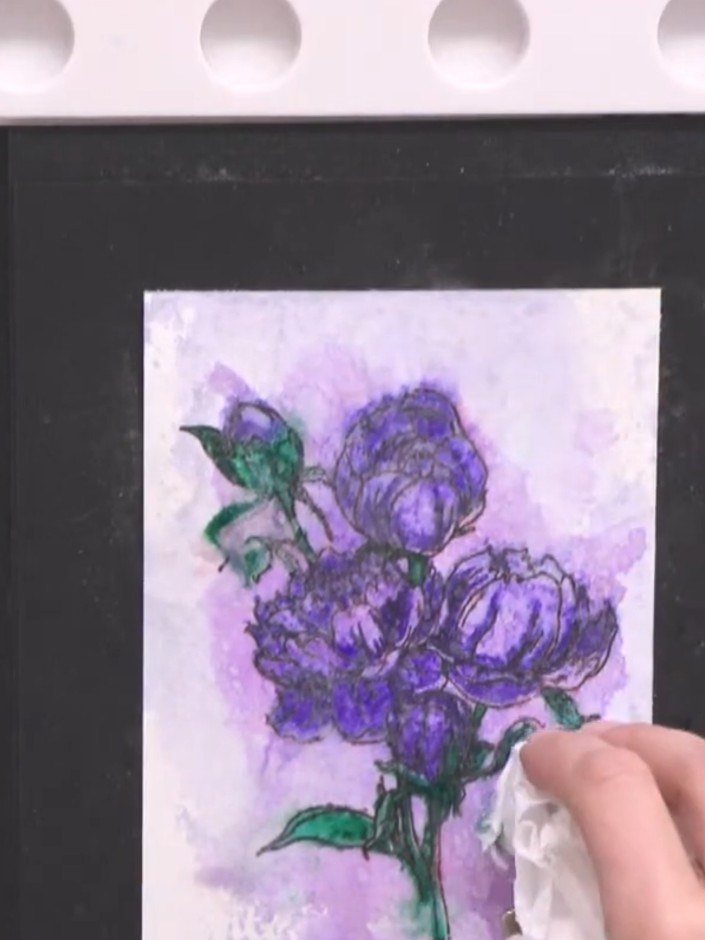
Position stencil two over your stamped image again. Use the purple ink pad to dab through the stencil, reinforcing any blue detail that may have been lost during previous steps.
▶ voir cette étape (23:15)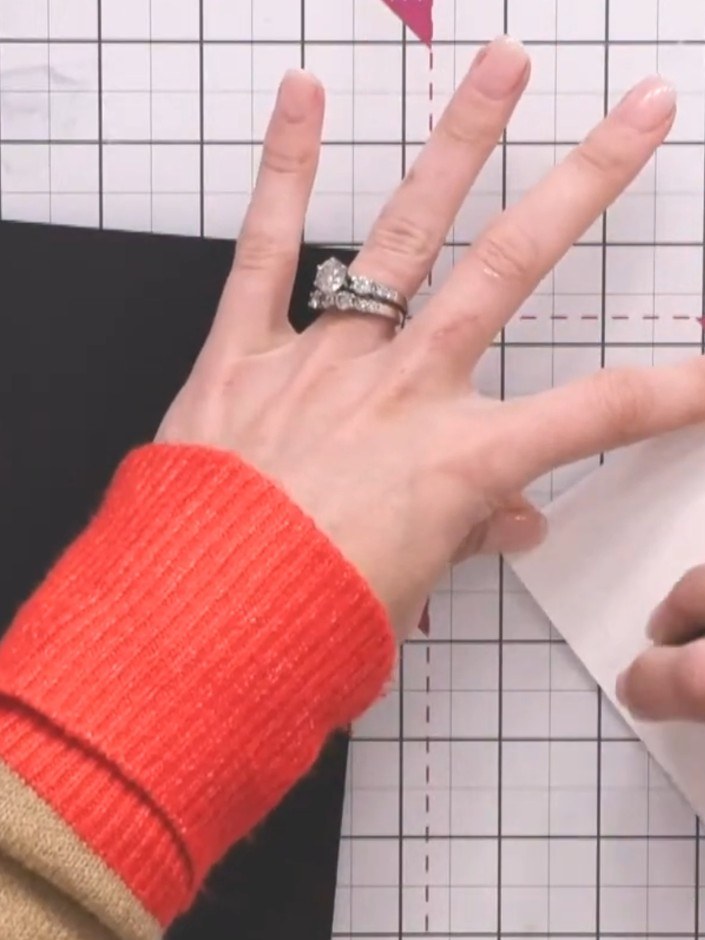
Mount your finished watercolour artwork onto black cardstock to create a striking base for your card. Position the artwork centrally on the black card and secure it in place.
▶ voir cette étape (24:45)Rédigé à partir de l'émission elle-même. Découvrez tous les guides de nos émissions · tutoriels gratuits · regarder en direct sur My Telly
