Offrez à vos amis 10 € de réduction sur leur première commande !
Parrainez un AMI








Un projet de notre émission en direct MONDAY MADNESS - Retrouvez Simon d'AVAGO-INK pour son TOUT NOUVEAU LANCEMENT - Diffusion du 3 oct. 22 · 03/10/2022 · à voir dès 15:00
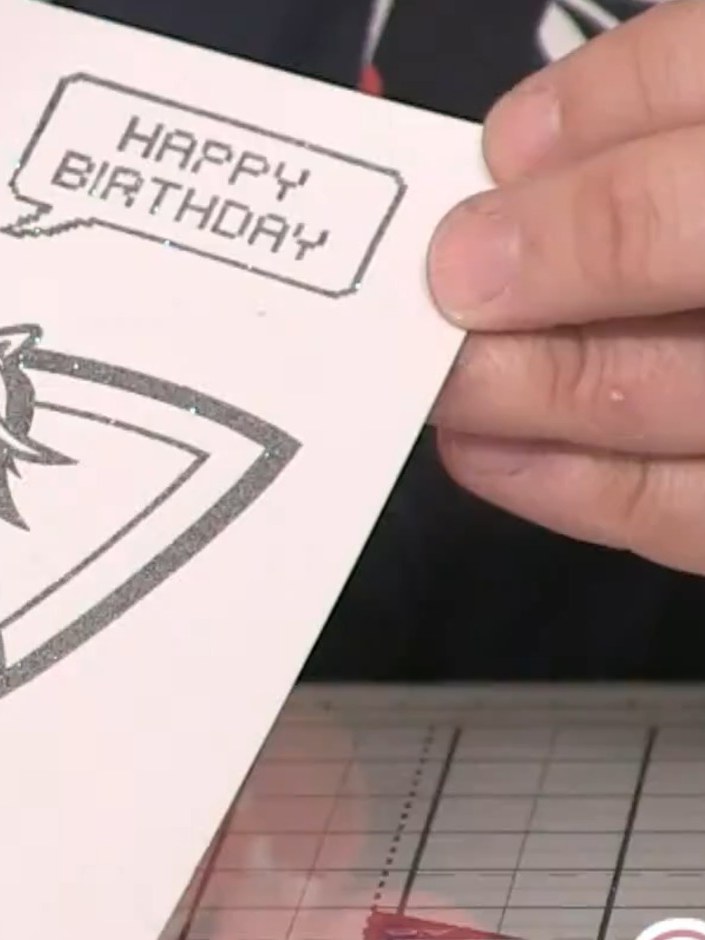
Create a striking greeting card featuring a cute dinosaur character stamped and coloured with alcohol markers, set against a purple ombre background with splattered details. The design includes the hashtag '#fierce' and dinosaur footprints, combining whimsical illustration with bold colouring techniques for a fun and contemporary finish.
 100572 - HTCN - AVAGO-INK DESIGNS - TAMPONS A5 - COOKIE - 100522cVOIR
 100575 - HTCN - AVAGO-INK DESIGNS - POCHOIR - RETRO DOTS - 100522bVOIR
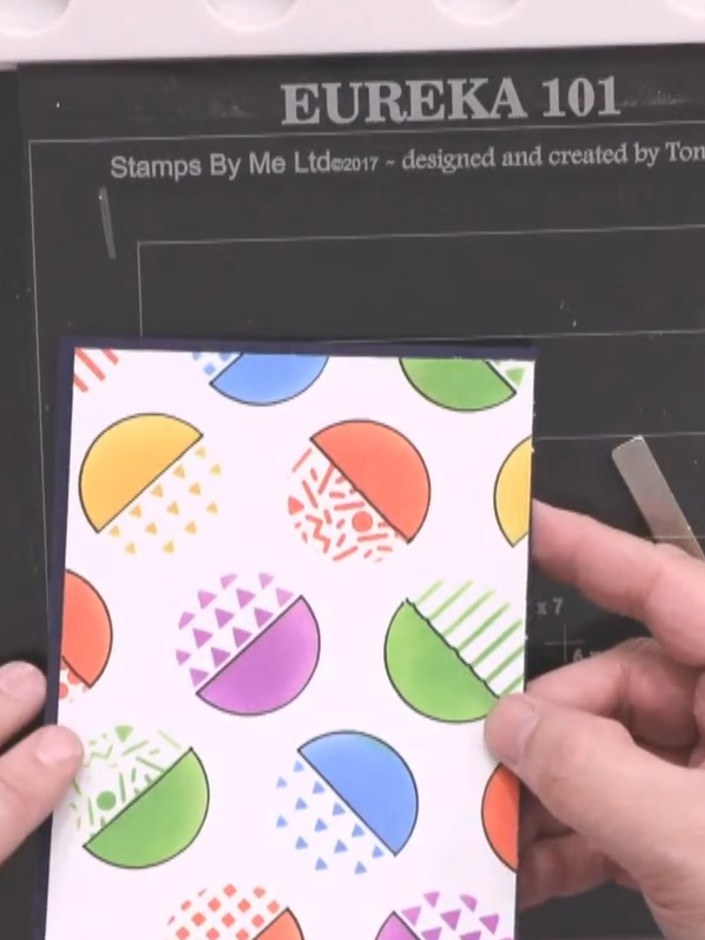
Prepare a white card base measuring slightly larger than 5 by 7 inches. Trim the card to size using a trimmer or craft knife.
▶ voir cette étape (16:00)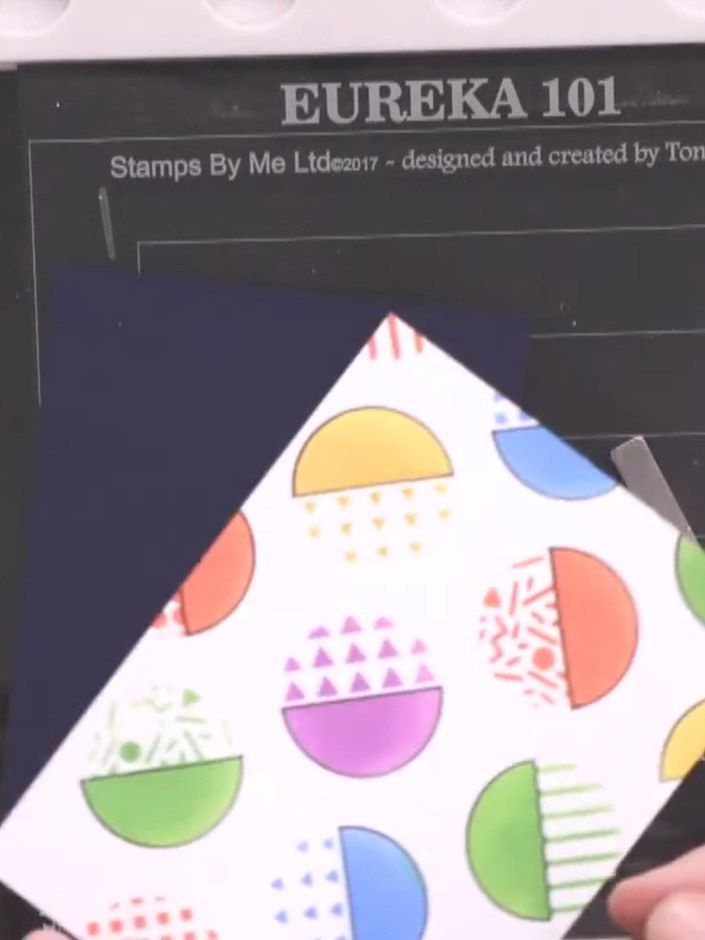
Stamp the retro handheld game image around the edges of your card base using black ink to create a decorative border. Don't worry if the coverage is incomplete as this adds to the design effect.
▶ voir cette étape (17:00)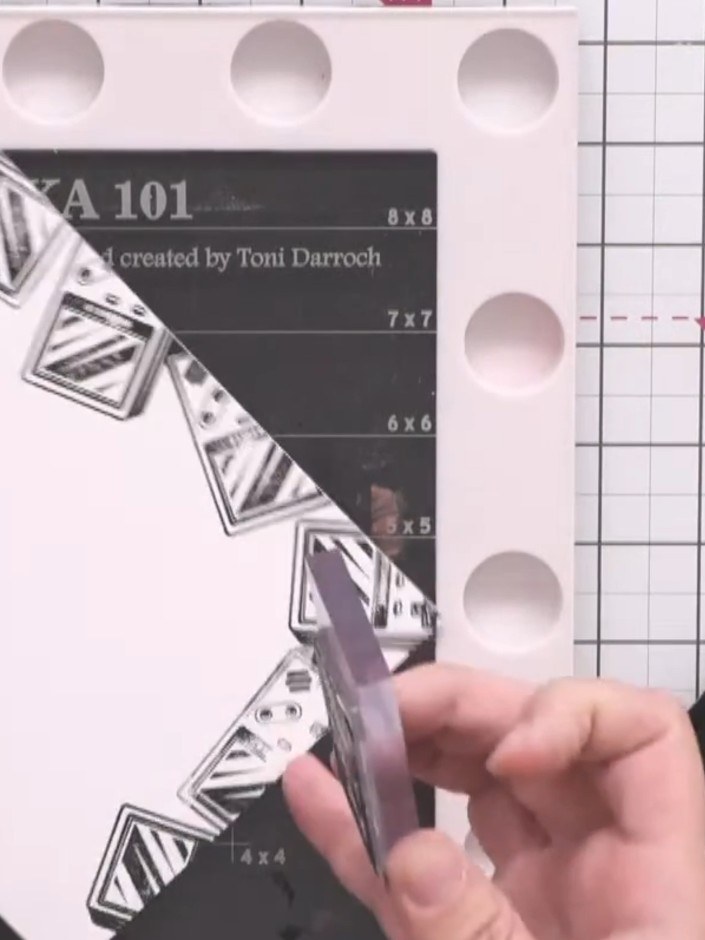
Mount your coloured stencil panel from the previous project onto the centre of the card base using foam pads.
▶ voir cette étape (18:00)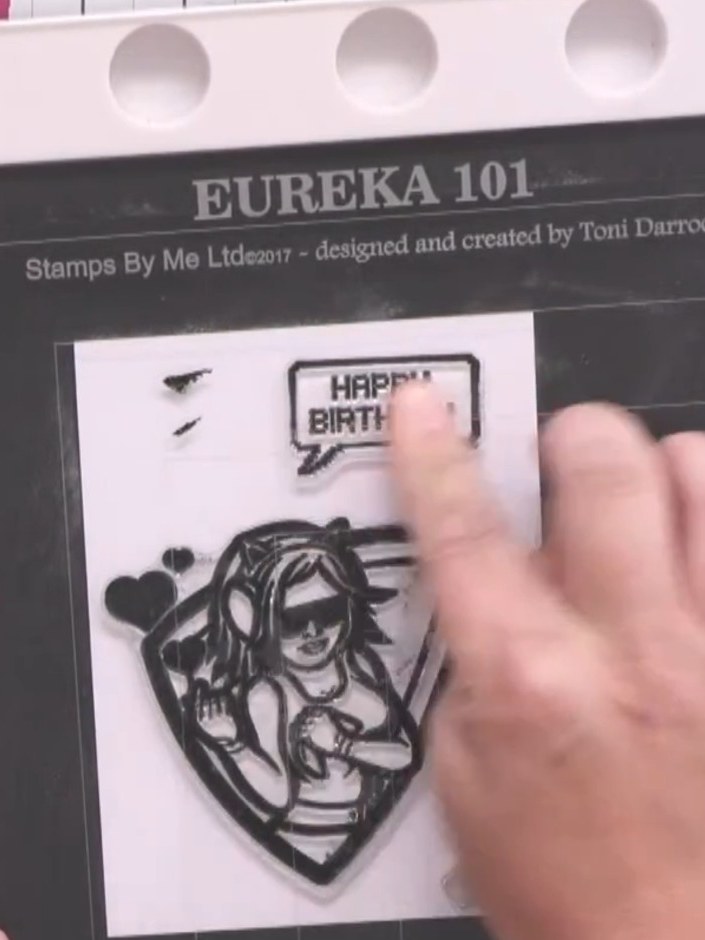
Stamp the Cookie character (the large female character) onto white card stock using black ink. Ensure good coverage of all the details in the stamp design.
▶ voir cette étape (19:00)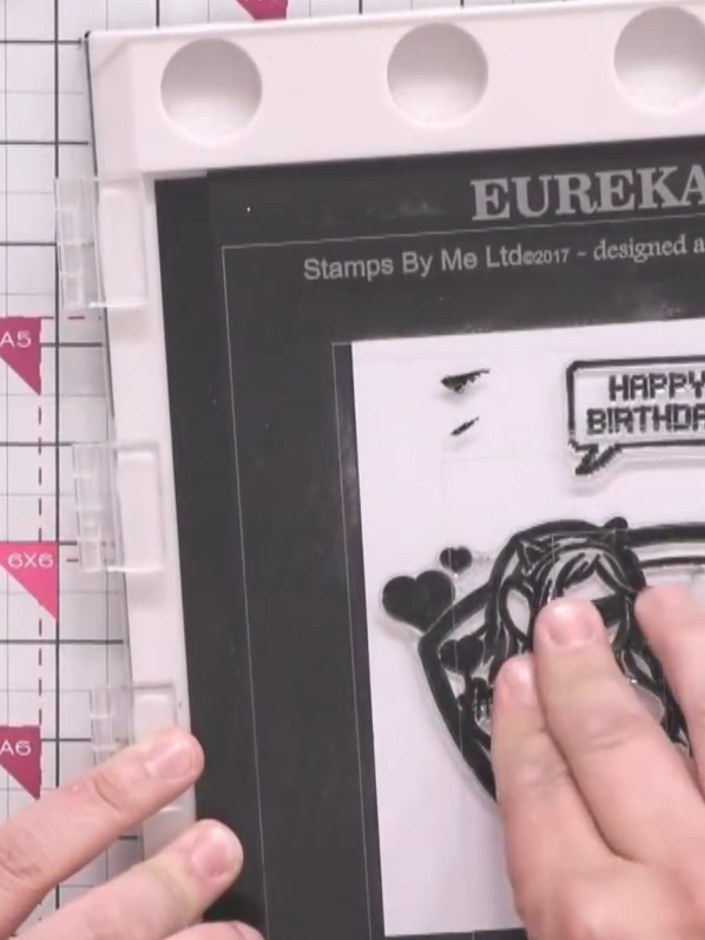
Heat the embossing powder with a heat gun, moving it around continuously until the powder melts and turns glossy and dark.
▶ voir cette étape (20:30)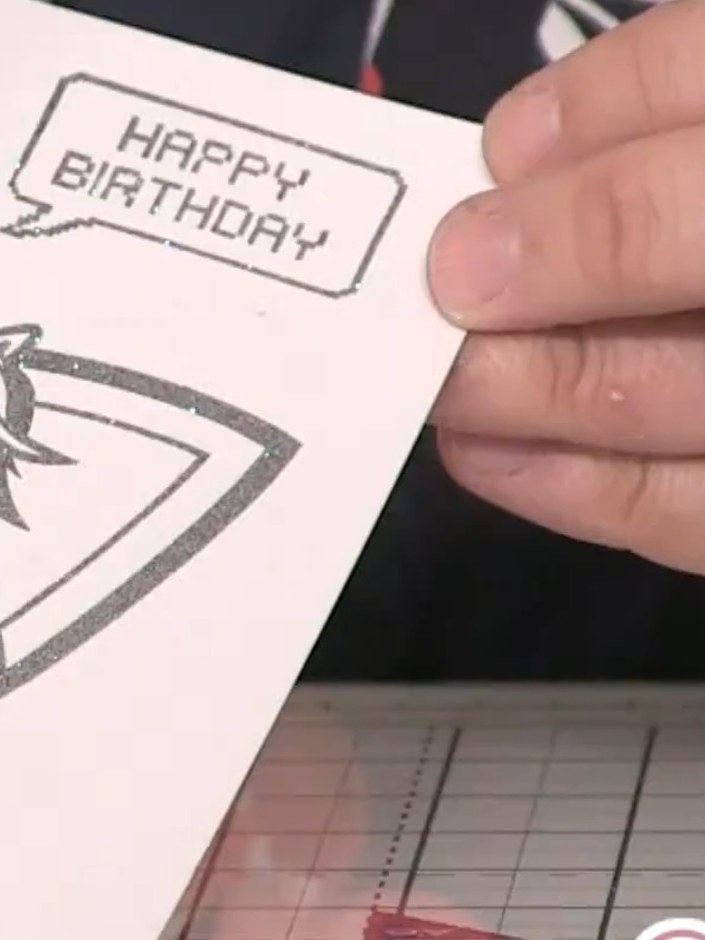
Colour the stamped character using alcohol markers. Use blue for the dress and headphones, red for the belt and gloves, yellow for the border, and purple for the hair and lipstick.
▶ voir cette étape (21:00)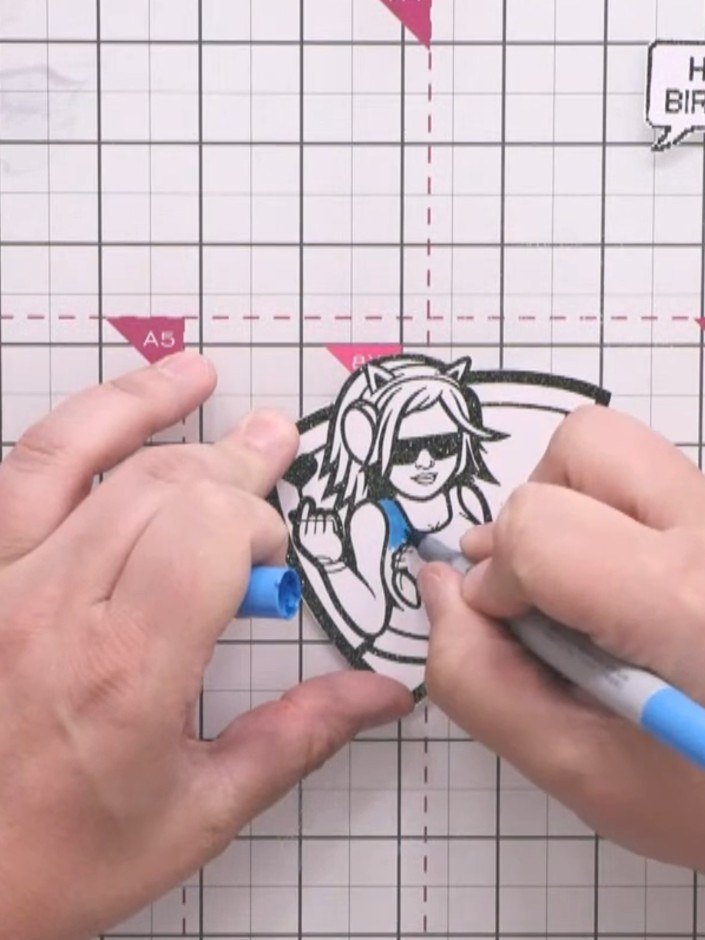
Use a pale peach marker to add skin tone warmth to the character's face and arms. Colour gently to avoid the ink bleeding into the stamped outlines.
▶ voir cette étape (25:00)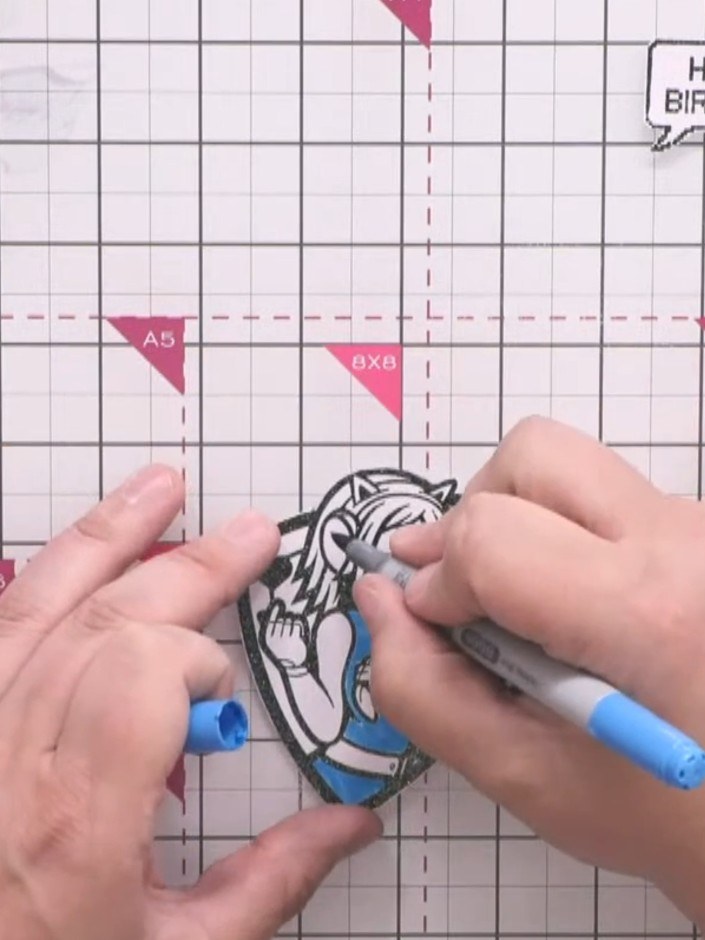
Carefully cut around the coloured character, following the embossed black outline closely to remove the excess white card.
▶ voir cette étape (25:30)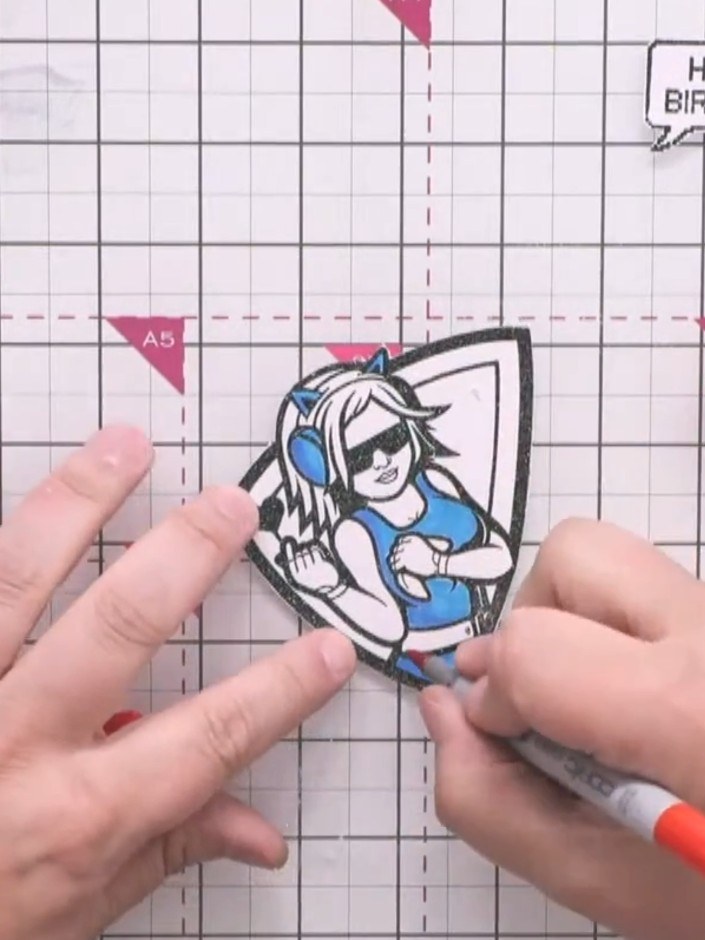
Apply foam pads to the back of the coloured character stamp and adhere it to the centre of the card base, positioning it as the focal point of your design.
▶ voir cette étape (26:00)Rédigé à partir de l'émission elle-même. Découvrez tous les guides de nos émissions · tutoriels gratuits · regarder en direct sur My Telly