Offrez à vos amis 10 € de réduction sur leur première commande !
Parrainez un AMI








Un projet de notre émission en direct HSN Item 811135 - What You Believe, Your Choice · 26/09/2022 · à voir dès 1:00
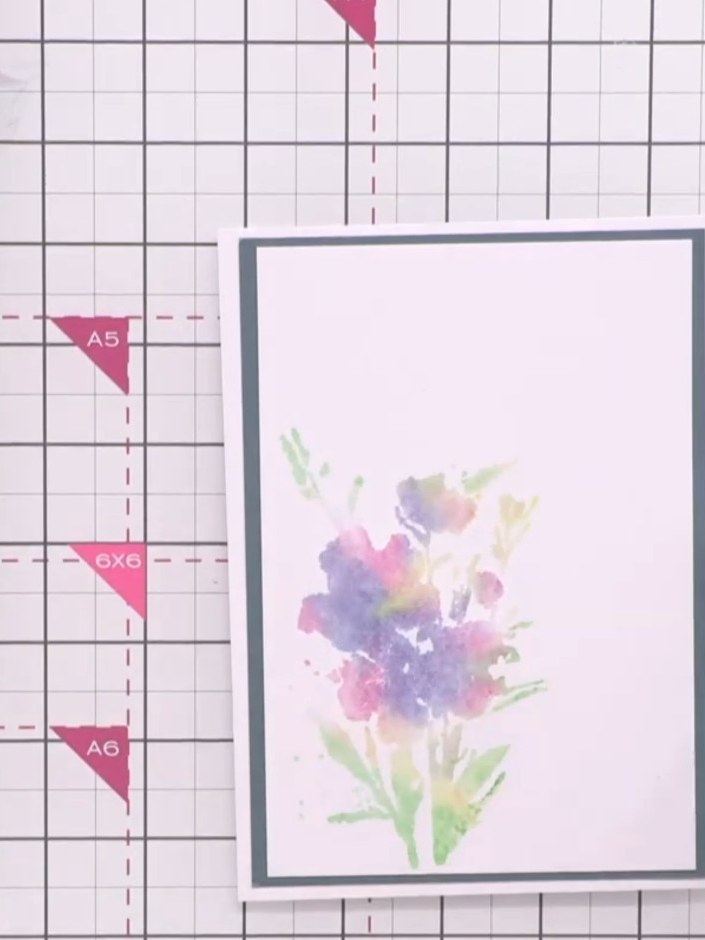
Make an elegant greeting card with a stunning watercolour floral design in soft purples and pinks. This project uses a clever lamination stamping technique that layers solid colour stamps with detailed outline stamps to create a realistic hand-painted effect. The finished piece features delicate flowers on a pale background, mounted on grey card for a sophisticated finish.
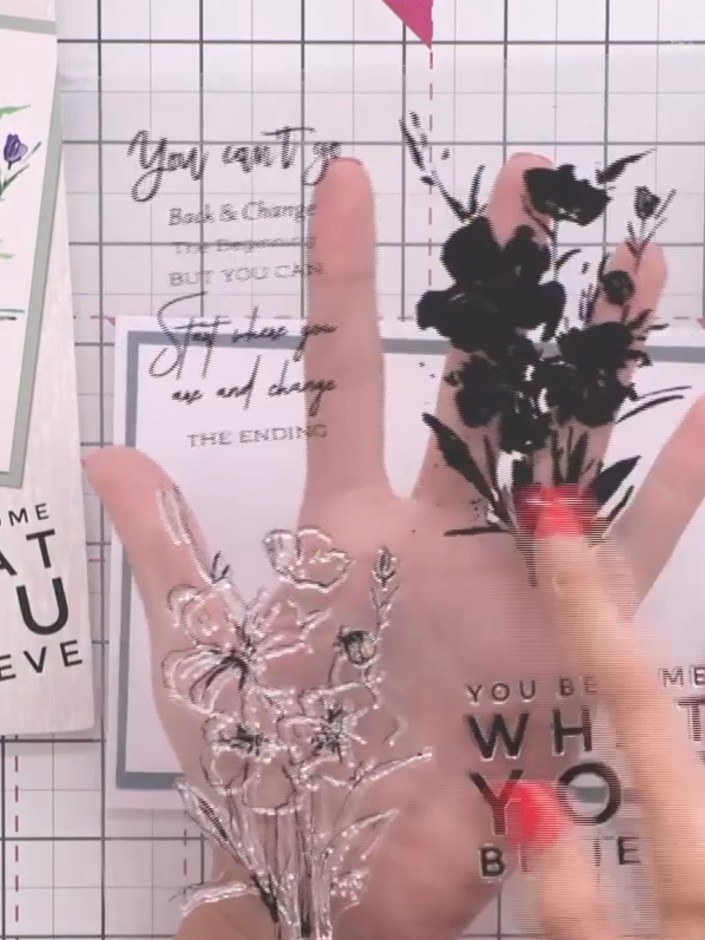
Place the solid floral stamp from the What You Believe collection onto your acrylic block, ensuring it adheres firmly.
▶ voir cette étape (1:45)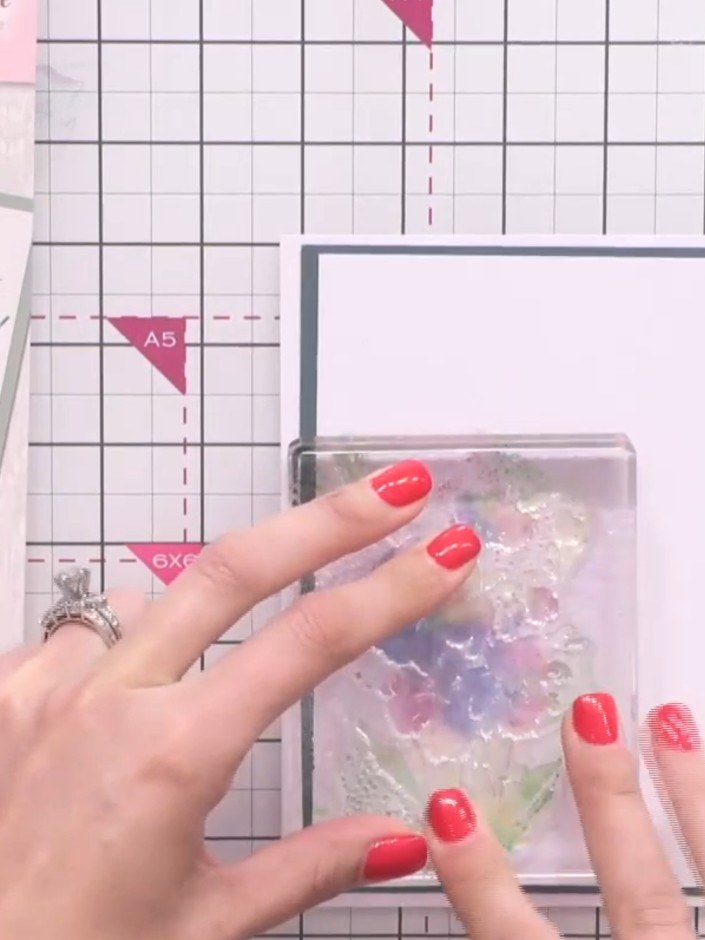
Apply purple ink loosely to the centre of the flower design on the stamp. Don't worry about being precise with the placement.
▶ voir cette étape (2:00)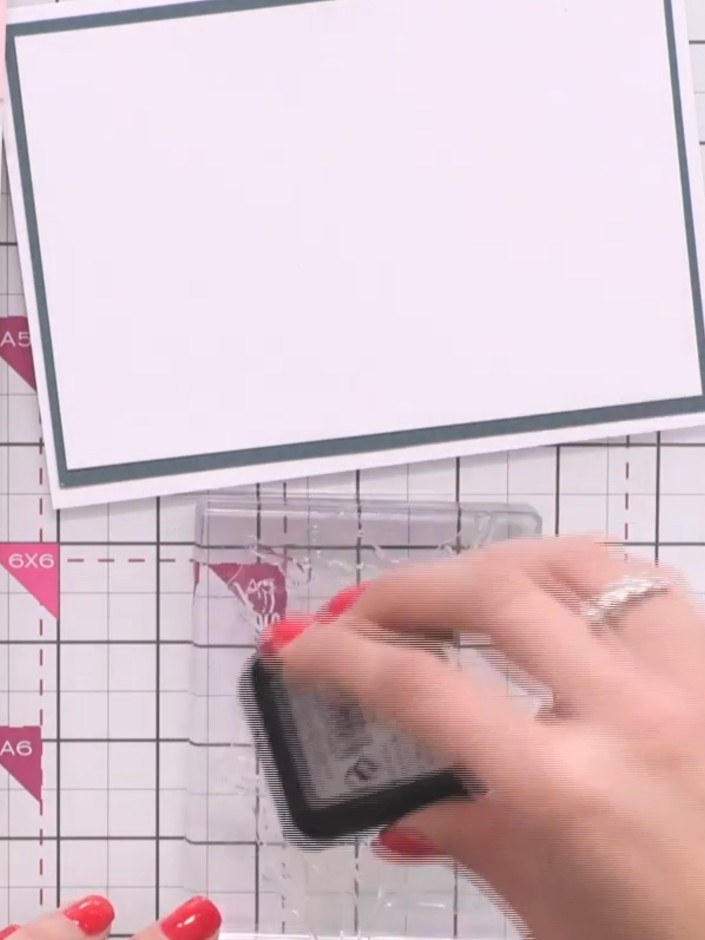
Using a stamping tool with dark blue ink, add touches of colour to areas of the stamped design to create dimension and depth.
▶ voir cette étape (2:15)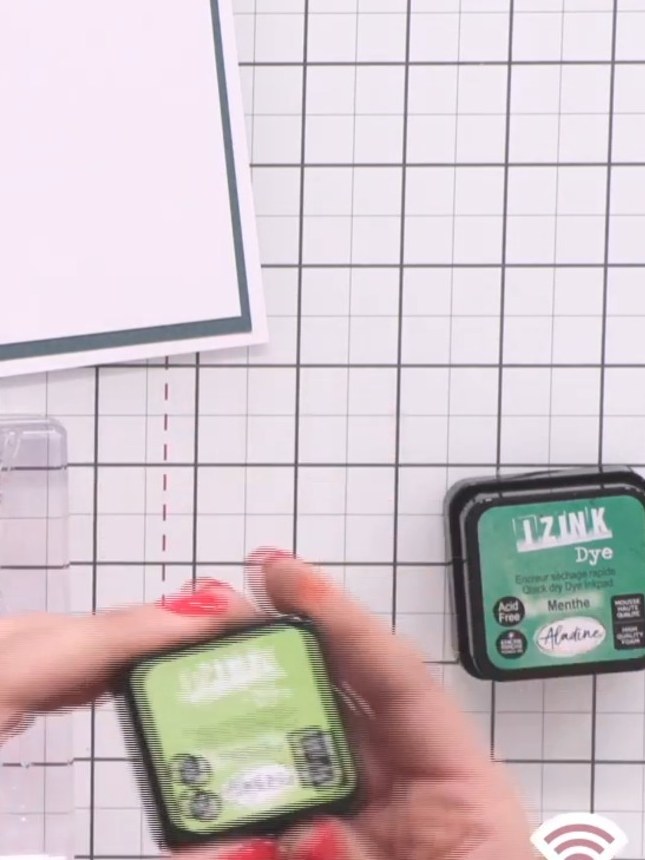
Apply light green ink to the leaf elements on the stamp using an ink pad in a mint or lime green shade.
▶ voir cette étape (2:30)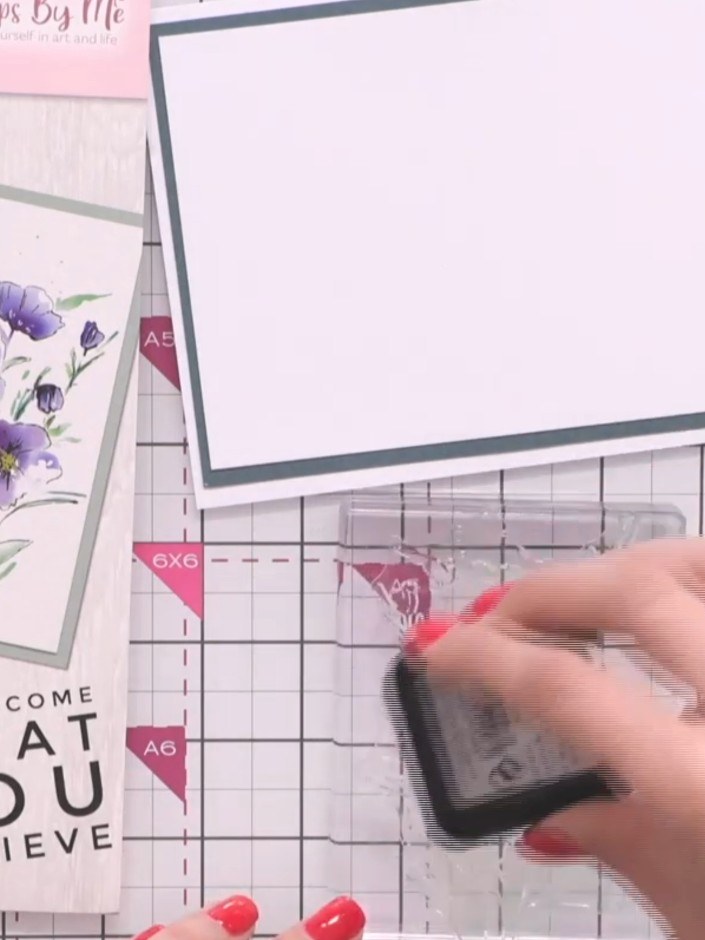
Using dark green ink, add touches to the leaves on your stamped image to create contrast with the lighter green areas.
▶ voir cette étape (2:30)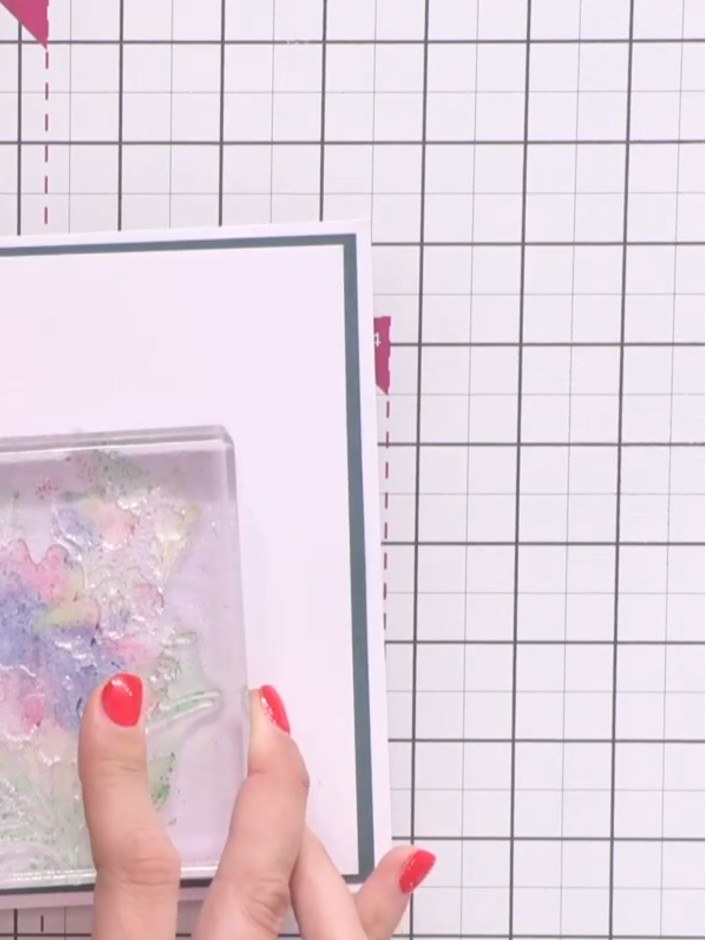
Spray water onto the inked stamp to allow the colours to combine and blend together. Press the stamp down onto the white card panel, aligning it in the left corner. When you lift off, you will have a sketch without an outline.
▶ voir cette étape (2:45)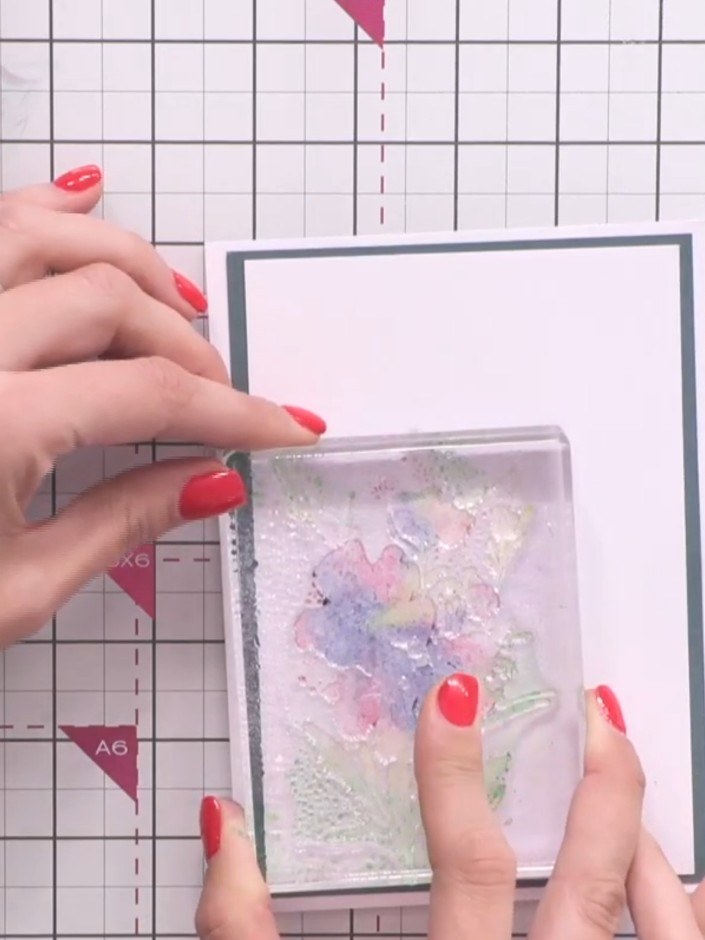
Position the stamp in the bottom left corner of your card blank in portrait orientation. Press down firmly to ensure good contact with the card surface.
▶ voir cette étape (3:00)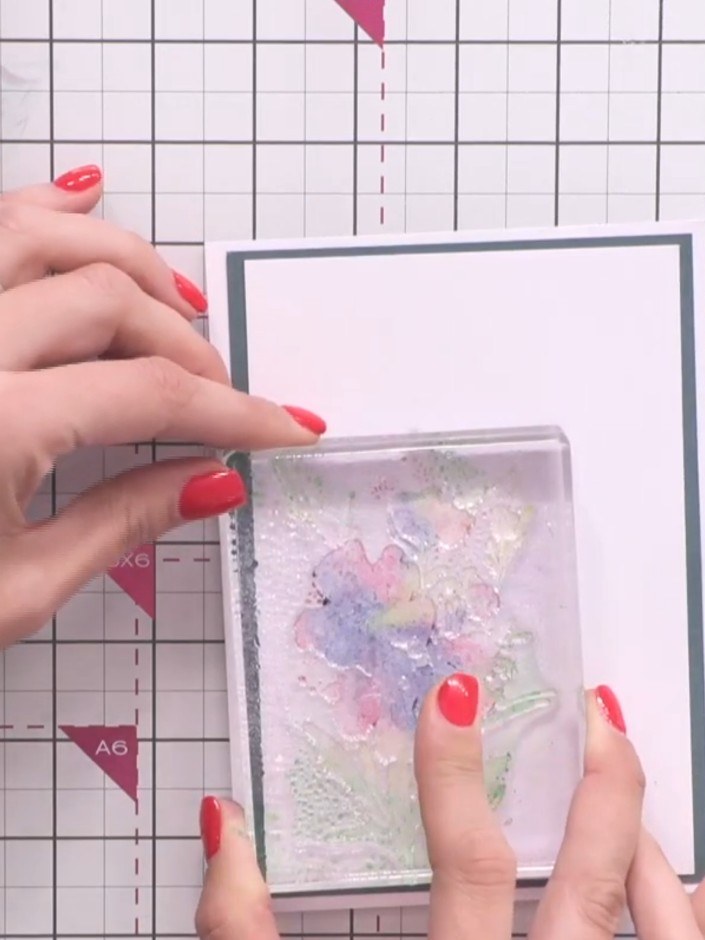
Press the stamp down firmly onto the grey bordered cardstock panel to transfer the watercolour effect. Apply even pressure across the entire stamp surface to ensure complete coverage.
▶ voir cette étape (3:00)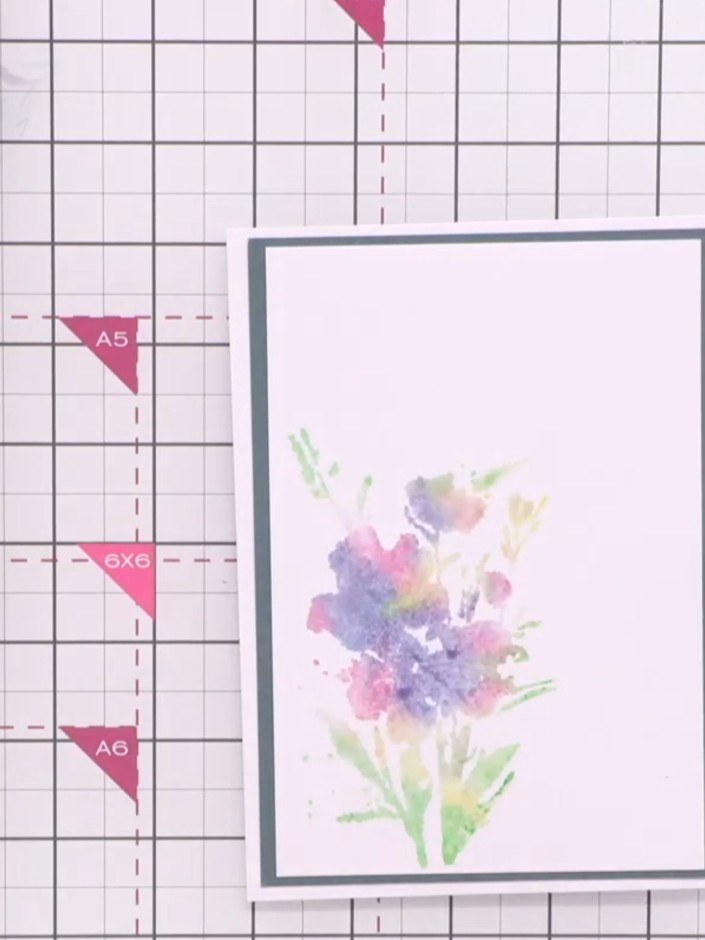
Lift the stamp away from the card to reveal the beautiful watercolour floral image in purple, pink, yellow and green tones.
▶ voir cette étape (3:15)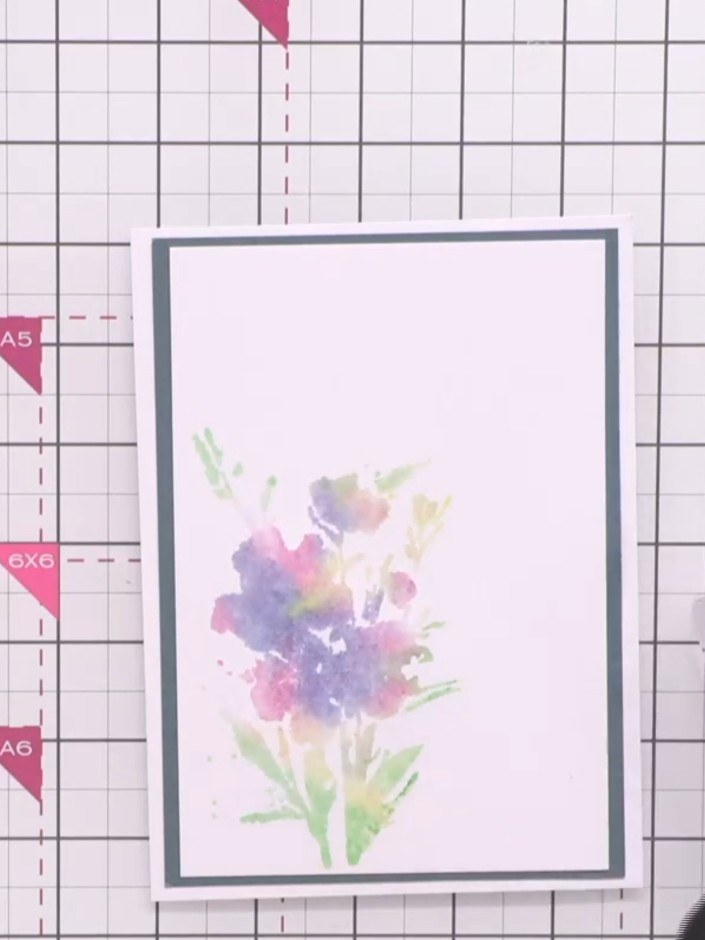
Adhere the outline flower stamp to your acrylic block. Ink the stamp with black ink using your ink pad.
▶ voir cette étape (3:45)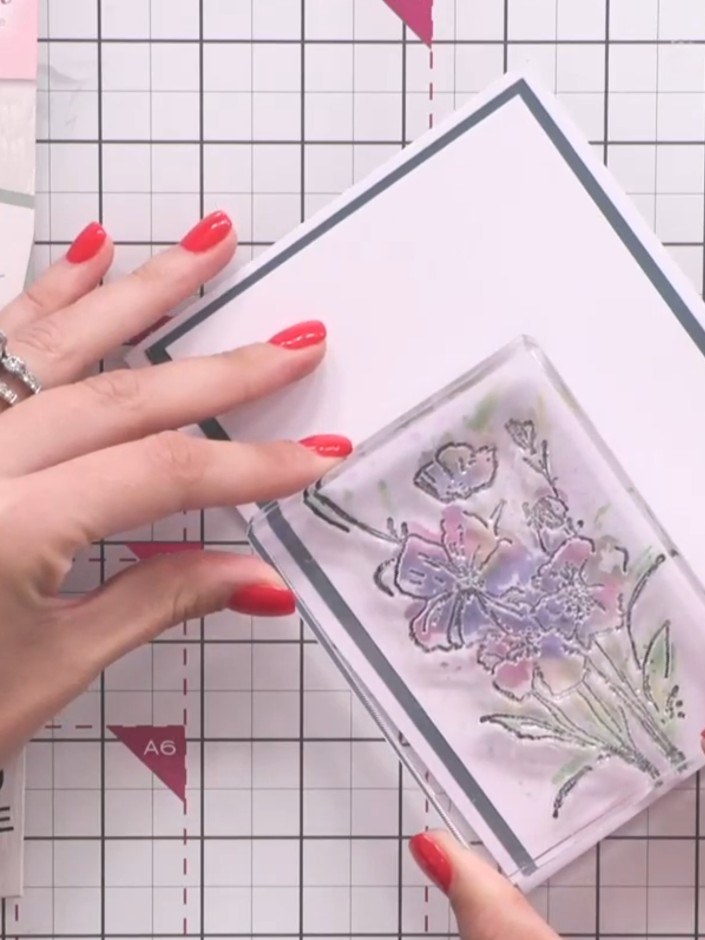
Position the clear flower stamp over the watercoloured image on your card panel. Stamp the outline design to add definition and detail to the watercolour flowers.
▶ voir cette étape (4:00)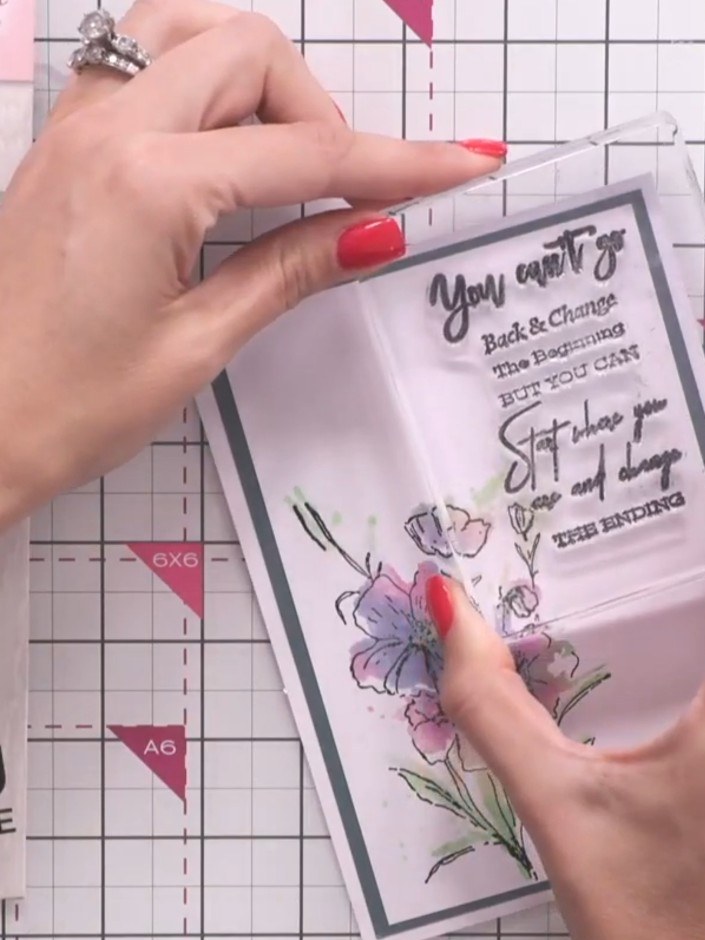
Position a sentiment stamp from the collection at the top corner or side of your card as desired. Stamp the sentiment onto the card to complete your watercolour lamination card.
▶ voir cette étape (4:45)Rédigé à partir de l'émission elle-même. Découvrez tous les guides de nos émissions · tutoriels gratuits · regarder en direct sur My Telly